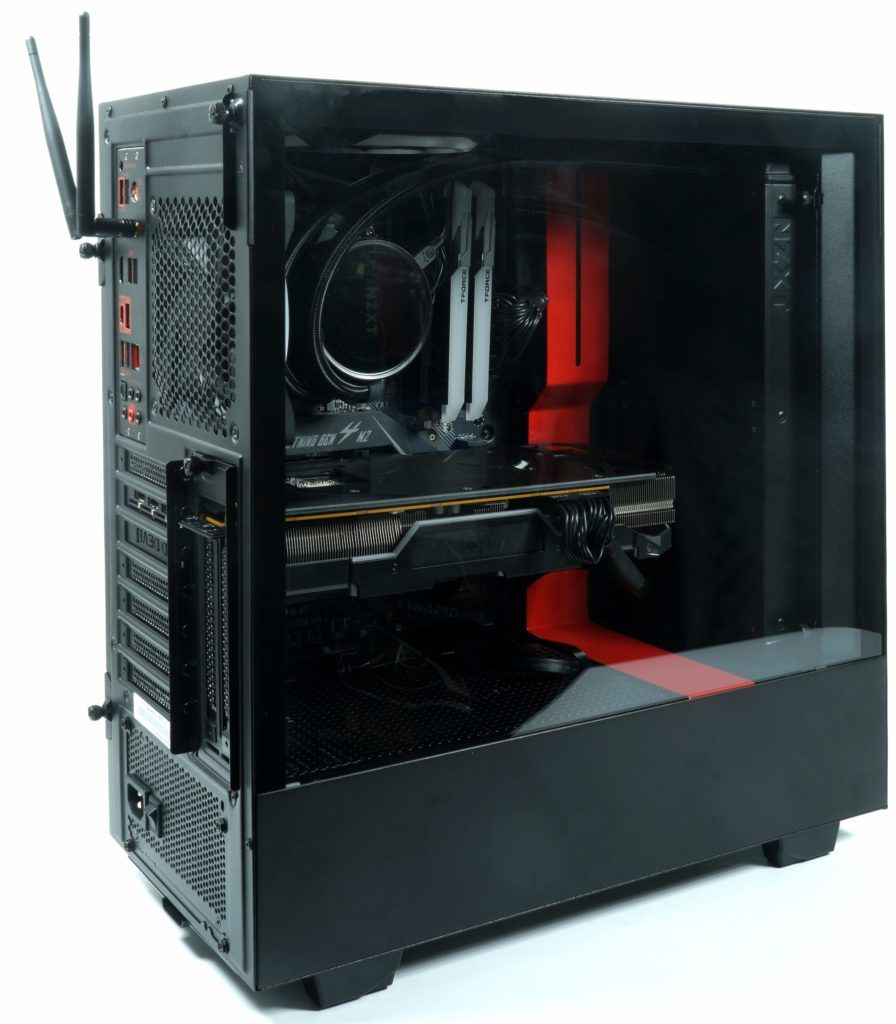
Yes, it’s winter again and the next hot hardware is just around the corner. Admittedly, summer is still a long way off, but it’s still getting warmer every day because the wattage of the components is also increasing so immeasurably. For a PC owner or self-builder, the topics of waste heat, cooling and ambient temperature (also independent of the season) are of great importance, regardless of whether we are still sitting on a supply of noodles from 2020 or not. And because again and again inquiries came, whether I could not write once again an air cooling tutorial – I had already one. 8 years ago. So it’s time to polish it up a bit and bring the article out of oblivion! Because in the end, nothing has changed in the underlying physics.

As always, we want to start with the original mucus, because every year new readers come along and often enough an expensive project fails because of a single wrong decision or a lack of basic knowledge. This starts with the cooling concept of the housing to be selected and the fans in the same, because nothing can be done without air movement. And if we’re honest, that much hasn’t changed in the meantime. Physics is physics and remains physics, and aggressive marketing by various companies does not change that.
An optimal airflow is the most important thing for air-cooled systems, so I will first go into this area in great detail. But I can’t and won’t spare you some theory, even if the older semesters may be shaking their heads bored. Nevertheless, I would like to remind you once again of the enormous task that is actually ahead. PCs are among the most inefficient devices in the world, because almost all the electrical energy absorbed is converted directly into heat (energy). Nothing is lost, so you have to live with this fact somehow.
 Even a simple 40 watt lamp develops enough heat to melt plastic and, if necessary, even cause a fire. However, our PCs are already idle and are usually absorbed around 40 watts or more and converted directly into heat. Under load, this can quickly increase tenfold or even higher. We need to take a closer look at this enormous value in order to get the necessary respect for the actual task!
We have to somehow dissipate that heat. And so good that the components do not exceed a certain limit temperature. This removal takes place in several stages:
1 • Dissipate heat from the surface of the producing component (CPU, GPU)
2 • Pick up in the radiator floor and transport it to the cooling fins of the heat sink
3 • Release of heat to the air (the heat unfortunately conducts poorly)
4 • Removal of the heated air from the housing.
For steps 1-3, we use ready-made heat sinks with fans that can only experience problems during assembly, but which are easy to bypass. The last step, however, requires some planning in advance, so we want to start with the airflow first. This is of course directly related to the installed components and the housing, so we have to start on the next page with the basics of housing shape, power supply assembly, radiator direction and housing fans.

Heat rises upwards (convection), cold air is on the ground, up stairs you can only find the warm air. Of course, we must not ignore this basic physical principle in further planning. And that’s exactly where you have to be careful which PC cases you choose. There are enormous differences in places, also depending on the price range! Even though all-in-one compact water coolers are now en vogue, you have to weigh up all aspects and in the end a good air cooler is often the better solution.
What I do not want to clarify here and can be are the individual form factors of the housings. However, surely everyone will be reasonable enough to roughly calculate the waste heat of their hardware and only after that, based on it, also choose a reasonable housing. Because one thing must never be forgotten: colorful LEDs do not cool. But always beautiful in turn…
- 1 - Einführung und Übersicht
- 2 - Unter- oder Überdruck? Wir wägen ab!
- 3 - Netzteilpositionierung: Oben oder unten?
- 4 - Airflow: Towerkühler senkrecht montieren
- 5 - Airflow: Towerkühler waagerecht montieren
- 6 - Airflow: Beliebte Montagefehler
- 7 - Airflow: Downblower-Besonderheiten
- 8 - Airflow: Festplattenkühlung
- 9 - Airflow: Grafikkarten richtig belüften
- 10 - Gehäuselüfter: Wissenswerte Grundlagen
- 11 - Unangenehm: Körperschall und Resonanzen
- 12 - Lüftersteuerung, Zusammenfassung und Fazit


76 Antworten
Kommentar
Lade neue Kommentare
Urgestein
Urgestein
Urgestein
Urgestein
Urgestein
Urgestein
Urgestein
Veteran
Veteran
Urgestein
Veteran
Veteran
Urgestein
Mitglied
Urgestein
Veteran
Mitglied
Veteran
Veteran
Alle Kommentare lesen unter igor´sLAB Community →