


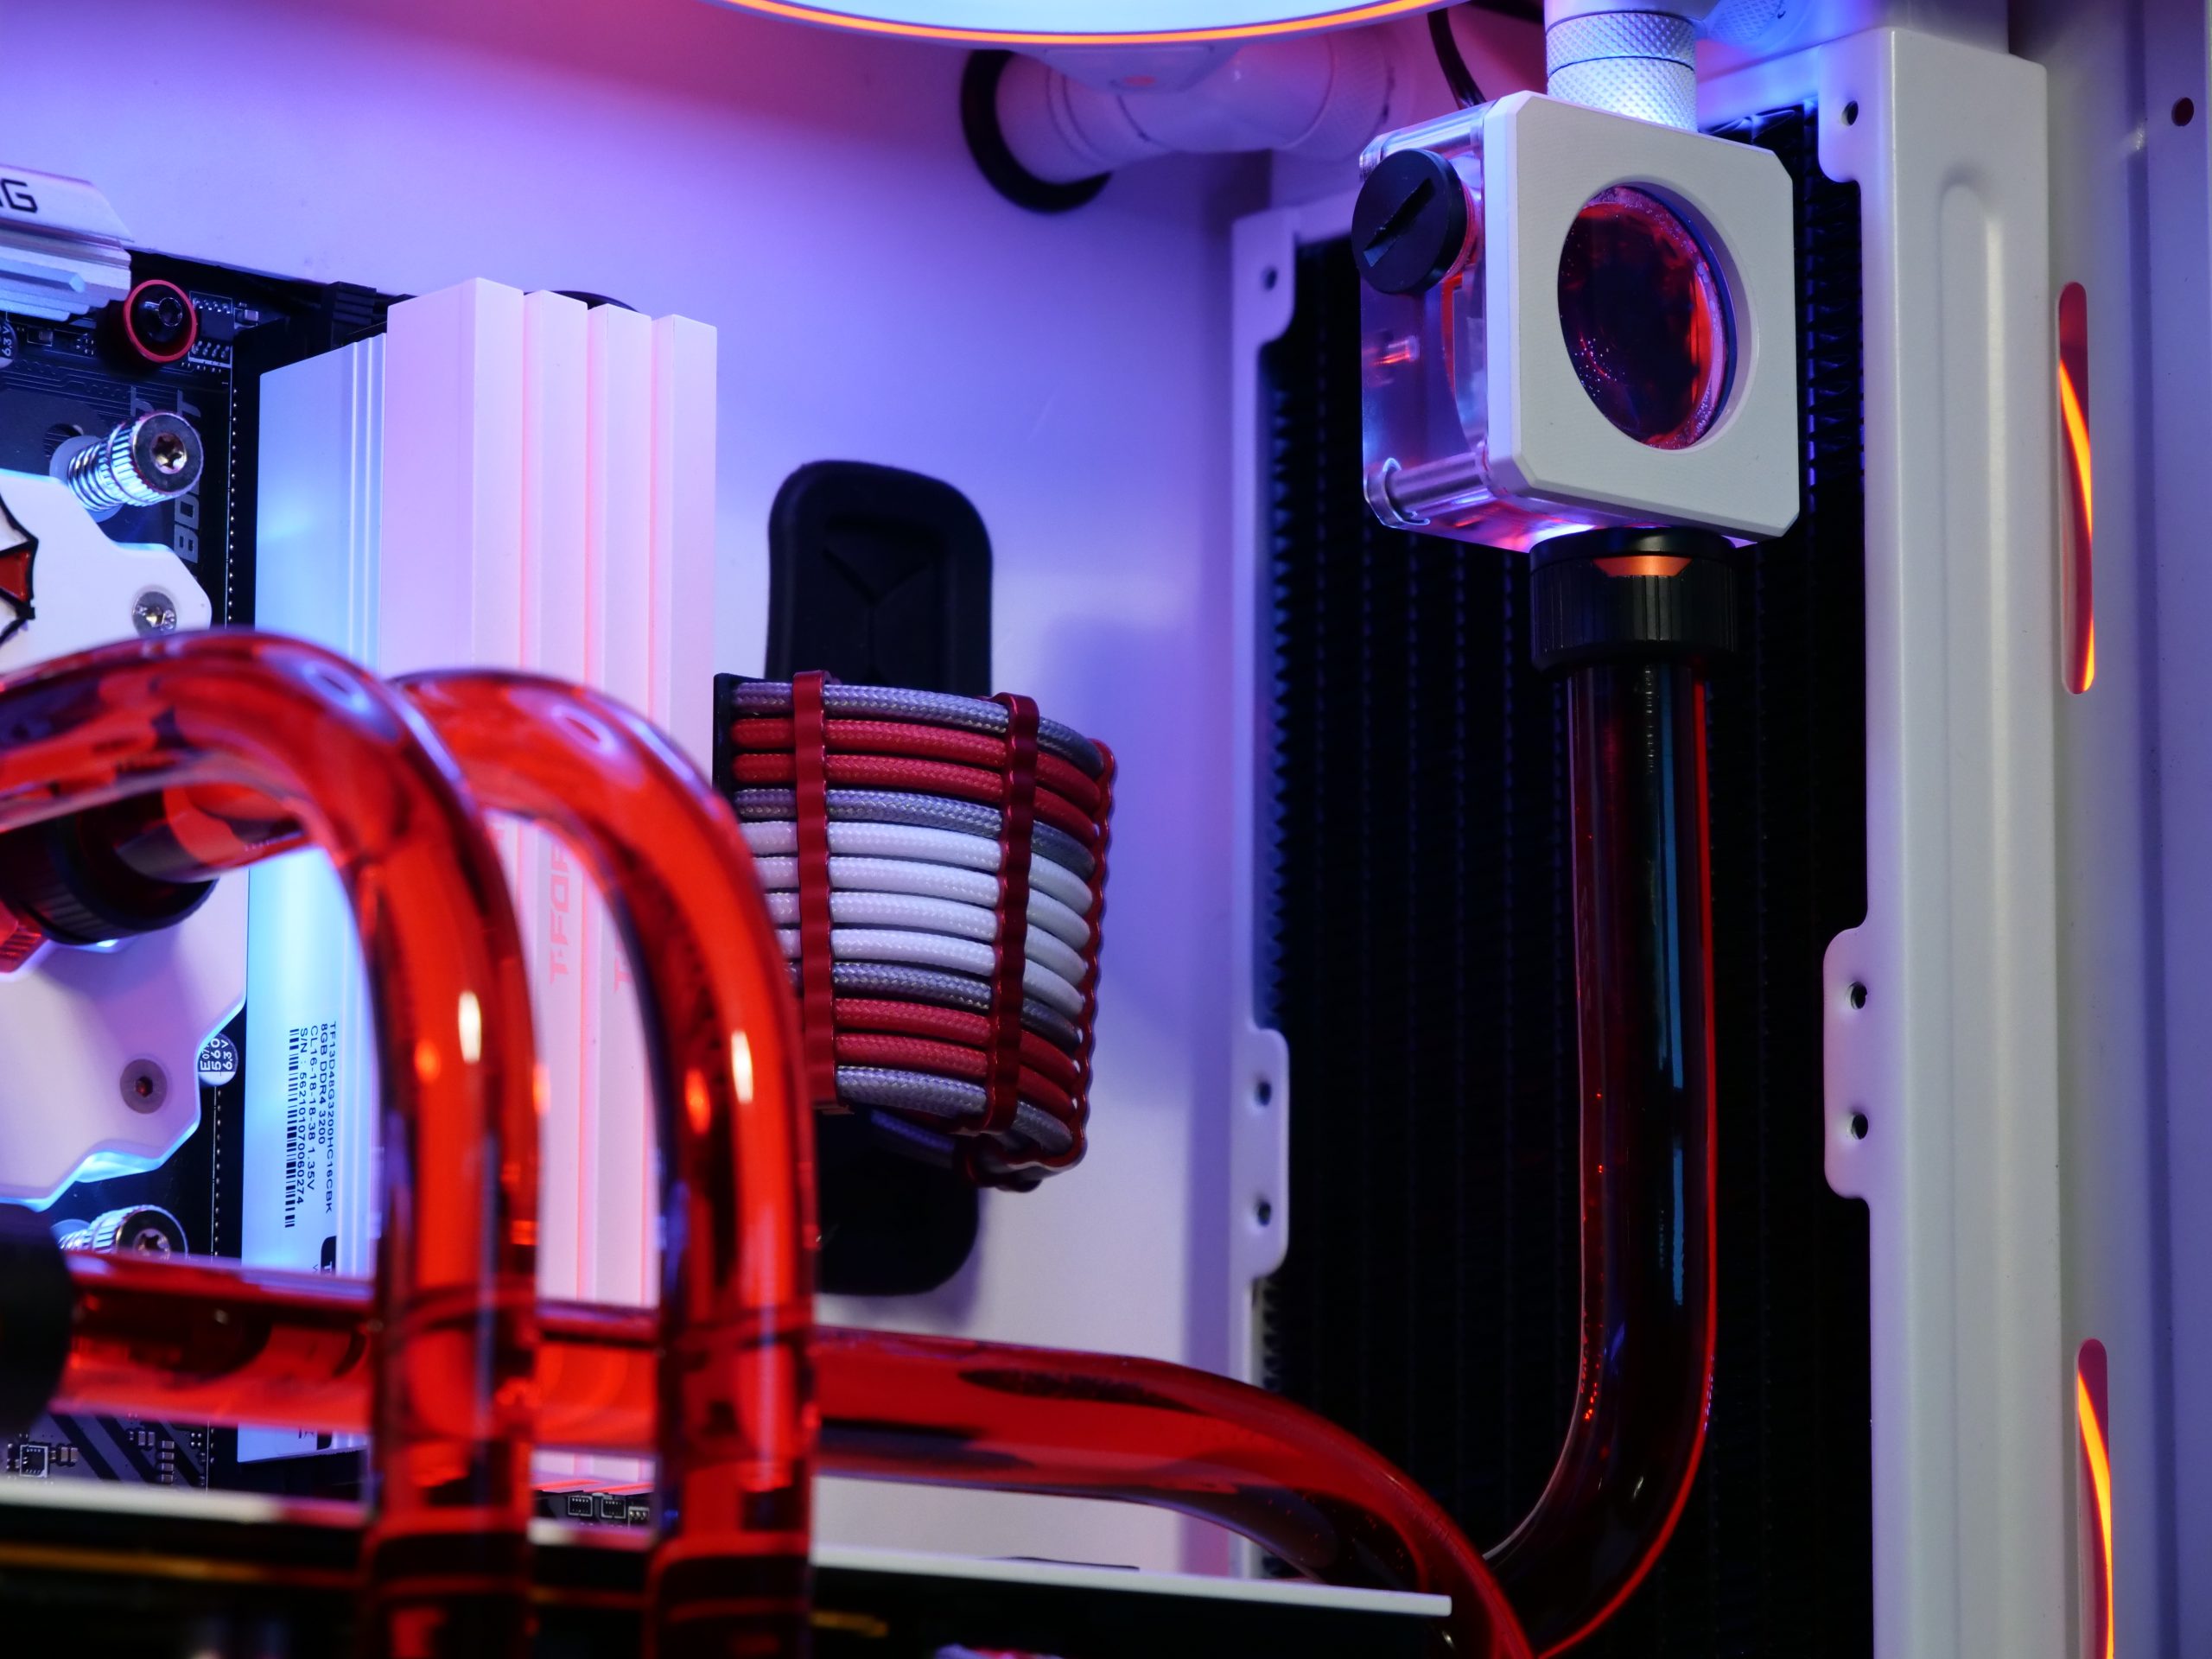
Volume and thermal behavior
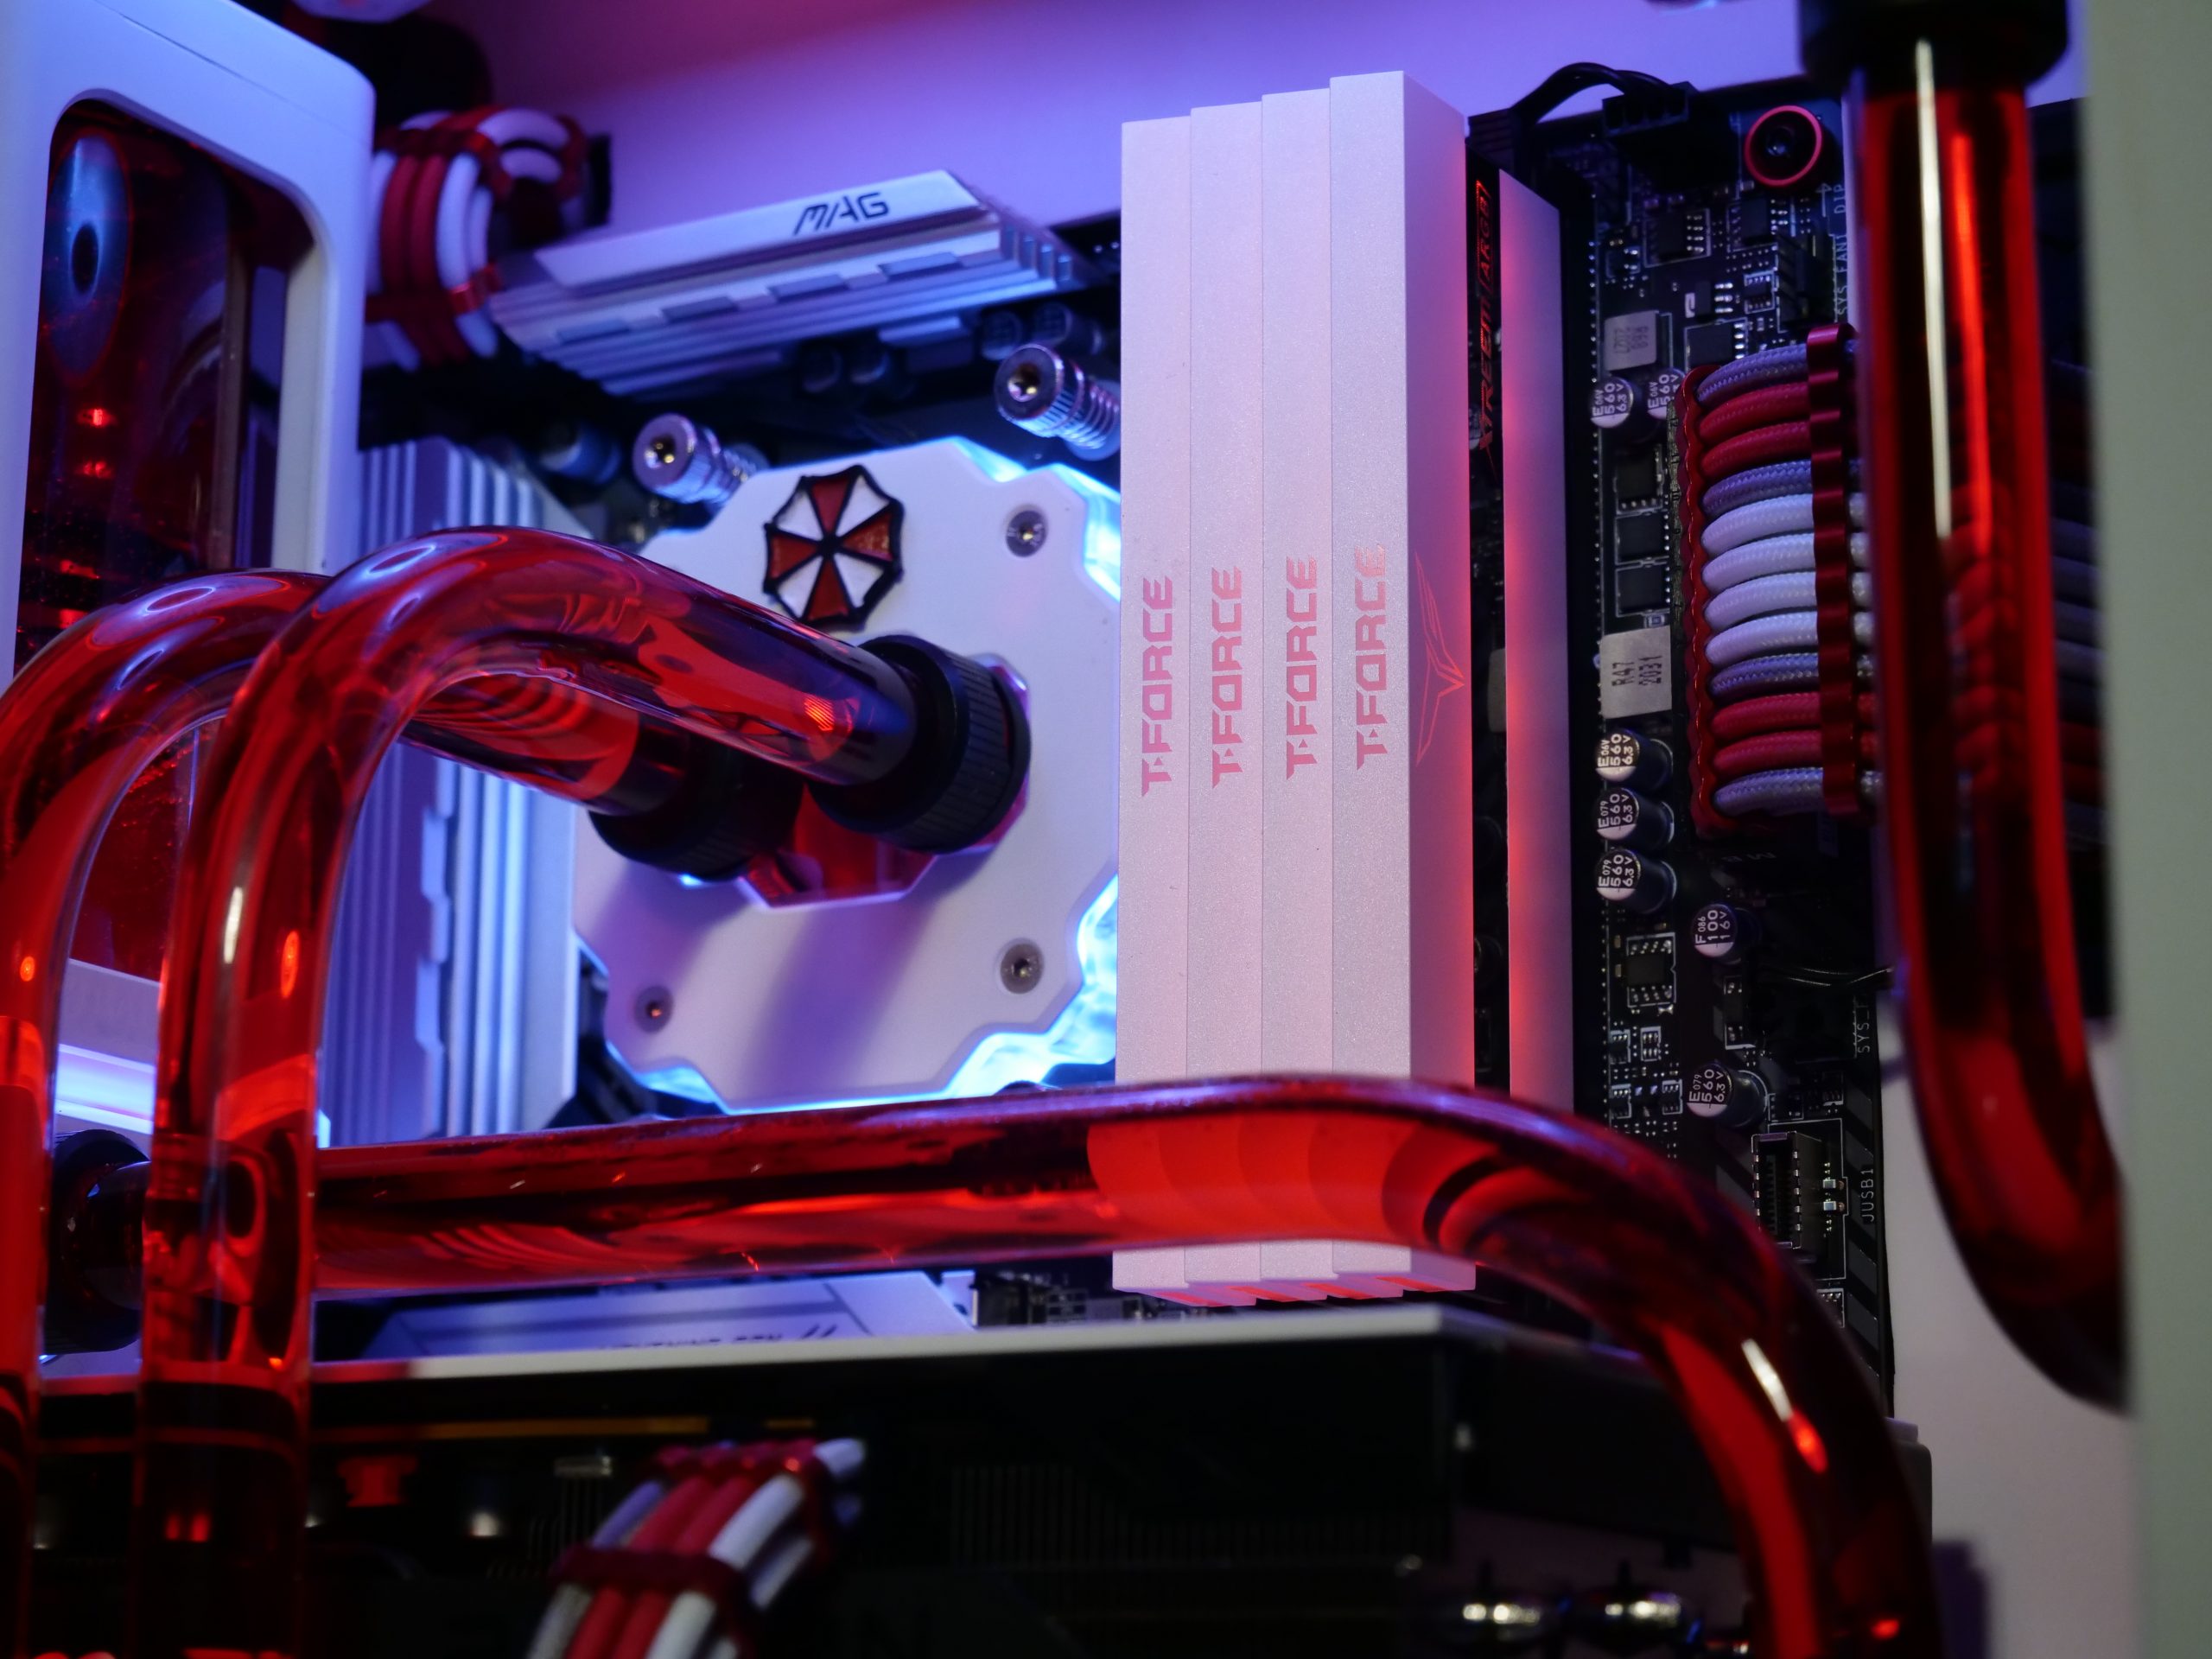
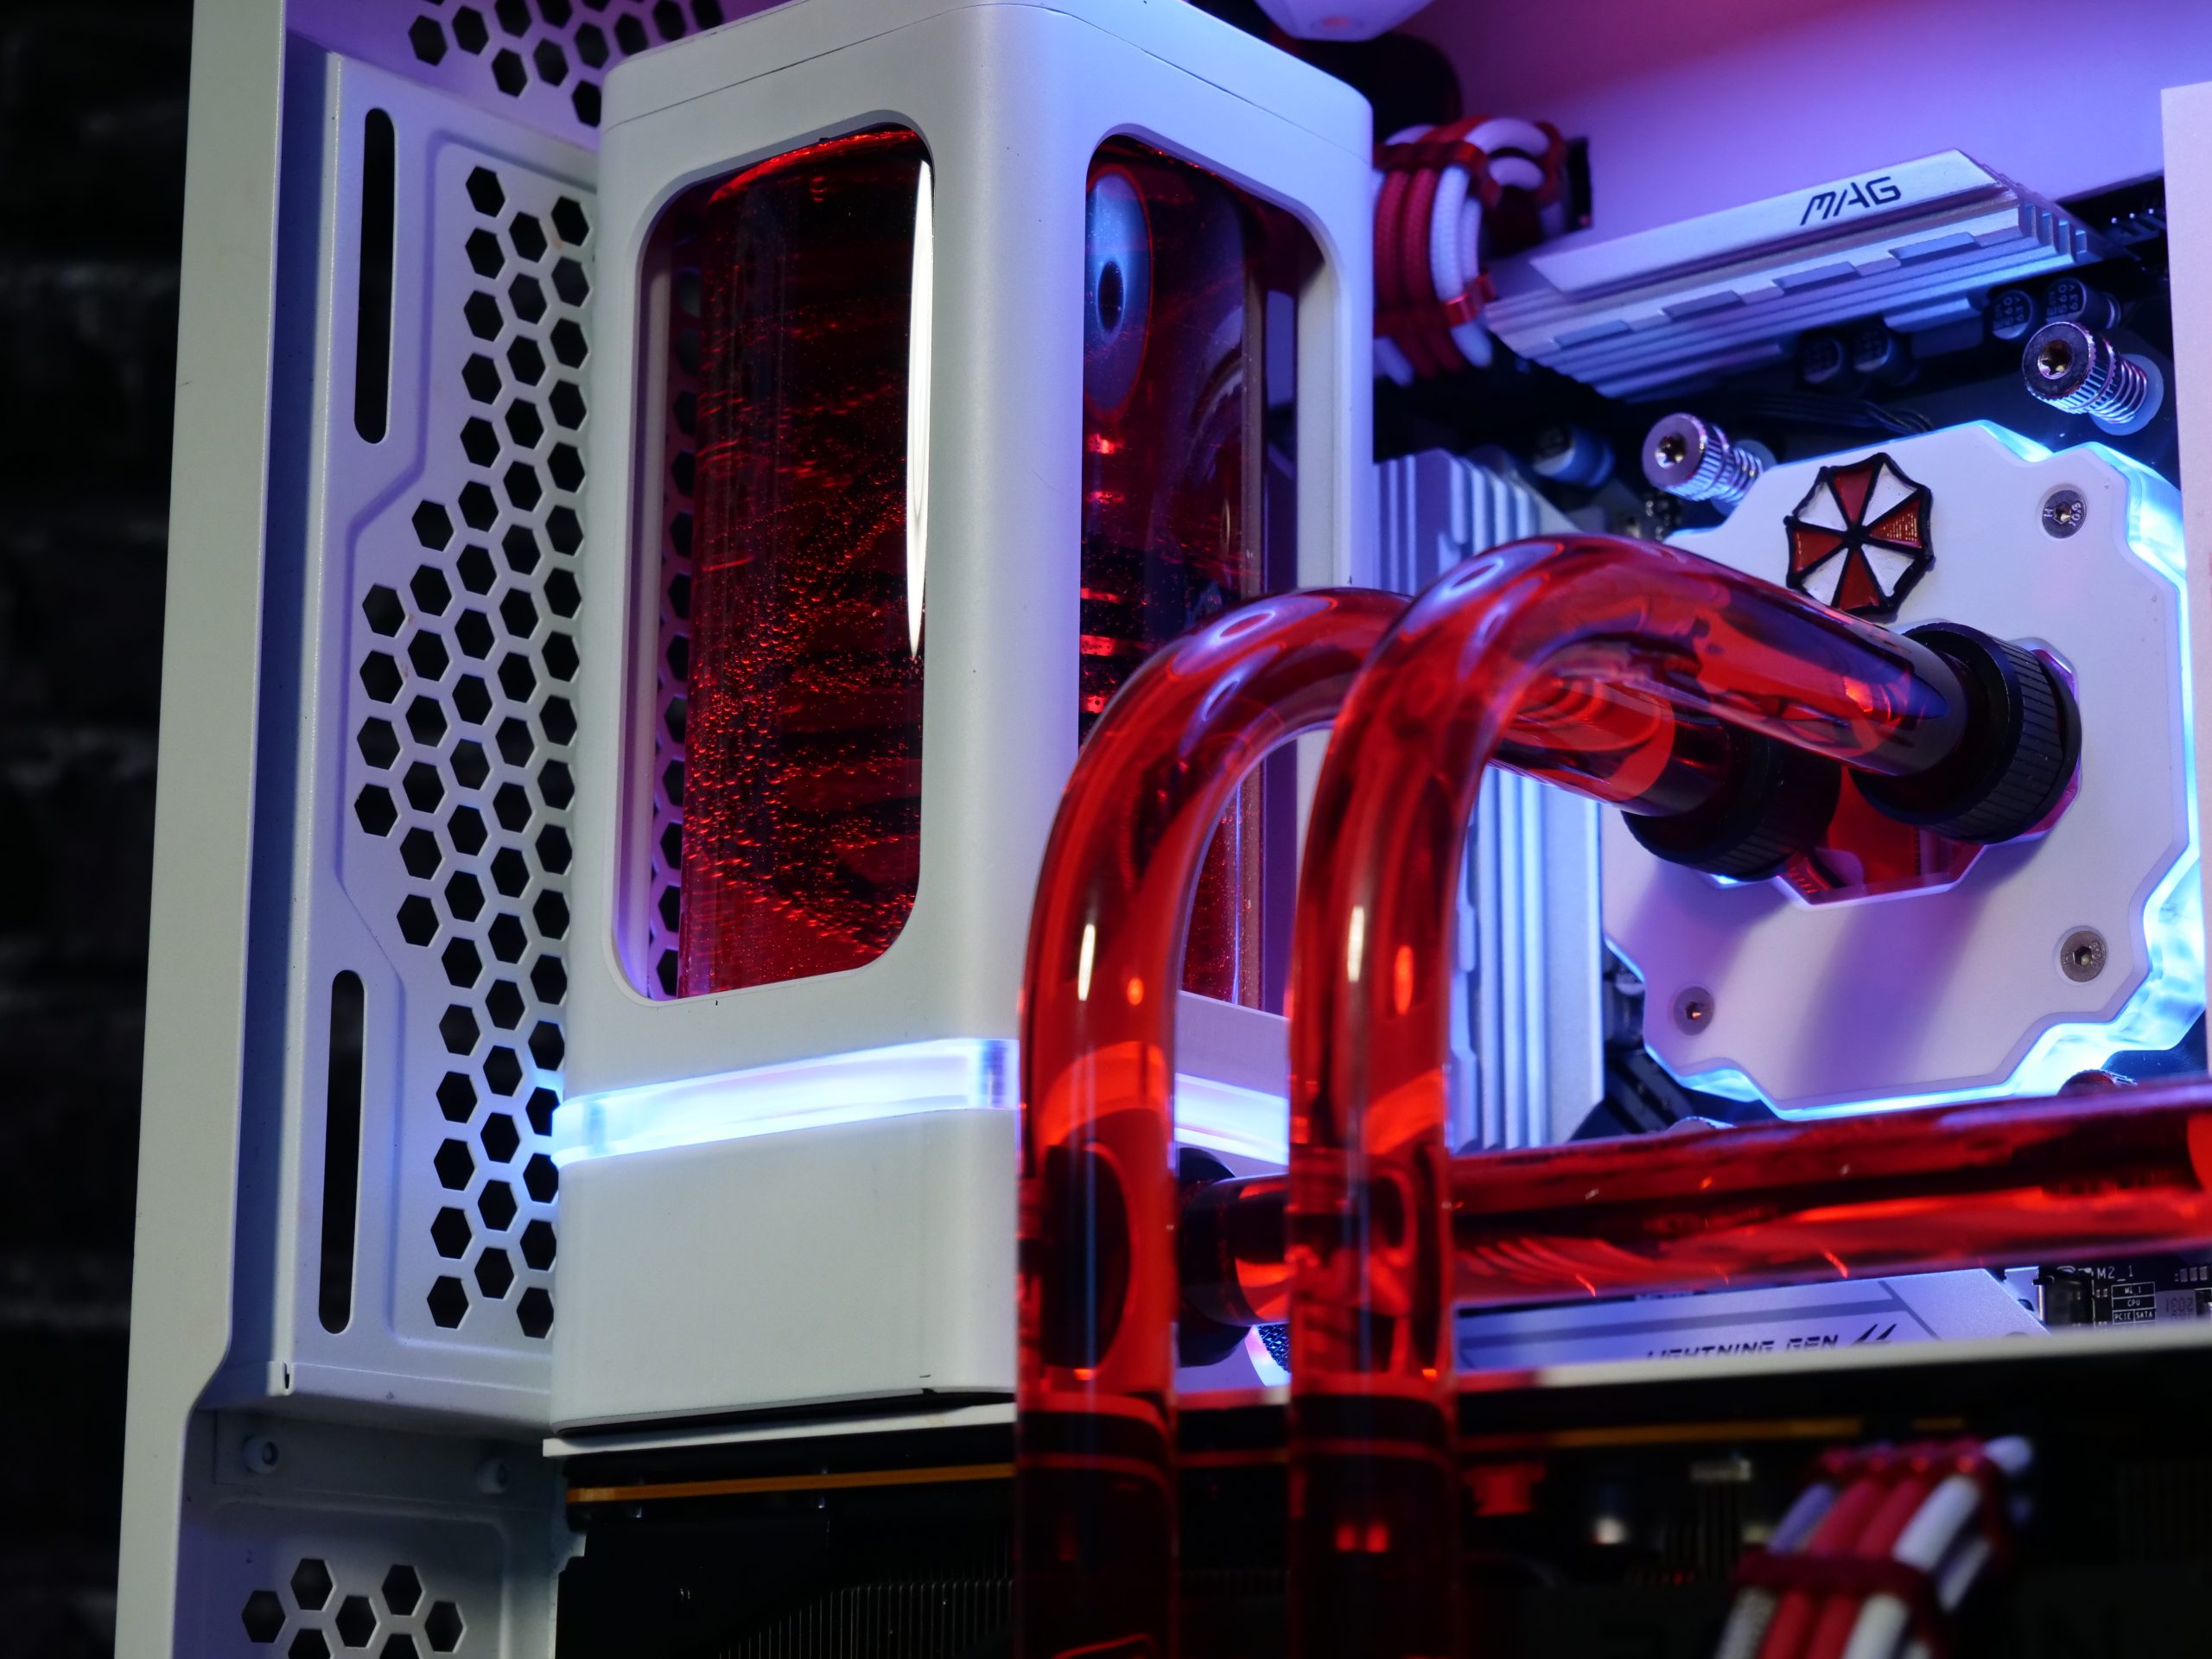
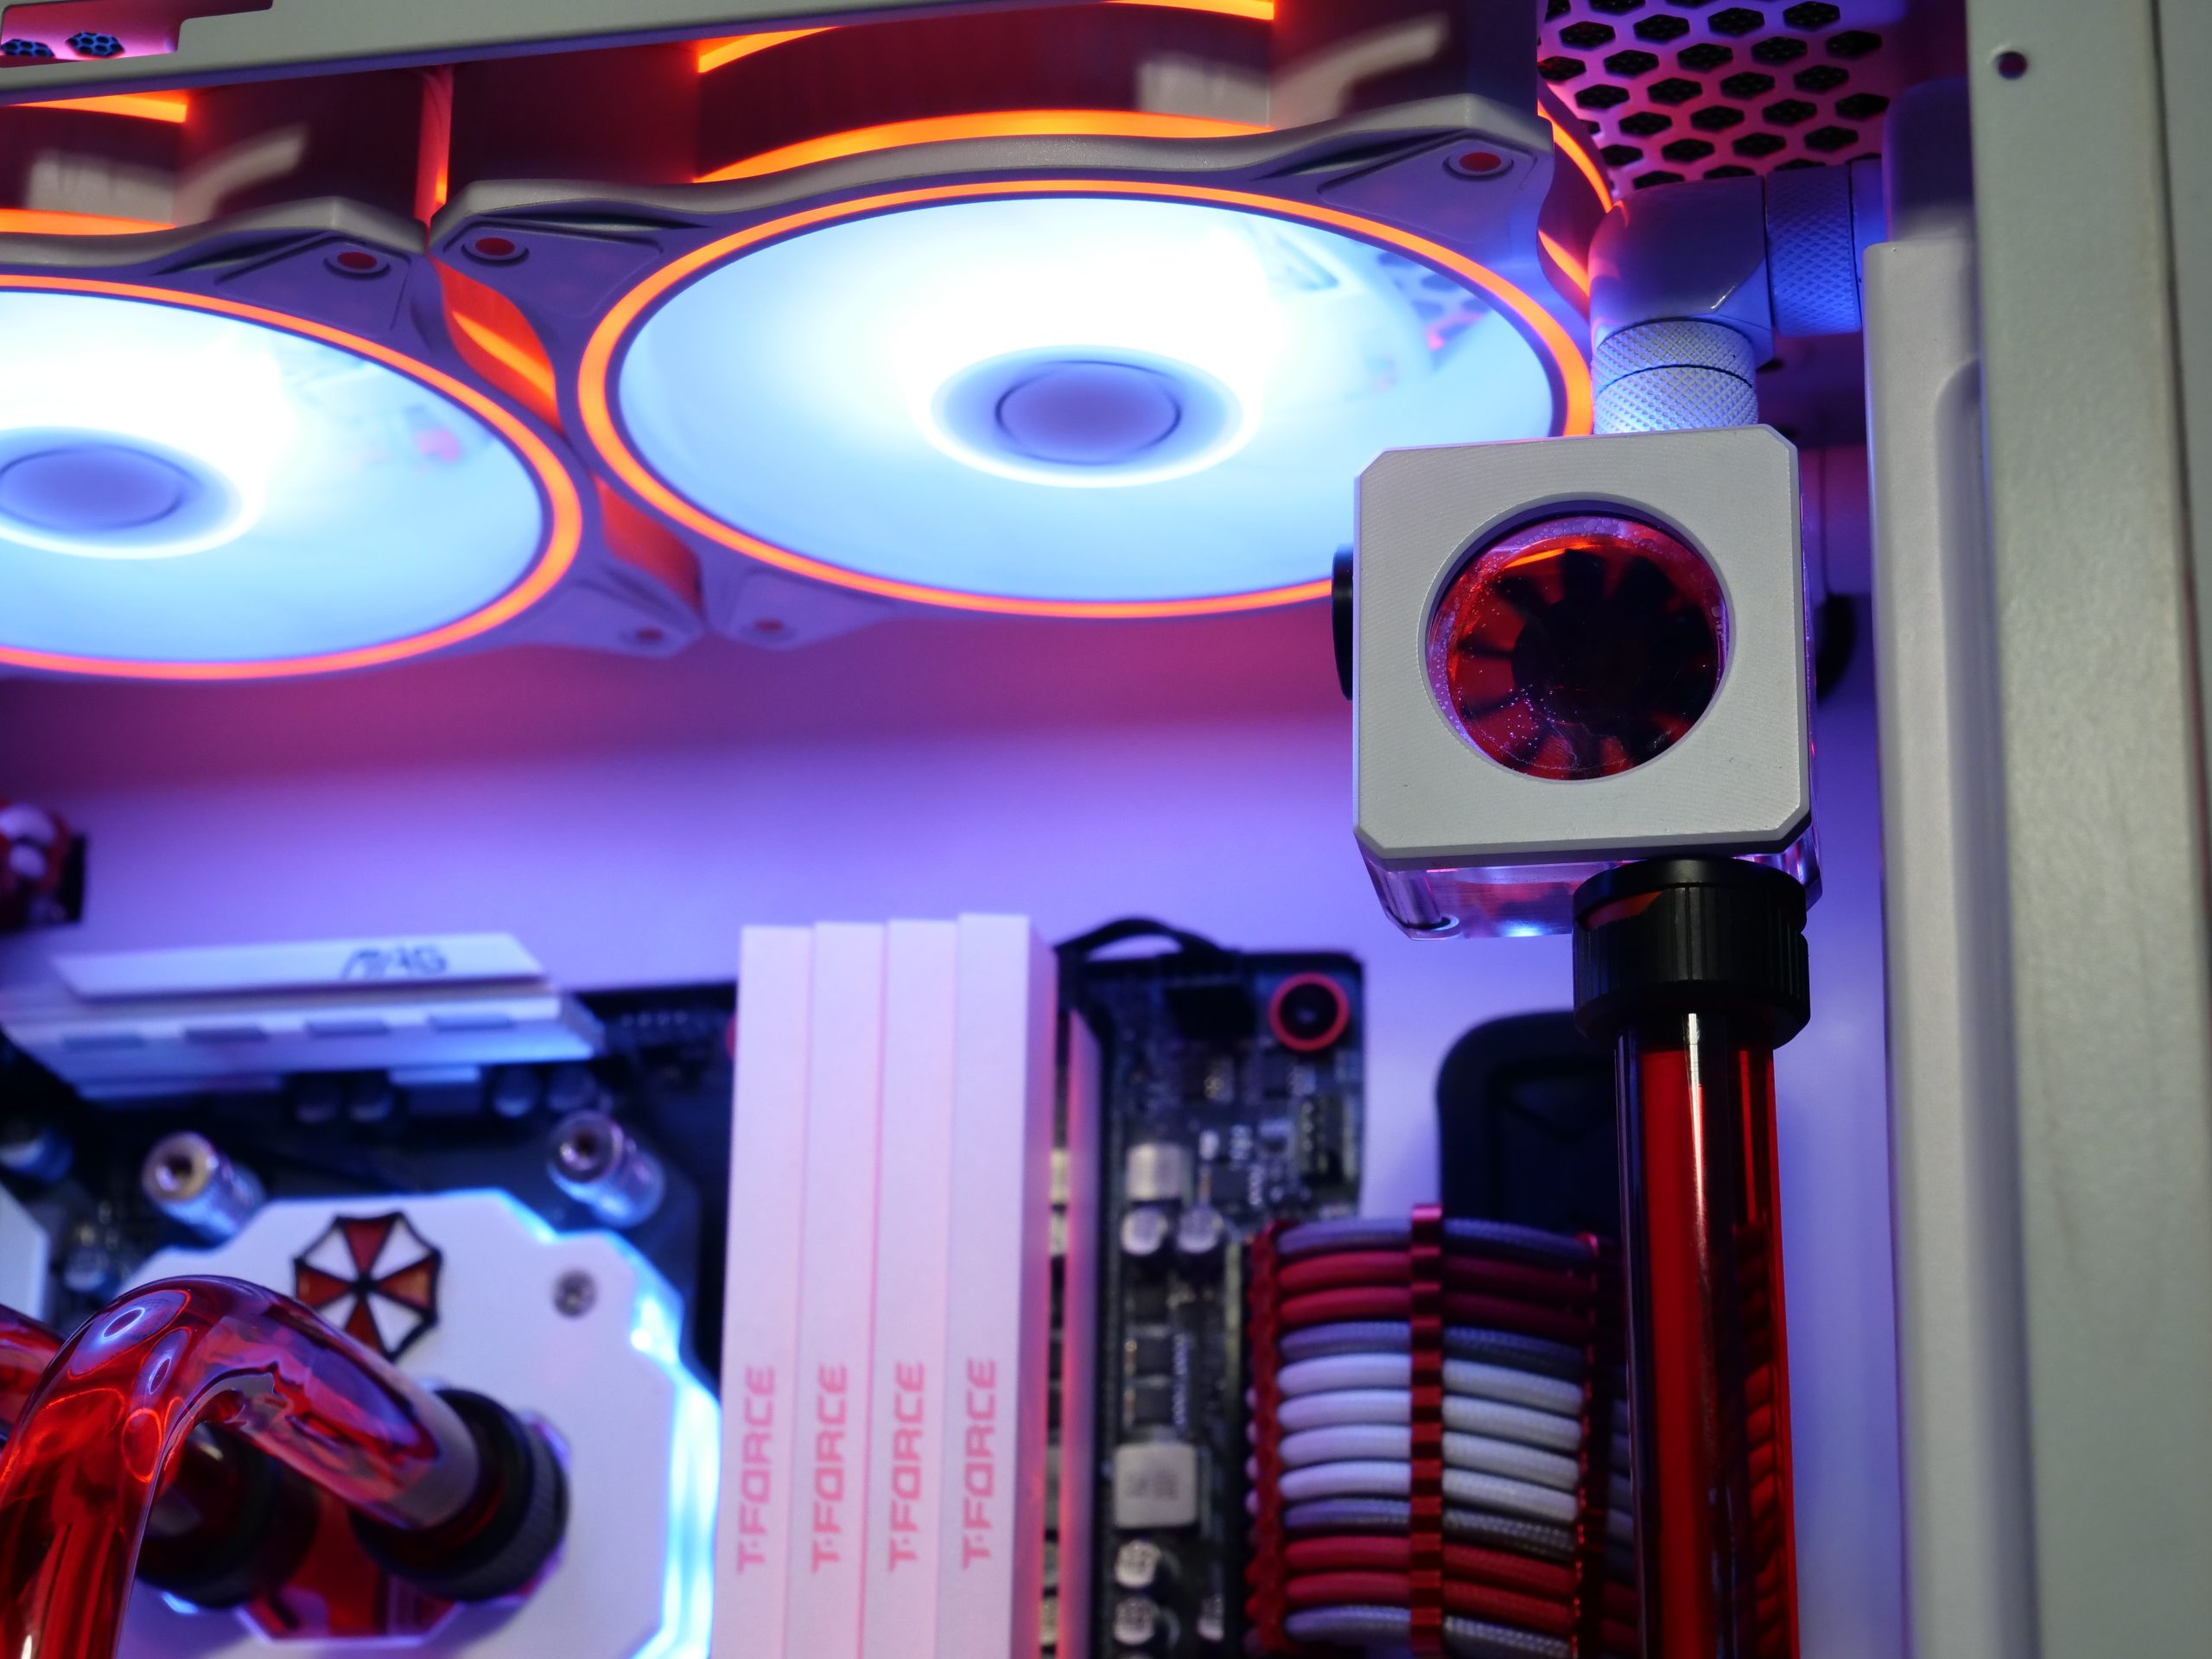
The Cooler Master Halo fans in the lid spin their rounds at a cozy 800 RPM and are not really audible. The 3 fans in the front are PWM-controlled and coupled to the CPU temperature. As the temperature rises, the fans run faster, but never reach the maximum of 1600 RPM. Since we had already seen or heard in our test that these are not the quietest fans on radiators, but still show good performance on a slim radiator, I throttled the fans to a maximum of 1300 RPM. At idle, the fans spin at 900 RPM and are not really audible here either.
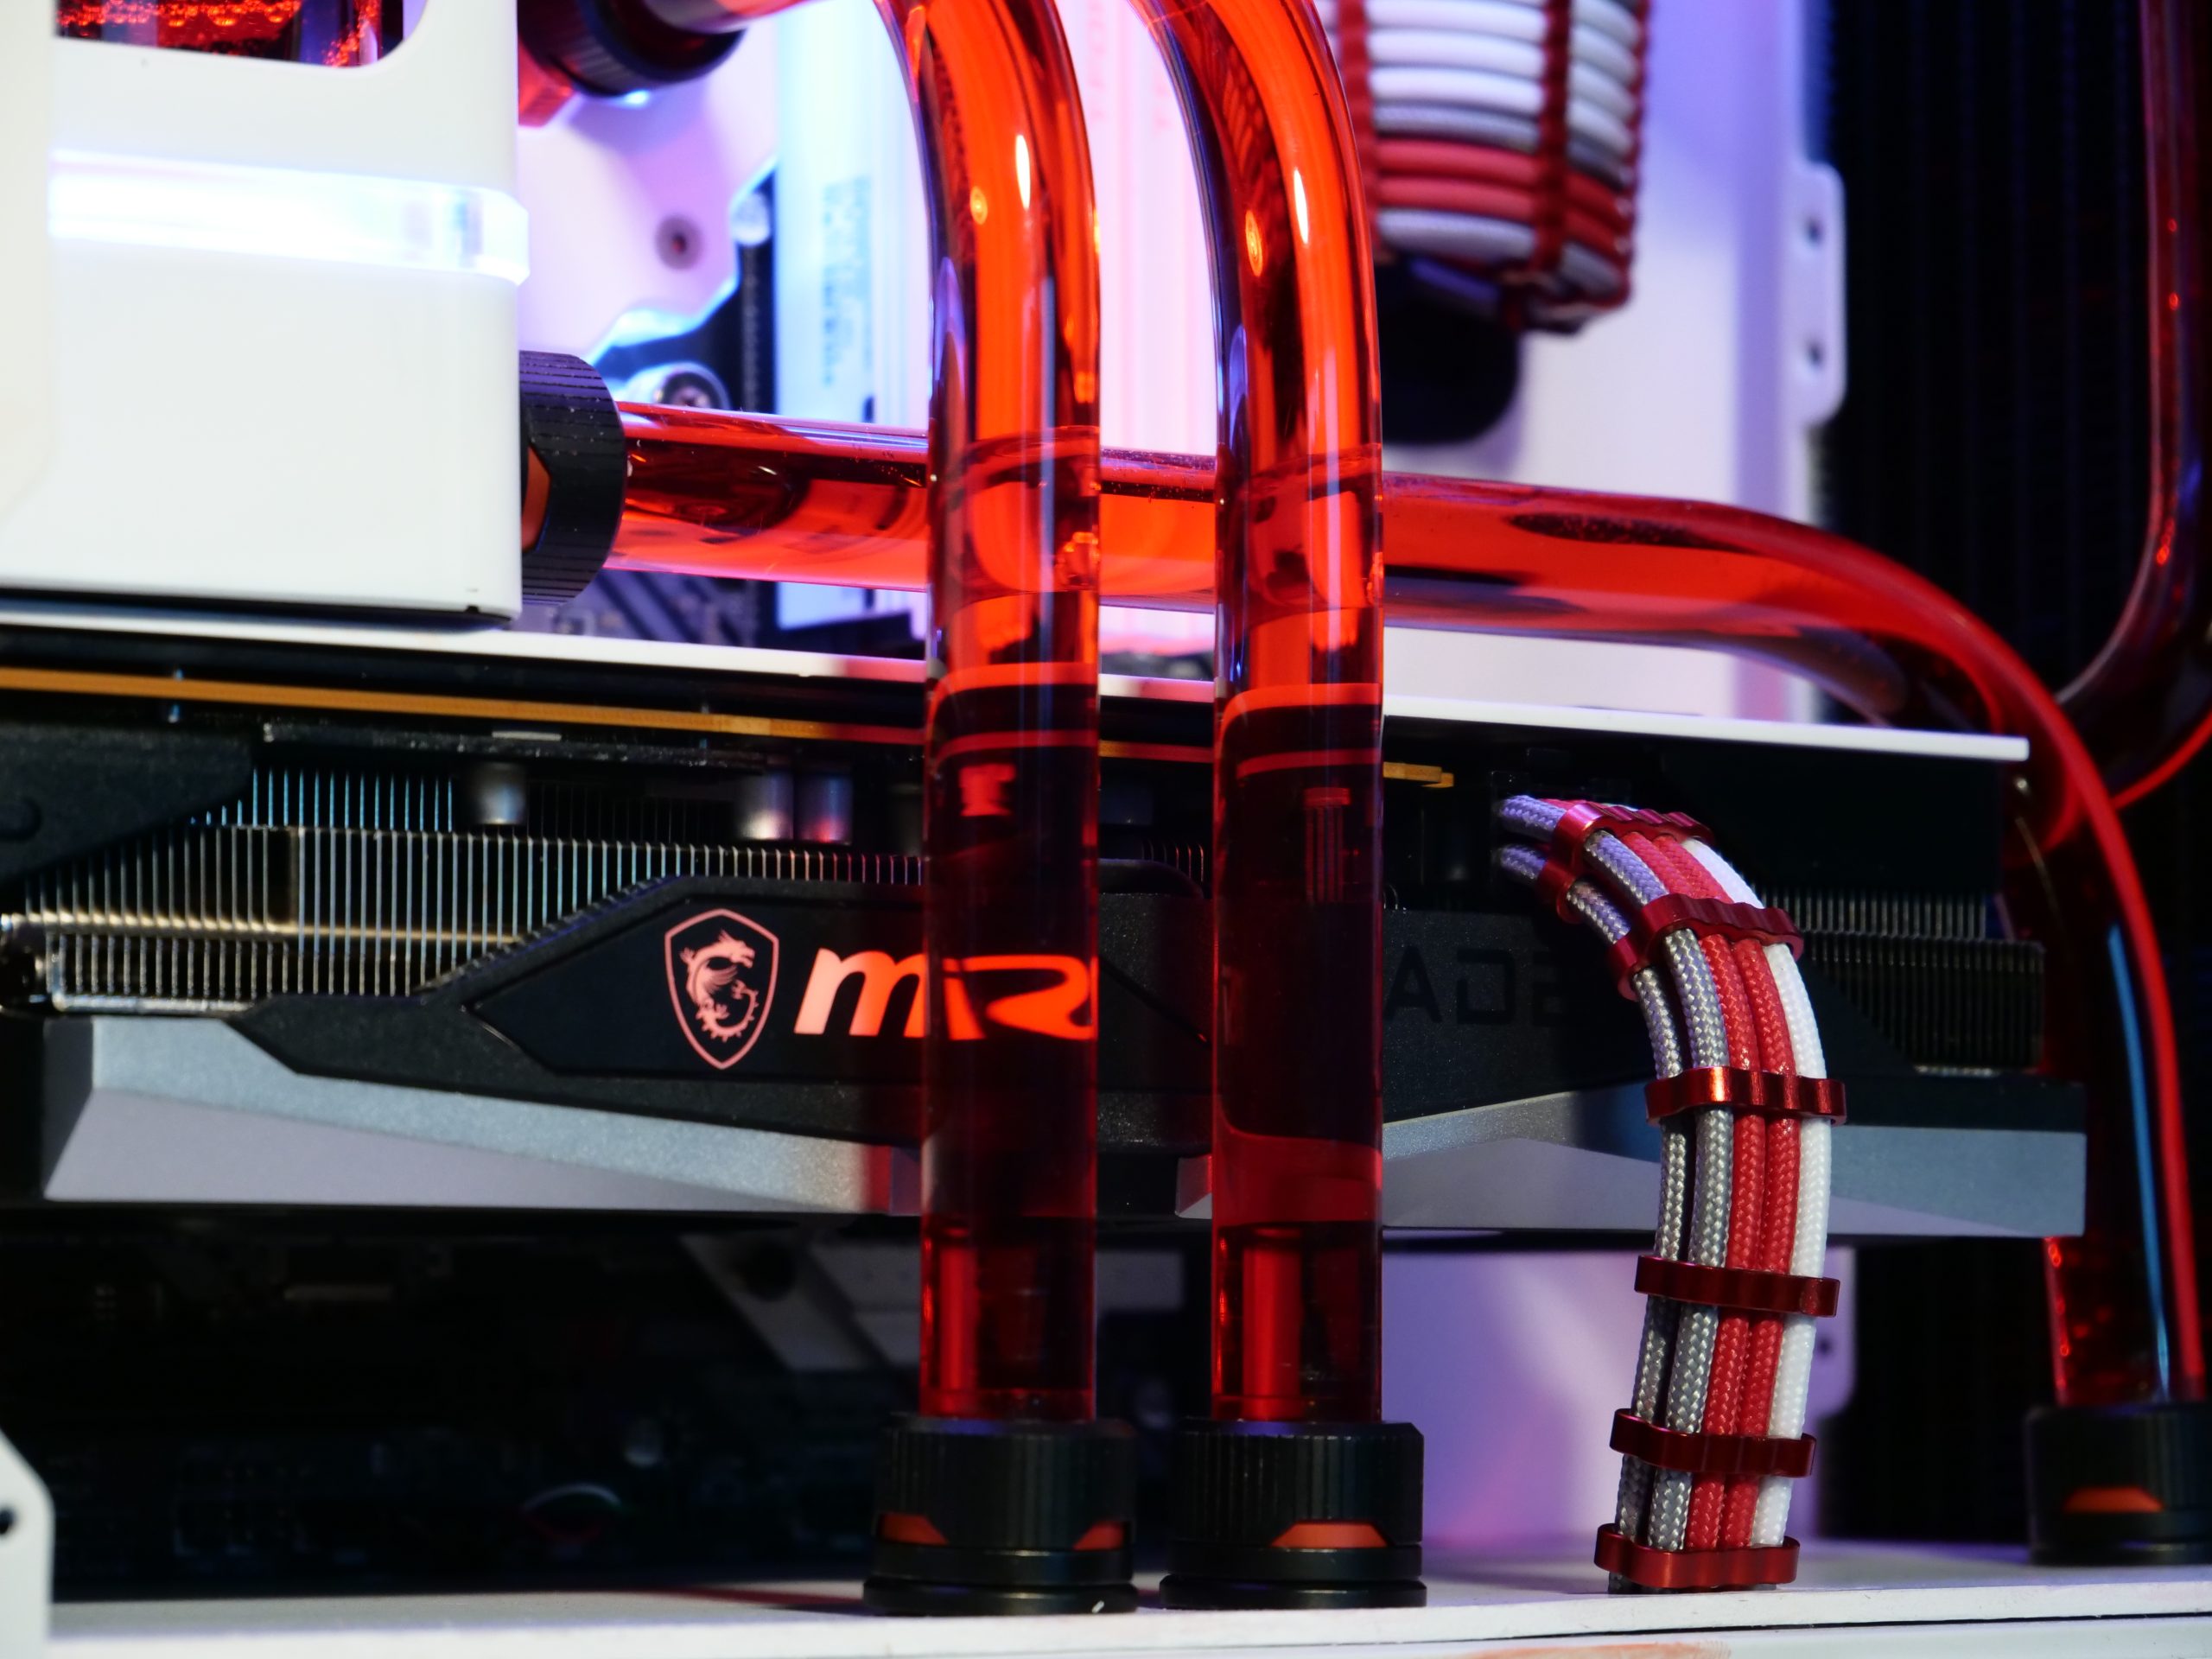
The graphics card has a zero fan mode. This means that there is no fan noise in the ear when idling or comfortably surfing the Internet. The fans only start up under load and at a certain temperature. However, as we know, this can be adjusted a bit, even with an adjusted fan curve. The MSI card reacts rather inconspicuously and remains quite quiet. But what do the temperatures look like? First of all, I start with the cannon test and run Prime 95 for 1 hour. The water temperature was at a maximum of 38°C and the CPU at 68°C. The front fans then spun up to 1300 RPM and were somewhat audible. However, all this was not particularly disturbing.

For the GPU test, I use the MSI Kombustor again. Again, it was tortured for 1 hour and the GPU reached a maximum temperature of 75°C. However, the fans then turned up a bit and it became a bit louder than during pure gaming. For such a real-world test, I used my Rainbow Six Siege game and played on Ultra settings for 2 hours. The temperatures looked like this after 2 hours: CPU 59 °C, GPU 55 °C and the water temperature was a comfortable 34 °C.
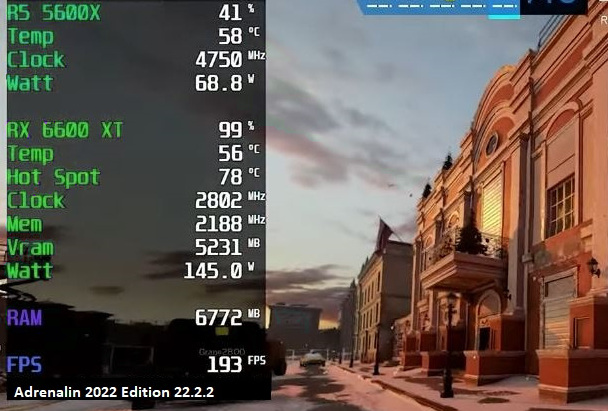
Overall, this is certainly an excellent result because the fans were not really audible under these conditions.


Summary and conclusion
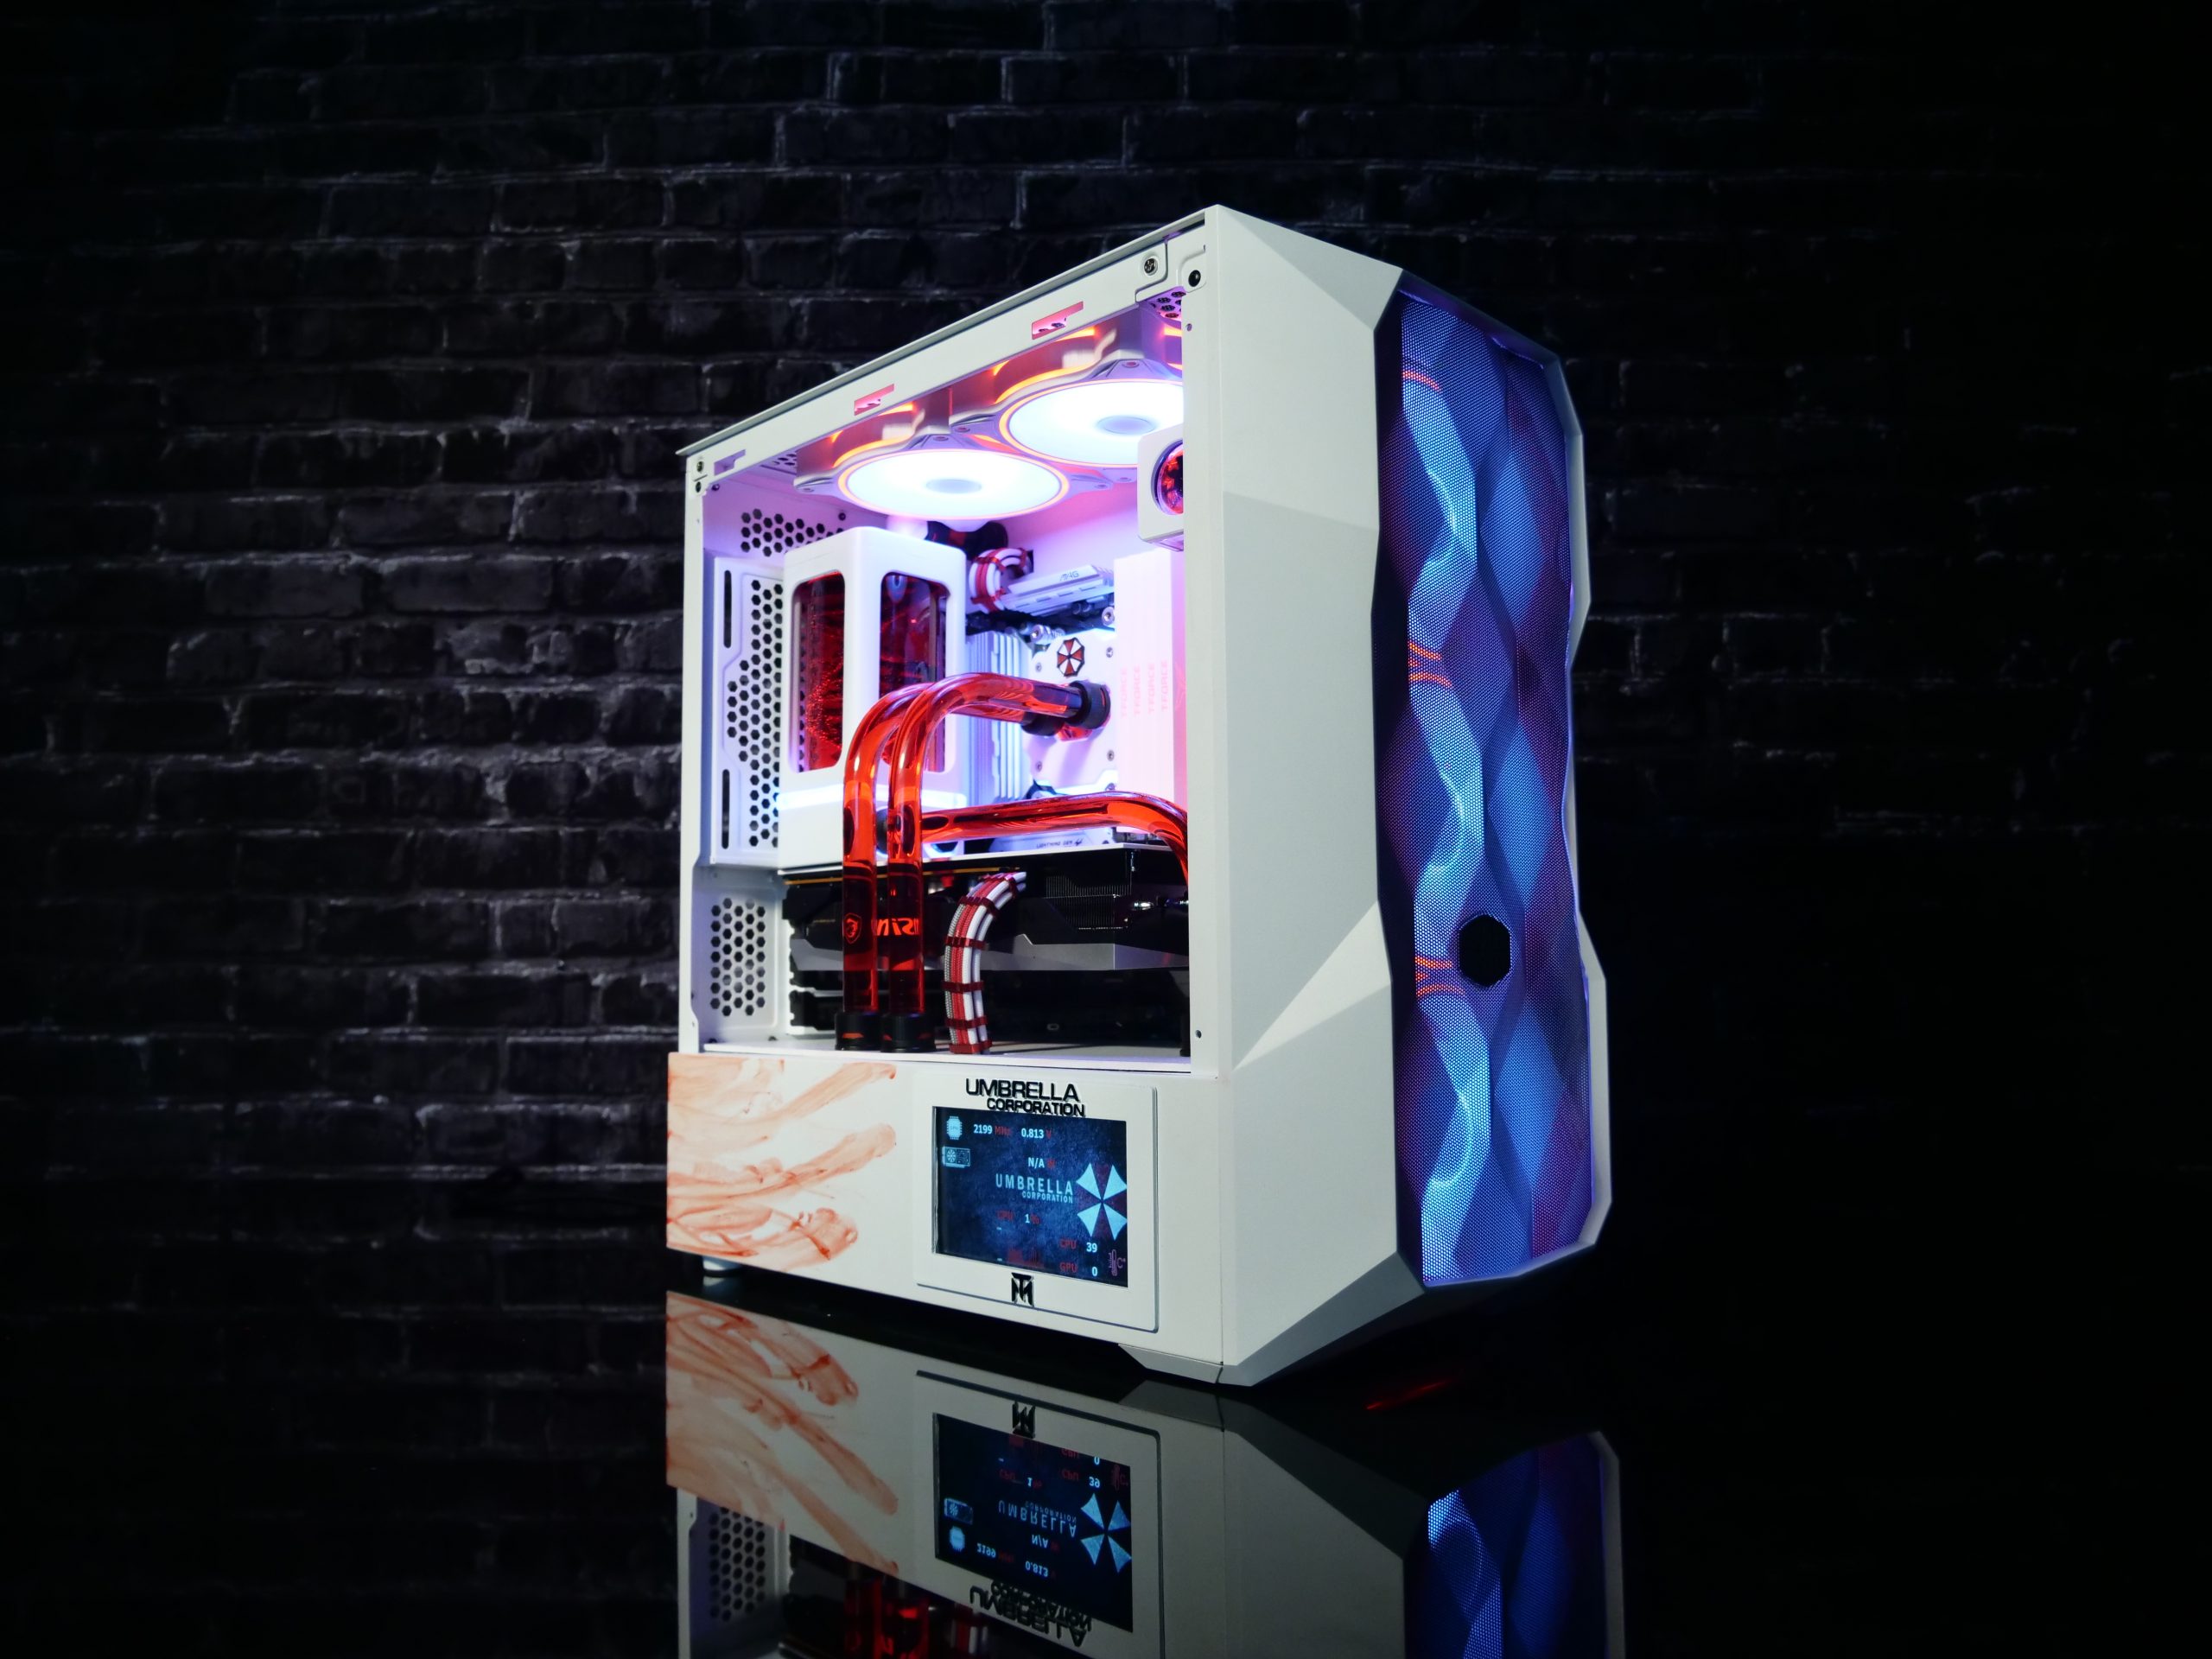
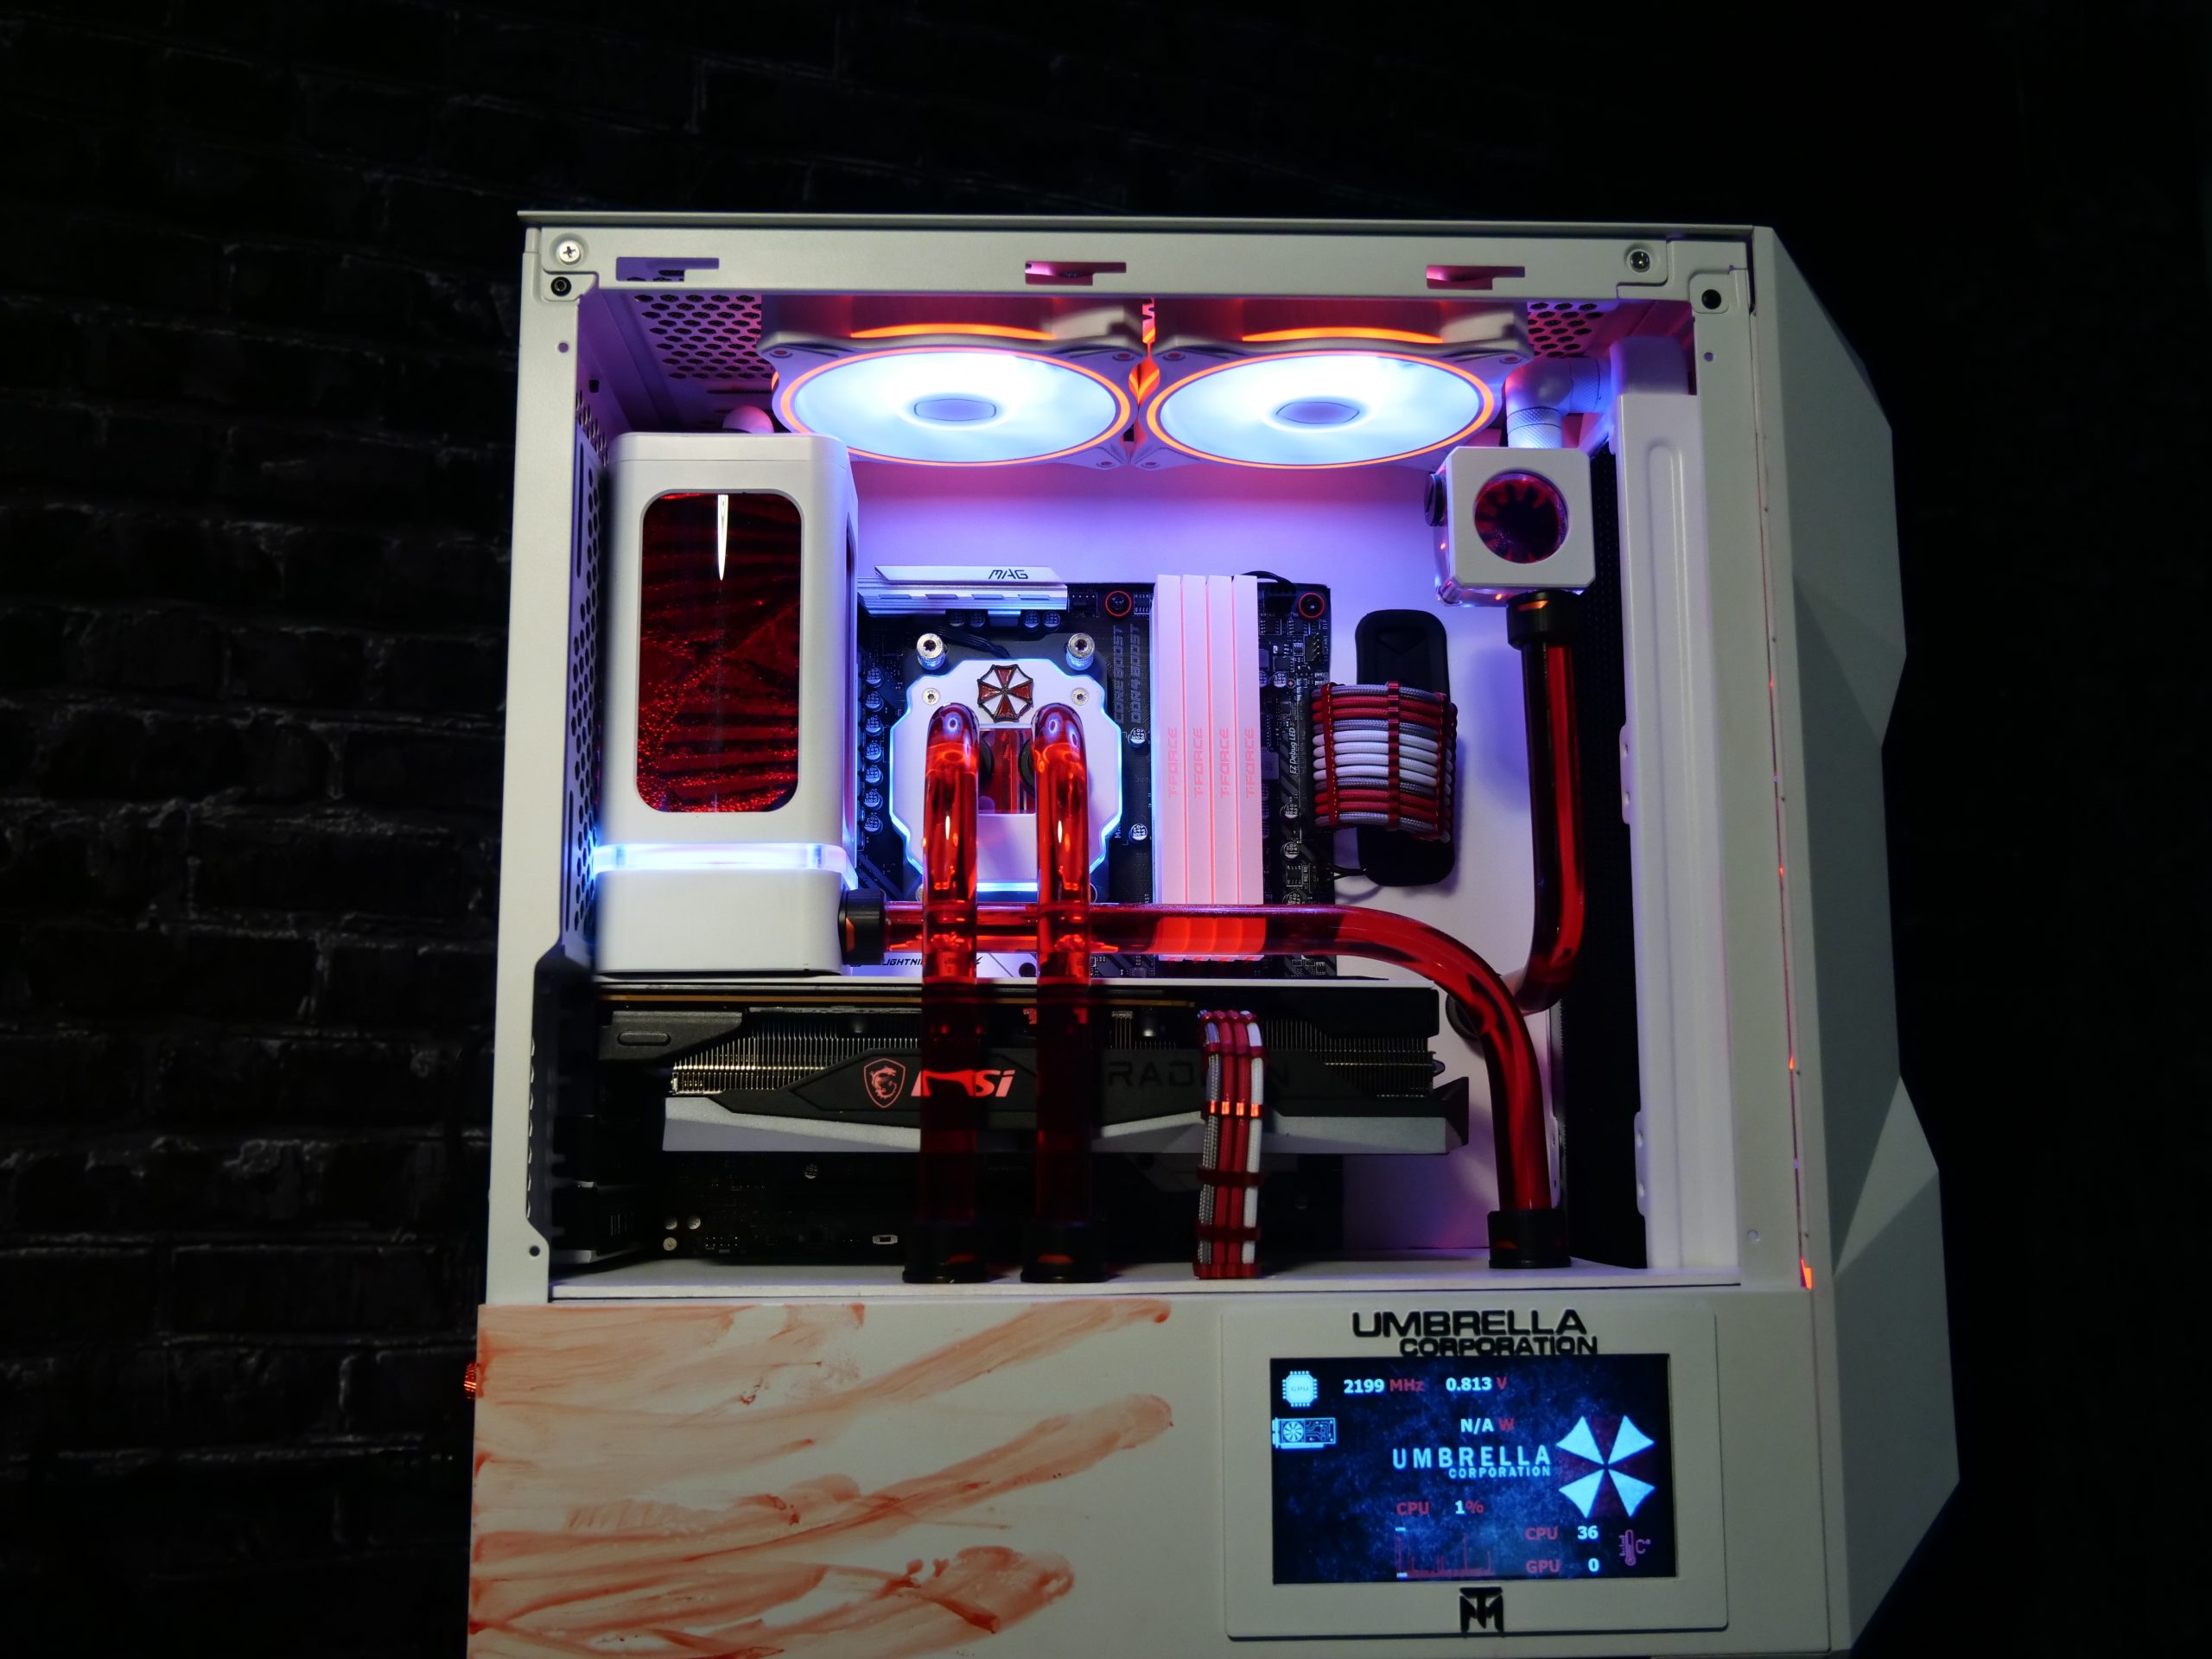
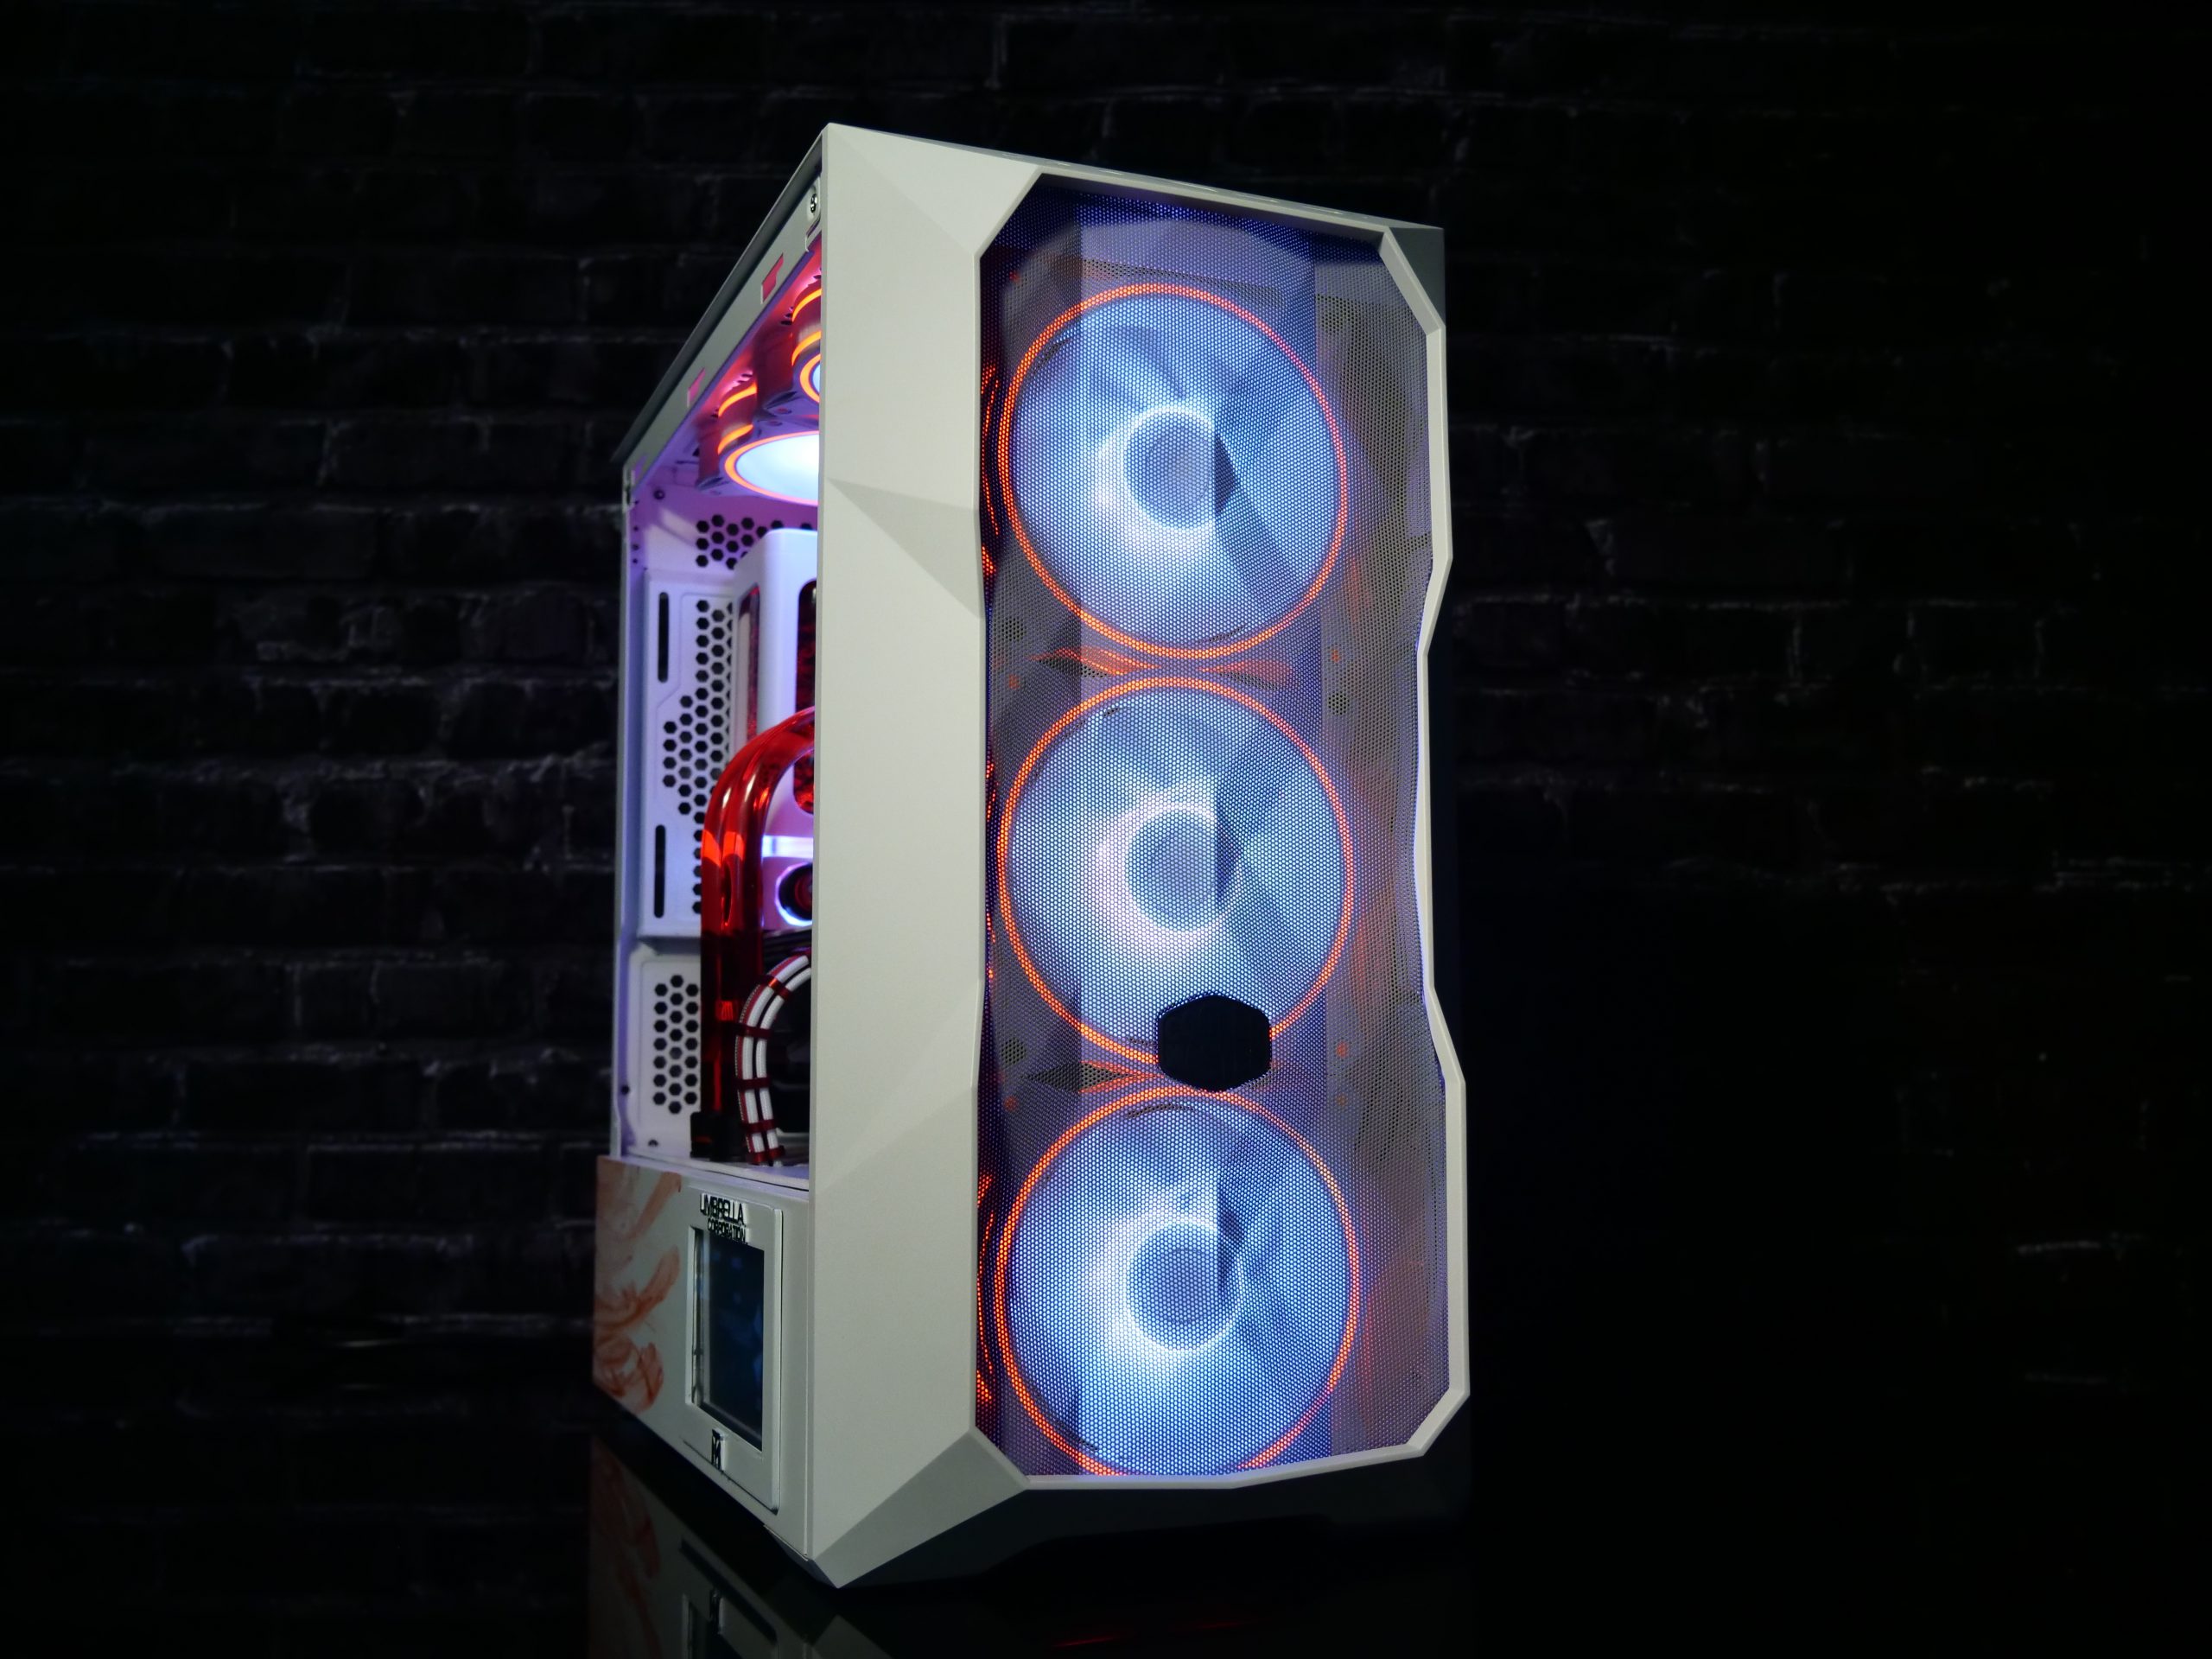
Finally, we come to the conclusion of this installation report. Cooler Master launches the TD300 Mesh, a worthy little brother to the TD500 Mesh, only this time in the form of an mATX case. The shape and build are very similar to its big brother, and it brings all the benefits like the generous mesh front right along with it. A decent draft is therefore already guaranteed. With so much light, is there a catch?
Yes, there certainly is. The lack of a USB-C port in the front I/O is annoying, because this port is simply a standard in this day and age that one would not want to do without. There would certainly have been room for a USB-C port in the front I/O, but the costs (cable, license fees) probably stood in the way. Too bad. The next point, which is not quite as pleasing, concerns the two rear slot bezels. The breakout variant could have been omitted and two additional, normal bezels could have been premounted or included if necessary. The cost trap again, I know.
The third and thus last point of my criticism is the integrated hub. A whole four ports for fans and fümf for RGB? A suitable division according to possible fan slots would have made more sense, since you can install six fans. 6x fans and 6x RGB would have been more logical. Then every fan would have its slot, even with RGB if necessary. We would then also not have to work with splitters or Y-cables, because not every fan offers the luxury of simple cascading.
If we disregard the negative points, Cooler Master delivers a very appealing and versatile case. Of course, you also have to be that fair. The case, which leaves nothing to be desired except for the points just mentioned, can also score in terms of price. The 89.95 Euros called for are quite alright. If you are looking for a special mATX case, then you are well served with the TD300 Mesh and can grab it without hesitation. It already fits so Einges in.
But of course, as always, you should always compare everything with products from other manufacturers, because buying a case is a decision for a long time, even if not for life. And there is nothing worse than then being annoyed for a long time about a wrong purchase. However, this should certainly not be the case with the TD300 Mesh.
If you want to see the whole build again, you are welcome to watch the video and of course I would be very happy about a like or subscription. Because more such vlogs are sure to follow – with the accompanying video, of course. This is the website, of course, but I can end up doing three things at once: building, photographing and filming. Then everyone gets something out of it, including the reading part of the population.


11 Antworten
Kommentar
Lade neue Kommentare
Urgestein
Urgestein
Urgestein
Urgestein
Urgestein
Urgestein
Mitglied
Urgestein
Veteran
Veteran
Urgestein
Alle Kommentare lesen unter igor´sLAB Community →