Case Reviews System

Umbrella Corporation meets Cooler Master and mATX: MasterCase TD300 Mesh Review including a case mod

Unboxing and case features in detail

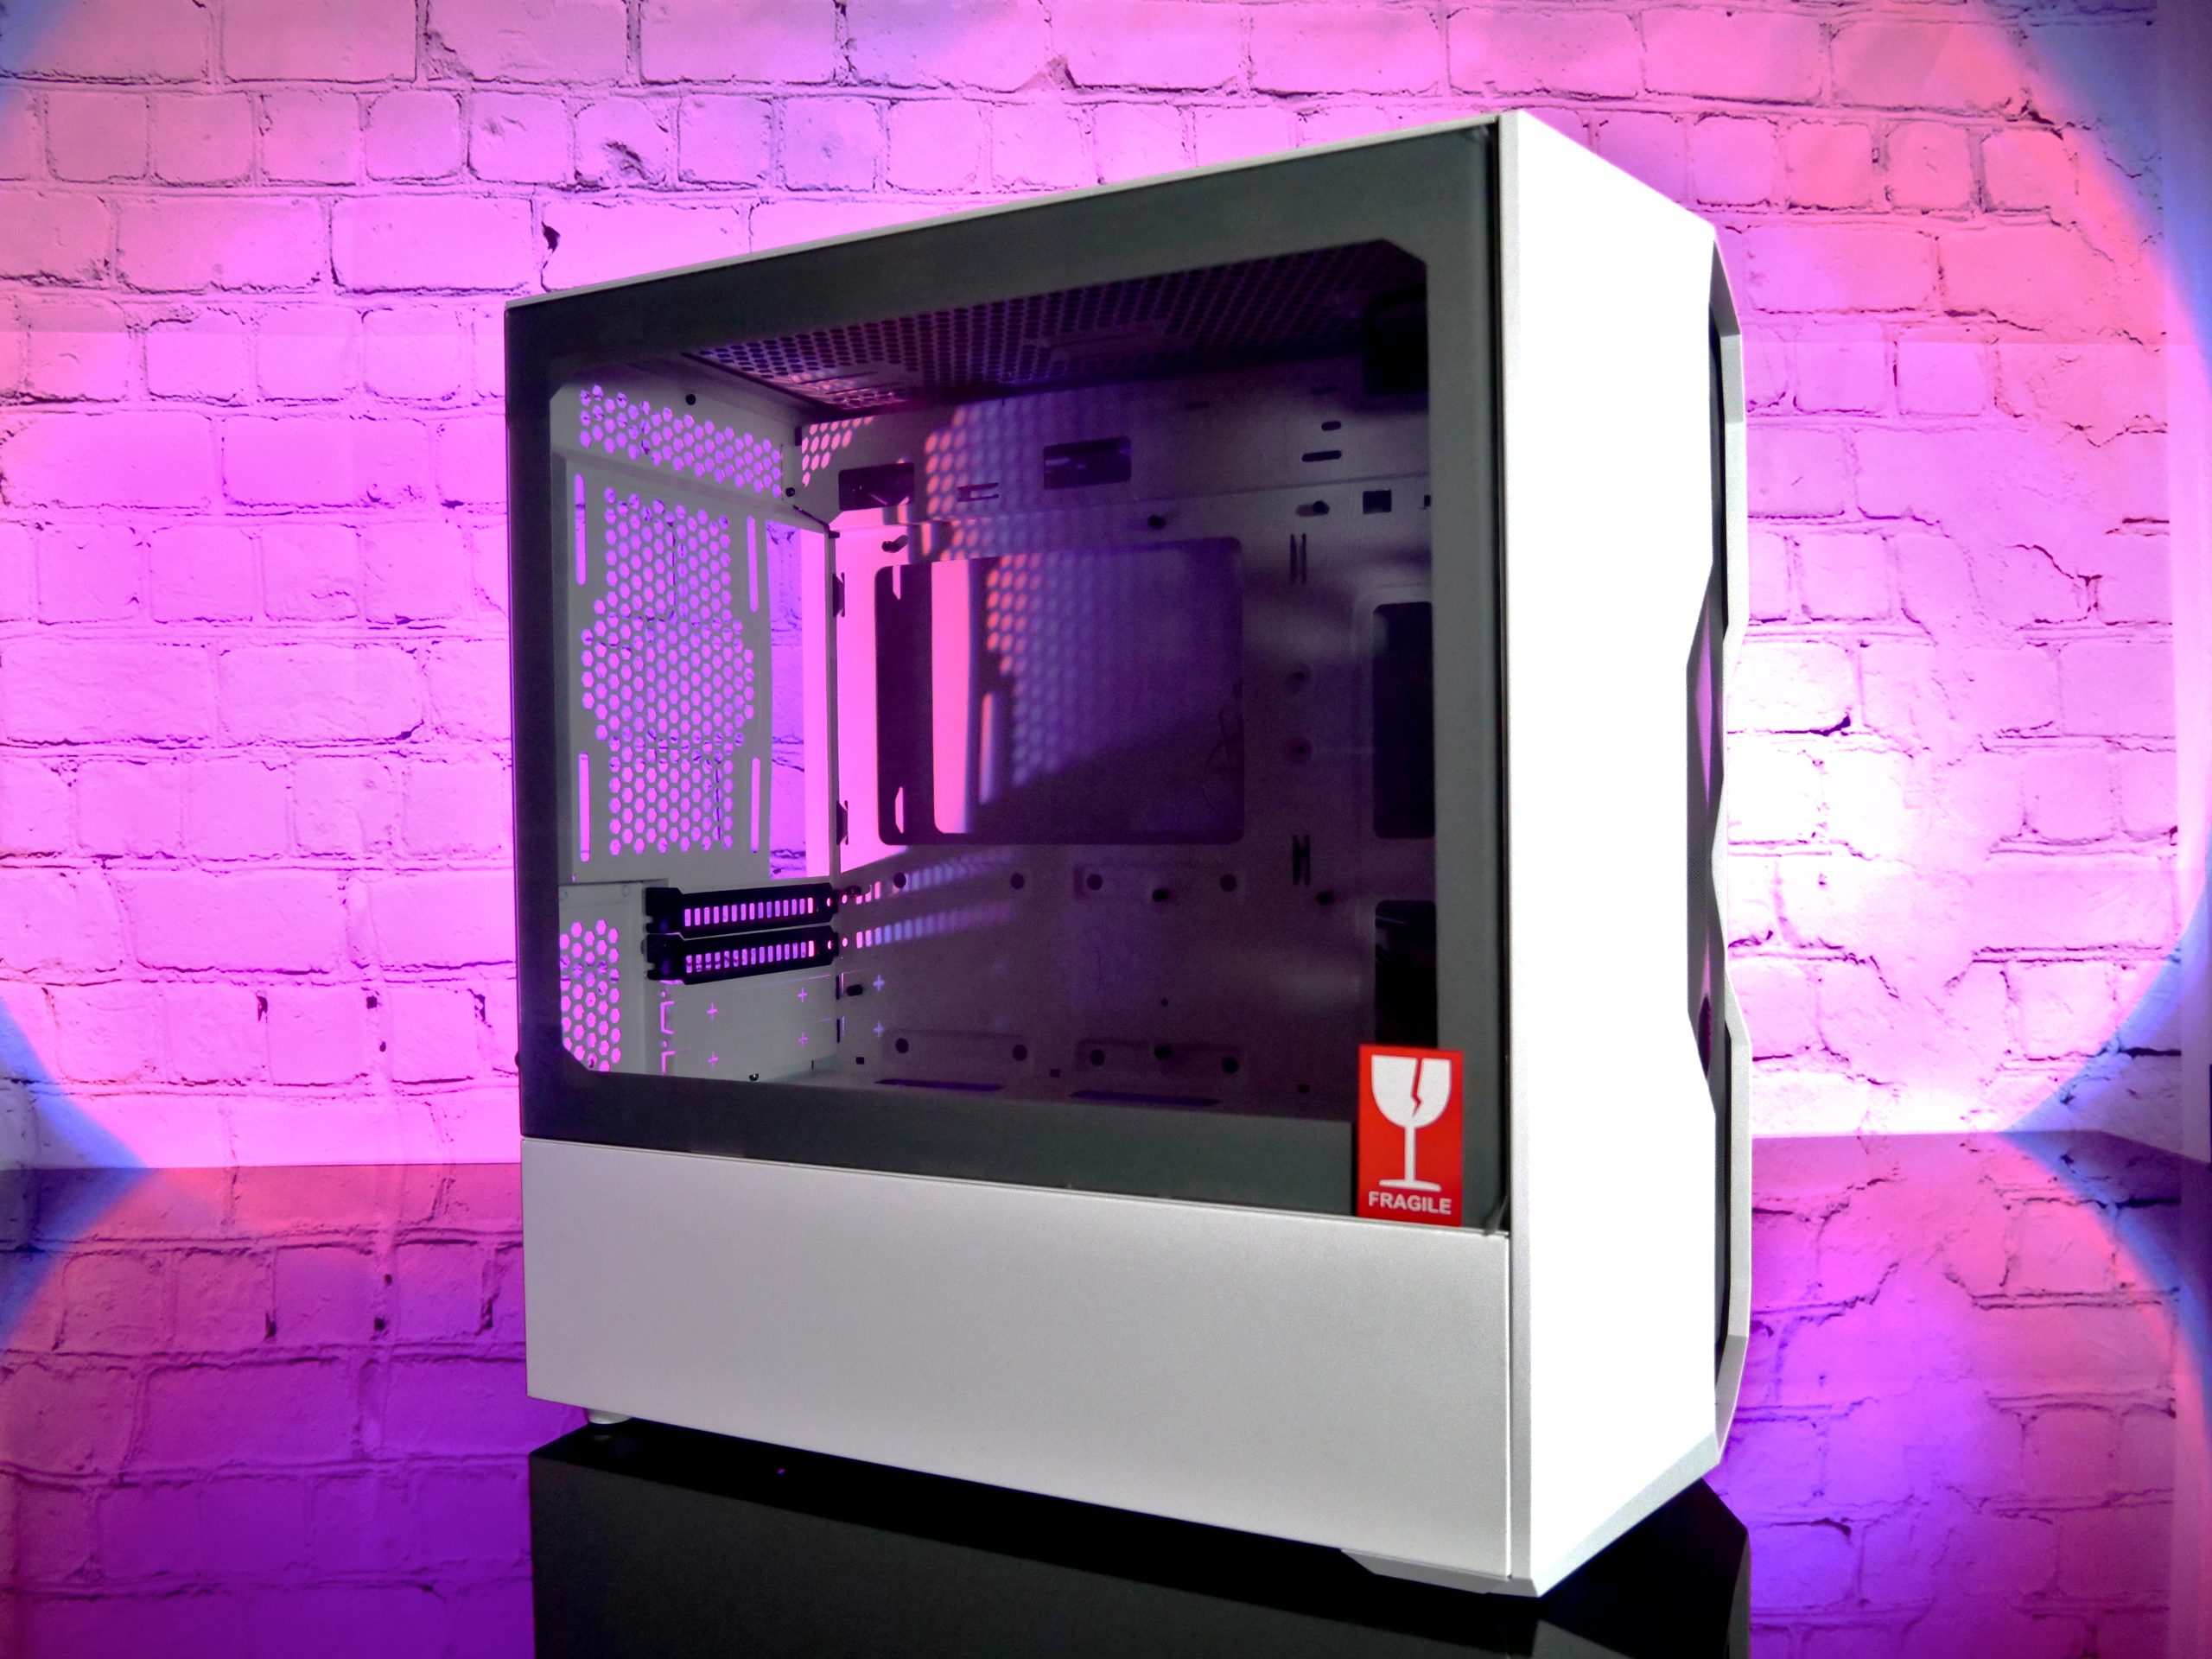
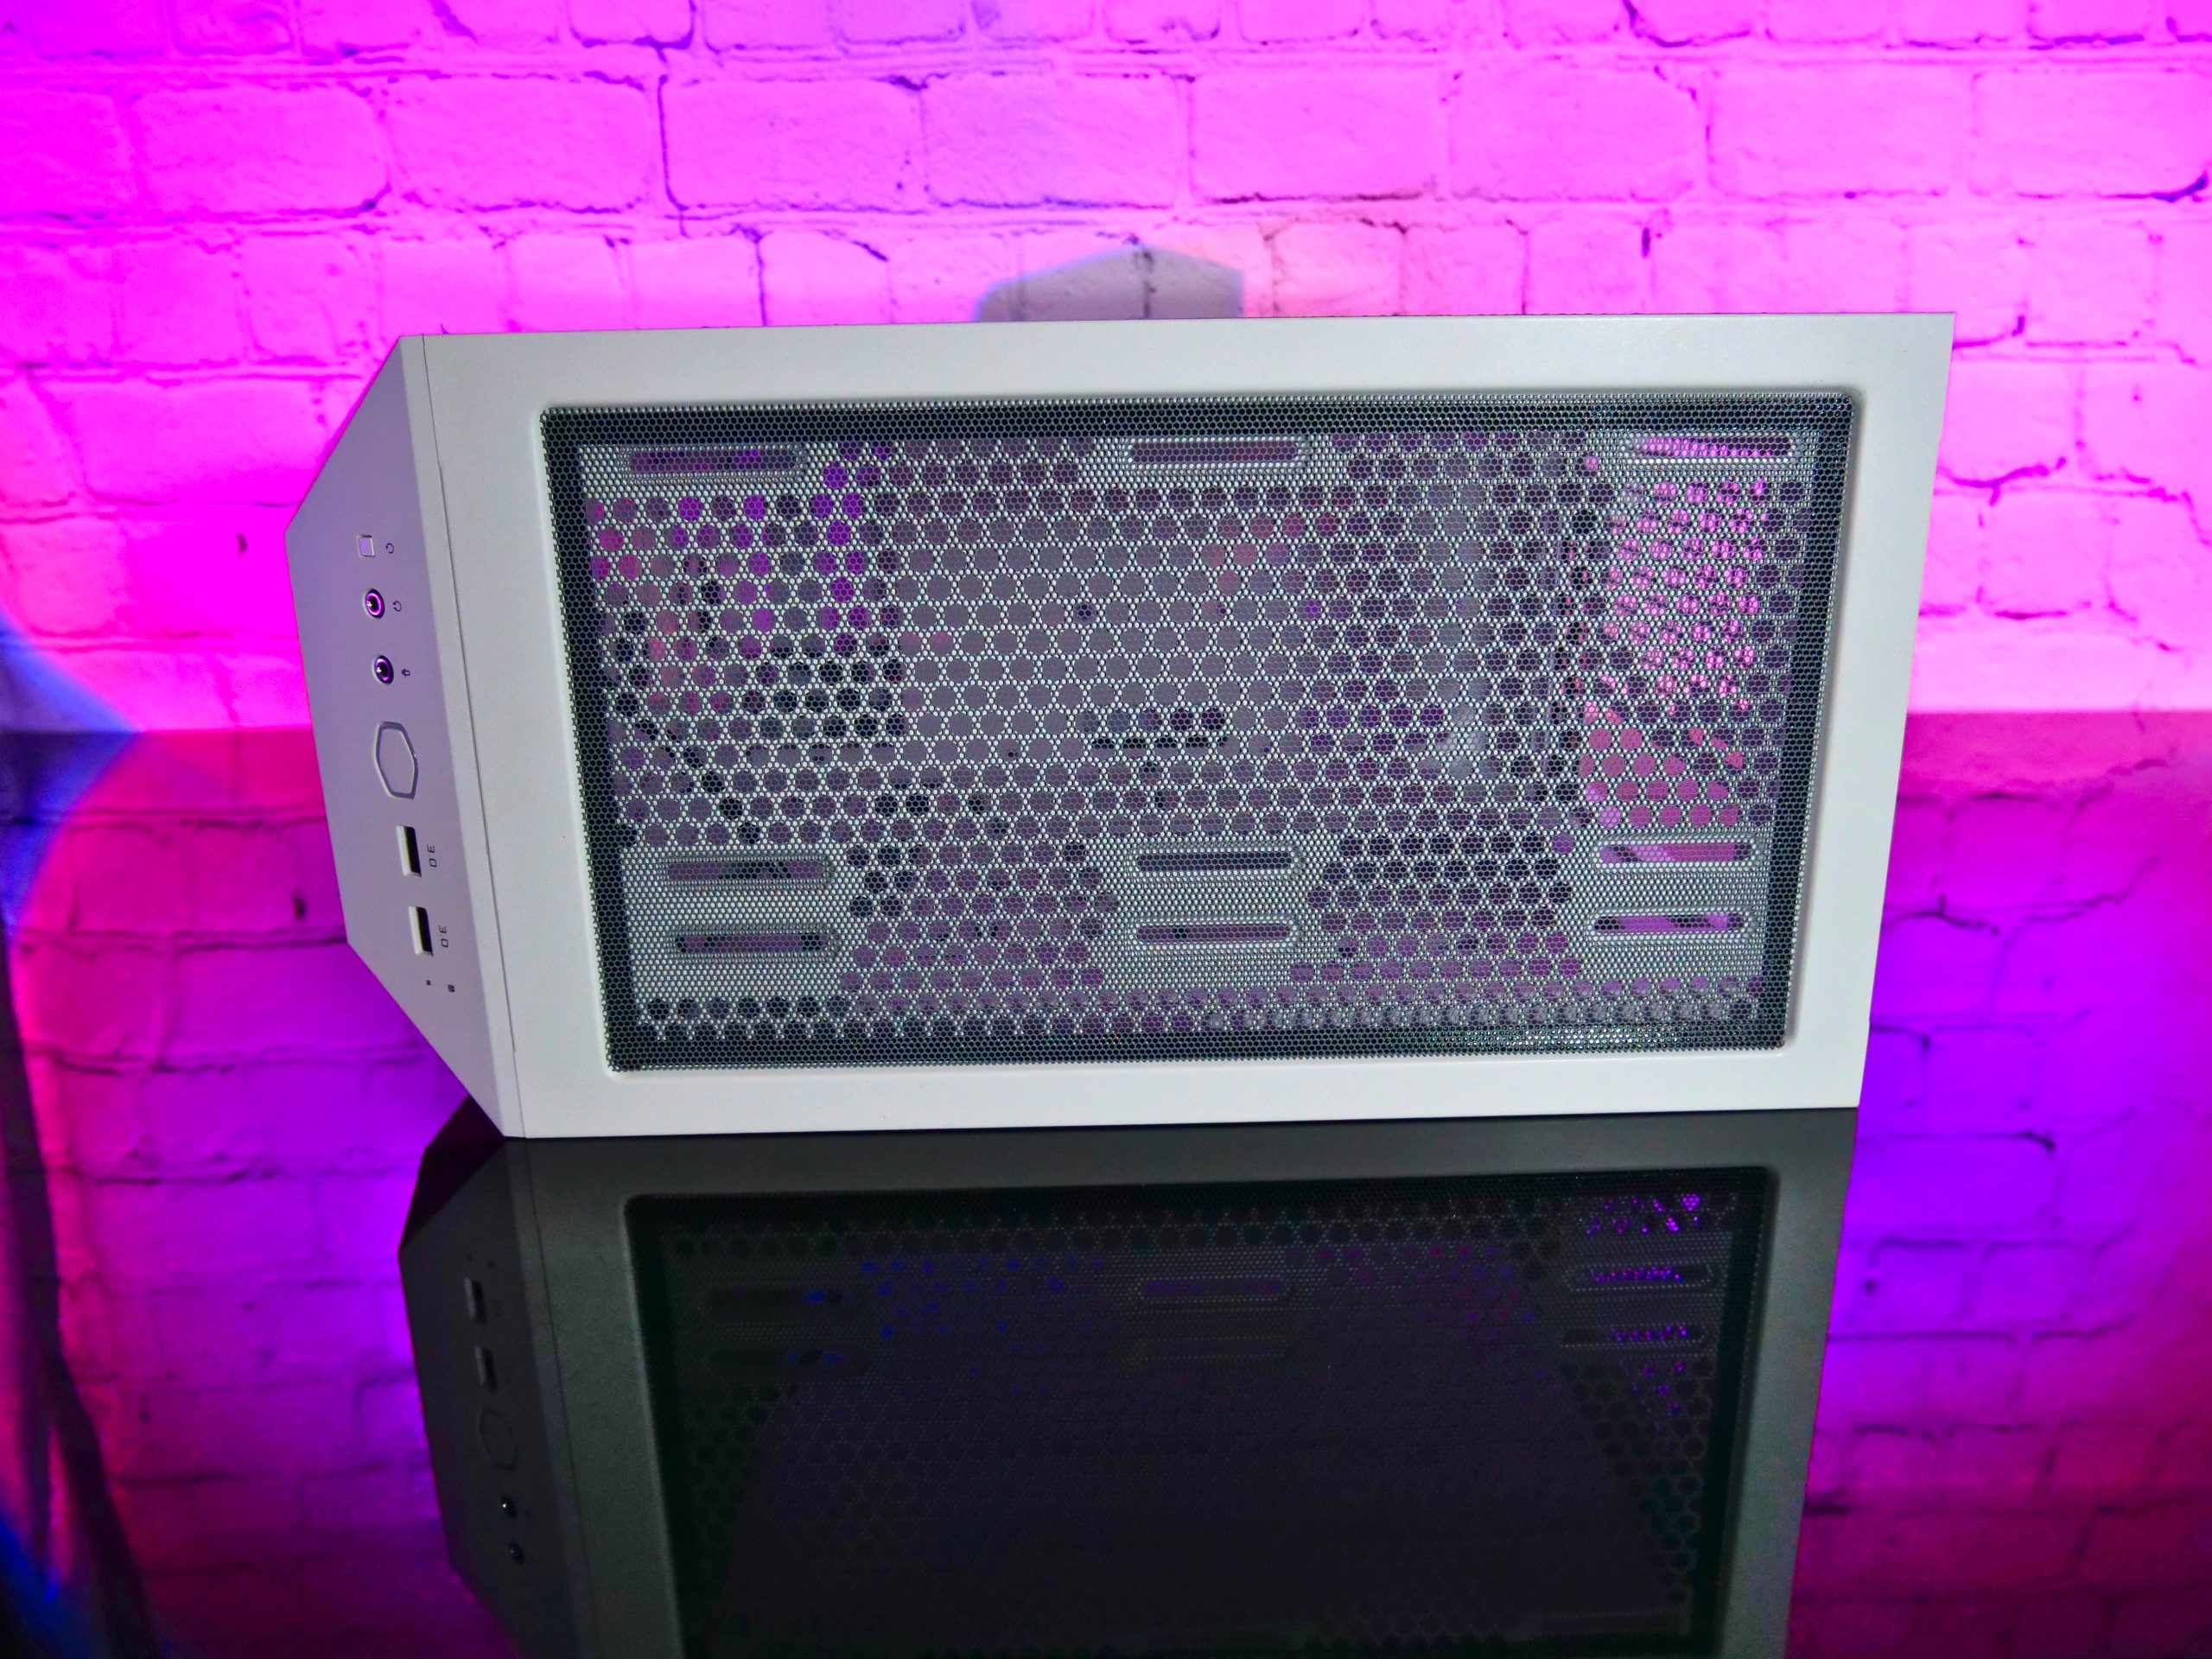
Now, as always, let’s get to some numbers. The dimensions of the TD 300 Mesh including the front are 433 x 210 x 420.5 mm (LxWxH), the pure body, i.e. everything without the front and other external tooling, has the dimensions of 366.5 x 210 x 410 mm (LxWxH). From the dimensions we can also already see that it is a classic mATX case, but with a very spacious interior. As we all know, it’s the inner values that count. Especially when it comes to the graphics card length, even quite long graphics cards with a length of 344 mm fit in here without any problems.

Once we have memorized the numbers well, we start our little tour on the left side. Here we find a side panel made of tempered glass with a slight tint that allows us to curiously look inside – even without possibly using the RGB ballast.

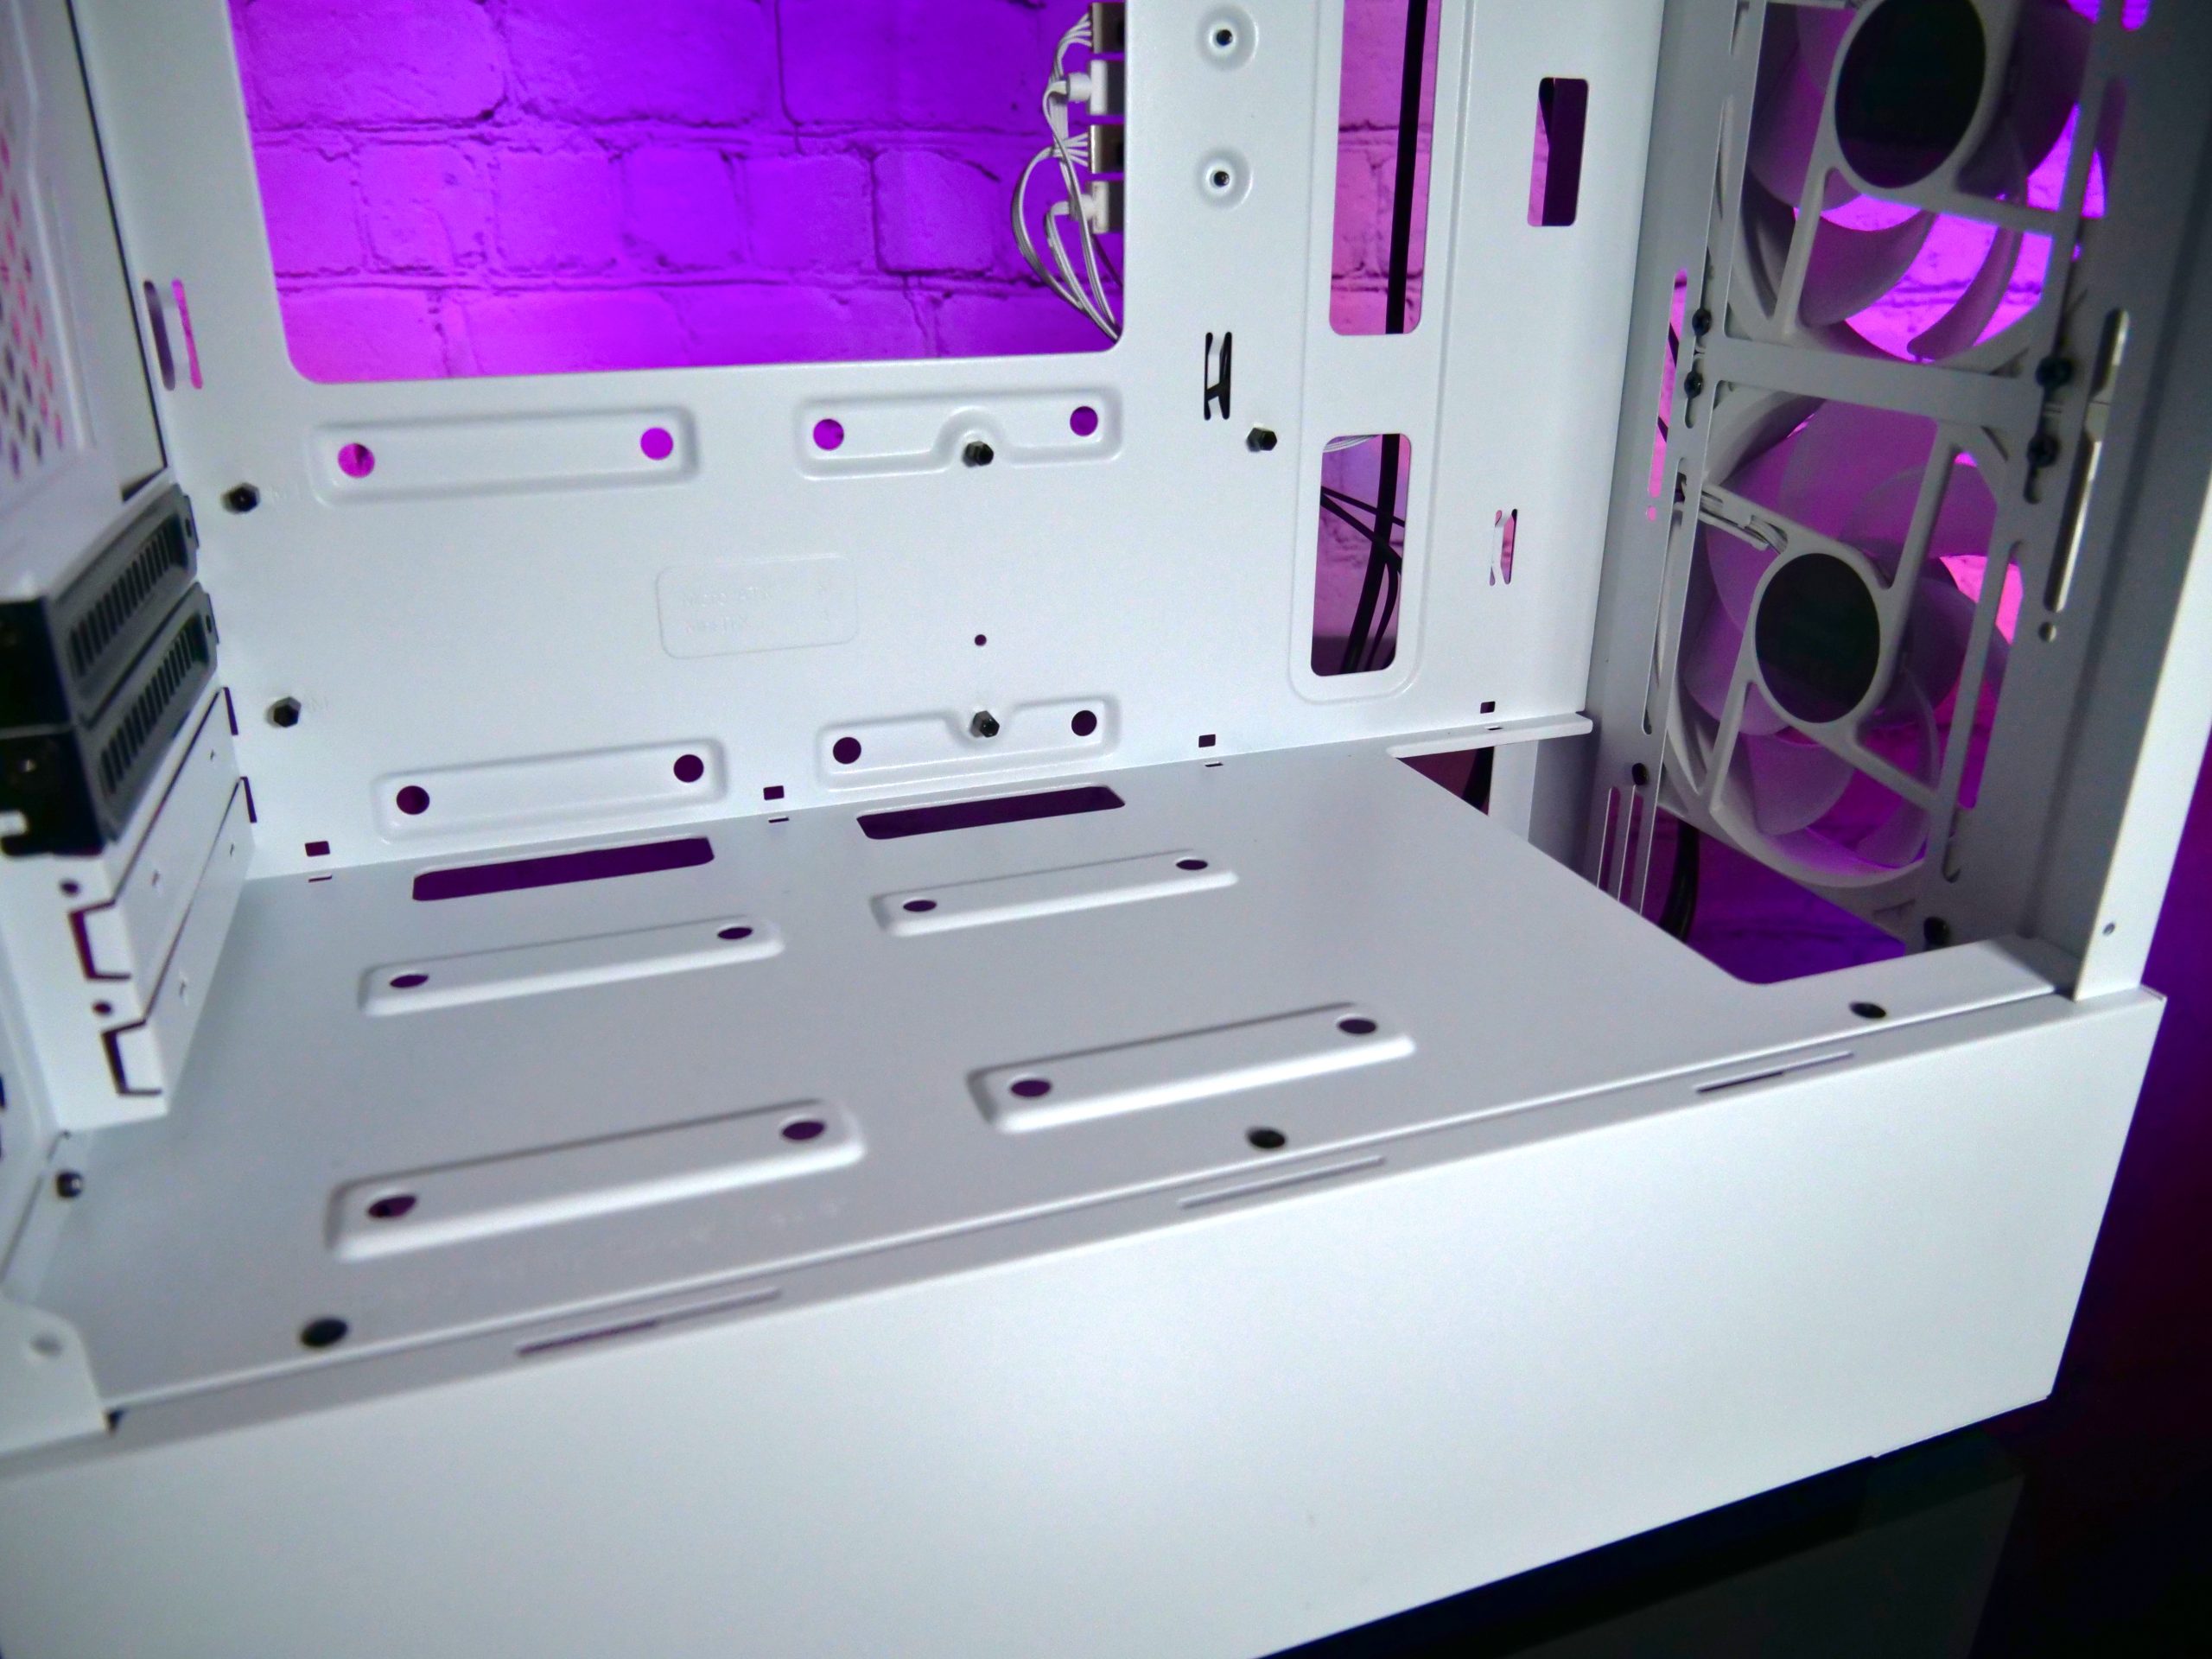
Let’s take a look behind the glass. First of all, we see four elevations on the underside. Here we can mount two SSDs with the accessories I just mentioned. Further forward, we see a recess that allows us to install radiators with a maximum size of 280 x 45 mm. So there should be no problems here, at least not with the common 280 AIOs. 

That’s the information Cooler Master gives us regarding the radiator support.  However, we will see that this is not entirely true. What exactly I mean by that you will see in the course of the review.

There are four slots in the rear of the case, but only two of them are held by a bezel and a screw as usual. The other two are broken out, but this also means that once the aperture is broken out, the hole remains in there. Unfortunately, Cooler Master does not include covers for closing and screws. So you should pay close attention to which aperture you open so that you don’t get annoyed at the end.


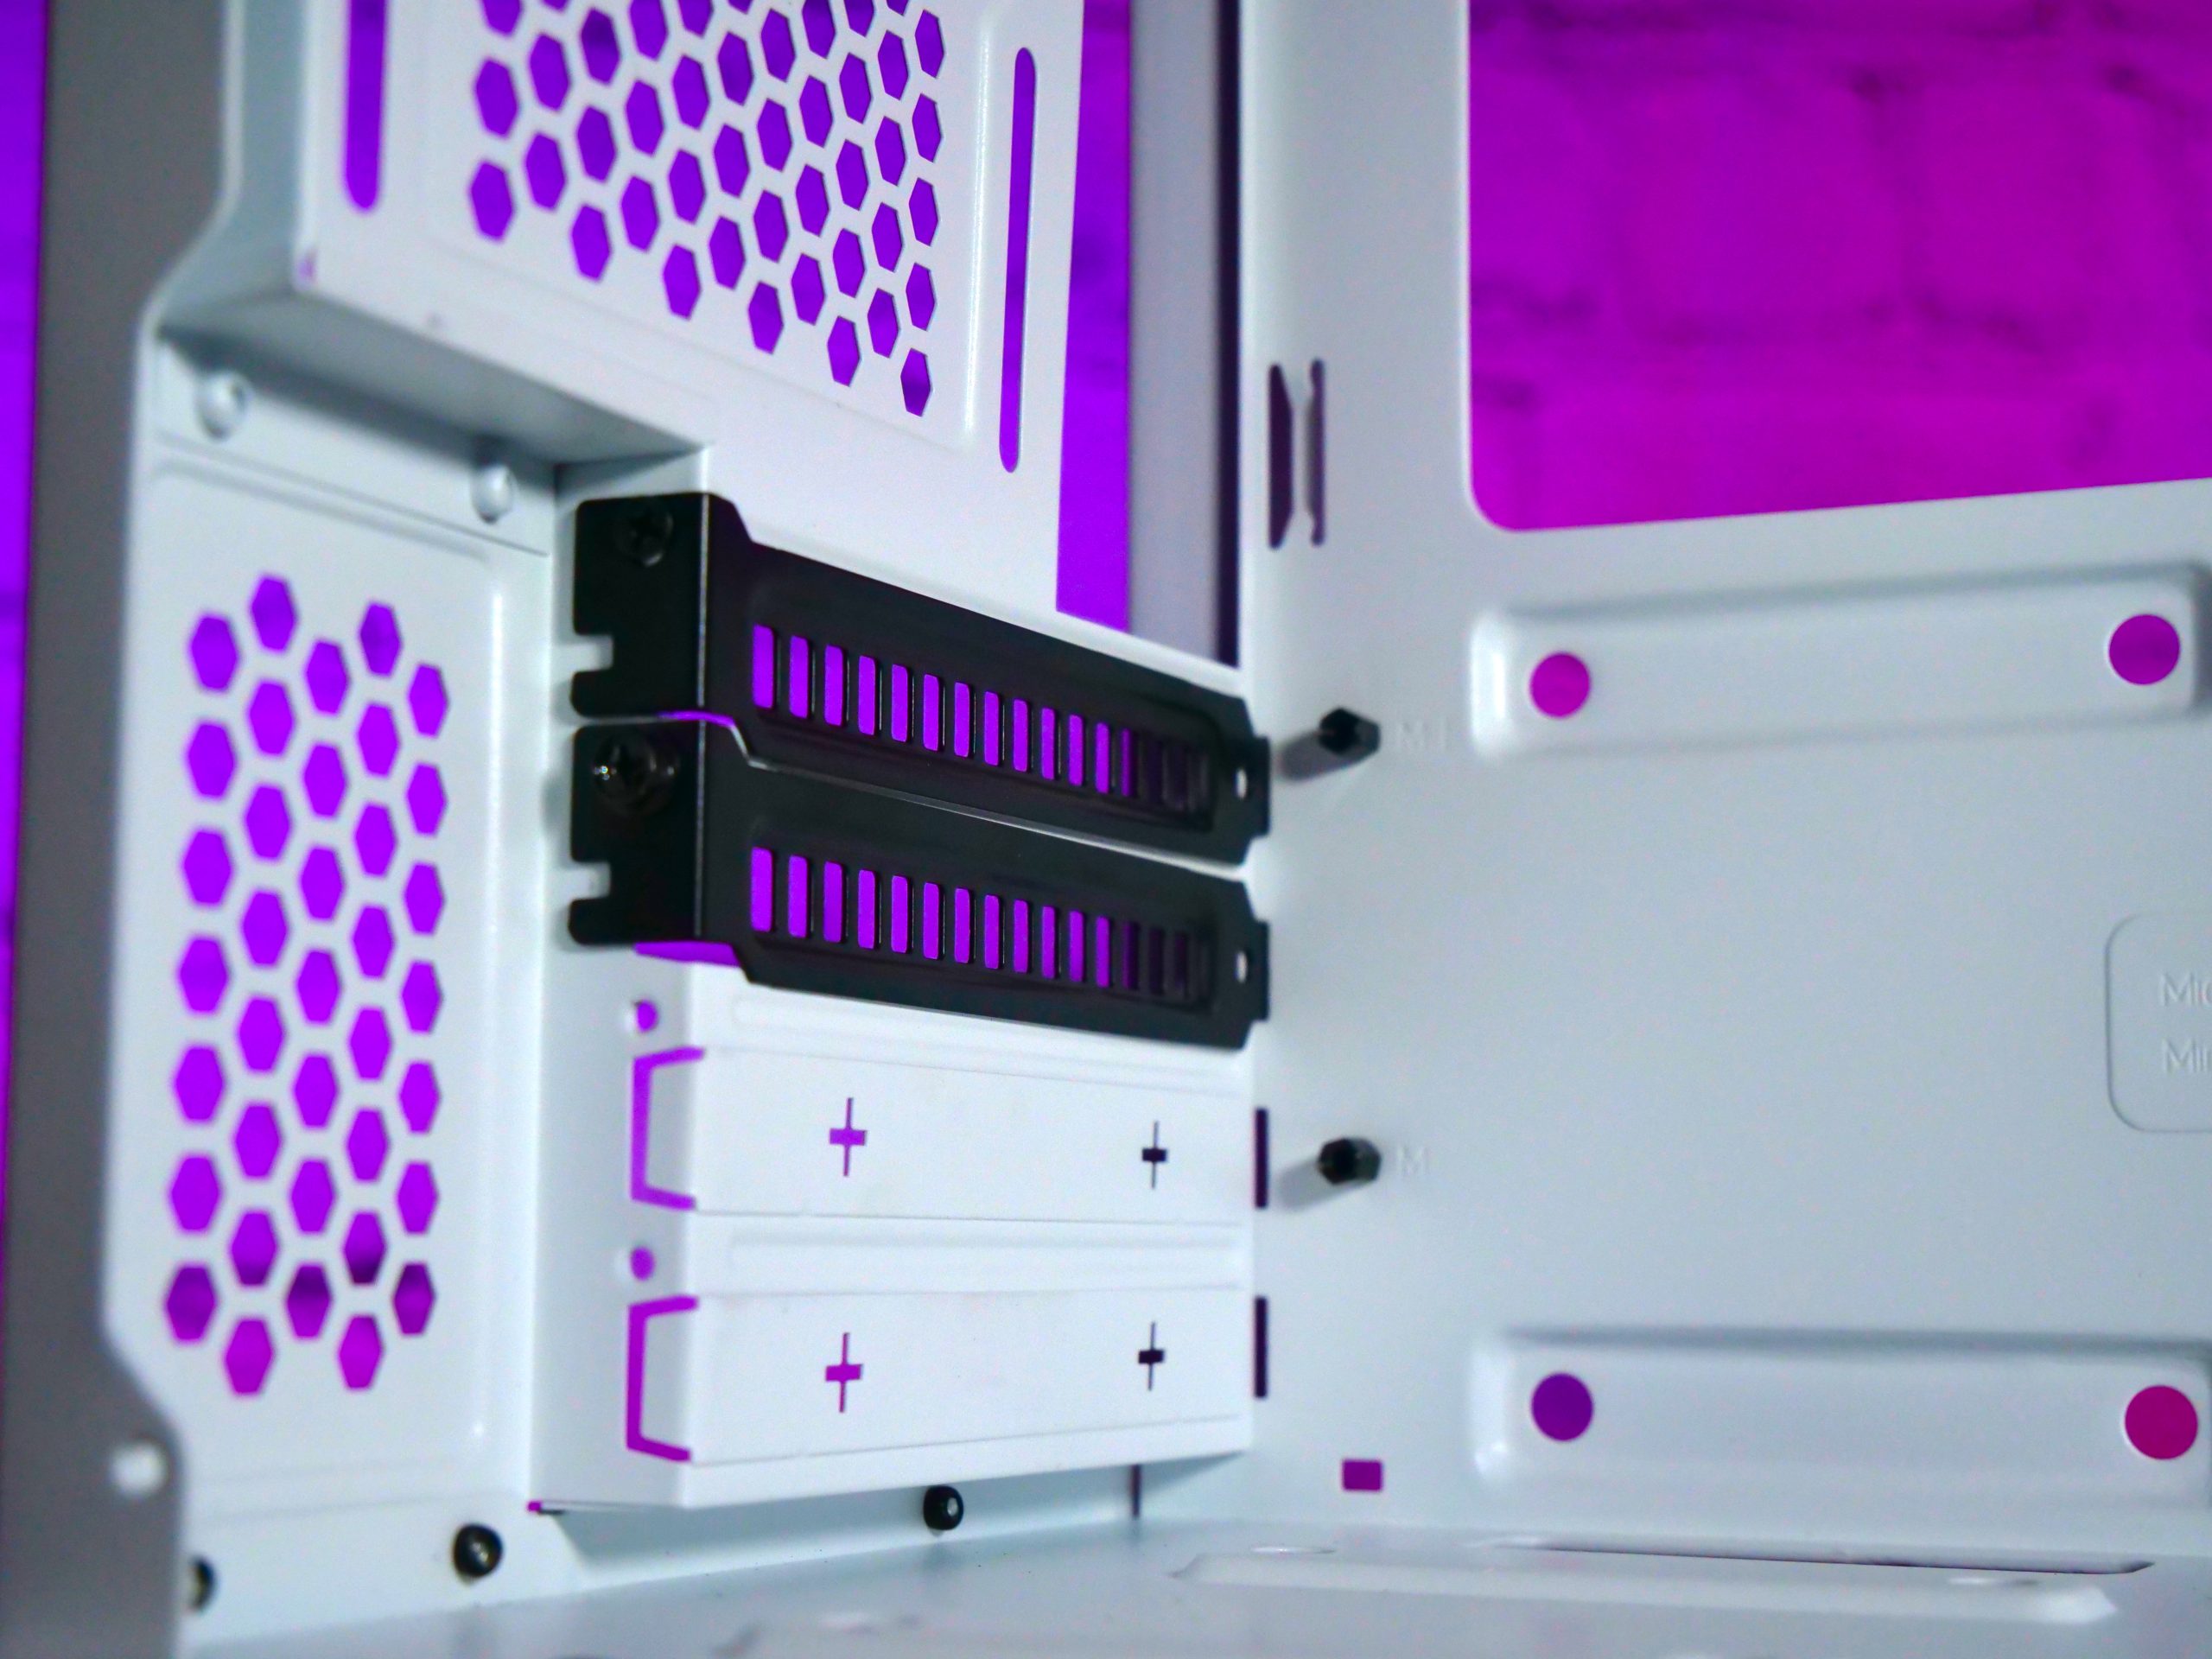
Of course, this is not a disaster, since Cooler Master at least thought of two threads and you could buy such bezels later. But it is still not beautiful. Another 120 mm fan can be mounted above the slot bezels.

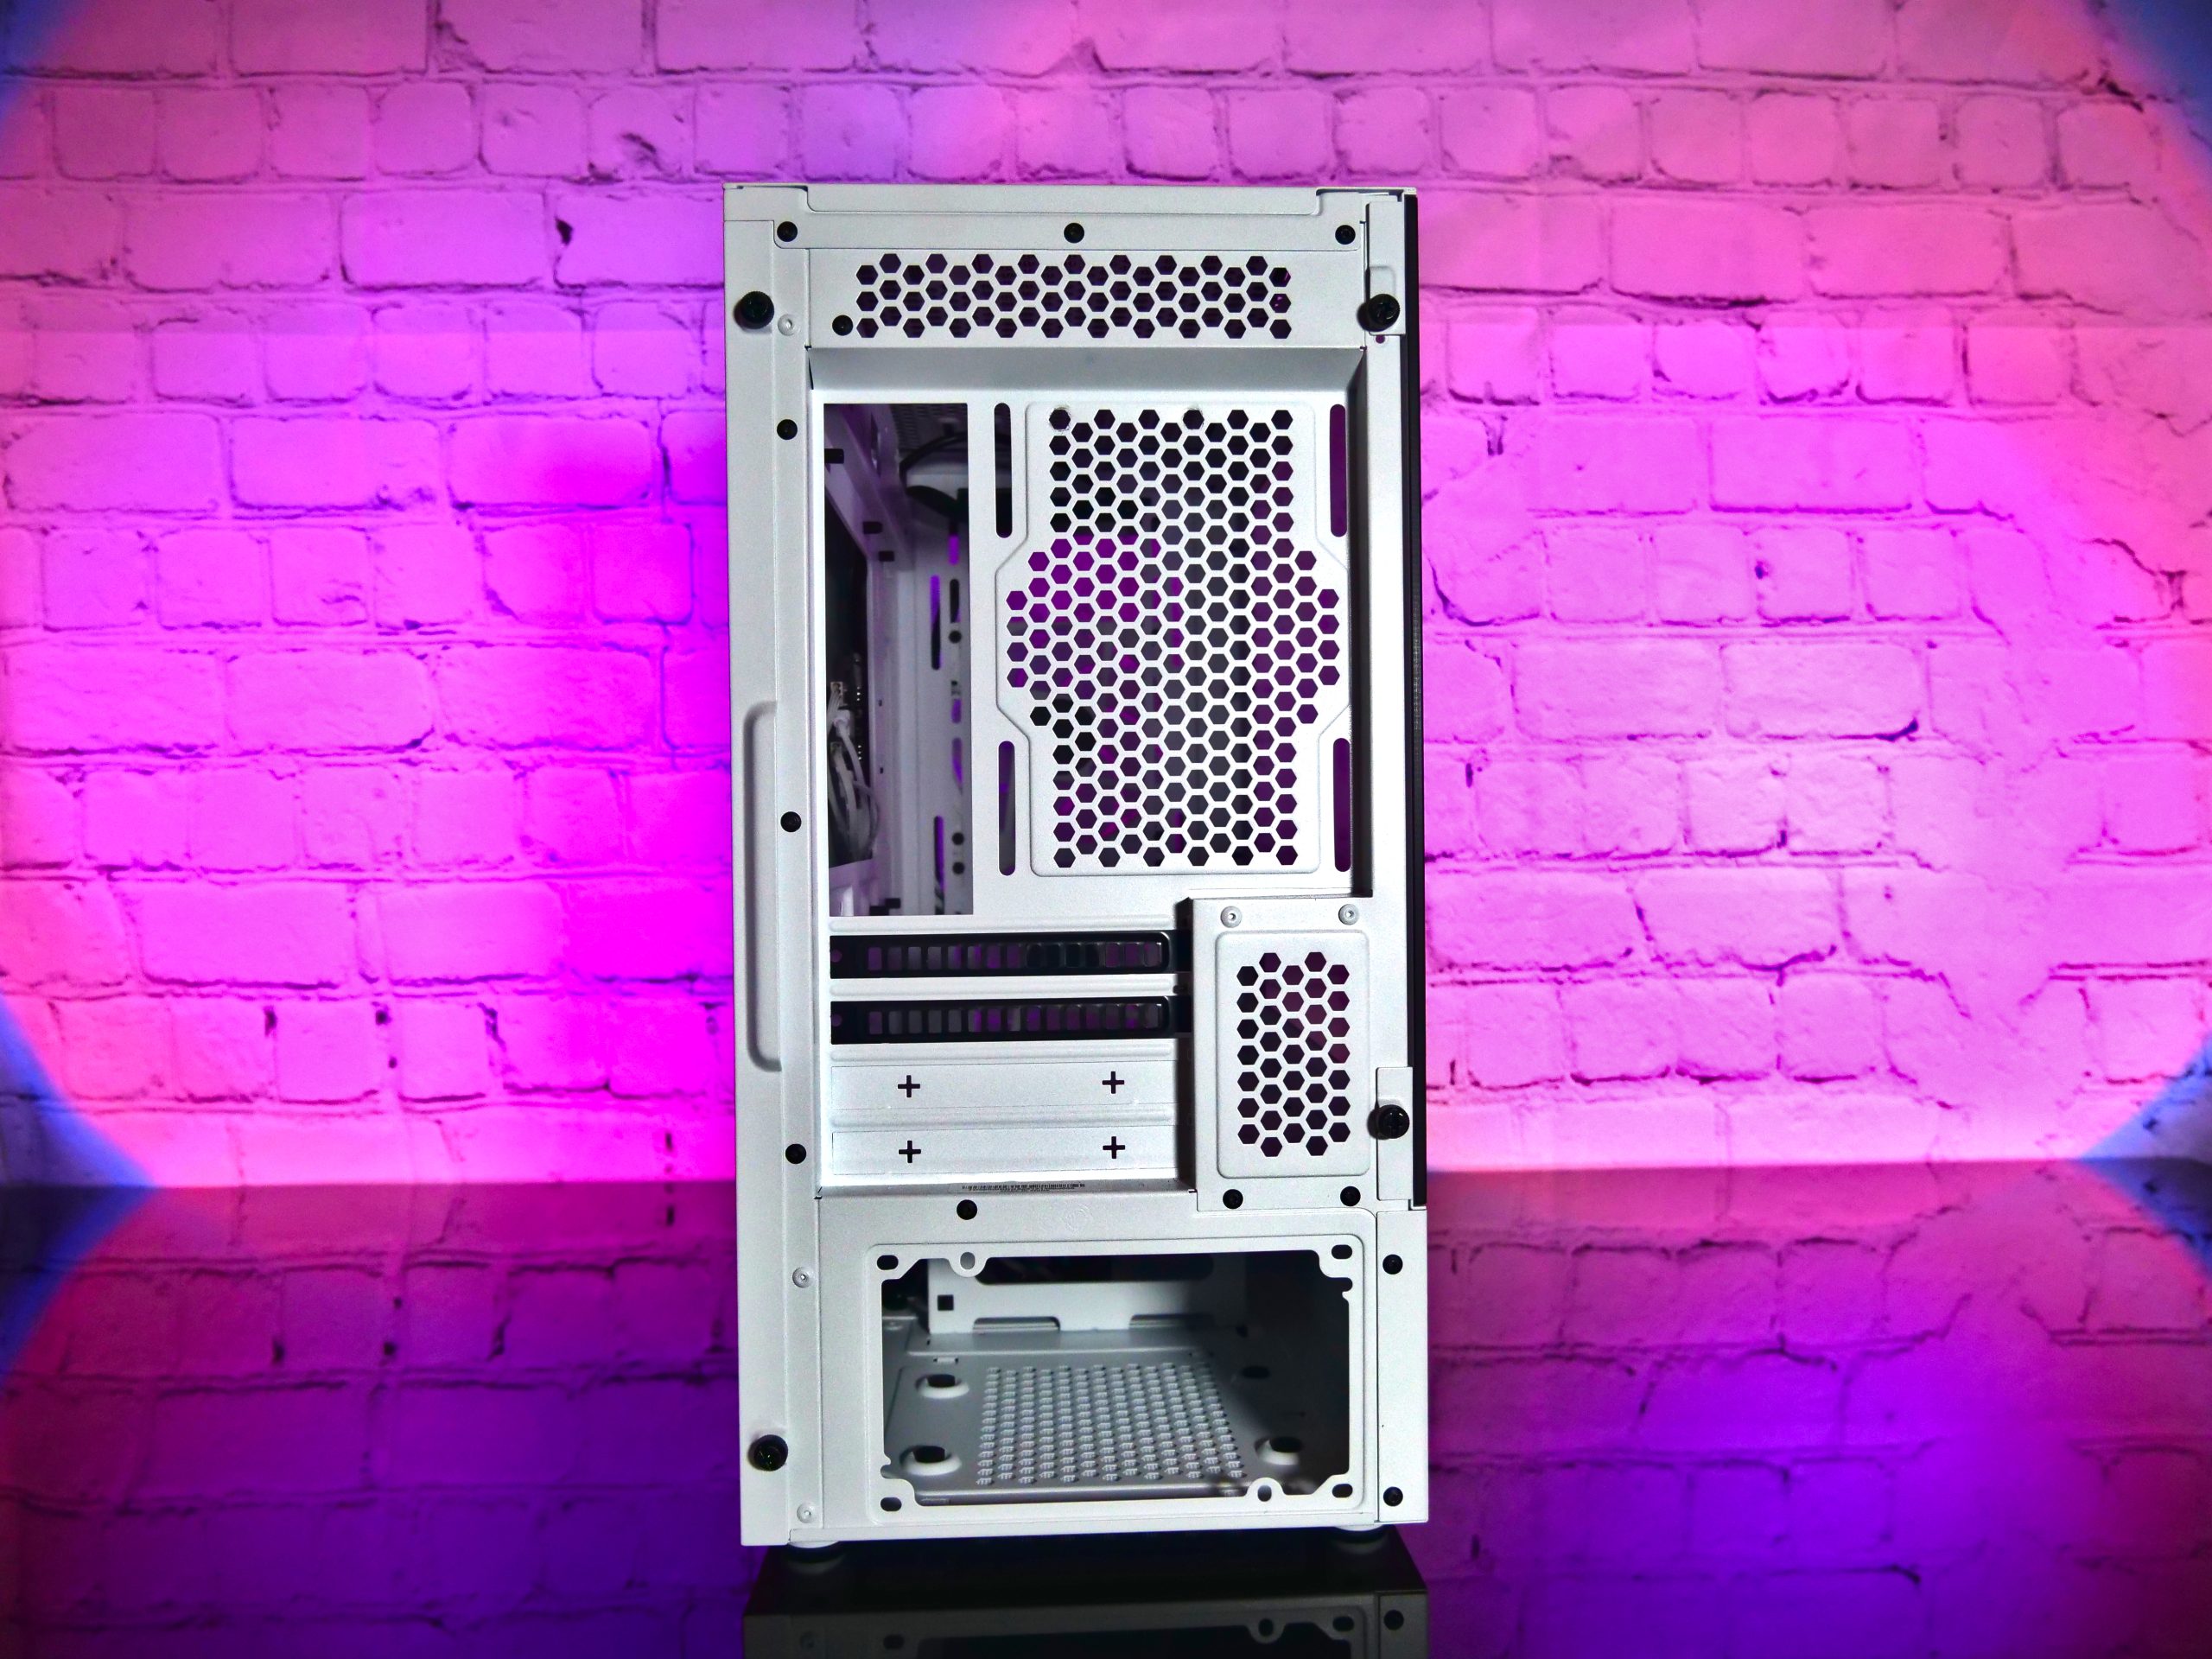
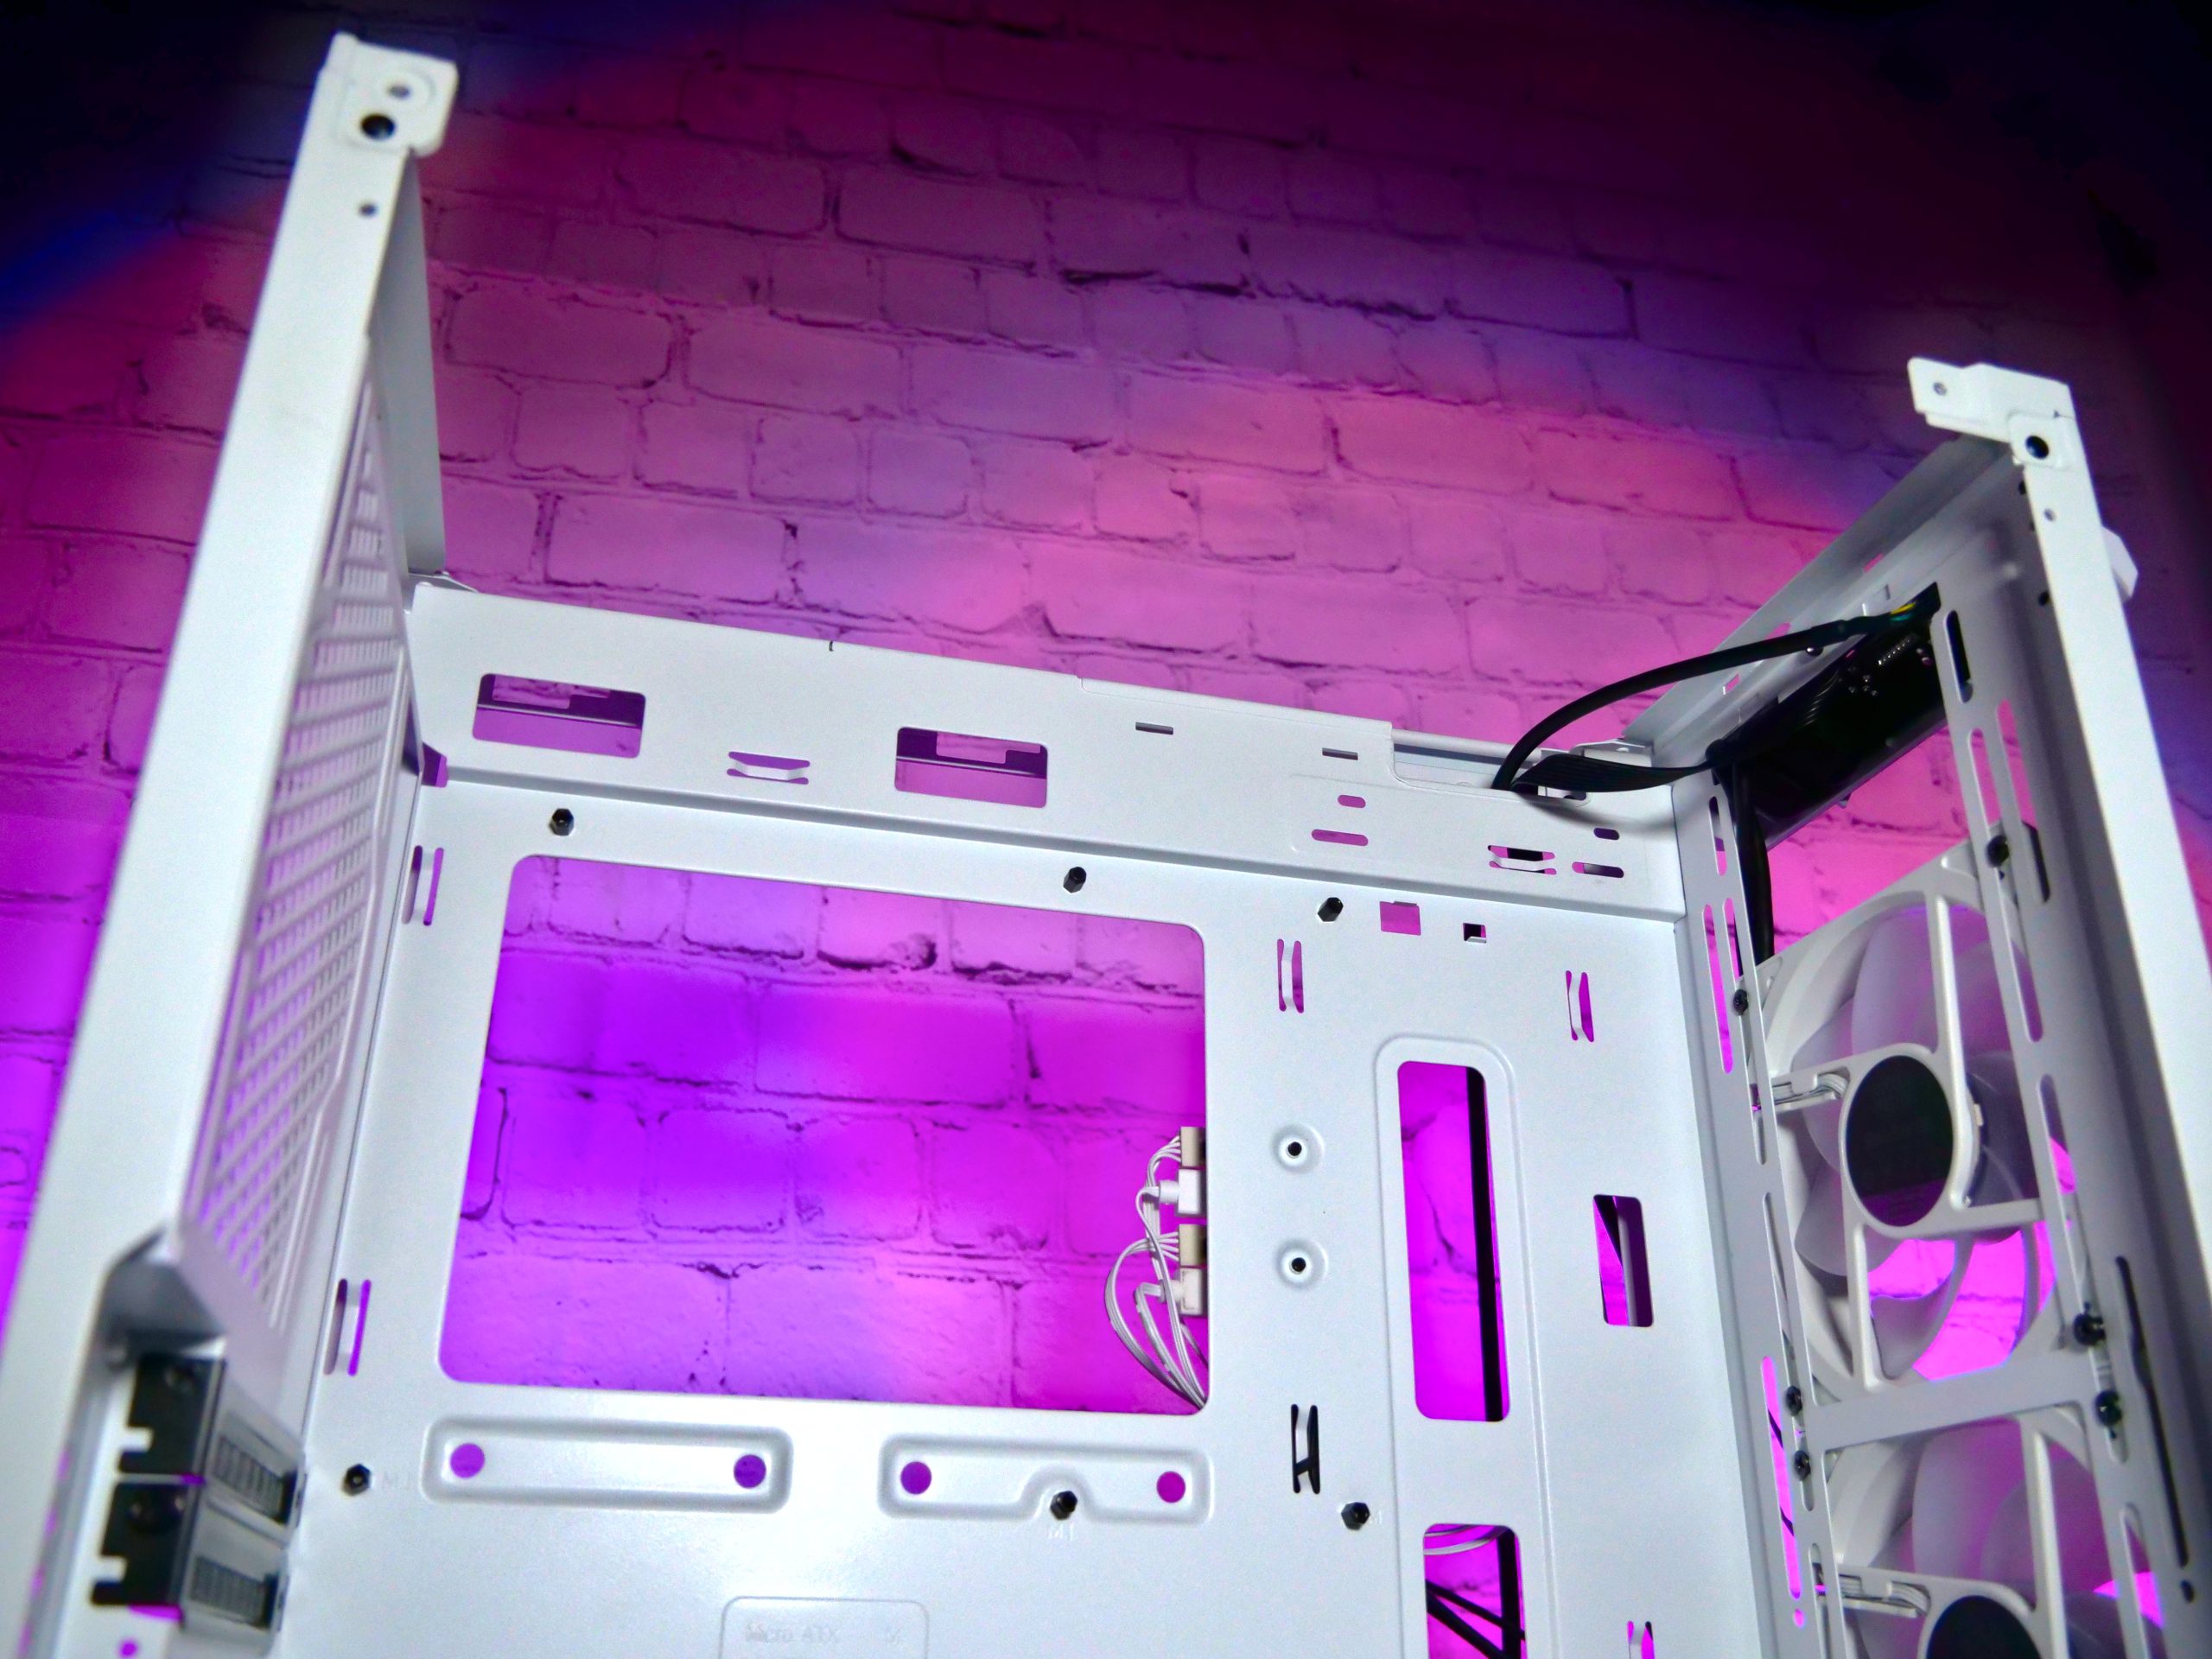
Let’s move on to the case lid. Either 2x 140 mm or 120 mm fans can be installed here, or an AIO up to a maximum of 280mm. However, you should also make sure that the AIO with fans is not too thick, otherwise you will unintentionally collide with the voltage converter cooling blocks on some motherboards or with the RRAM coolers if the RAM is too high.

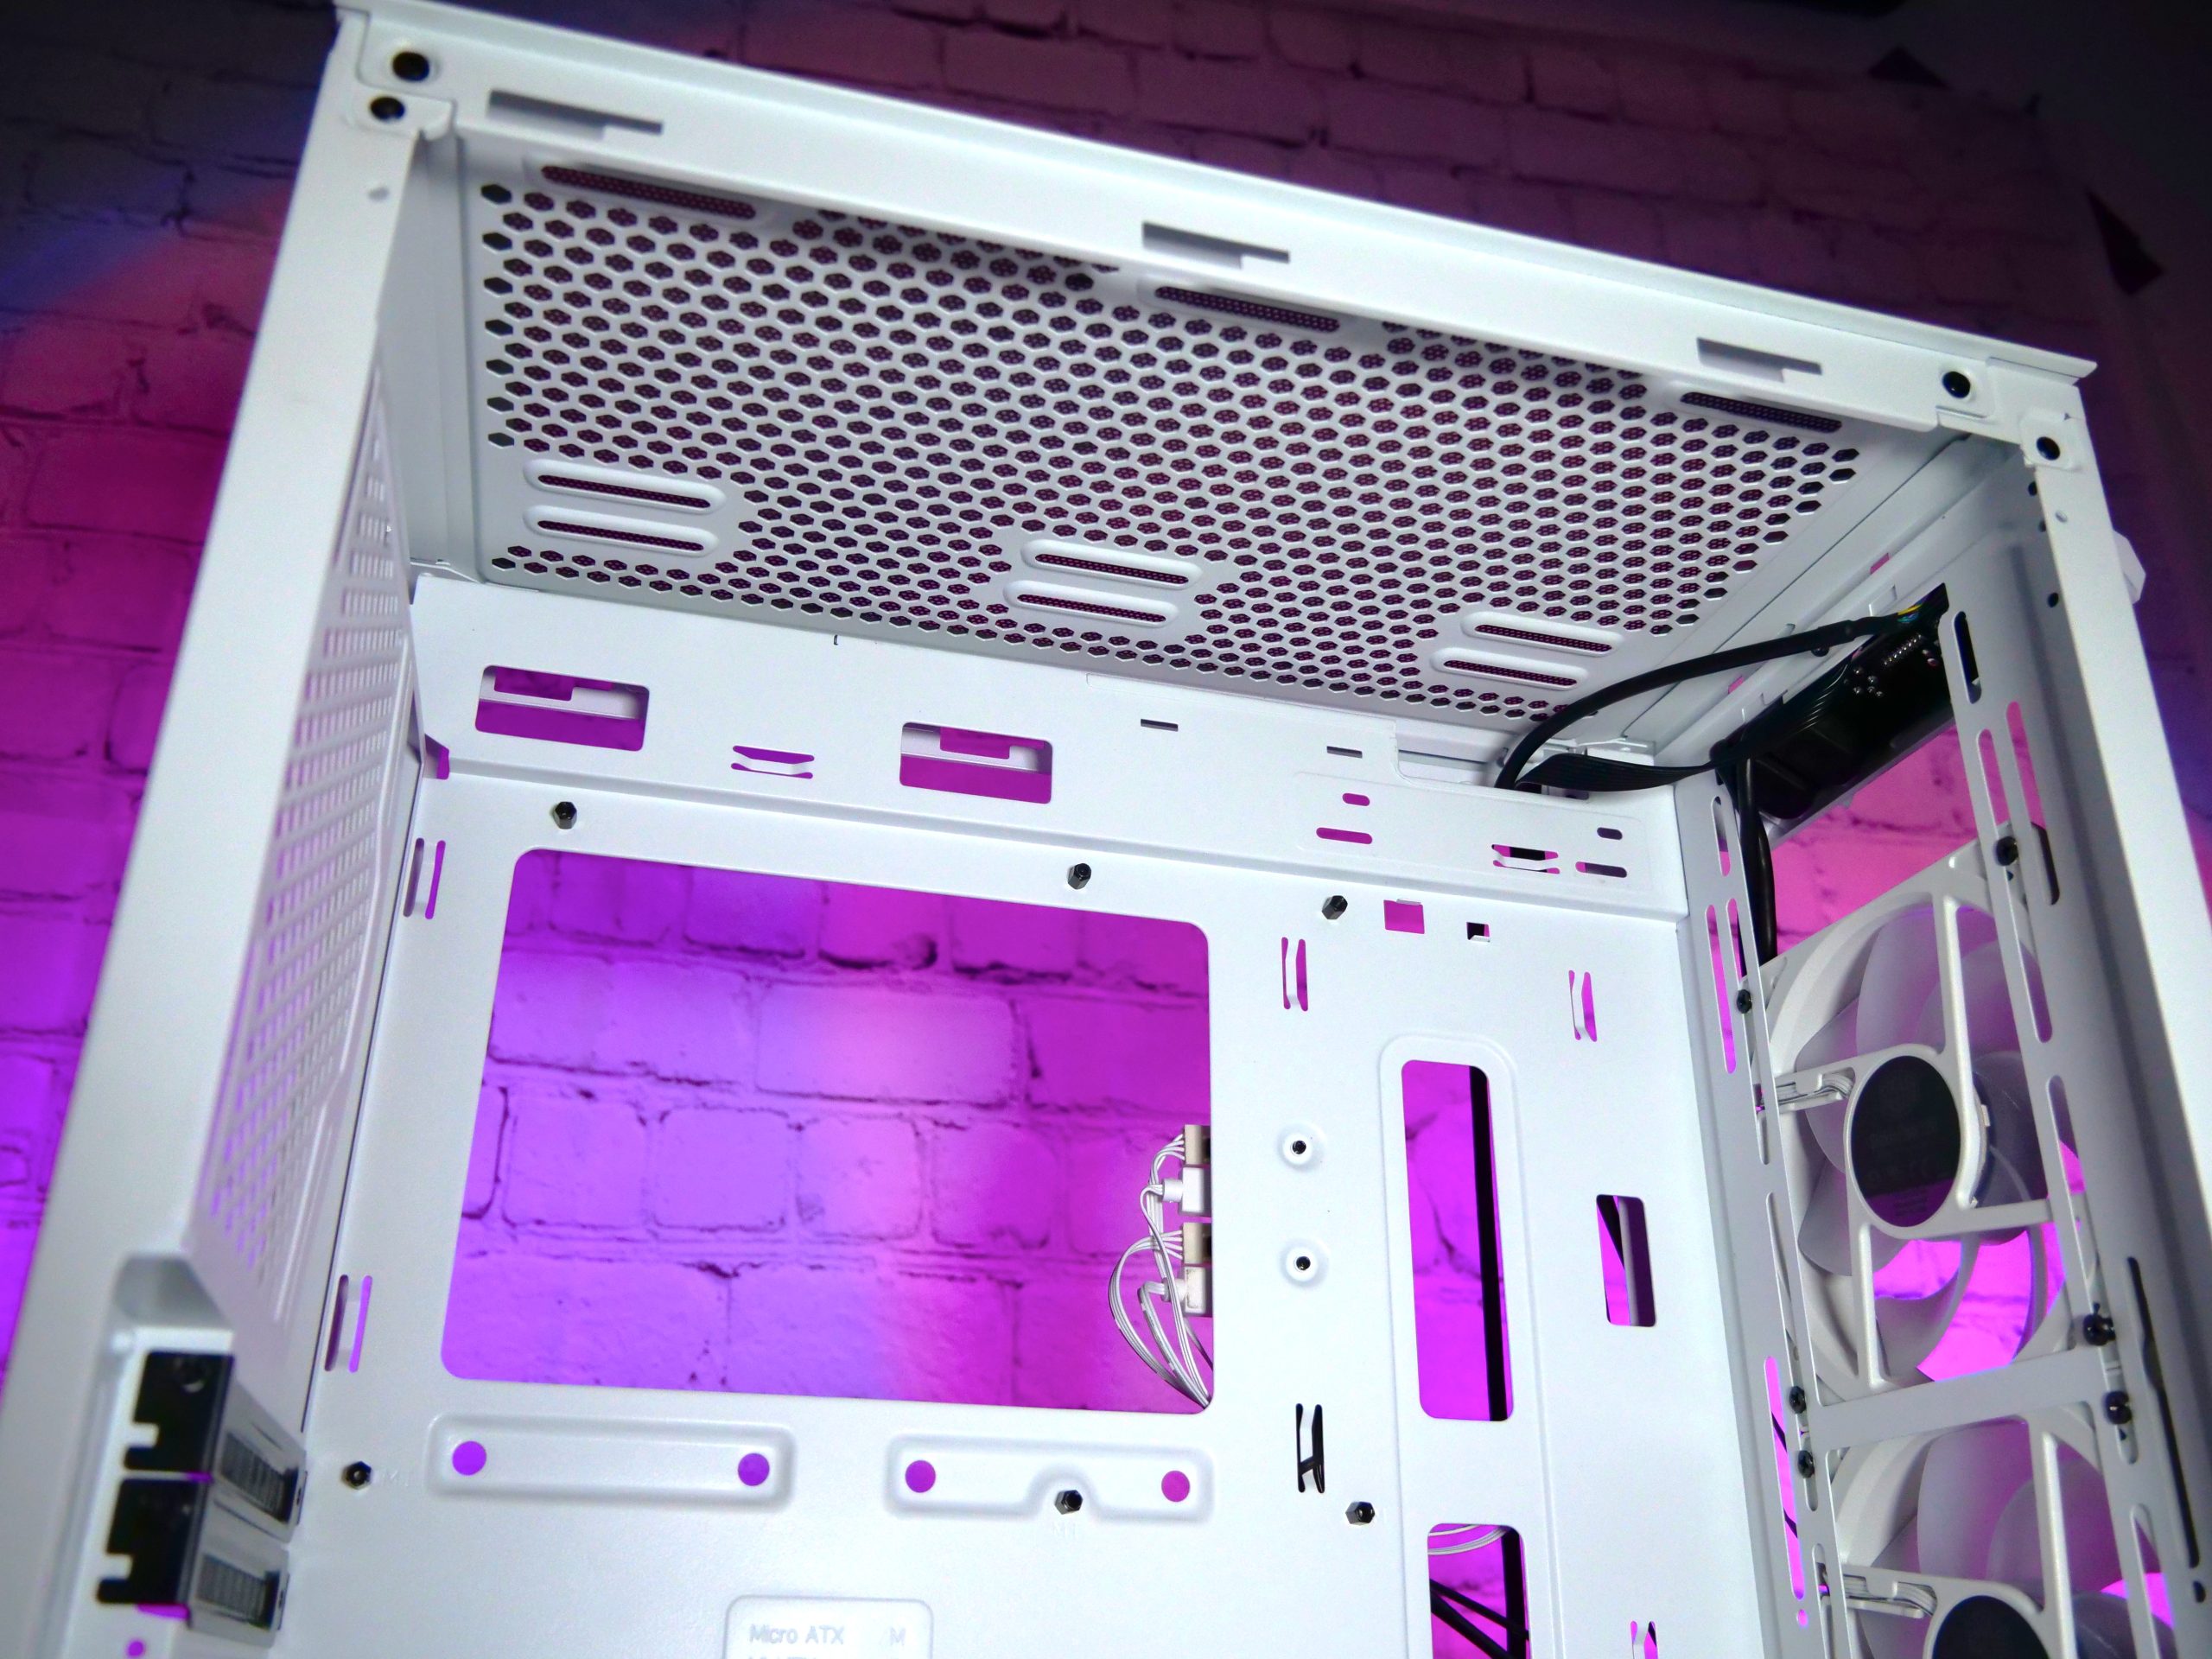
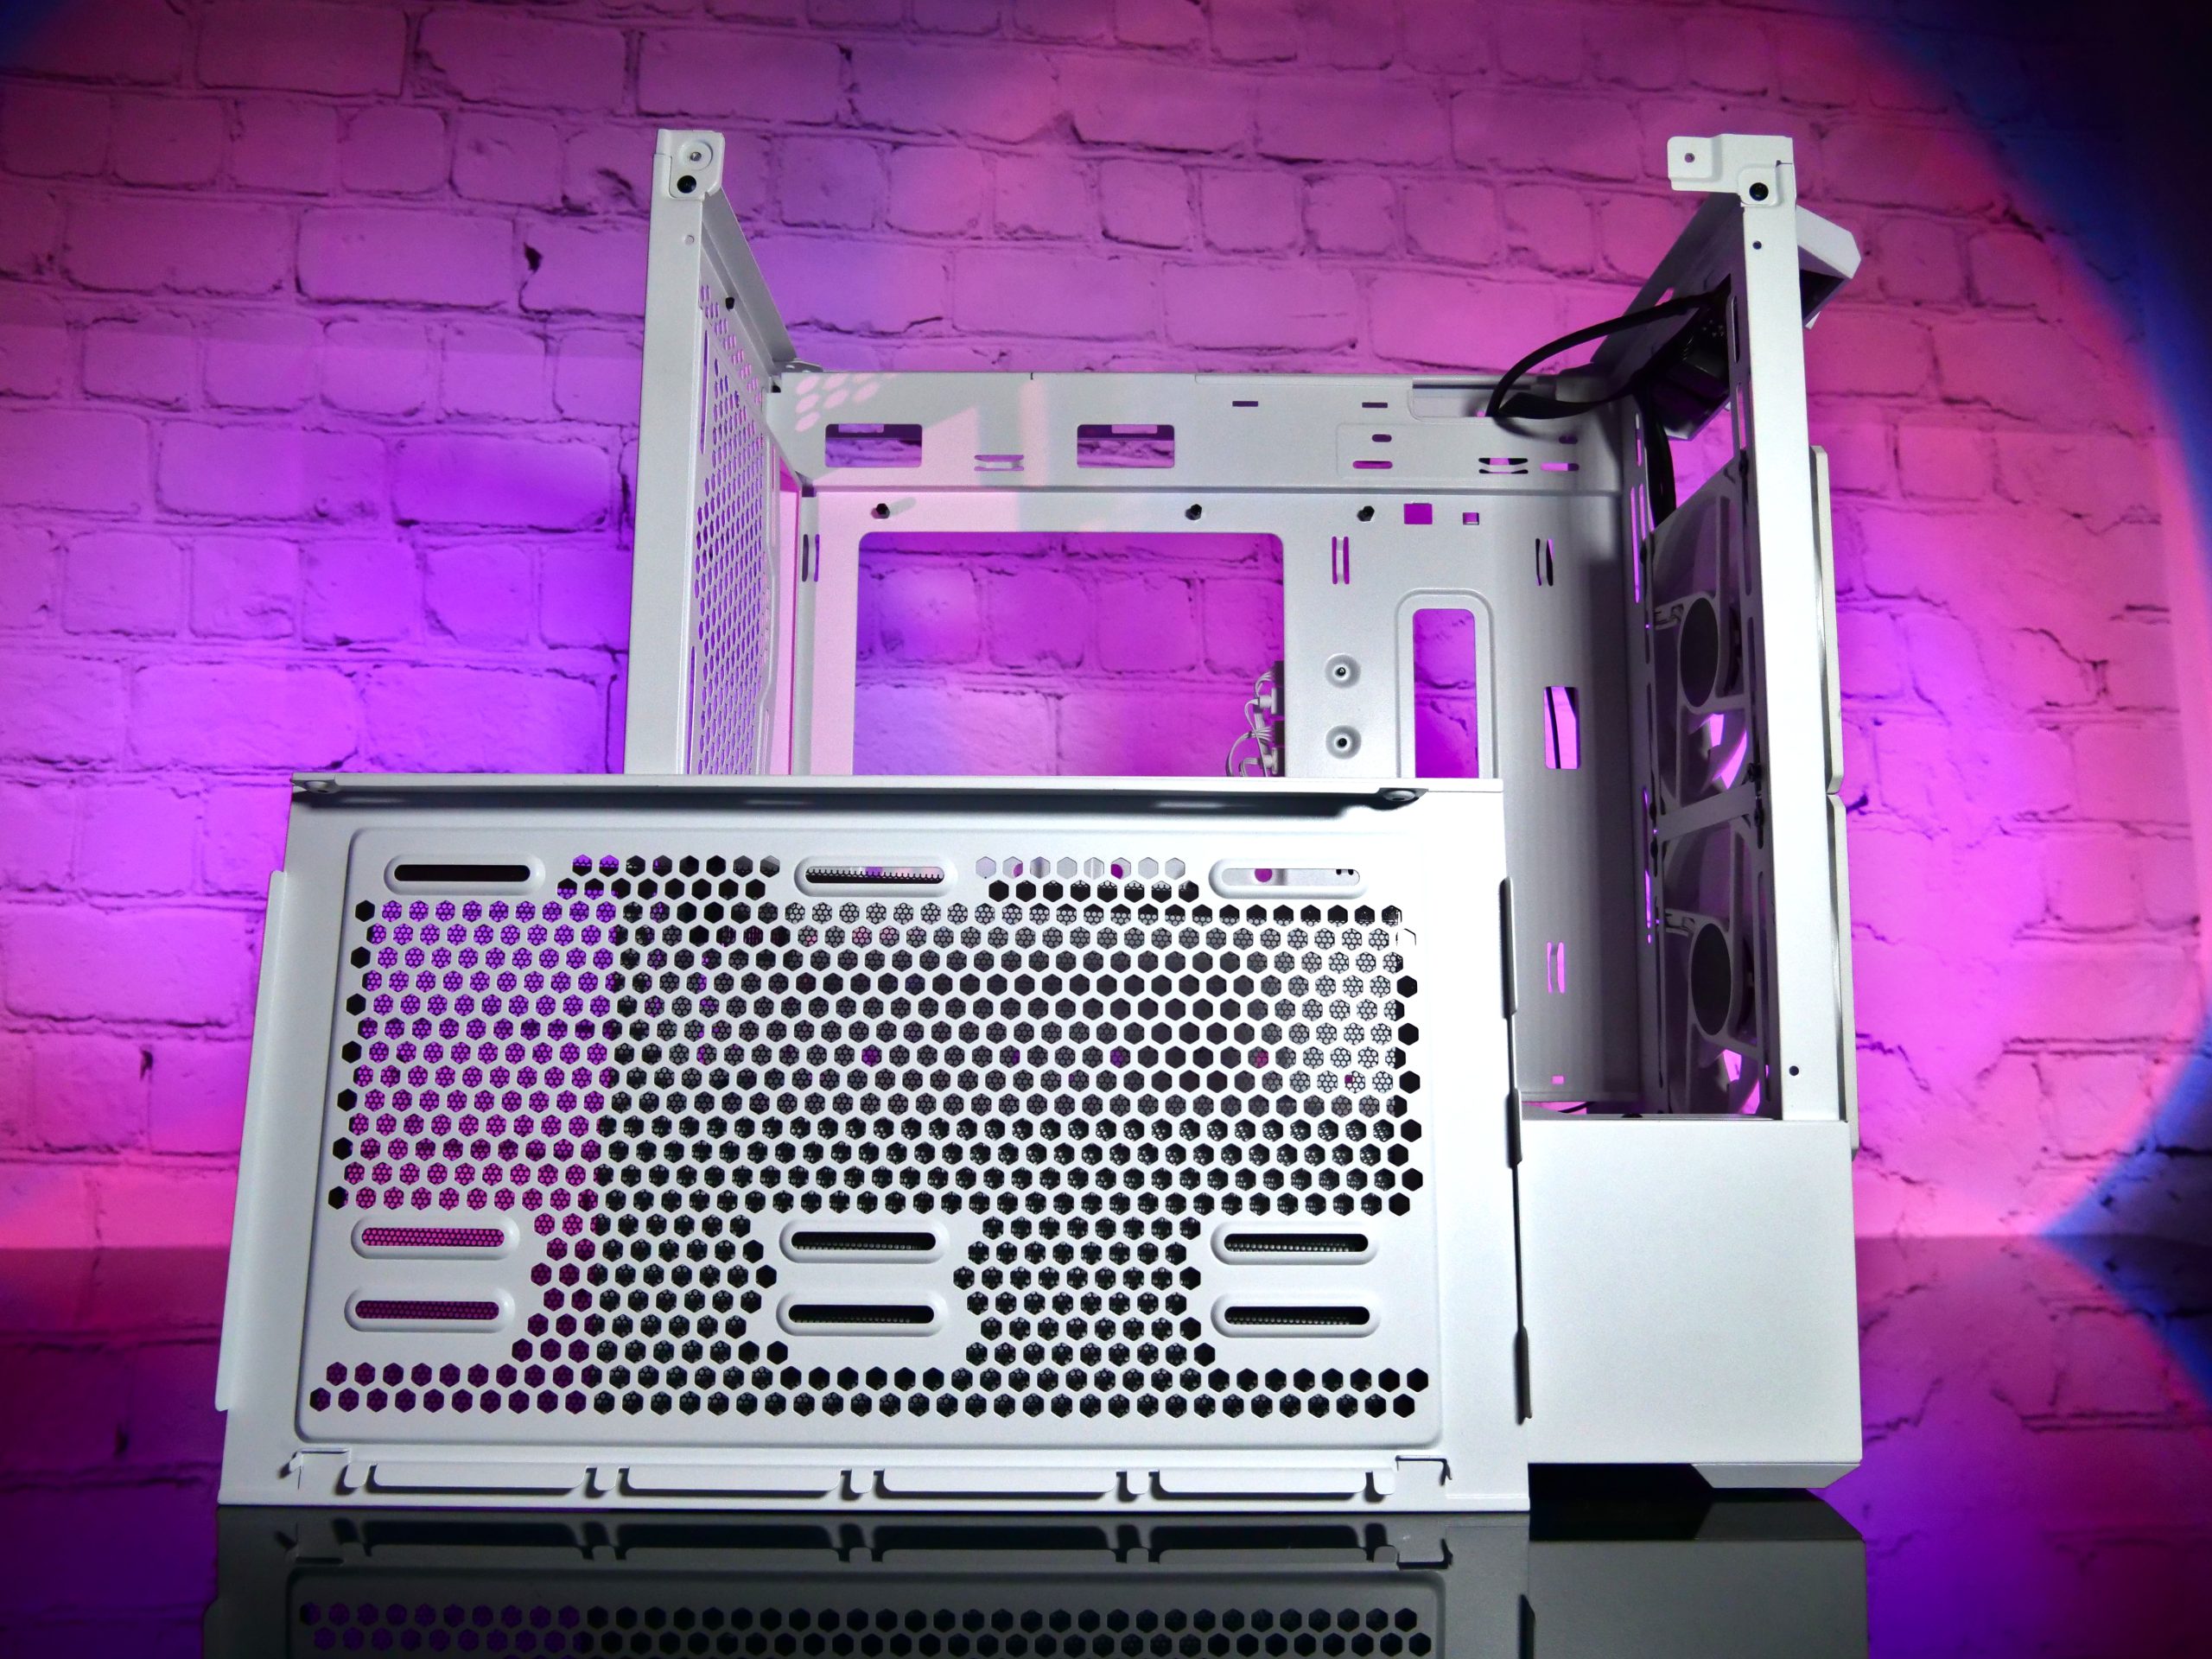
With the lid, however, I would like to address a small feature that is to please. This lid is fixed by 2 screws and once these two screws are removed, the lid can simply be removed from the top, which allows us to mount the fan or AIO more easily from the top. This also makes all other work in the case much easier, since we no longer have to install our hardware in a small space. Cooler Master also includes a magnetic, light gray dust filter with the lid. There is nothing more to see here.


Kommentar

Lade neue Kommentare

RX480

Urgestein

1,877 Kommentare 871 Likes

Chickes Display, sogar mit Umbrella-Logo und passender Build mir rotem Fluid in weißem Case=nice!

Der Kritikpunkt mit den Lüftern würde evtl. eh entfallen, wenn vorn ein Radi von der GPU wäre.(oben dann CPU)
(da machen unterschiedliche Drehzahlen kaum Sinn)

Antwort 2 Likes

Pascal TM-Custom

Urgestein

1,122 Kommentare 1,361 Likes

Danke 😊

Ich denke du meinst das mit dem Lüfter Hub? Wie gesagt ich finde einfach und damit meine ich nicht nur Cooler Master das es eine Sinnvolle Aufteilung braucht nach Lüfter Anzahl.

Aber irgendwie machen das viele so.
Versteh nur nicht ganz warum.

Antwort 1 Like

Ghoster52

Urgestein

1,416 Kommentare 1,077 Likes

Dem kann ich mich nur anschließen, schönes Gerät... (y)😍

Antwort 1 Like

Pascal TM-Custom

Urgestein

1,122 Kommentare 1,361 Likes

Gerne dürft ihr das Video dazu anschauen

Viel Spaß dabei 😊

Antwort 2 Likes

grimm

Urgestein

3,084 Kommentare 2,040 Likes

Was hätte man denn für so einen Build zu investieren? Mal abgesehen von den Custom-Bauteilen, die du selbst hergestellt hast...
Mich hätte noch interessiert (im Video), wie du die Hartschaumplatte da reingeschraubt hast.
Sieht aber super aus - Topp-System!

Antwort 1 Like

Pascal TM-Custom

Urgestein

1,122 Kommentare 1,361 Likes

Laut Build.gg bin ich mit allem bei ca.3000€+/-

Das teuerste ist natürlich wieder die GPU.

Die Custom Teile sind eigentlich Cent. Beträge die Platten sind günstig und die 3D Druck Teile genauso.

Befestigt werden die Platten mit Doppelseitigen Klebeband und erhalten zusätzlich halt mit der Schottverschraubung und der Tubes.

Ich kann diese Platten wirklich empfehlen die haben ausreichend Stärke das nichts durchhängt. Dazu gibt es die in Matt und Hochglanz in verschiedenen Stärken.

Kein Sägen nötig, kein splittern und sie lassen sich ganz easy in Form bringen mit einem Heißluft Föhn.

Freut mich das dir mein Build gefällt.

Antwort 3 Likes

s
stillnameless

Mitglied

25 Kommentare 41 Likes

Da ich eher pragmatisch veranlagt bin und ich Technik doch eher zweckgebunden nutze, halte ich per se eigentlich nicht viel von Modding in diese Richtung.
Hier allerdings muss ich zugeben: sieht super aus, tolle Kiste.
Meinen Respekt für diese Kreativität und die Umsetzung!

Antwort 2 Likes

Pascal TM-Custom

Urgestein

1,122 Kommentare 1,361 Likes

Vielen Dank das freut mich natürlich besonders. 😊

Antwort 1 Like

N
Novasun

Veteran

124 Kommentare 75 Likes

Wunderschöner Build. Gefällt mir echt gut.

Antwort 1 Like

ro///M3o

Veteran

348 Kommentare 239 Likes

Geil :cool: bekomme ich direkt wieder Lust zum basteln!
Mein absoluter Favorit in diesem Build ist dein Ausgleichsbehälter samt 3D DNA Strang. Sieht mega aus. Raijintek hat da ein schickes Teil gebracht und die Idee mit dem DNA Teil ist genial.
Ja und natürlich das Display mit dem Raspberry.

Antwort 1 Like

RedF

Urgestein

4,667 Kommentare 2,553 Likes

Die Hardschaumplatten muss ich mir merken : ) .

Antwort 1 Like

Danke für die Spende


Du fandest, der Beitrag war interessant und möchtest uns unterstützen? Klasse!

Hier erfährst Du, wie: Hier spenden.

Hier kannst Du per PayPal spenden.

About the author

Review Team

Werbung

Werbung