


Now that we know the details, we want to see what is possible with this TD300 mesh, because just talking about it is boring. That’s why I’m showing you a theme-based build again today. As it says in the title: Umbrella Corporation. For those who don’t know what the term means, it’s the villain company from the Resident Evil game series that unleashes zombies on humanity.

In today’s build, I’ll show you a hybrid system where we only cool the CPU with water and let the GPU continue to breathe fresh air. The reason for this is that there is no water block for the GPU. However, this has not prevented me from implementing something beautiful with hardtubes.
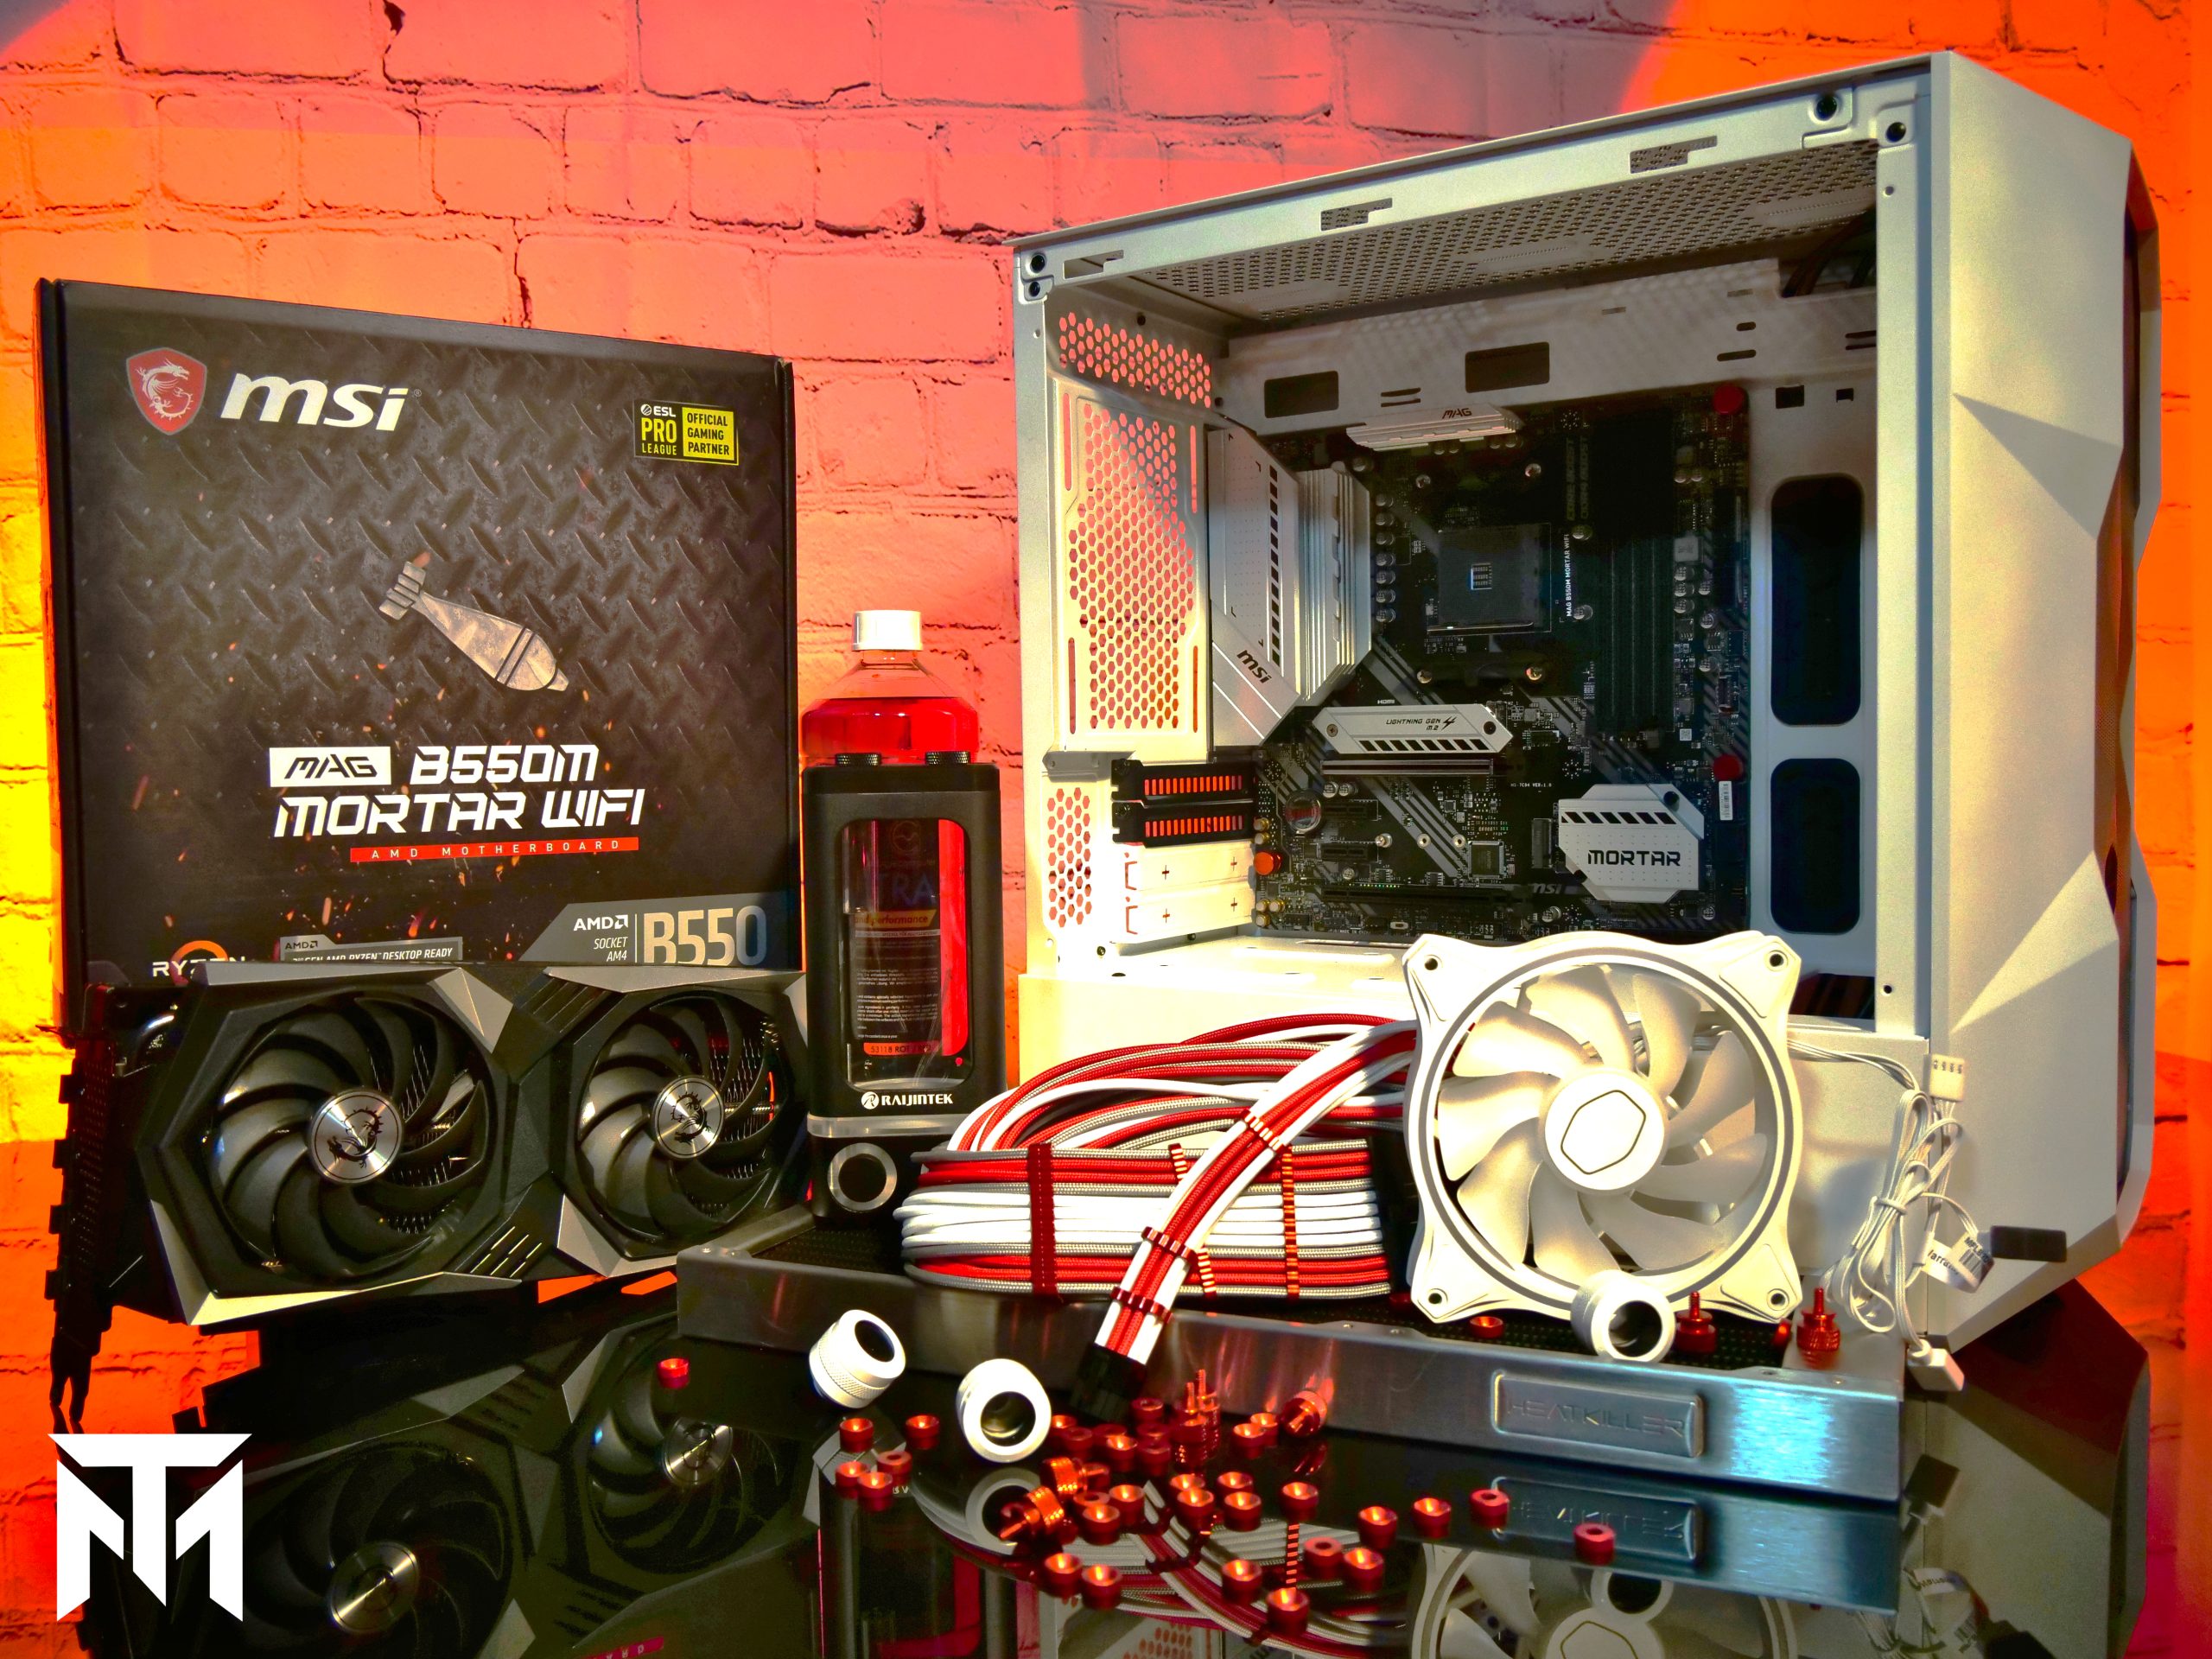
The build is composed of the components in the list below:
| CPU | AMD Ryzen 5 5600X |
| CPU Cooler | Raijintek Forkis PRO RBW |
| Mainboard | MSI MAG B550M Mortar M |
| Working memory | Teamgroup XTREEM ARGB WHITE DDR4 32GB 3200CL16 |
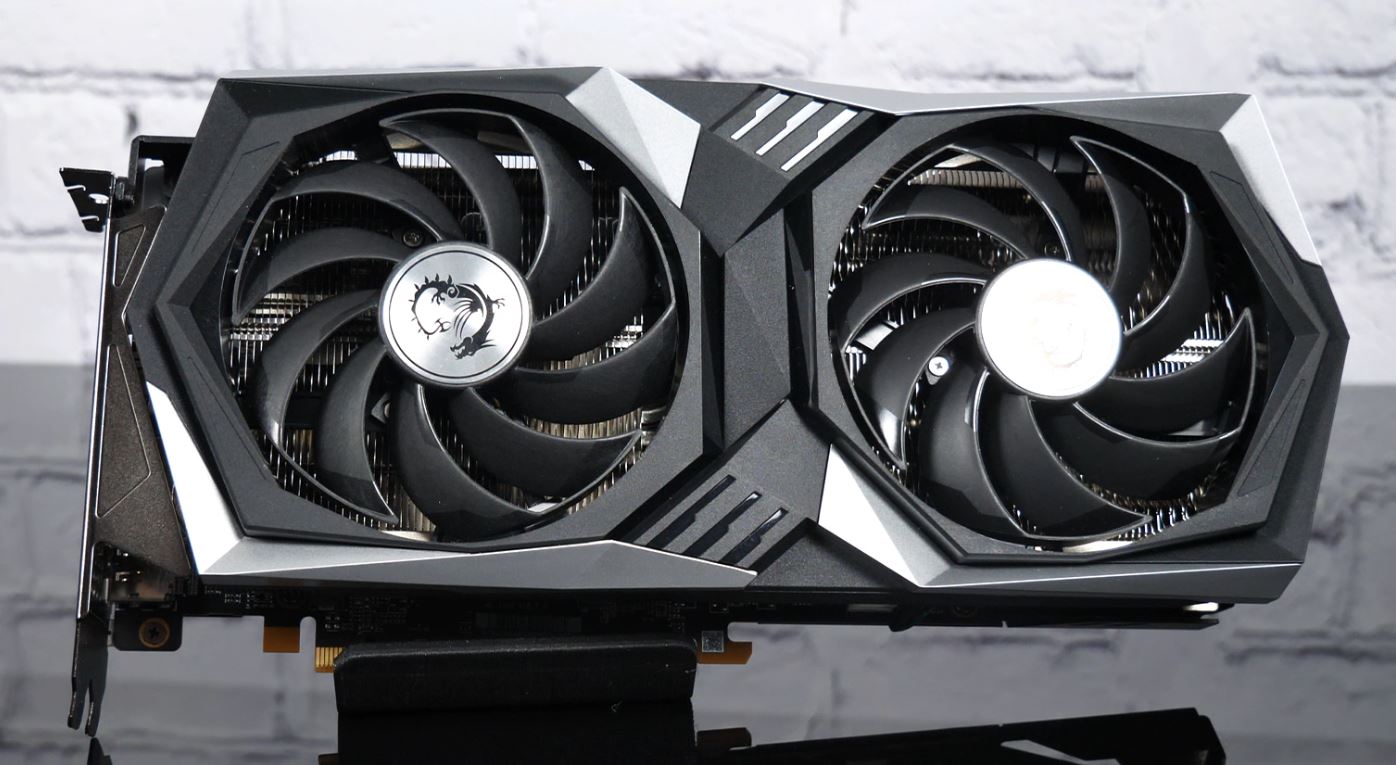
| Graphics card | MSI 6600XT Gaming X 8GB |
| NVME | Crucial P5 1TB M2.SSD, Silicon Power 1TB XPower M2 SSD |
| Power supply unit | Cooler Master V850 SFX Gold |
| AGB | Raijintek Antila Pure R100 T&C |
| Pump | Bykski pump with top BY-DDC310 |
| Tubes | Alphacool ice pipe 16/13mm acrylic |
| Connections | EK-Quantum Torque HDC 16 |
| Radiator | Calore Elite CA360 Slim |
| Fan | Cooler Master 120mm Halo ARGB |
| Cable | Cablemods custom cable from power supply |
| Other | CableMods anodized red aluminum thumbscrews/washers, self printed 3D parts, 5inch HDMI screen |
| Controller | Aquacomputer Inking Unit 360 |
| Liquid | EK Bloodred |
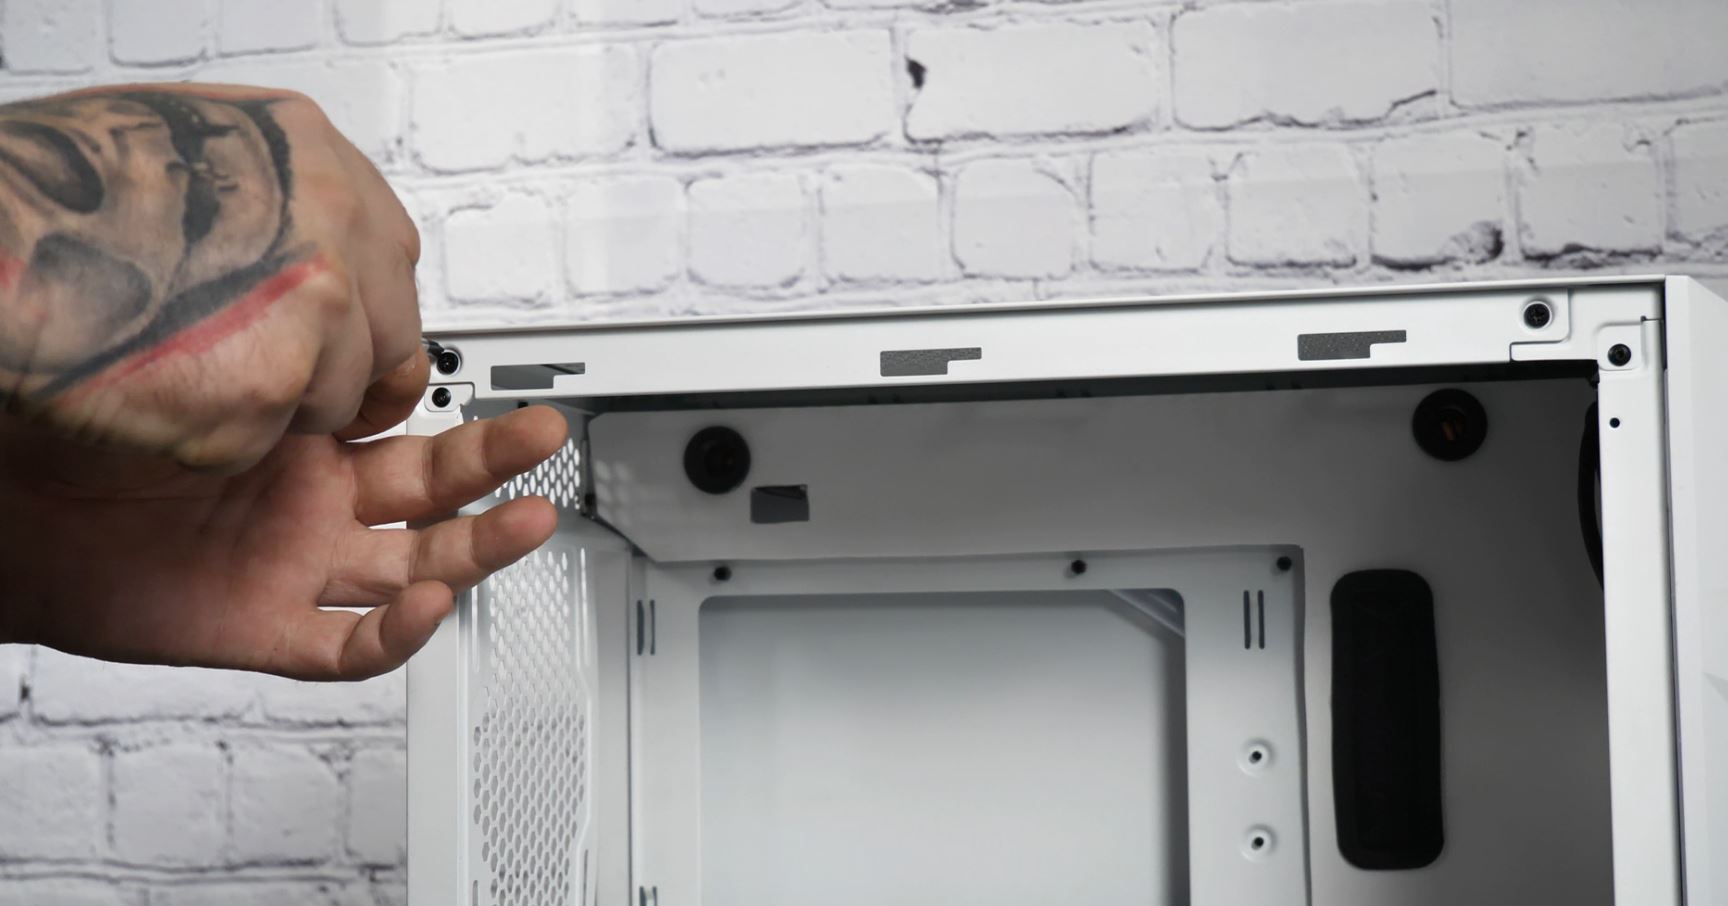
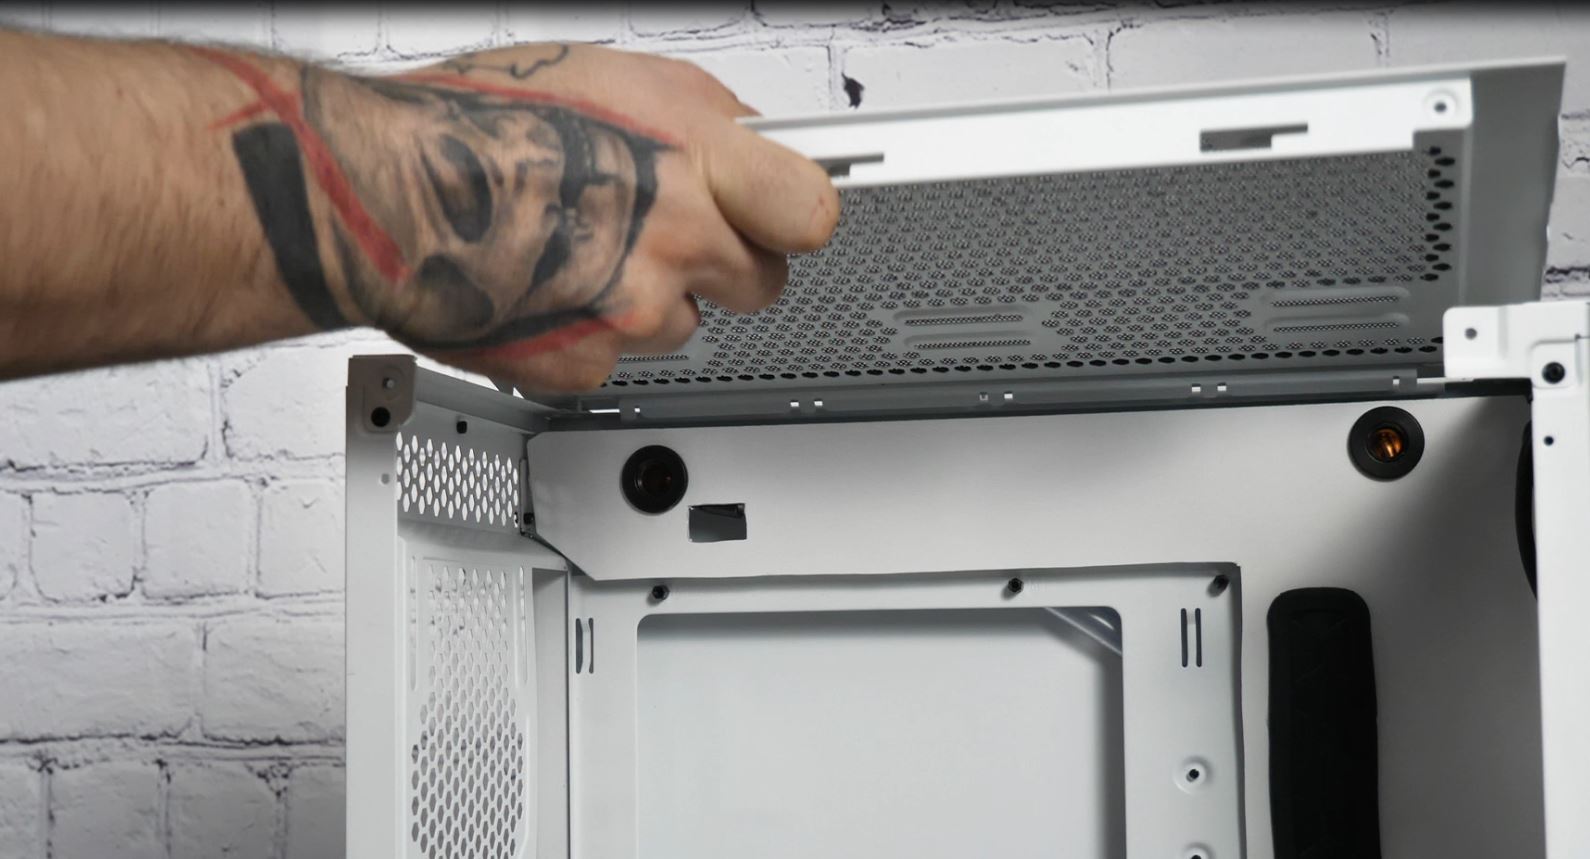
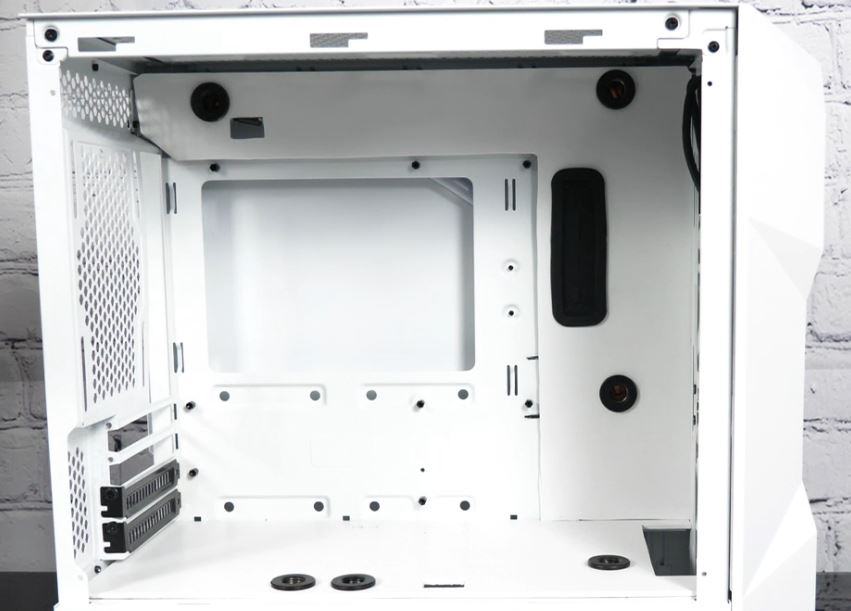
The first step was to disassemble the TD 300. Fortunately, this is quite fast. Just remove the lid, remove the fans I didn’t need, and everything was ready to install my system.

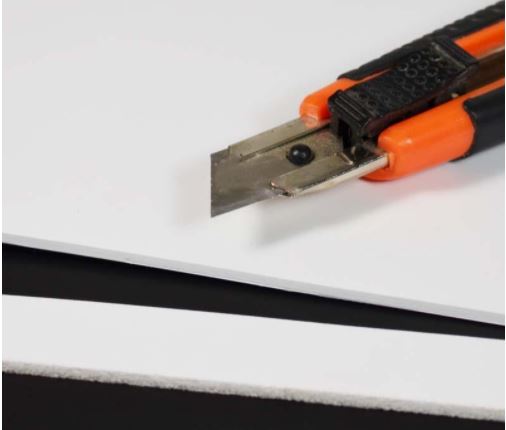
Since it was clear to me that it is again a custom loop I have again from the craft store of my choice white hard foam plates concerned these can be excellent cut with a cutter knife without fear to have as with acrylic something breaks advantage of such plates is also that there are these in different colors and you can save so painting.
Next, I carefully planned my loop routing and placed bulkhead fittings in the rigid foam panels. The advantage of such panels is also that it allows us to get a clean look and hide unwelcome openings geschicht.
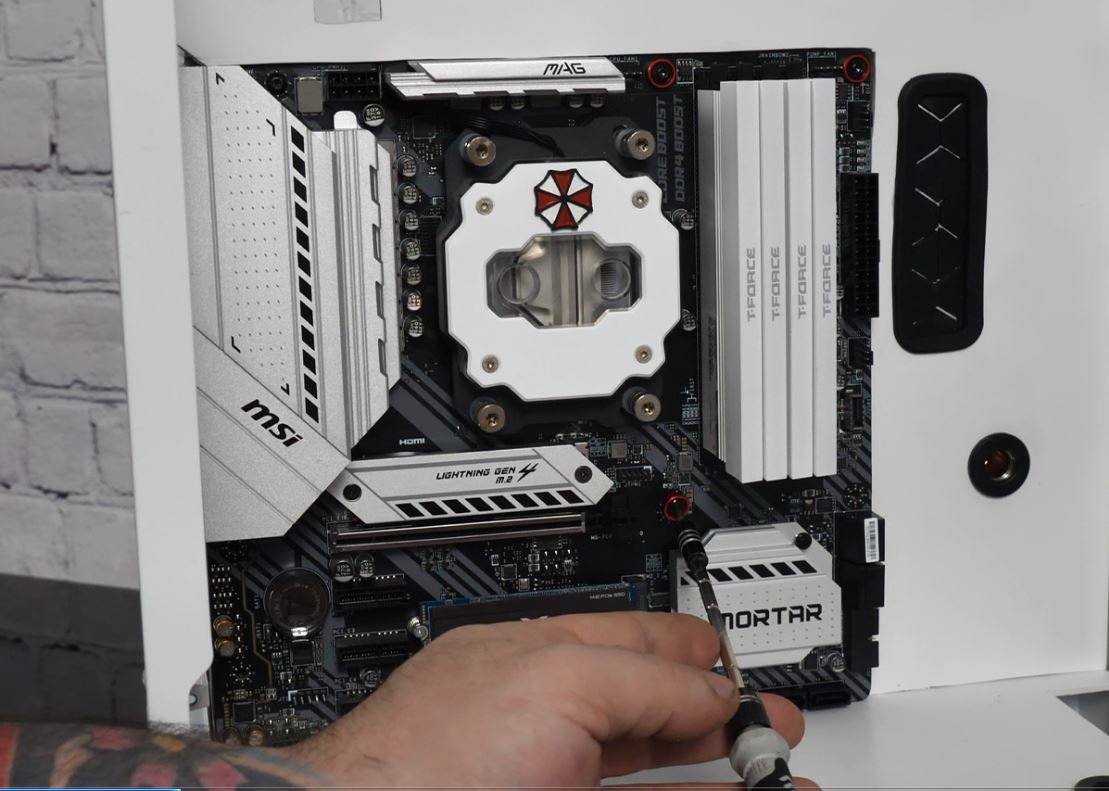
Once the embellishment of the case is complete, it’s time to assemble the motherboard. As usual, this was very easy and with the MSI B550M Mortar, I didn’t have to think about the I/O shield this time, because fortunately it’s already firmly on the motherboard. So there’s no rude awakening here after assembly if you’re forgetful. With that, this important step was also done and the mainboard was allowed to take its place.
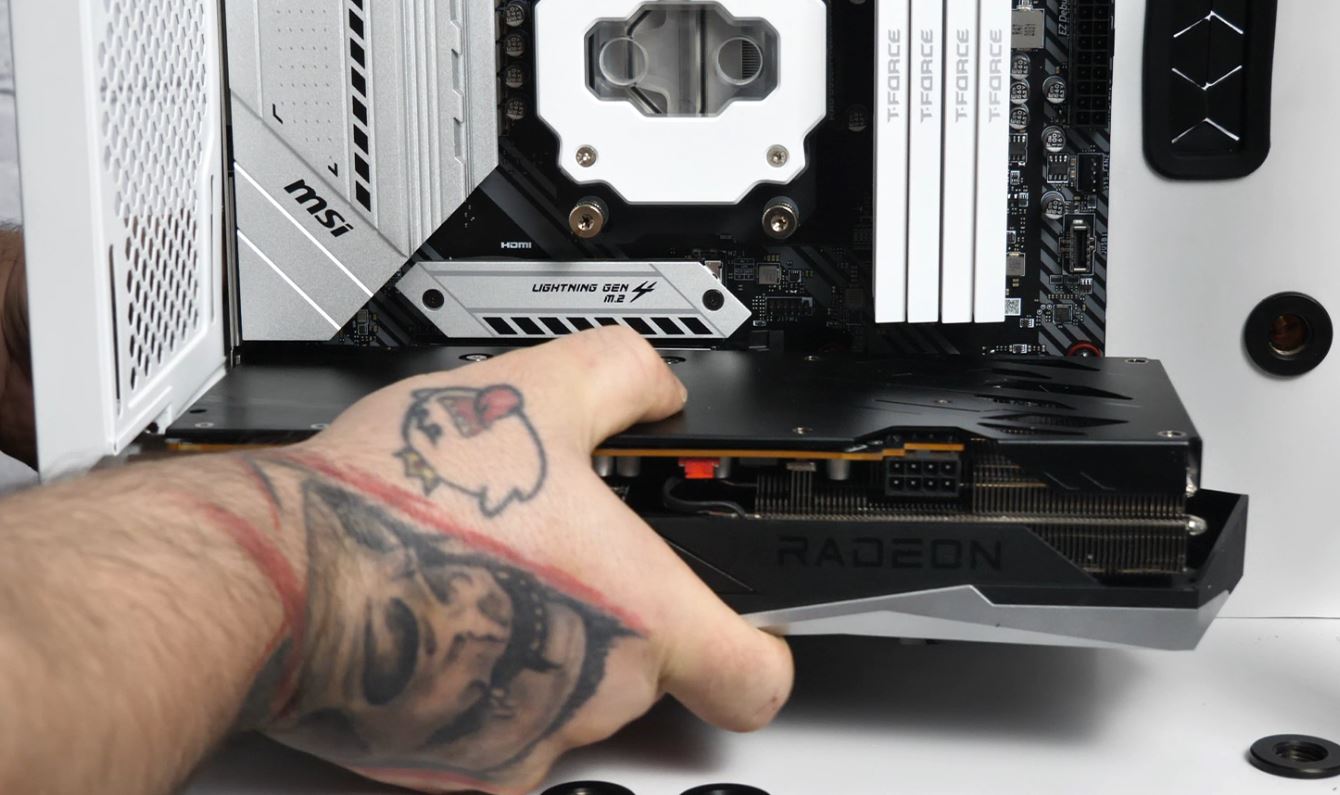
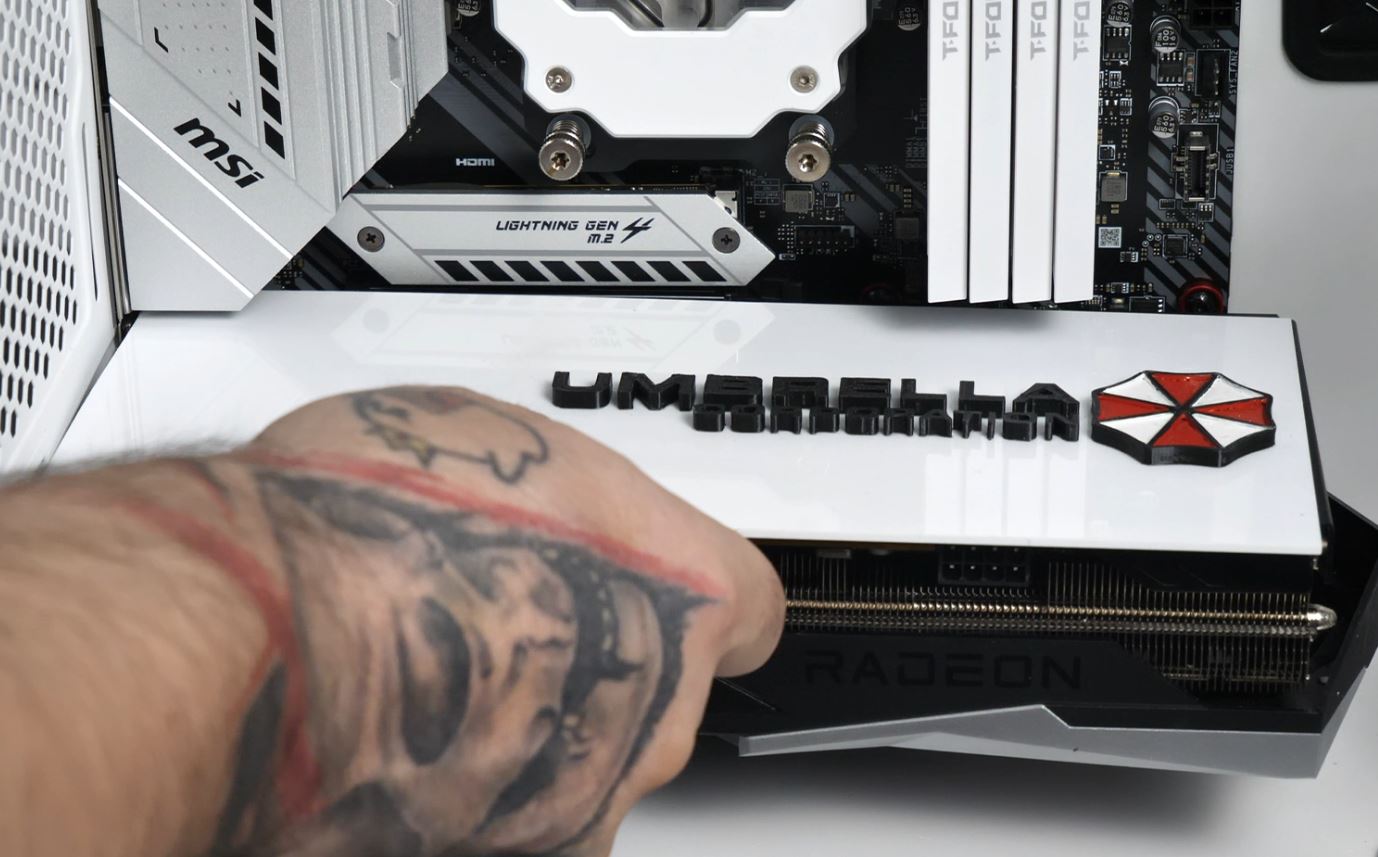
Since I’m building a hybrid build this time, it was just a matter of unpacking and installing the graphics card. Easy.


11 Antworten
Kommentar
Lade neue Kommentare
Urgestein
Urgestein
Urgestein
Urgestein
Urgestein
Urgestein
Mitglied
Urgestein
Veteran
Veteran
Urgestein
Alle Kommentare lesen unter igor´sLAB Community →