


Remaining work
To monitor the printer remotely, you simply take a standard webcam and connect it directly to the Raspberry Pi, which displays the video feed in the web interface. I first tried the “classic” Logitech C270, but the print bed does not fit completely into the picture. The solution was then a Wide angle webcam from Aukeyfor which there is also a practical a mod including a mount is available.
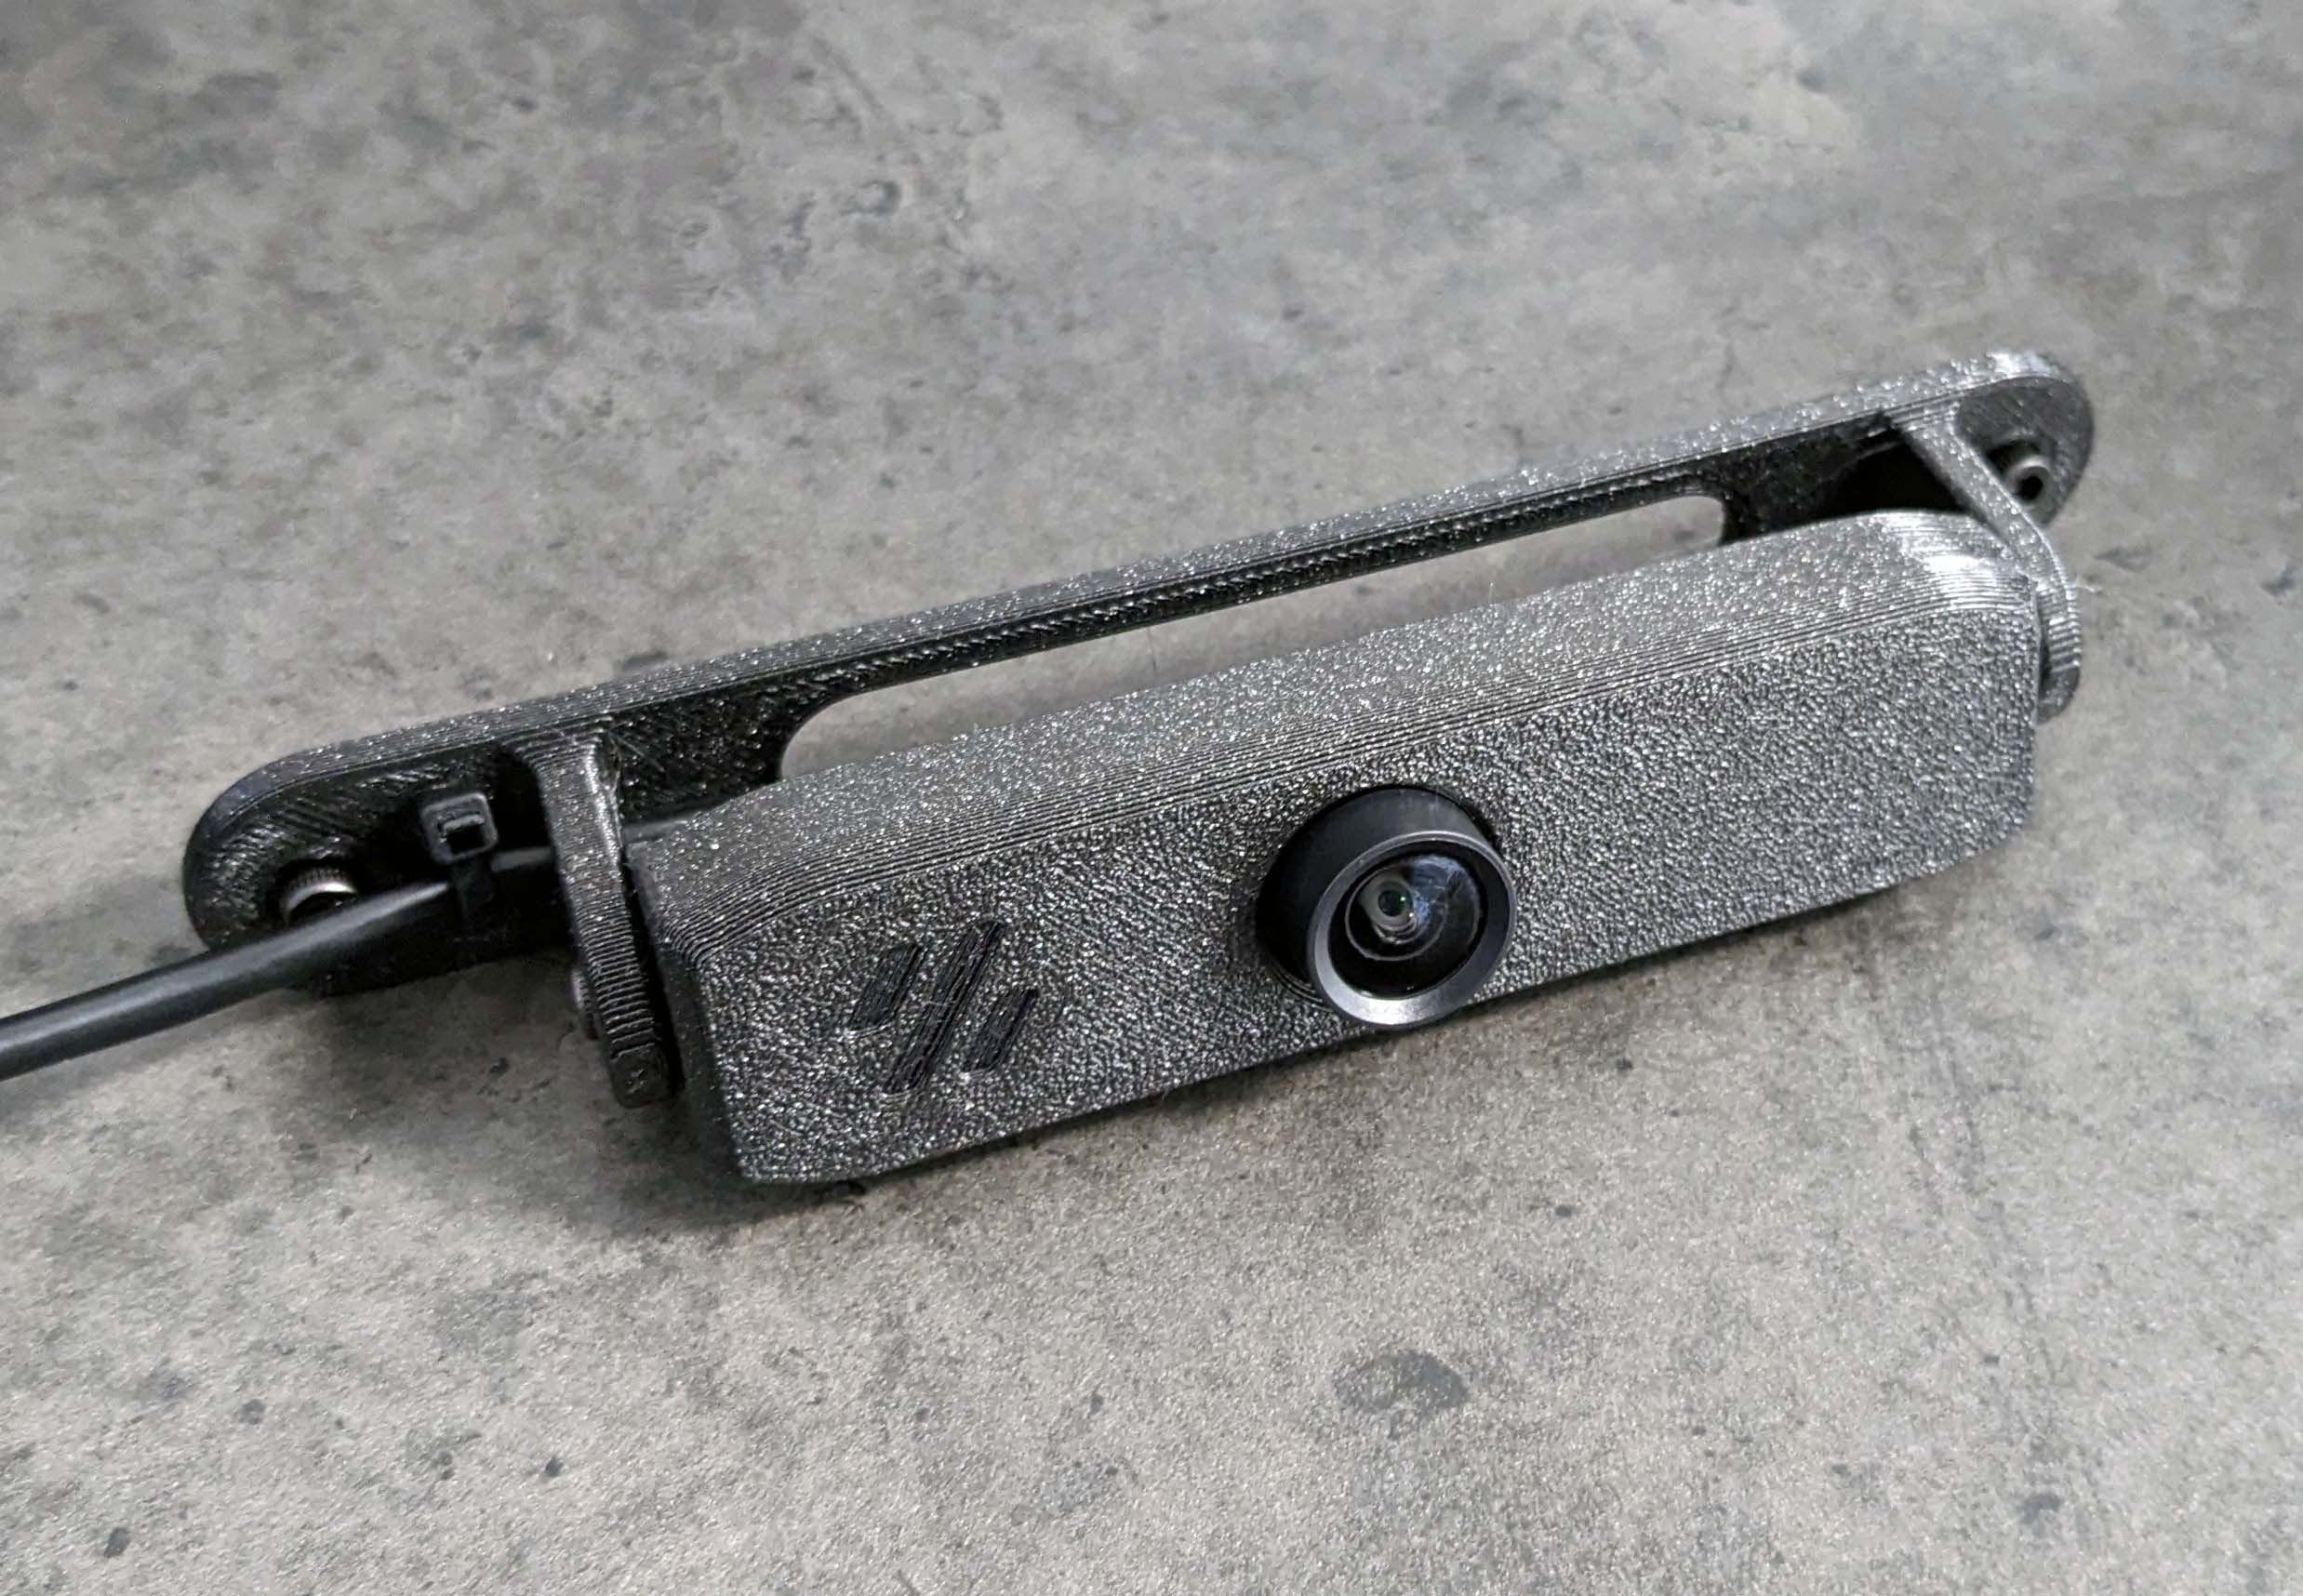
By chance, I had exactly this model still flying around with me, so I could directly convert and install the Aukey webcam. Unfortunately, I have a somewhat blurry spot in the middle, the lens has probably been damaged by the just mentioned flying around times. But for the moment it is enough.
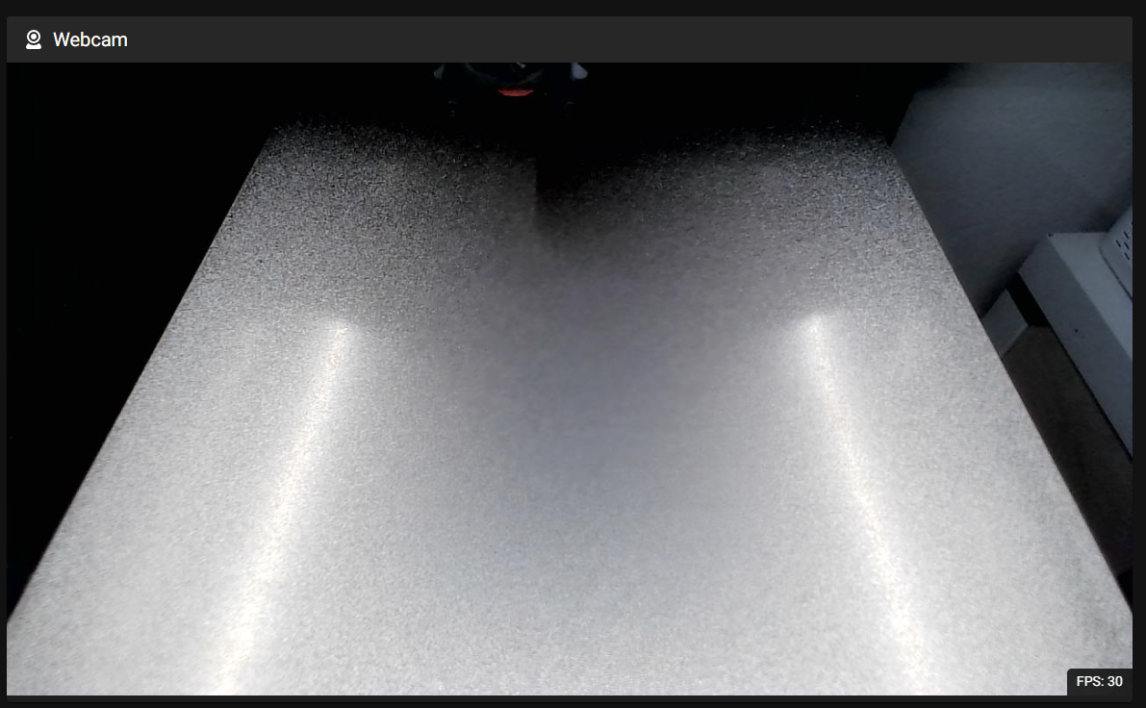
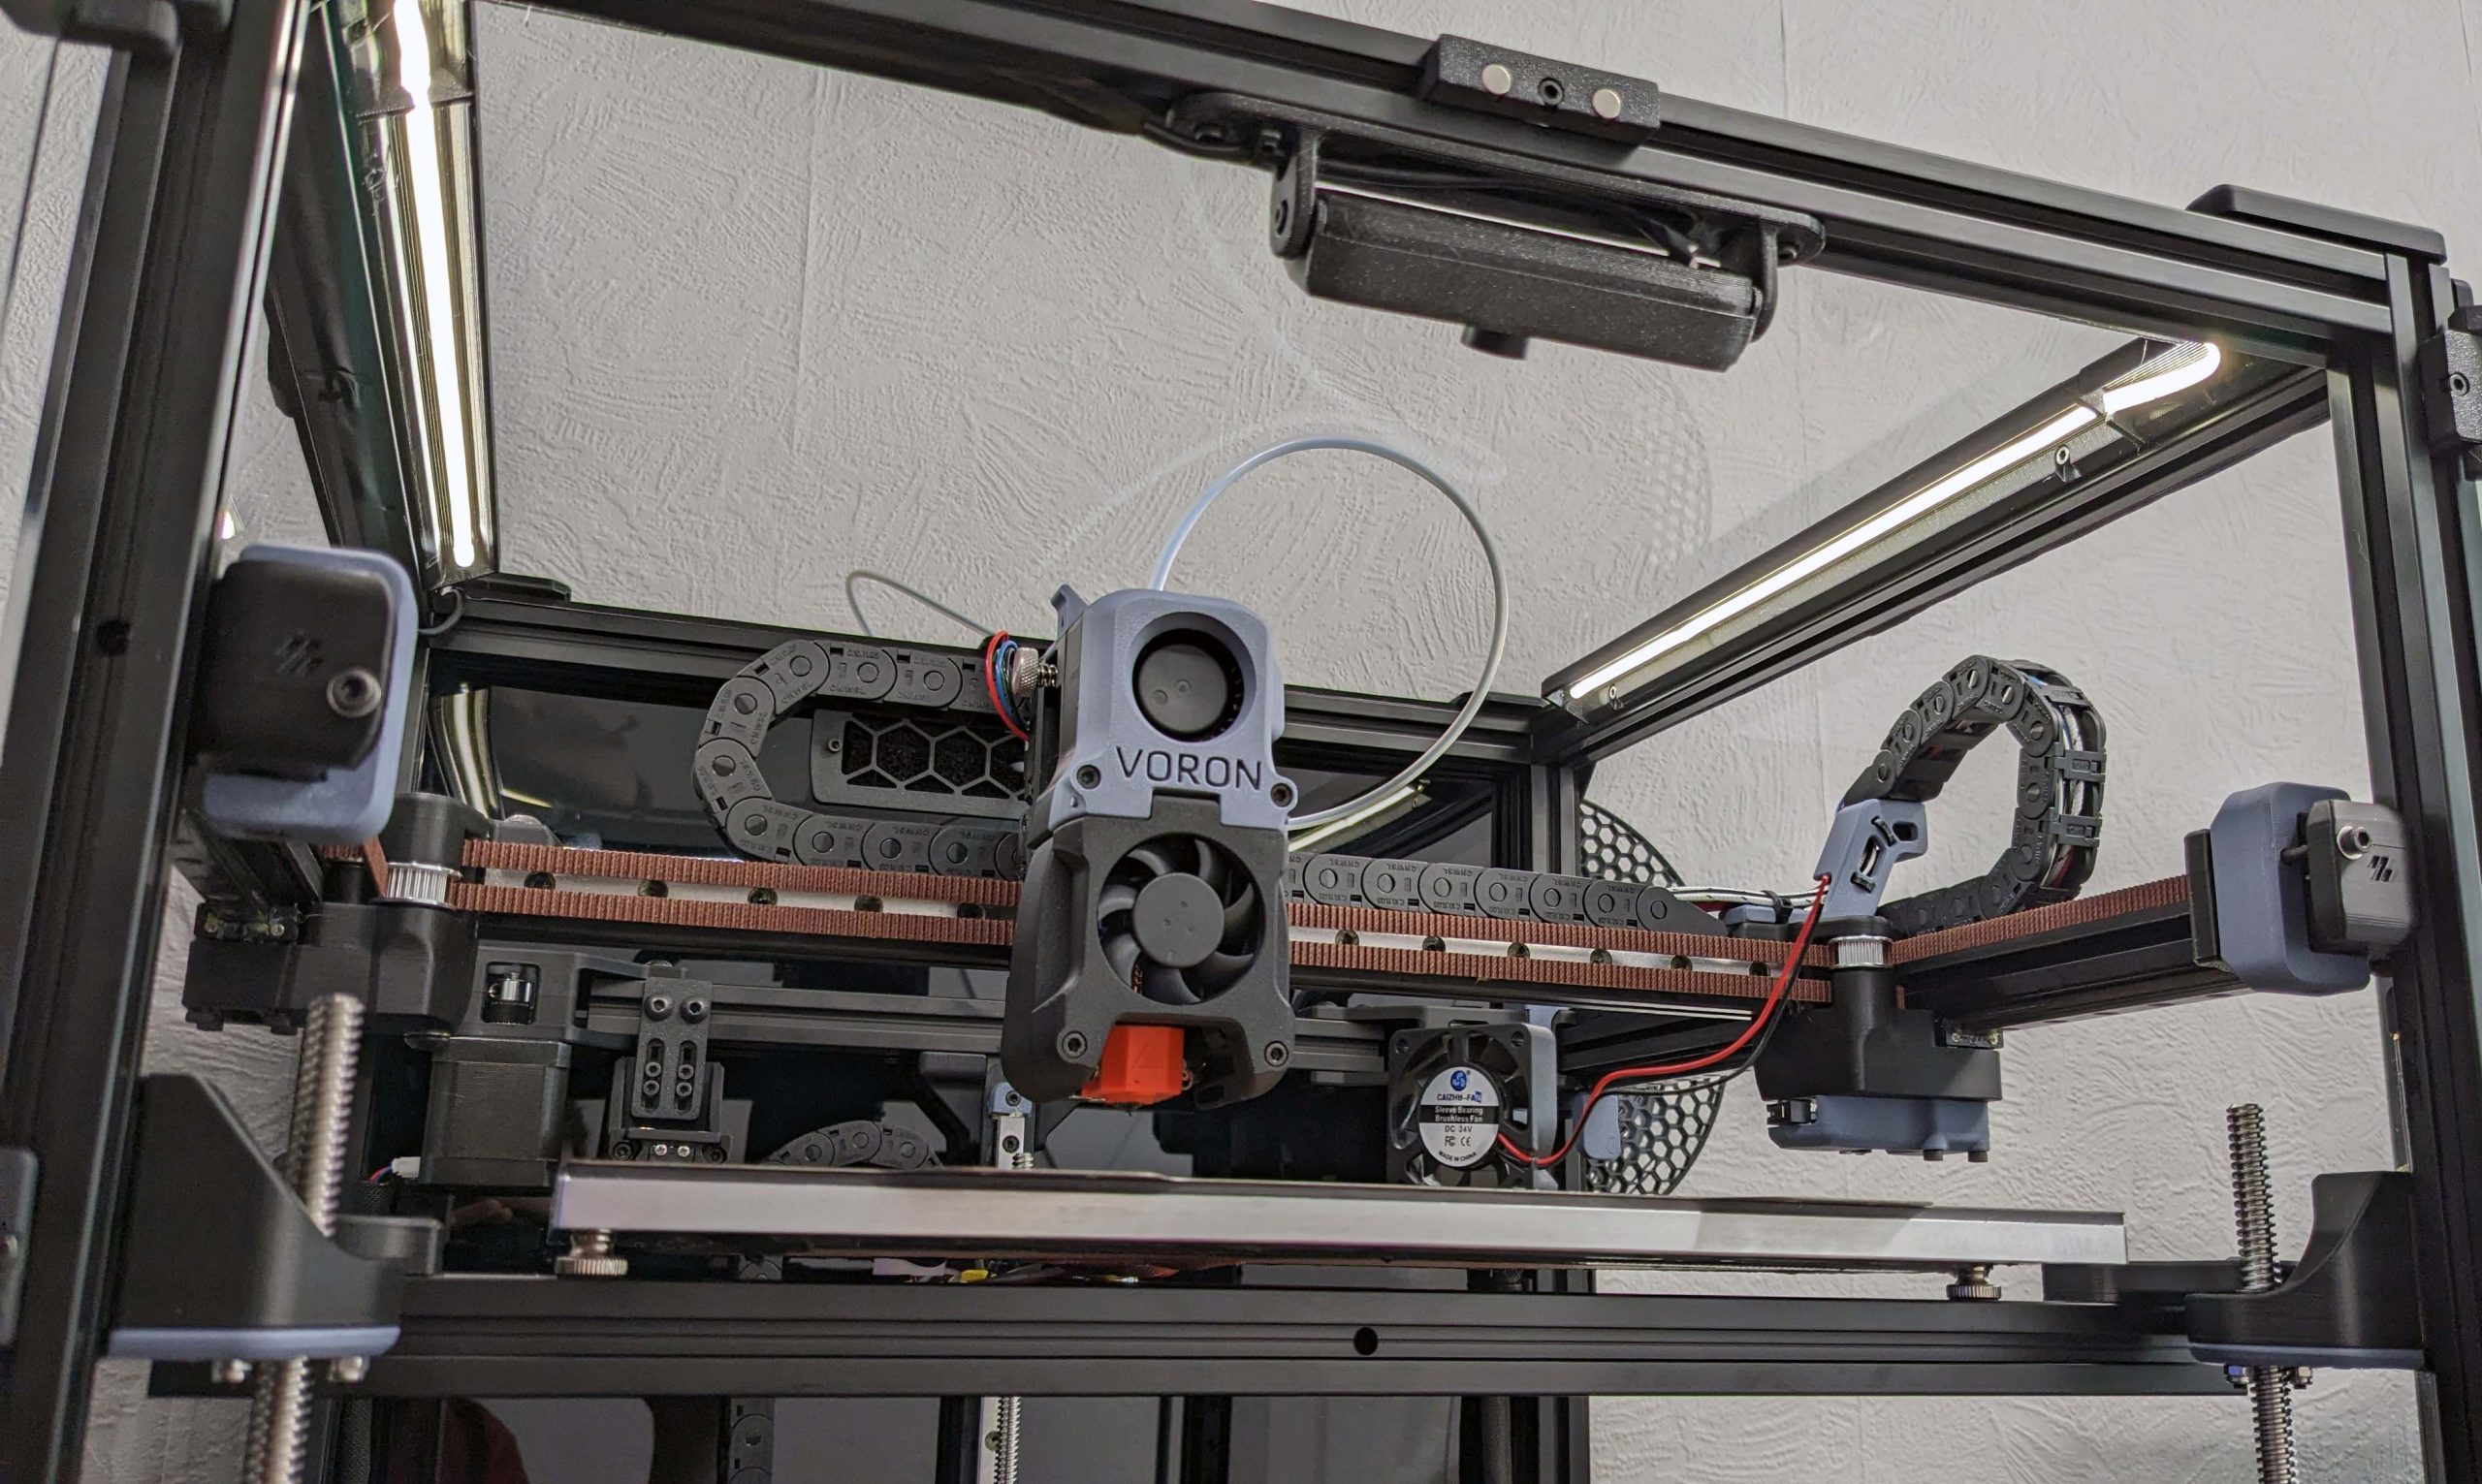
Next were the windows for the sides, the black panel with activated carbon filter for the back and the doors in the front. So that our webcam and I can see something in the dark, I also install LED strips in the top of the frame. In addition there is a suitable Bracket for self printing.
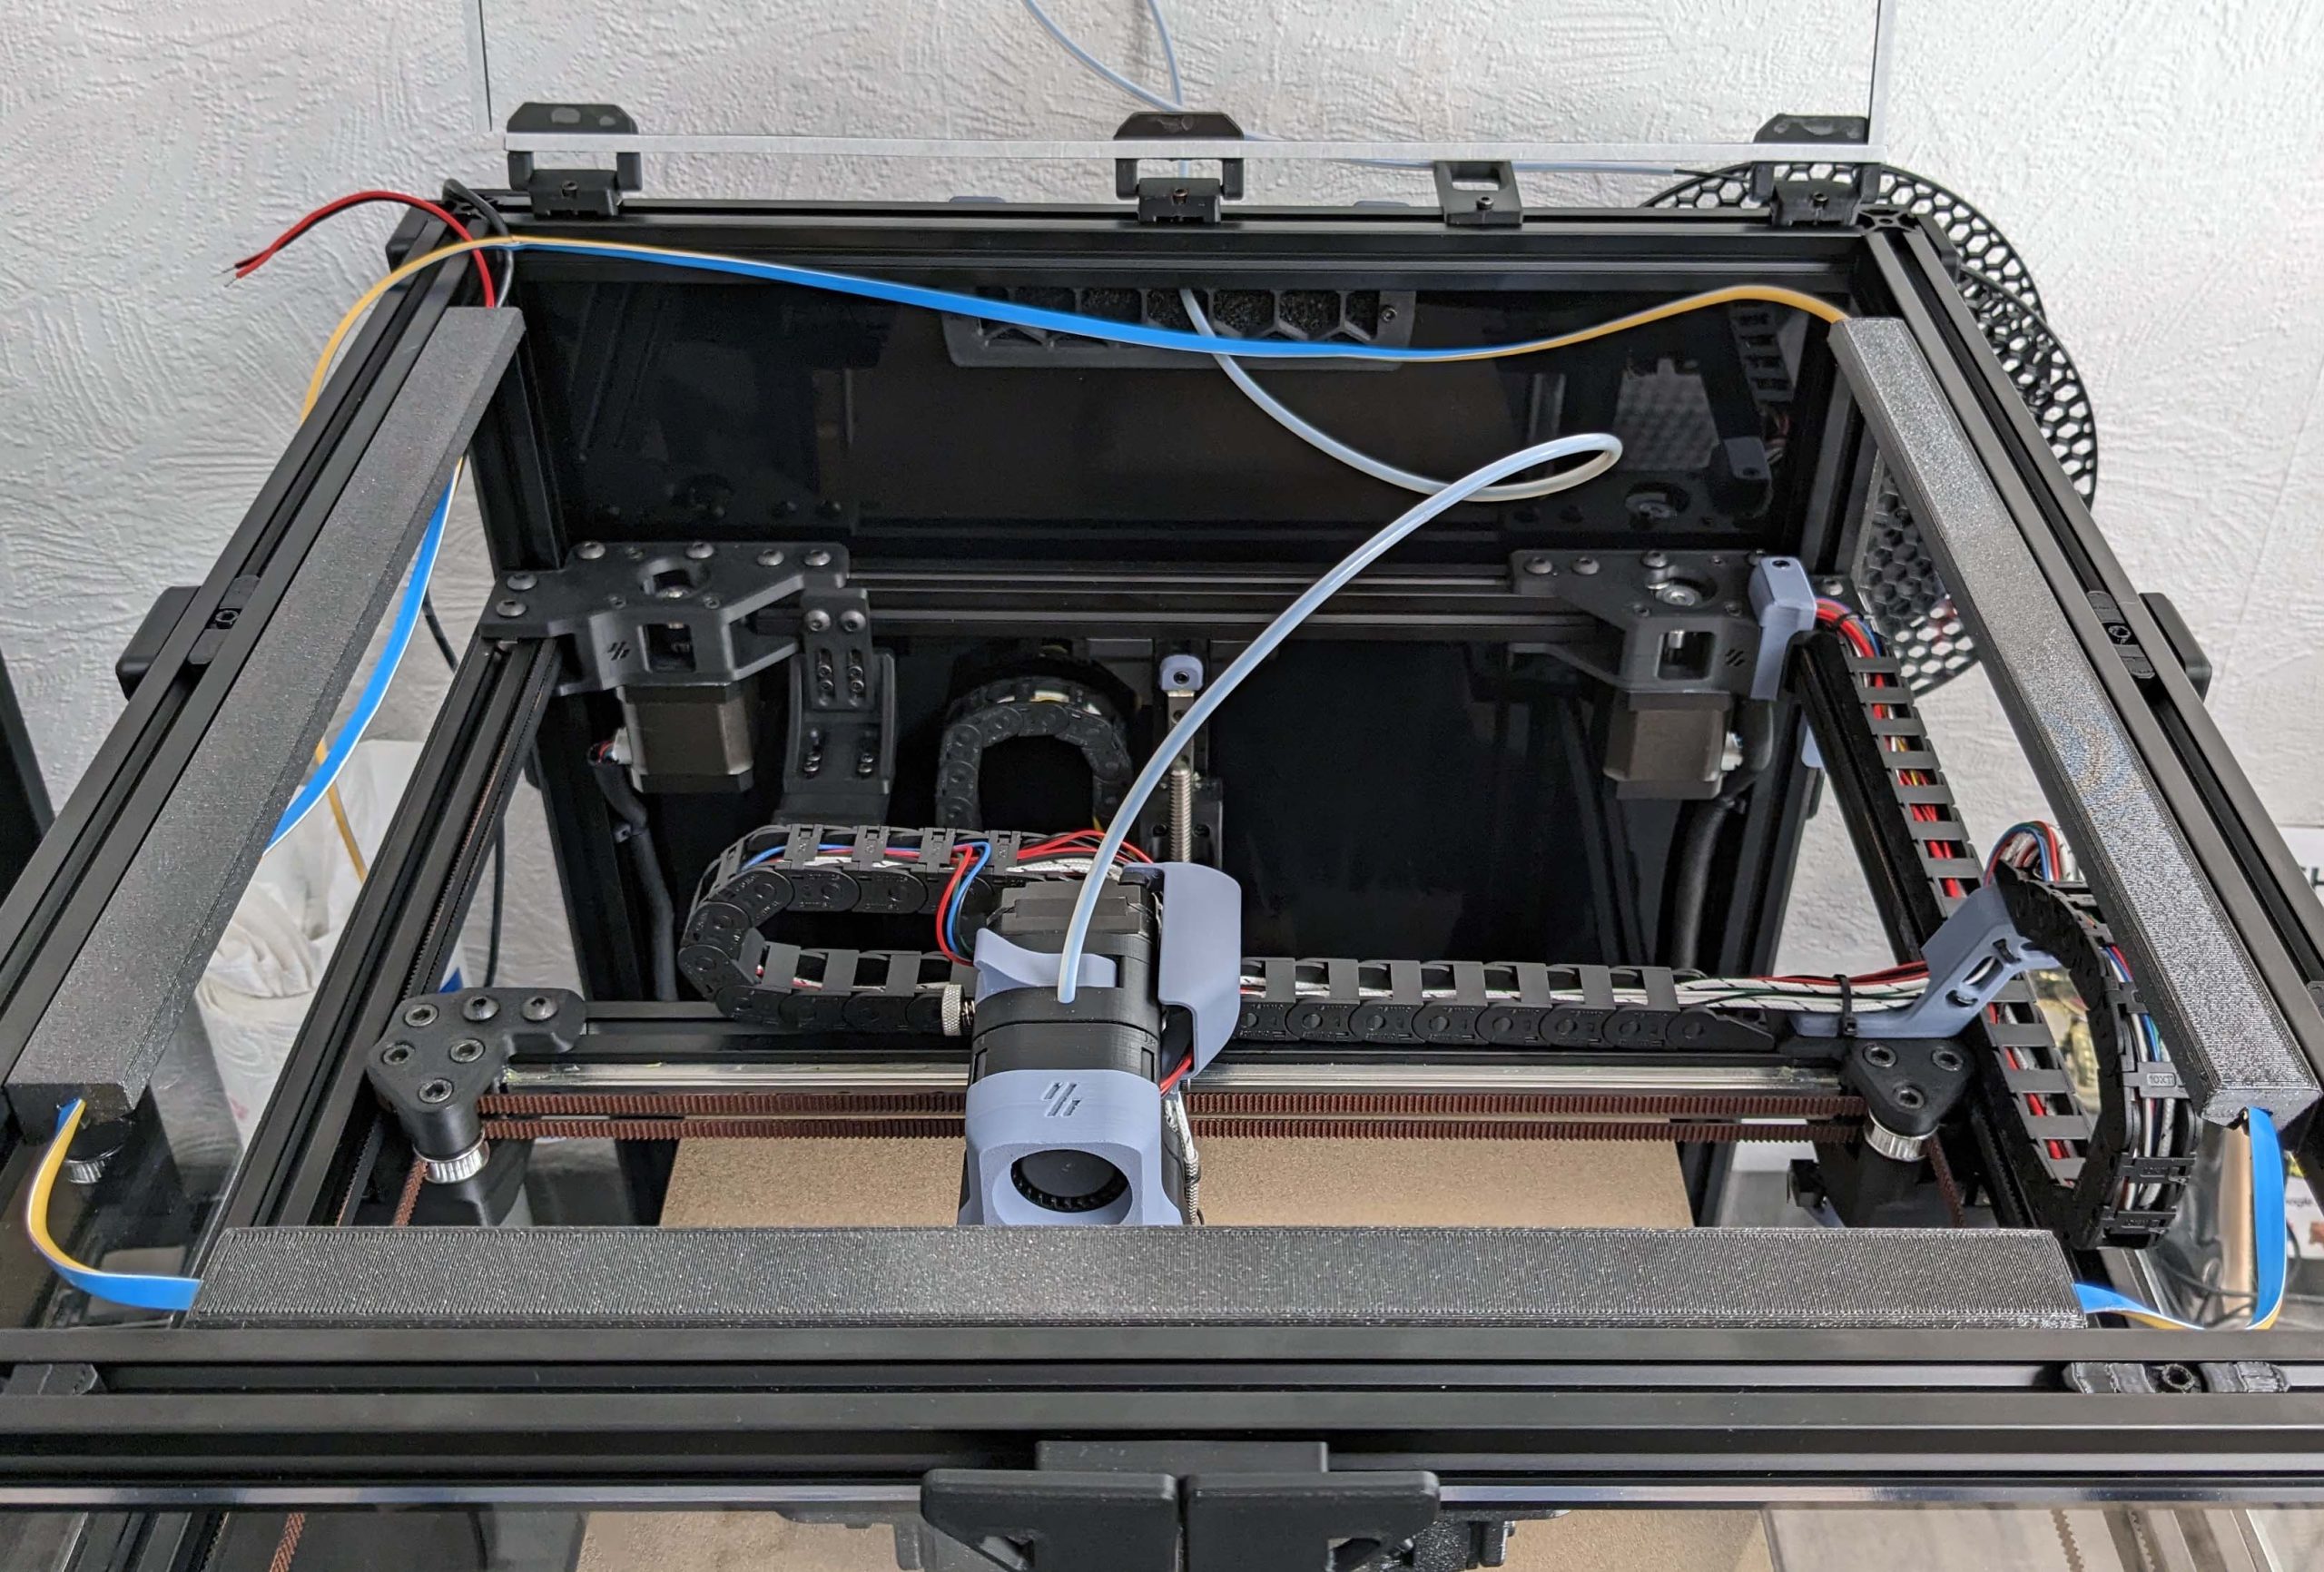
But there are two special features to mention here: Instead of the “normal” LED strips with SMD lights, I have decided to use so-called COB LED strips. These have a diffuser already integrated and a very high density of LEDs, both should benefit an even illumination.

In the aluminum extrusions you can also see another mod that makes access to the printer much easier: magnetic holders for the lid. Generally, you can use these holders for the other sides as well, but it was enough for me at the top.
I then simply printed another set of the hinges from the front doors and used them at the back of the printer. This makes it easy to open the lid.

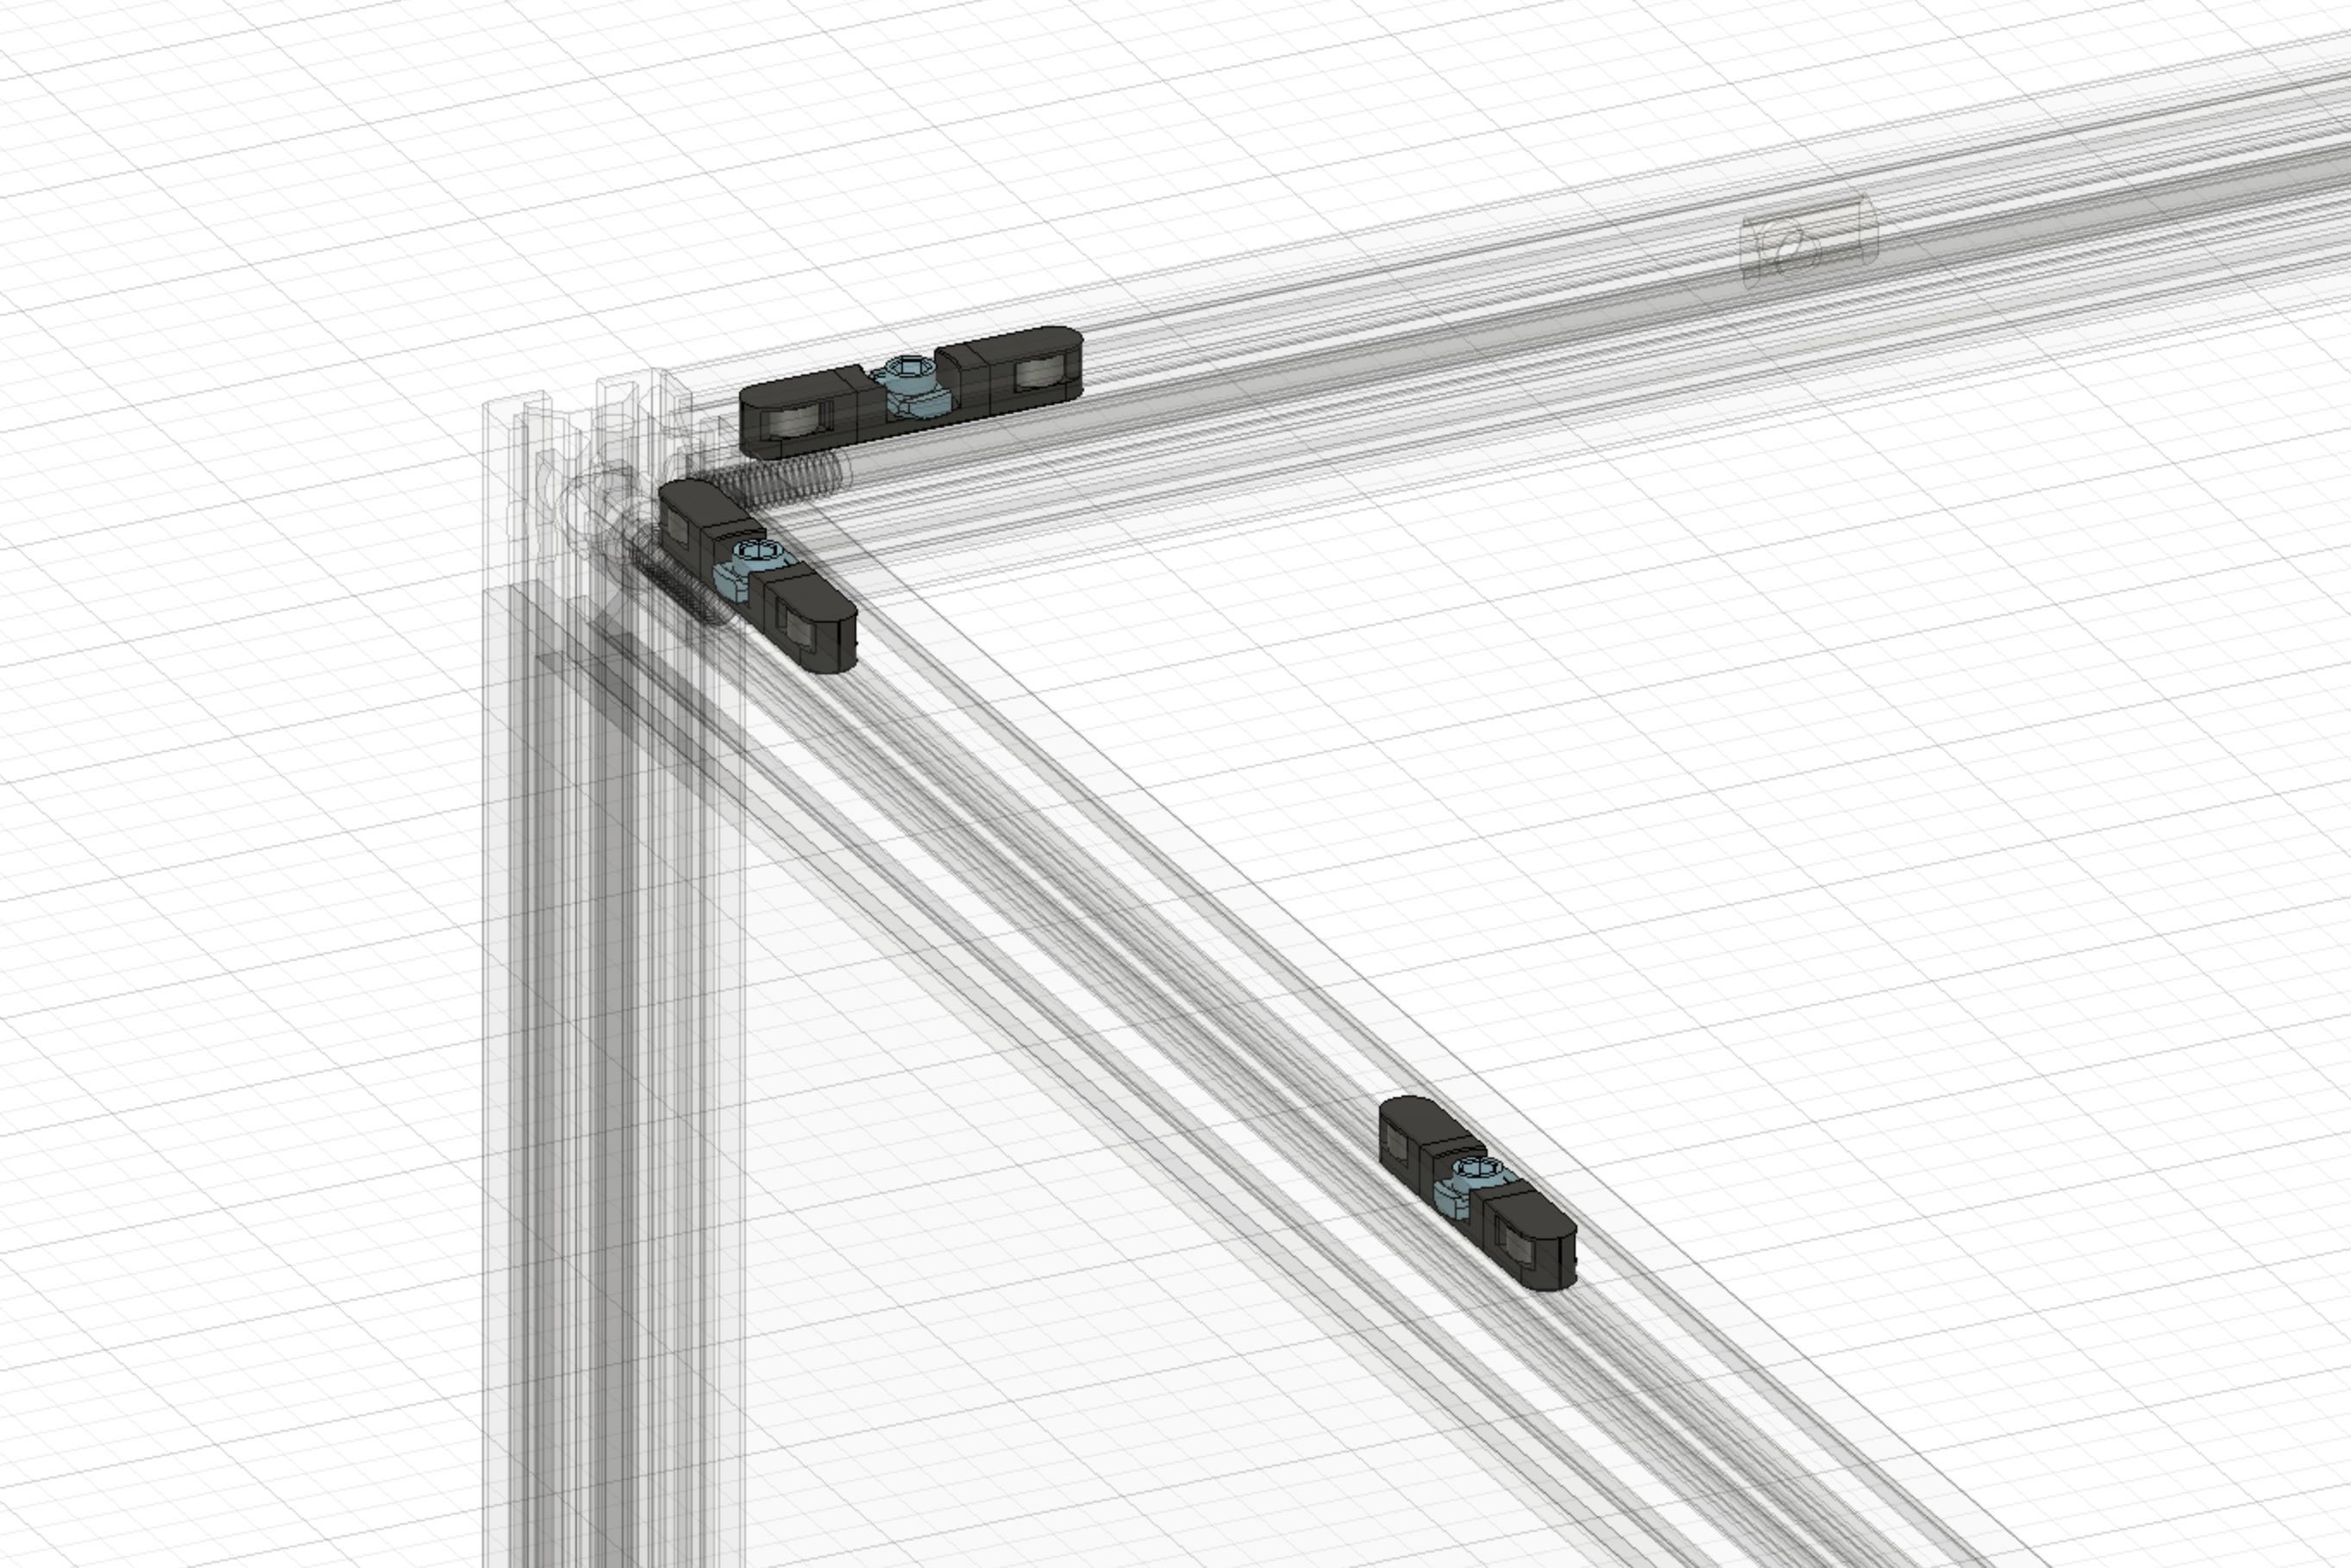
And since I also wanted to lay LEDs around the corners, I quickly created angle brackets myself. These can be downloaded download from Printables.
With some leftover magnets and the cut off head of a brass brush I created a a printable “Nozzle Scrubber which removes filament that escapes during heating before starting a print job.
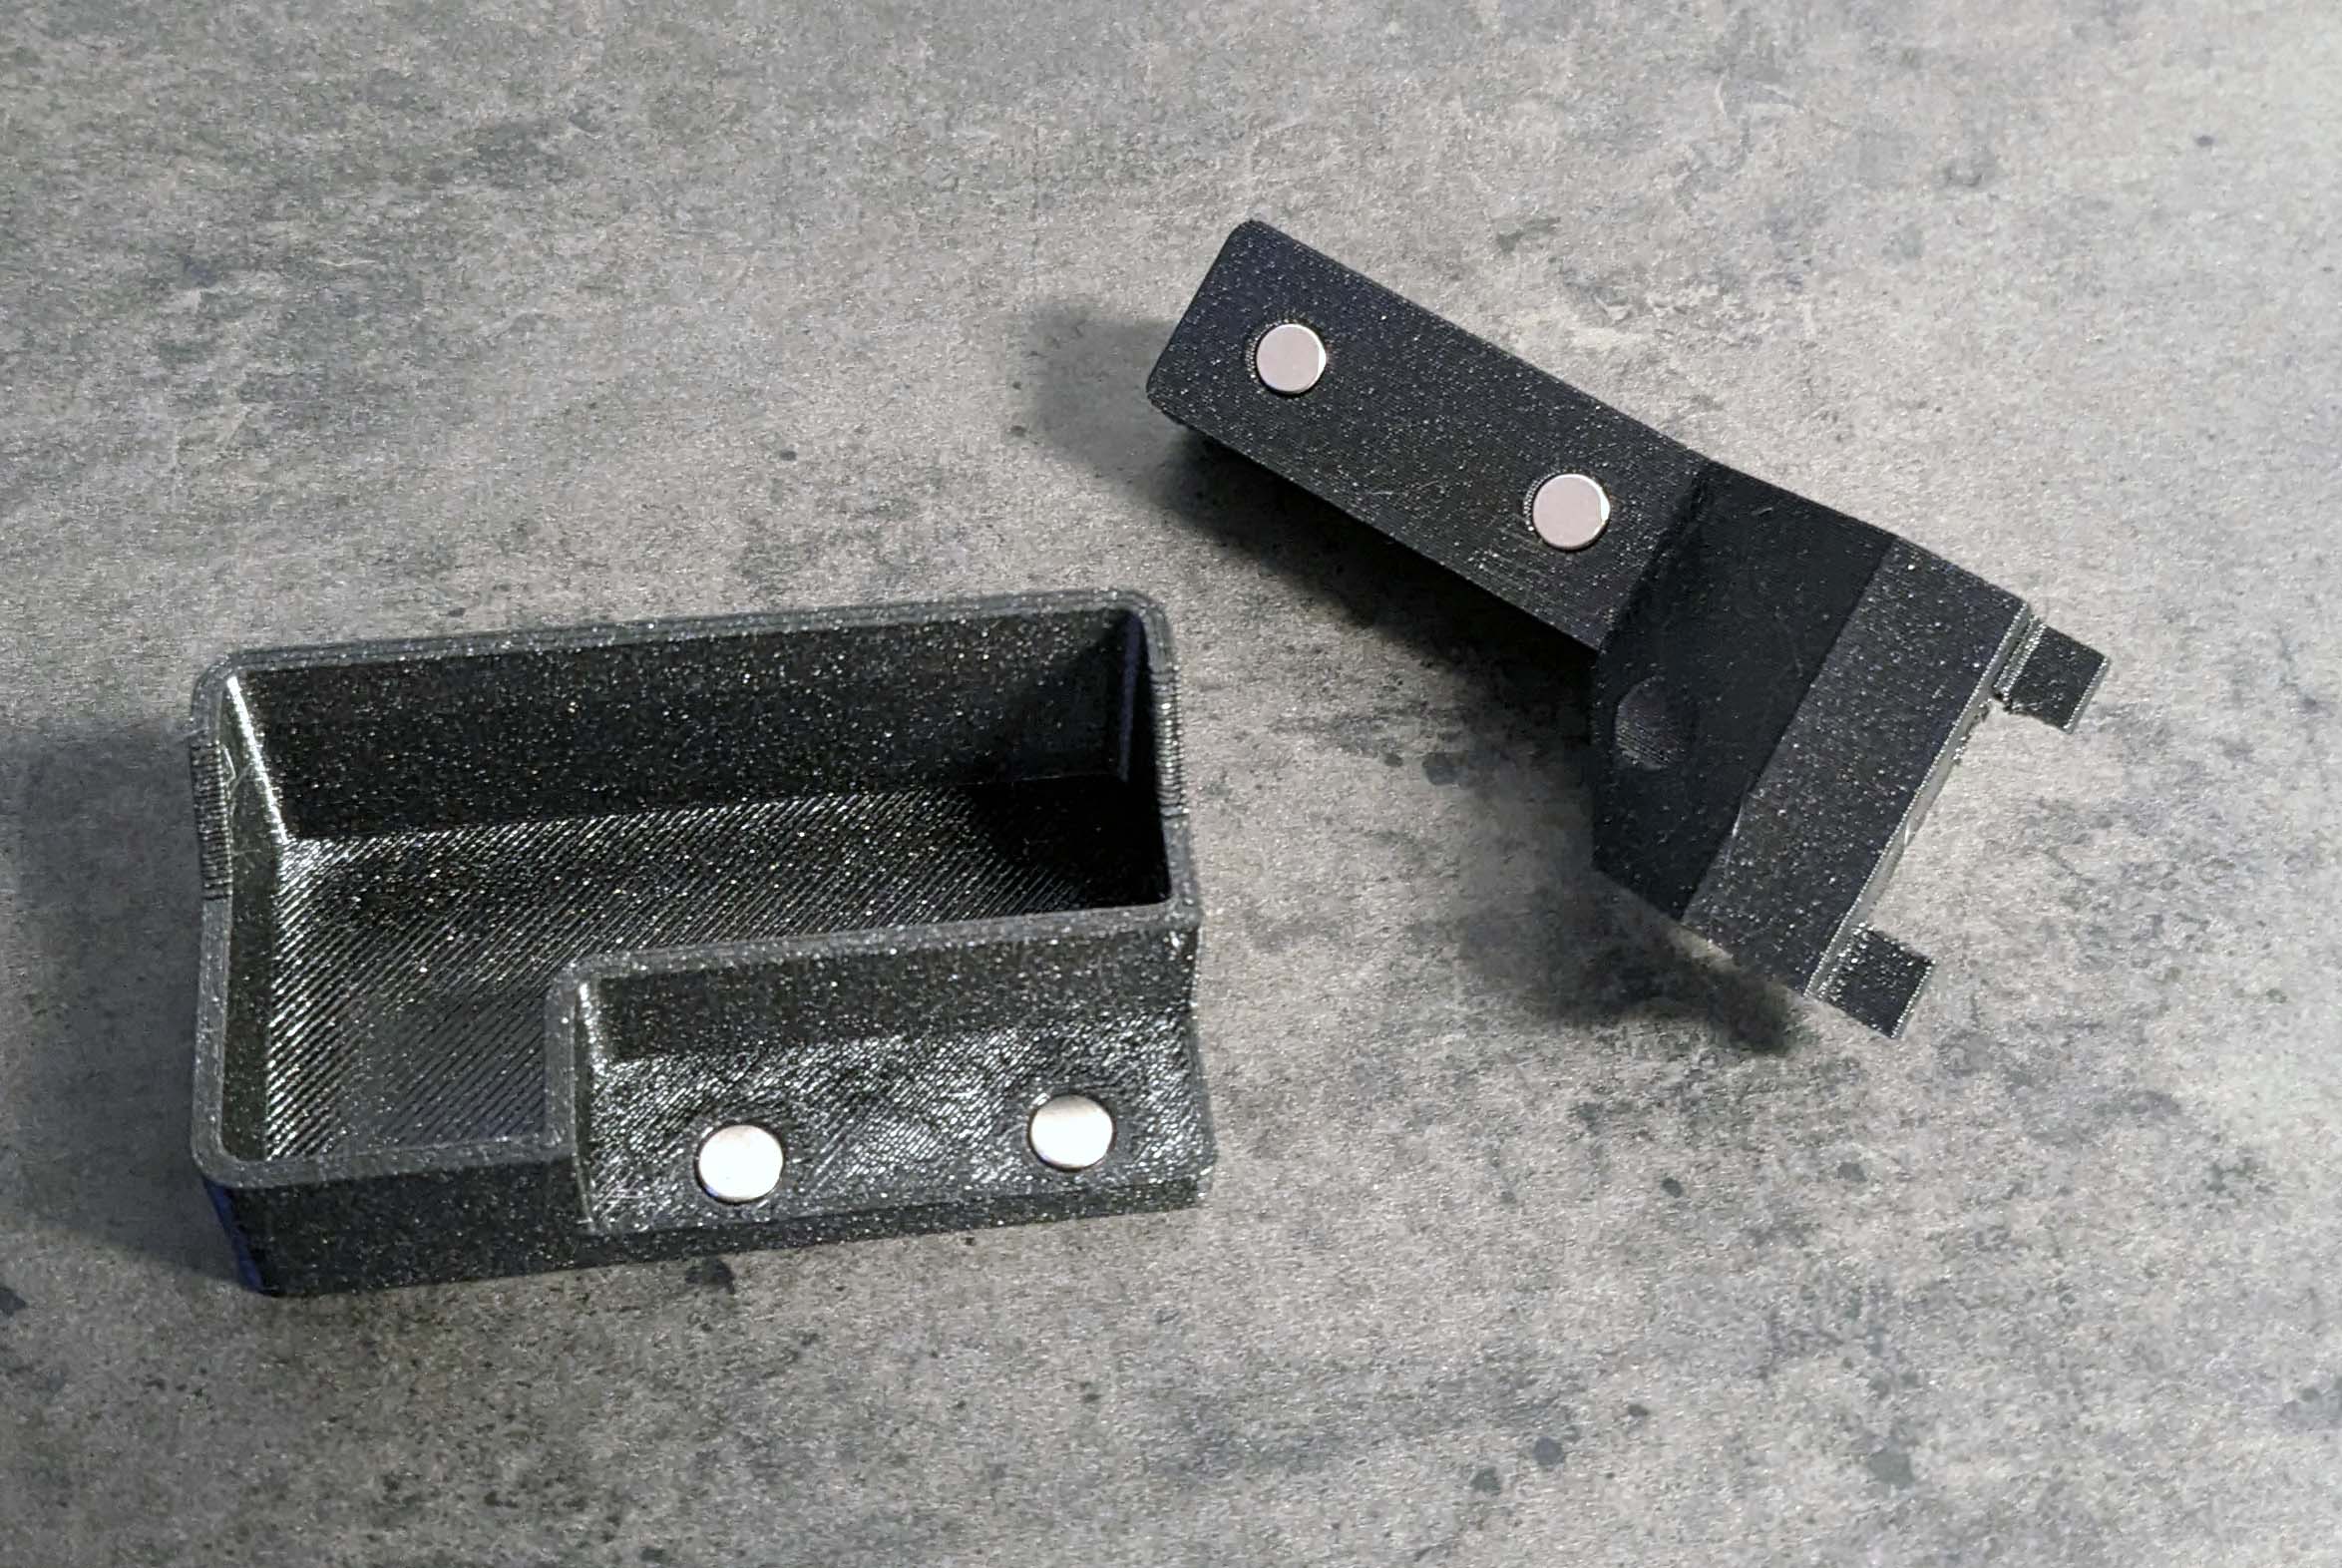
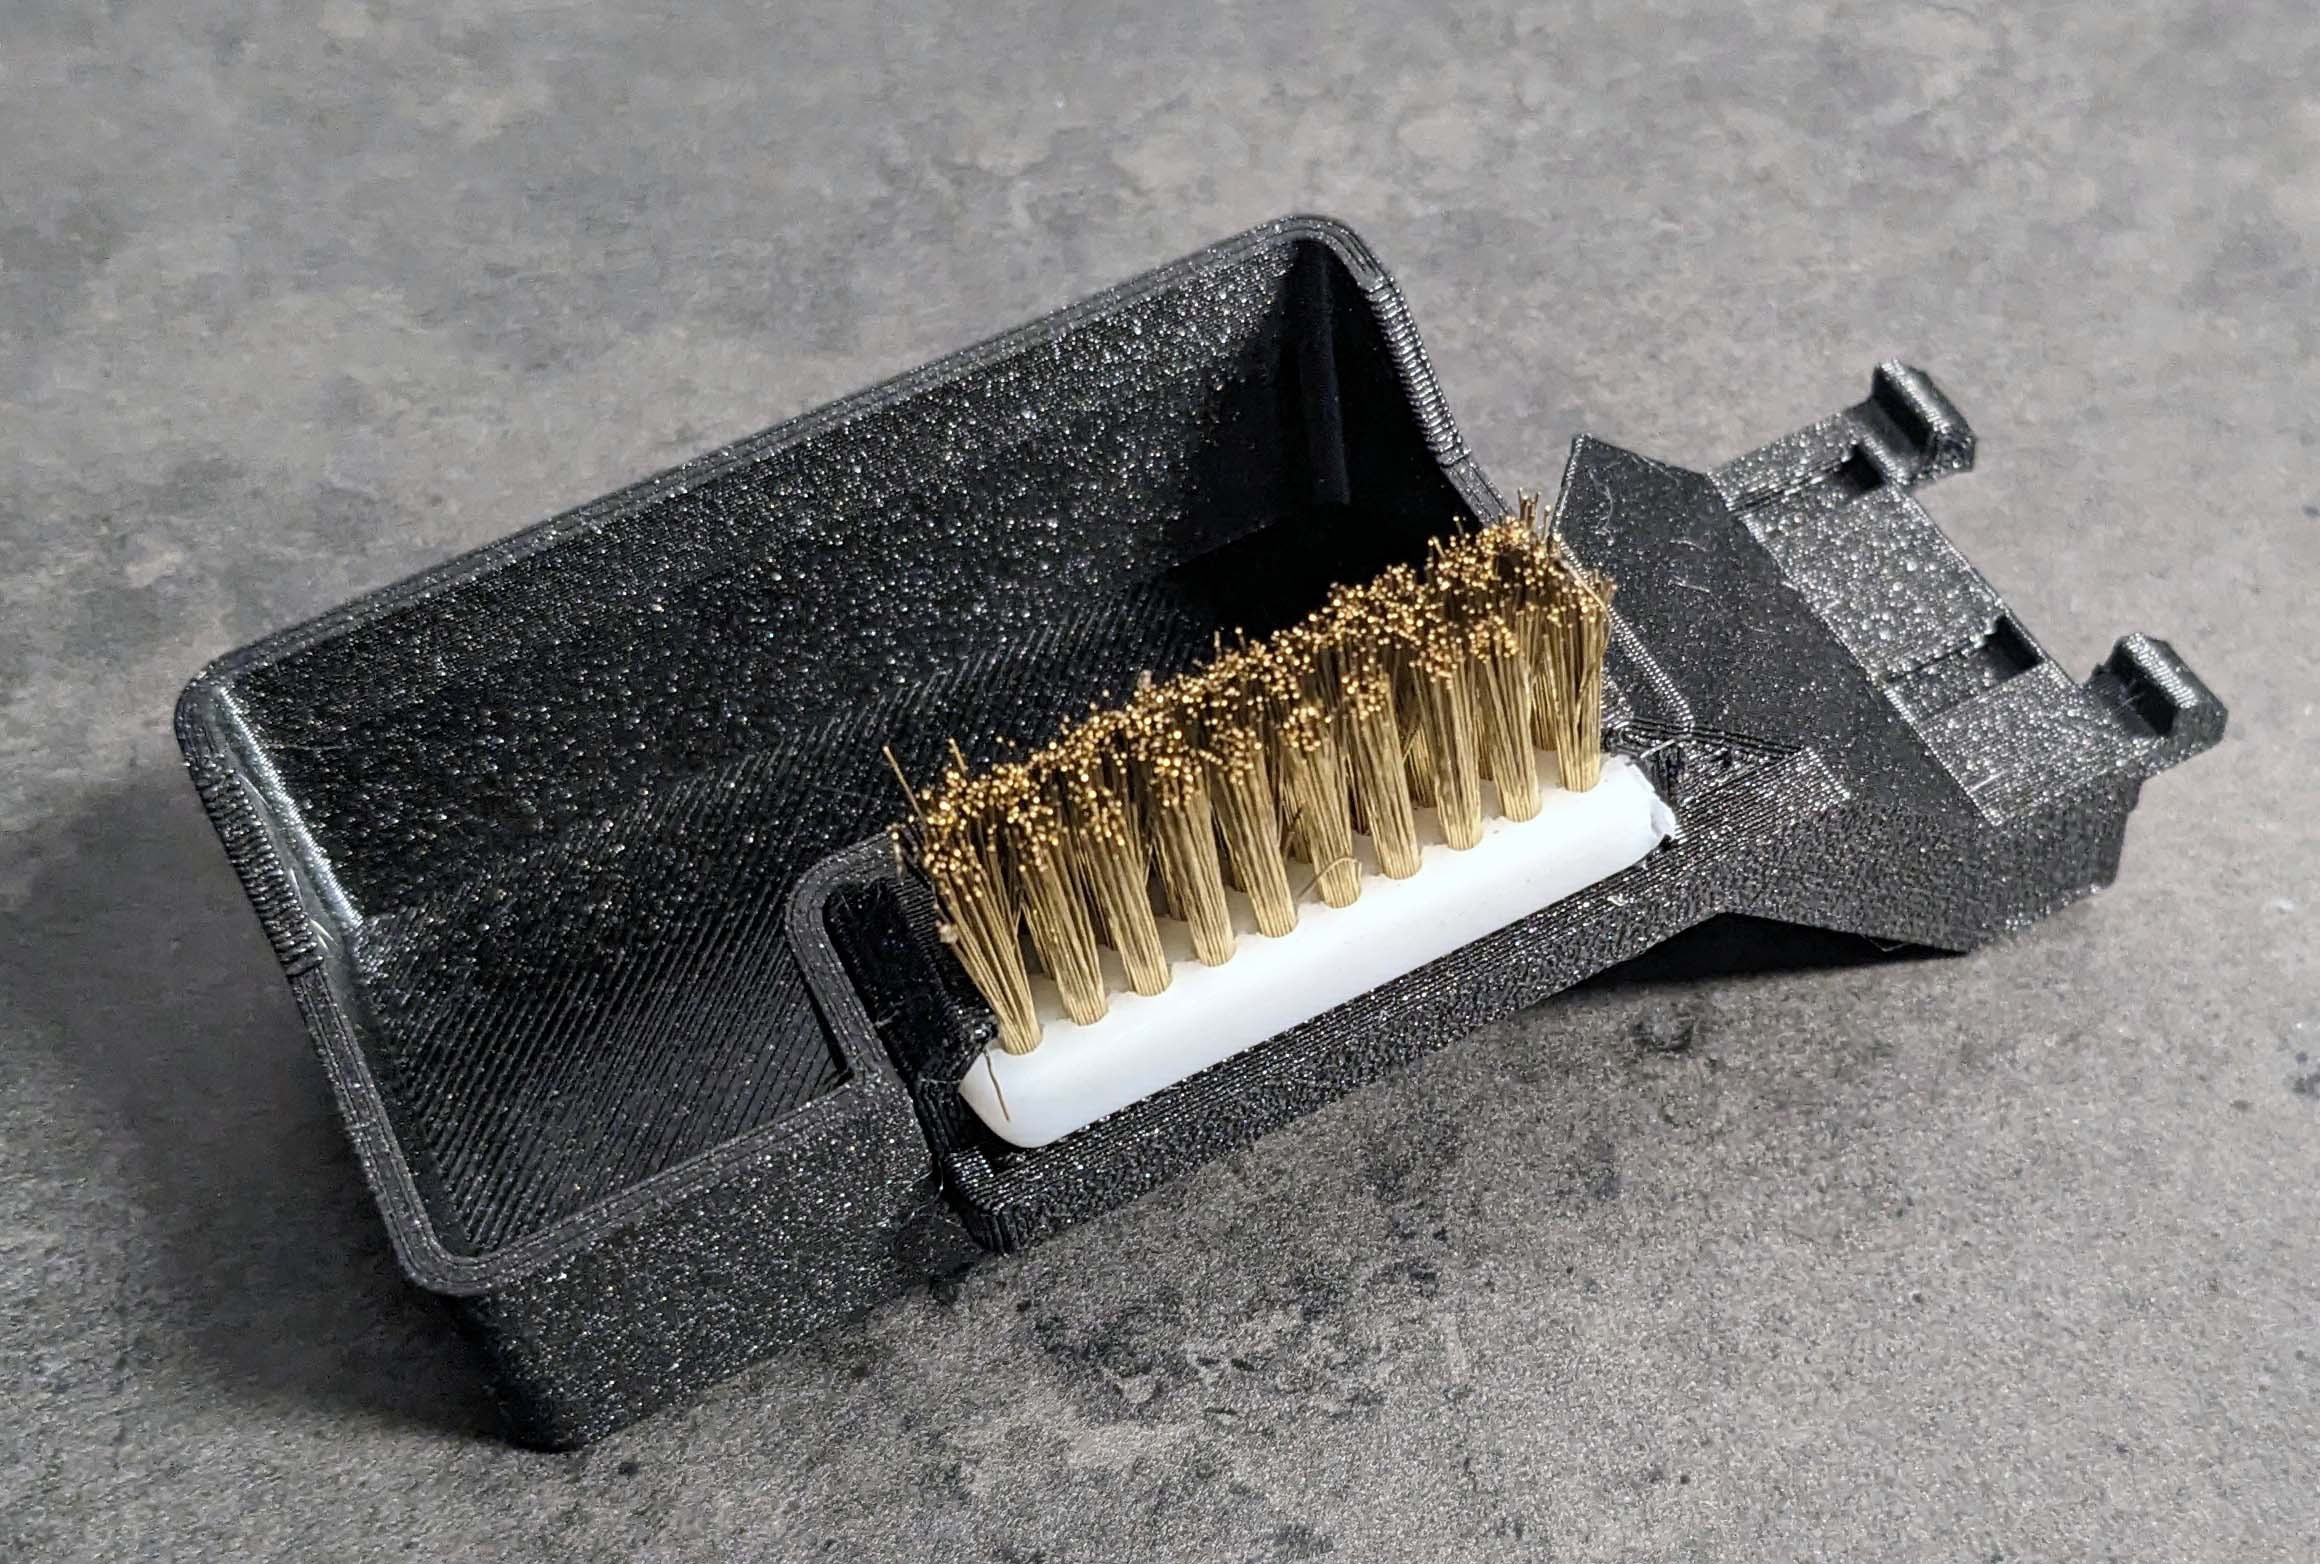
The whole thing is mounted at the very edge of the print bed, and a predefined macro lets the print head pass through the brushes a few times.
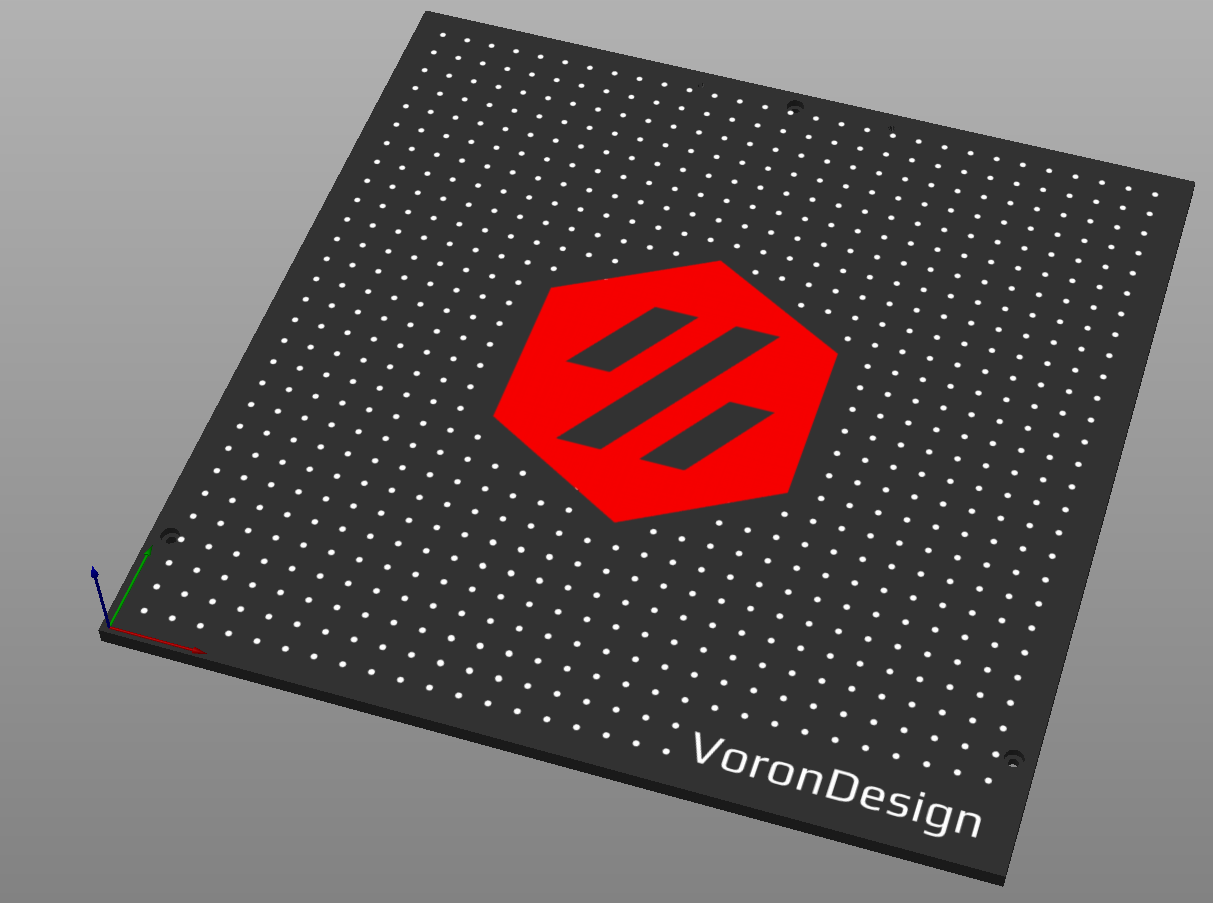
As a base for the printer I simply bought for little money a Cement walkway slab in suitable size from the local hardware store. I added the black corners to round it off a bit and hide the not-so-pretty edges.
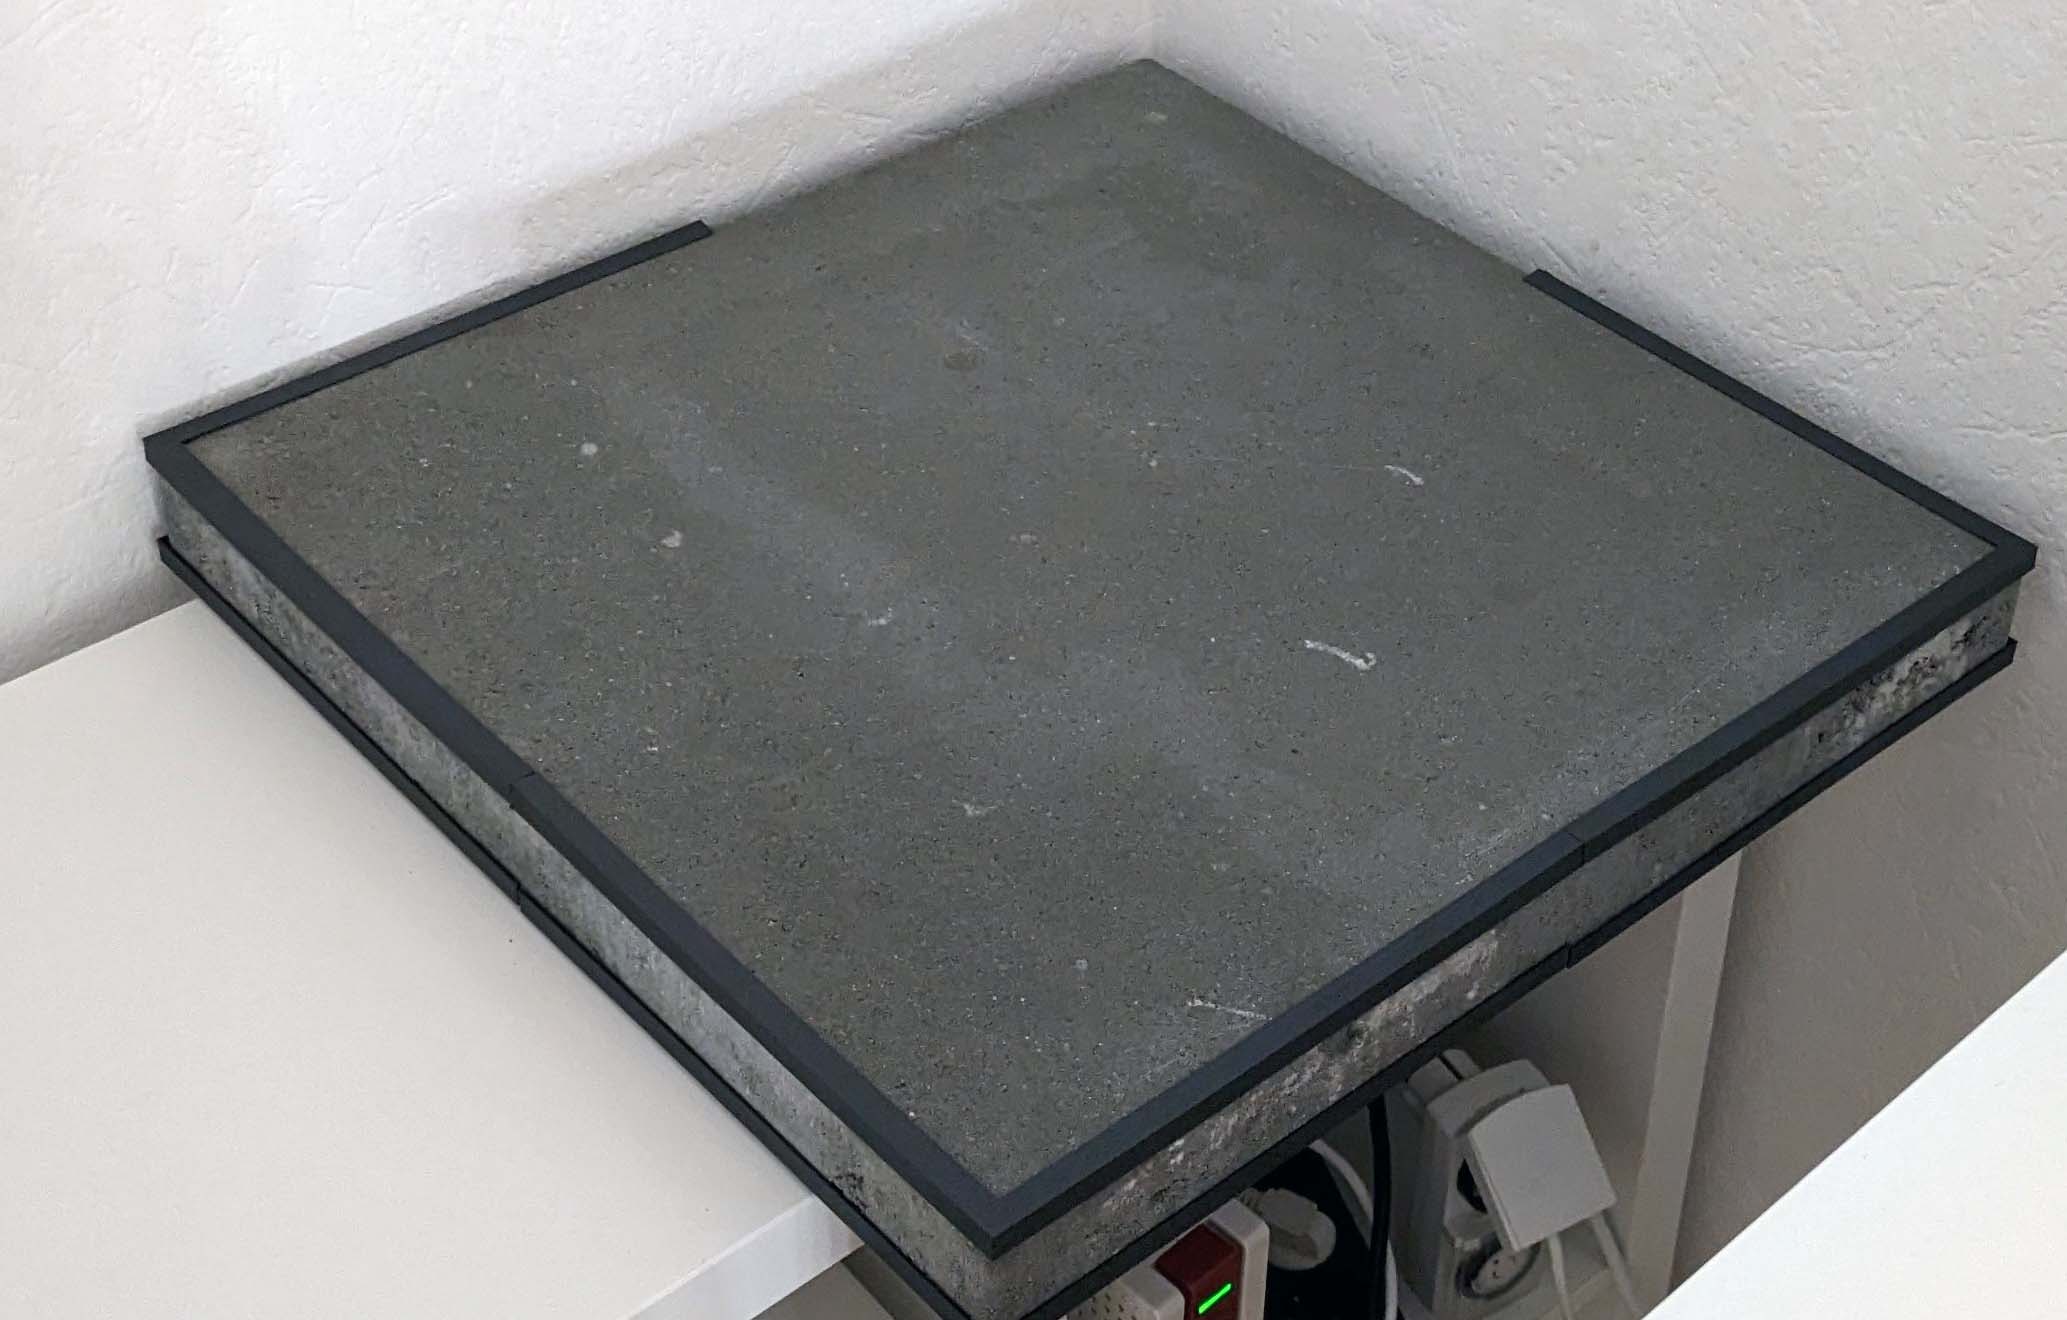
And what vibrations are not swallowed by the inertia of the 22kg heavy plate, should then be absorbed by the underlying Rubber mat should be absorbed by the rubber mat underneath. Overall, a very stable base that I’m happy with so far.
I use the PrusaSlicerhalf out of habit and half because of the many useful features. But in the Voron community is also the SuperSlicer is also popular. Thanks to the support for third-party printers, various Voron models are now also available in PrusaSlicer, but the Trident is unfortunately only available in the old version as Voron v1. I have therefore simply taken the profile of the newer Voron 2.4 as a basis, a suitable 3D model for the print bed was available in the Github of the SuperSlicer.
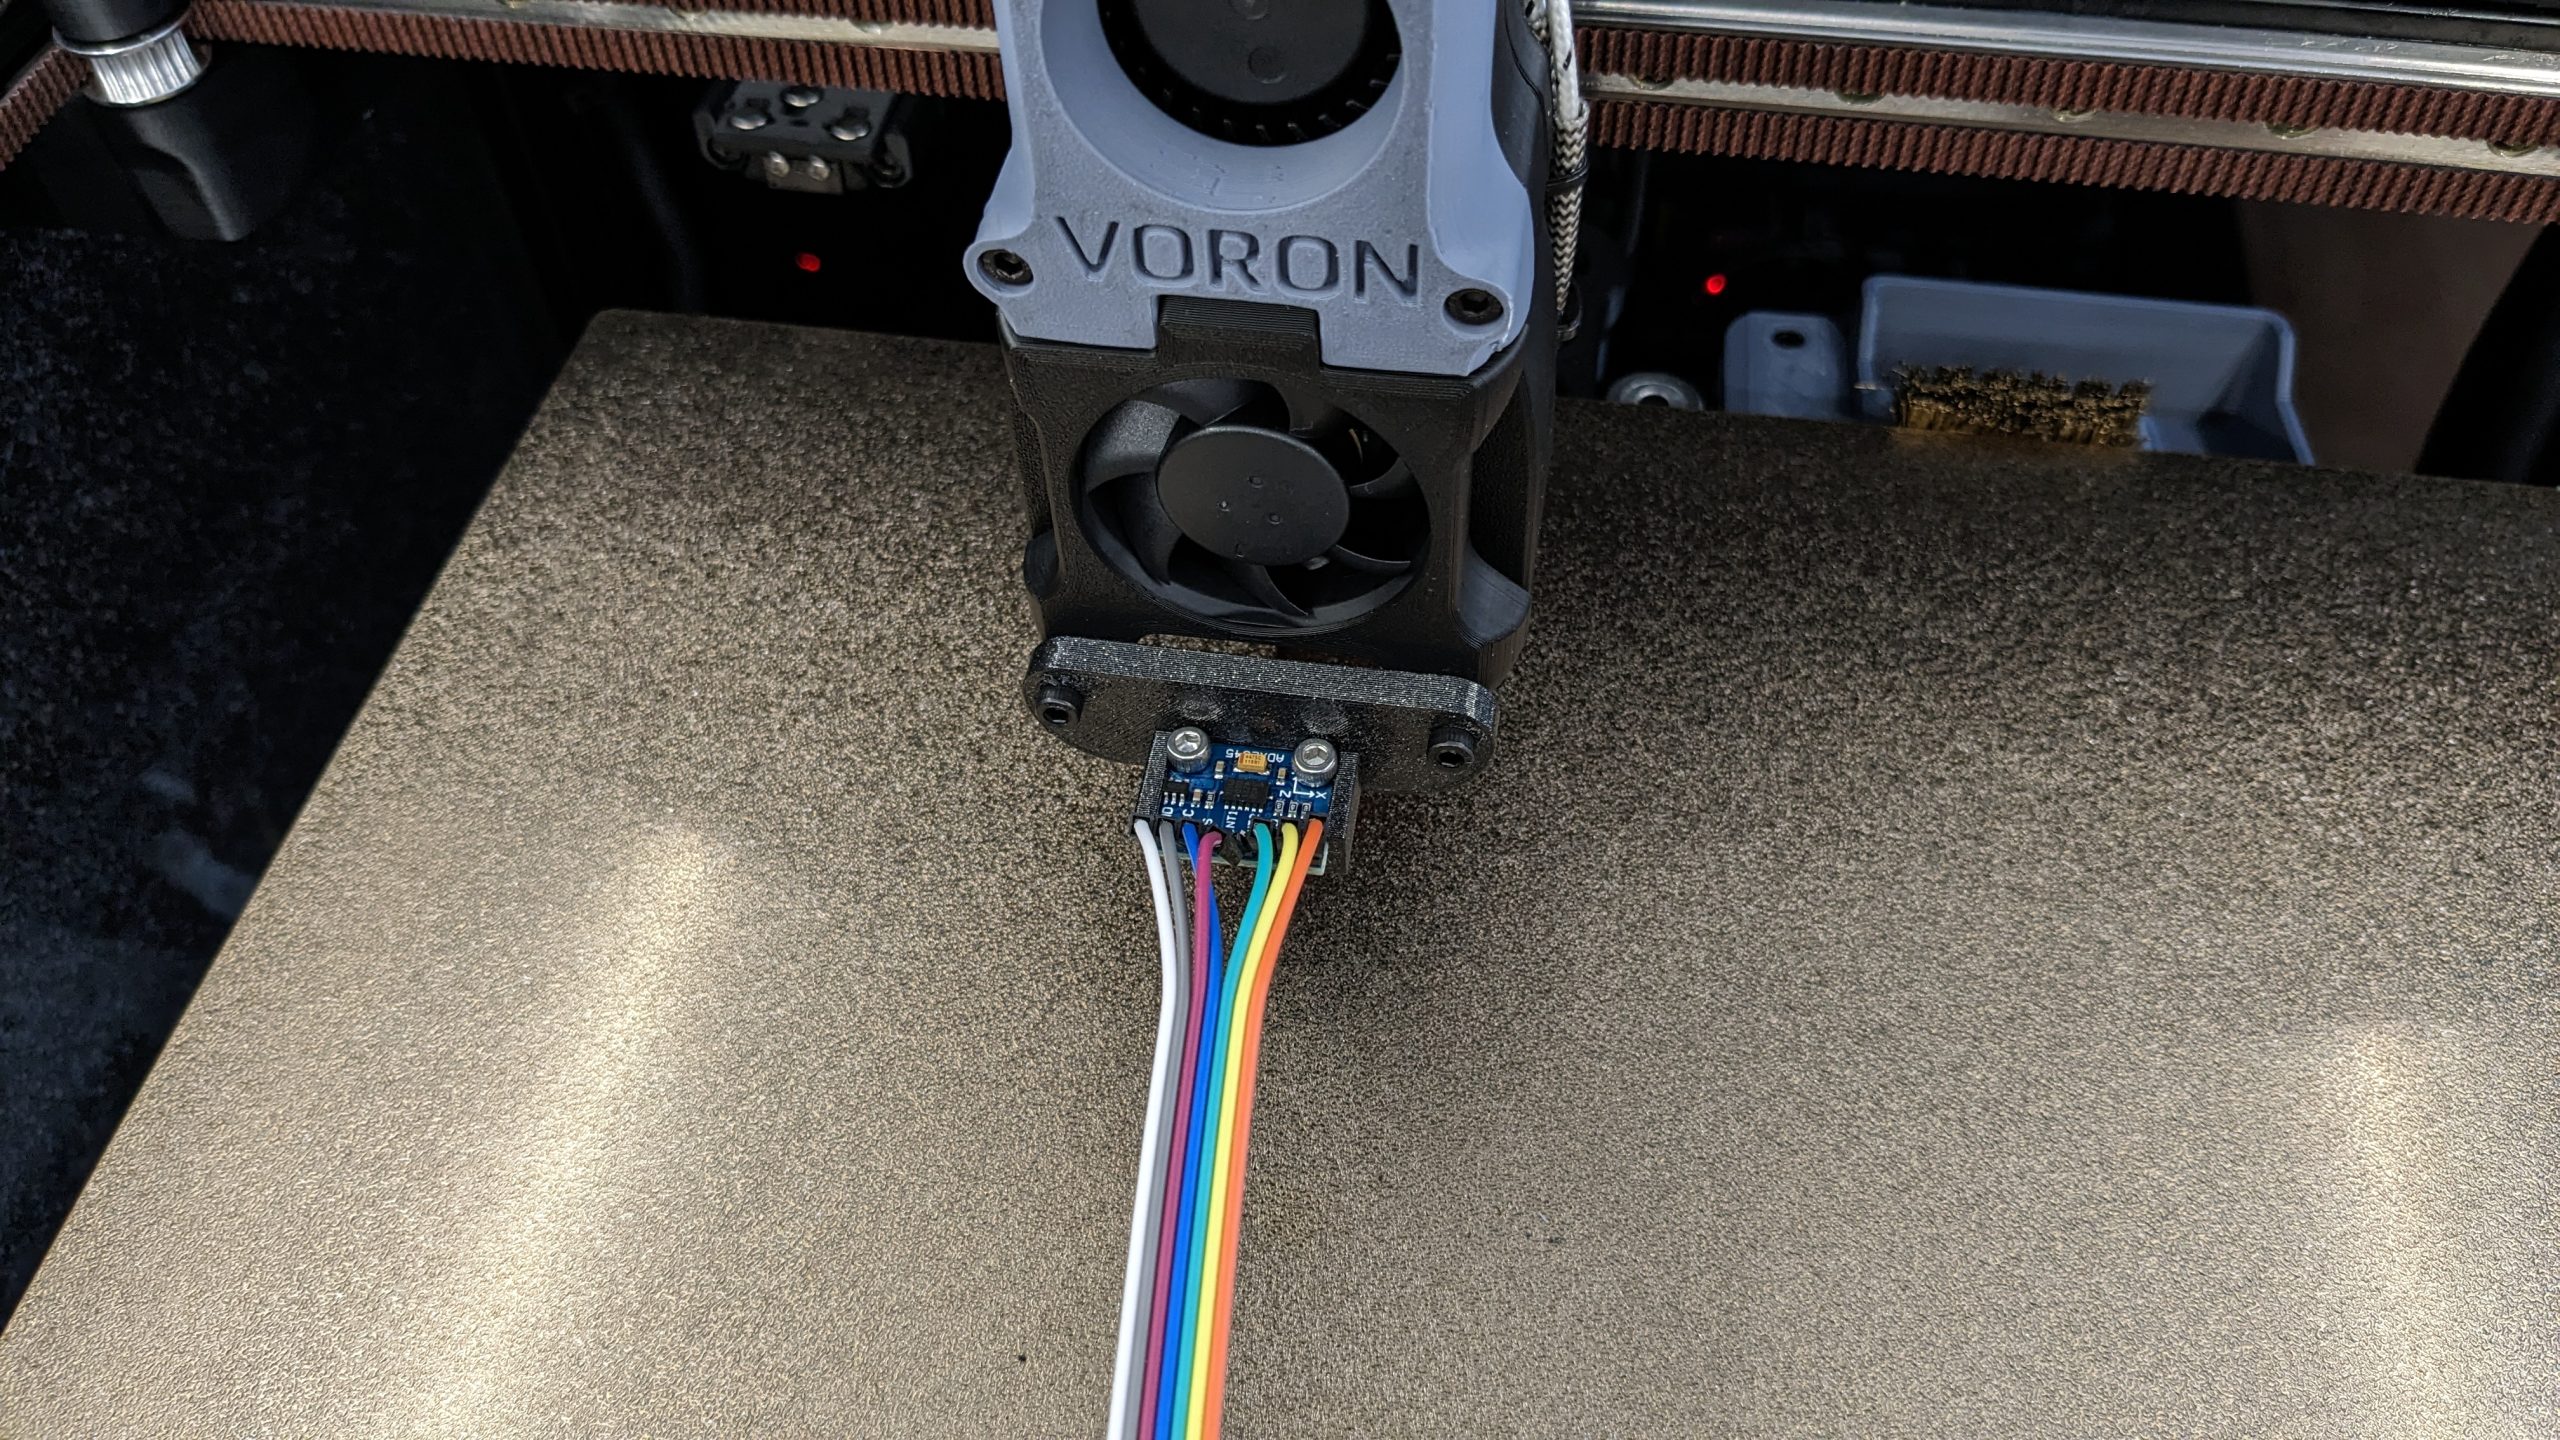
Since the Voron runs with Klipper and this firmware offers many useful functions, I have already calibrated one of them directly: Input Shaper. Thanks to an ADXL345 accelerometer in conjunction with the Raspberry Pi, it is possible to roughly find out how fast the printer can print without artifacts. The topic is quite complex and extensive, but it is worth fine-tuning there. This is the only way to achieve really high speeds.


50 Antworten
Kommentar
Lade neue Kommentare
Moderator
Urgestein
Moderator
Urgestein
Moderator
Moderator
Mitglied
Urgestein
Moderator
Moderator
Urgestein
Urgestein
Mitglied
Mitglied
Urgestein
Mitglied
Moderator
Mitglied
Urgestein
Alle Kommentare lesen unter igor´sLAB Community →