


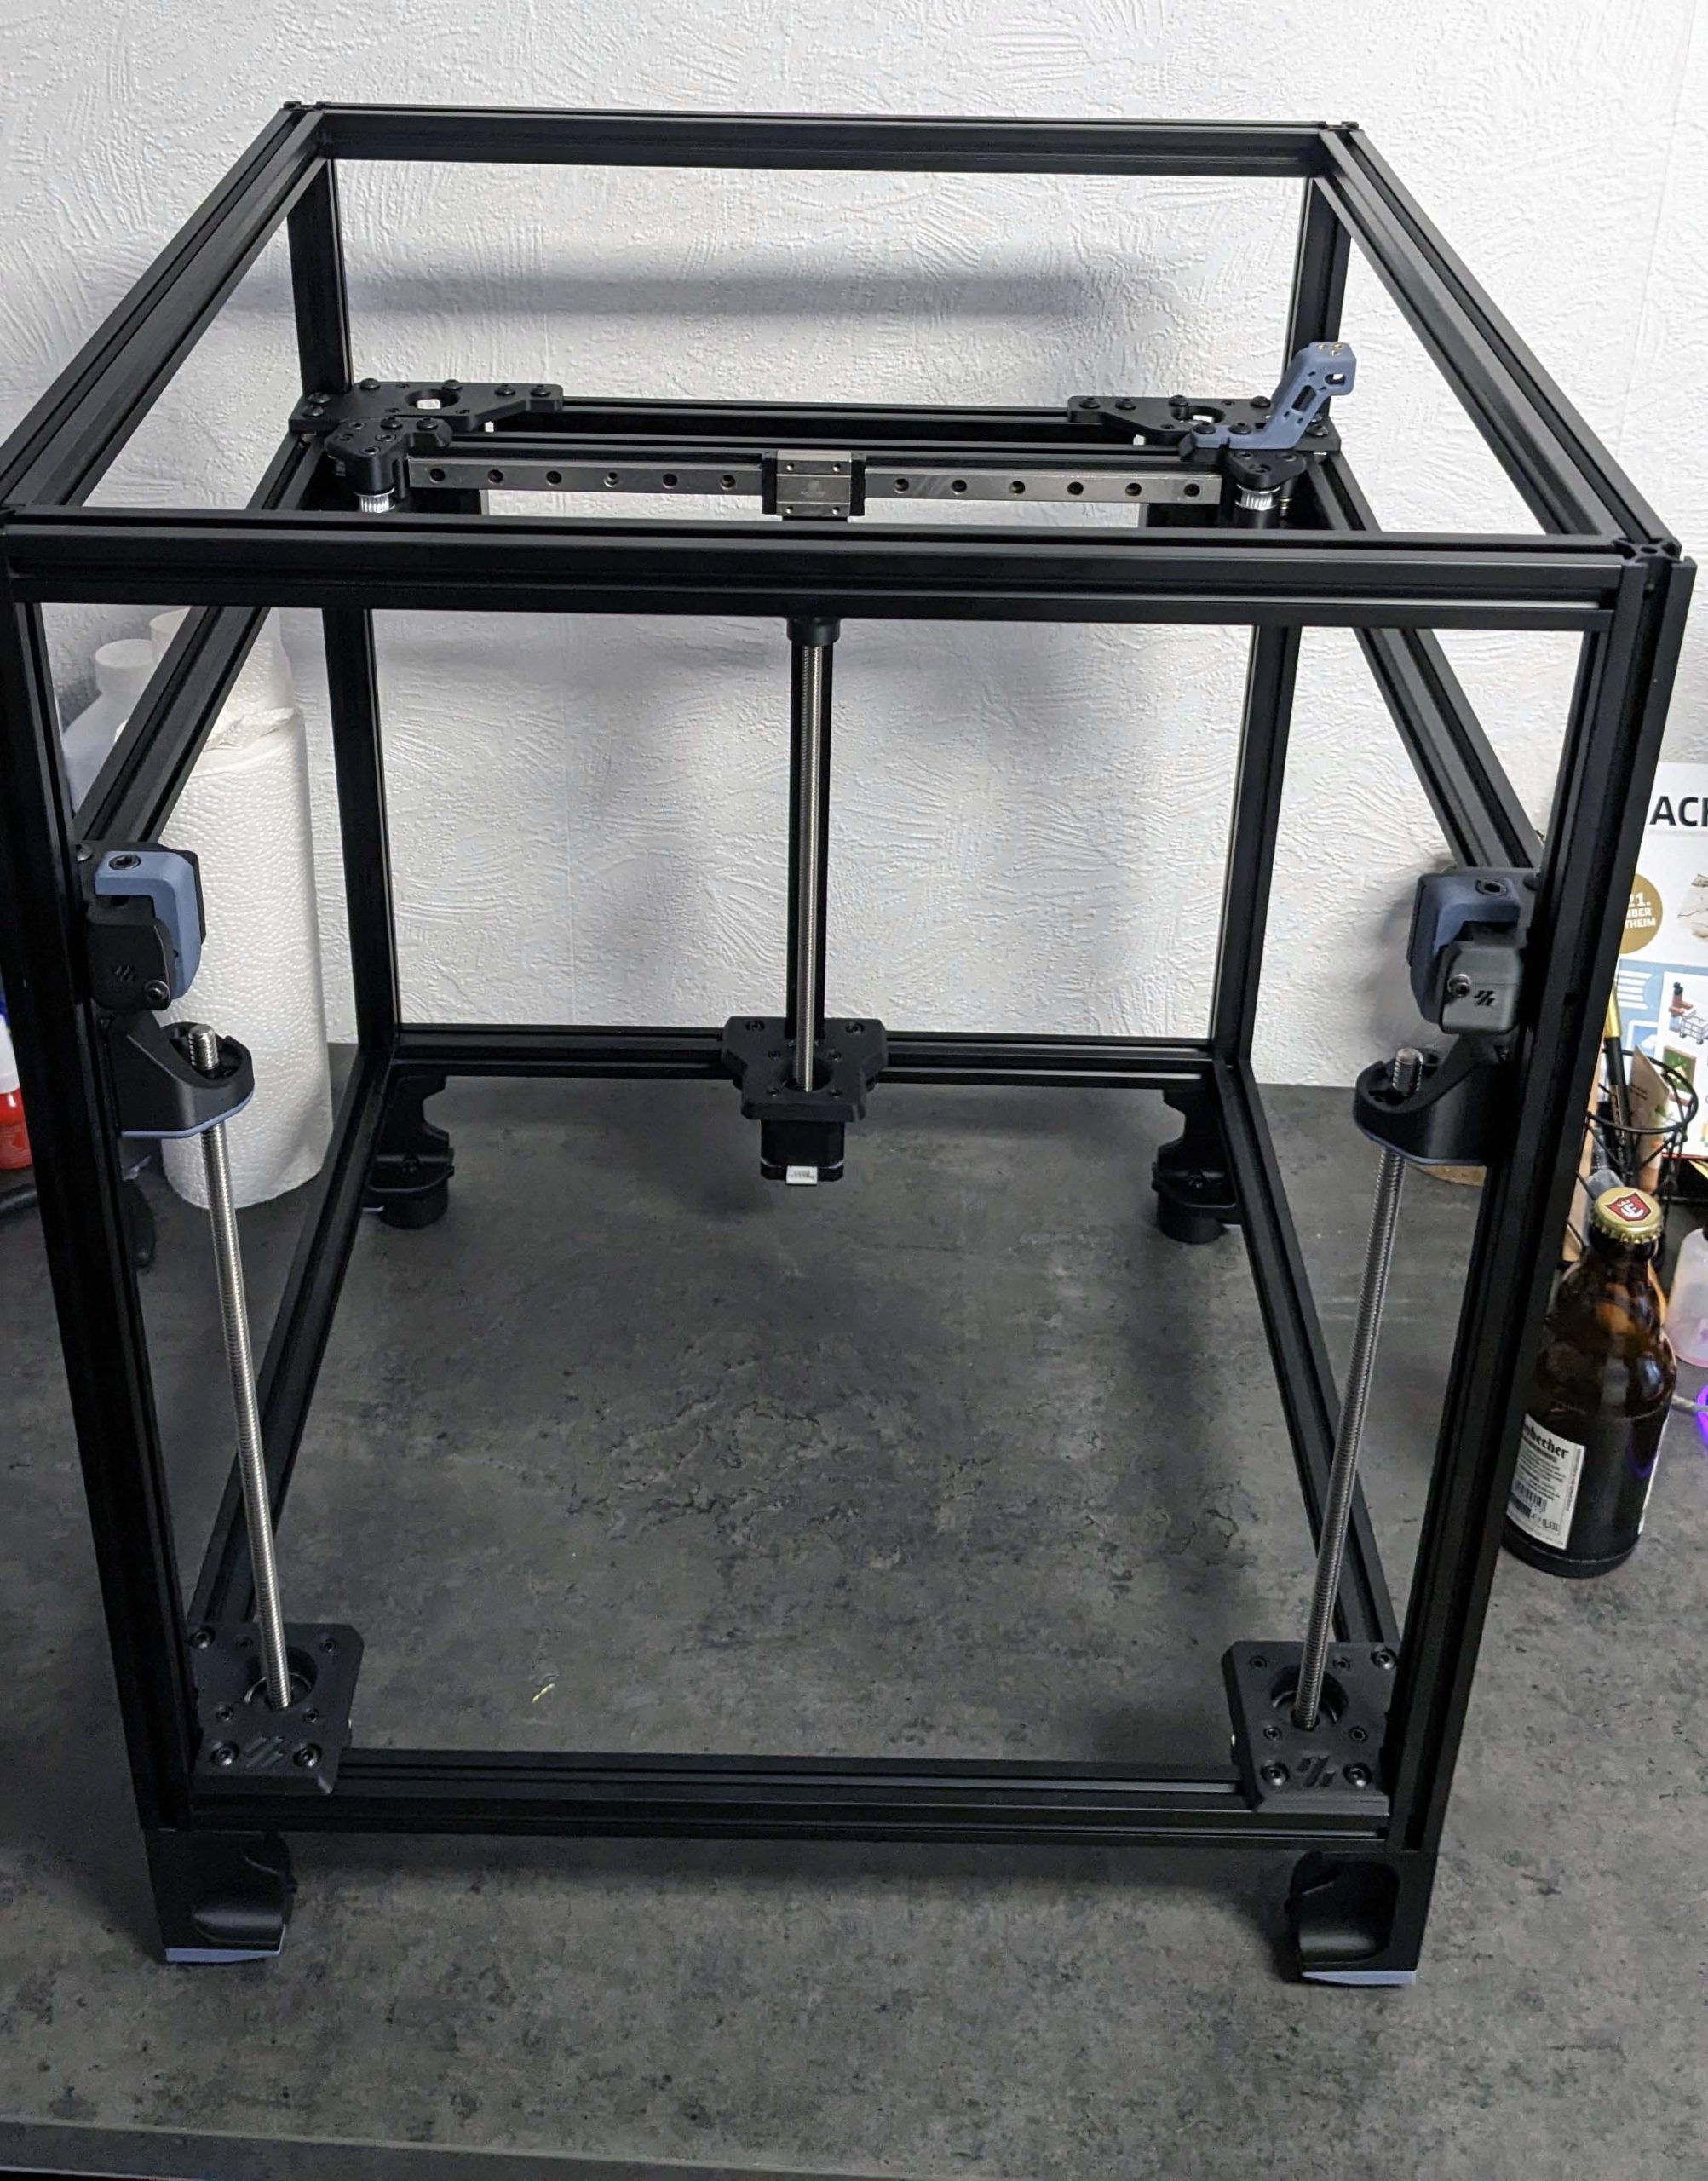
Basic framework
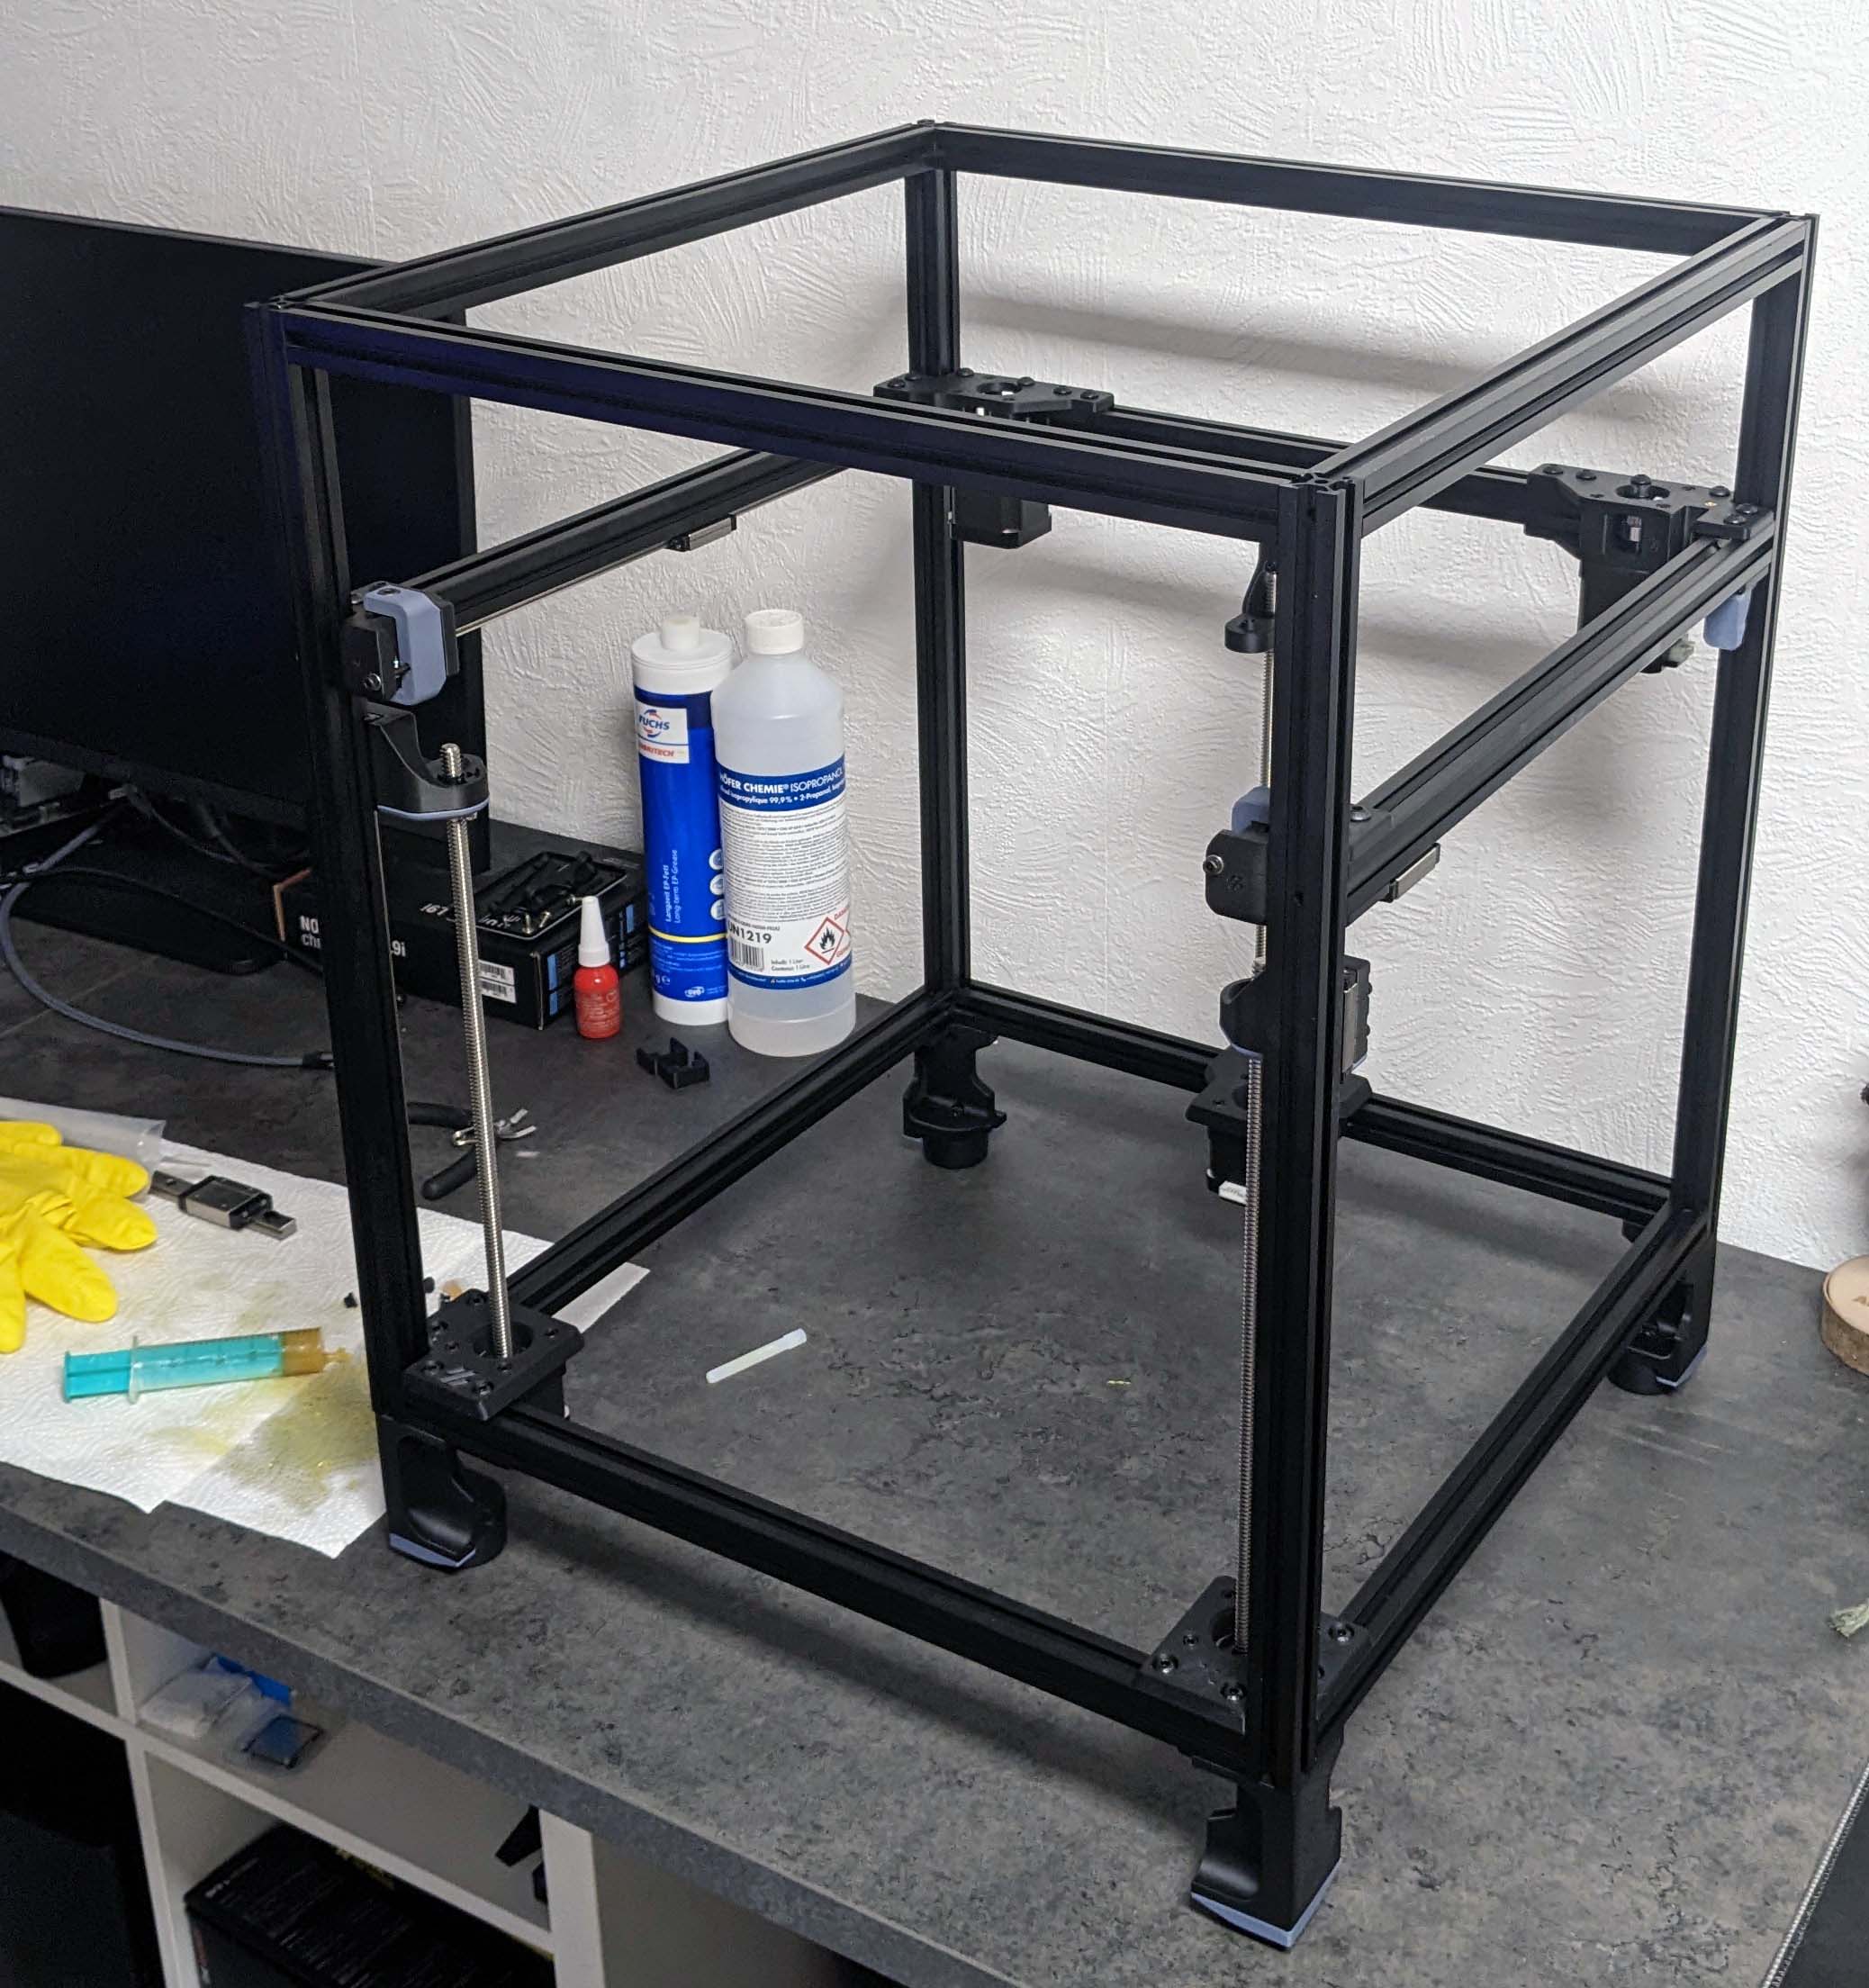
In places I’ll jump a bit when there wasn’t really anything worth mentioning in the interim build. So the basic structure of the printer was already there, everything exemplary with Loctite 641 when I slowly encountered the first obstacles.
By the way, I’ll list all the additional things I bought later, but I’ll link them anyway
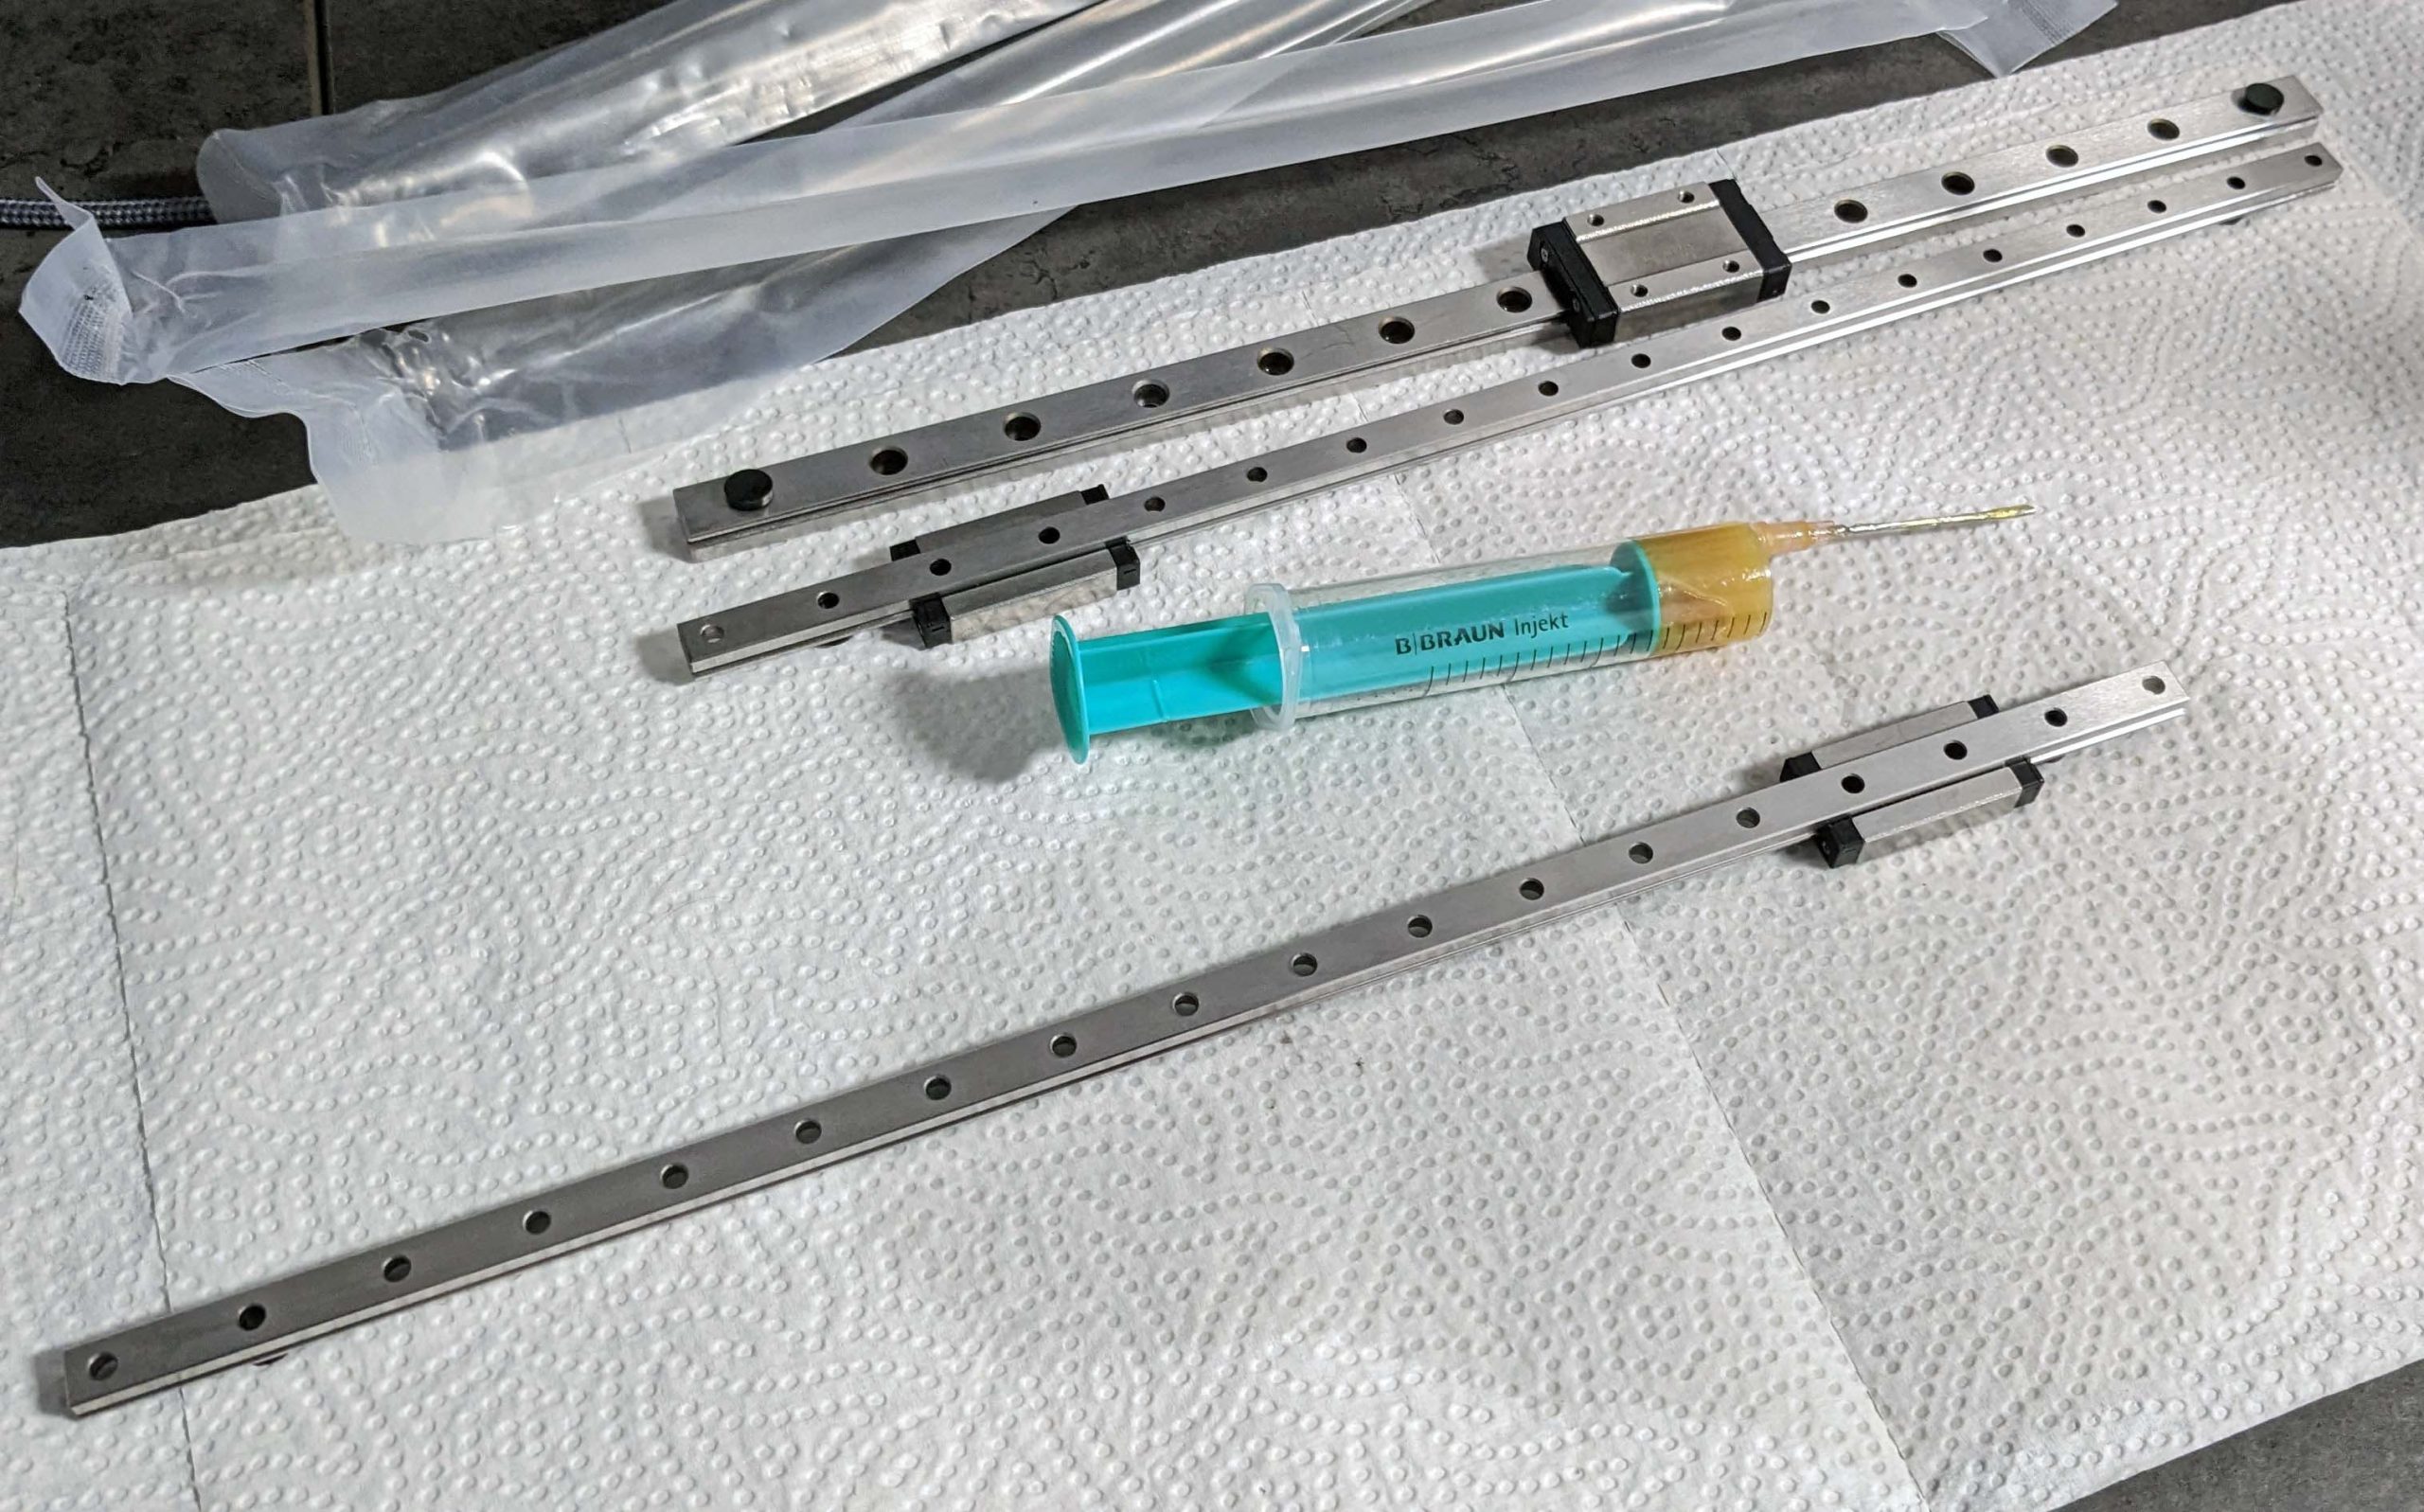
Let’s start with the lubrication of the linear bearings. The right lubricant is not included in the kit, you have to get it yourself. From my Prusa MK3S, I actually still had Super Lube, which should not be suitable for linear bearings because of its PTFE particles. For the German market I got Fuchs Lagermeister BF2 which I then also ordered. However, it is only available in a rather large version, but so what. Lubricant for the printer as a lifetime supply, also not bad.
Likewise, in various Youtube guides to a Syringe with blunt end for the “filling” of the bearings advised, but the whole thing was really VERY cumbersome and difficult to manage. I then came across this video, which actually shows a pretty obvious way, which in my experience is much easier and more effective.
Why they don’t “officially” recommend it this way, I can’t figure out. After all, I could have actually saved myself the fiddling. What I didn’t save, however, is some extra security with the 230V heating mat for the print bed.

Instead of just gluing it on, I additionally covered the whole thing with High temperature silicone and the supplied thermal fuse is also attached to the mat with the silicone and hung between the power supply of the heating mat. It is shown here starting at 6:33:

So it holds again better and if the mat should come loose somehow, the fuse on it can prevent worse. If it gets hotter than it should, the power supply is cut off.
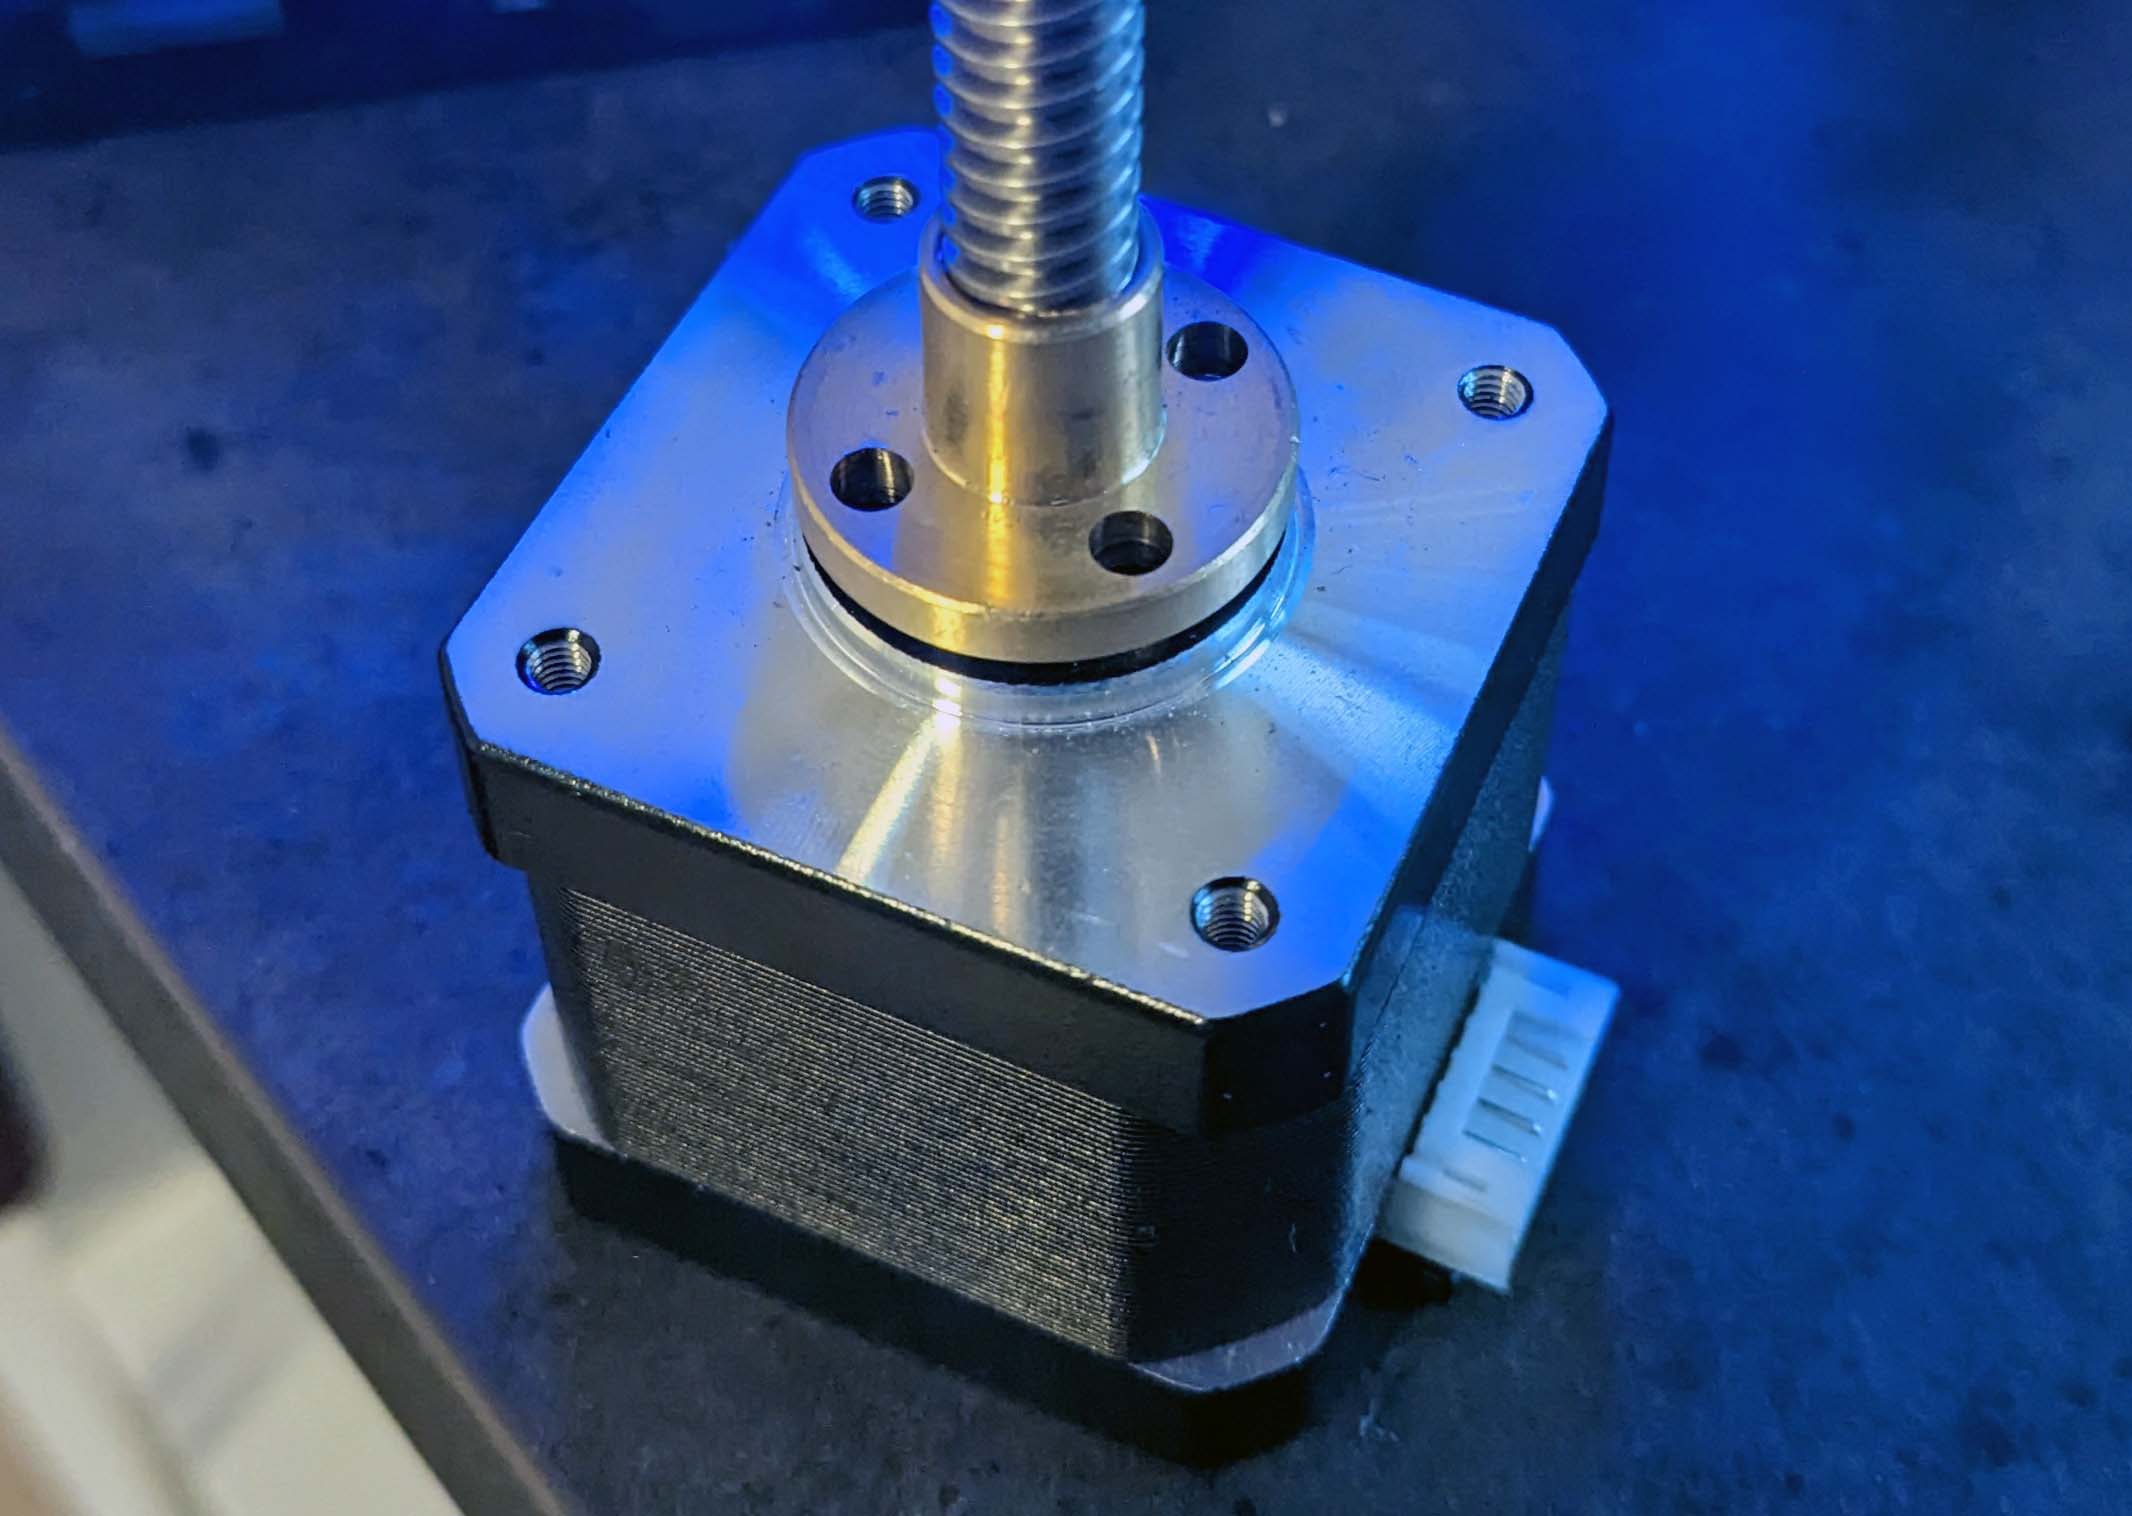
The included stepper motors come with attachments made of metal, but I replaced them with the also included threads made of POM.
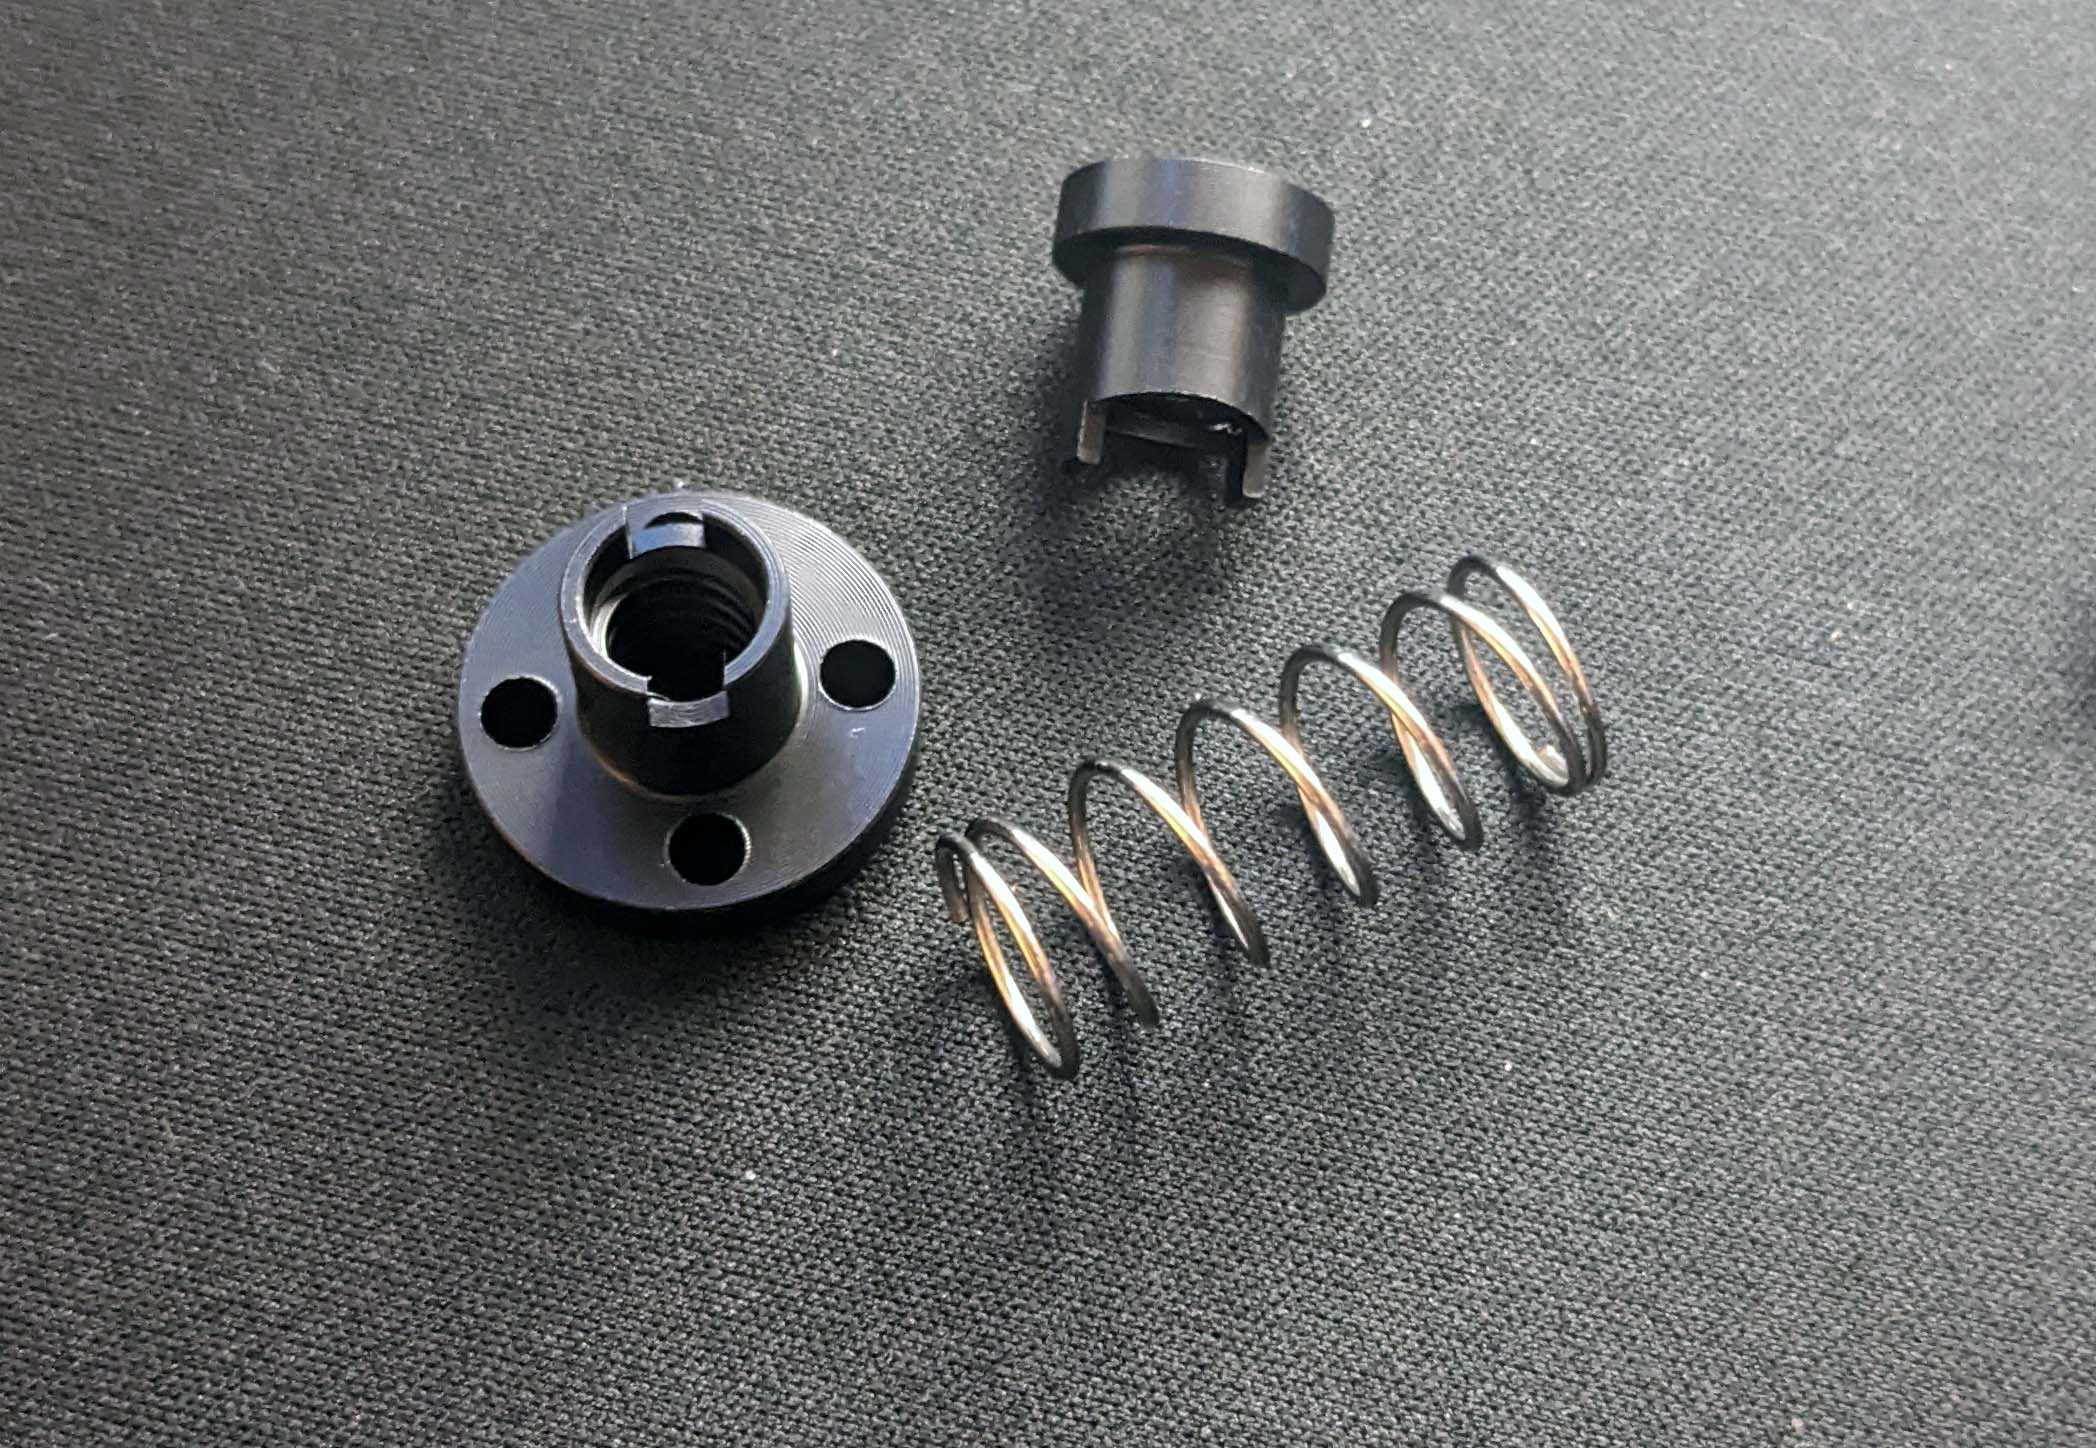
These have the advantage of being self-lubricating, making maintenance easier. I left out the extra attachment with suspension, the tension due to the high weight of the pressure bed is sufficient.
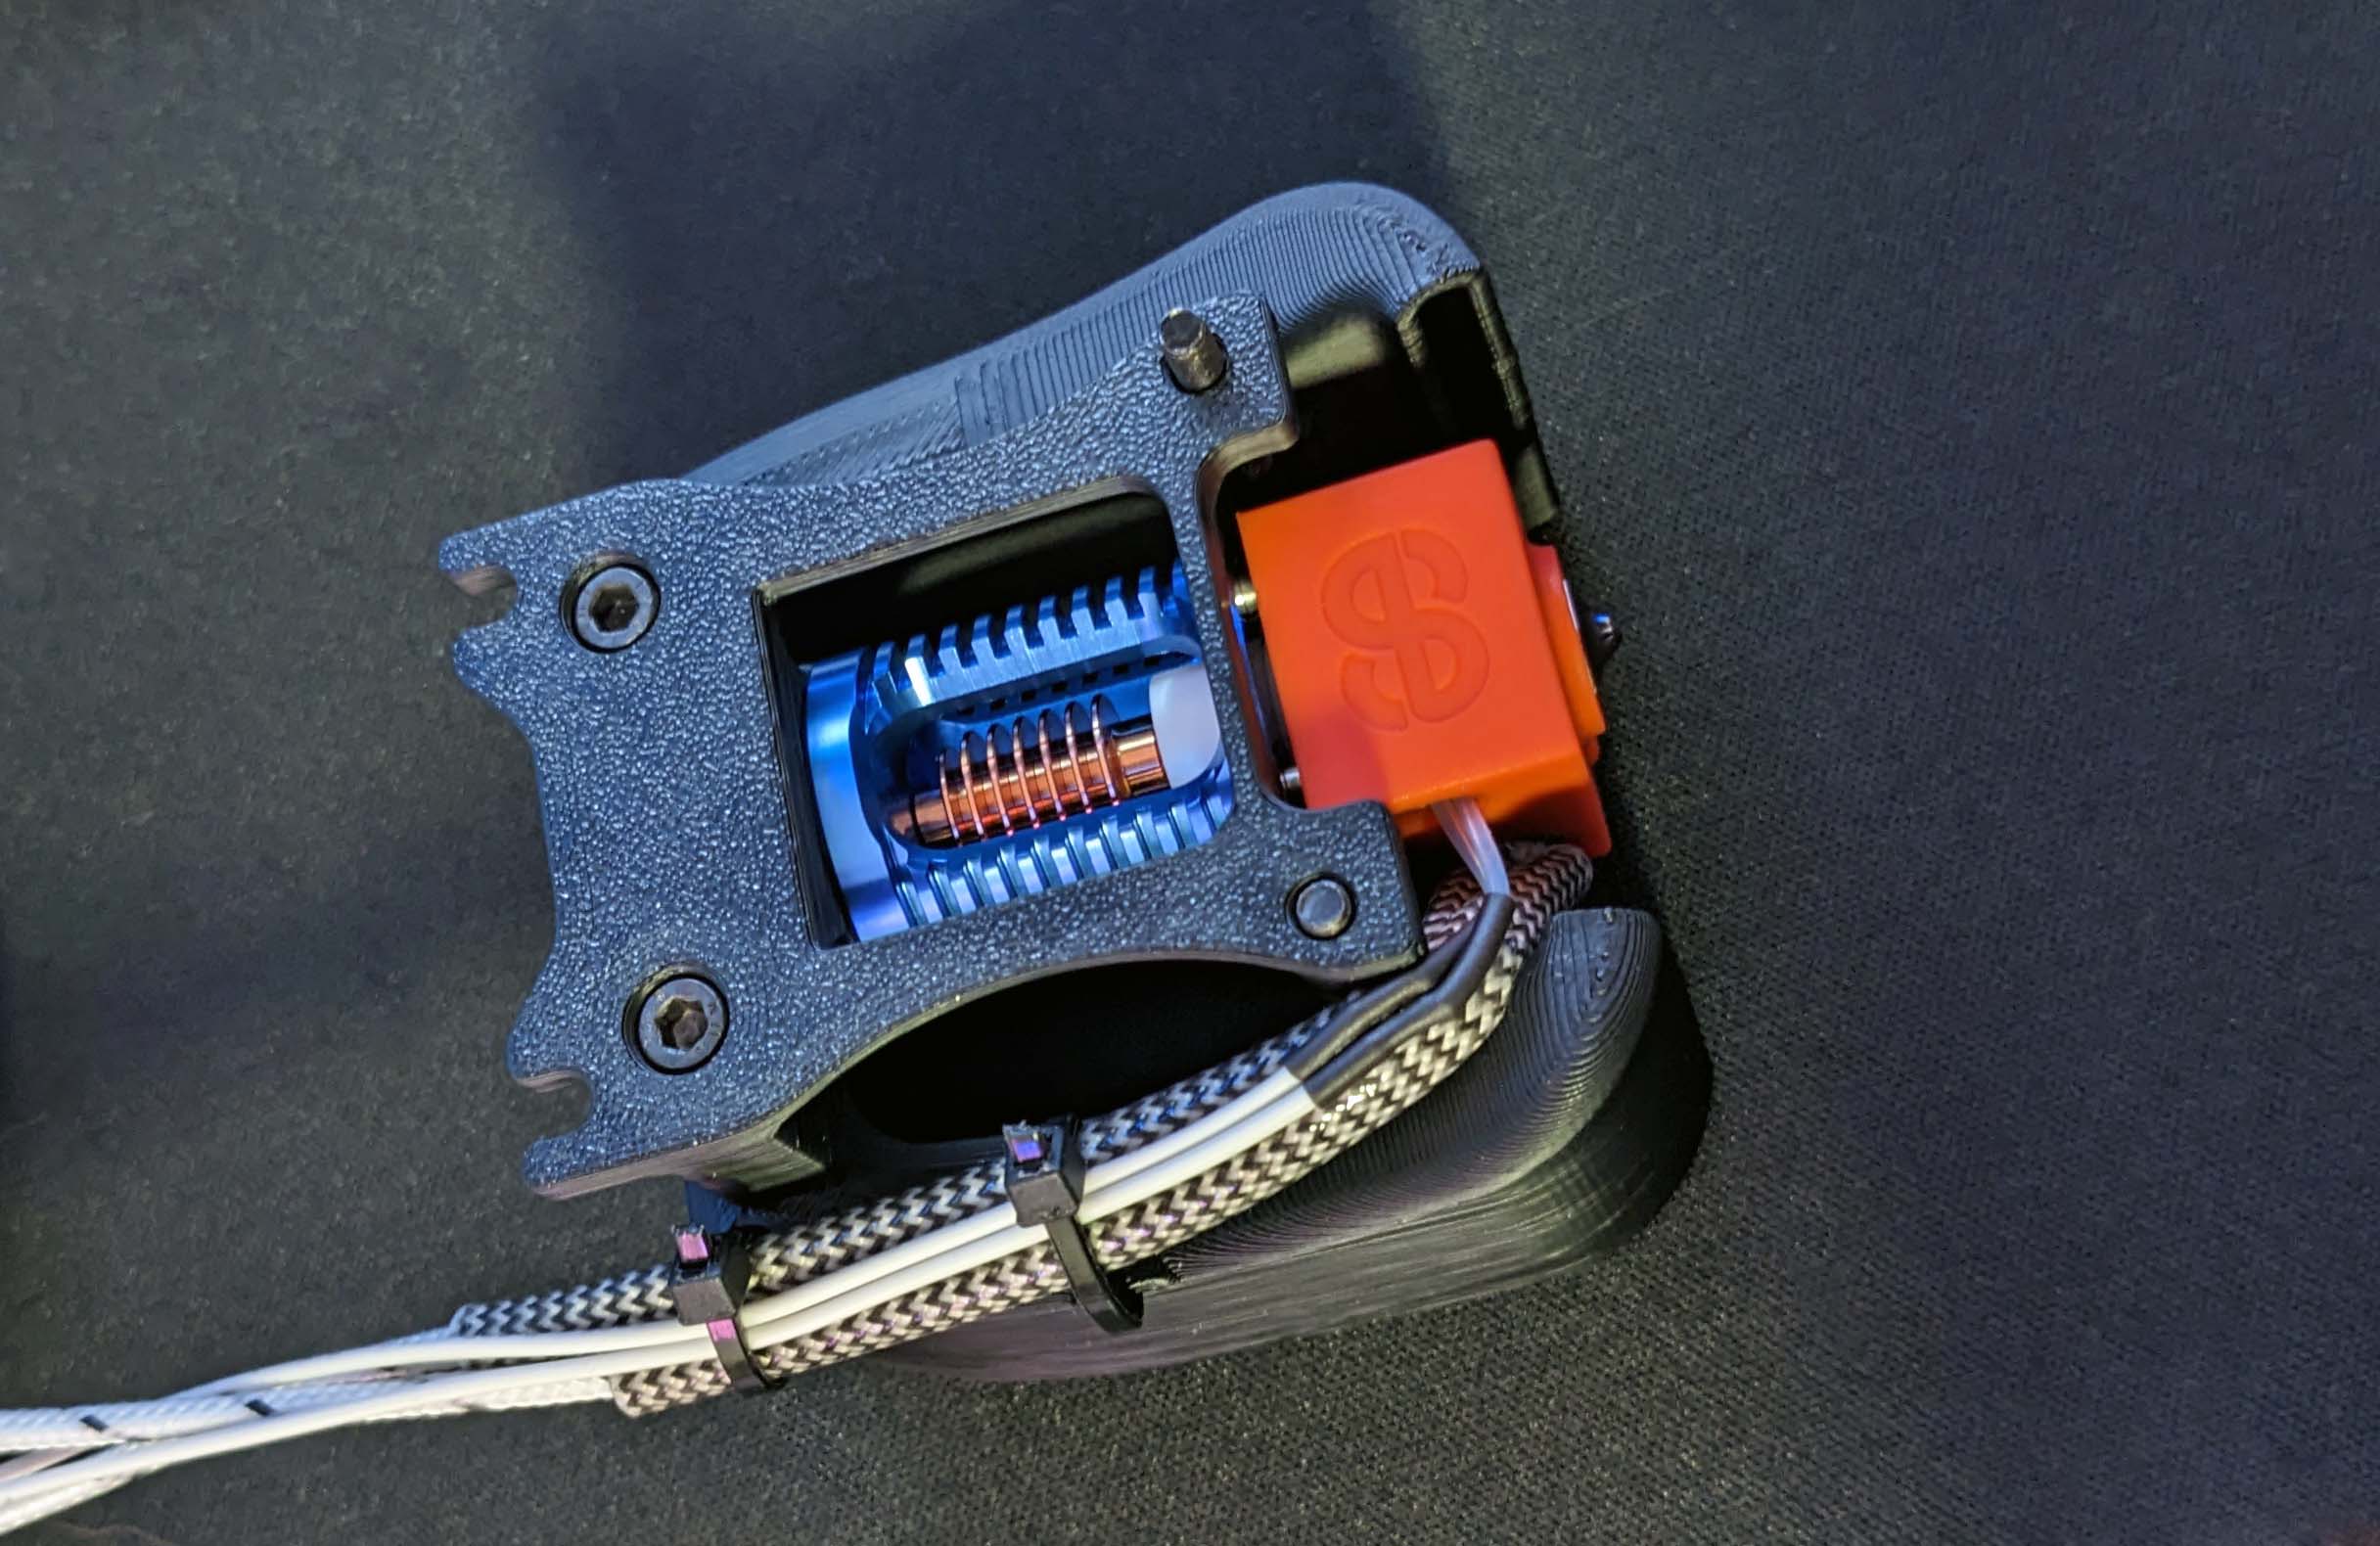
My kit came with a Phaetus Dragon HF hotend, the appropriate printable parts for it are available directly from the Voron team. In my opinion a really good choice for the Voron and also one of the standard recommendations, as it can keep up well with the print speeds of a Voron with its high throughput.
So the basic setup is in place, moving on to the hotend and electronics on the next page.


50 Antworten
Kommentar
Lade neue Kommentare
Moderator
Urgestein
Moderator
Urgestein
Moderator
Moderator
Mitglied
Urgestein
Moderator
Moderator
Urgestein
Urgestein
Mitglied
Mitglied
Urgestein
Mitglied
Moderator
Mitglied
Urgestein
Alle Kommentare lesen unter igor´sLAB Community →