


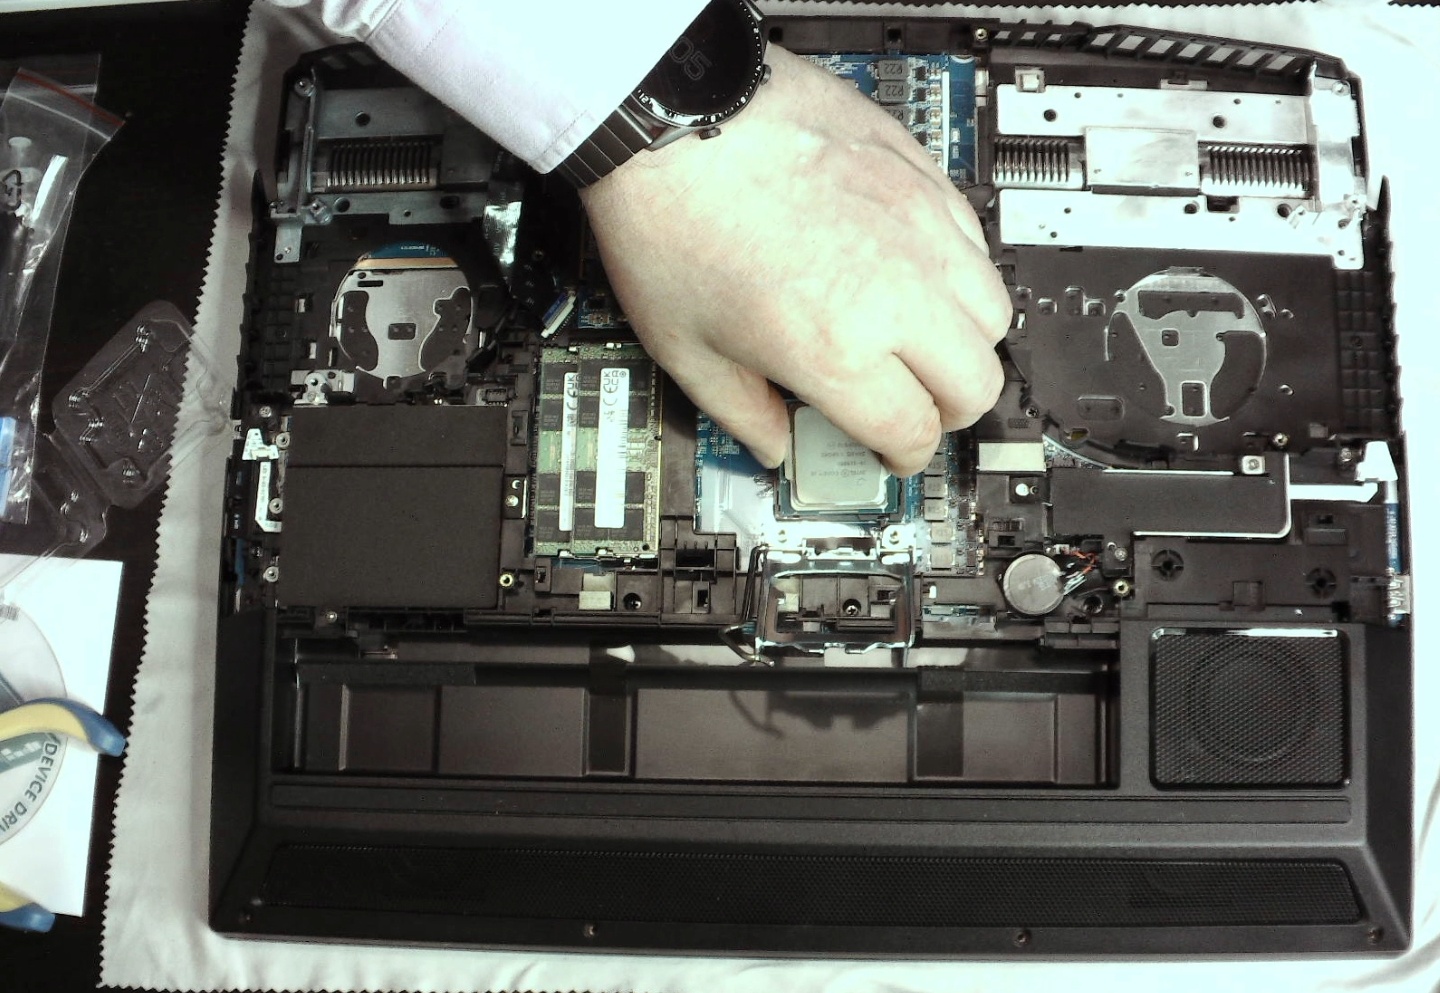
Inserting the CPU is no witchcraft, but you have to pay attention to the right installation direction (lateral lugs) and don’t bend the pins in the socket. The insertion should be done carefully and starting from the top (hinge side of the latch) and you should be careful not to drop the CPU at the end. While this can work out well, it doesn’t have to.
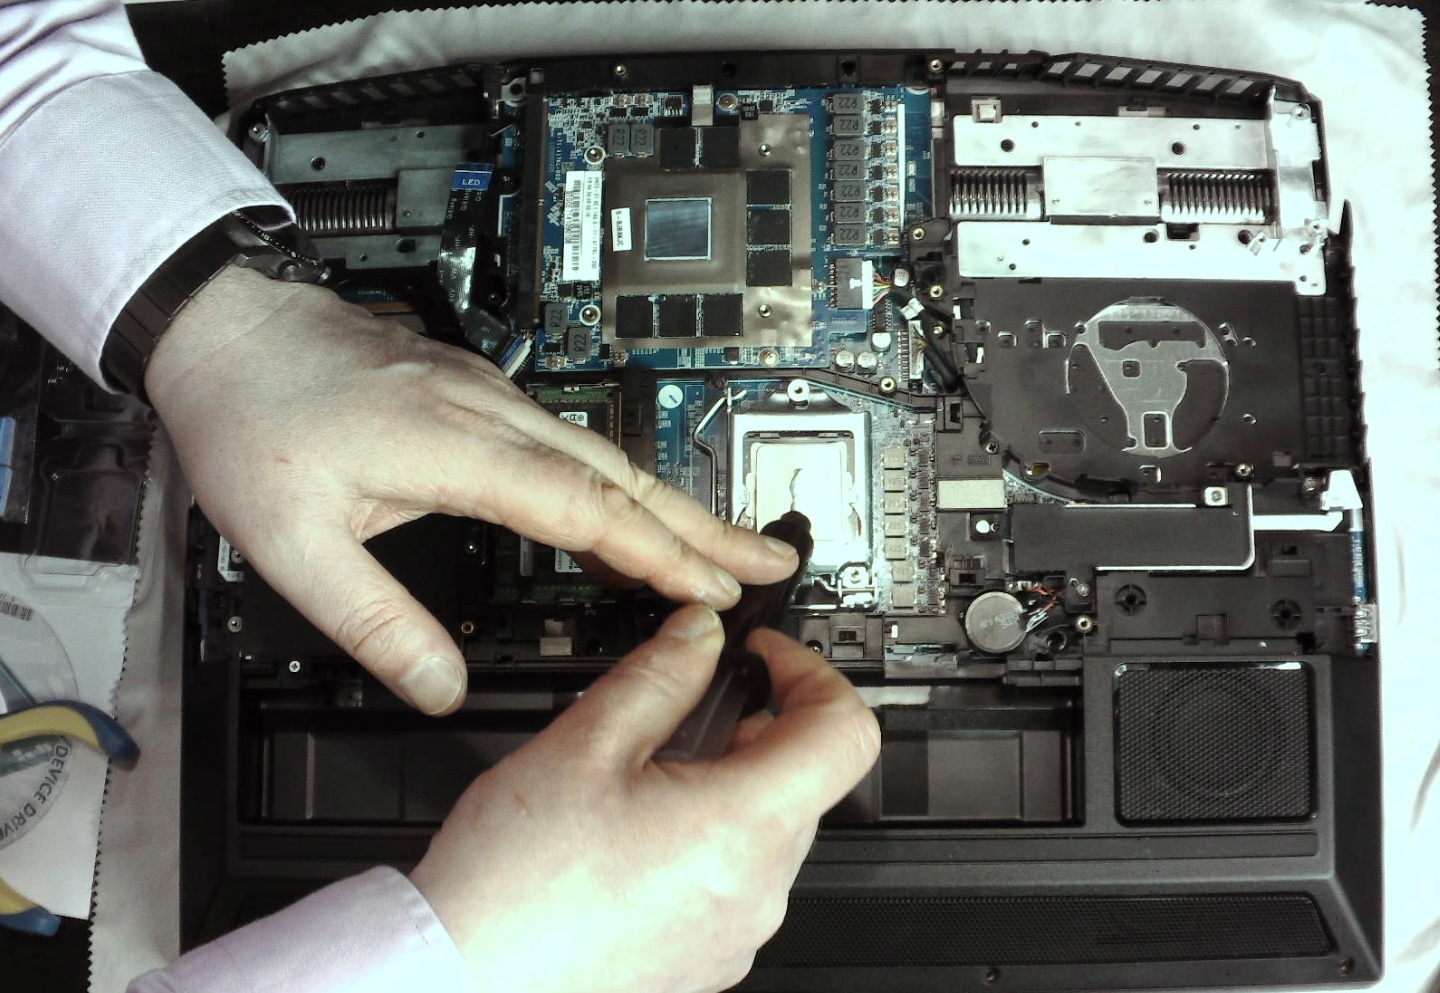
The thermal paste should not come from the cheap shelf and should not be too viscous. Since the die of RKL is rectangular and the IHS above it is also curved, a more elongated Worst (as in the picture below) is recommended in any case instead of a central blob. After that, though, a lens-sized, centered blob on the rather square GPU (pictured above) is all that’s needed.
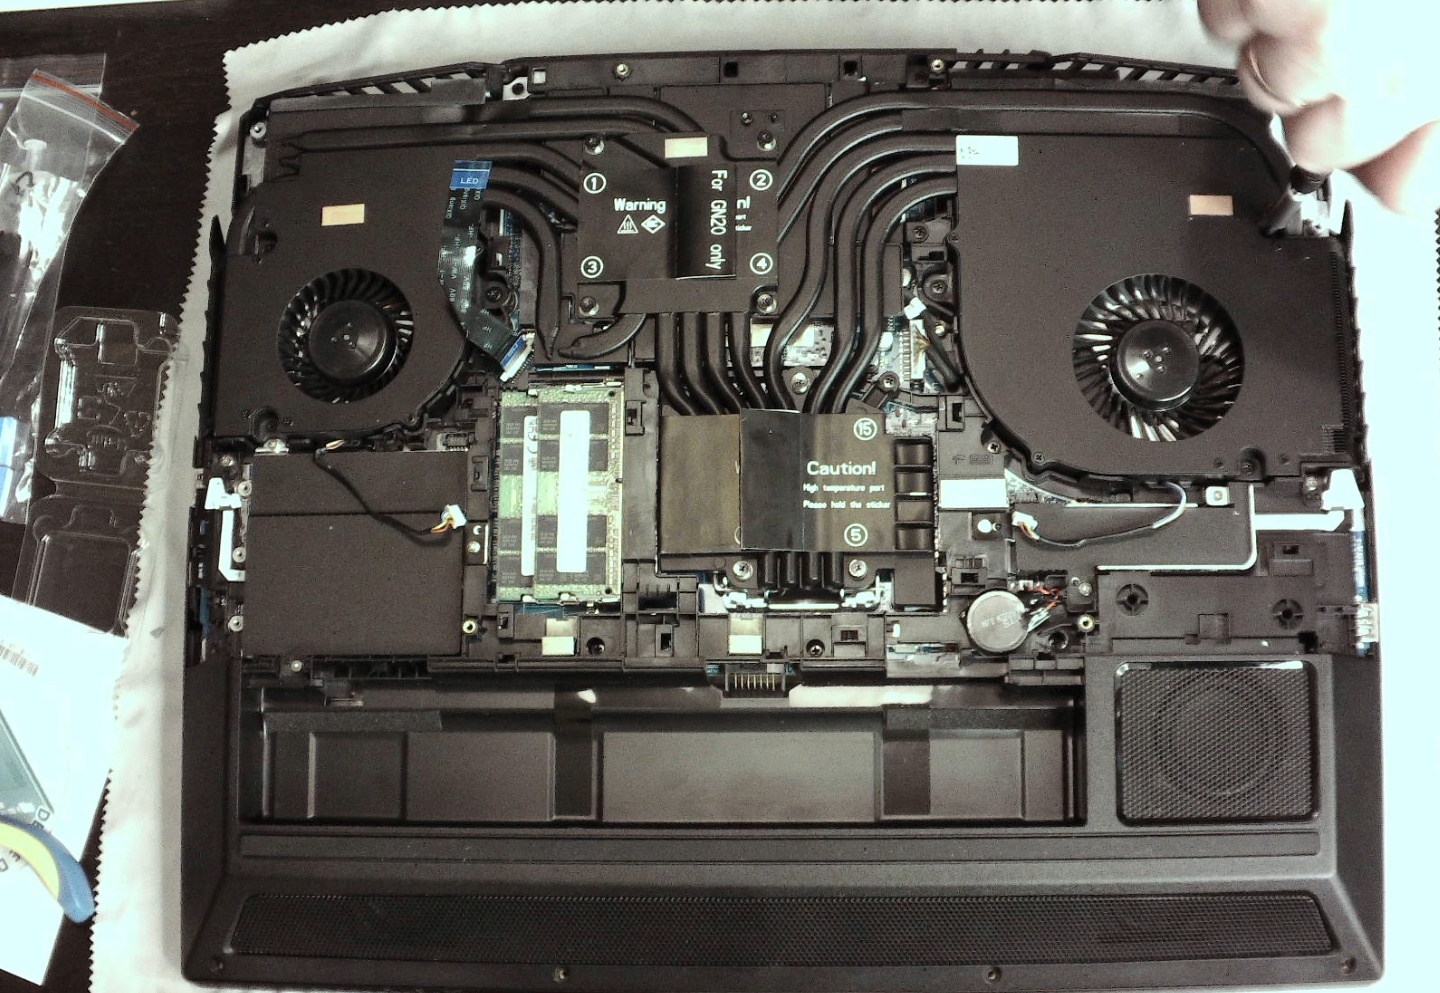
Afterwards, insert the cooling block as horizontally as possible, starting from the CPU, and try to avoid lateral movements as much as possible (thermal paste!). Once you have done this, press the respective heatsinks in the middle area of both lugs down a little harder at the same time (!) and with as much pressure as possible.
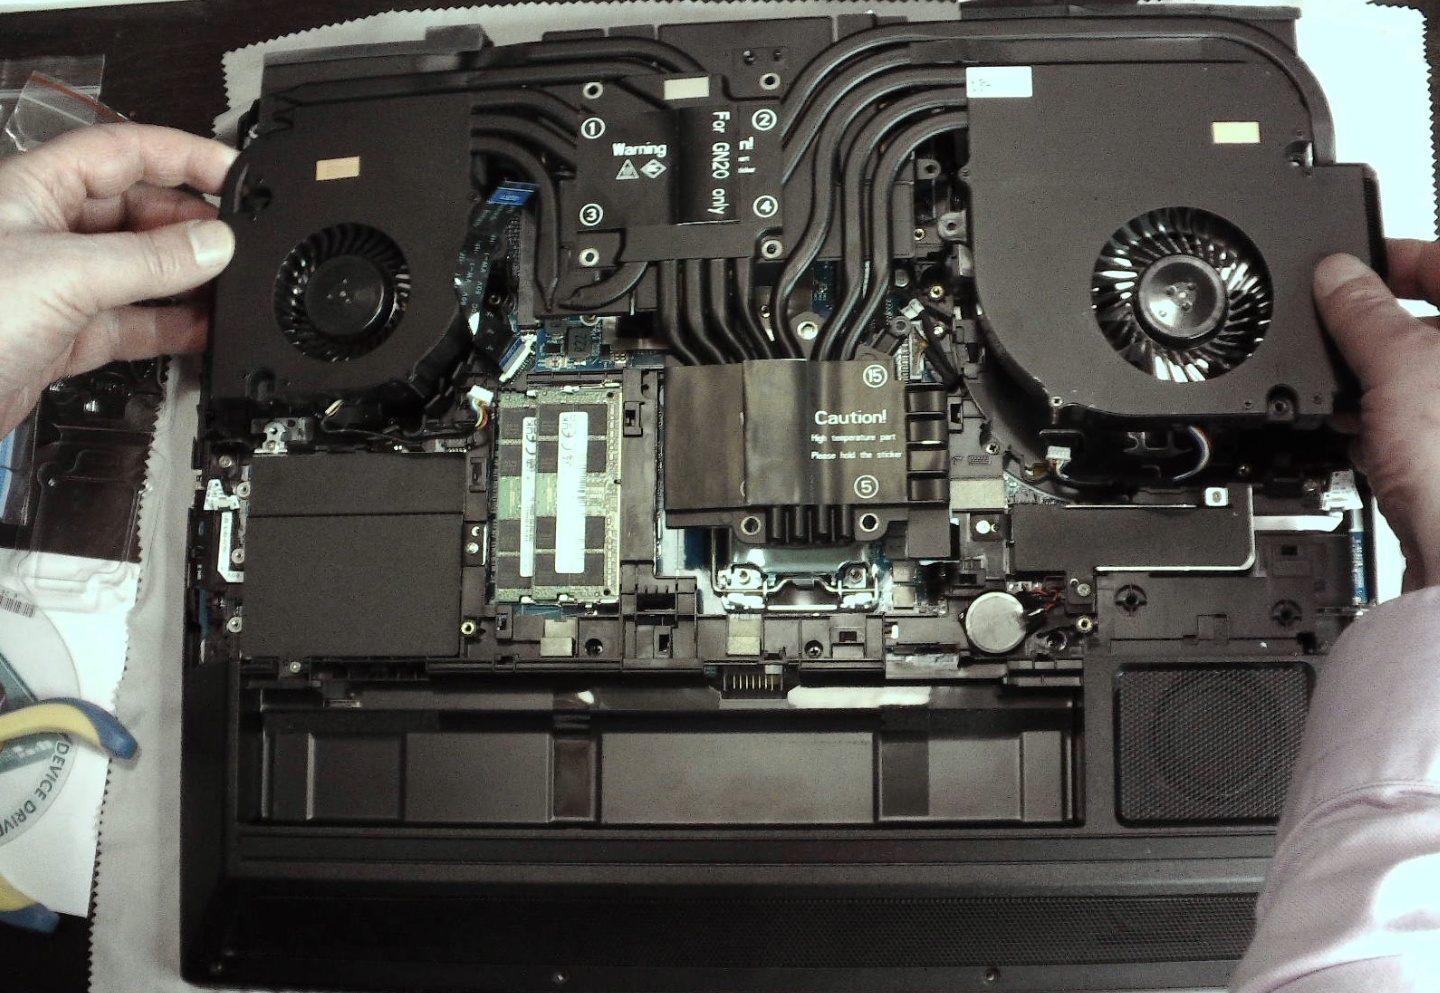
After that you screw the CPU first, then the GPU (pay attention to the right screws!) and only then the rest from the inside to the outside. The lamella coolers with the fans come at the end.
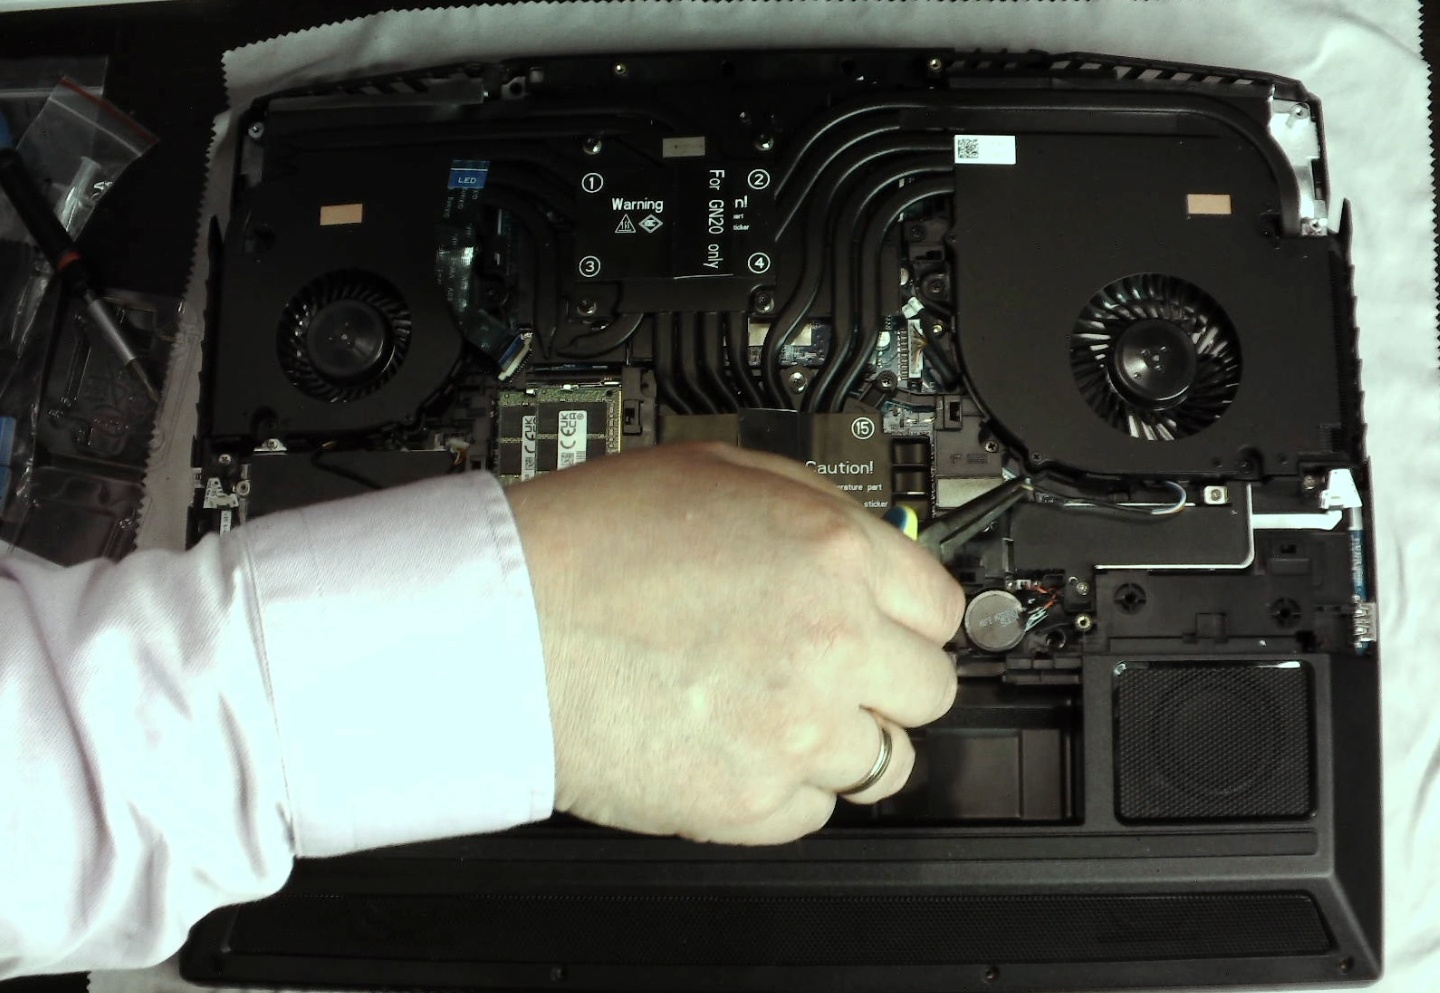
What is very important: yes do not forget the fan connections, otherwise there are two small roast pigs. If the fingers are too thick (Asians unfortunately do not think about this), again only the right tool will help. You have to pay attention to the lug for the cable lock on the right side again.
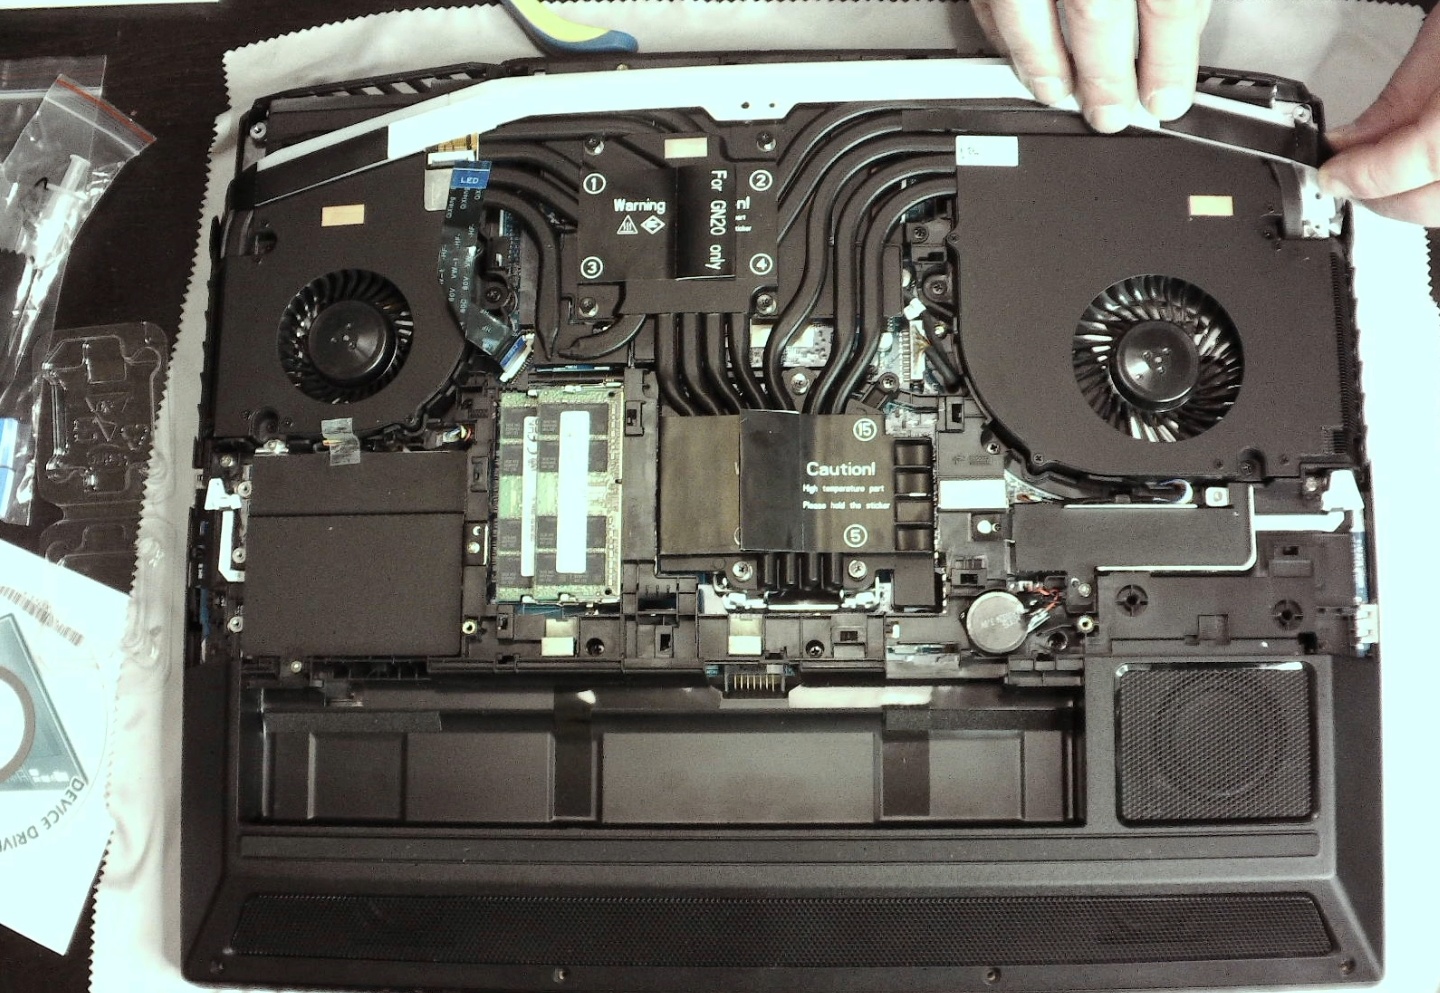
So that everything shines again nicely, we also put the lightbar back in place and don’t forget the connection cable. The black foil covers on the left and right are a bit tricky to put in, but skill and especially patience will help. This is far from an optimal solution, but unfortunately it cannot be changed. The rest is all the easier for it.
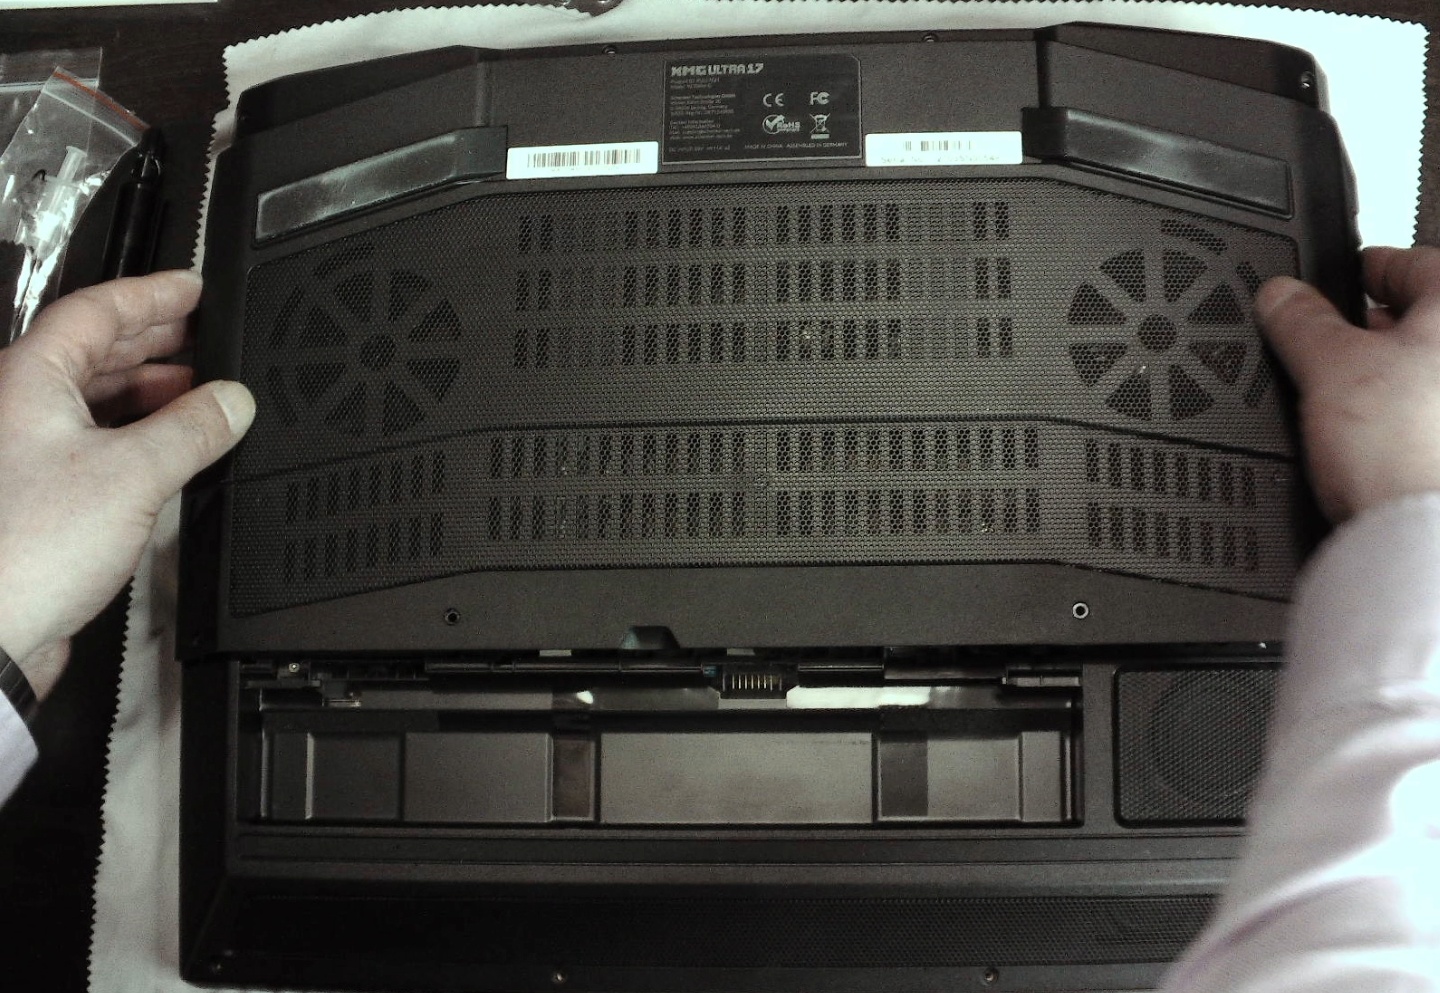
Now you just have to replace the bottom cover and the notebook is ready. The time invested is between 10 and 30 minutes, depending on skills and practical experience. However, it is not witchcraft even for beginners.
Thus equipped, we can start the functional test, which I will present on the next page, including thermal tests.
- 1 - Introduction, Unboxing and Connectivity
- 2 - Datasheet and Manual
- 3 - Maximum Power Draw, Battery and Cooler
- 4 - Disassembling and Removing the Cooler (Diary)
- 5 - CPU, Thermal Grease and Assembling (Diary)
- 6 - Performance Mode: Power Draw, Temperatures, Infrared
- 7 - Entertainment Mode: Power Draw, Temperatures, Infrared
- 8 - Summary and Conclusion for Part One


18 Antworten
Kommentar
Lade neue Kommentare
Urgestein
1
Neuling
1
Urgestein
Neuling
1
Neuling
Mitglied
Urgestein
Mitglied
Urgestein
Veteran
Neuling
1
Alle Kommentare lesen unter igor´sLAB Community →