


Teardown: The cooler
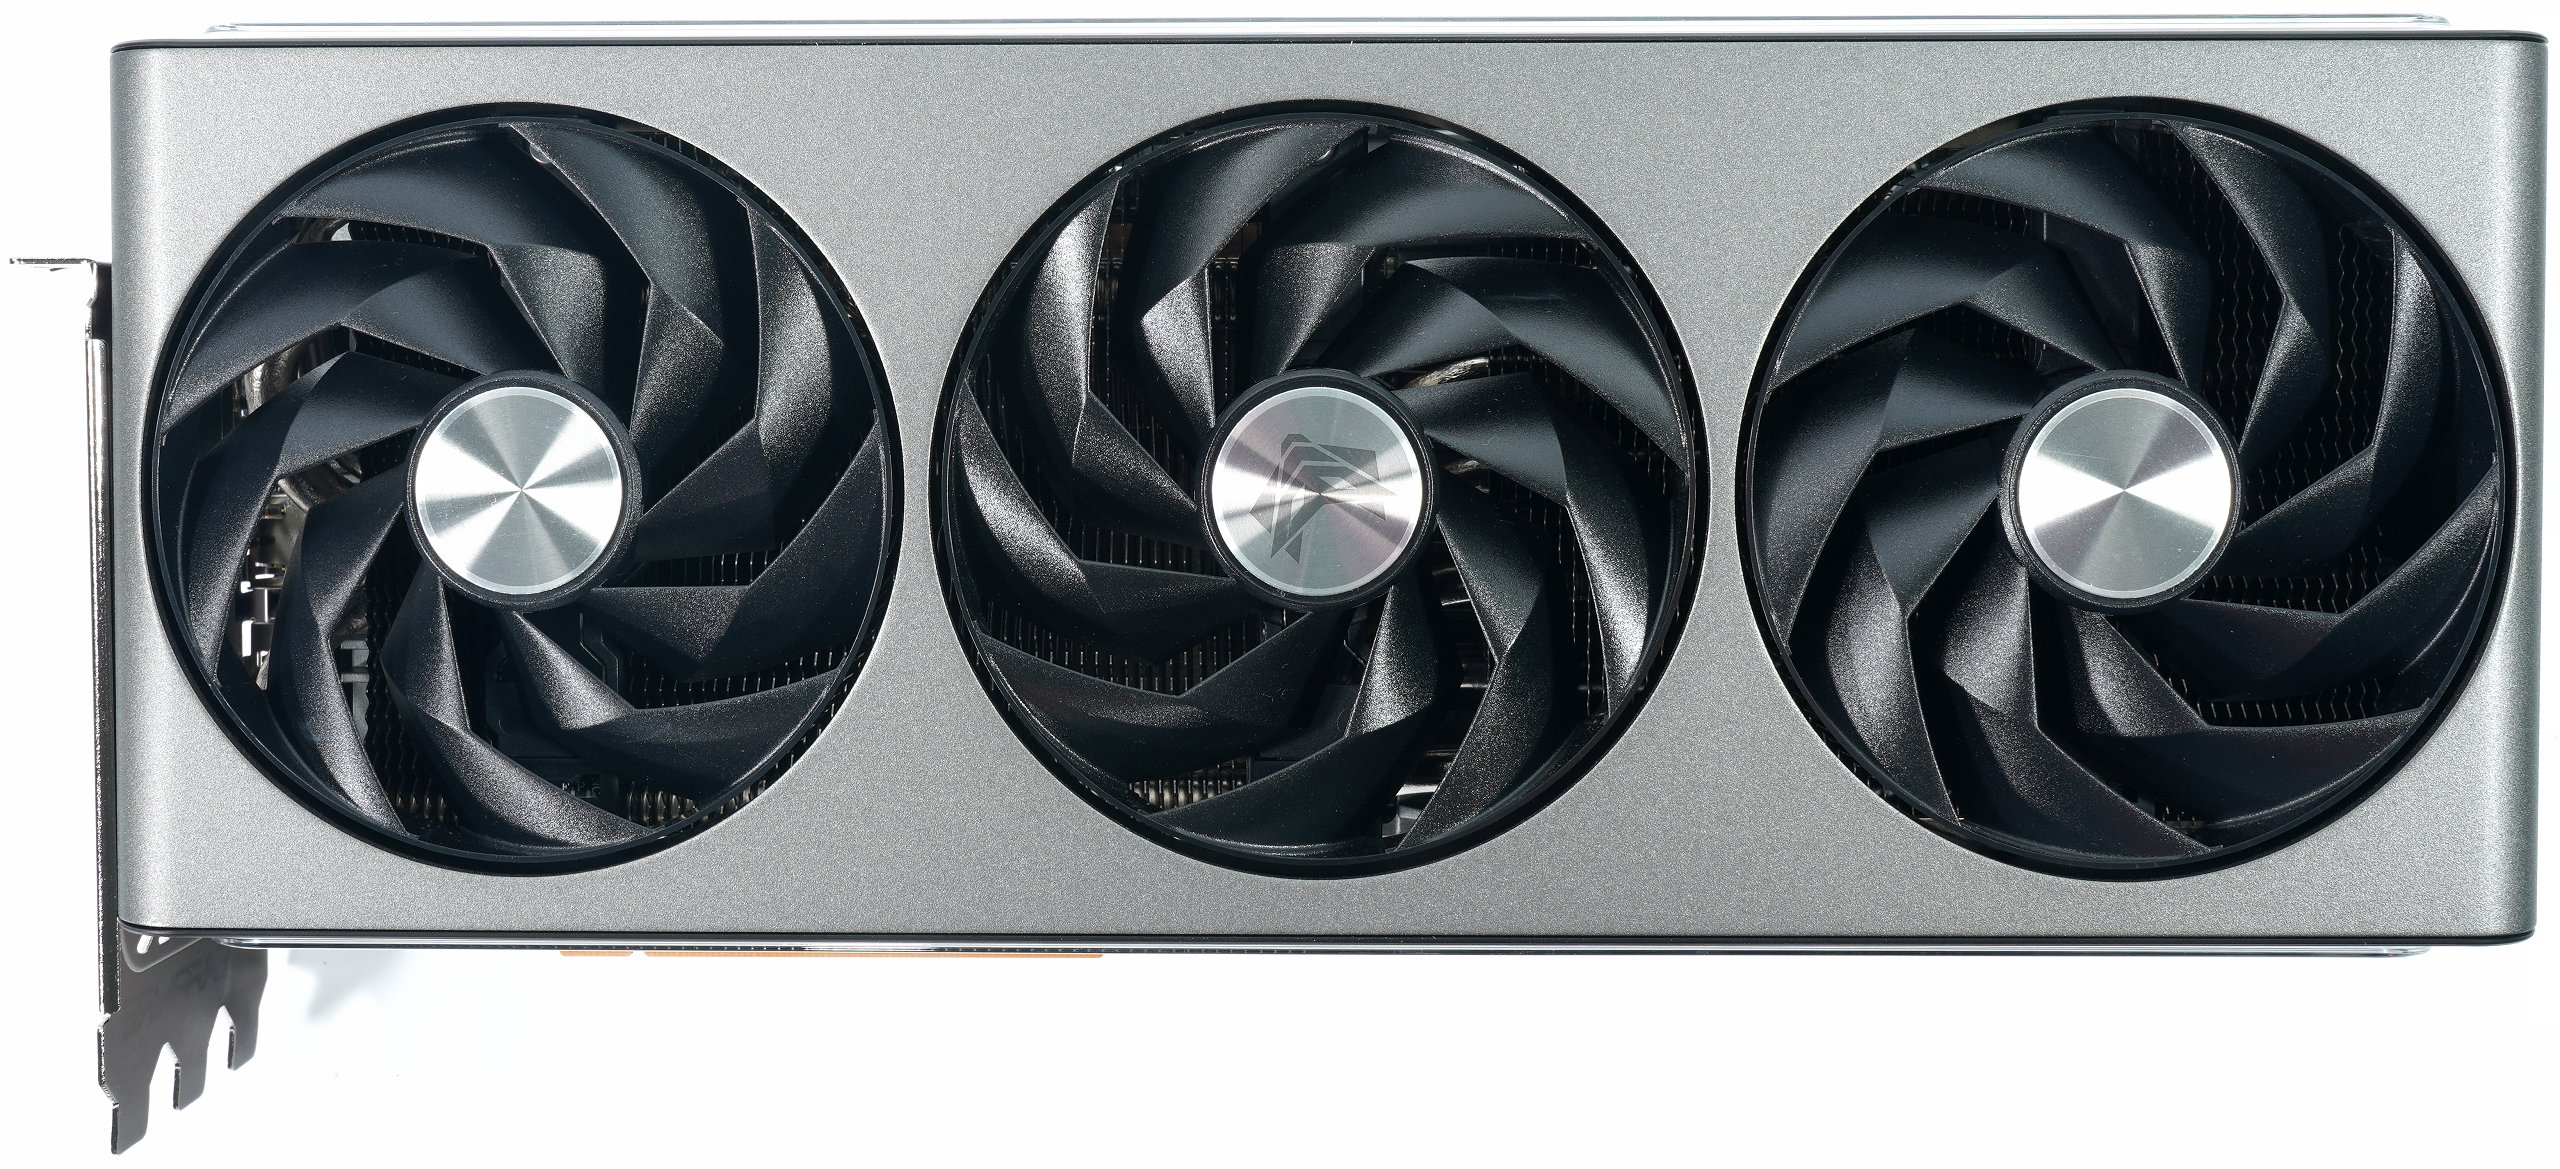
A total of three 10 cm fans (9.7 cm rotor blade diameter) with 9 rotor blades each provide the airflow. The closed inner ring of the propeller is interesting, so there is less turbulence (and losses) at the openings of the fan. Sapphire deliberately goes for larger 10 cm fans, because the installation height easily allows for that.
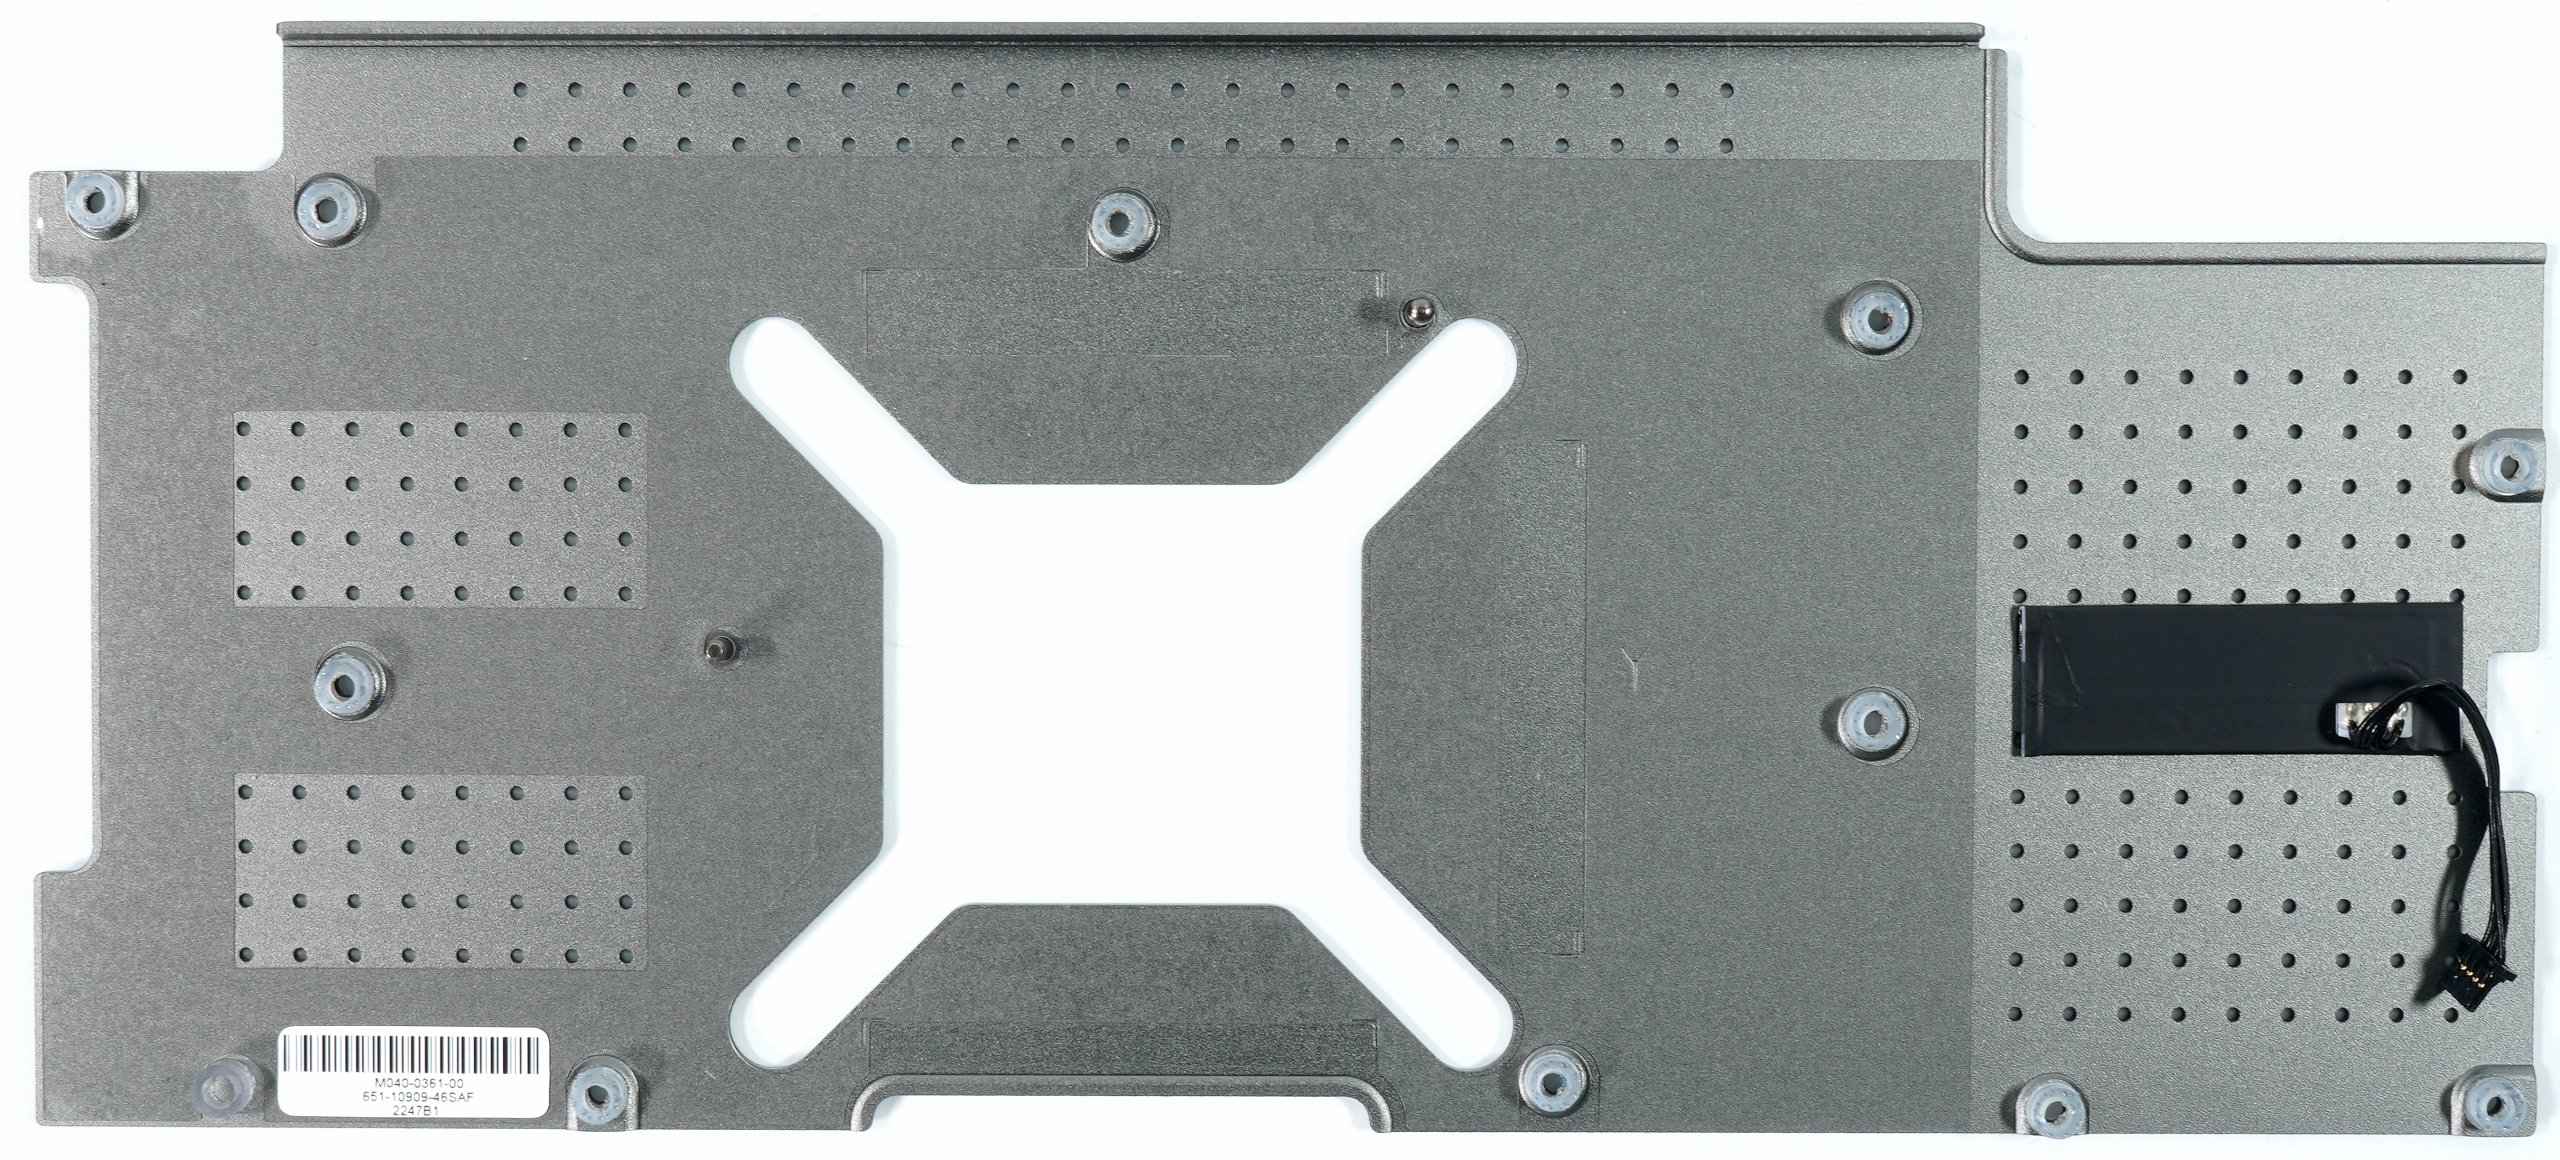
The cooler of the Sapphire Nitro+ Radeon RX 7900 XTX Vapor-X 24 GB relies on a massive vapor-chamber design. The Vapor-Chamber carries the partially surrounding 6 mm heatpipes made of nickel-plated copper composite. The actual cooler is “loose” inside the case and is only fixed via the GPU’s clamping cross. The remaining holes of the board are screwed to the solid case from the backplate. The thermal pads aren’t oily, but they aren’t from the top drawer either. We’ll see that later with the RAM, so let’s keep that in mind until then.
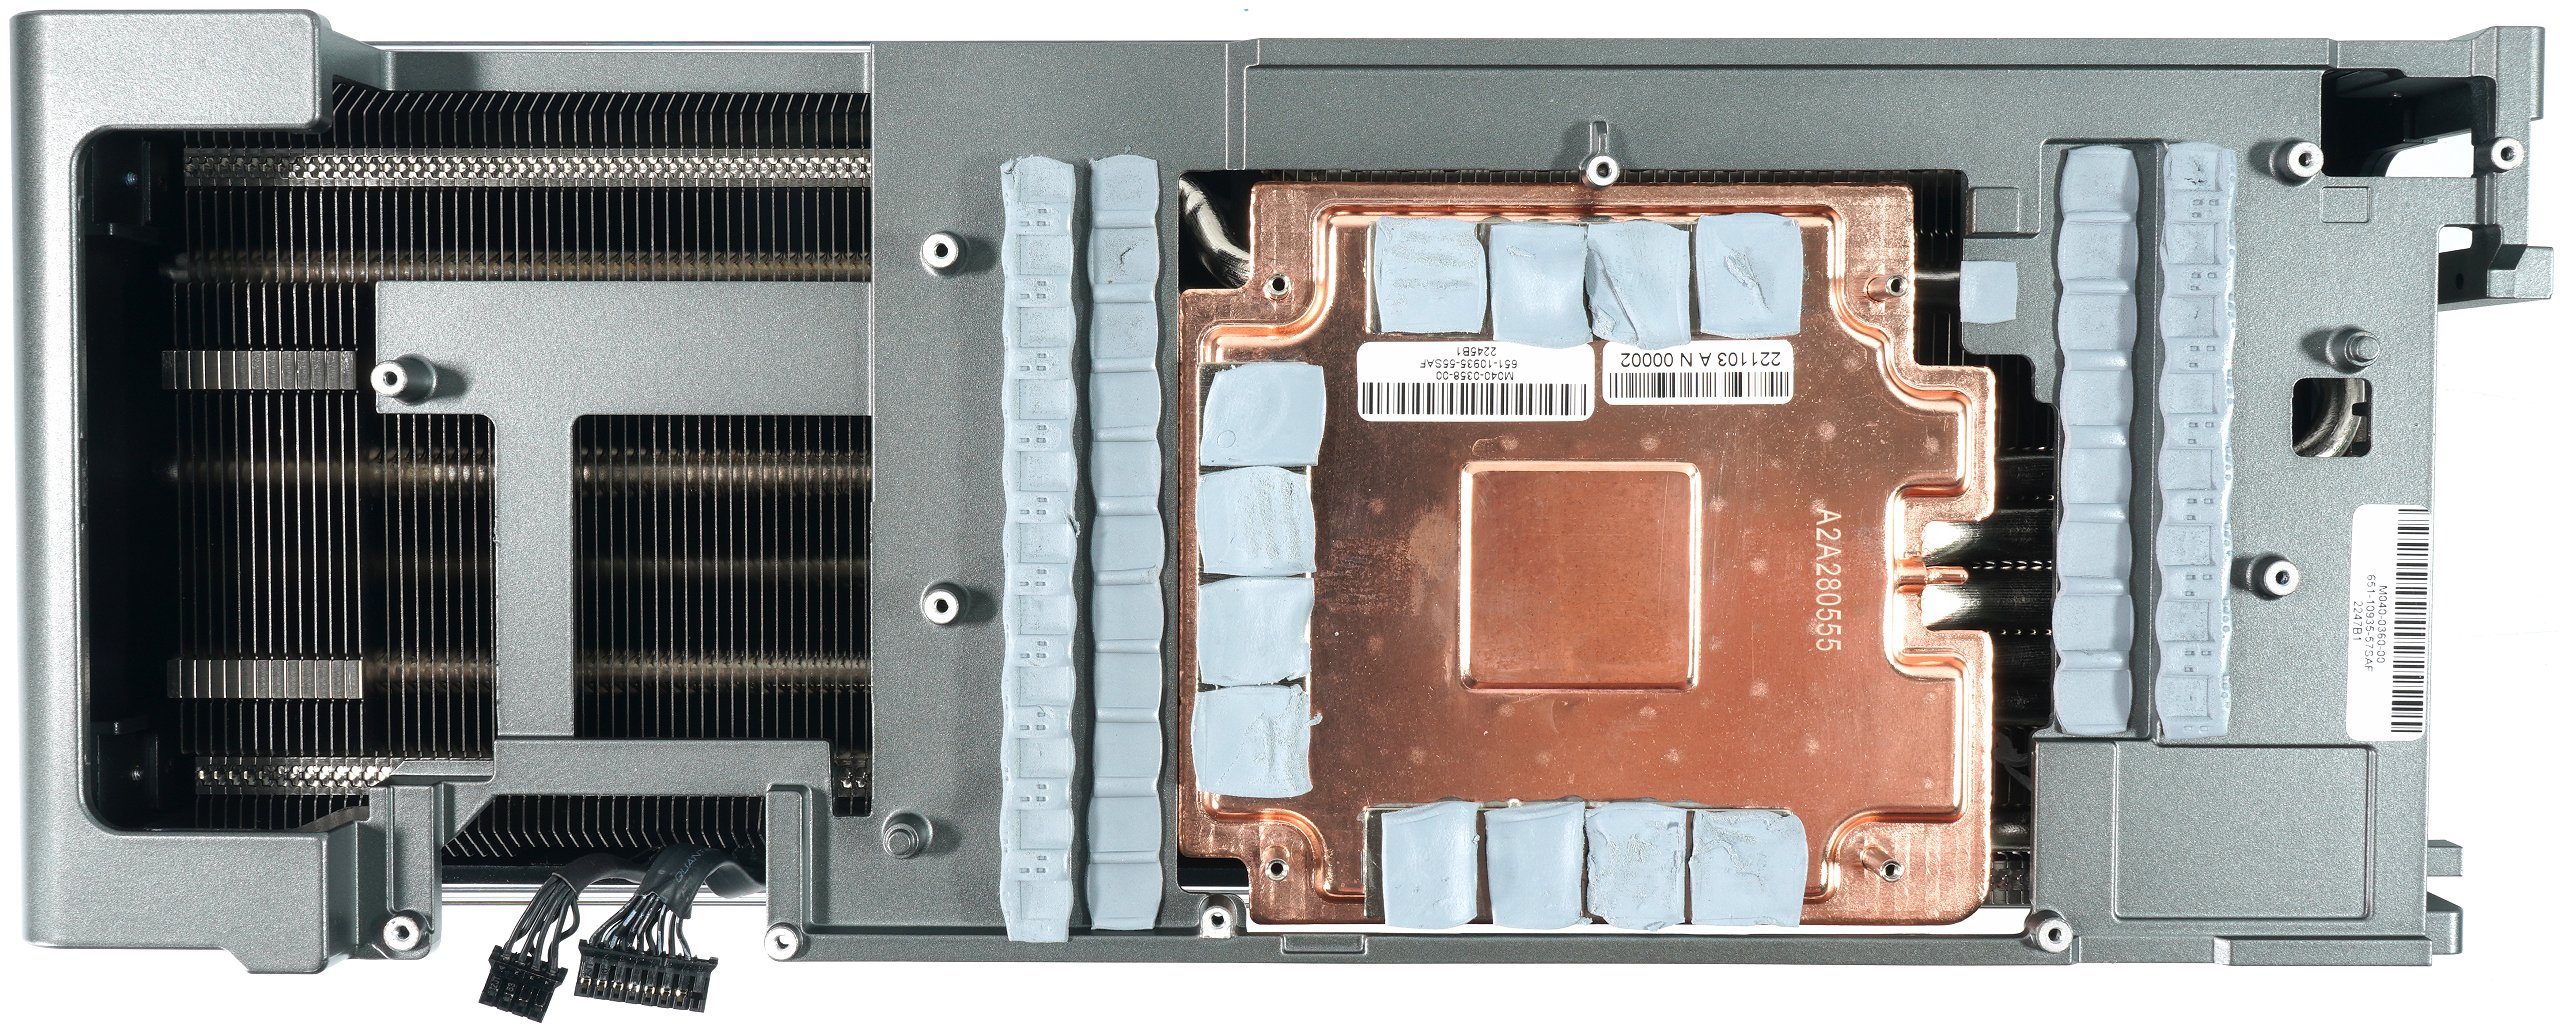
We can see the bottom shell of the solid cooler, which has been designed as a grooved cooler on the upper long side to increase the cooling surface. This is innovative and really exemplary.
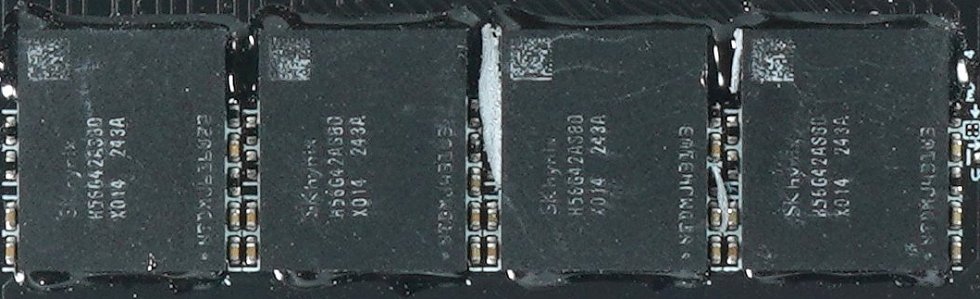
If you still remember the GeForce RTX 2080 FE and Space Invaders due to cracked solder pads on the VRAM, I can reassure you Sapphire relies on the classic underfill, i.e. the subsequent gluing of the soldered memory modules, in the lower area, where the PCB is exposed to strong torsions due to the installation on the PCIe slot.
The massive backplate fits into the overall picture of above-average quality and bears the illuminated Sapphire lettering. Above, there was only the Pantheon with Radeon. But there has to be some corporate identity. Three more tapes are supposed to help cool the RAM. Yes, this is a bit helpful, but it would have been better to solve this on the front with a bit better pads. These thick pads just bring 1-2 Kelvin less.
Thermal paste and die
If you plan to use the card for water cooling, you should definitely use a quite viscous thermal paste after a rebuild or a reassembly after a teardown and by no means a liquid one! Cleaning is similarly problematic as with the RX-Vega, because the gaps between the graphics die and the 6 chiplets are quite narrow and the interposer underneath is very sensitive to pressure and tensions. Then, with a bit of bad luck, it cracks faster than you can say pug.
I recommend dry cleaning by turning cotton swabs and applying as little pressure as possible. Only at the end you can do the fine cleaning with a soft cloth and isopropanol. No matter what you reapply later, no residue should remain in the relevant areas.

- 1 - Introduction, technical data and technology
- 2 - Teardown: PCB and components
- 3 - Teardown: Cooler and disassembly tips
- 4 - Gaming Performance Full-HD (1920 x 1080)
- 5 - Gaming Performance WQHD (2560 x 1440)
- 6 - Summe Gaming-Performance Ultra-HD (3840 x 2160)
- 7 - Power consumption and load balacing
- 8 - Load peaks, capping and power supply recommendation
- 9 - Temperatures, clock rates and infrared analysis
- 10 - Fan curves and volume
- 11 - Summary and conclusion


200 Antworten
Kommentar
Lade neue Kommentare
Mitglied
Veteran
Urgestein
Mitglied
Veteran
Urgestein
Urgestein
1
Veteran
Urgestein
1
Urgestein
Veteran
Urgestein
Urgestein
Urgestein
Mitglied
Urgestein
Alle Kommentare lesen unter igor´sLAB Community →