


Establishment
If you call the IP address shown at the end of the installation or by default http://truenas.localthe following login page should be displayed:
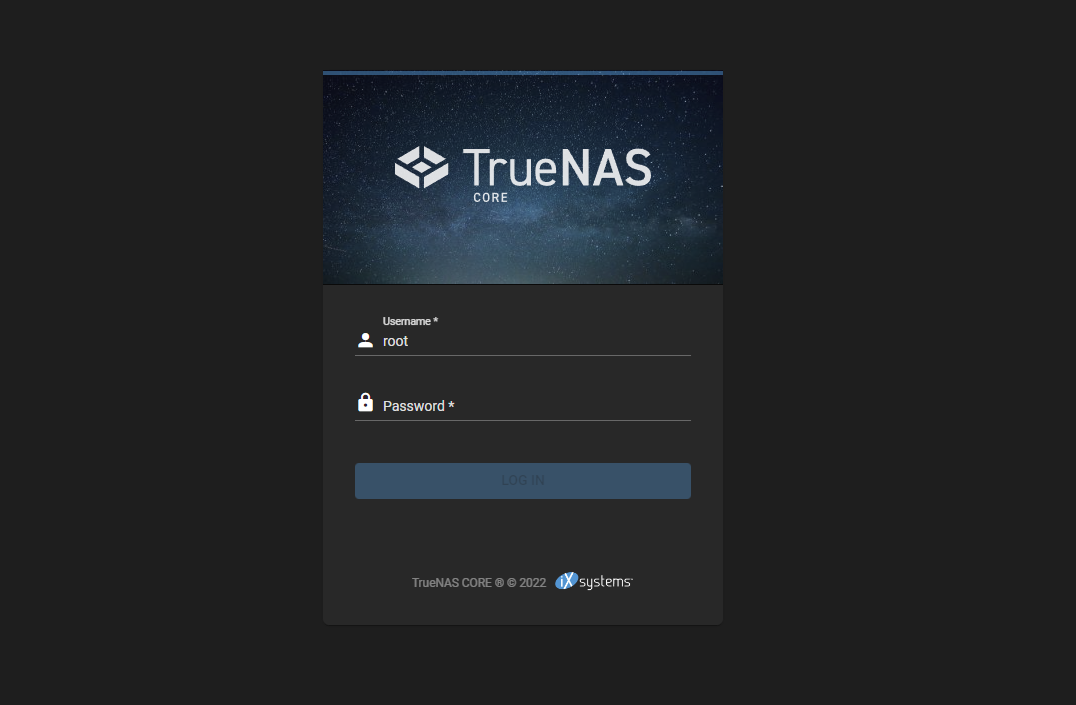
You can then log in here with the user name “root” and the password assigned during installation. The dashboard with an overview of our system is then displayed.

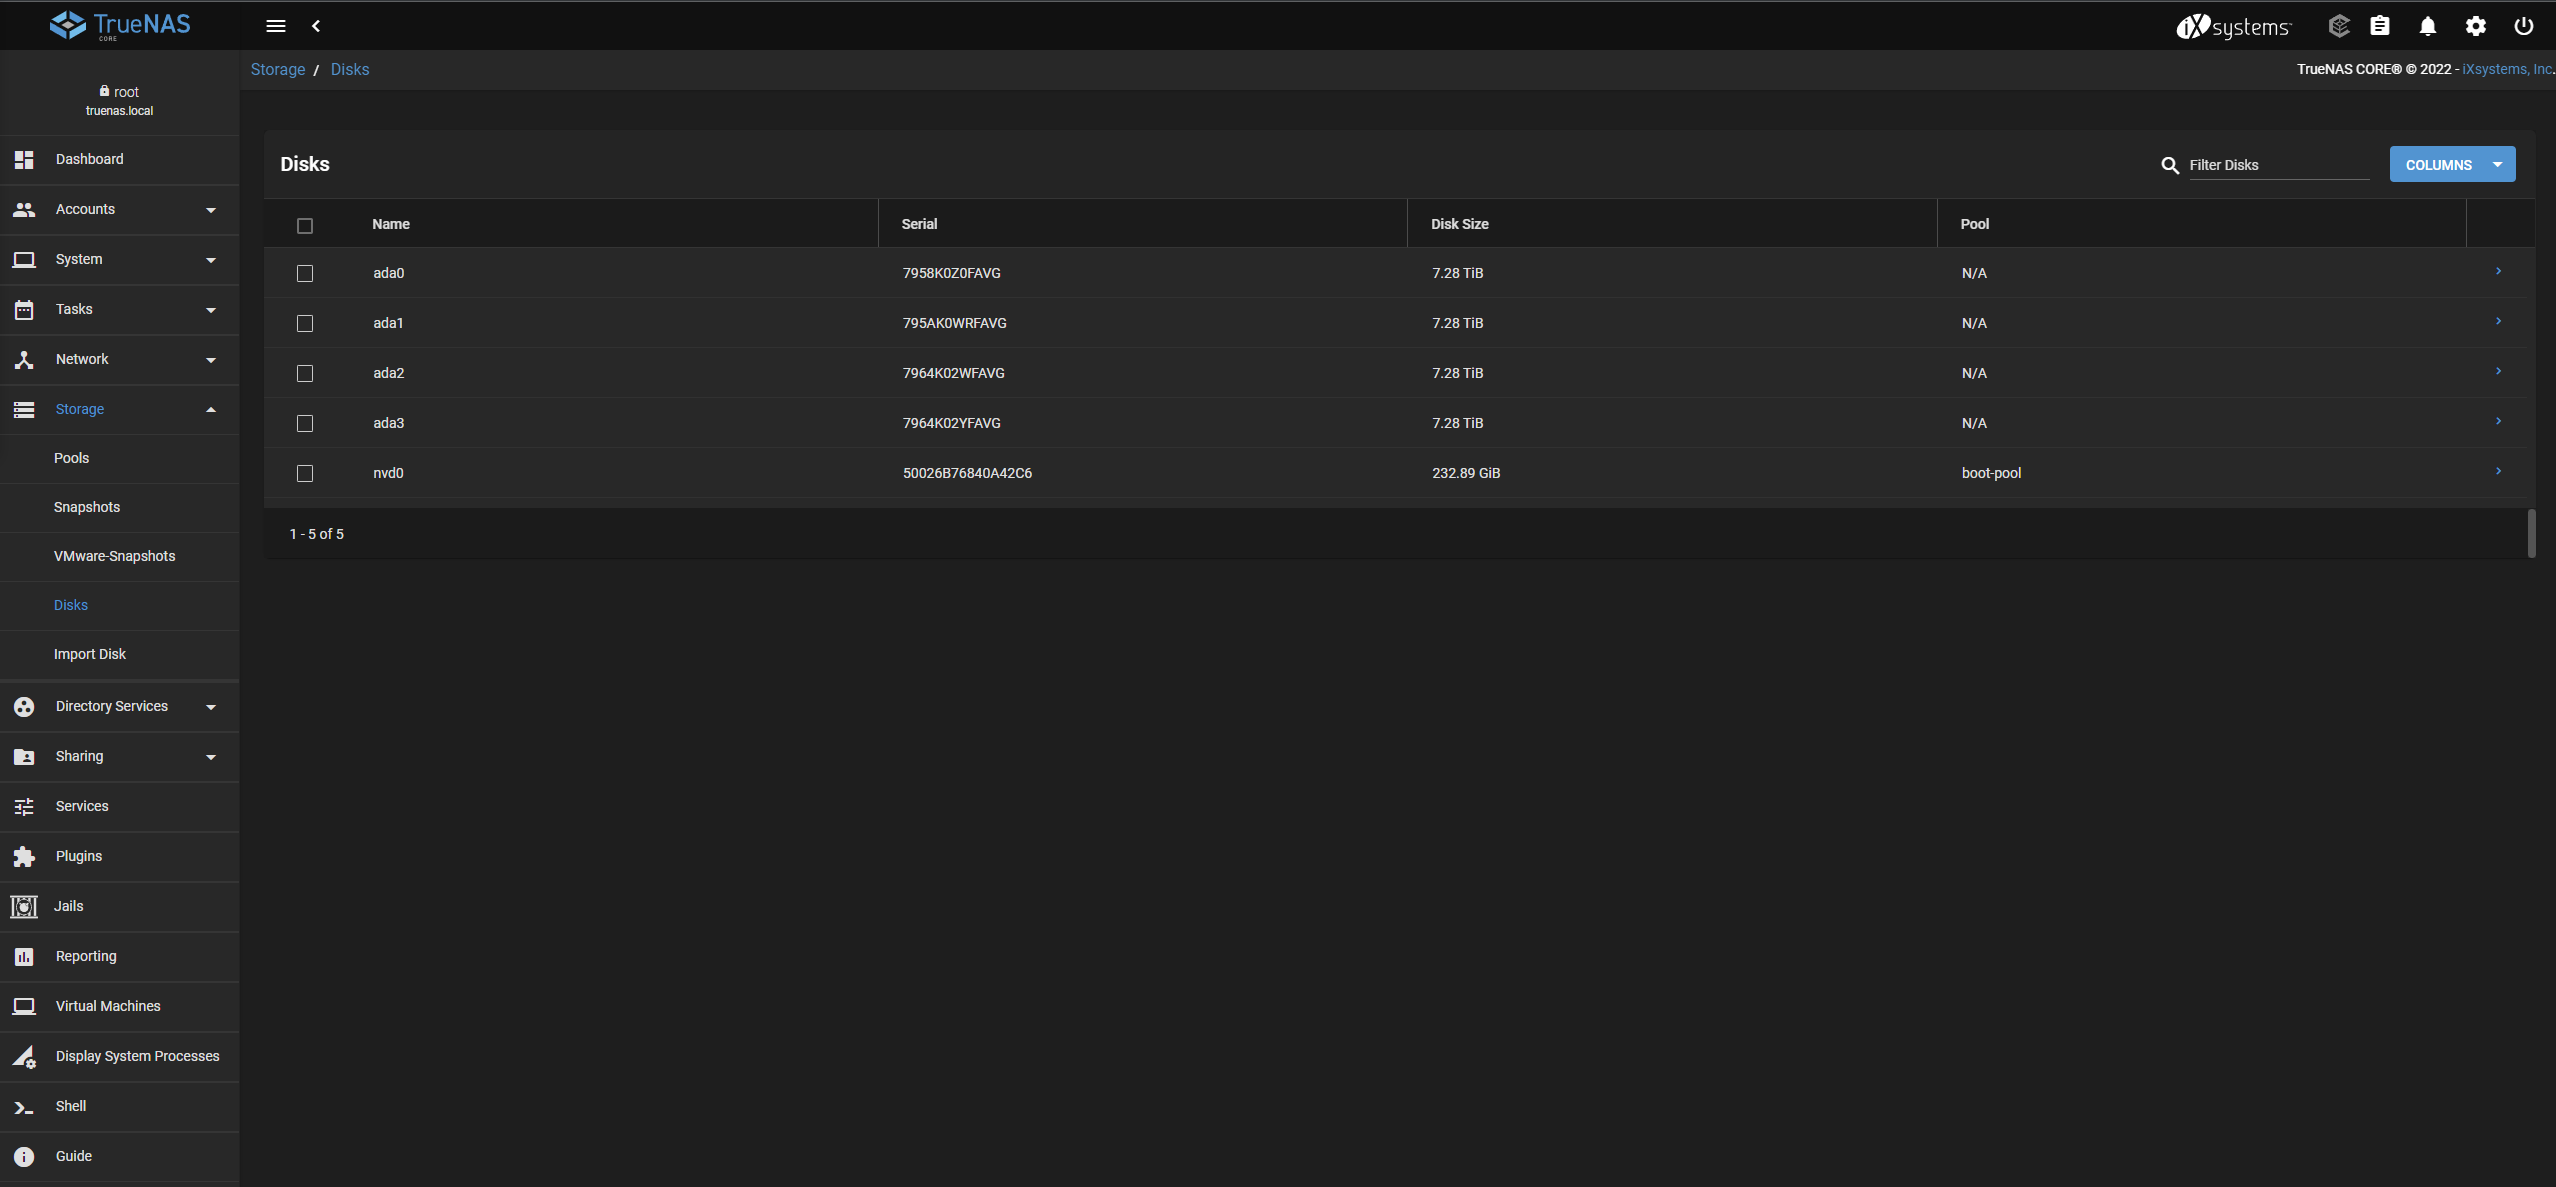
As an example, I’ll show a few possible first steps, starting with the setup of our storage. Under Storage > Disks, the correct number of connected hard disks should hopefully be displayed, here our four 8TB HDDs from Toshiba and the boot SSD.
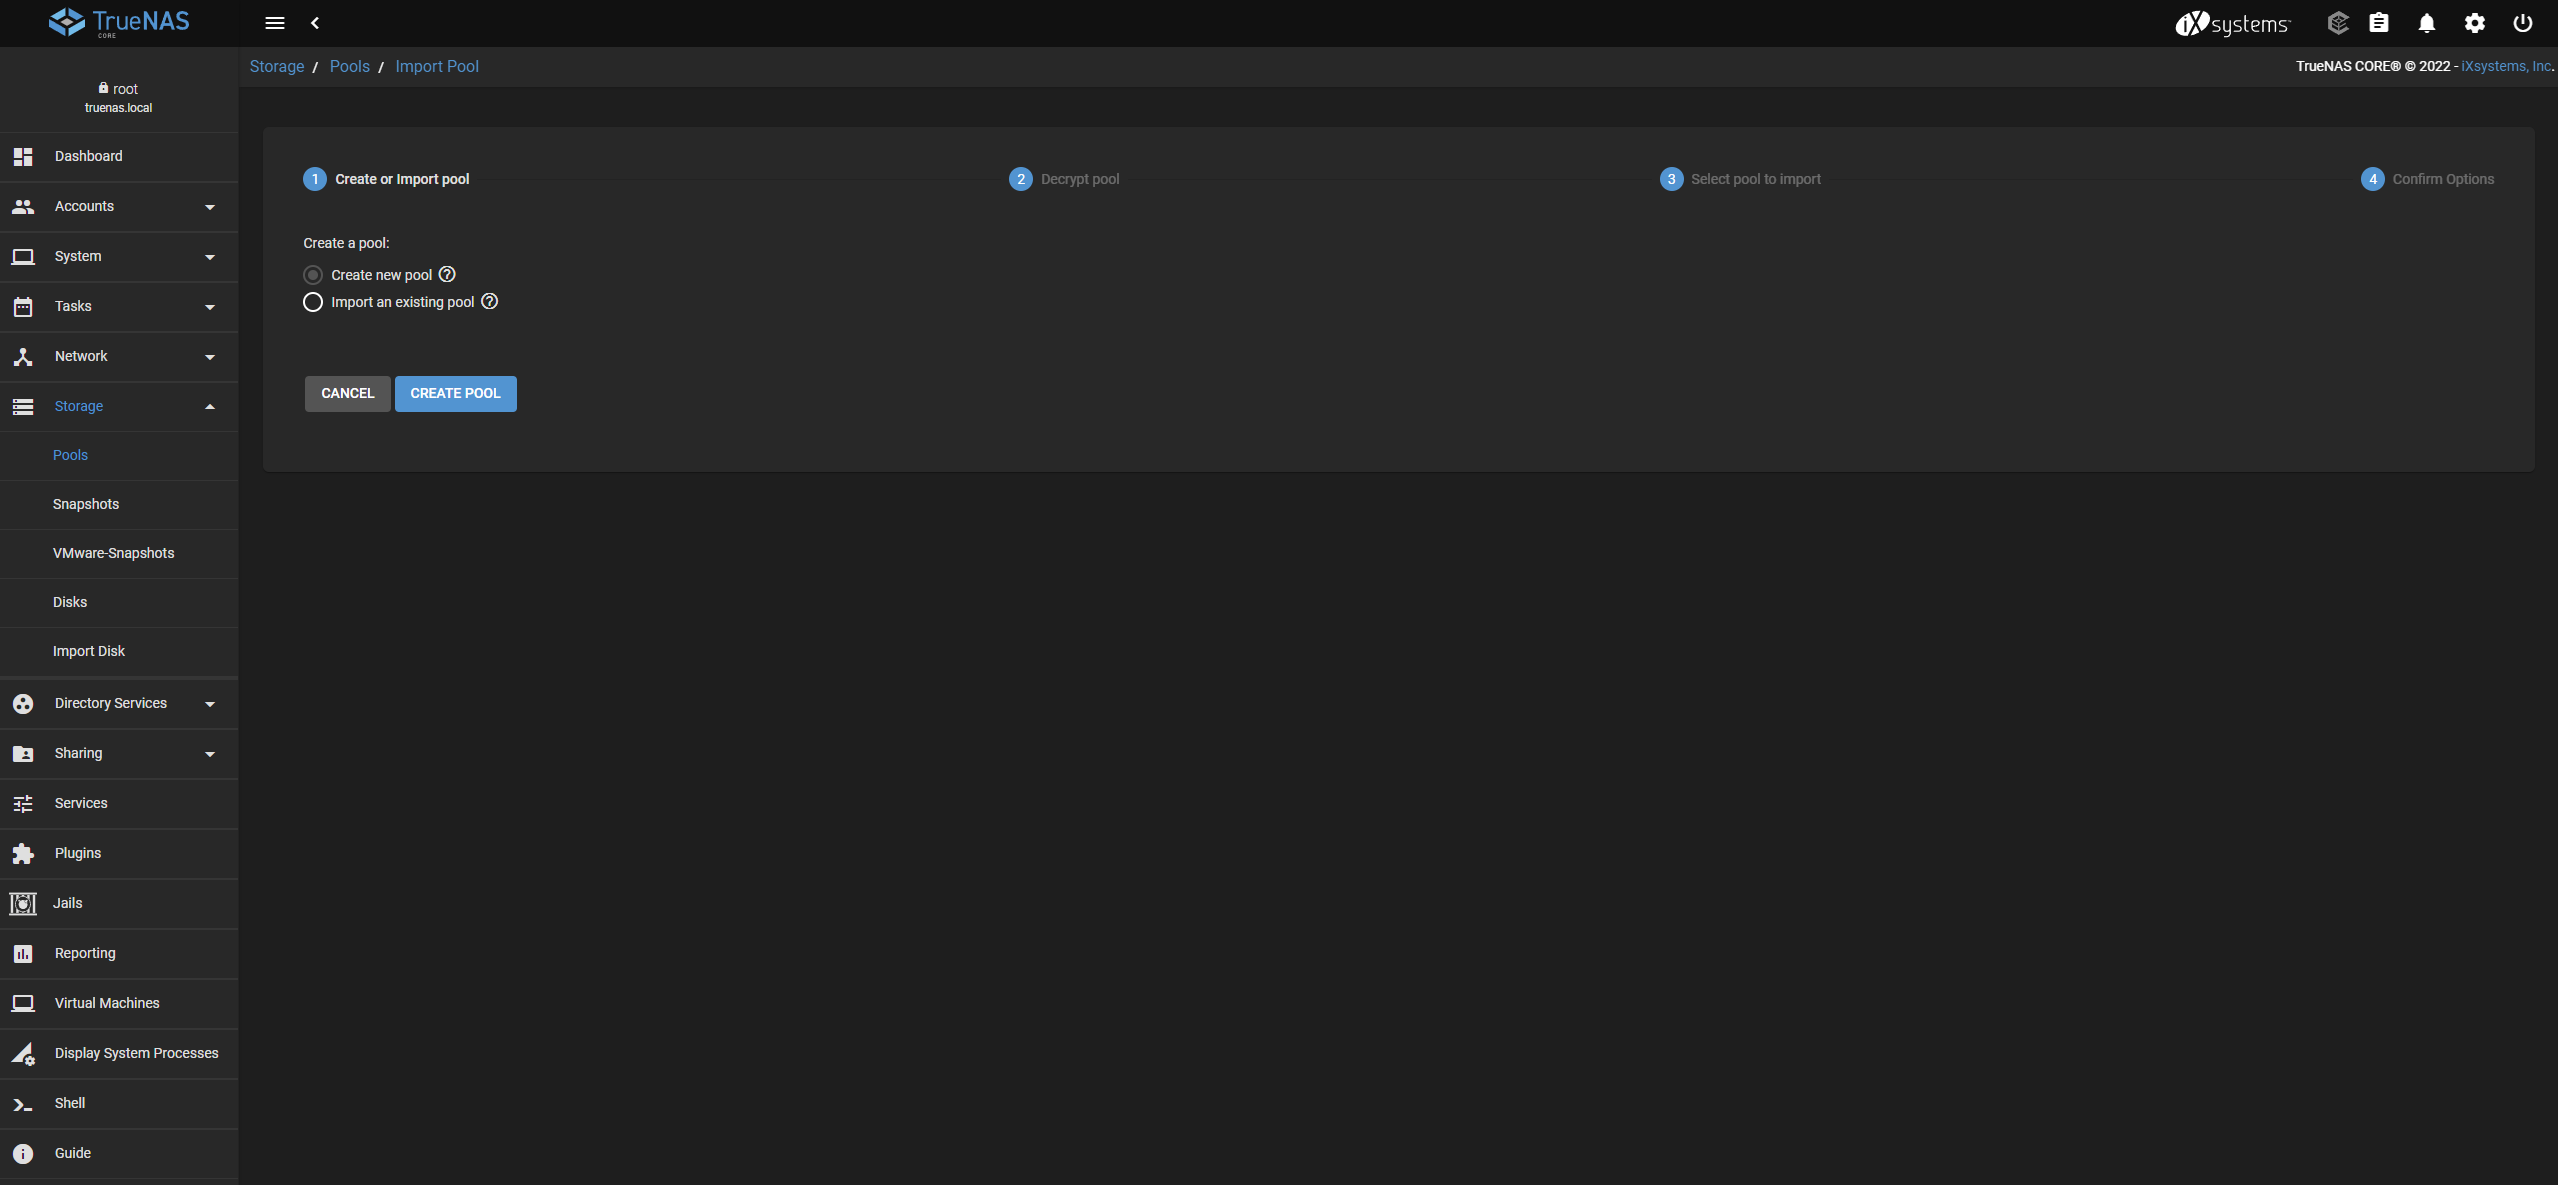
A new pool of disks is then created in Storage > Pools.
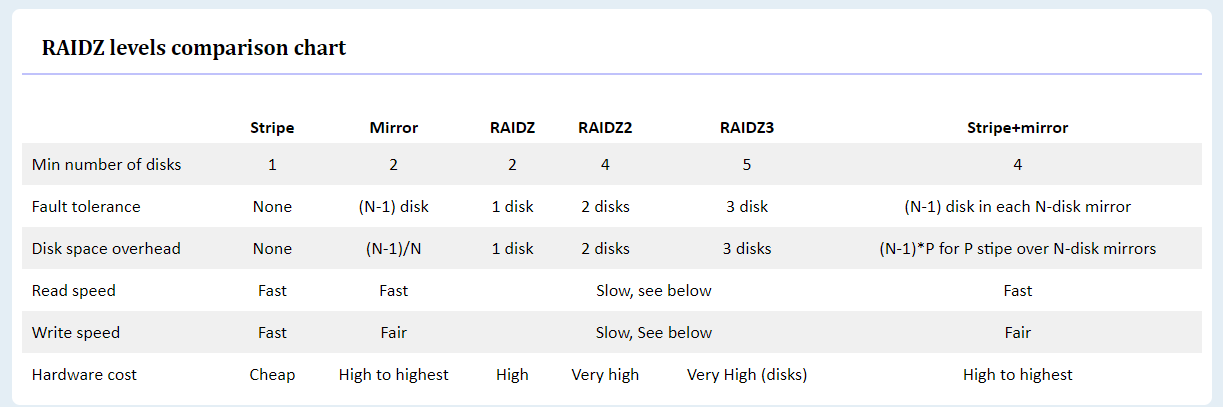
At this point, the button “Suggested Layout” is very helpful if you do not know exactly what to do. However, I did not choose a Raid-z2 as suggested, but a simple Raid-z interconnection of the hard disks.
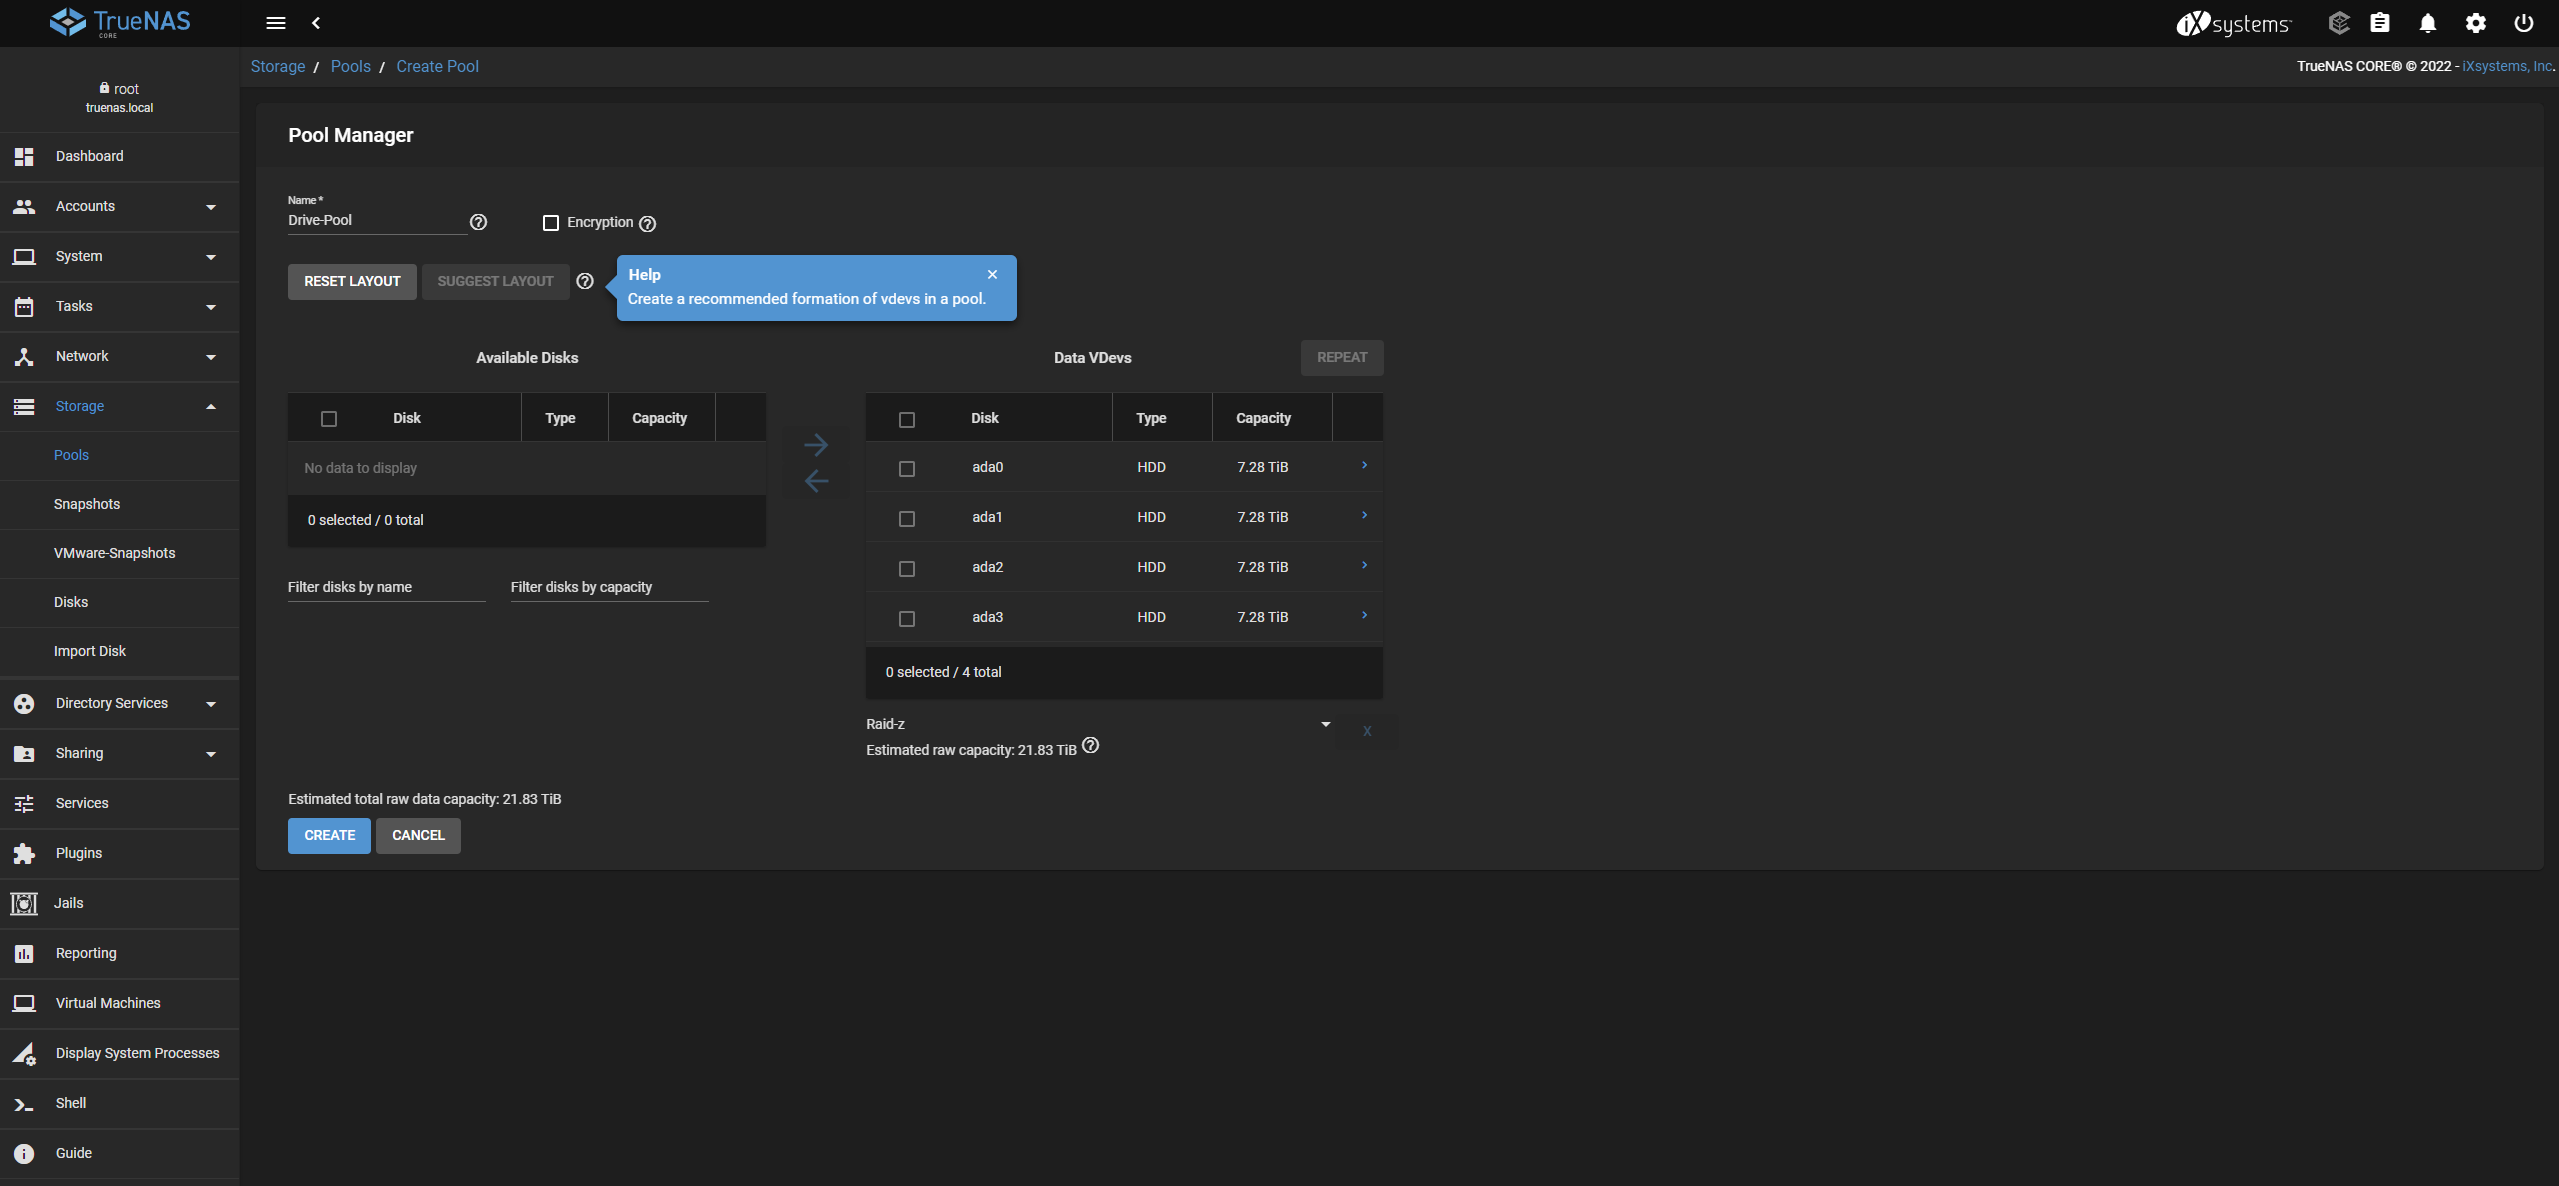
And for those who don’t know anything about this, I can refer you to thevery useful page Raidz-Calculator. There, the different options are clearly presented and you can also quickly calculate which configurations leave how much usable storage space.
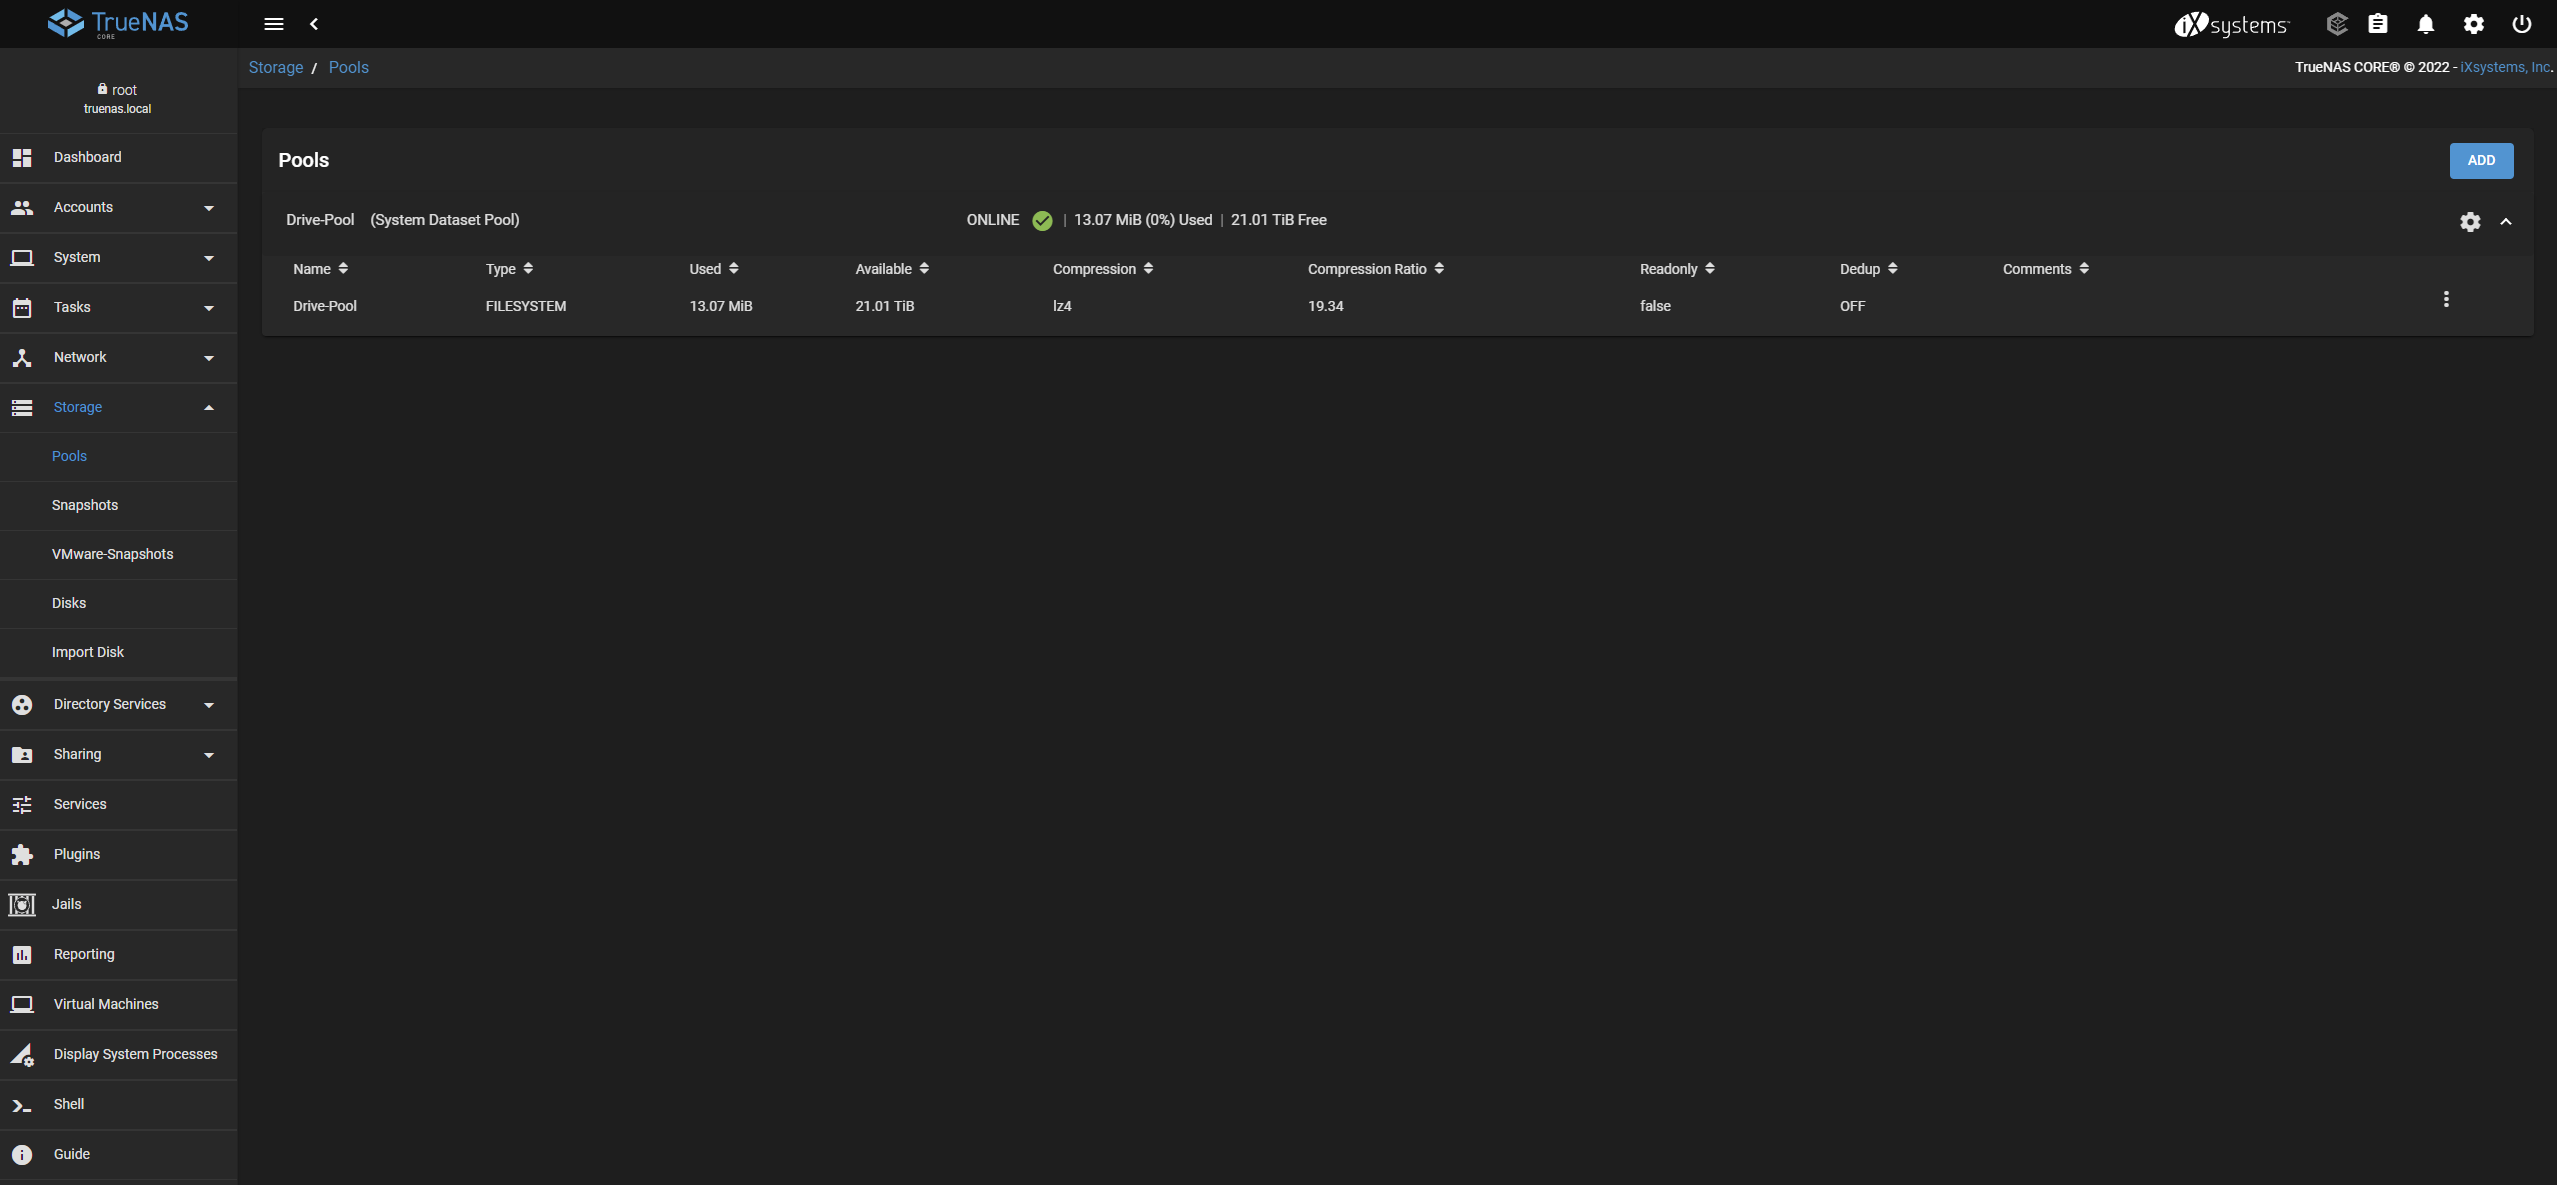
After a few moments, our brand new storage pool should then be displayed as online and usable.
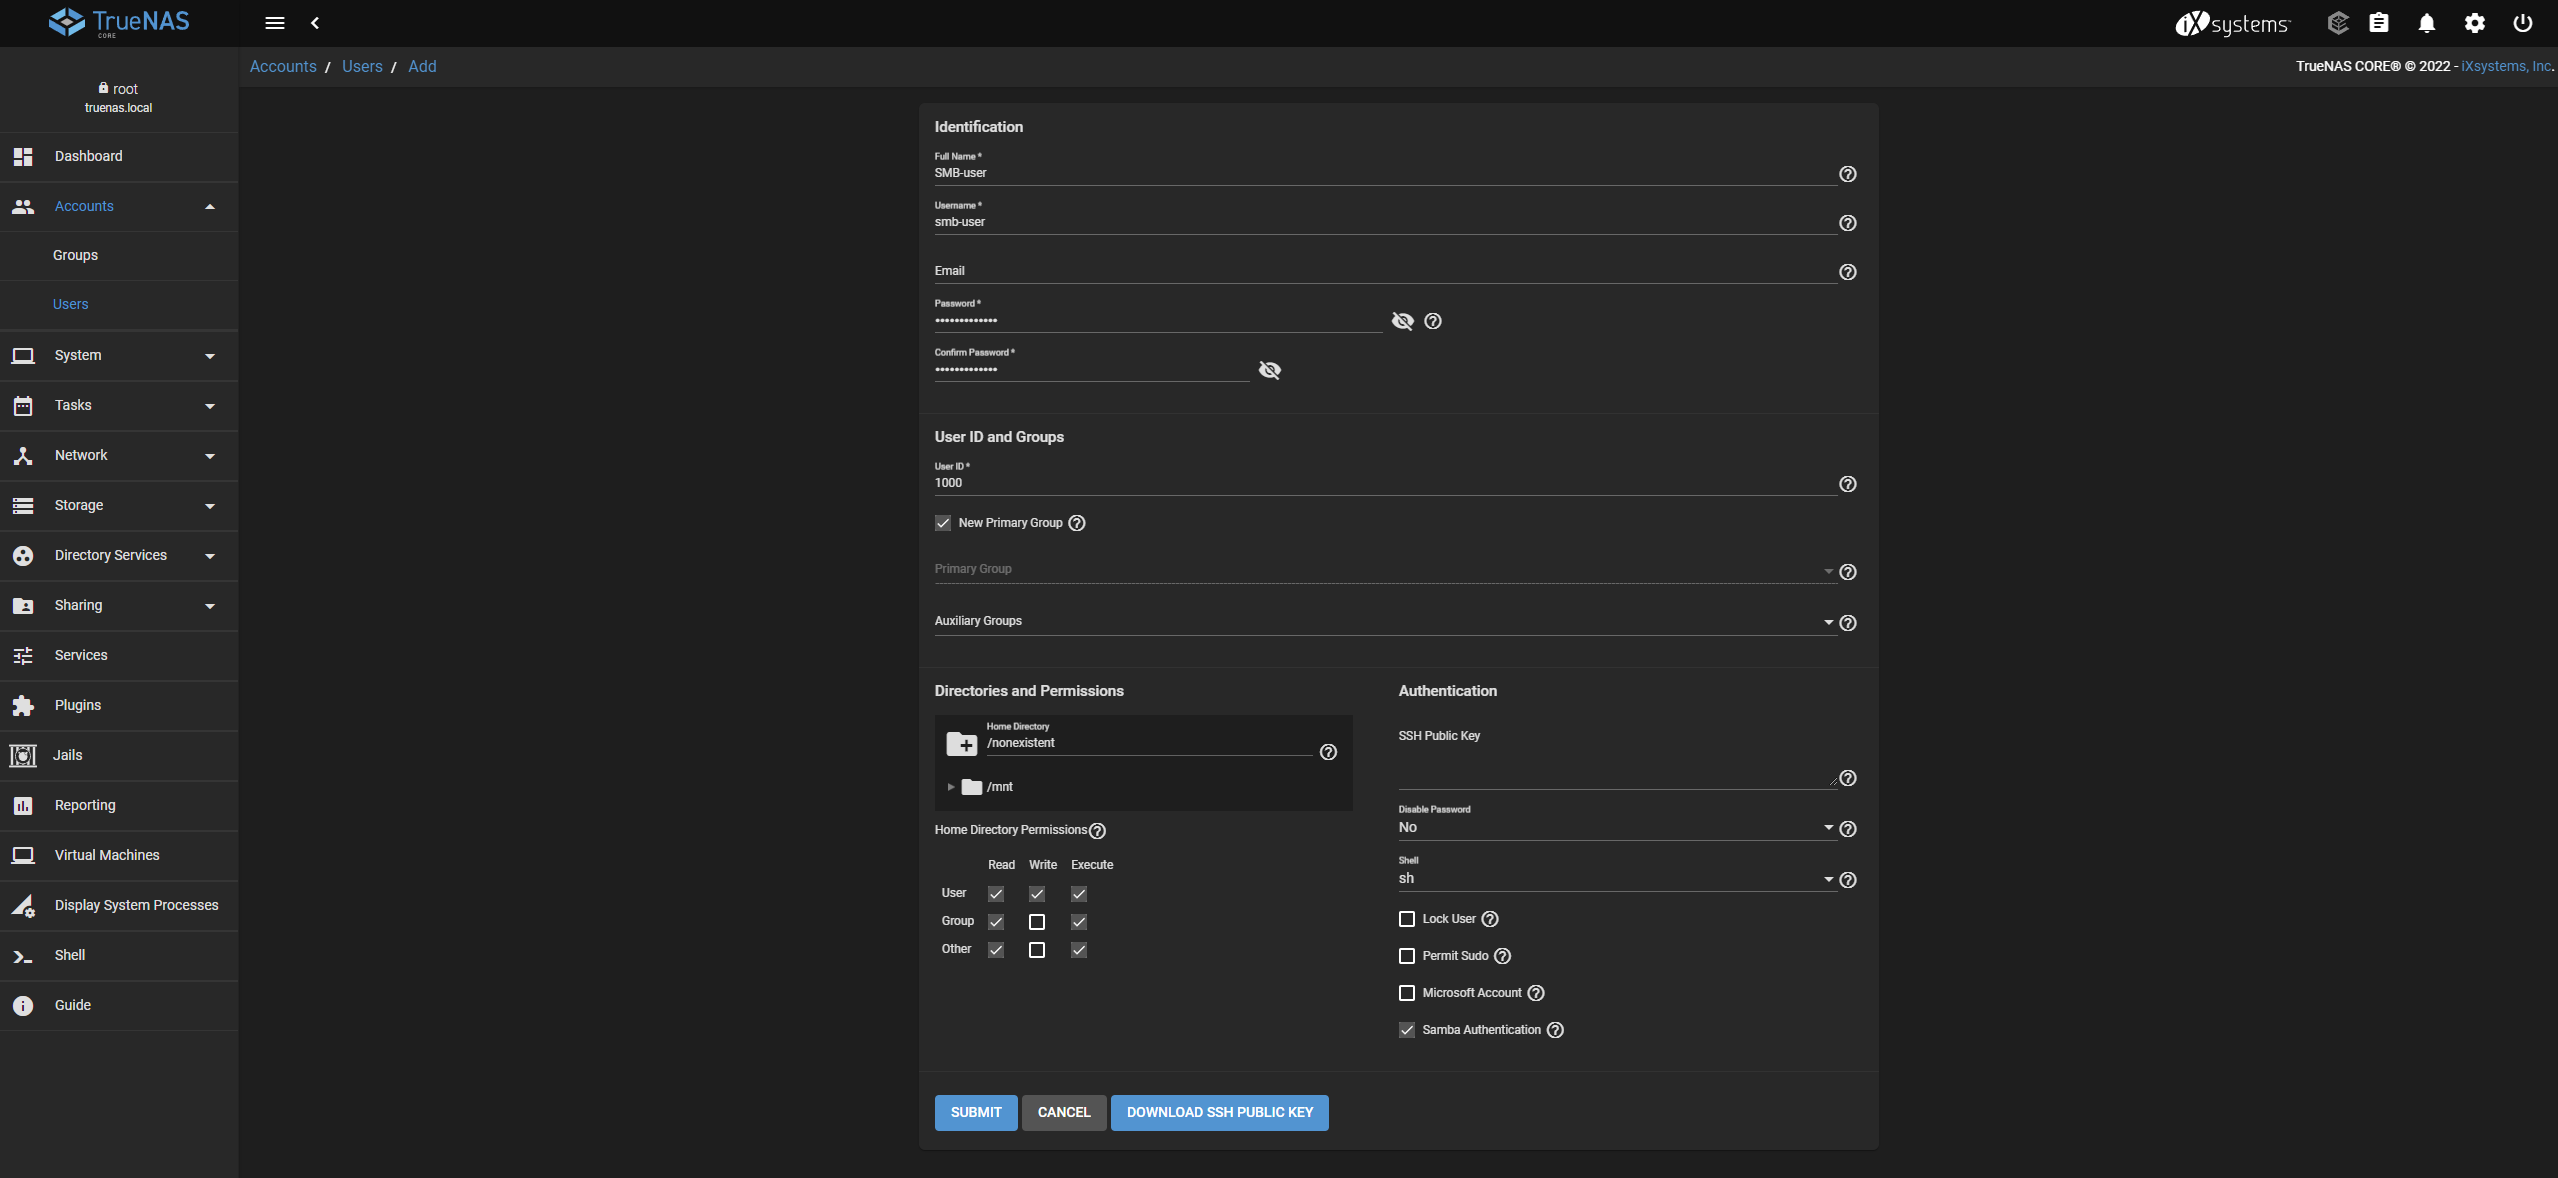
How it goes on now is up to everyone. One option now would be to create a Samba share for access from Windows computers. To do this, we first create a user under Accounts > Users, to which we immediately give the appropriate permissions for access.
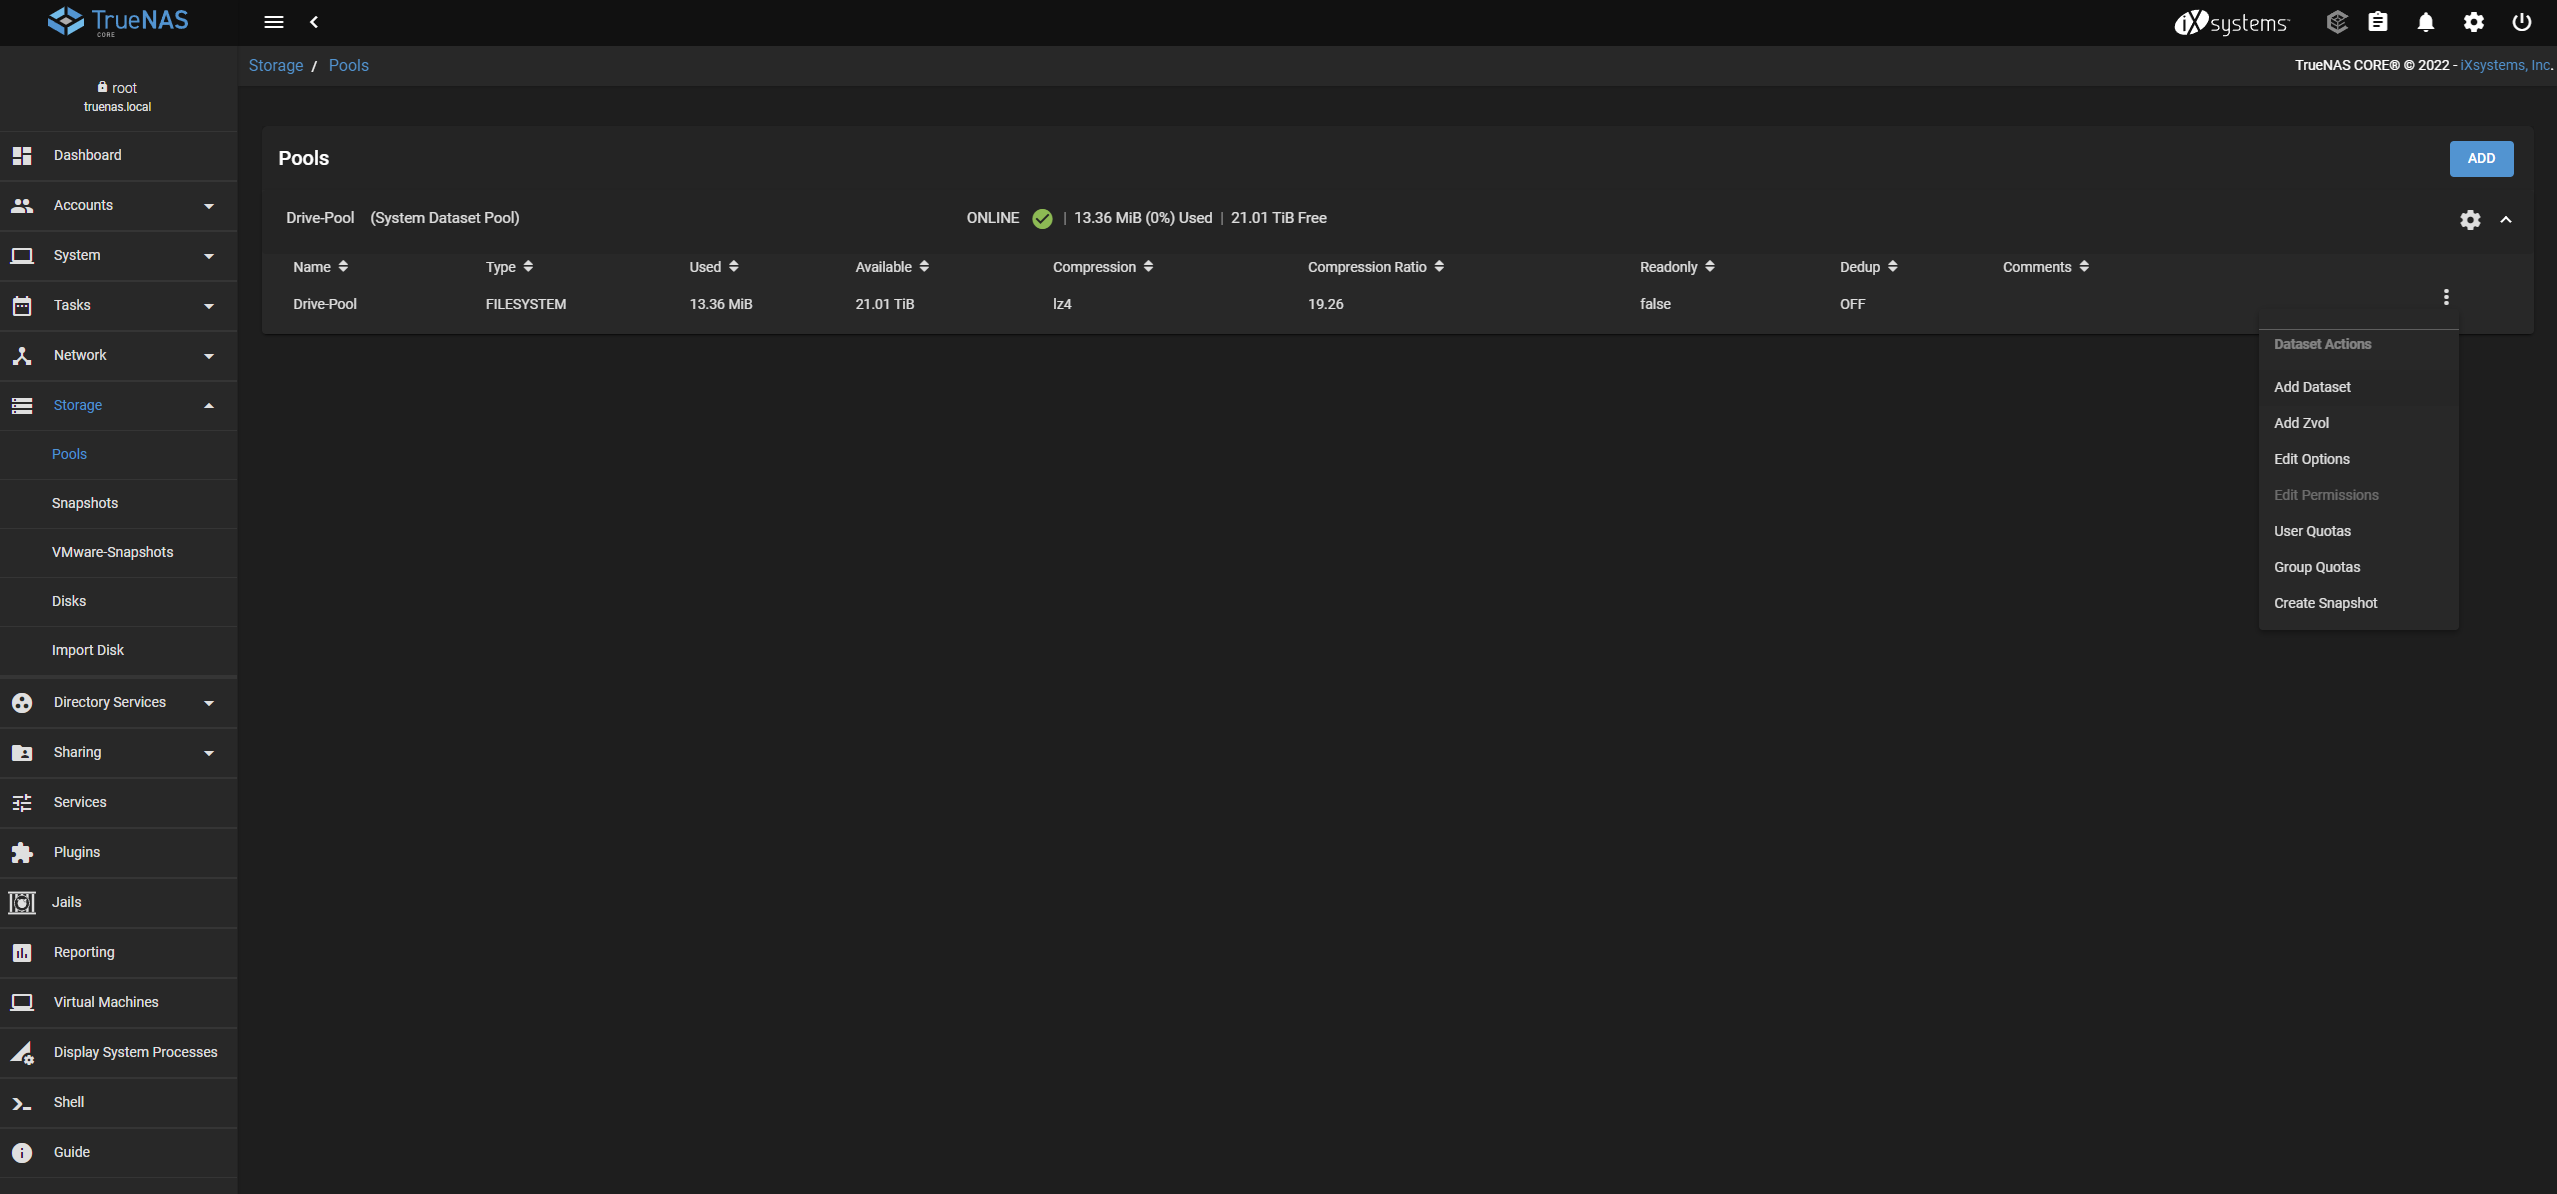
Then go back to Storage > Pools and click on “Add Dataset” using the three dots on the right margin. This effectively creates a subfolder in our pool.
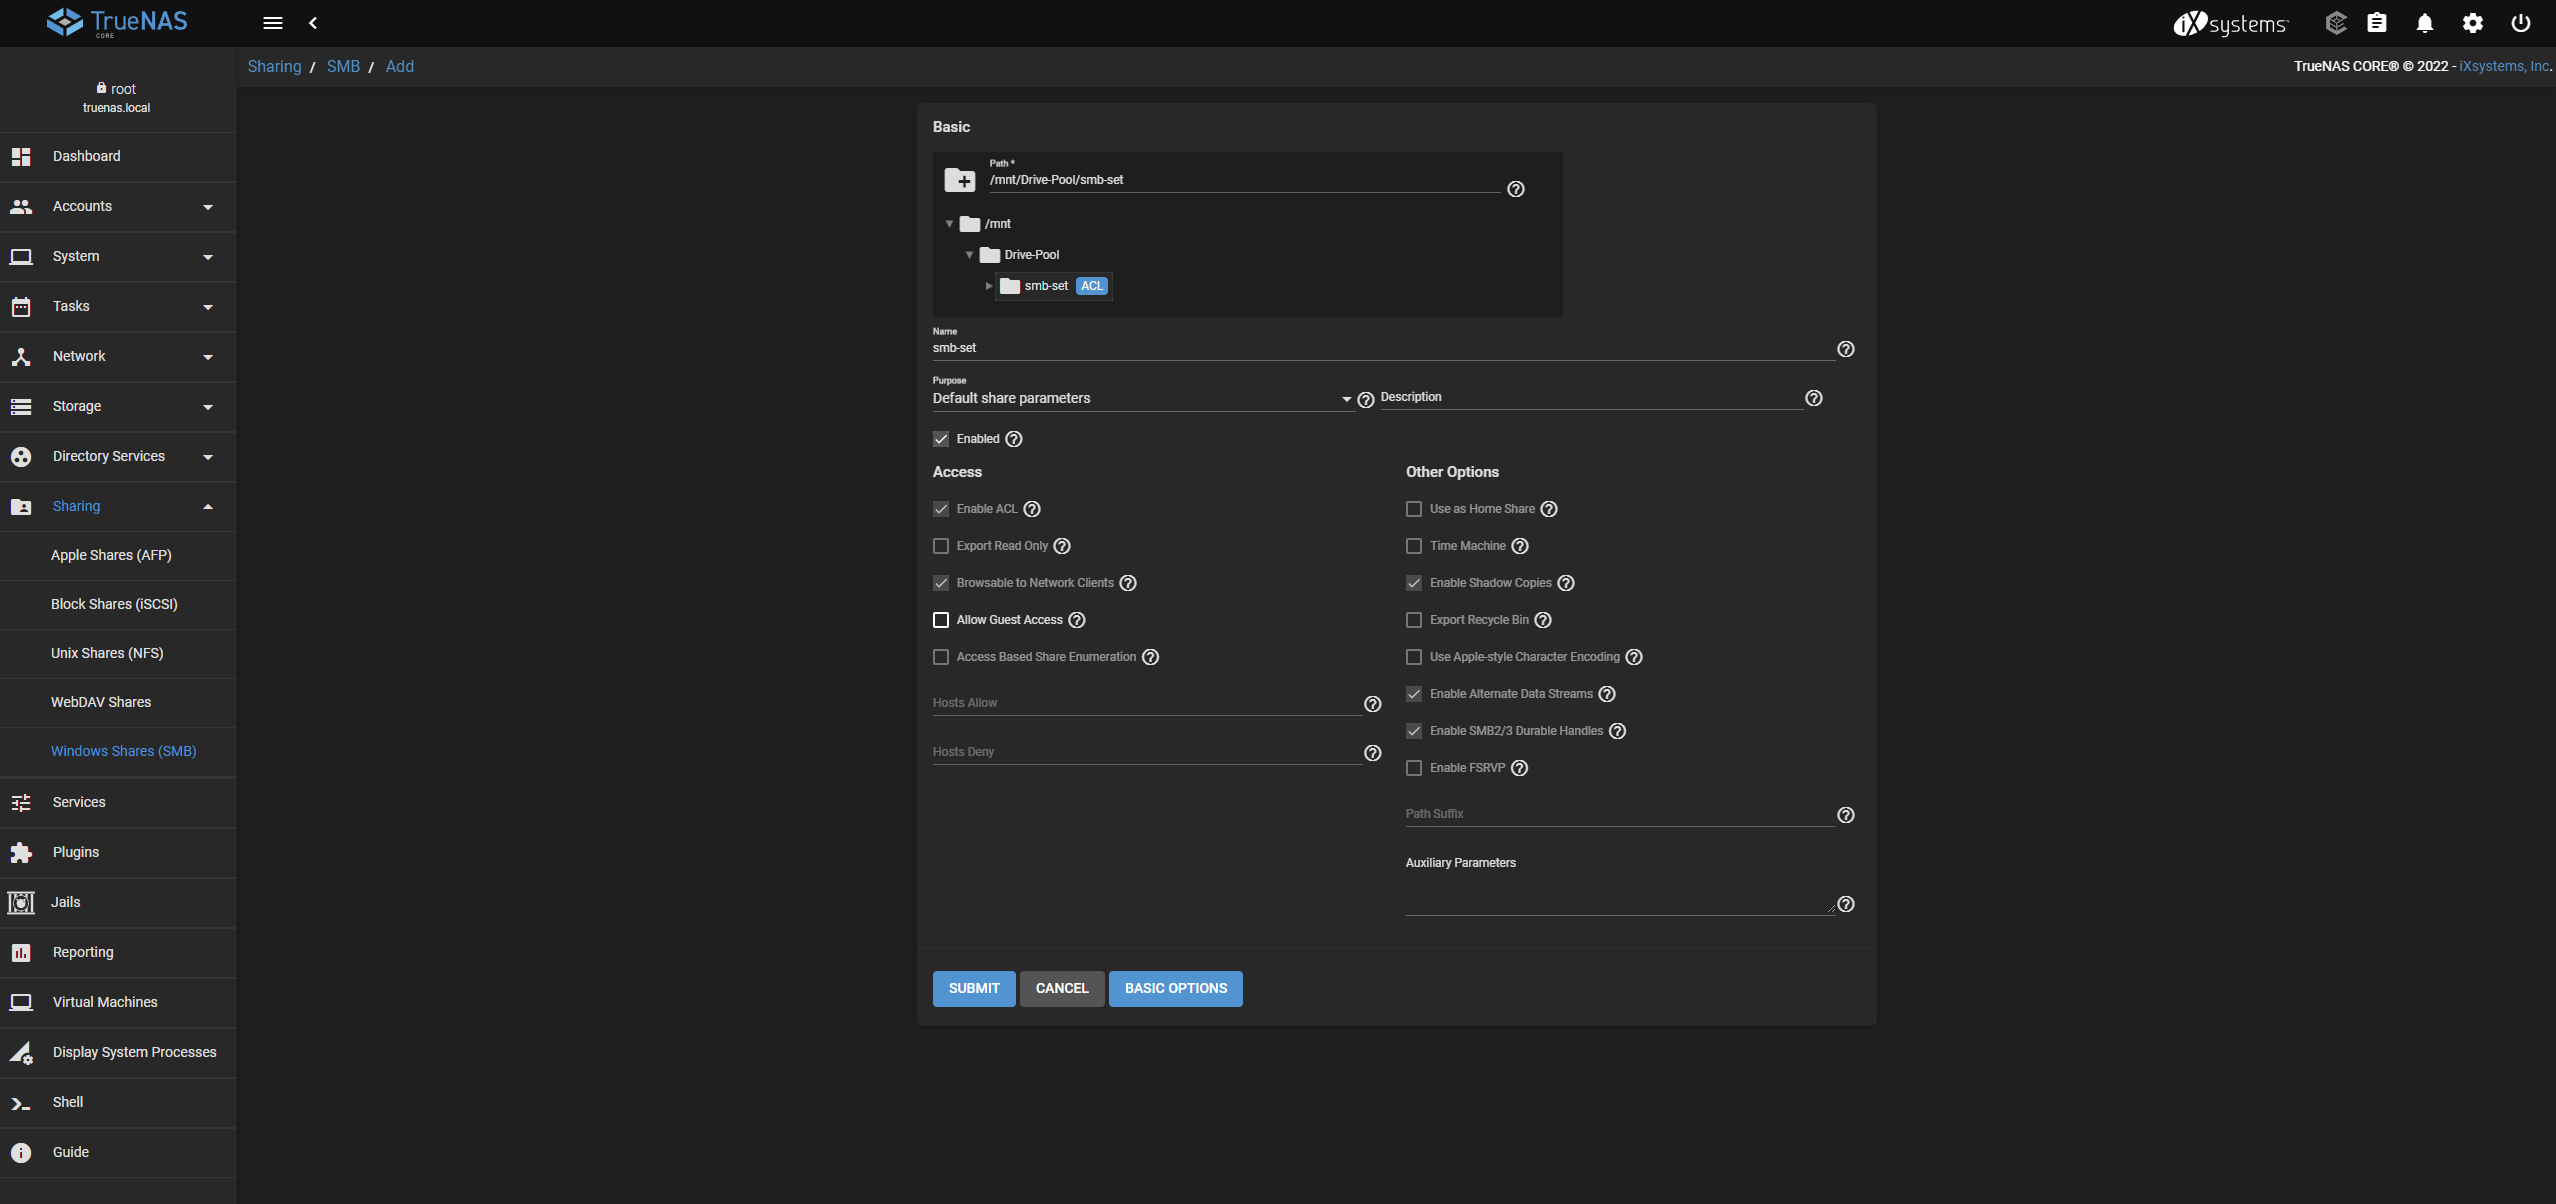
And we share it via Sharing > Windows Shares (SMB).
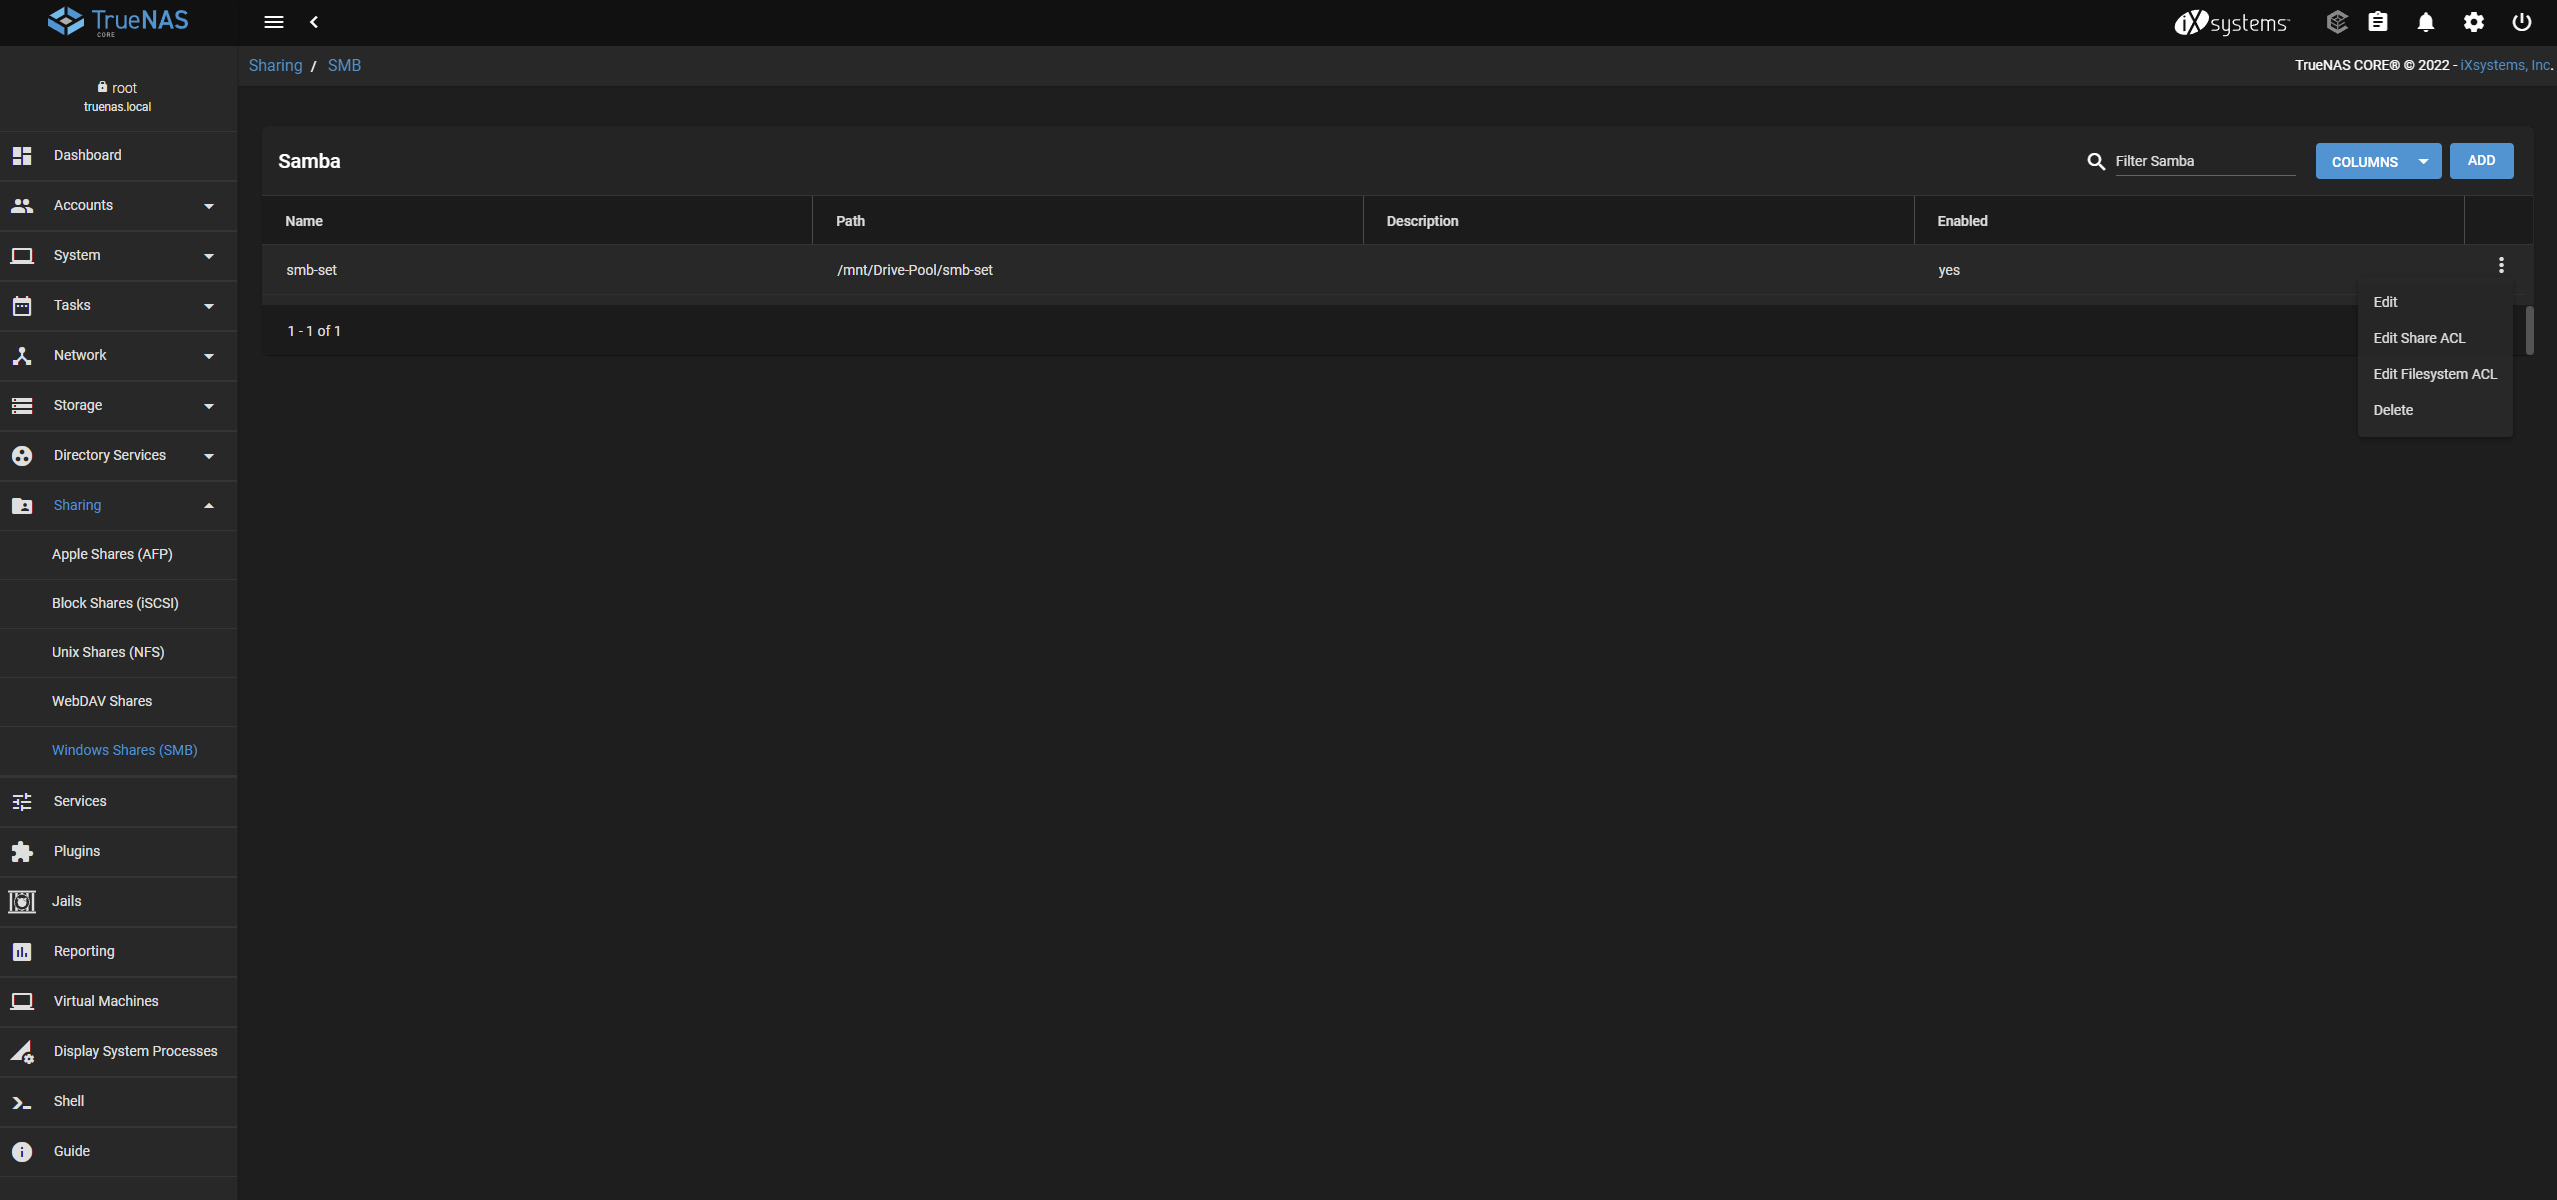
Afterwards we have to authorize our user for this share, this can be done via “Edit Filesystem ACL”.
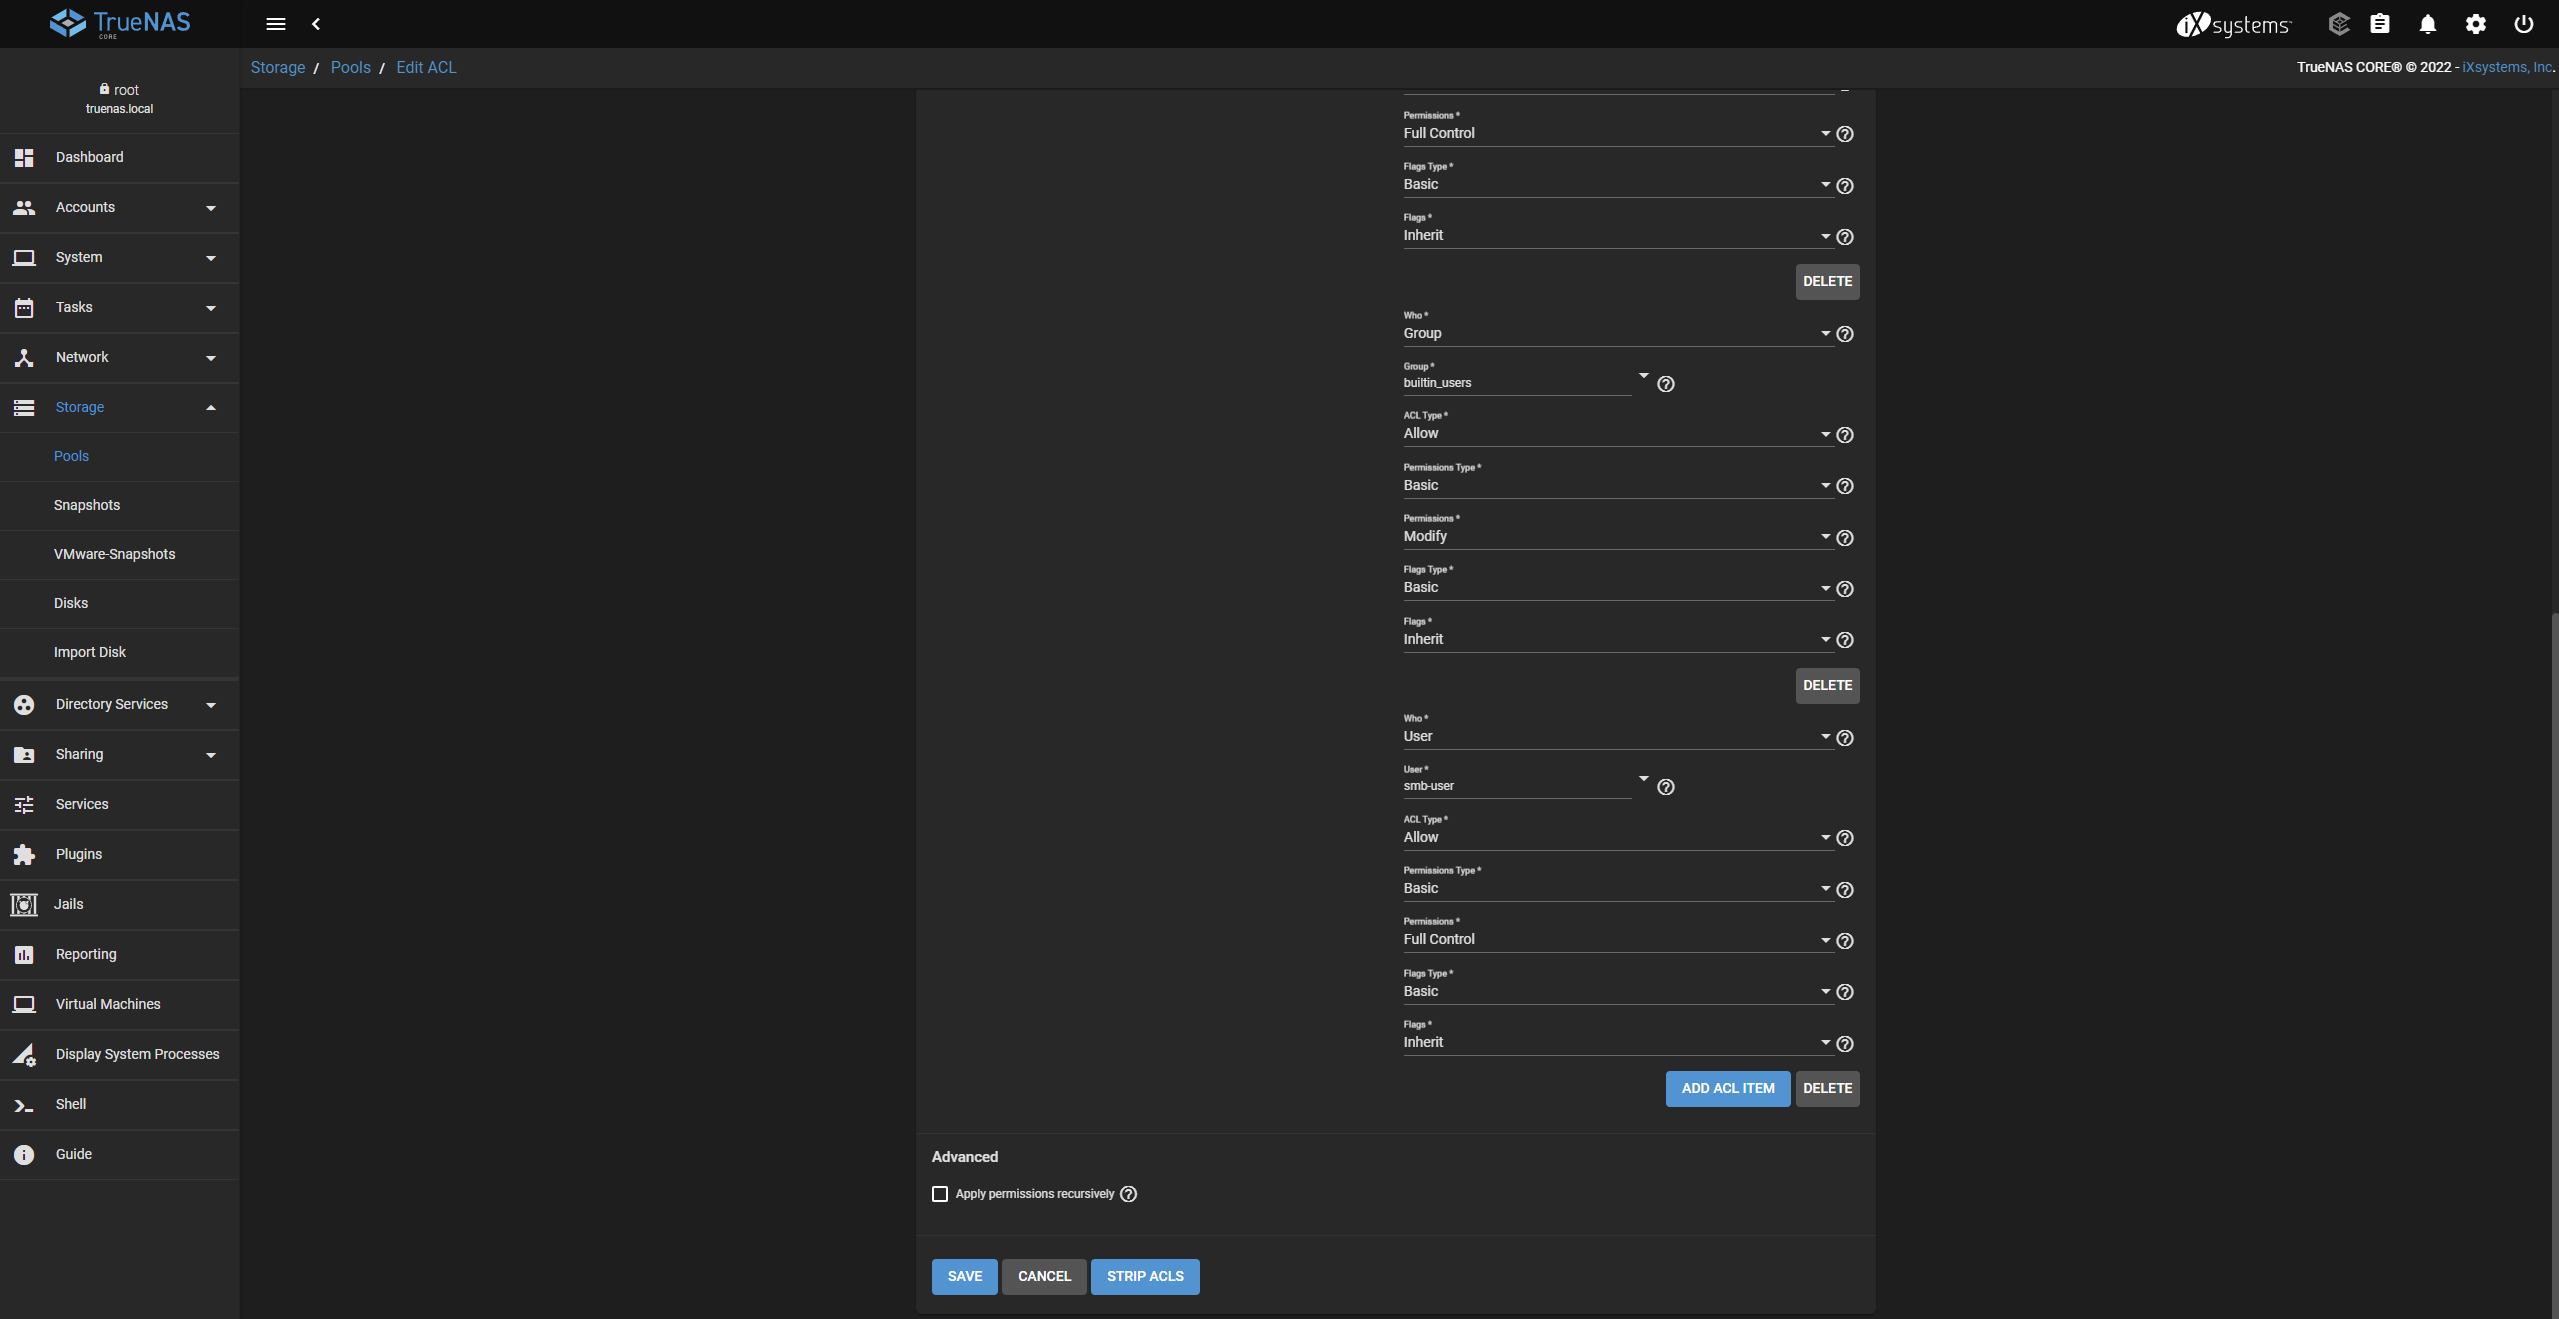
With “Add ACL Item” a new entry can be added, there the user will be entered.
I think now it should be clear at the latest that TrueNAS is much more designed as a server operating system and for multiple users than OpenMediaVault. What exactly you want to achieve is therefore best already clear when deciding between the two options.
After I mounted the share as a network drive, I did a little speed test:
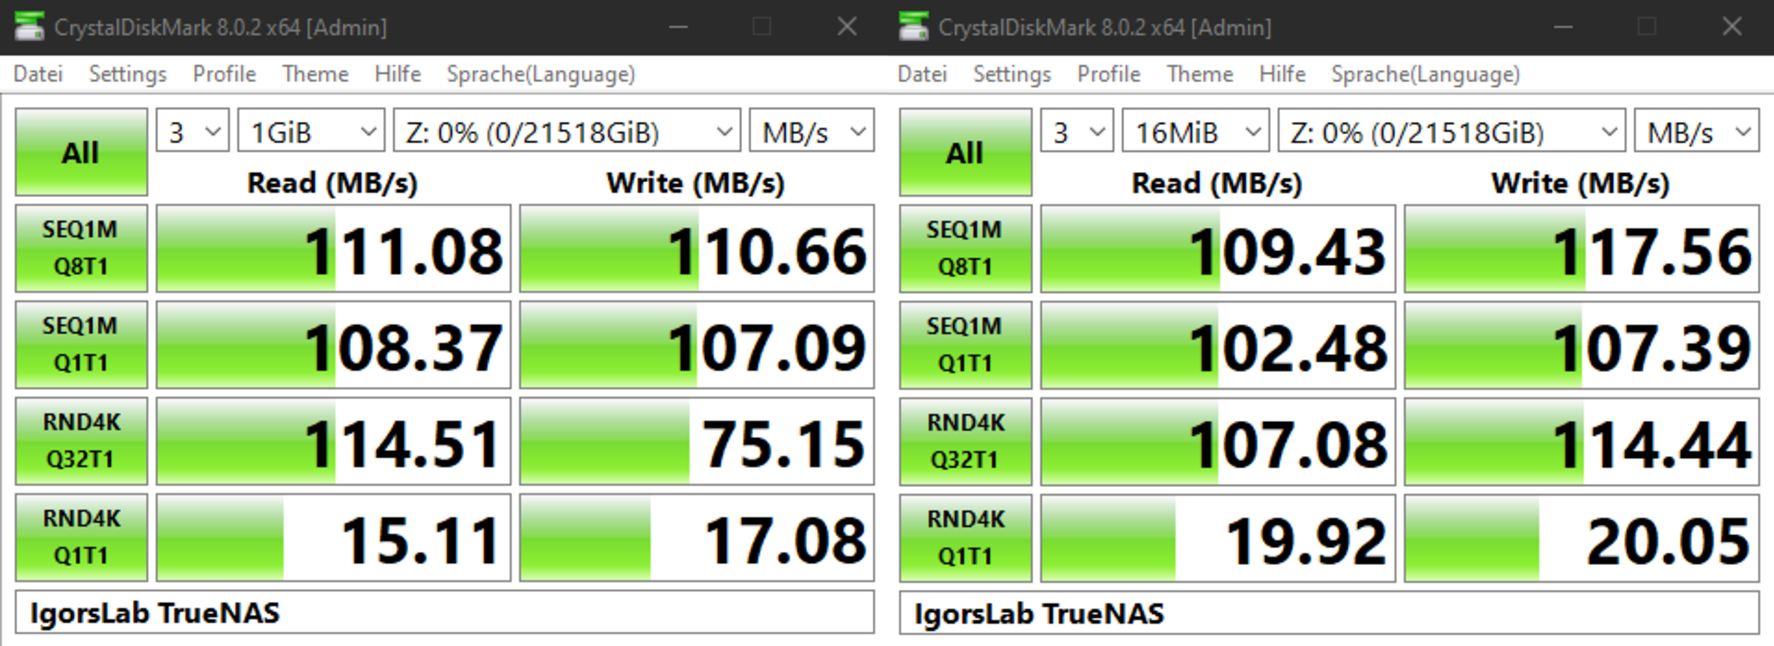
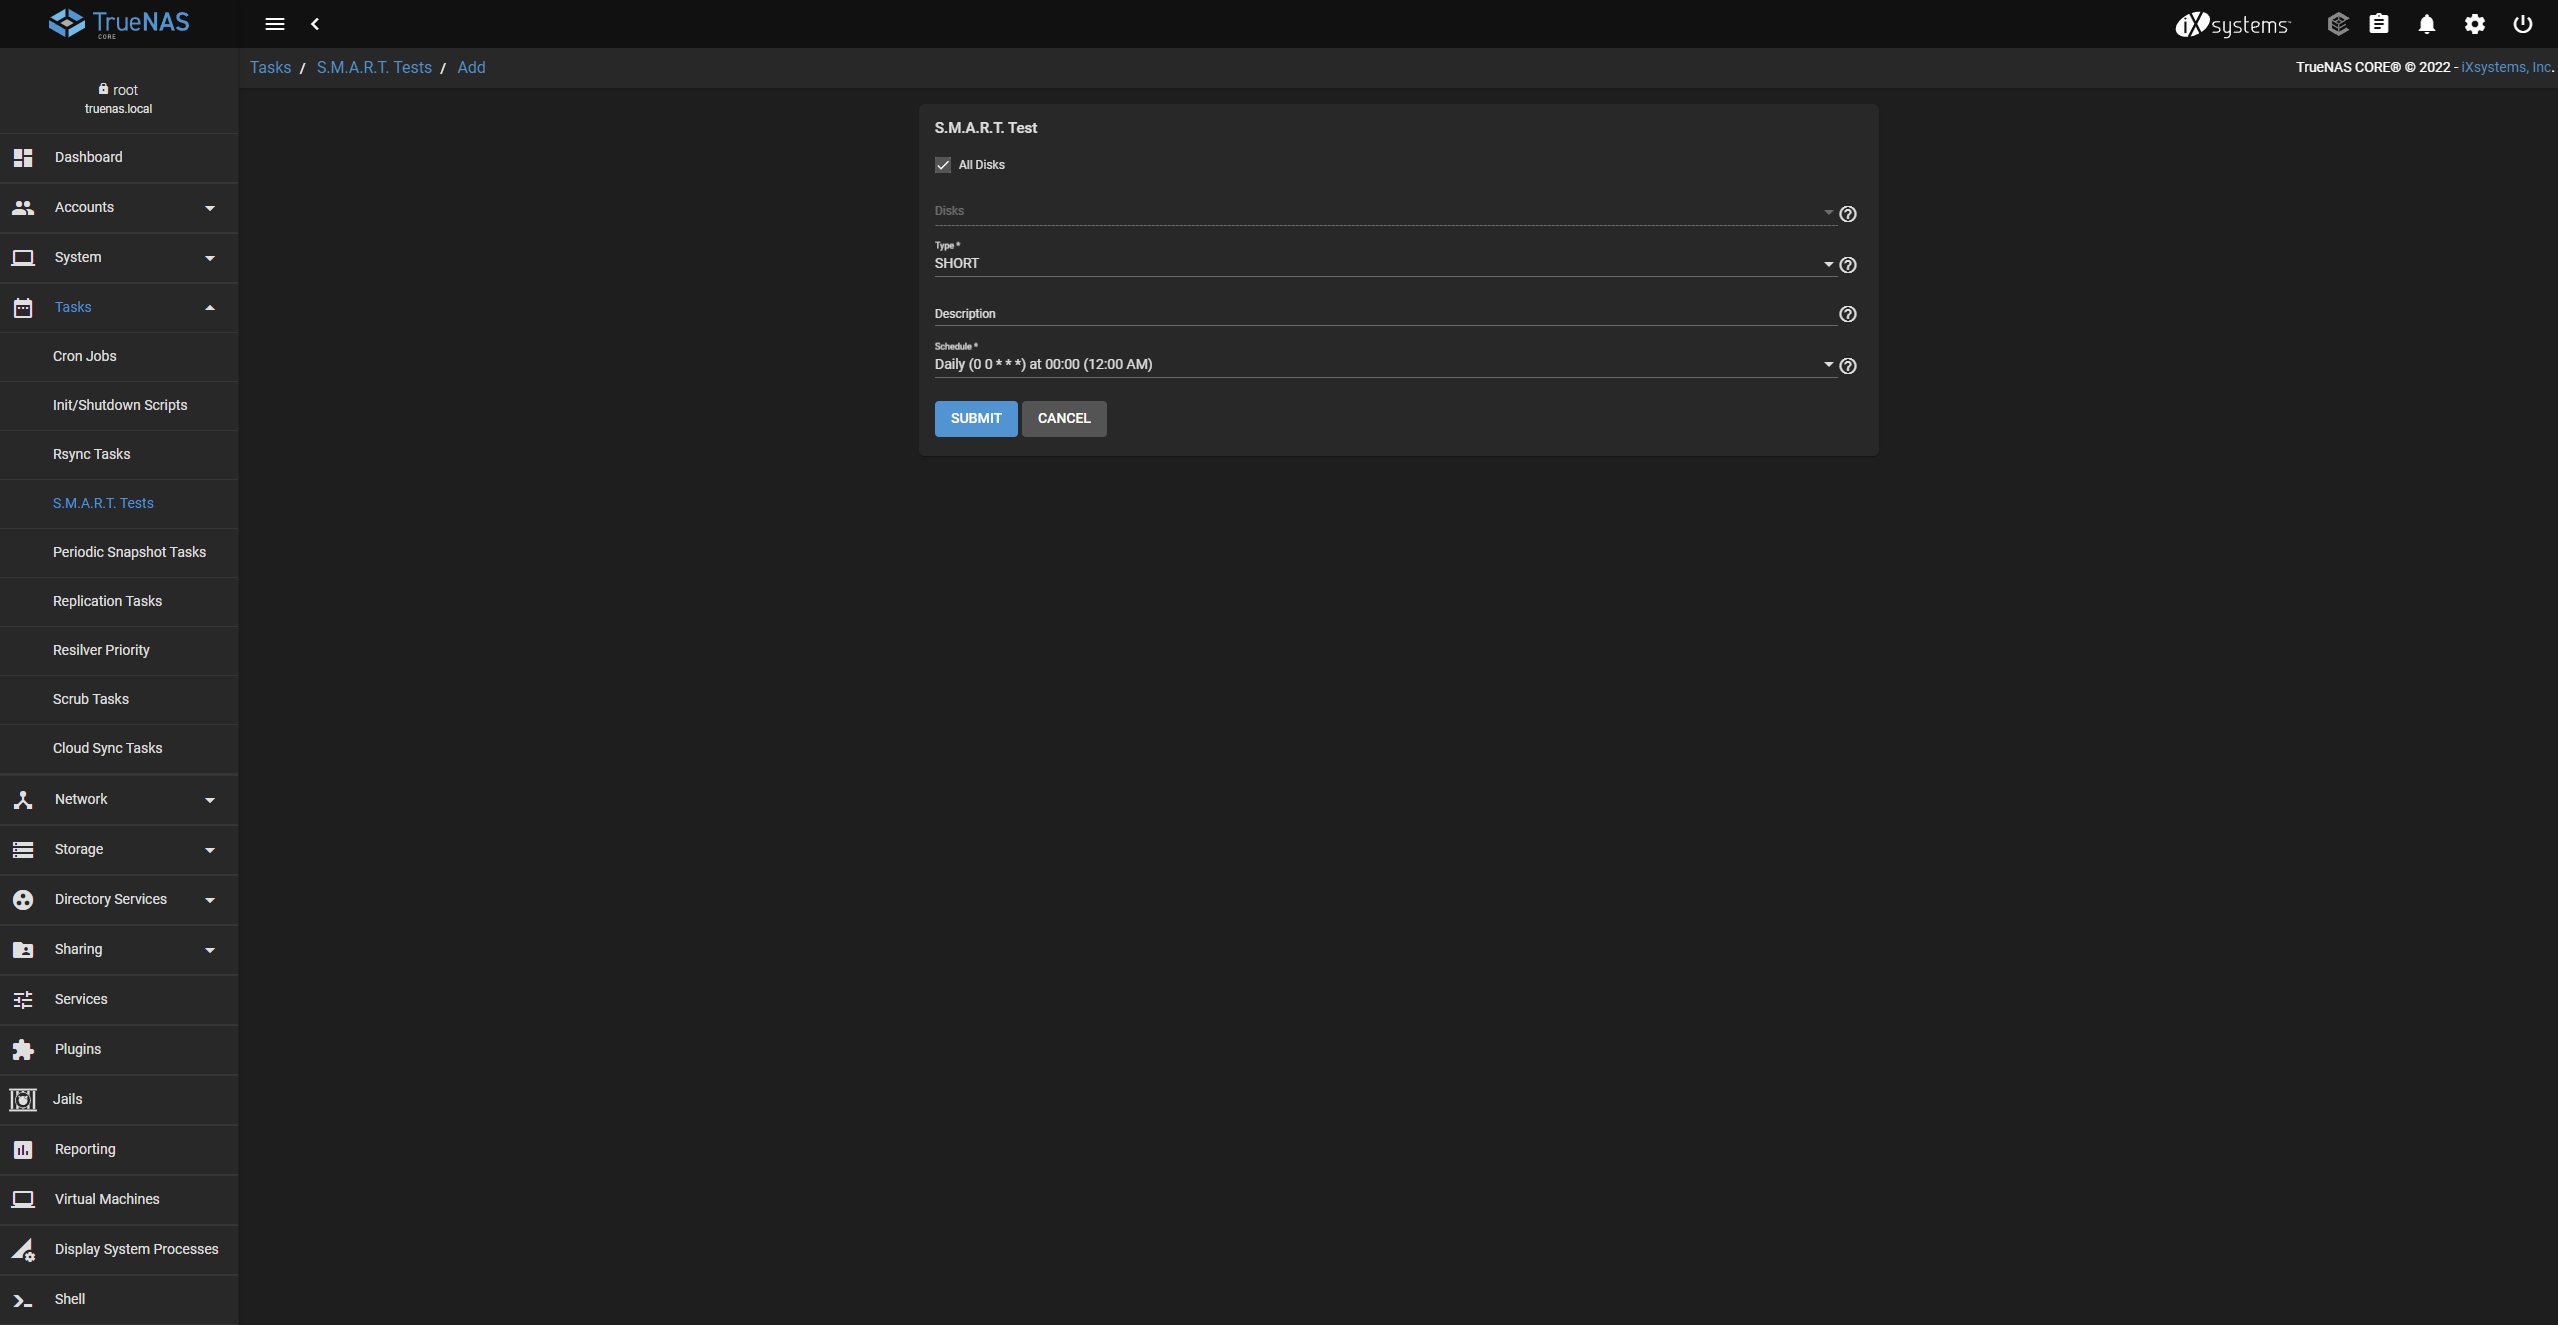
So, with the four Toshiba NAS hard drives, we are quite comfortably at the limit of my gigabit connection between computer and NAS, despite the ZFS overhead. Regular SMART tests of the HDDs definitely do not hurt so that you can enjoy your data for a long time. In the Tasks category, these can be set up as a repeating task.
Another handy feature of TrueNAS is the easy creation of Virtual Machines. The following is an example for an Ubuntu VM.

After the general information has been set, the next step is to specify the desired number of cores and the capacity of the working memory.

After that, create another virtual hard disk.

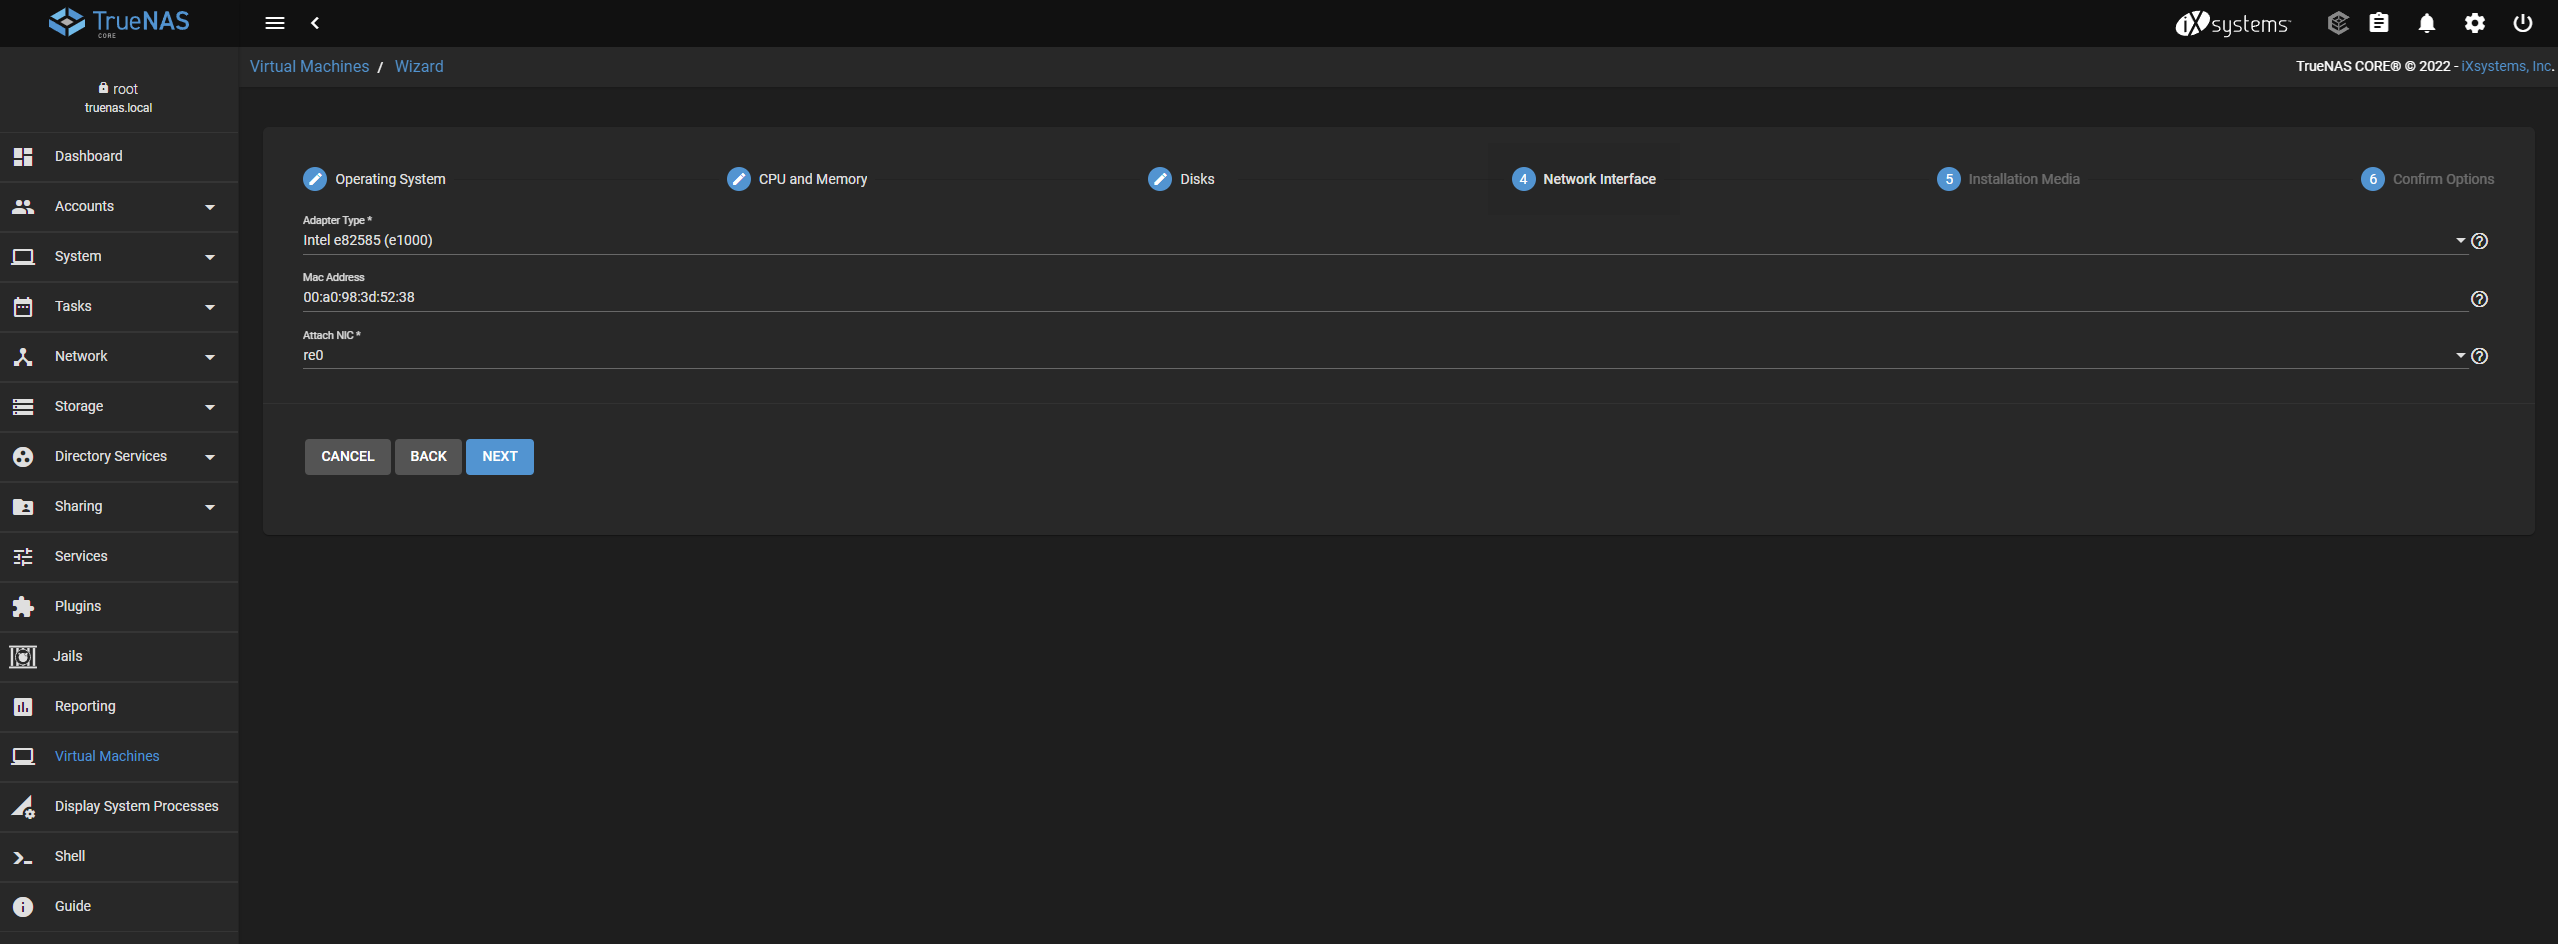
And the network can also be configured. Depending on the complexity, the topic of “jails” may also be relevant at this point, which can either allow or prohibit communication between different VMs.
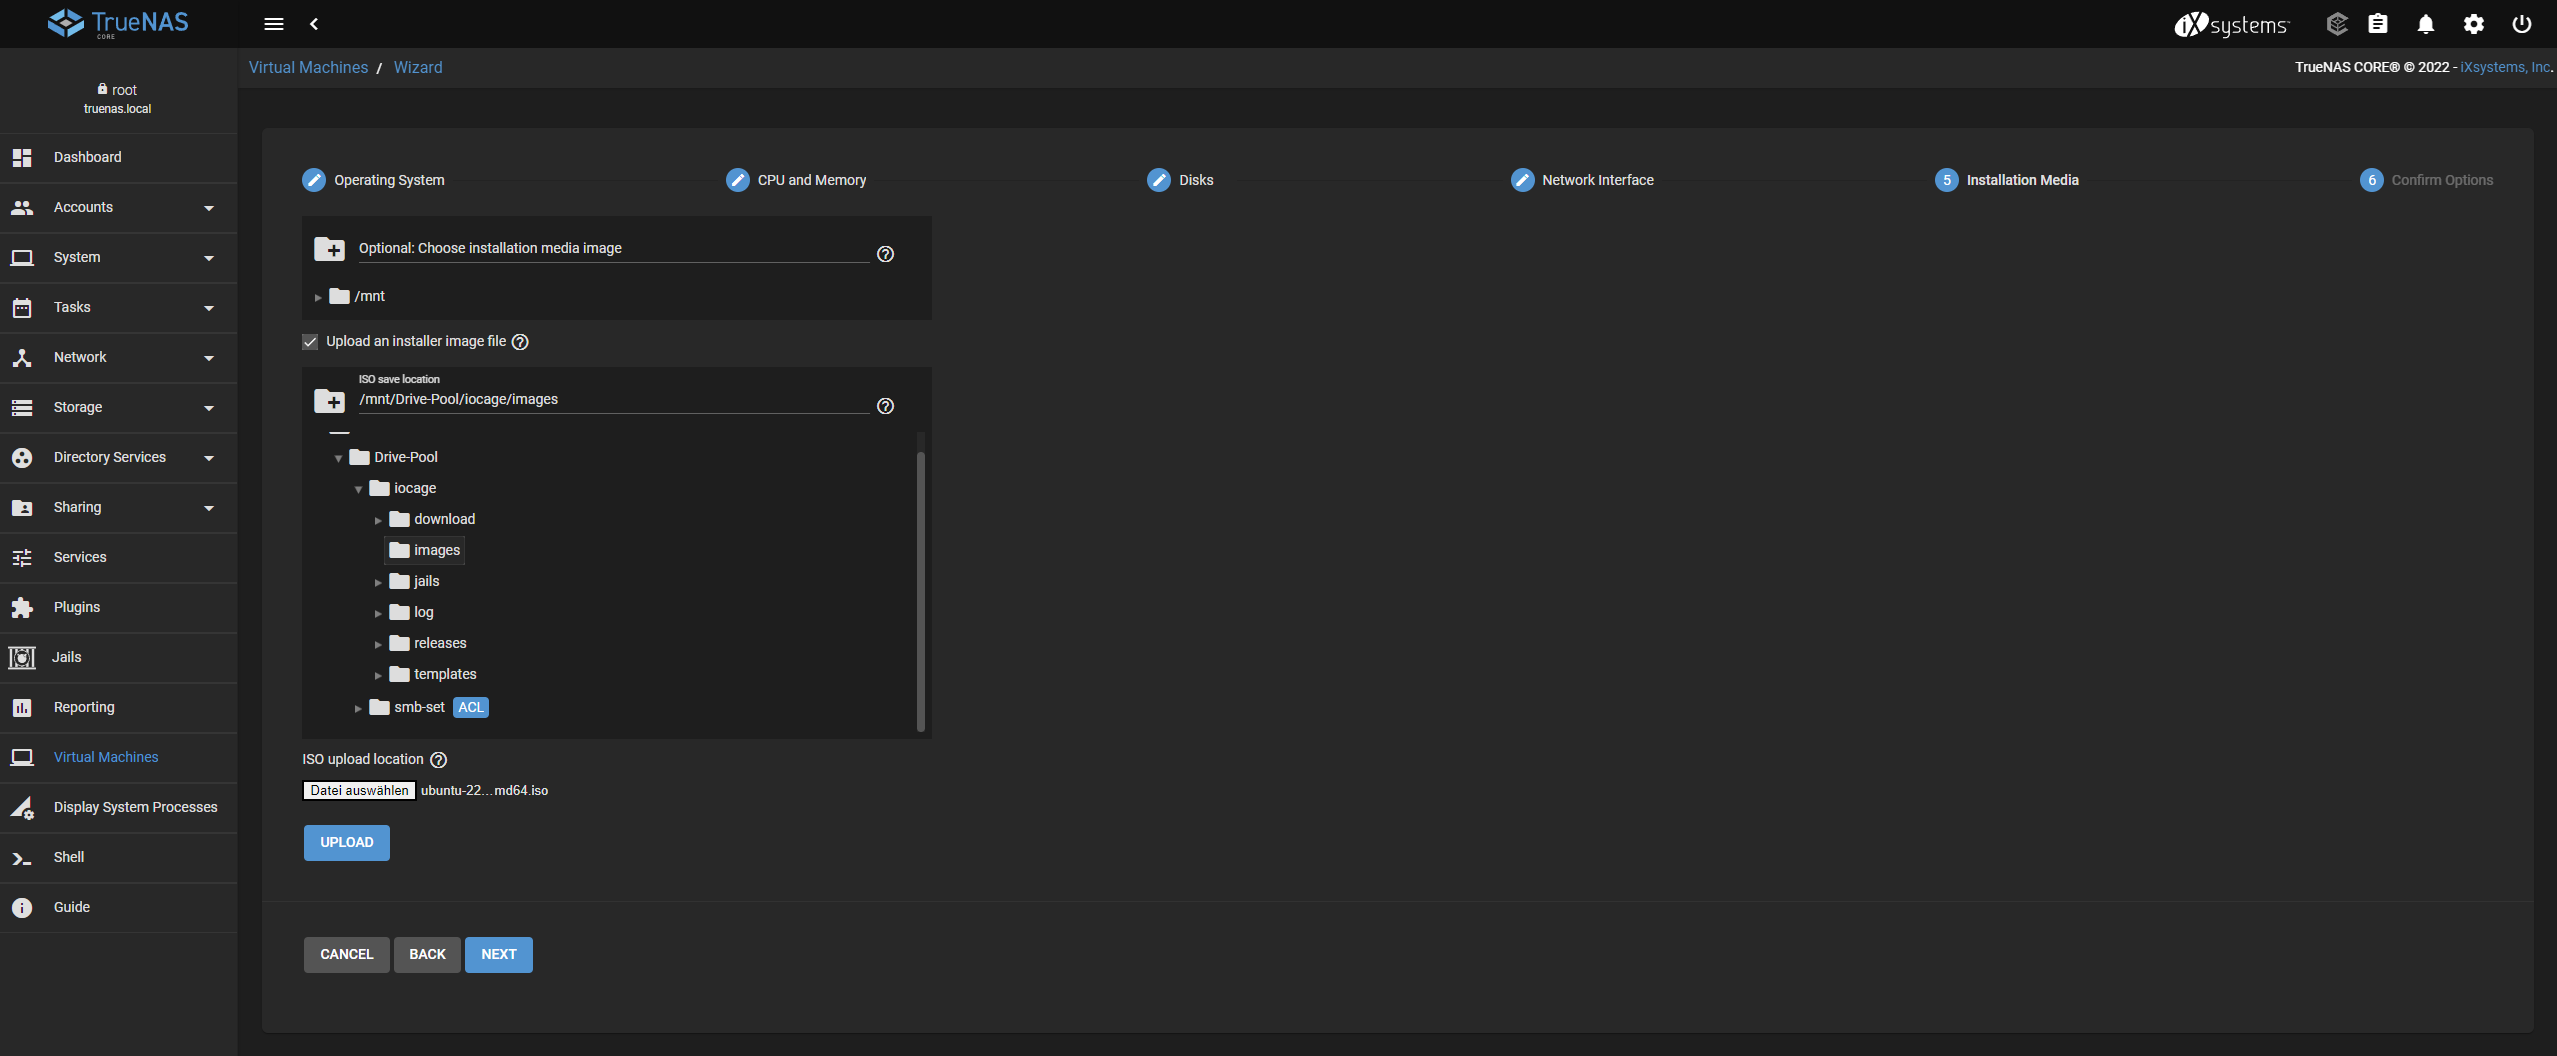
An ISO image can then be uploaded directly in the Web UI, a corresponding folder for storage has already been created automatically and only needs to be selected.
Finally, all settings can be checked again in the overview.
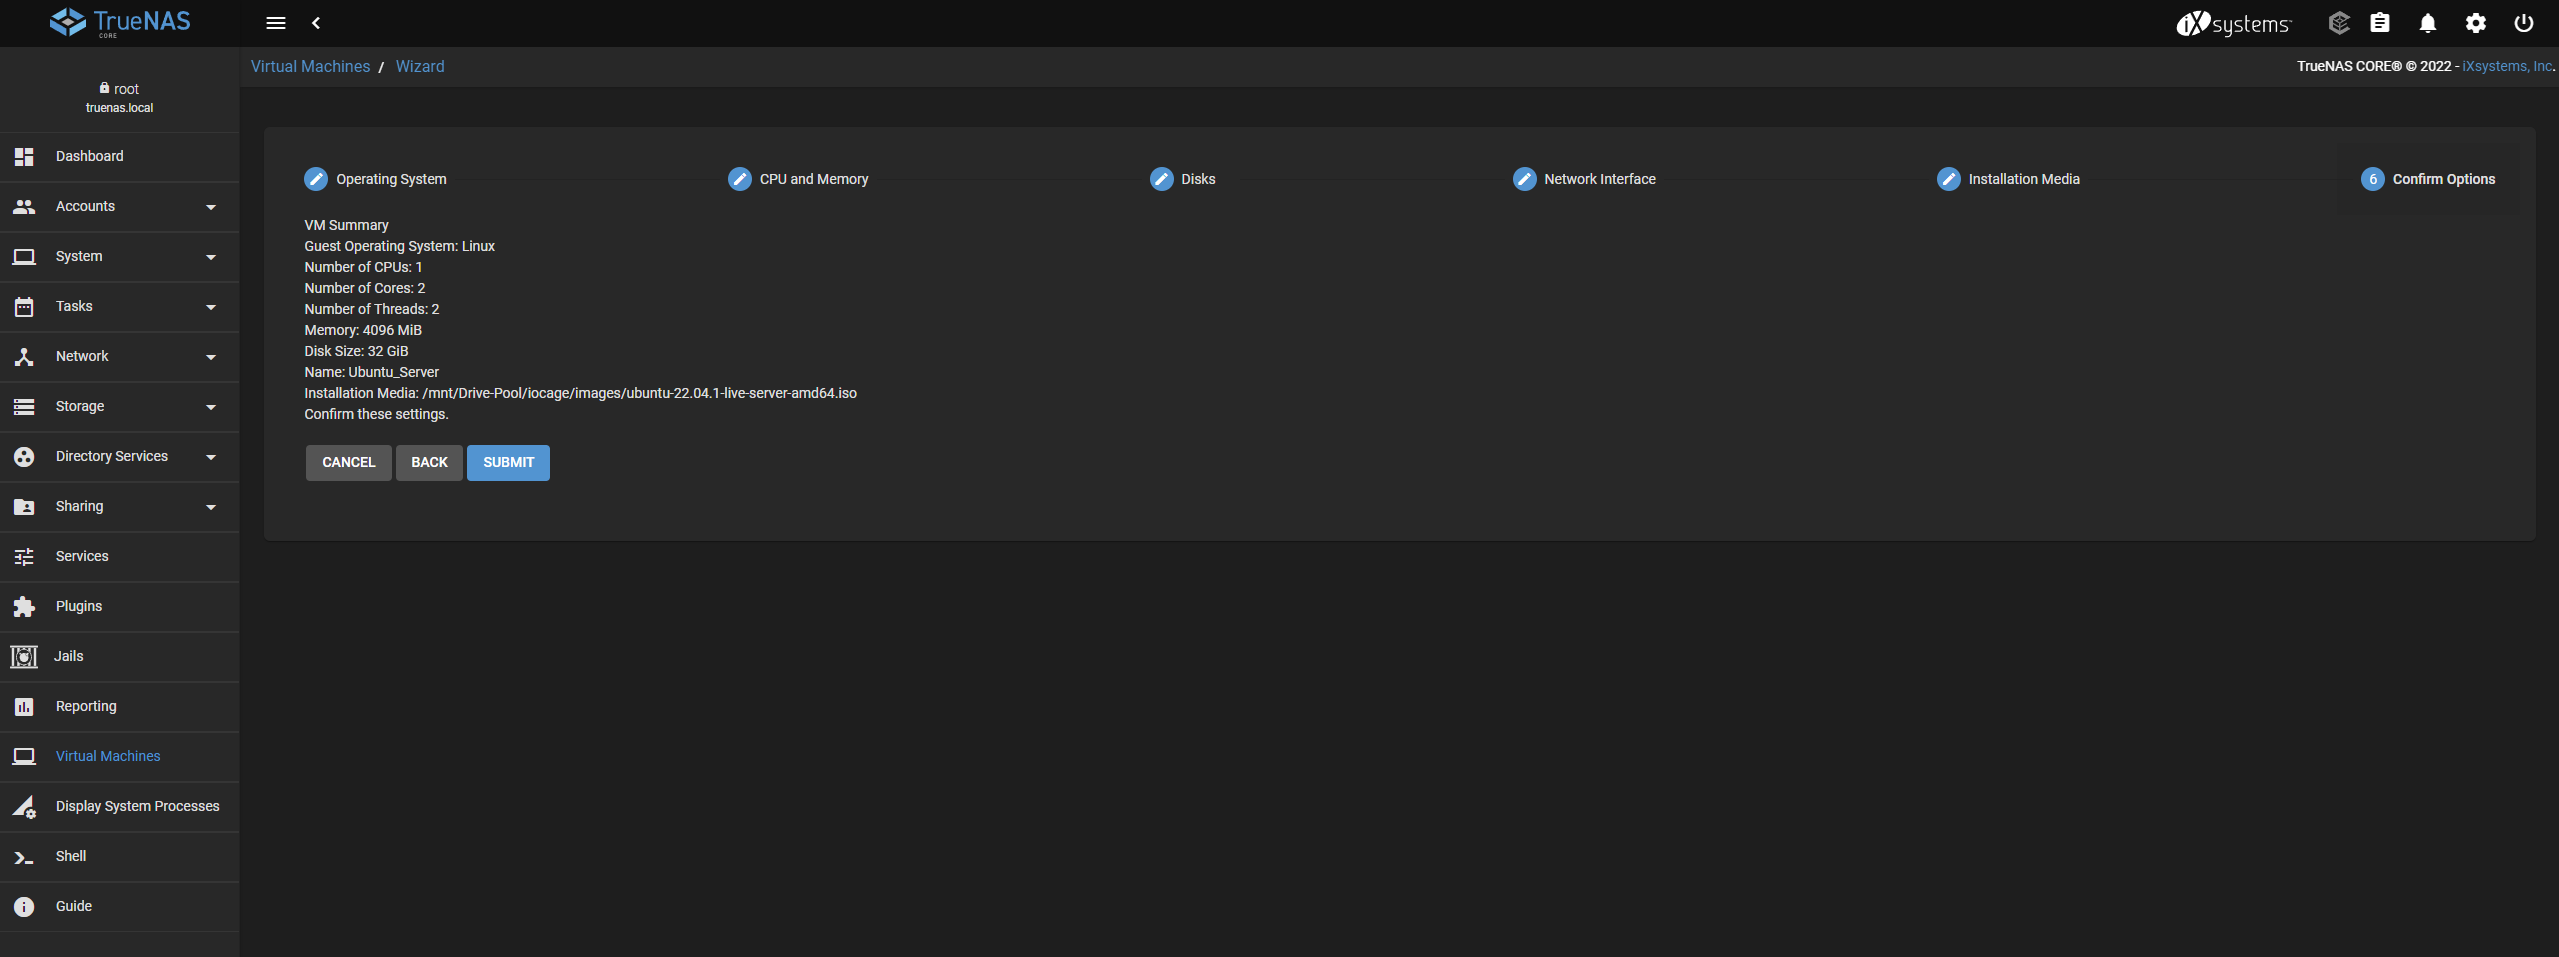
If the error ” [EINVAL] vm_create: This system does not support virtualization.” is displayed in the next step , virtualization was not activated correctly in the BIOS.


25 Antworten
Kommentar
Lade neue Kommentare
Mitglied
Moderator
Mitglied
Urgestein
Mitglied
Urgestein
Mitglied
Urgestein
Veteran
Urgestein
Mitglied
Urgestein
Veteran
Mitglied
Urgestein
Urgestein
Urgestein
Urgestein
Neuling
Alle Kommentare lesen unter igor´sLAB Community →