With the Masterbox 600, COOLER MASTER aims to provide a solid basis for all price ranges of PC construction, from entry-level systems to high-end builds. It is certainly a difficult undertaking to design a case that is still compatible with the budget of an entry-level or mid-range PC, but offers such a wide range of functions that you could easily install high-end PCs in it. You can read about the compromises involved and what the “box” is good for in everyday use in the test.
With the Masterbox 600, however, COOLER MASTER has now done just that. There is space for a 420mm radiator or 17cm high CPU cooler, as well as monster graphics cards up to 41cm long in the almost 50L volume. There is also enough space for cable management and of course the case is also compatible with the new rear-connected mainboards. At a price of €114.90, the case is available in either black or white and comes with four ARGB fans (3x140mm in the front, 1x120mm in the rear). A lite version for 79.99€ will follow soon, which will not have any fans pre-installed. I was curious to see how COOLER MASTER intends to cover this broad spectrum of PC building and could hardly wait to get the Masterbox out of the box.
Unboxing
The plain cardboard box comes with the typical American slogan “bigger is better” and UPS was also free enough to put a few holes and dents in almost all the sides during transportation. I’ve only ever seen that from Hermes.
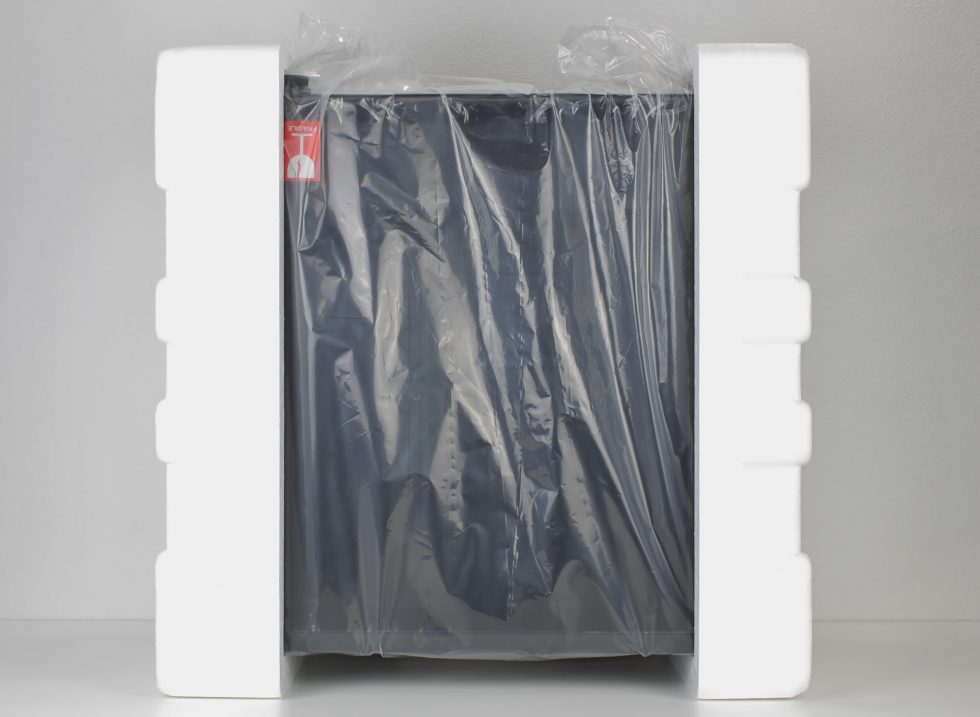
Fortunately, the contents were not damaged in any way and I’m taking the opportunity to once again show the packaging method that has been used for computer cases for decades. A plastic film over the case, thick “polystyrene buffers” on the right and left – you rarely see any other method here.
And down with the stuff!
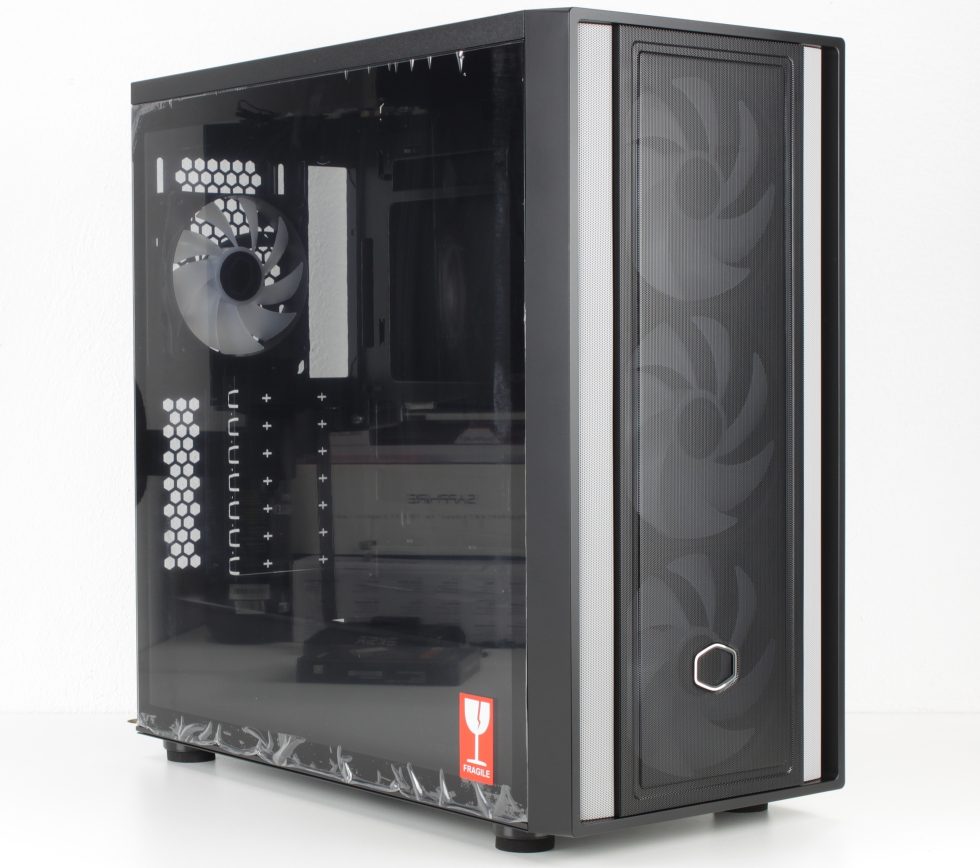
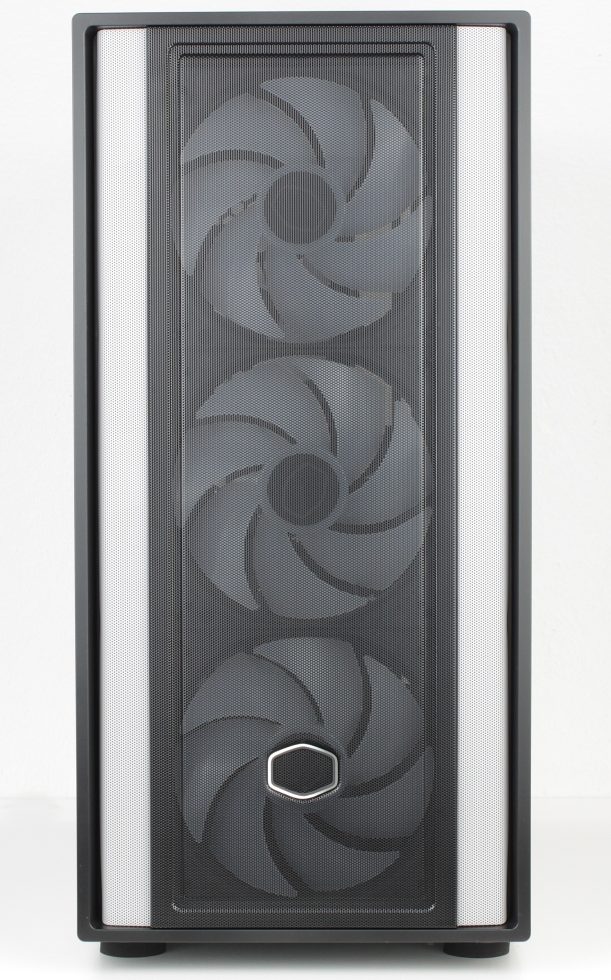
The pragmatic design will certainly not appeal to everyone, but to be honest I find the simple shapes quite elegant.
The front is made almost entirely of mesh, the angled surfaces on the left and right are set off in silver to create a little contrast.
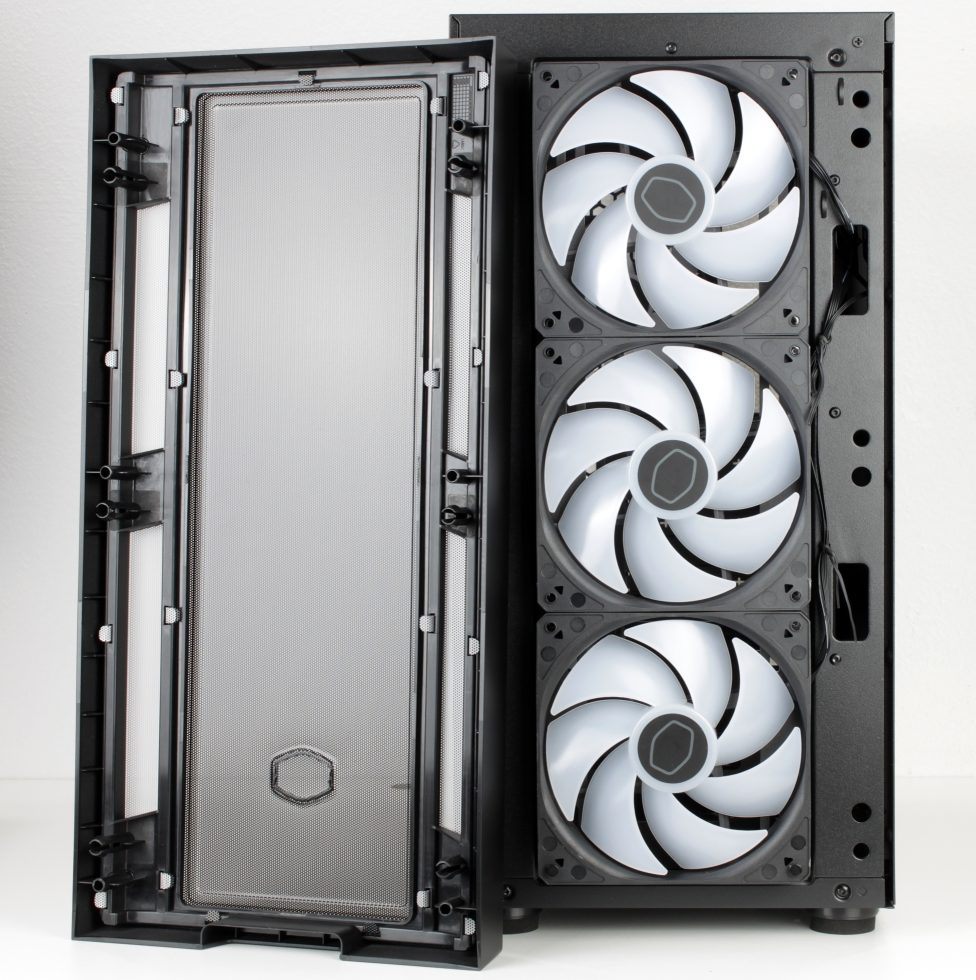
Three 140mm ARGB fans are concealed behind the removable front.
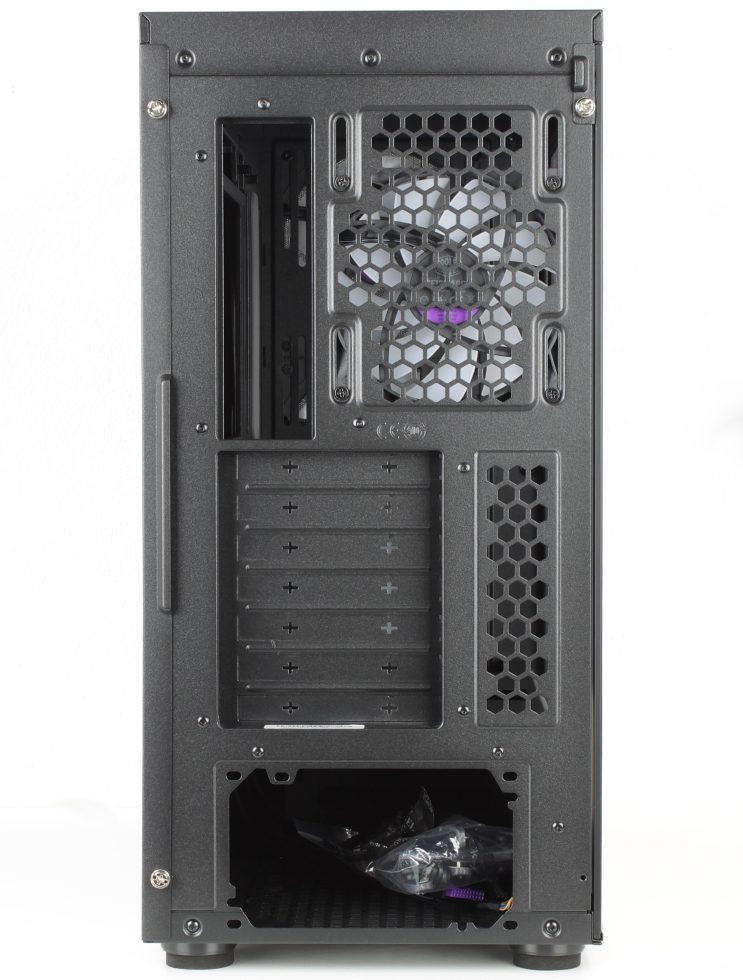
There’s nothing exciting to see at the rear either.
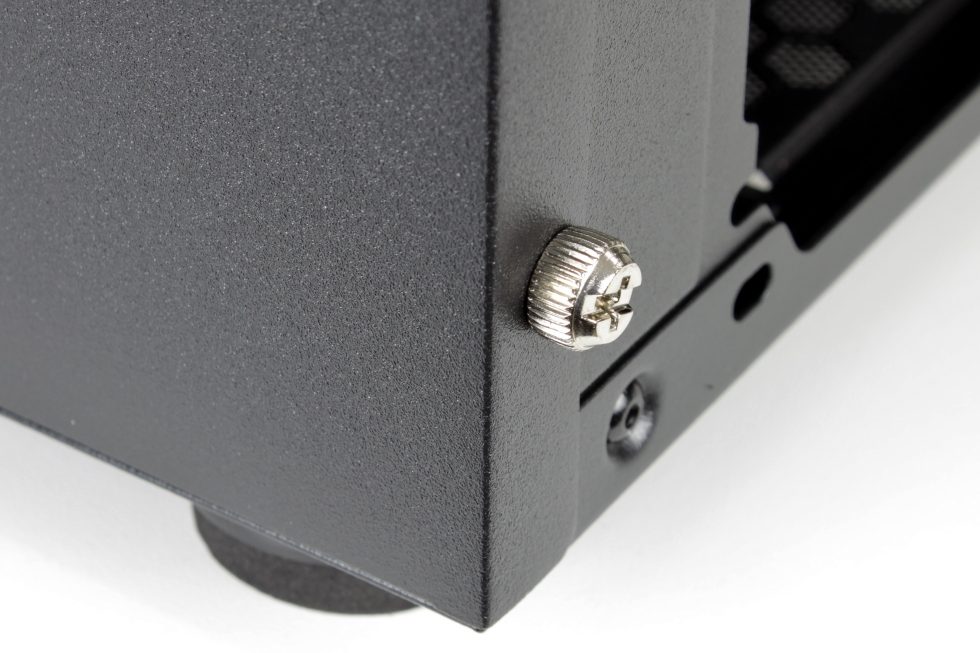
The side panels are held in place by ordinary knurled screws.
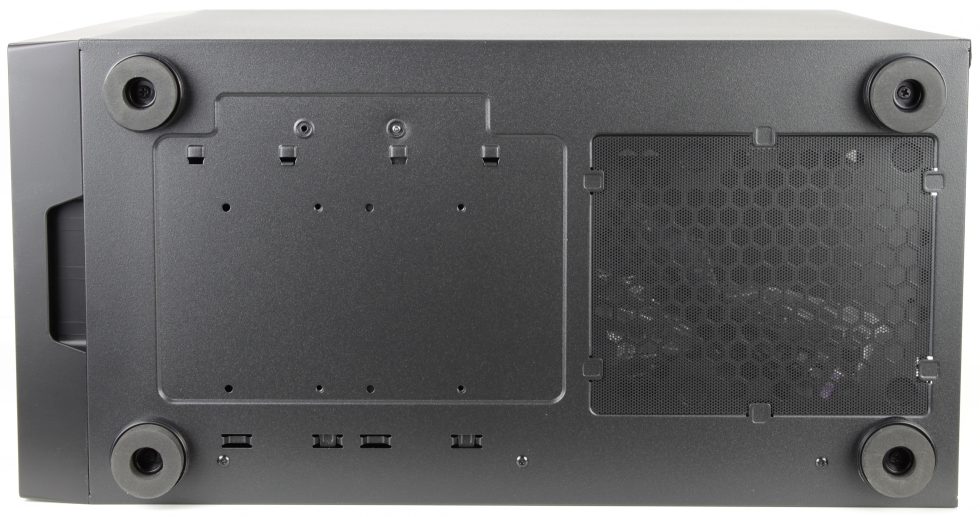
There is a simple dust filter for the power supply unit at the bottom and the feet are held in place by simple screws.
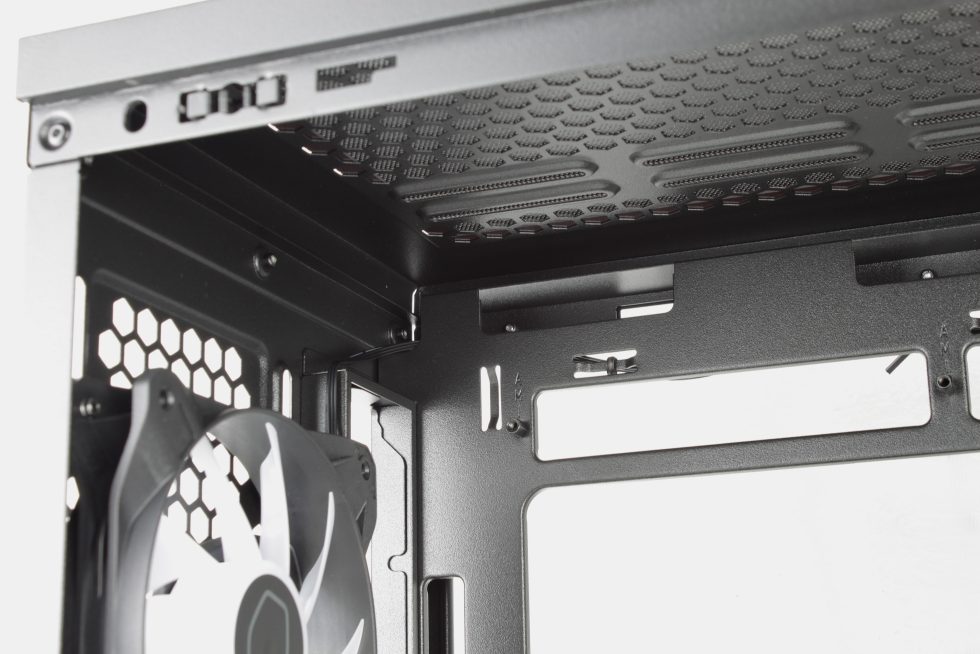
The lid is also fitted with a magnetic dust filter:
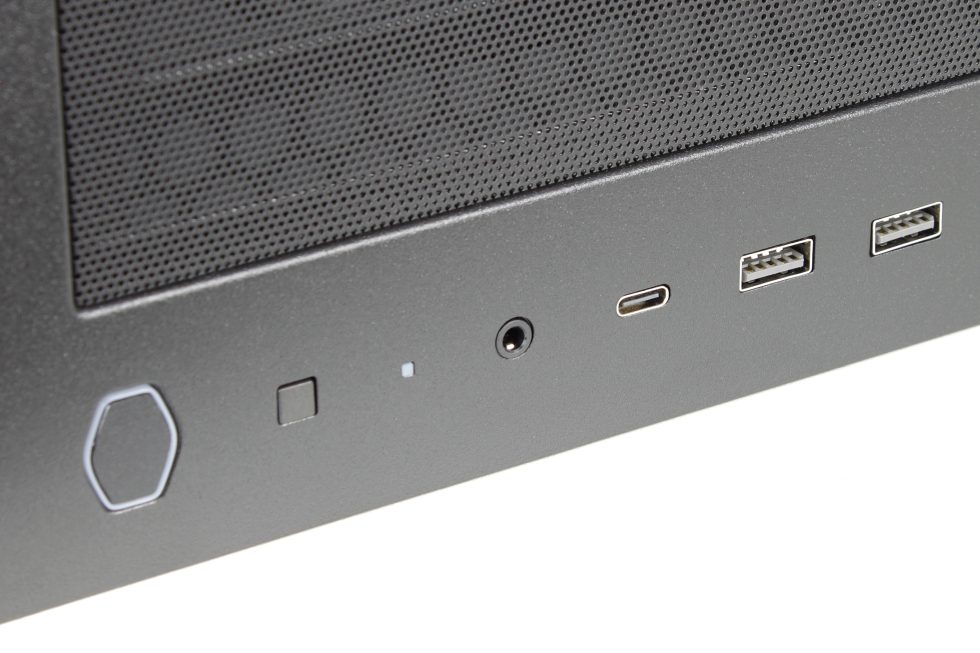
The front I/O is also embedded in the lid. 2xUSB 3.0, 1xUSB-C and the 3.5mm combo jack are on board, the reset button can be used either as such or to control the RGB lighting.
Next, let’s take a look at the rear chamber.
With >3cm of space over the entire surface, there is plenty of room for cable management.
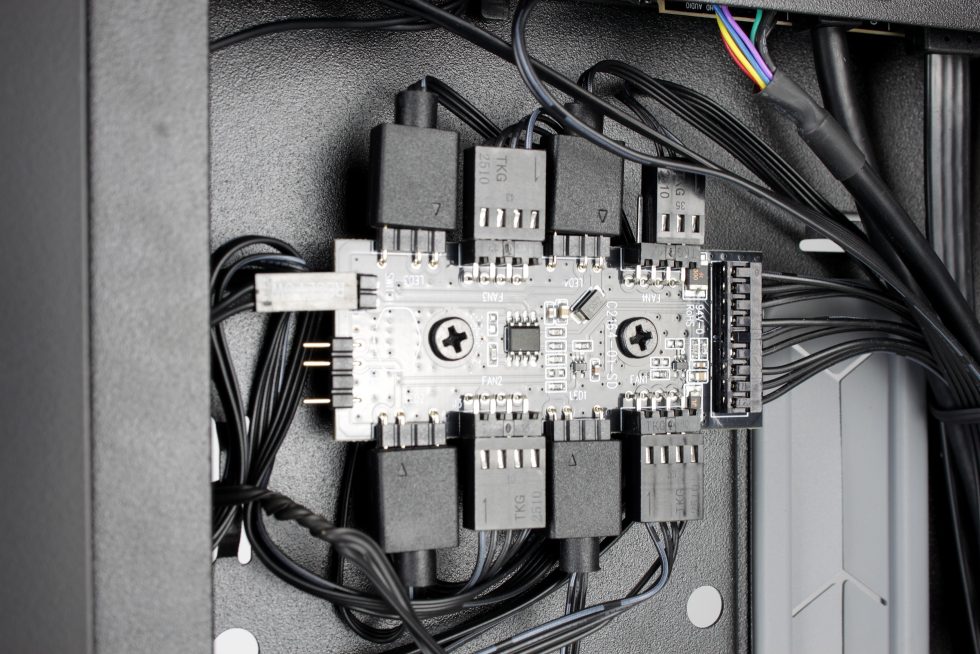
An ARGB controller/PWM hub is located at the top left, which supplies the four pre-assembled ARGB fans. What I didn’t notice at first, but can be seen in the picture, is that one of the fans (the 120 in the rear) only has a 3-pin connection and therefore cannot be controlled via PWM.
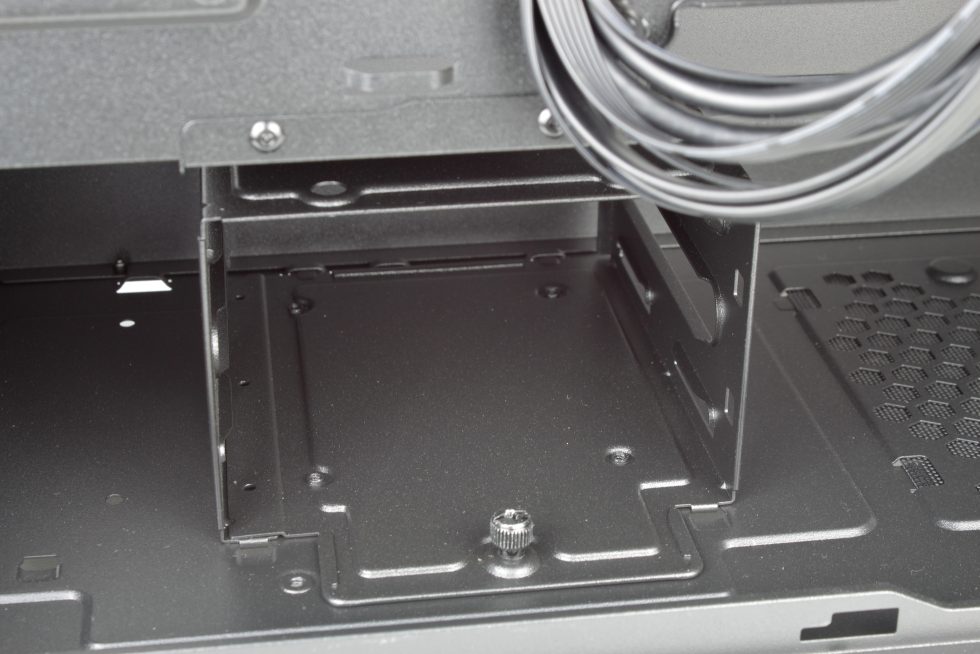
Under the power supply cover there is a relocatable and removable HDD cage for 3.5″ drives.
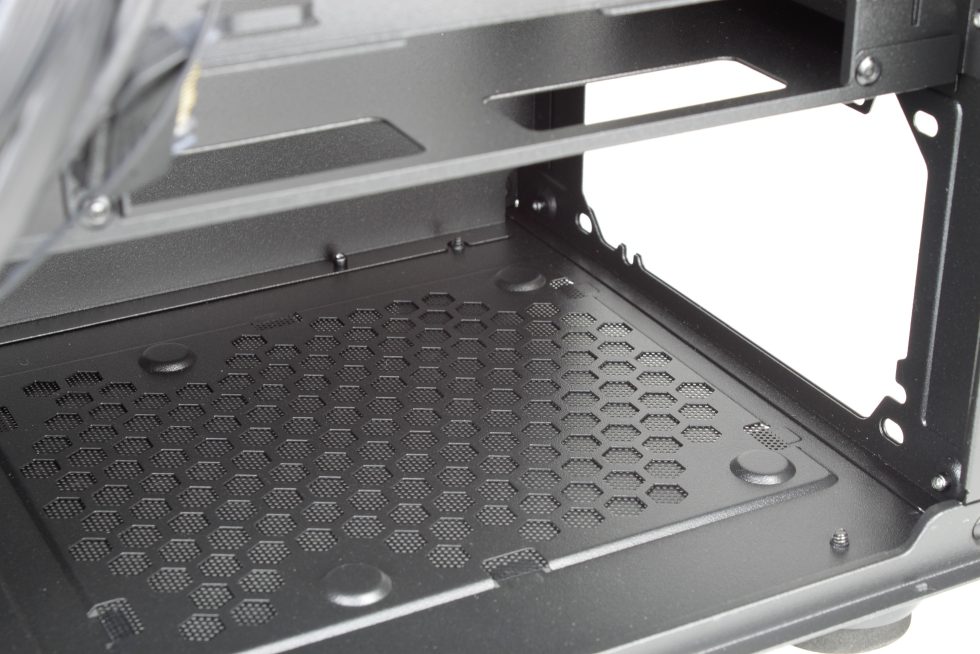
Plenty of space for the power supply unit and no stupid mounting frames, but also no felt feet or other types of decoupling.
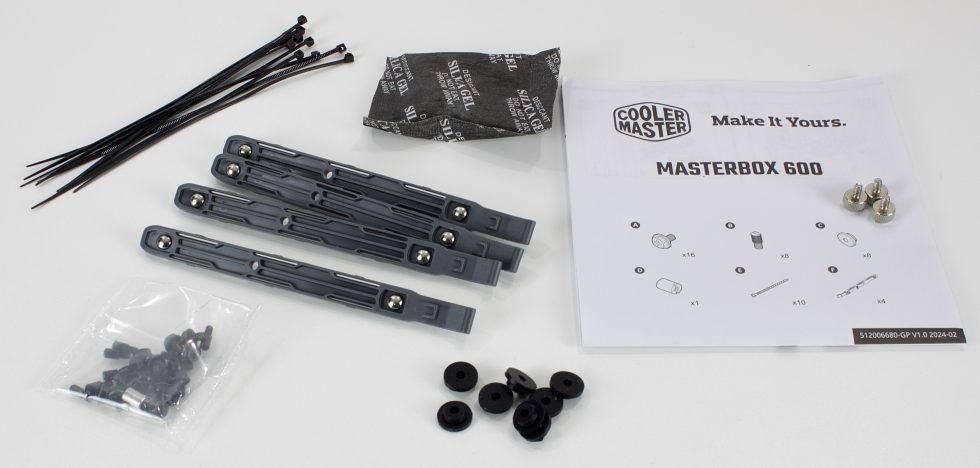
Before we get to the main chamber, let’s take a look at the accessories. The mounting rails for the 3.5″ HDDs immediately brought back memories of the good old Chieftec cases.
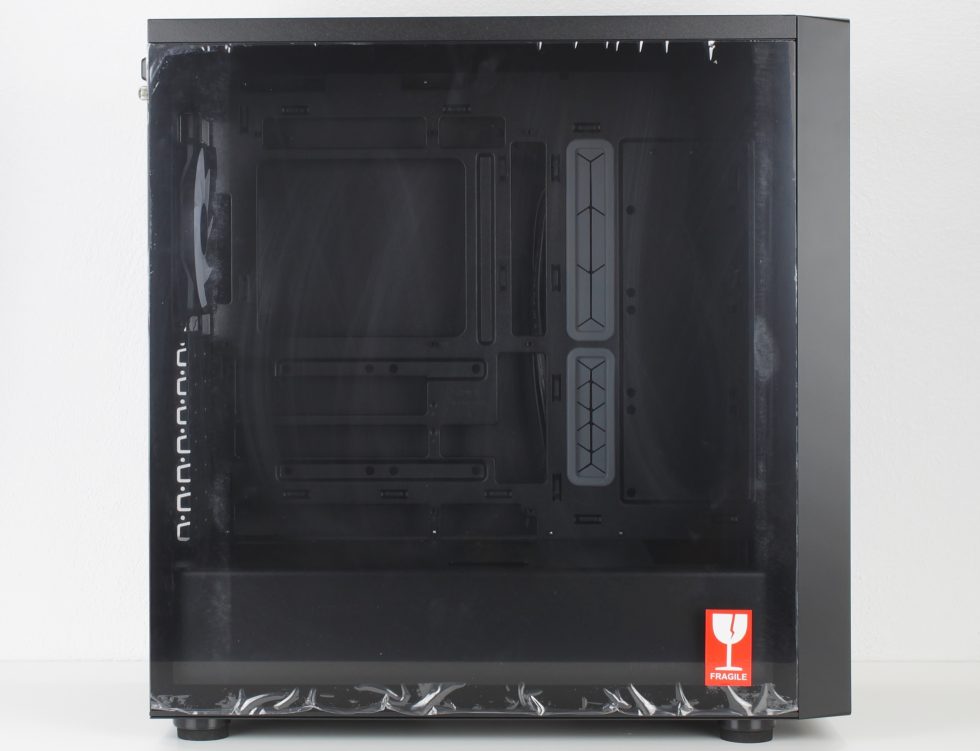
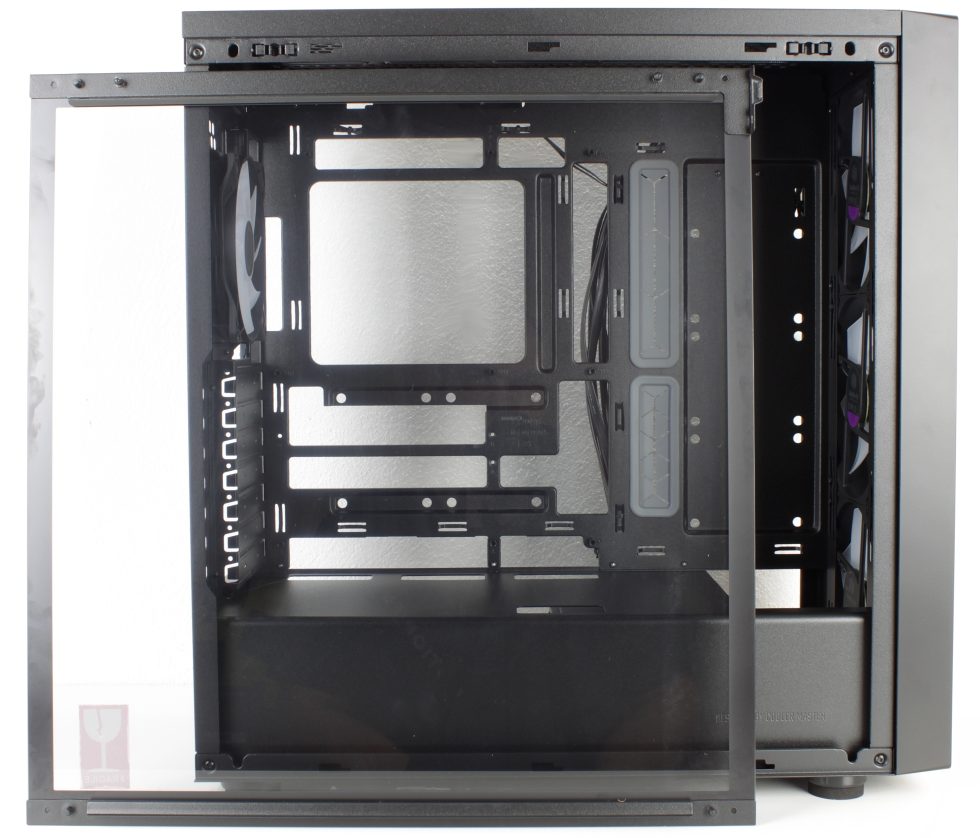
And finally, the main chamber. The glass side panel has a material thickness of 4 mm, is hooked in at the bottom, clicked in at the top and can be screwed in at the back with a knurled screw for safety.
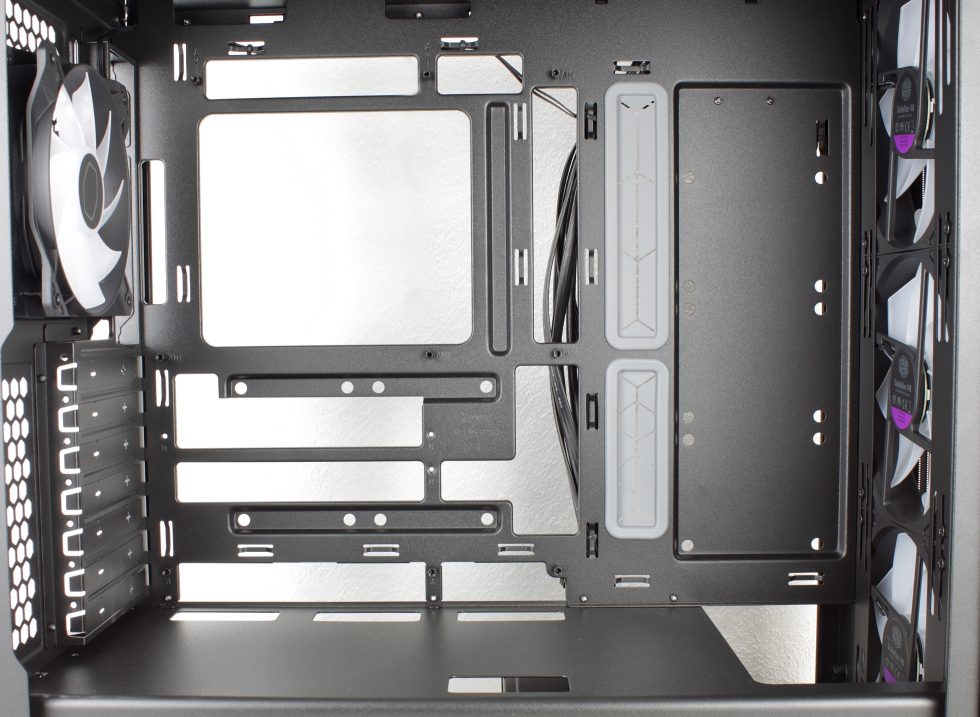
The large cut-outs in the mainboard tray are intended for the rear connection options of the corresponding mainboards (MSI Project Zero, ASUS BTF, …).
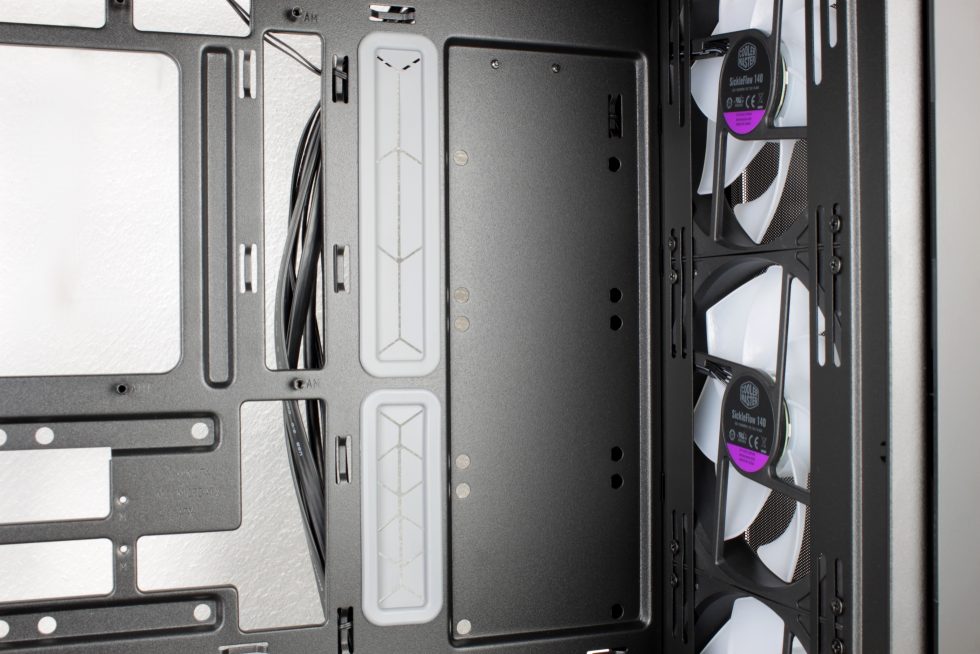
But there are also enough cable outlets for regular boards, the larger ones here even have rubber grommets:
There is enough space above the board for normal-thickness AIOs, so you don’t have to worry about collisions with high RAM.
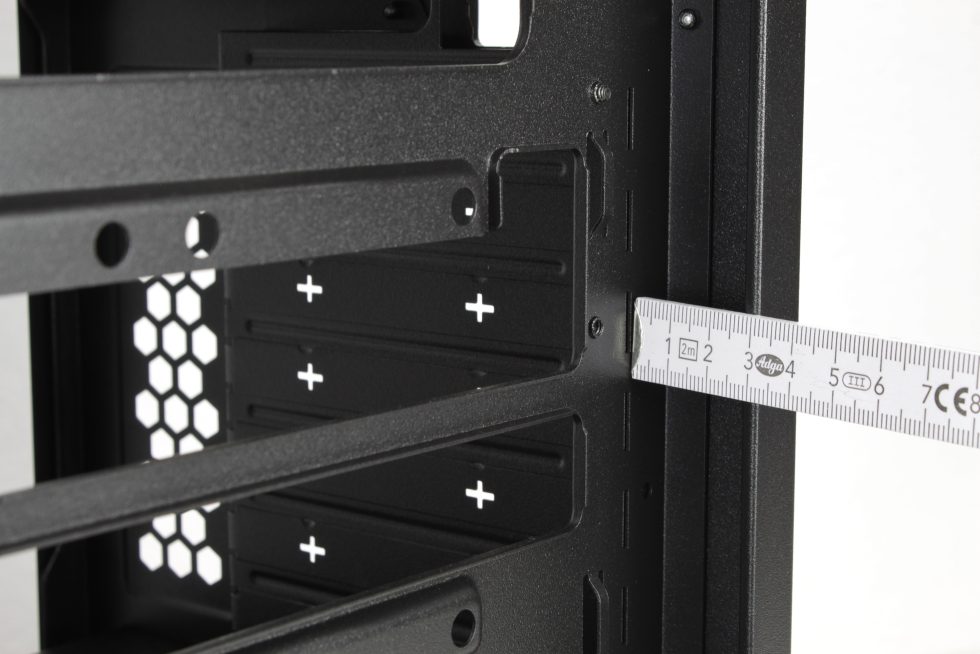
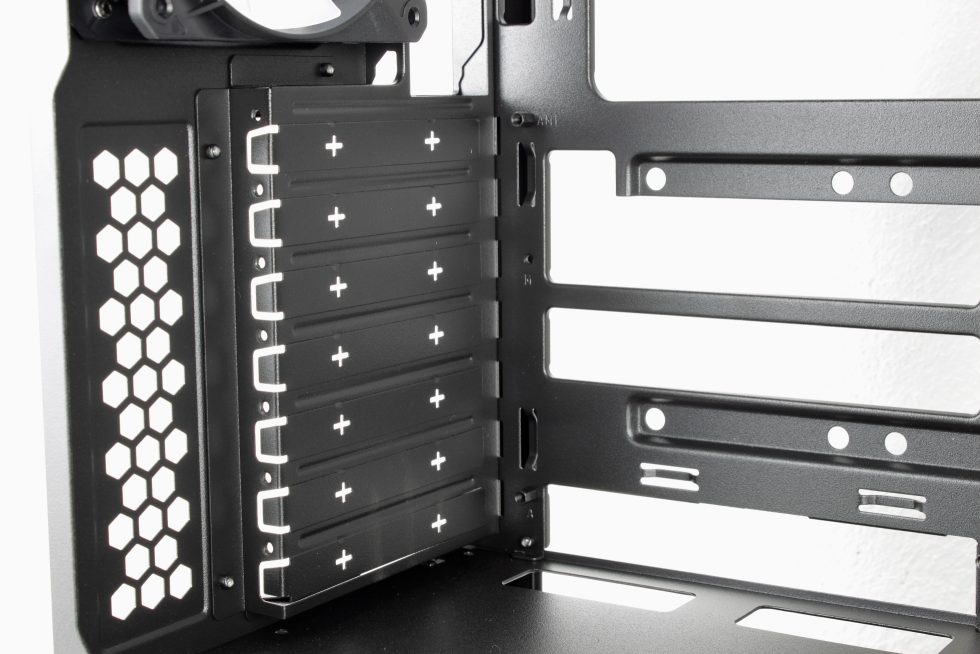
The PCIe slot covers are disposable models that can be broken out, so be careful not to tear any small components off the board when breaking out the covers! It is also not possible to mount a graphics card vertically due to the bars between the slots.
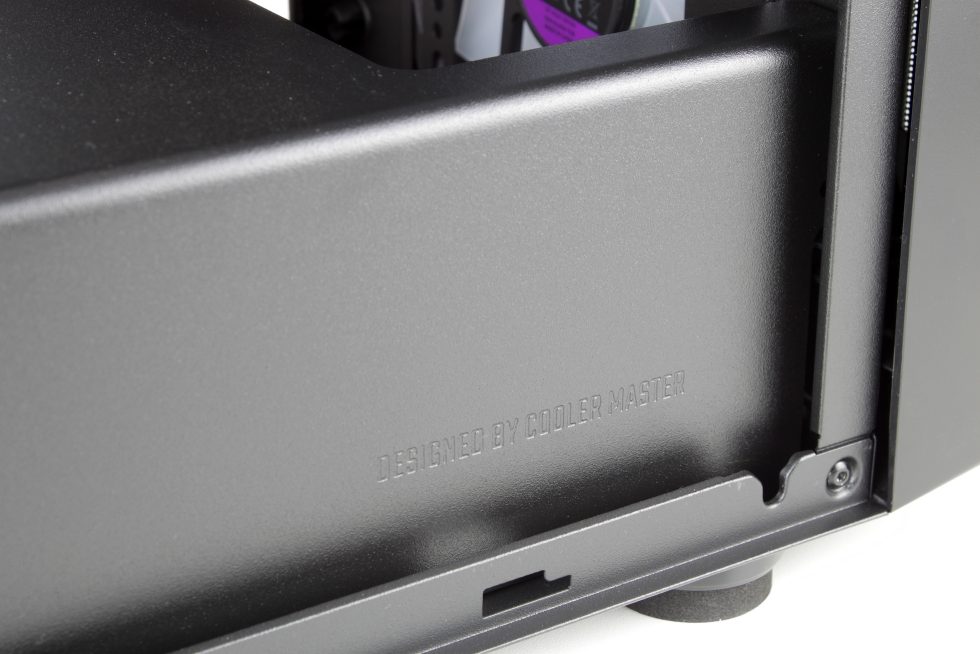
A nice detail is the embossed lettering in the power supply cover.
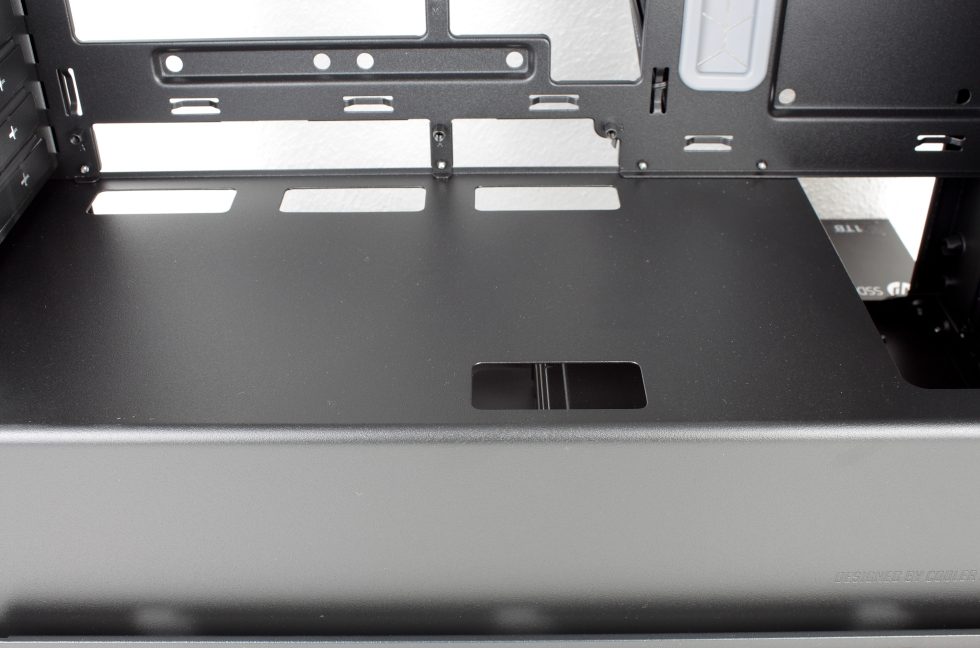
Cleverly positioned: The passage for the PCIe cable (graphics card). COOLER MASTER has certainly thought this through!
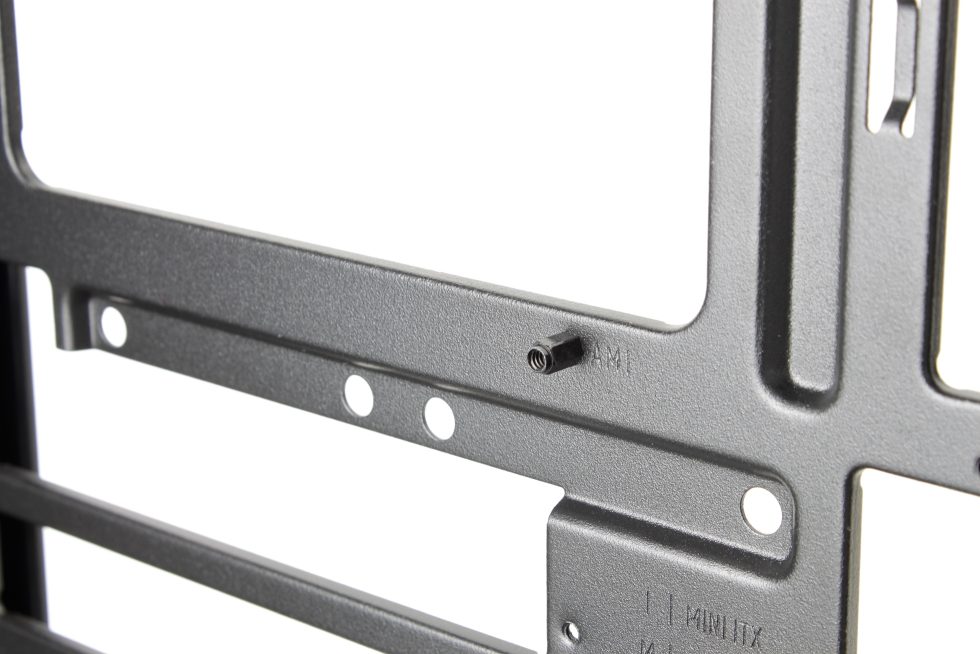
And, of course, the not entirely unimportant centering nubs are also to be found.






29 Antworten
Kommentar
Lade neue Kommentare
Urgestein
Urgestein
Mitglied
Mitglied
Urgestein
Urgestein
Mitglied
Urgestein
Urgestein
Urgestein
Mitglied
Urgestein
Mitglied
Urgestein
Mitglied
Urgestein
Urgestein
Urgestein
Urgestein
Alle Kommentare lesen unter igor´sLAB Community →