


Installation
On the Website of TrueNASwe choose the free “CORE” edition, currently version 13.0-U3.1, and download the ISO image.

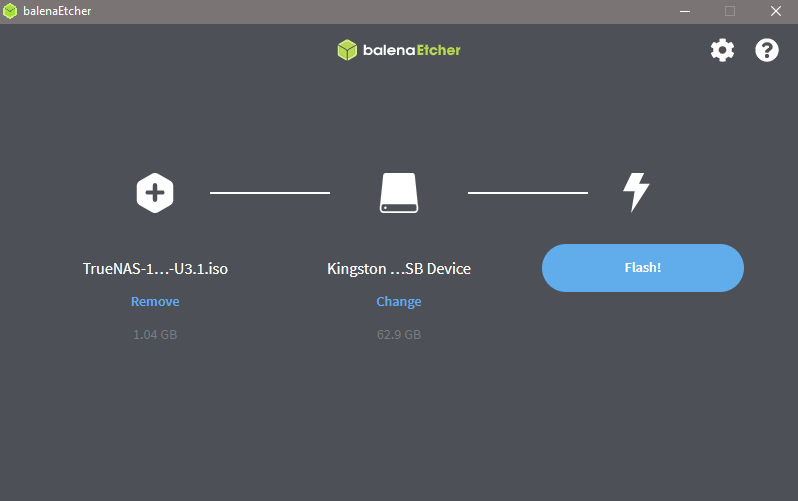
The manufacturer iXsystems recommends using balenaEtcher to prepare the installation medium. I usually use the Rufus tool, but here I dutifully follow the default and download the tool from the website.
After that you can connect the USB stick to our small NAS system and boot from it. We are immediately greeted by a screen with a nice ASCII-style TrueNAS logo.
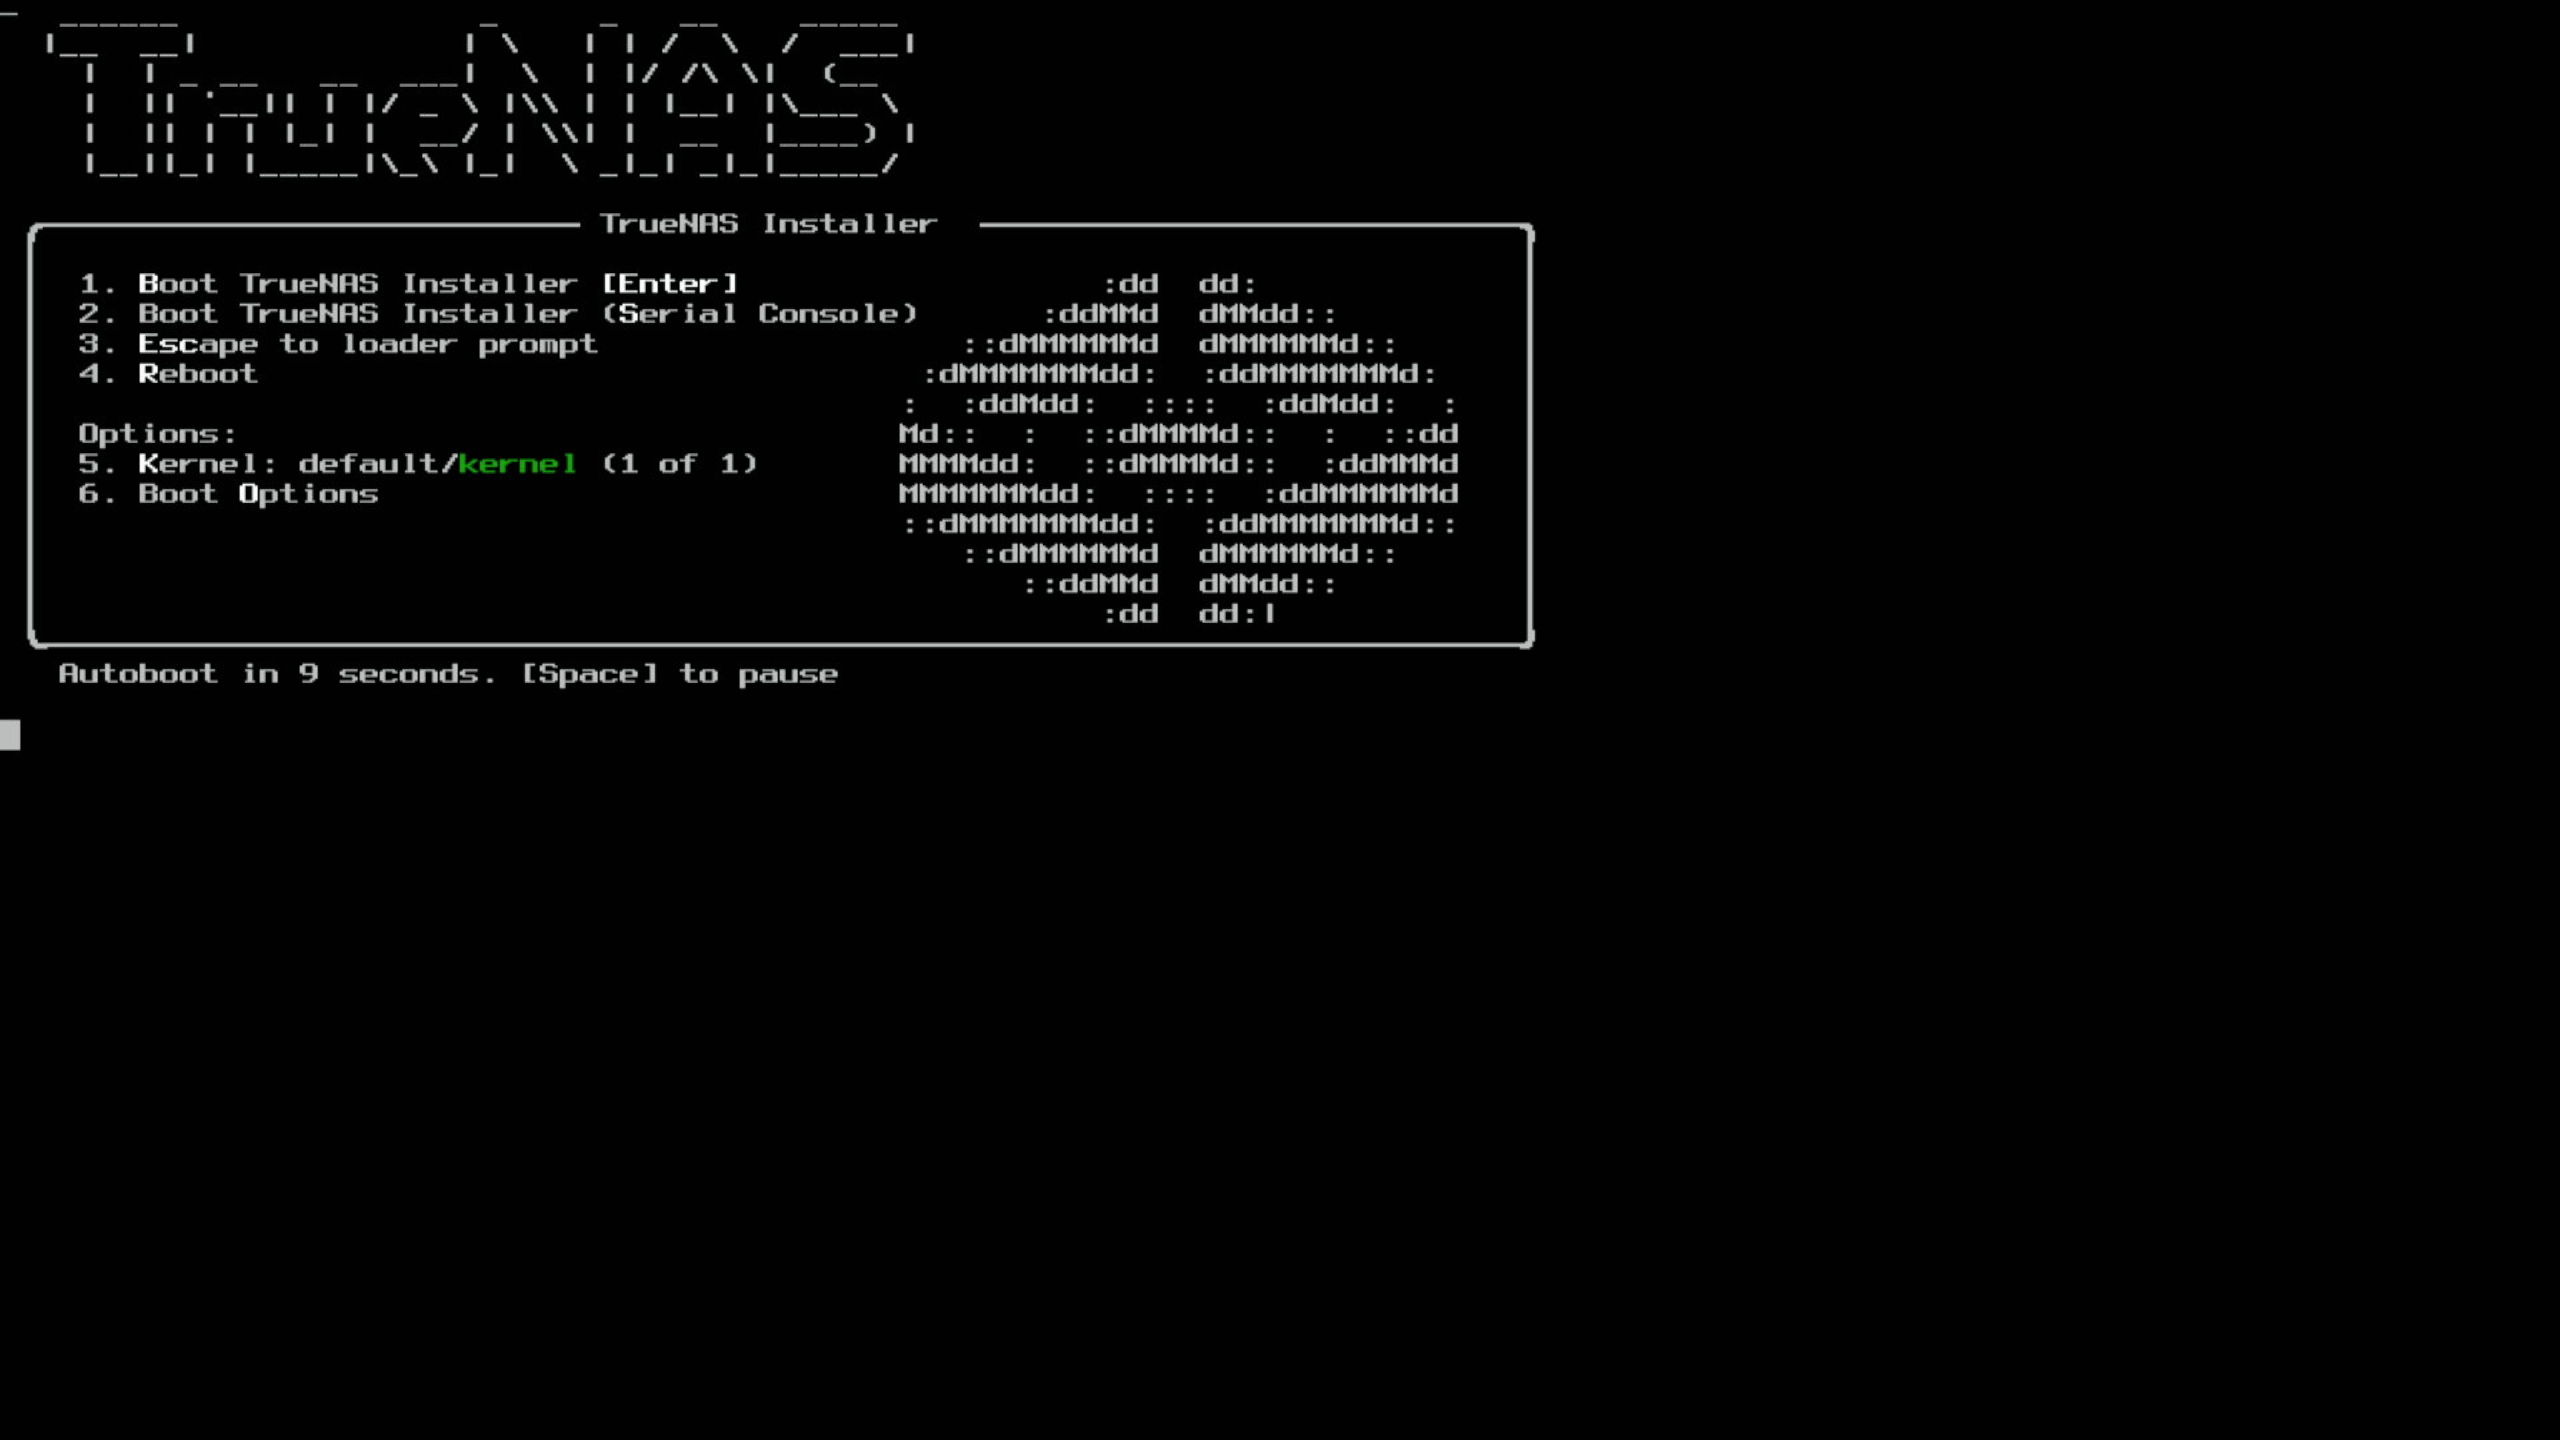
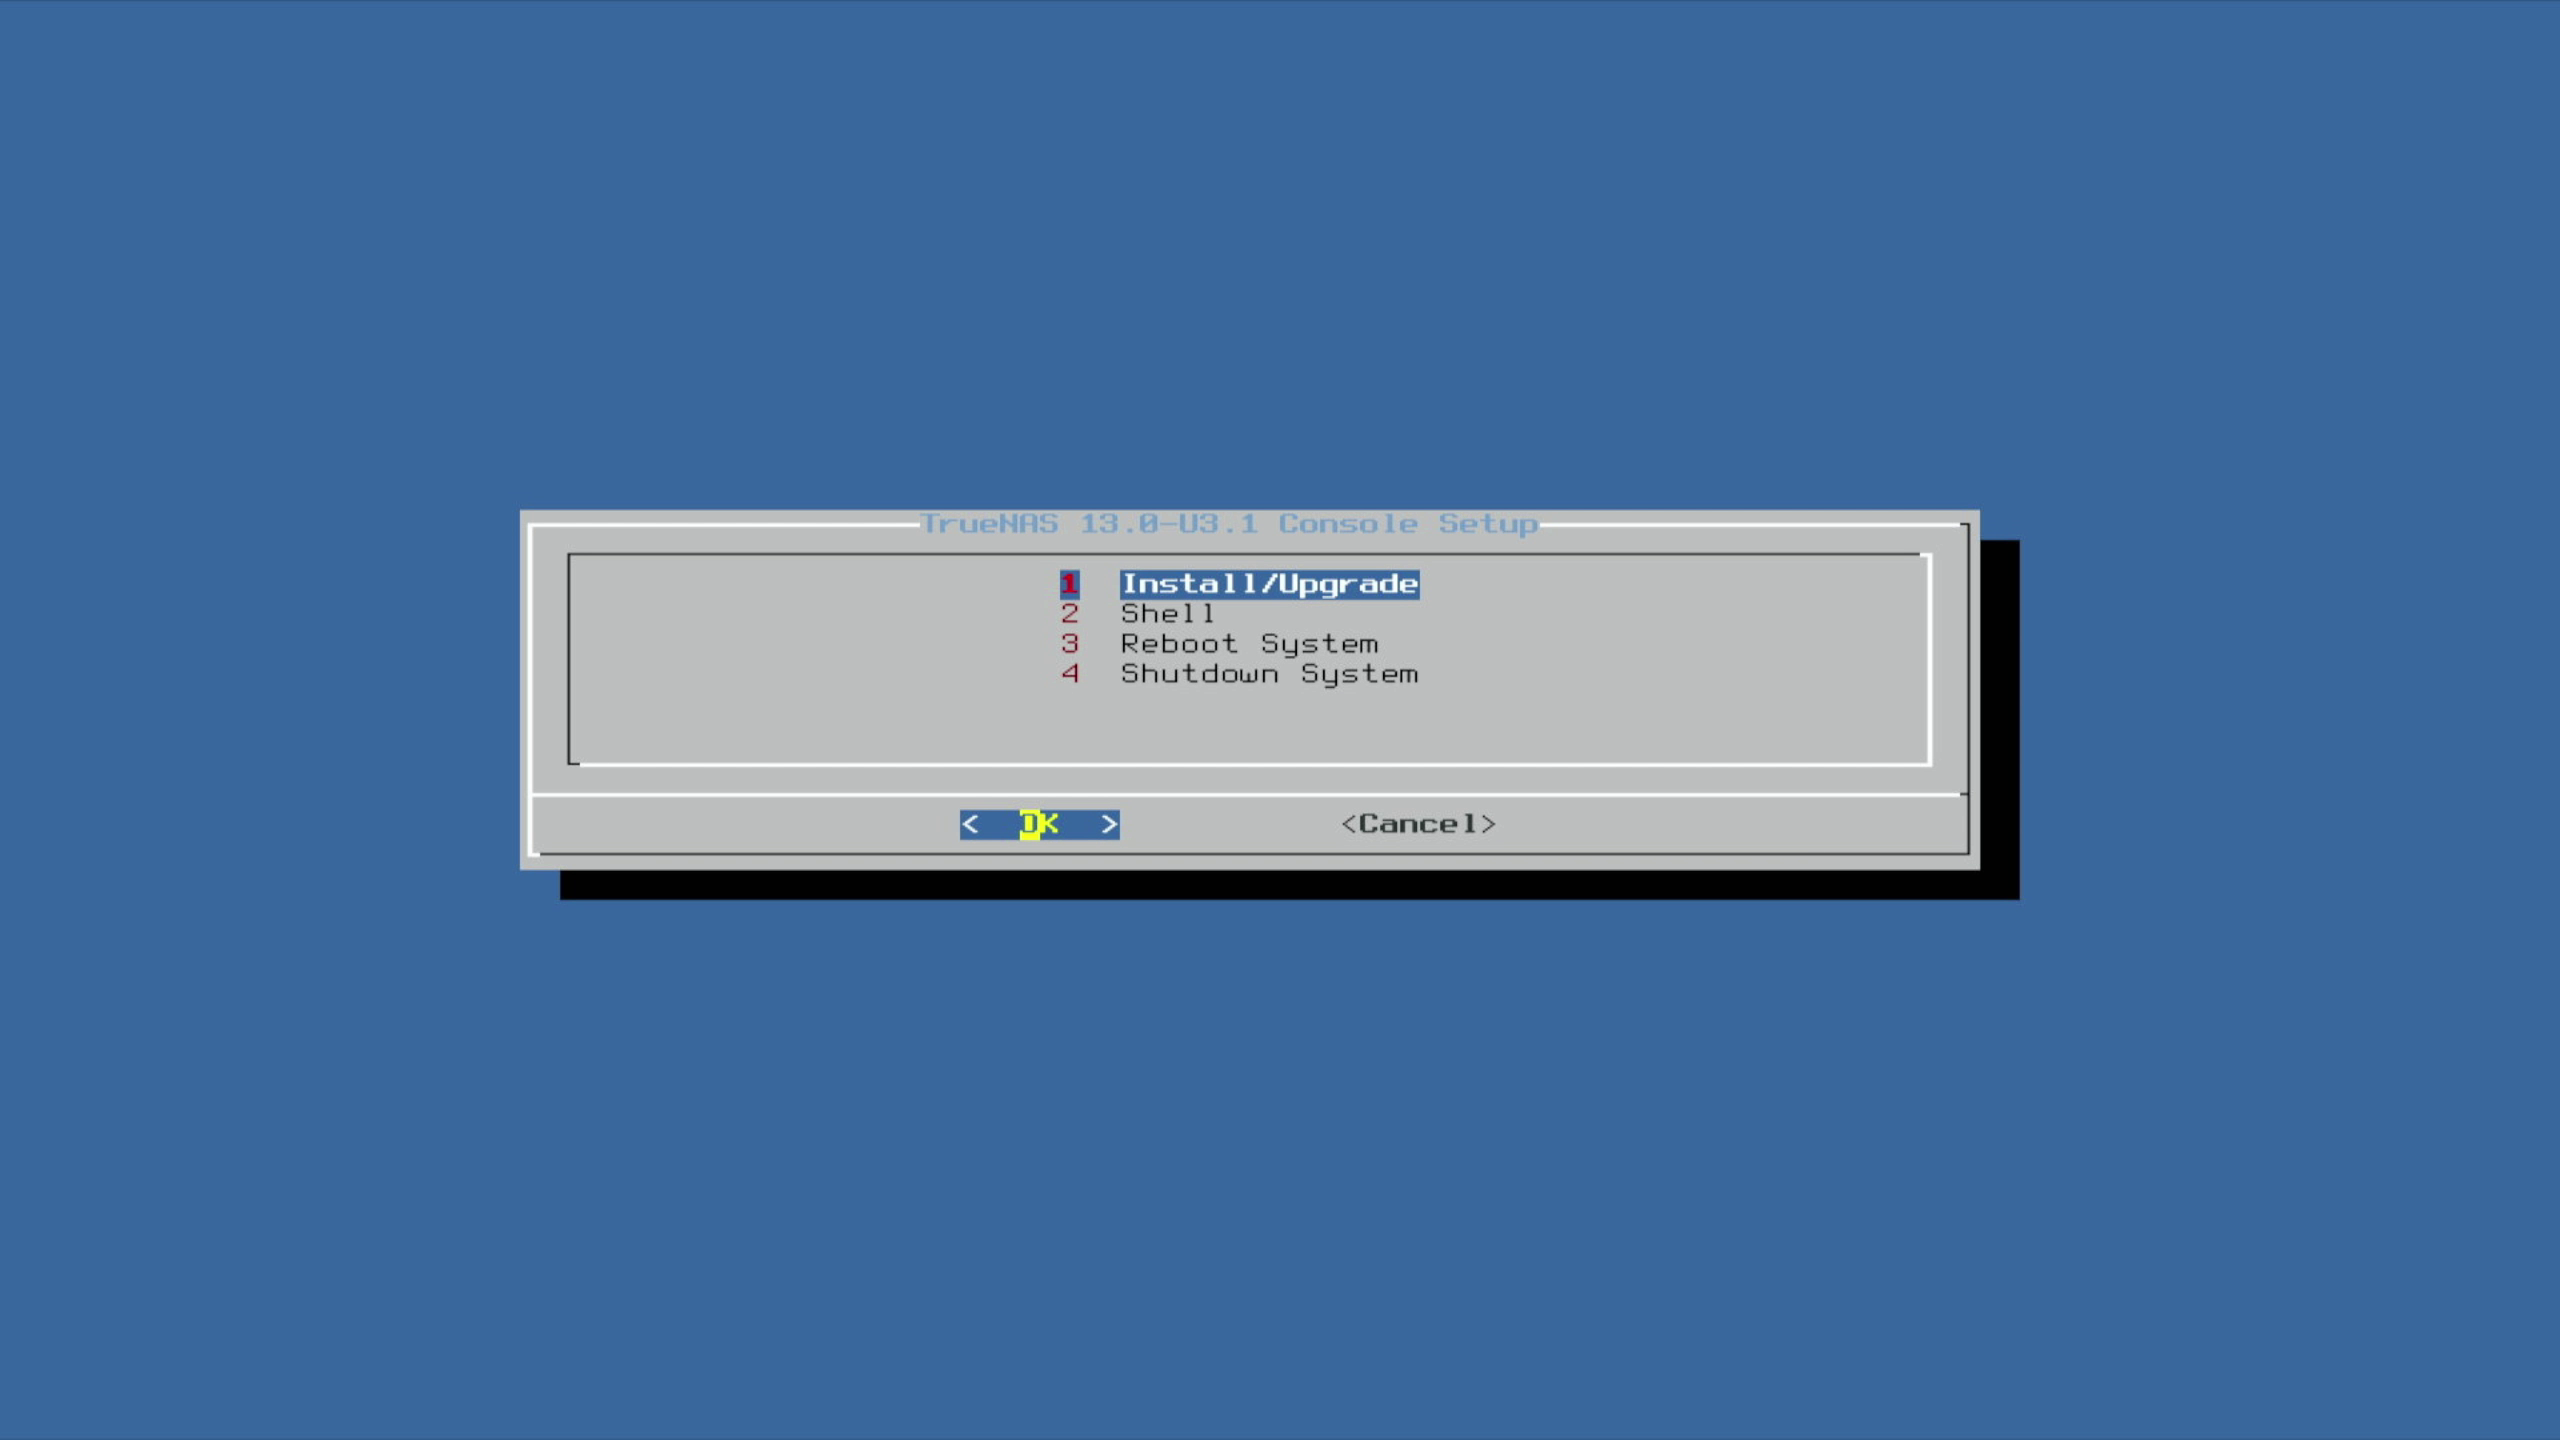
Either enter (1) here yourself or wait 10 seconds for the installer to start. In the next window, the first option is selected again.
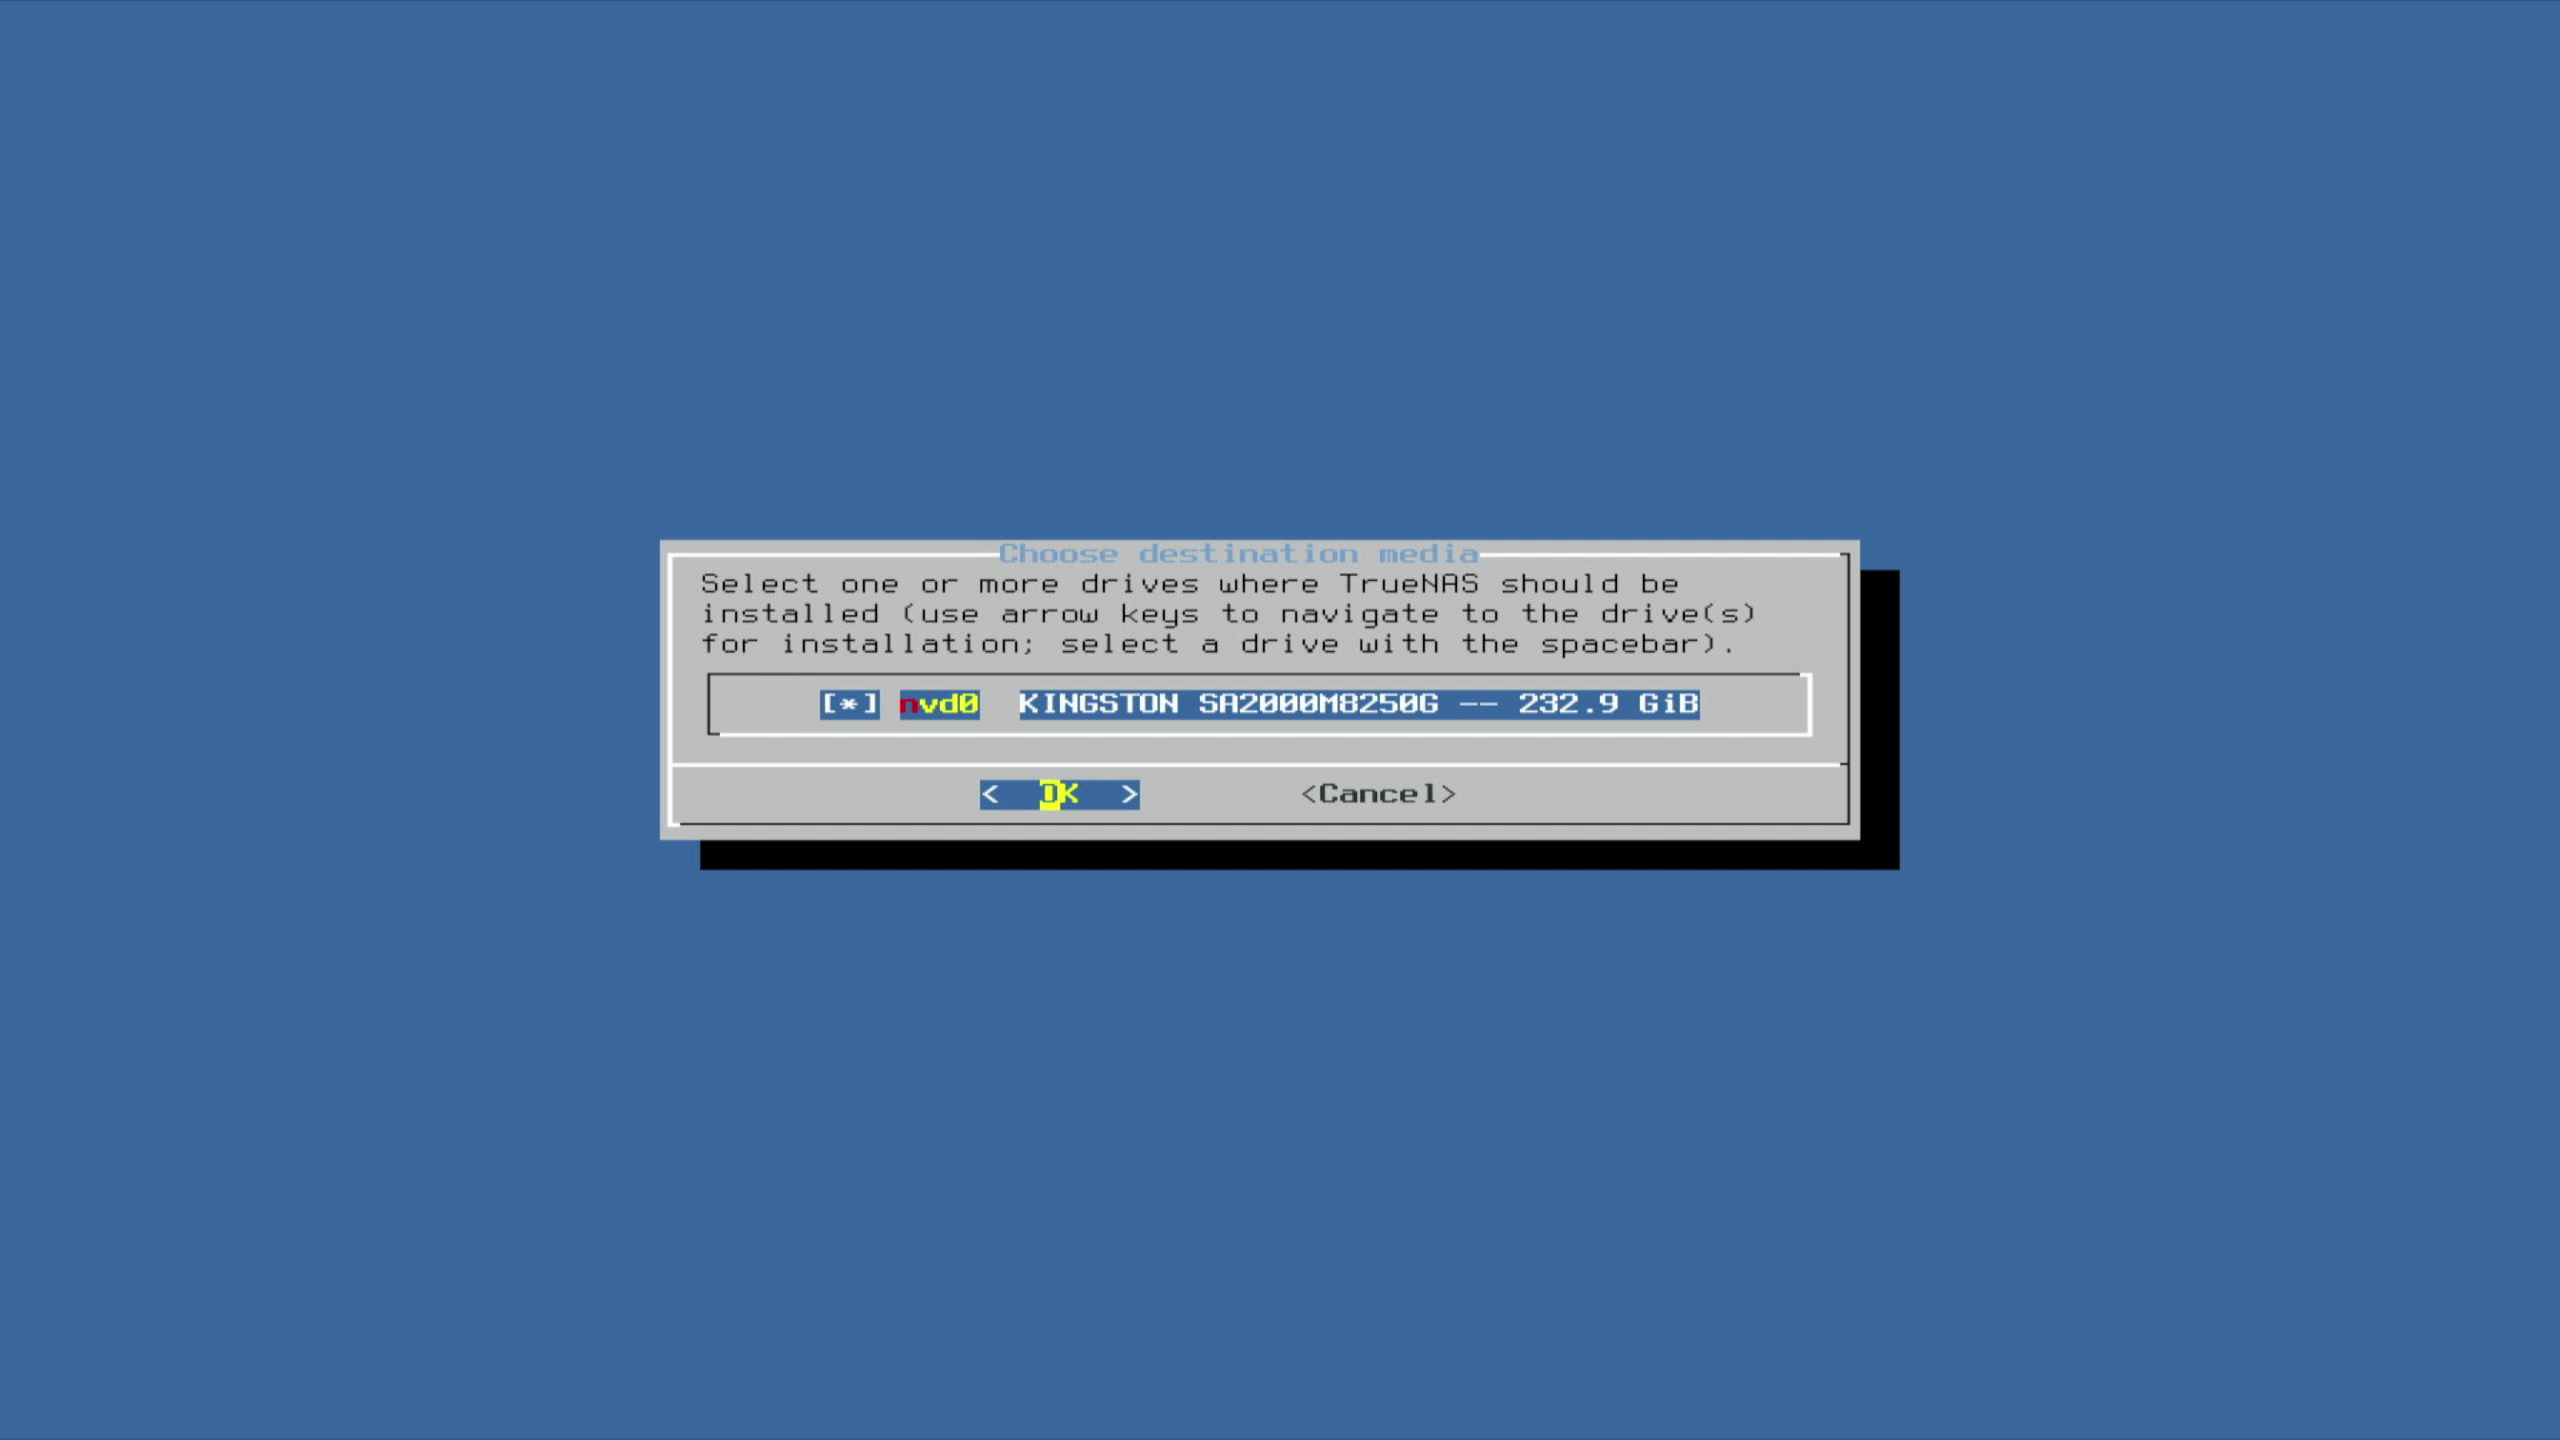
For the installation, I first only had the M.2 SSD connected, but in this window, even with multiple volumes connected, you can simply select the desired target with the space bar. An SSD is clearly to be preferred here, the operation of e.g. a hard disk is not possible. a USB stick as with OpenMediaVault is not advisable,
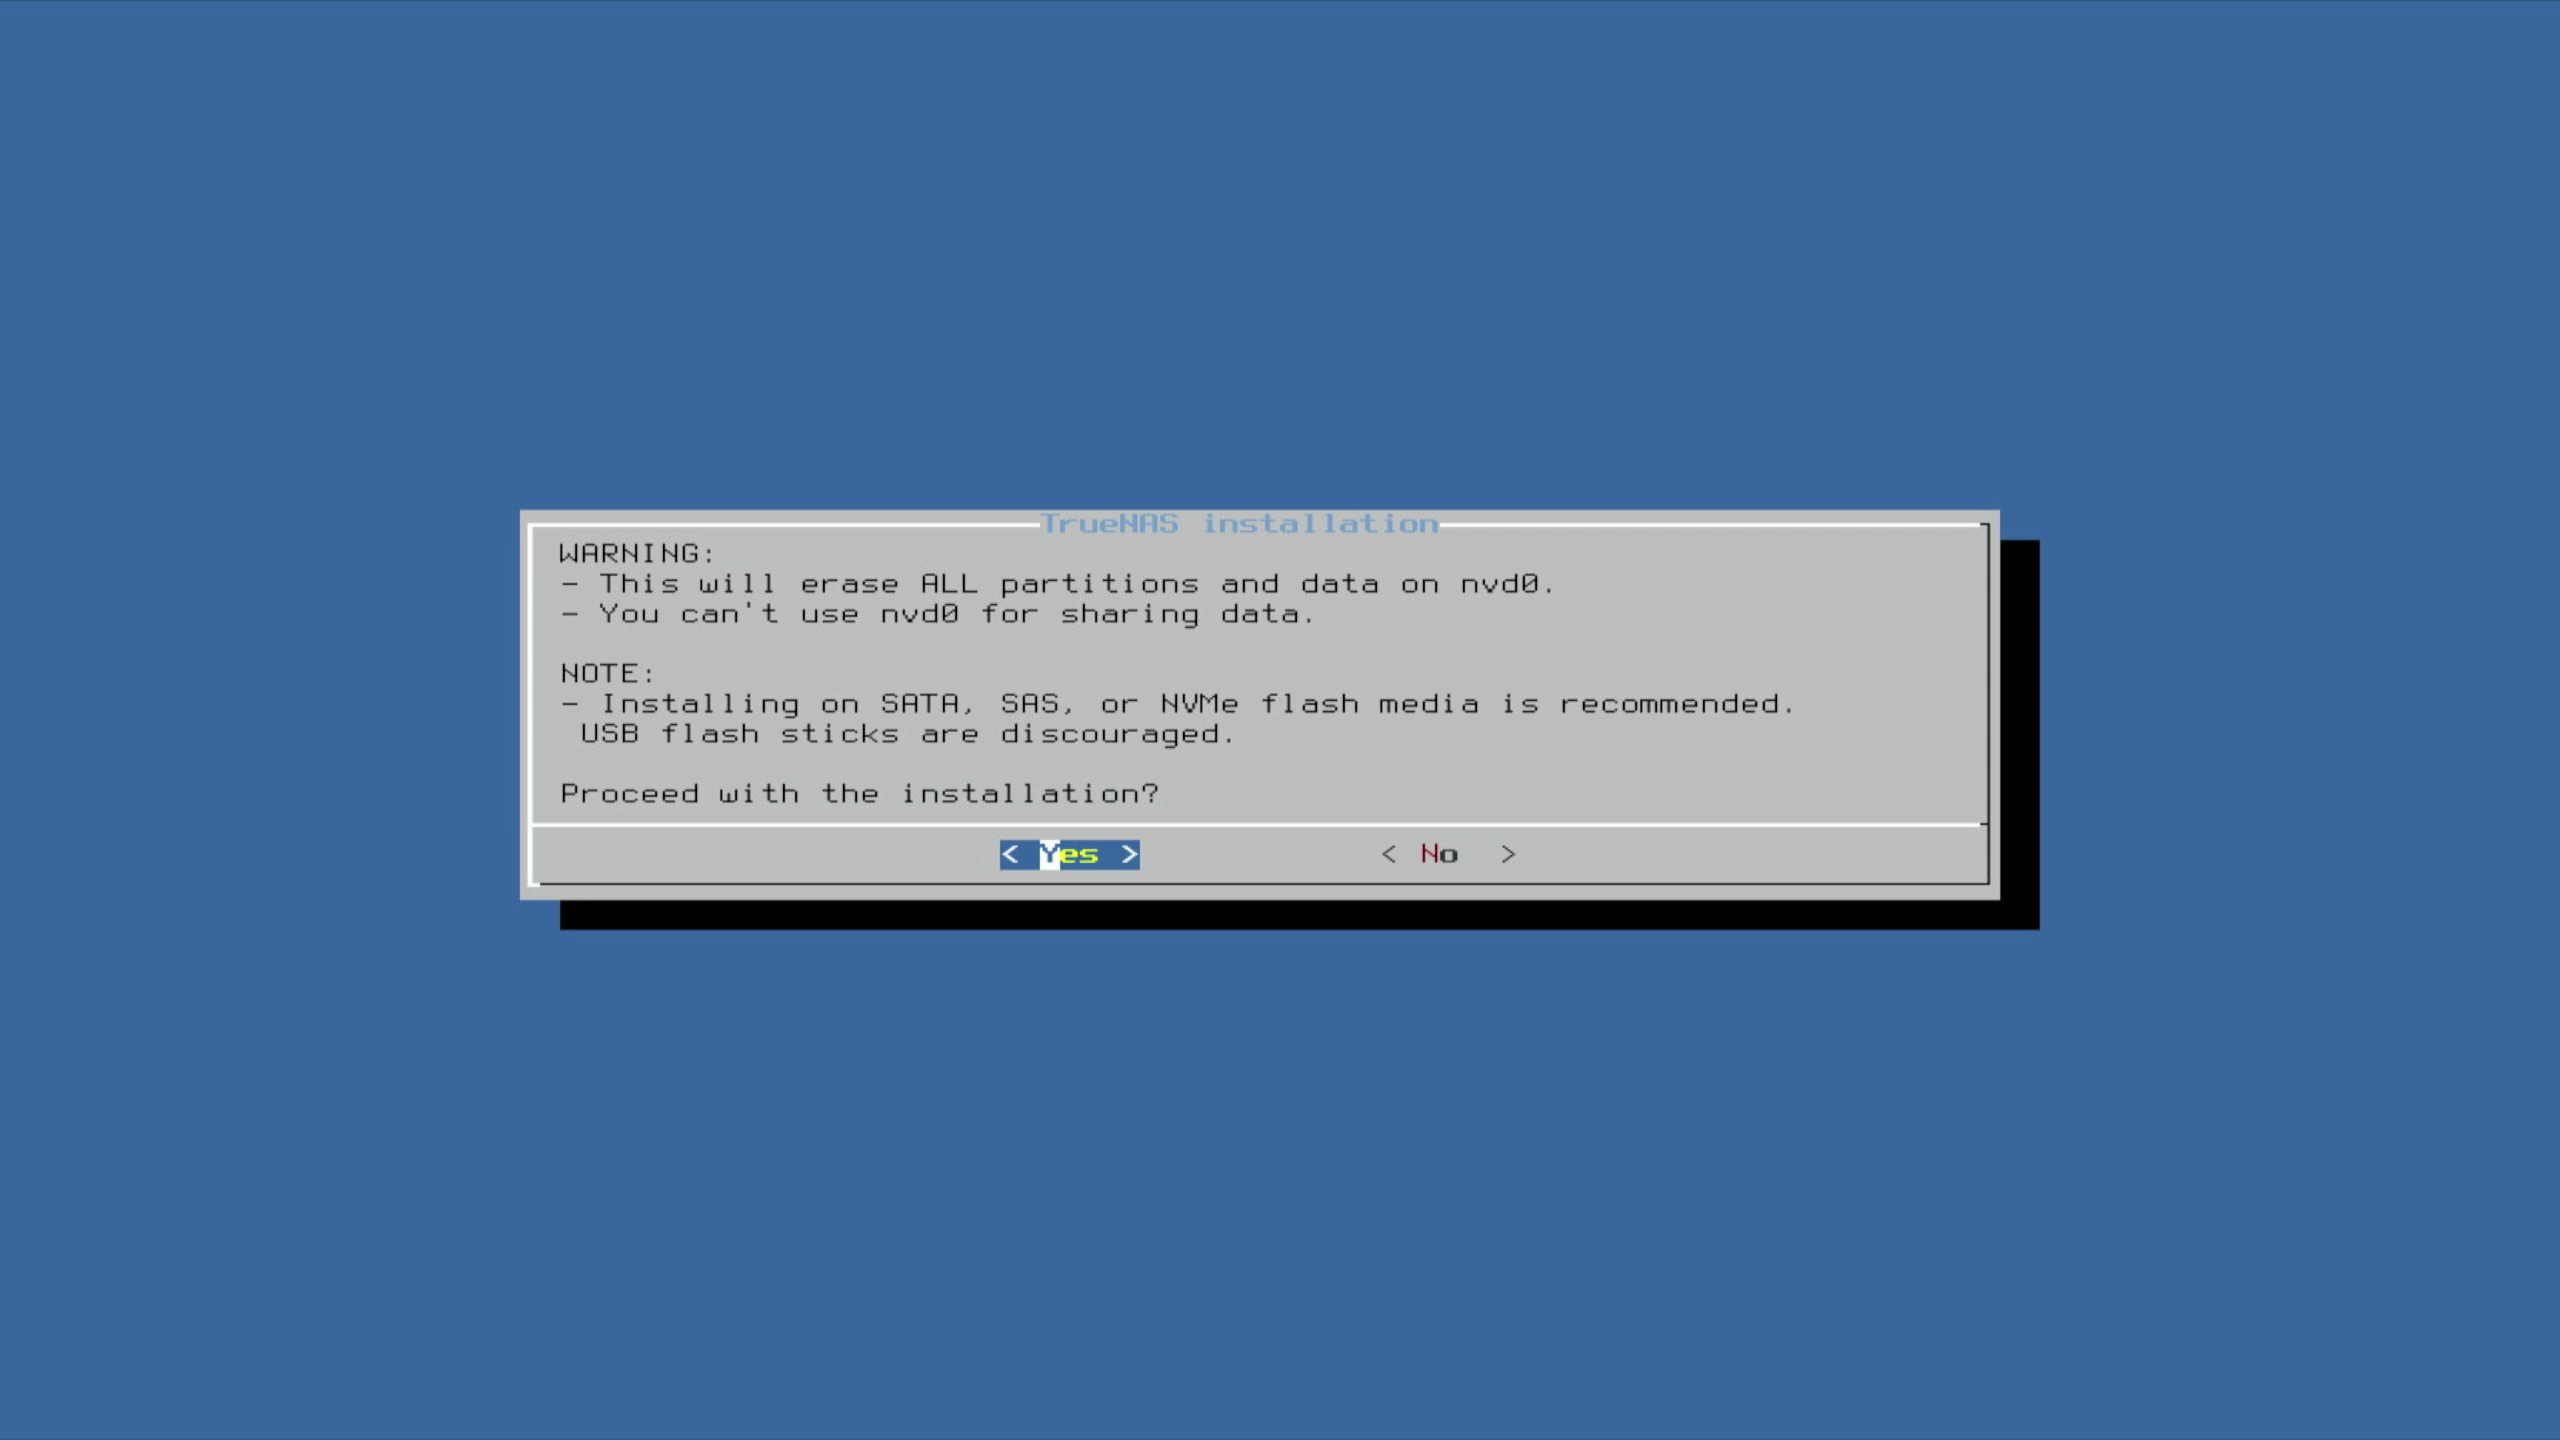
If the SSD is not unused, a window regarding formatting will also appear.
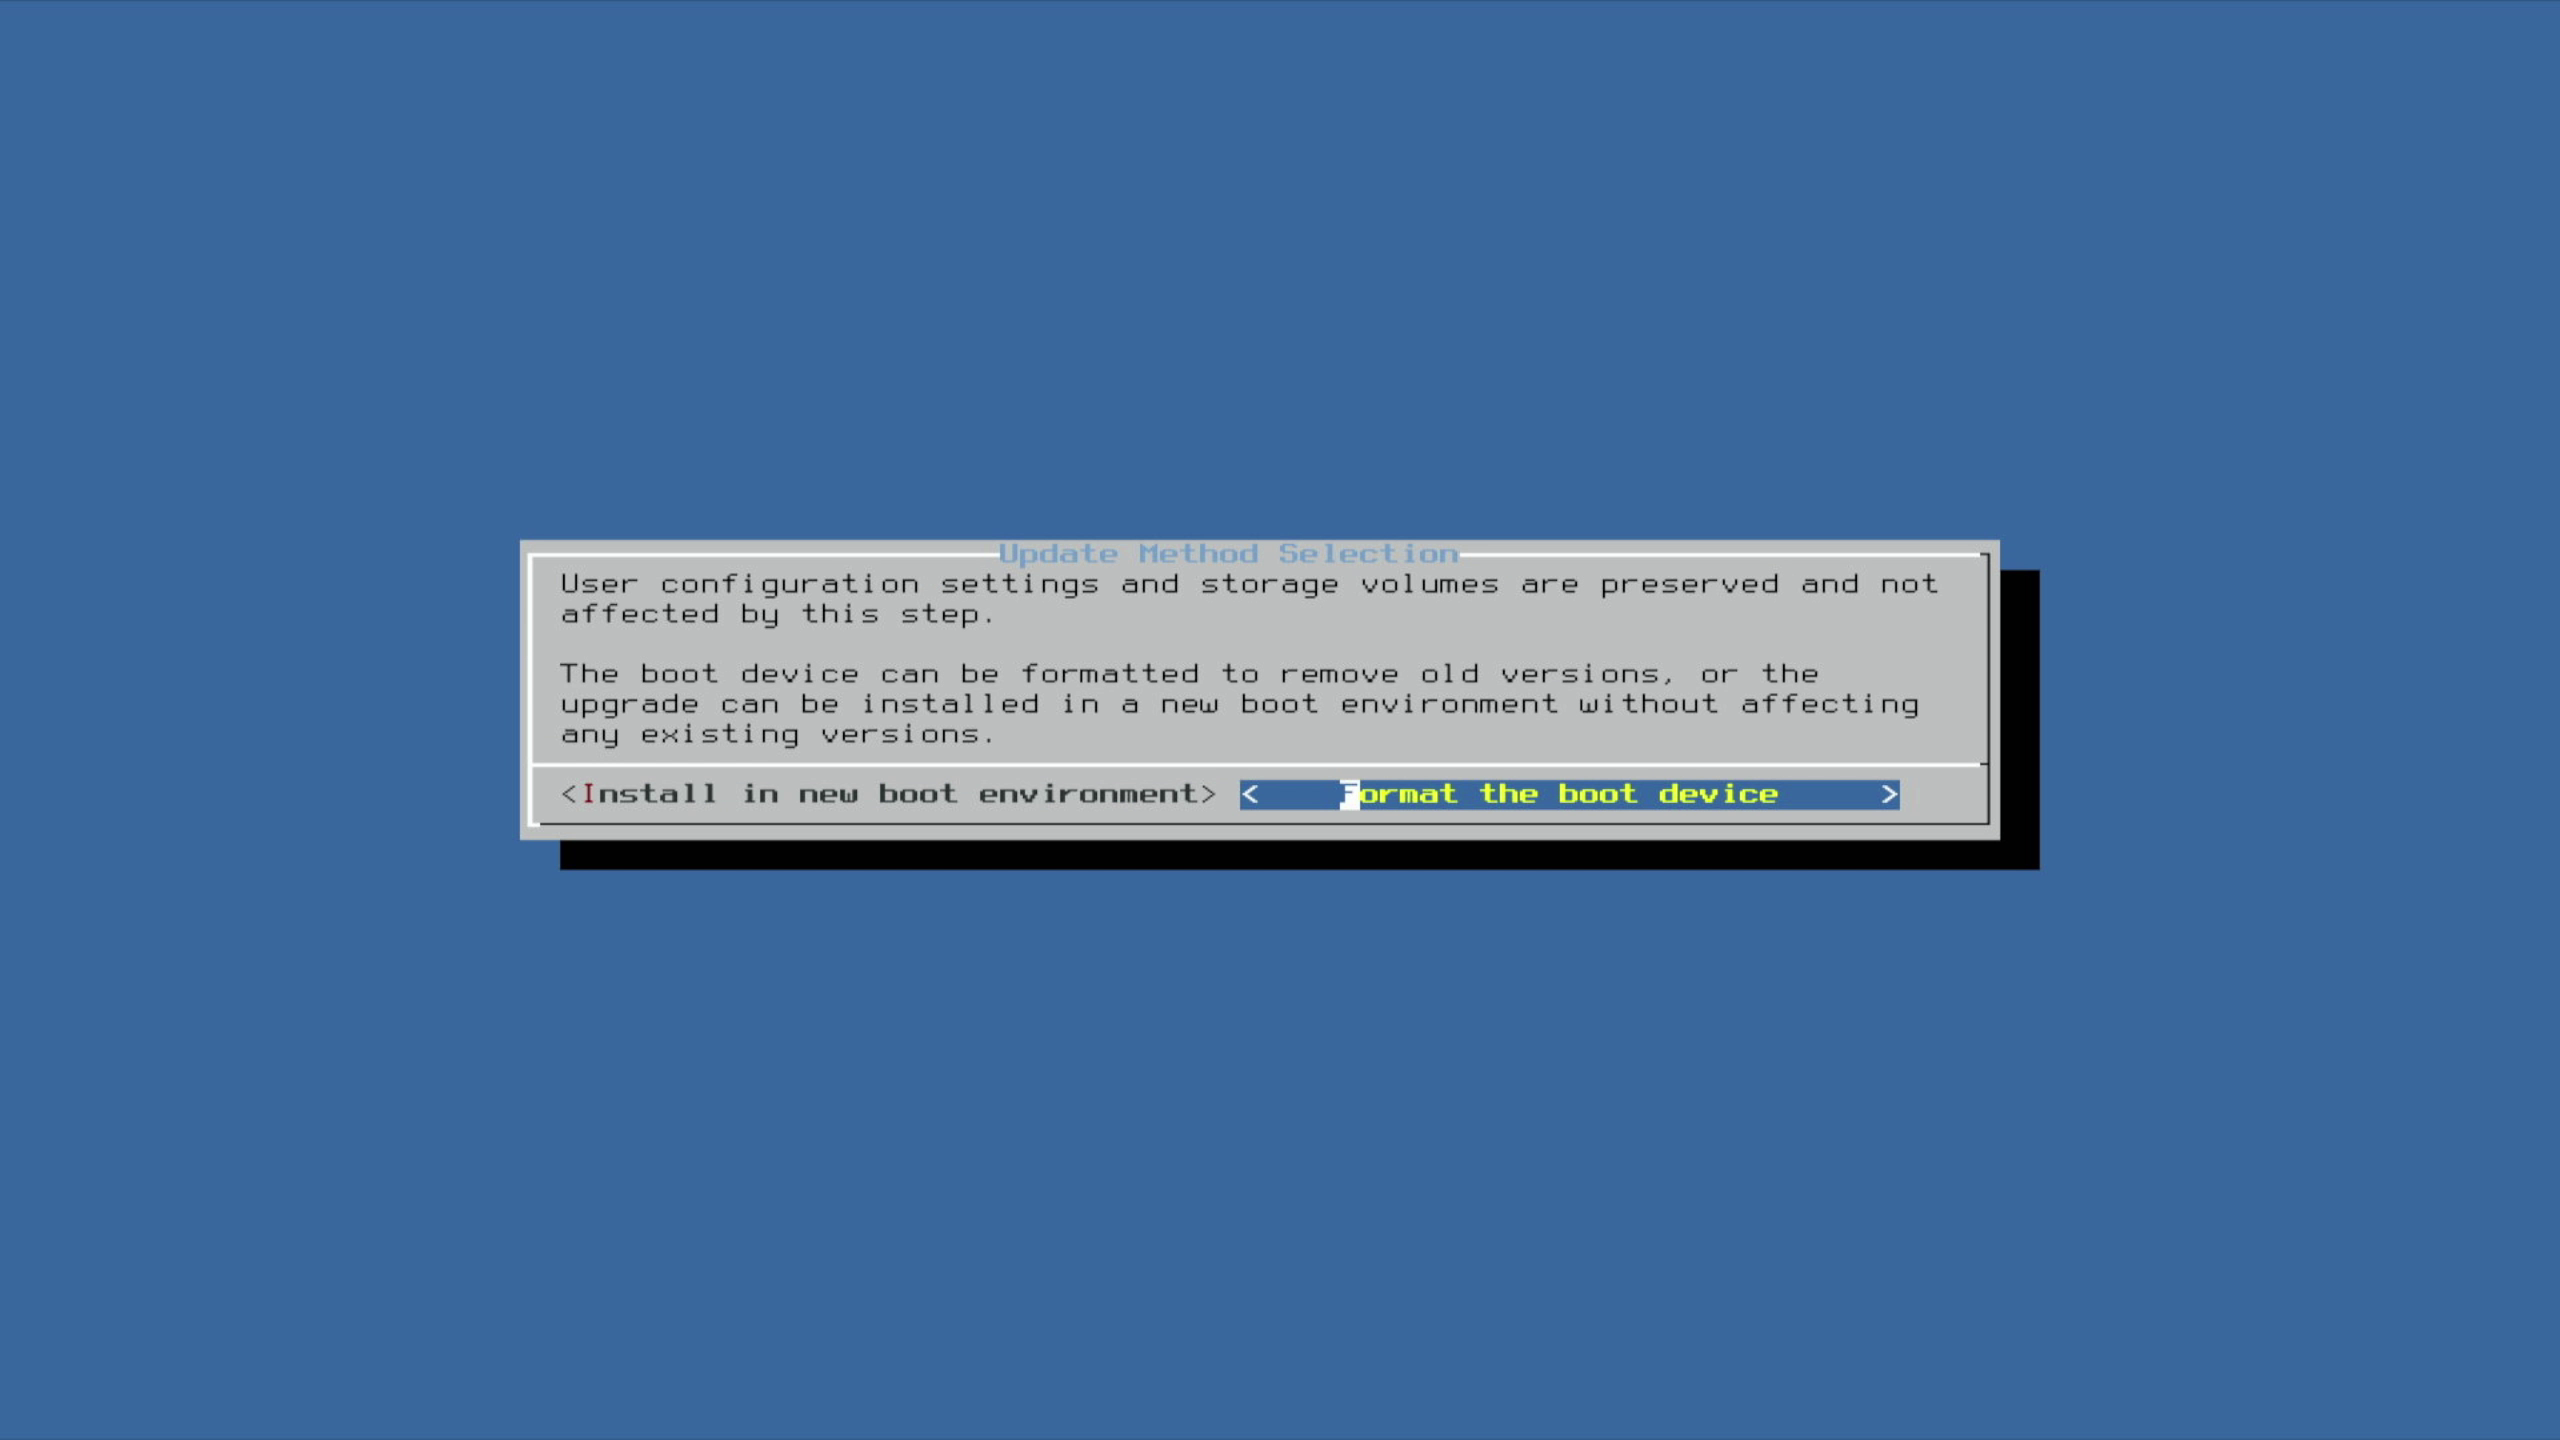
Then confirm this again.
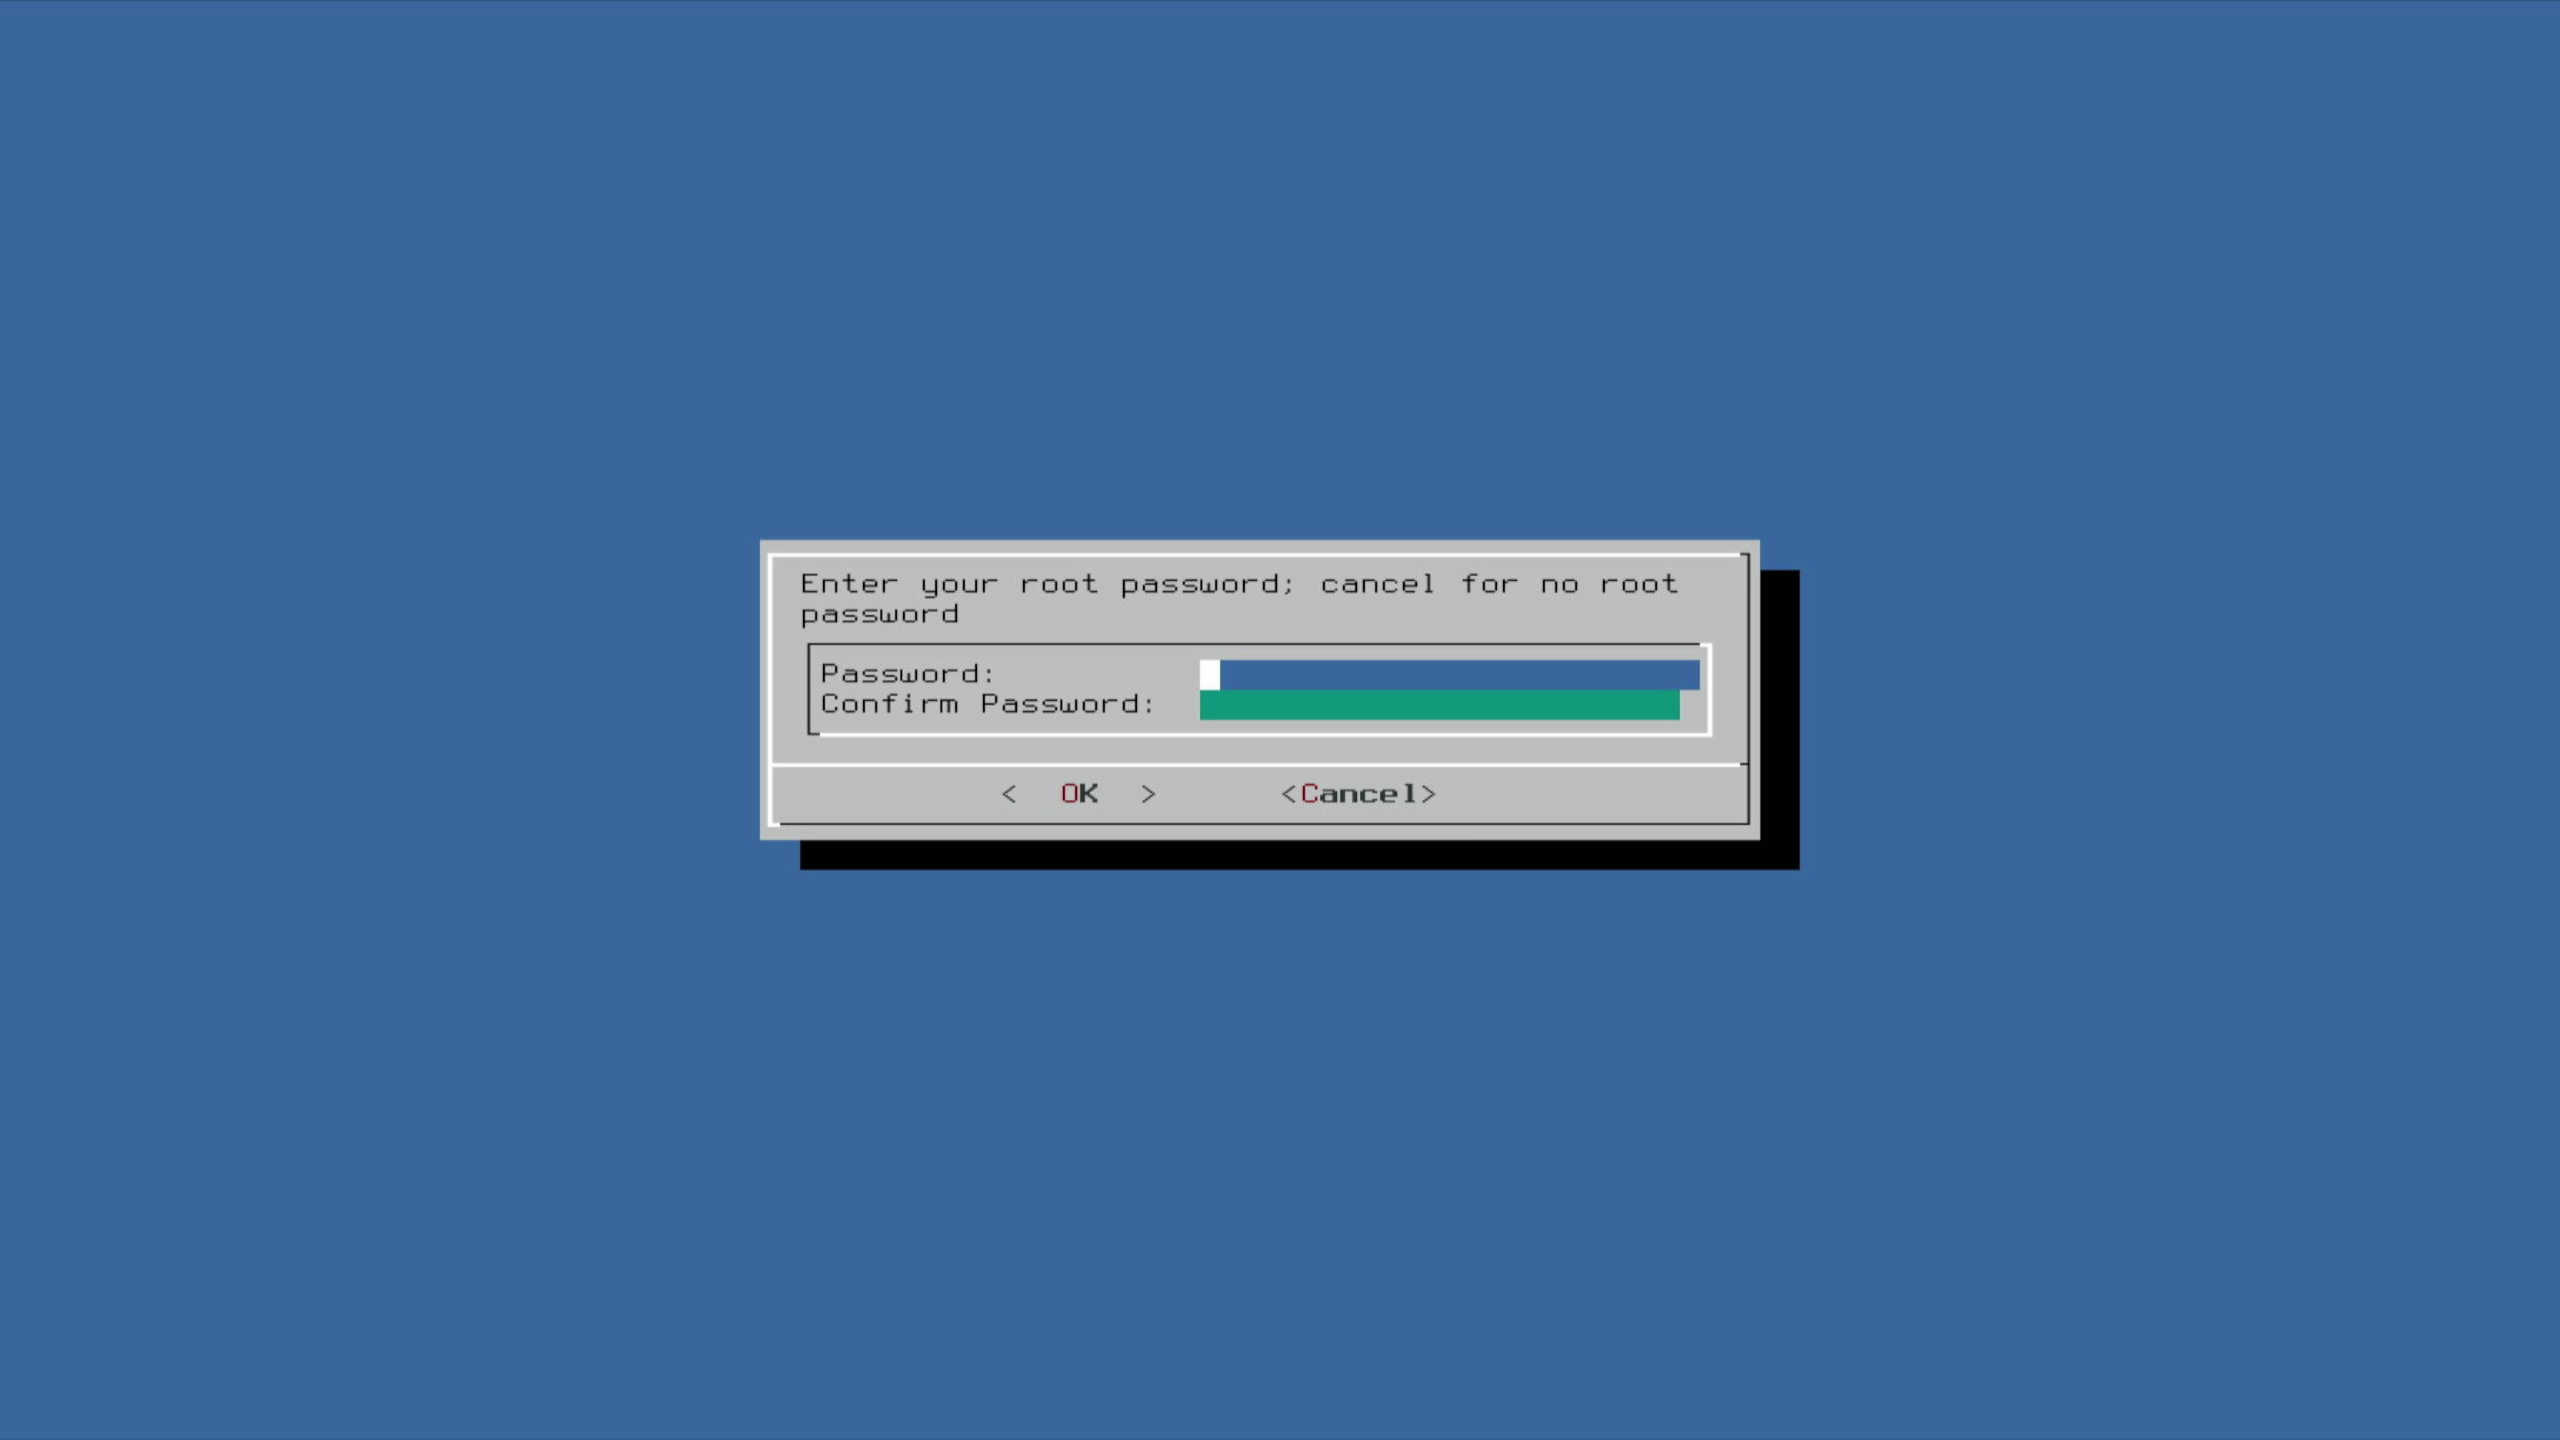
Subsequently, a securepassword must be set for the “root” user.
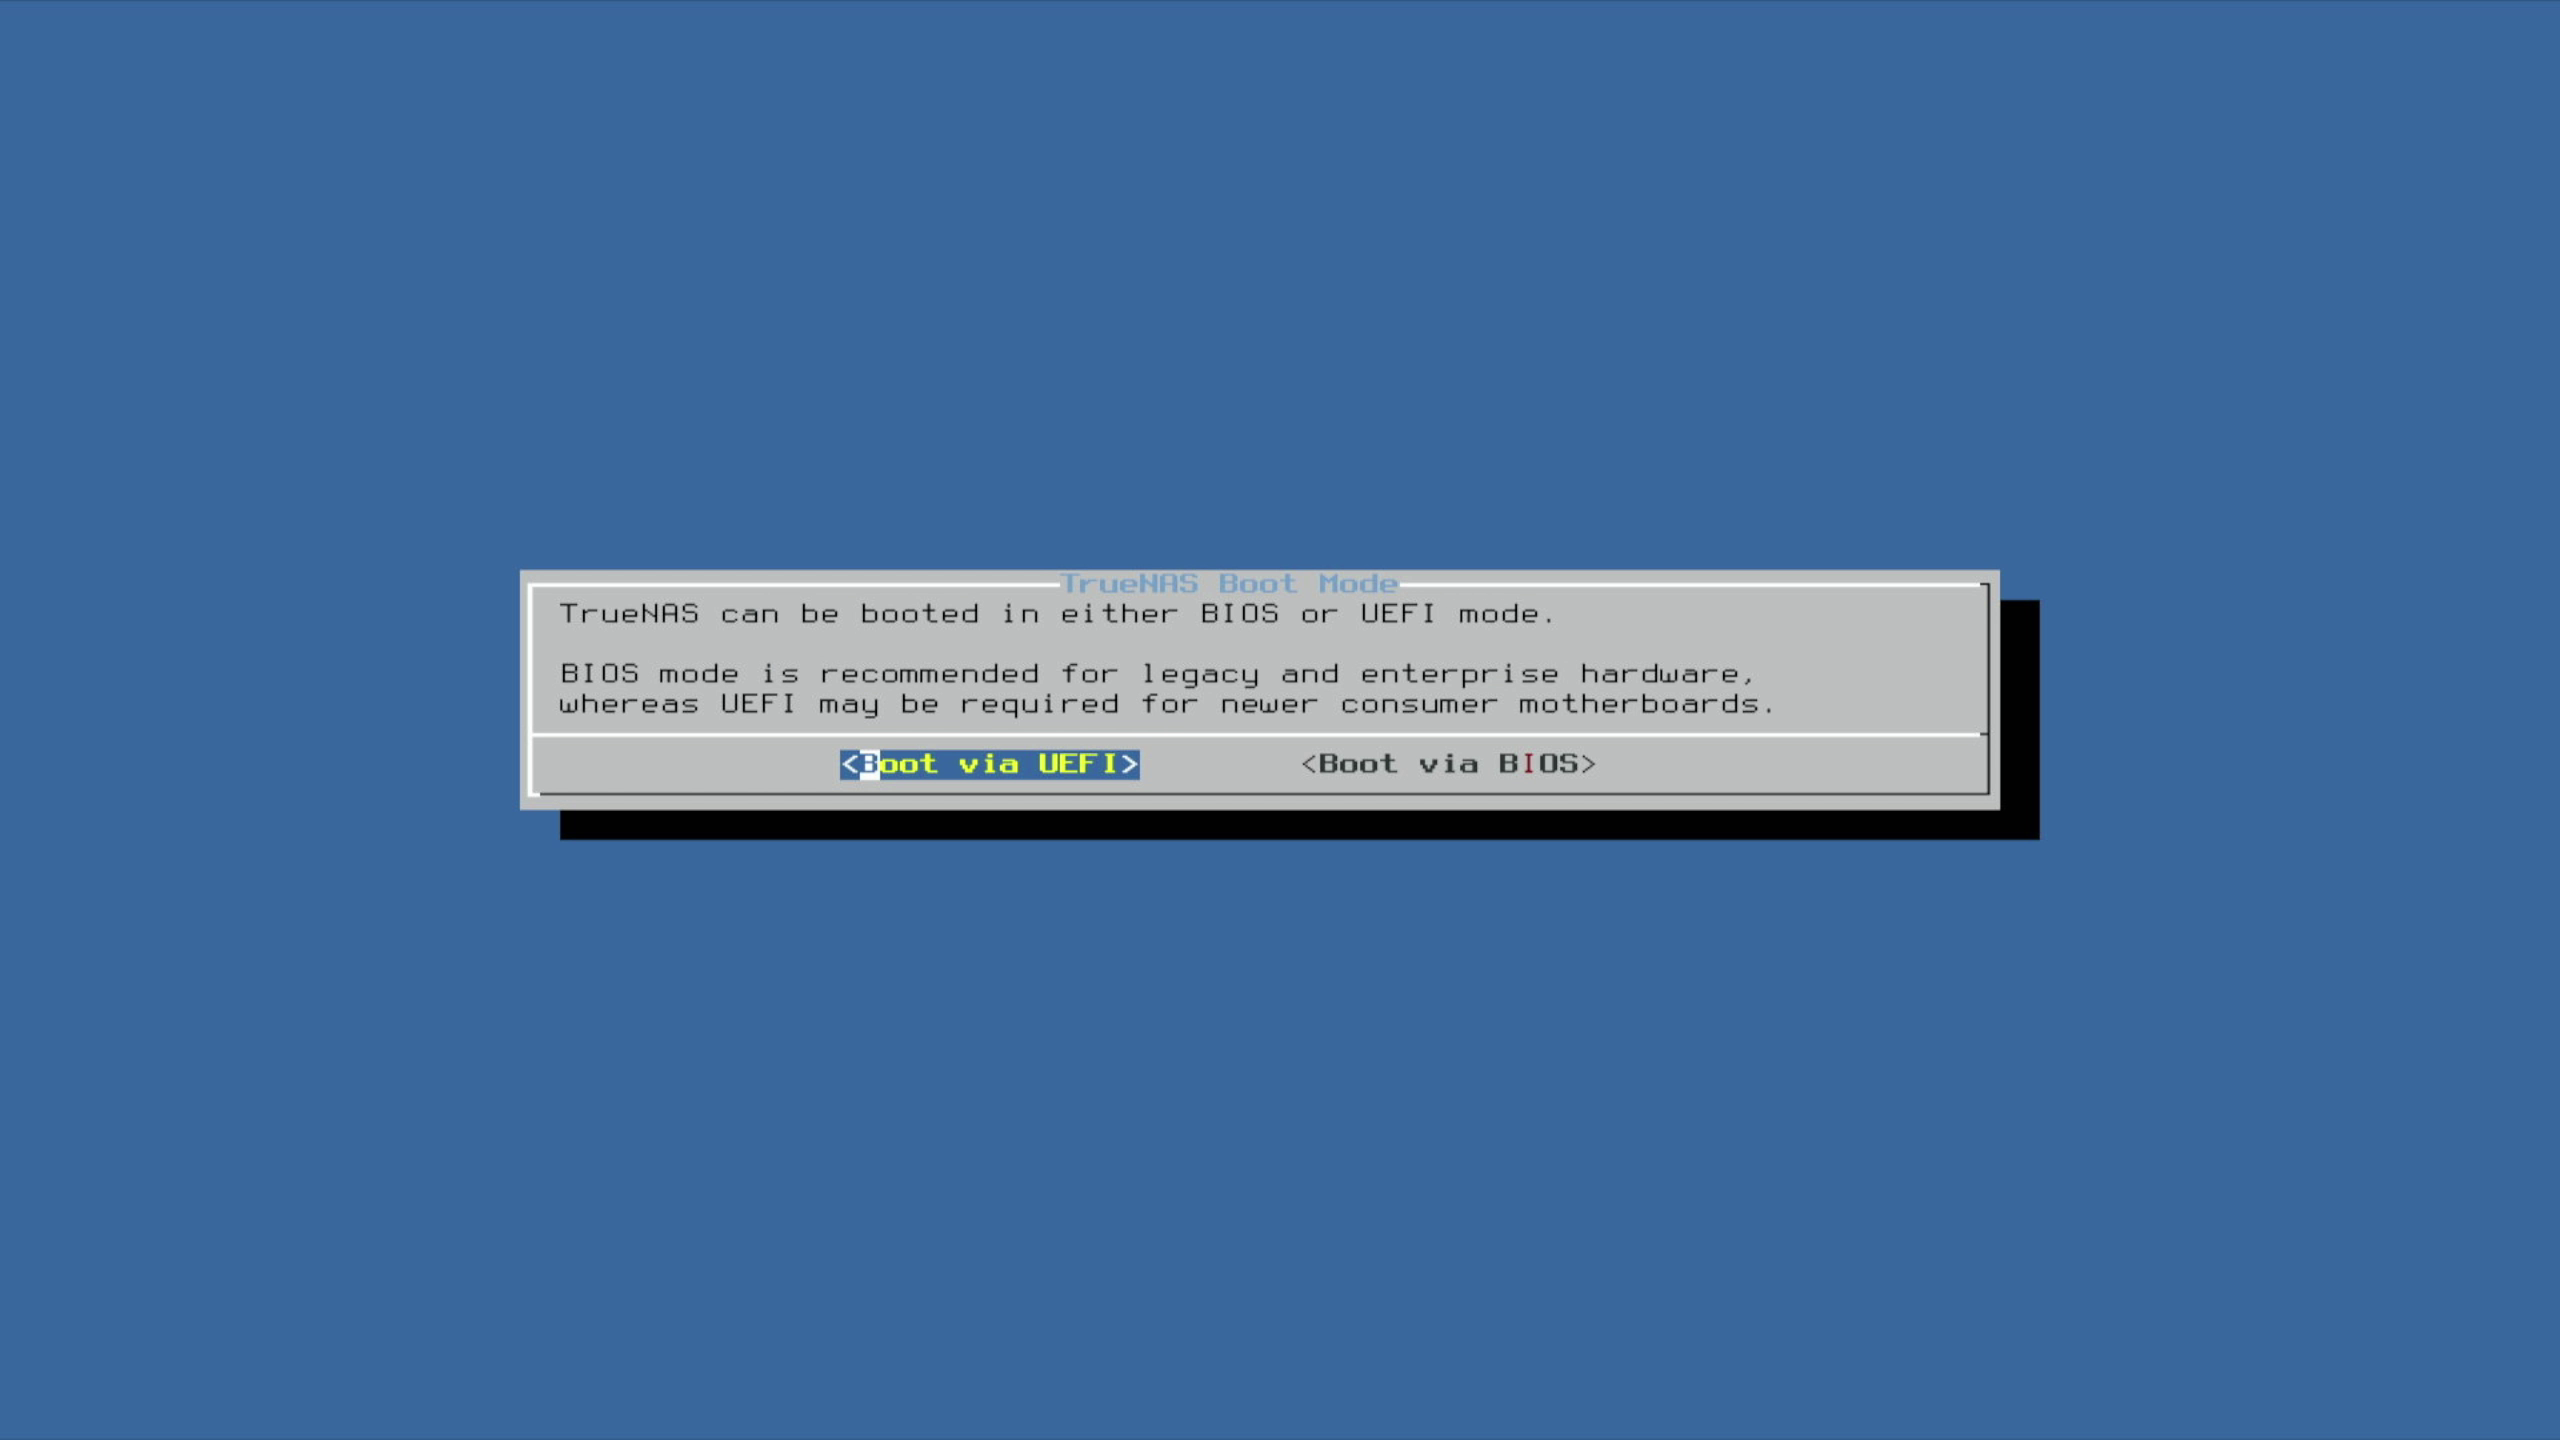
Depending on the hardware used, the boot mode follows. Generally, UEFI is always recommended for newer hardware.
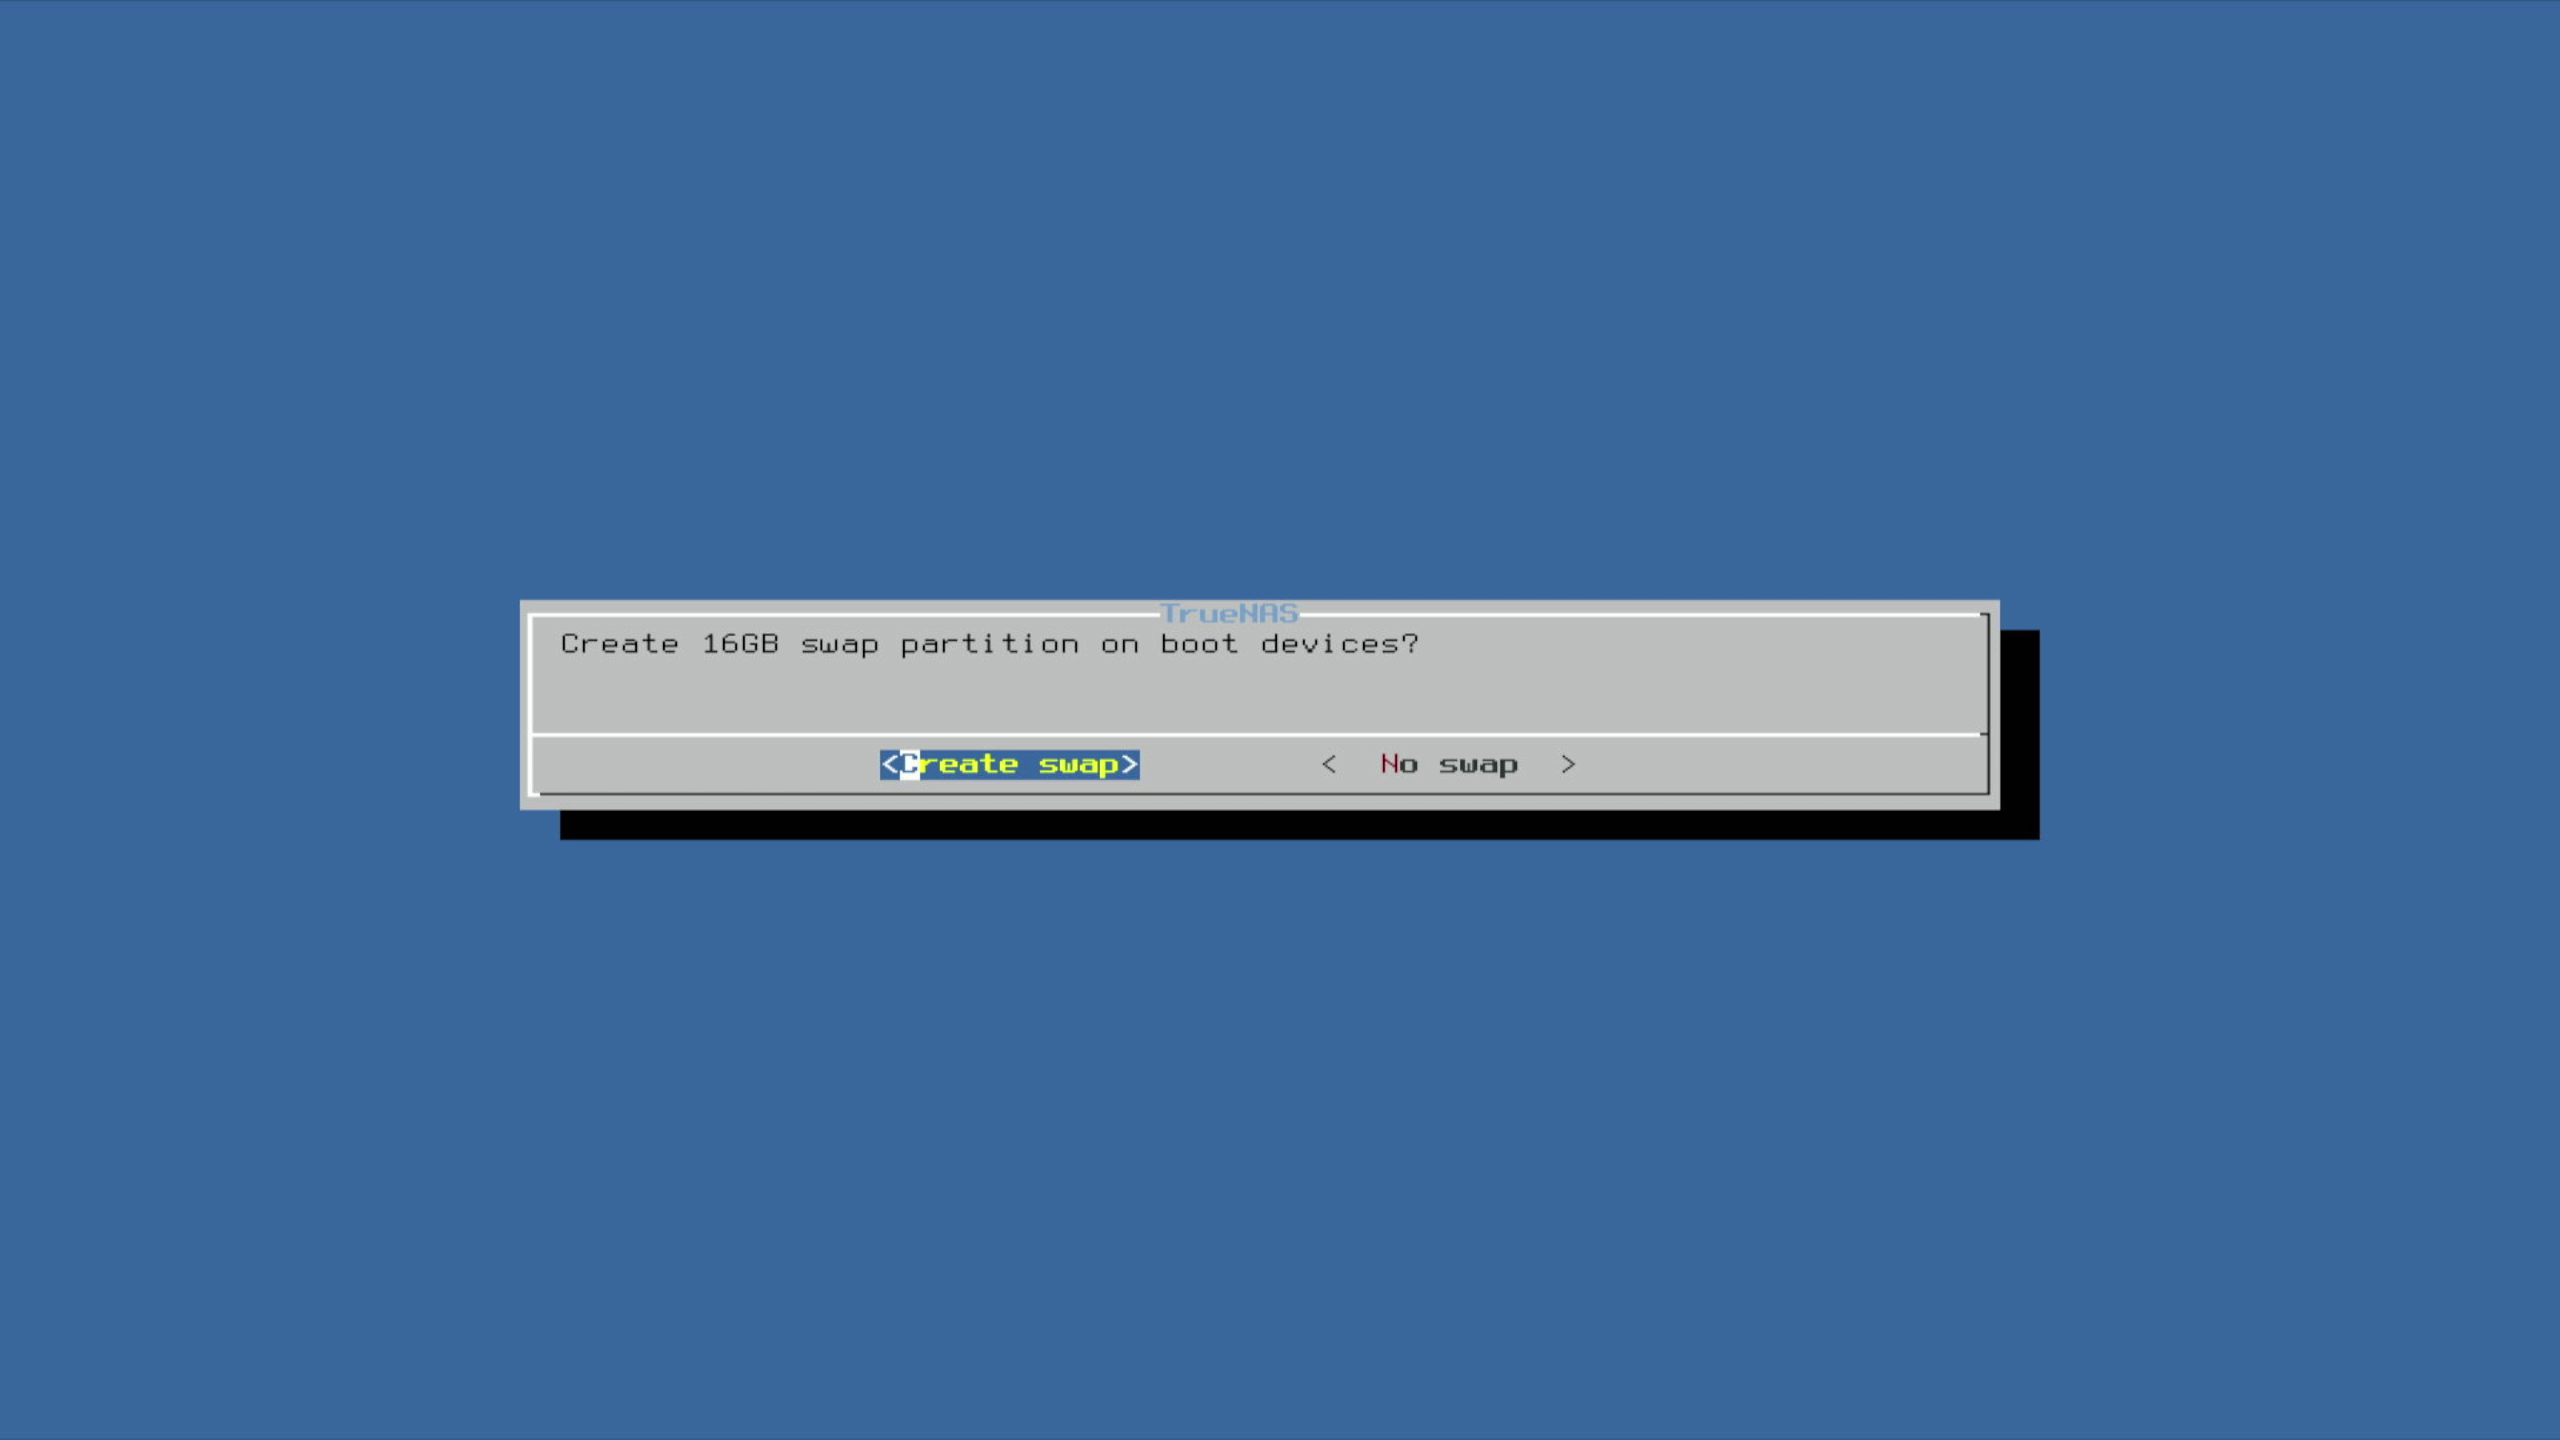
Even if there is actually enough RAM available, a partition for the swap files does not hurt.
And then TrueNAS CORE is already installed!
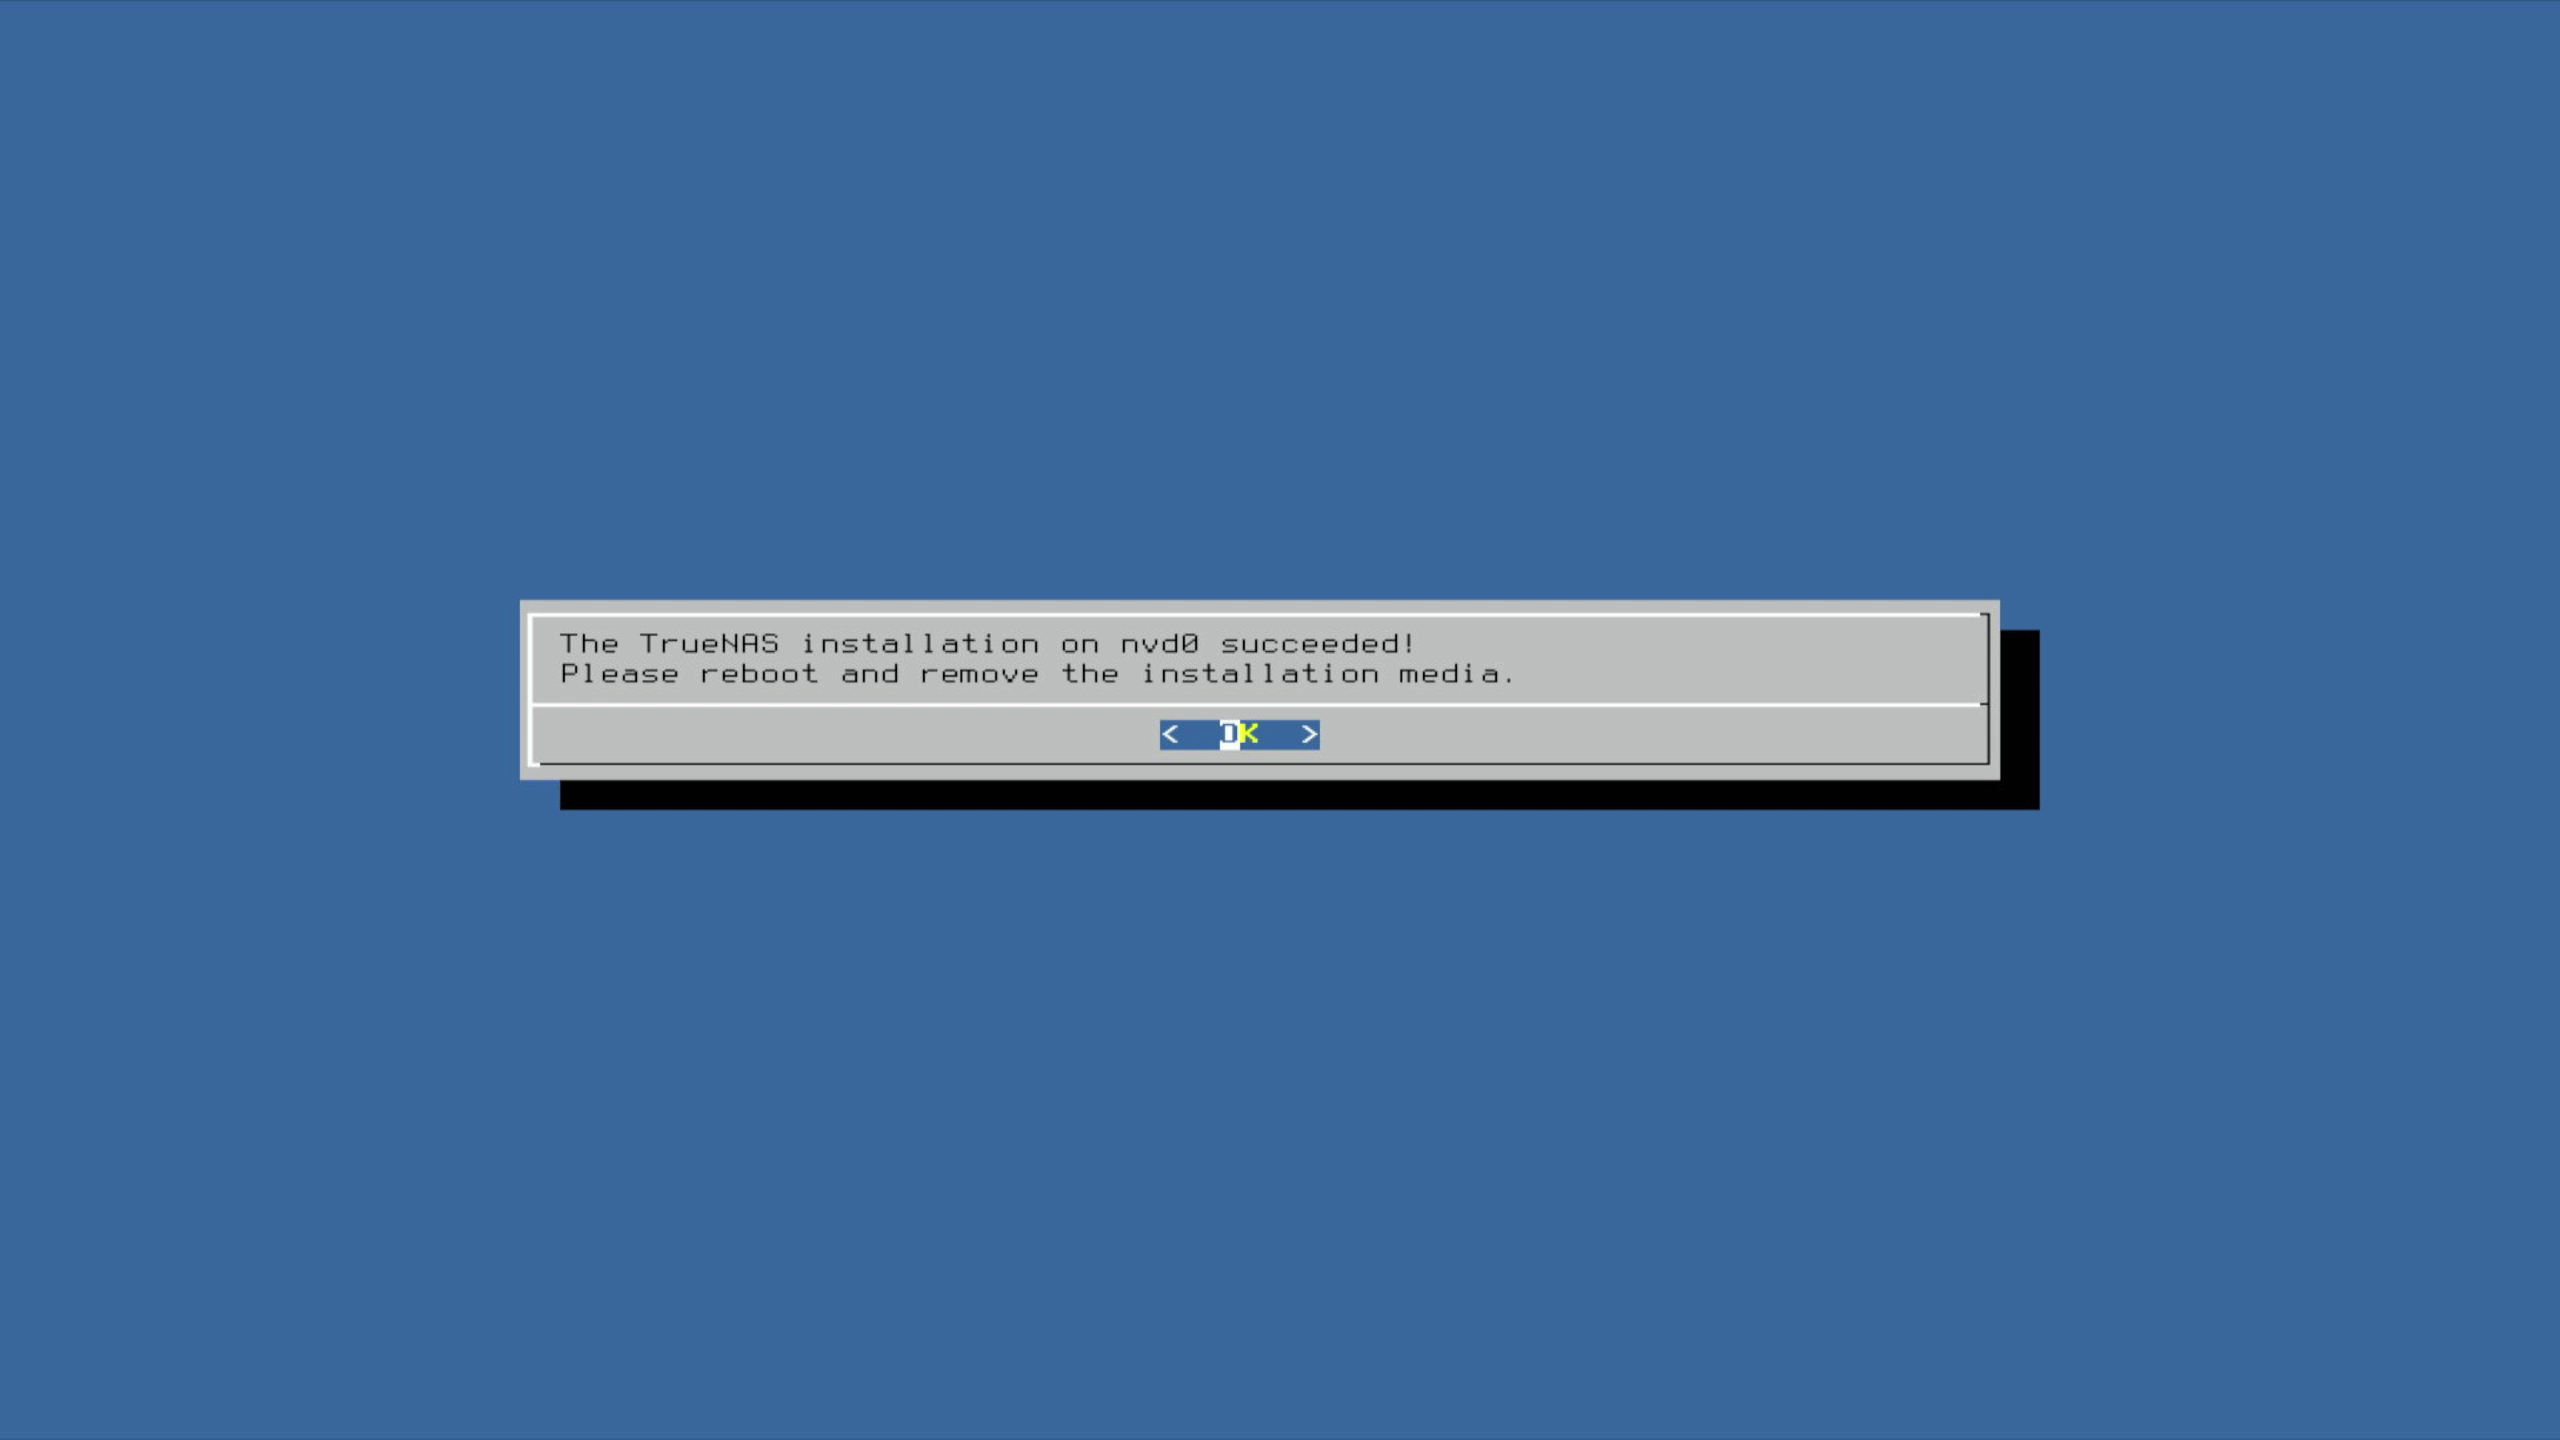
At this point, the USB stick can then be removed and the system restarted. Possibly set the SSD as the first boot option in the BIOS.
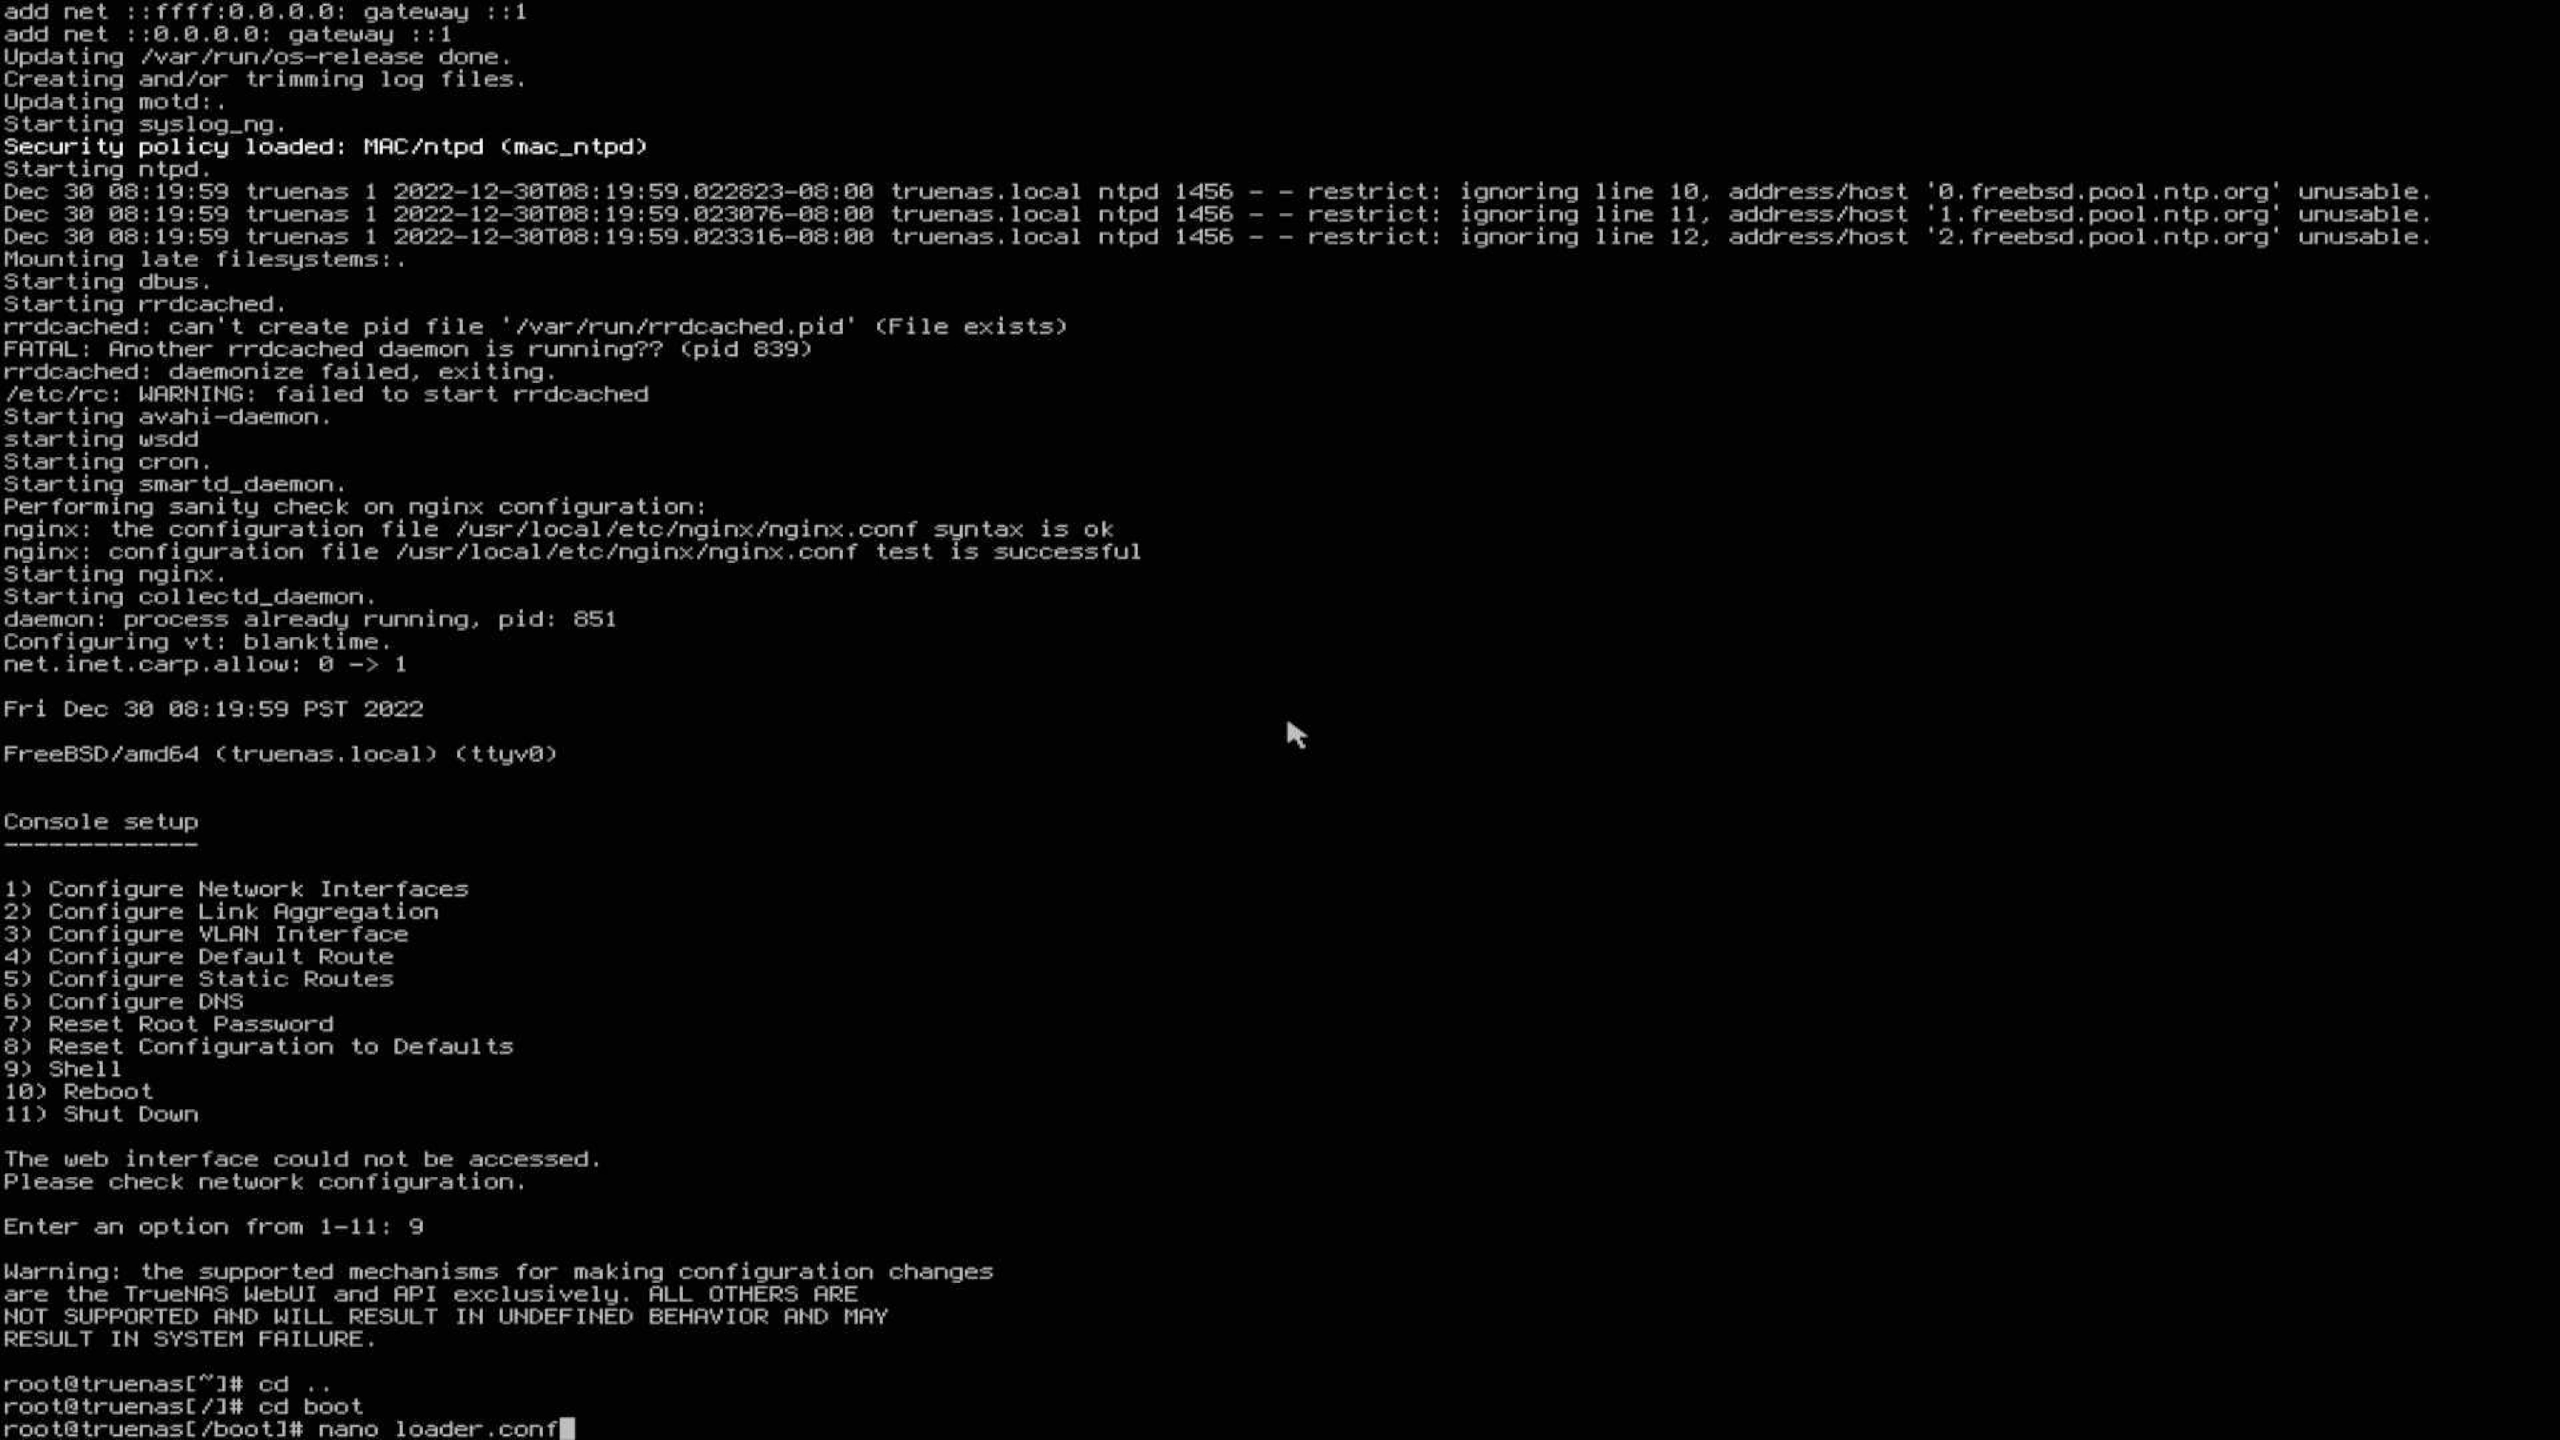
Depending on the mainboard, especially the current “gaming” mainboards with 2.5G LAN port like here, the following error can occur:

The network interface is not recognized, therefore the web UI cannot be accessed. I found a solution for this in this forum entry and will describe it again here.
First, option 9 – Shell is selected so that the command line is opened.

About cd .., cd bootand then nano loader.confthe configuration file is called.
There then navigated to the very bottom with the arrow keys, there complete the following two lines:
if_re_load=”YES”
[*]if_re_name=”/boot/modules/if_re.ko”
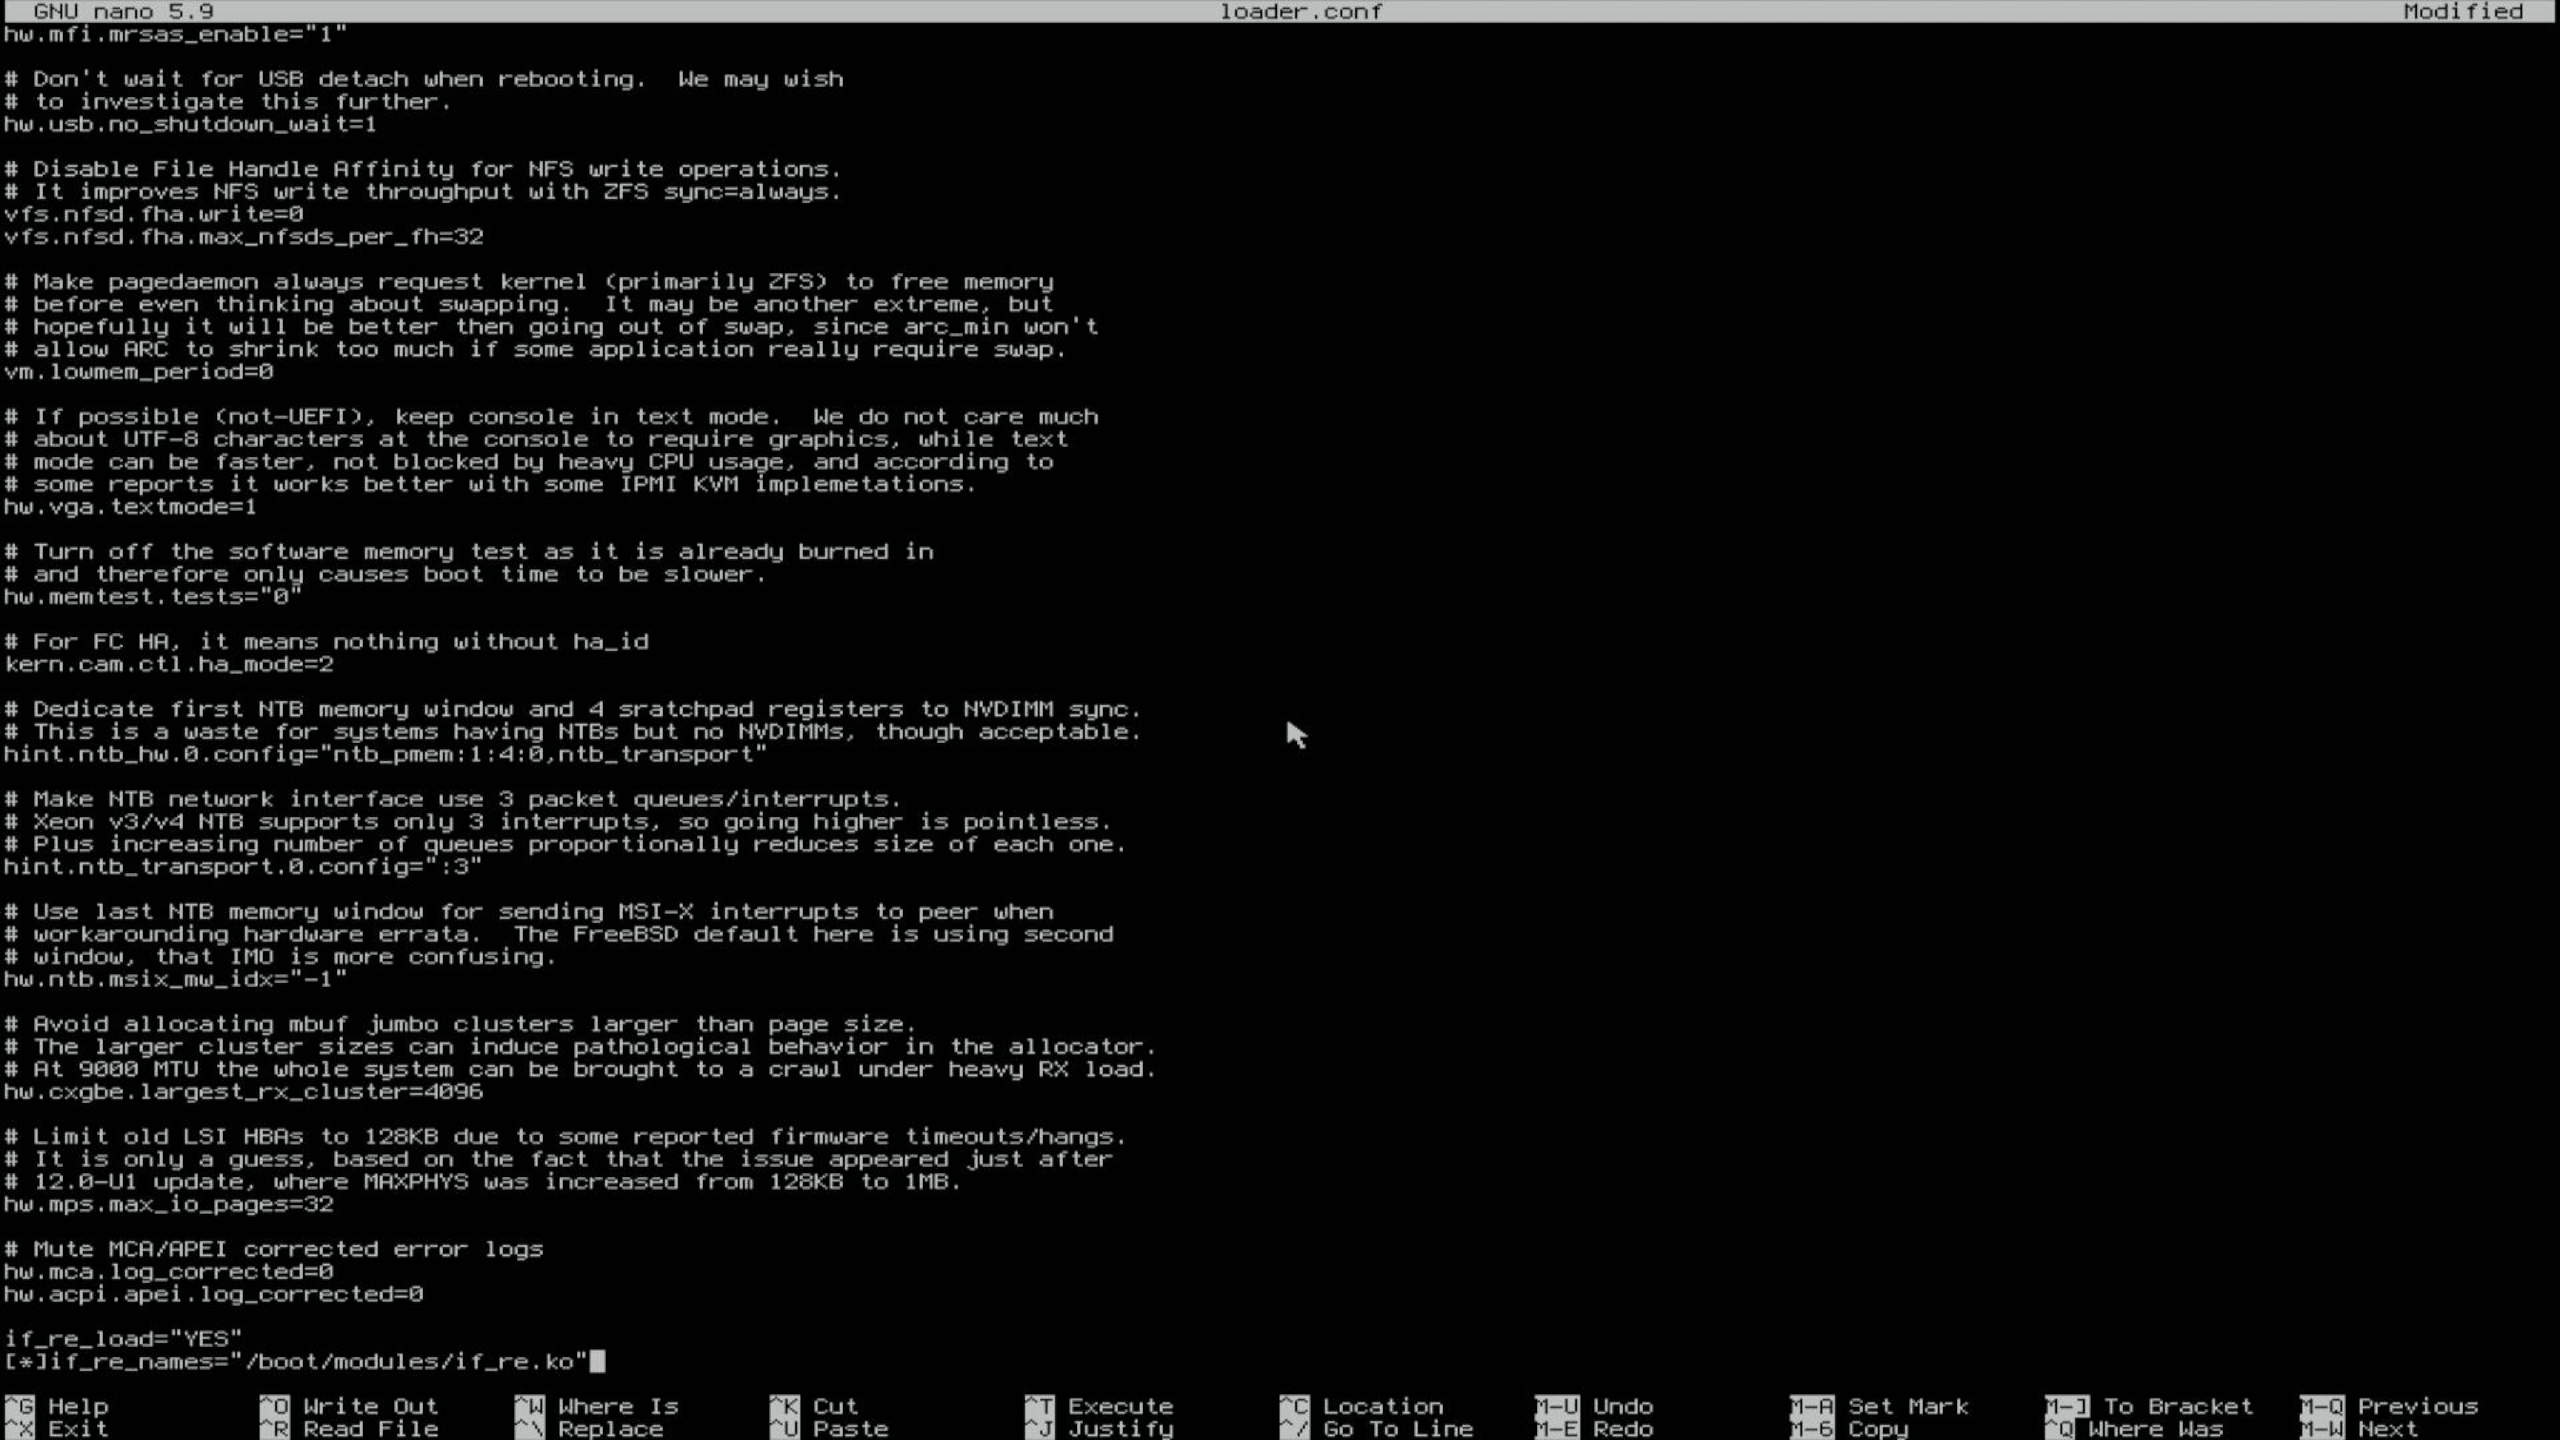
Don’t forget, an American keyboard layout is active here! As a little help, on the right the keys on the German keyboard, on the left what it becomes in the editor:
Shift + Ä –> ” | Shift + ? –> _ | Ü –> [ | * –> ] | 8 –> * | ‘ –> = | – –> /
Then press Ctrl + O, then Enter to save the changes. With Ctrl + X you get out of the editor again. Then simply enter reboot in the command line.
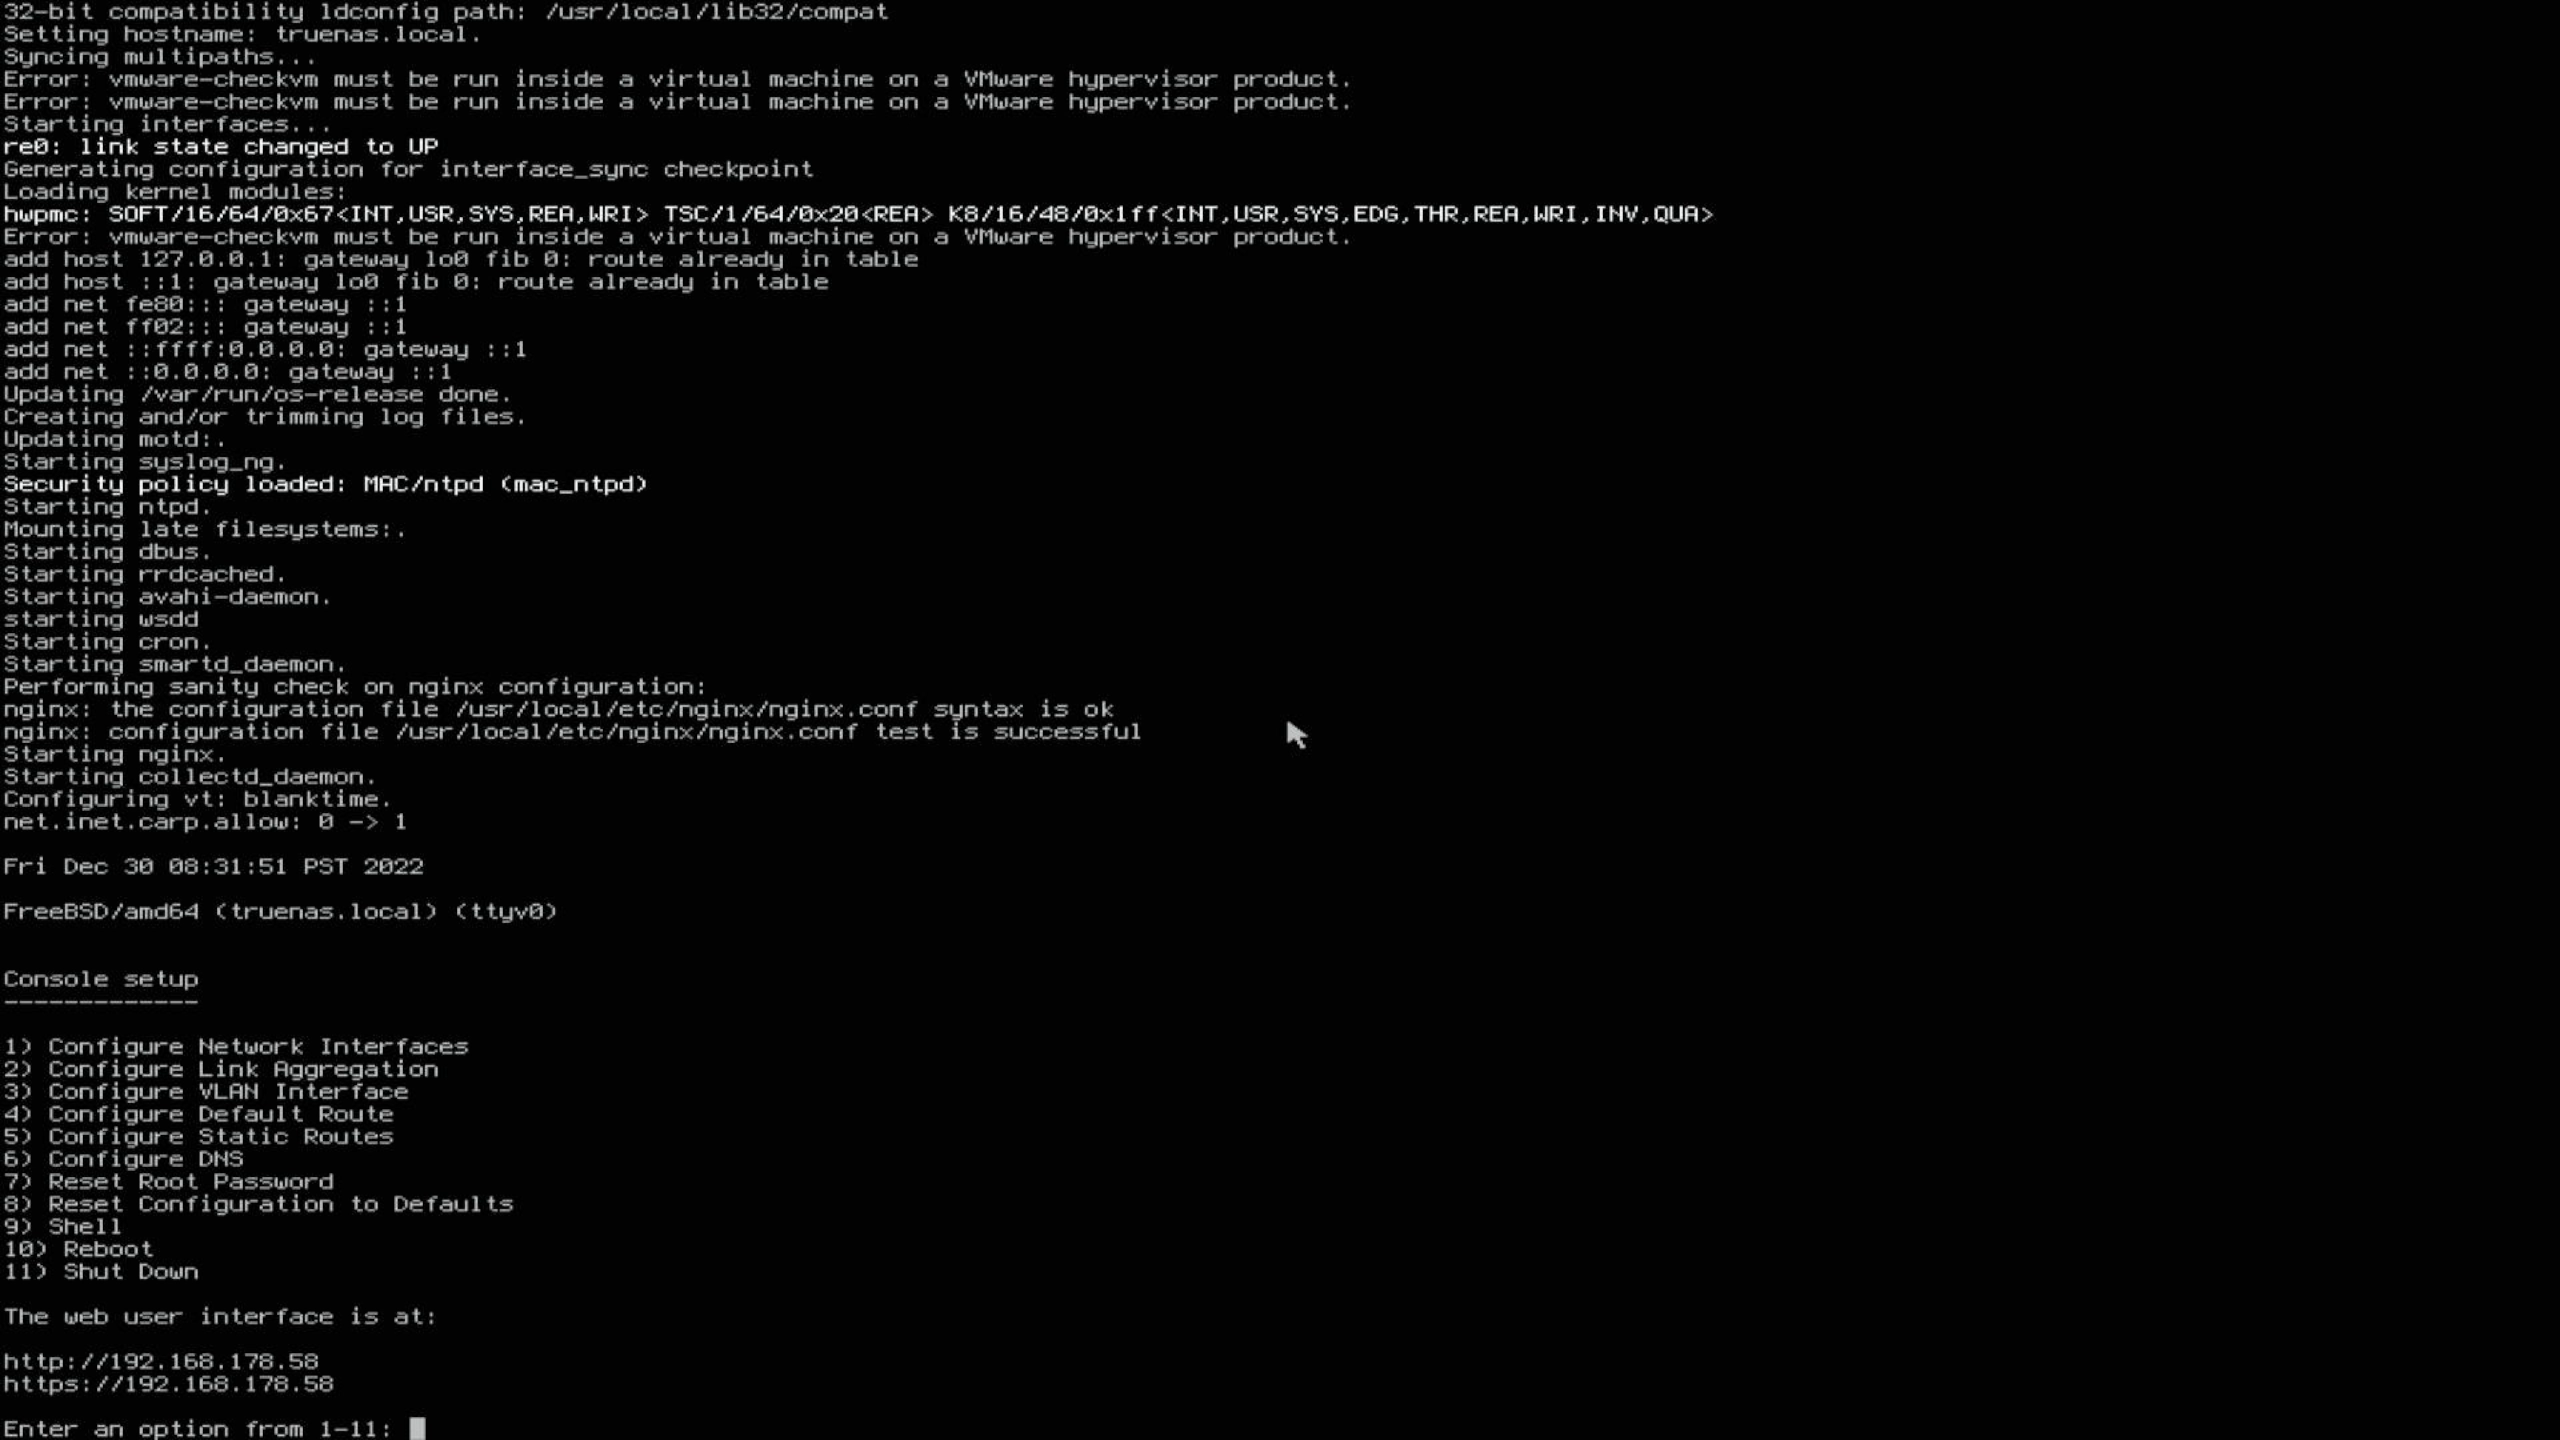
And if everything goes well, after a restart, instead of the error, the IP address for the web UI greets us. And with that, we’ll continue on the next page!
If you are using a CPU without an iGPU, now is the time to look for the corresponding option in the BIOS so that the system can boot “headless” without a graphics card. On my MSI board, the relevant setting is called “GPU Detection” and must be set to “Ignore / Skip”.
It is also important to activate the virtualization in the BIOS. With AMD, the corresponding option is usually called “SVM Mode”, with Intel it is usually called “Intel Virtualization Technology” or “VT-X”.


25 Antworten
Kommentar
Lade neue Kommentare
Mitglied
Moderator
Mitglied
Urgestein
Mitglied
Urgestein
Mitglied
Urgestein
Veteran
Urgestein
Mitglied
Urgestein
Veteran
Mitglied
Urgestein
Urgestein
Urgestein
Urgestein
Neuling
Alle Kommentare lesen unter igor´sLAB Community →