


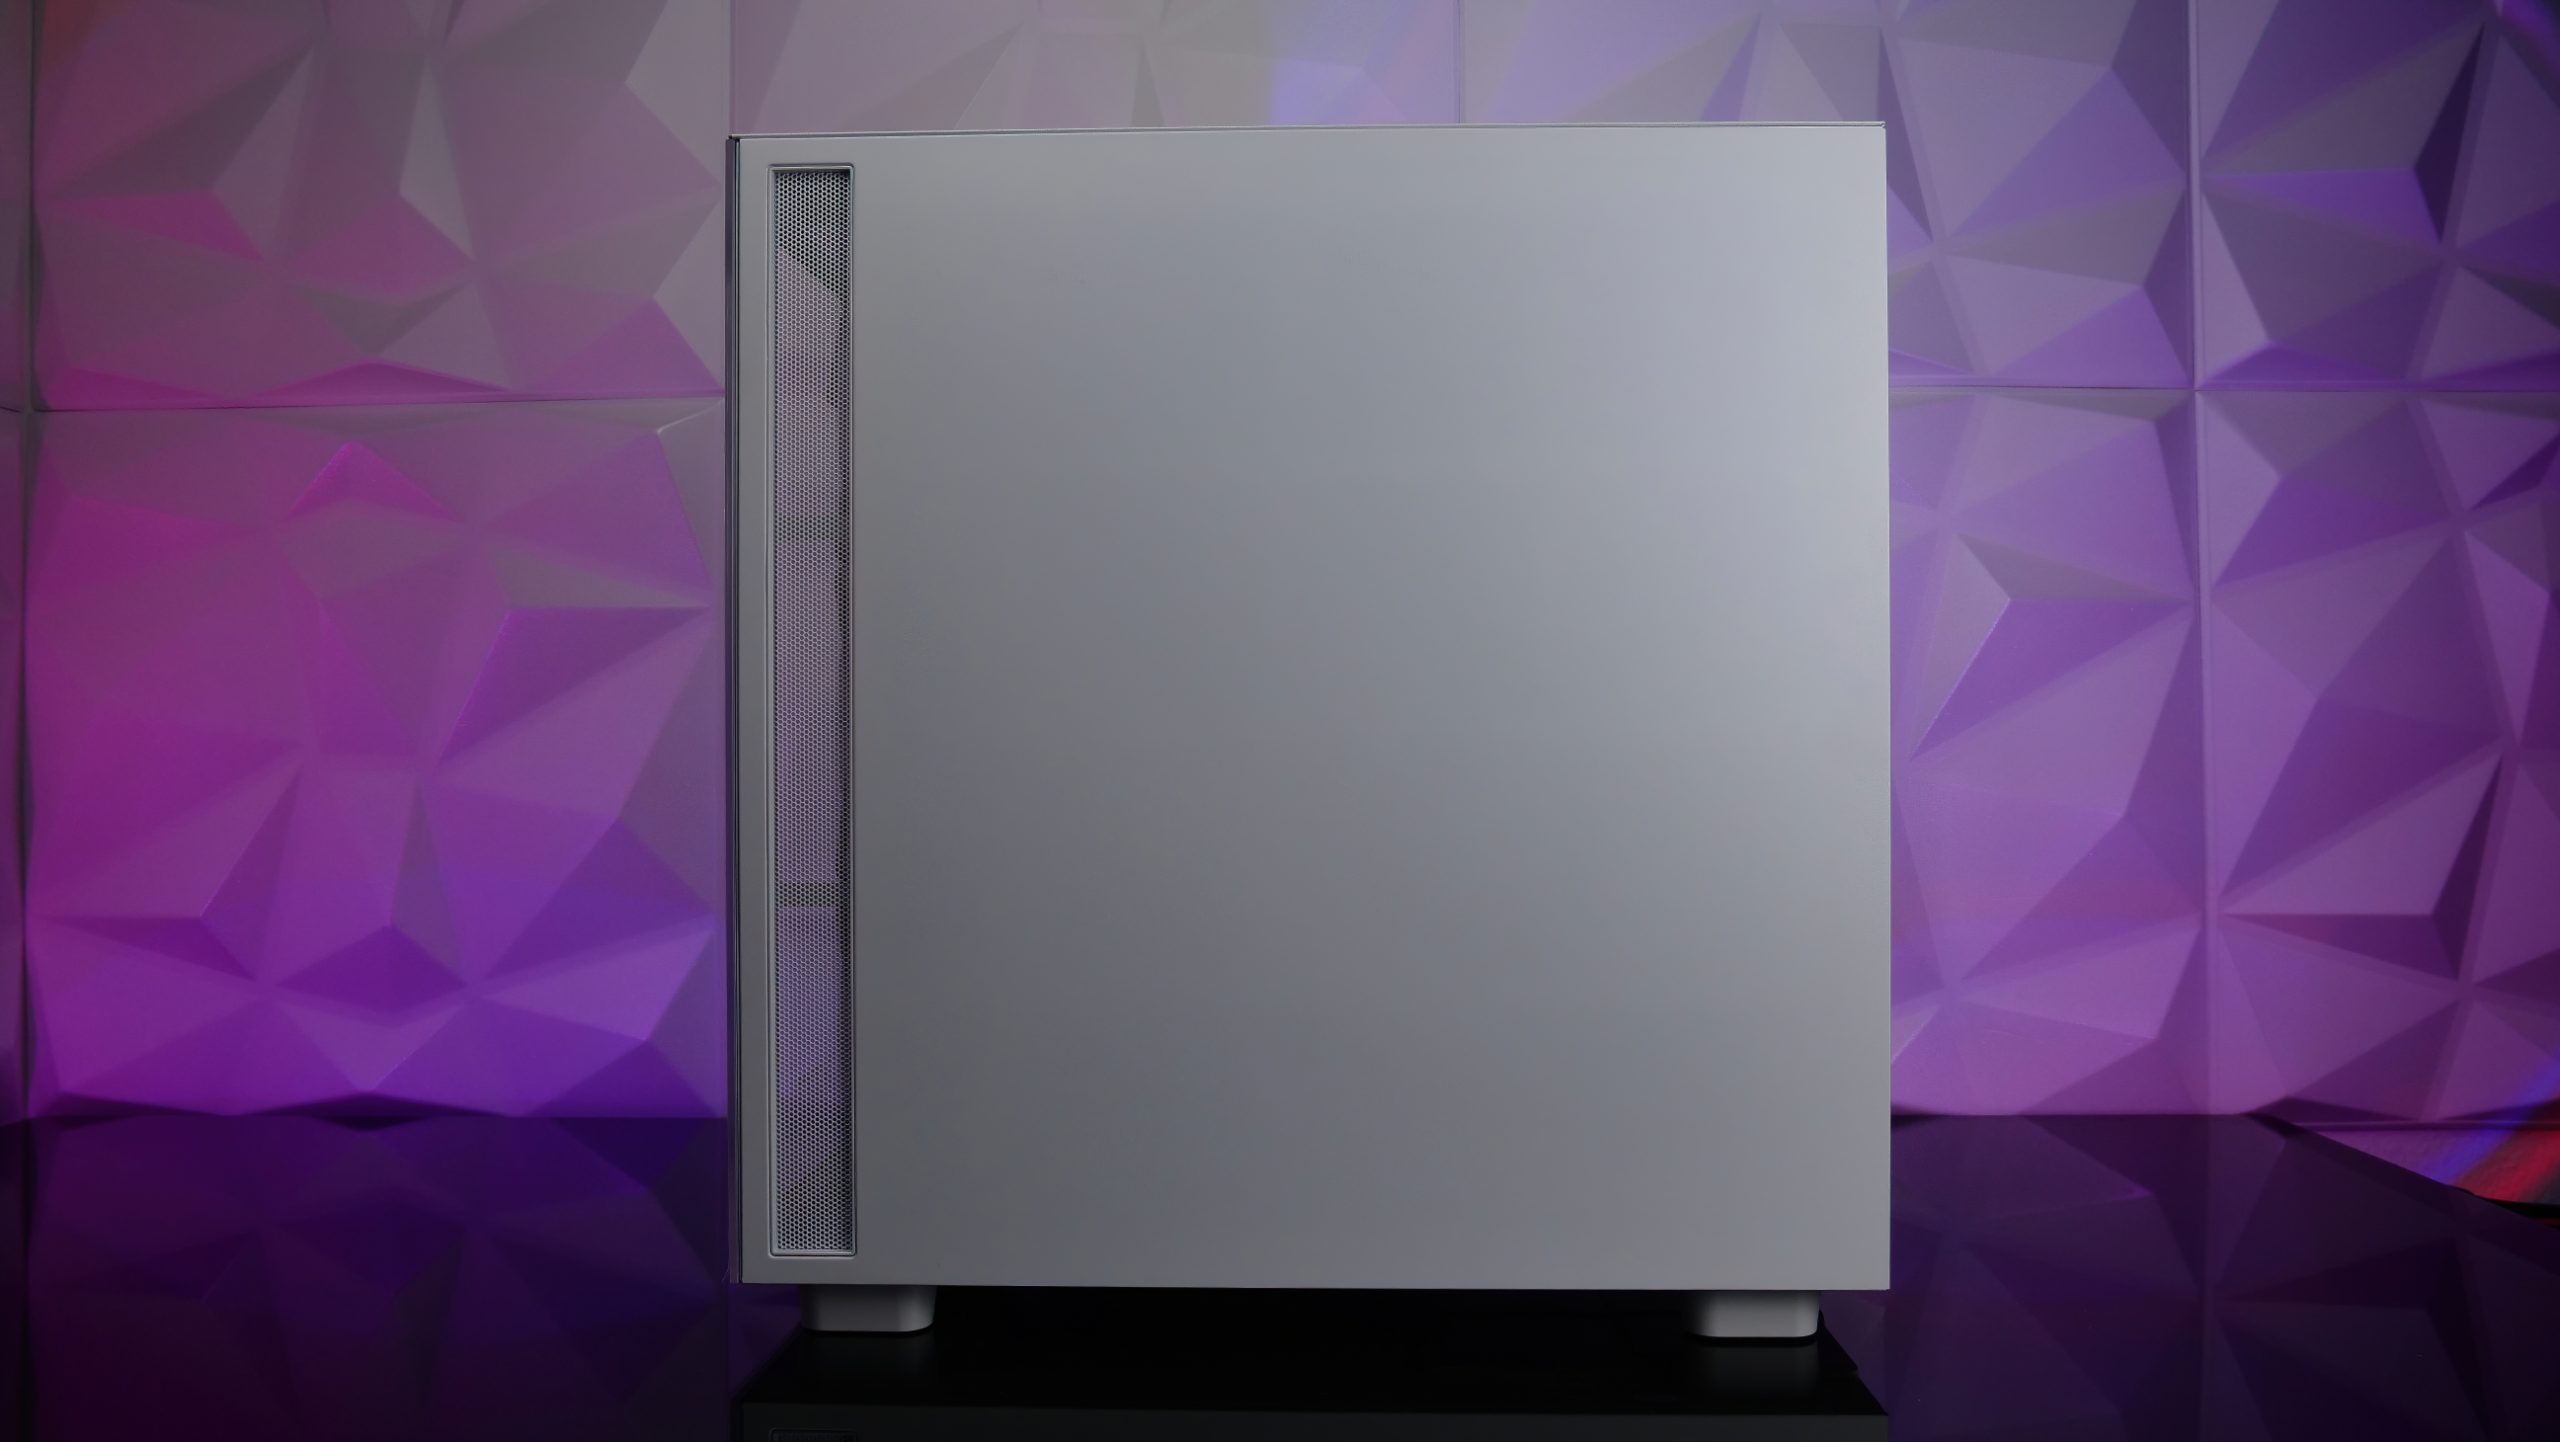
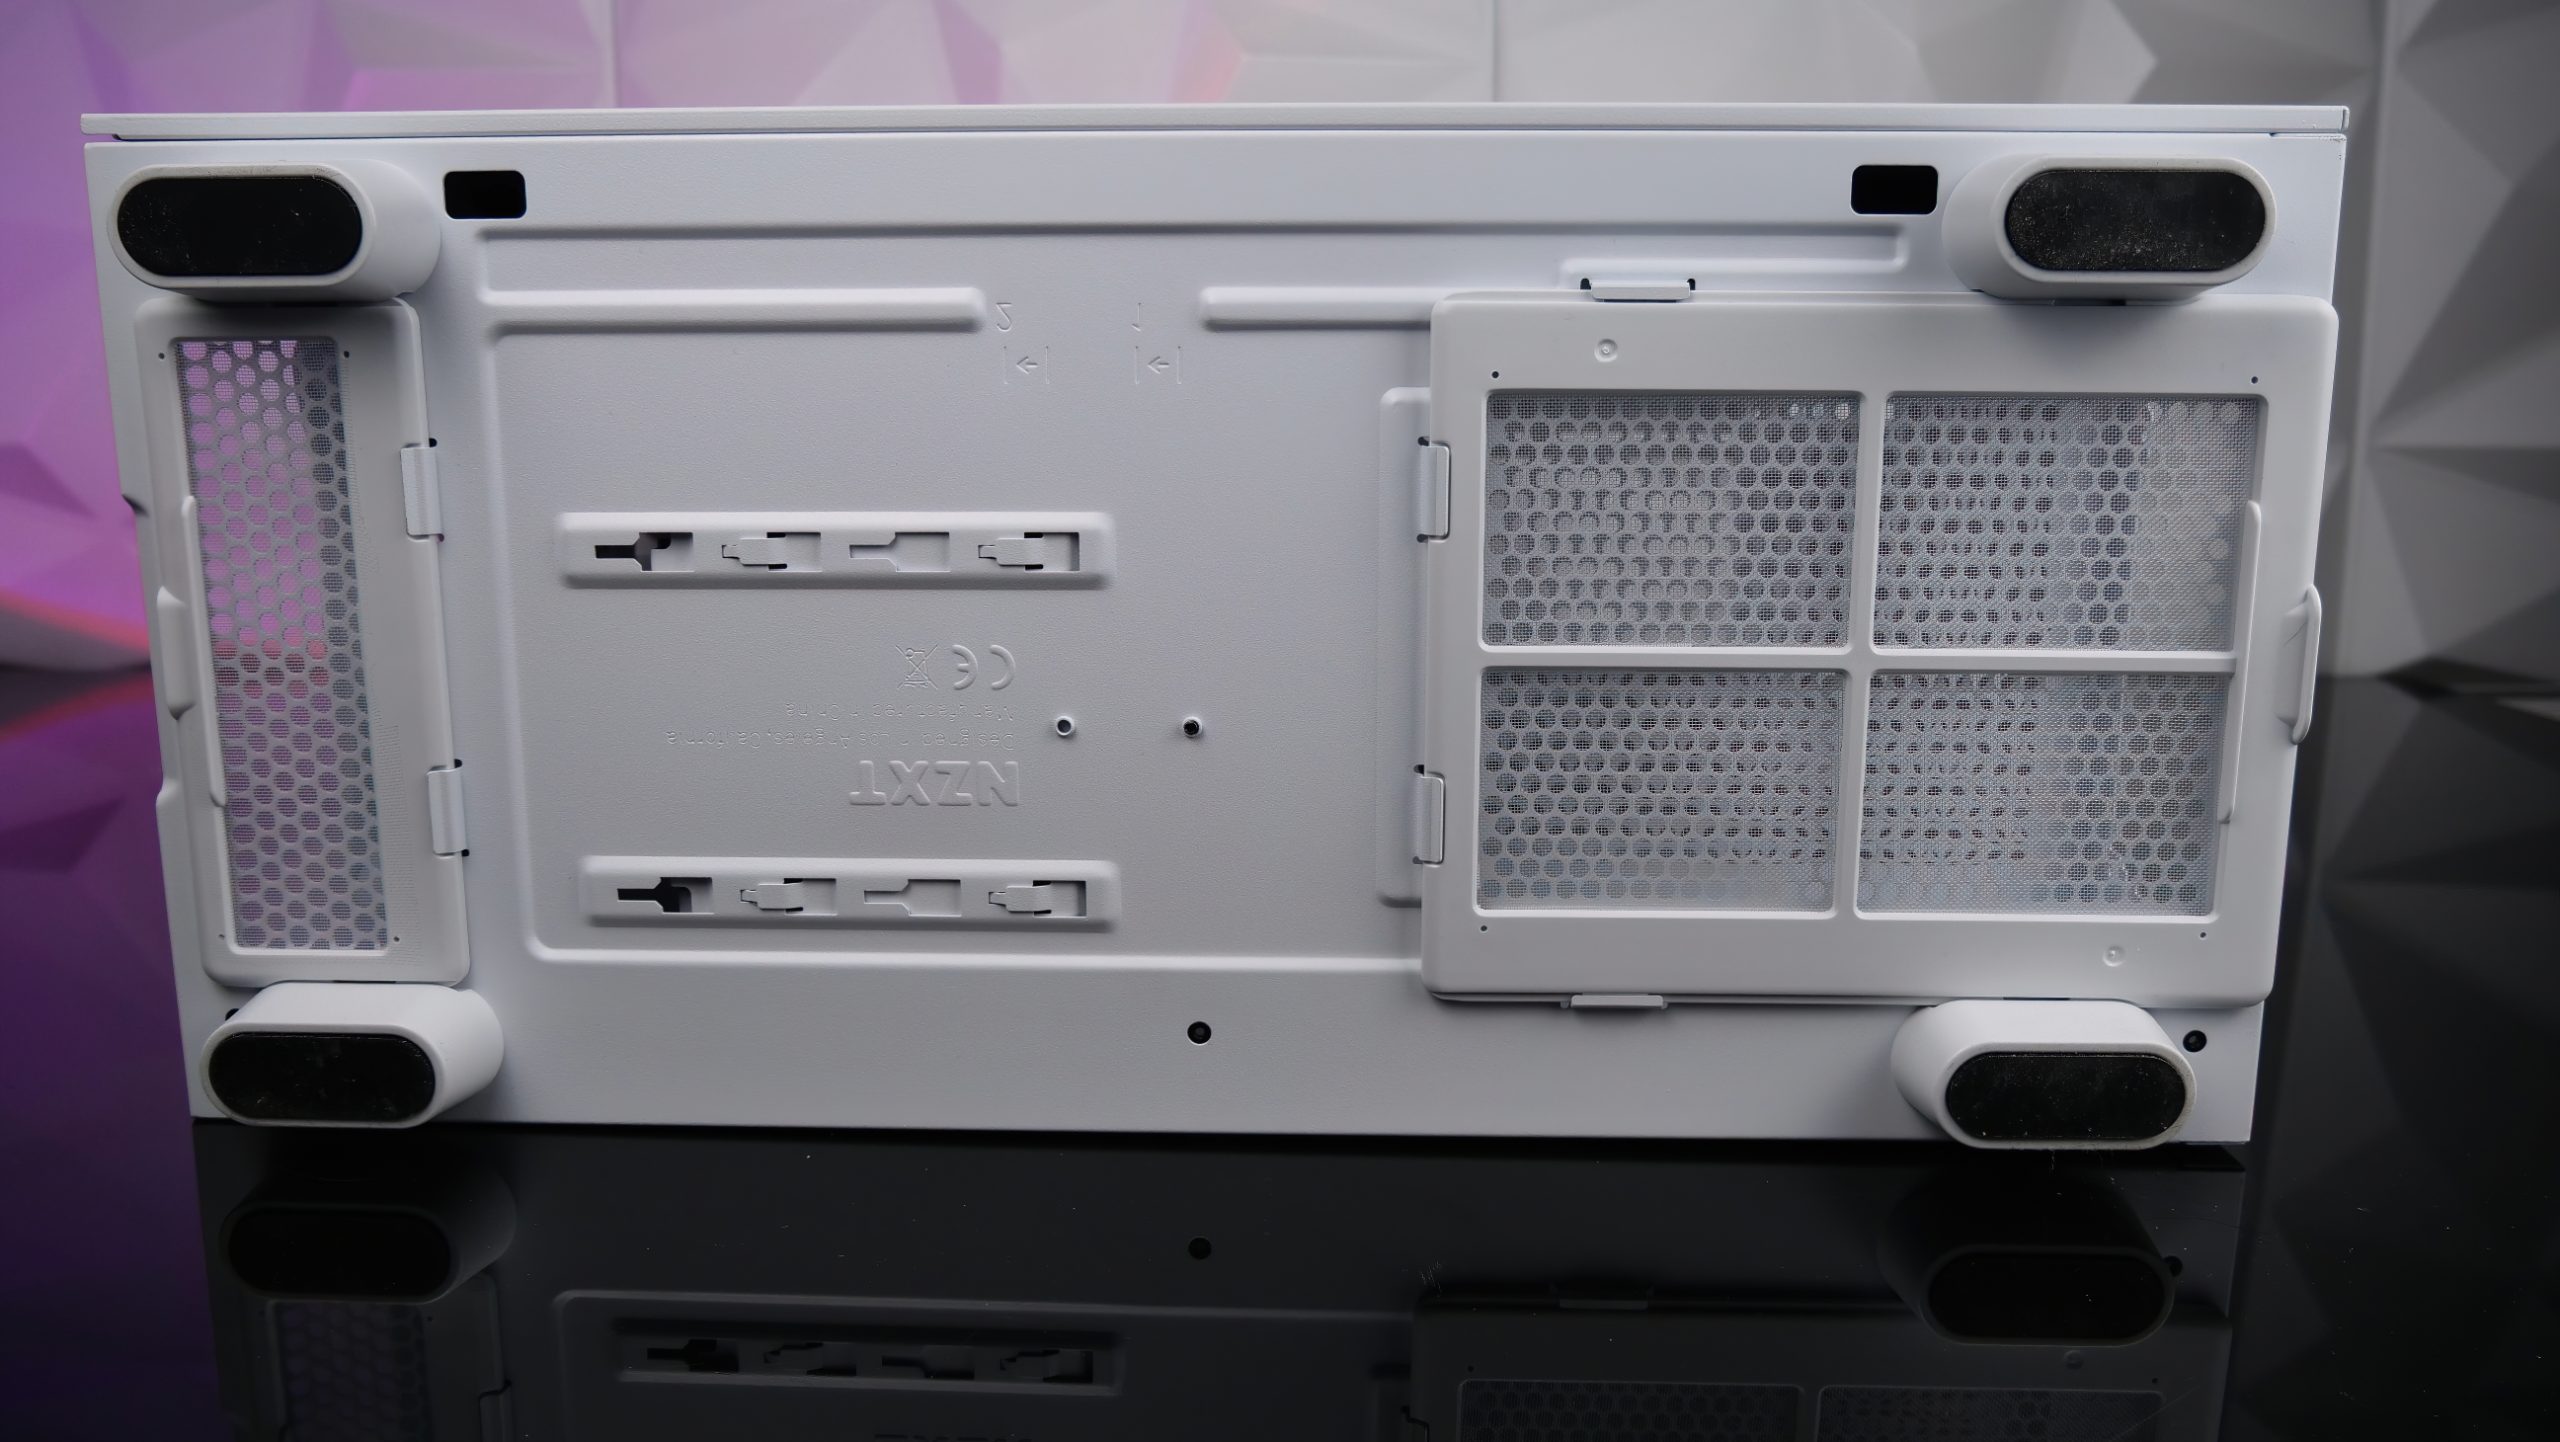
Now we come to the back side. As already mentioned, the front fans draw the necessary fresh air into the case on detours through the side. NZXT has also added a mesh at the front so that the air can get in there as well. You should make sure (if you place the case on or under the table later) that this fresh air supply is not covered, since it could otherwise be quite sporty when the cool fresh air only comes from the floor.
Now let’s take a look behind the cover. What is directly positive here is that NZXT has already taken the almost complete cable management from us, so for the front fans, all the I/O cables, etc. But always nice everything in order.
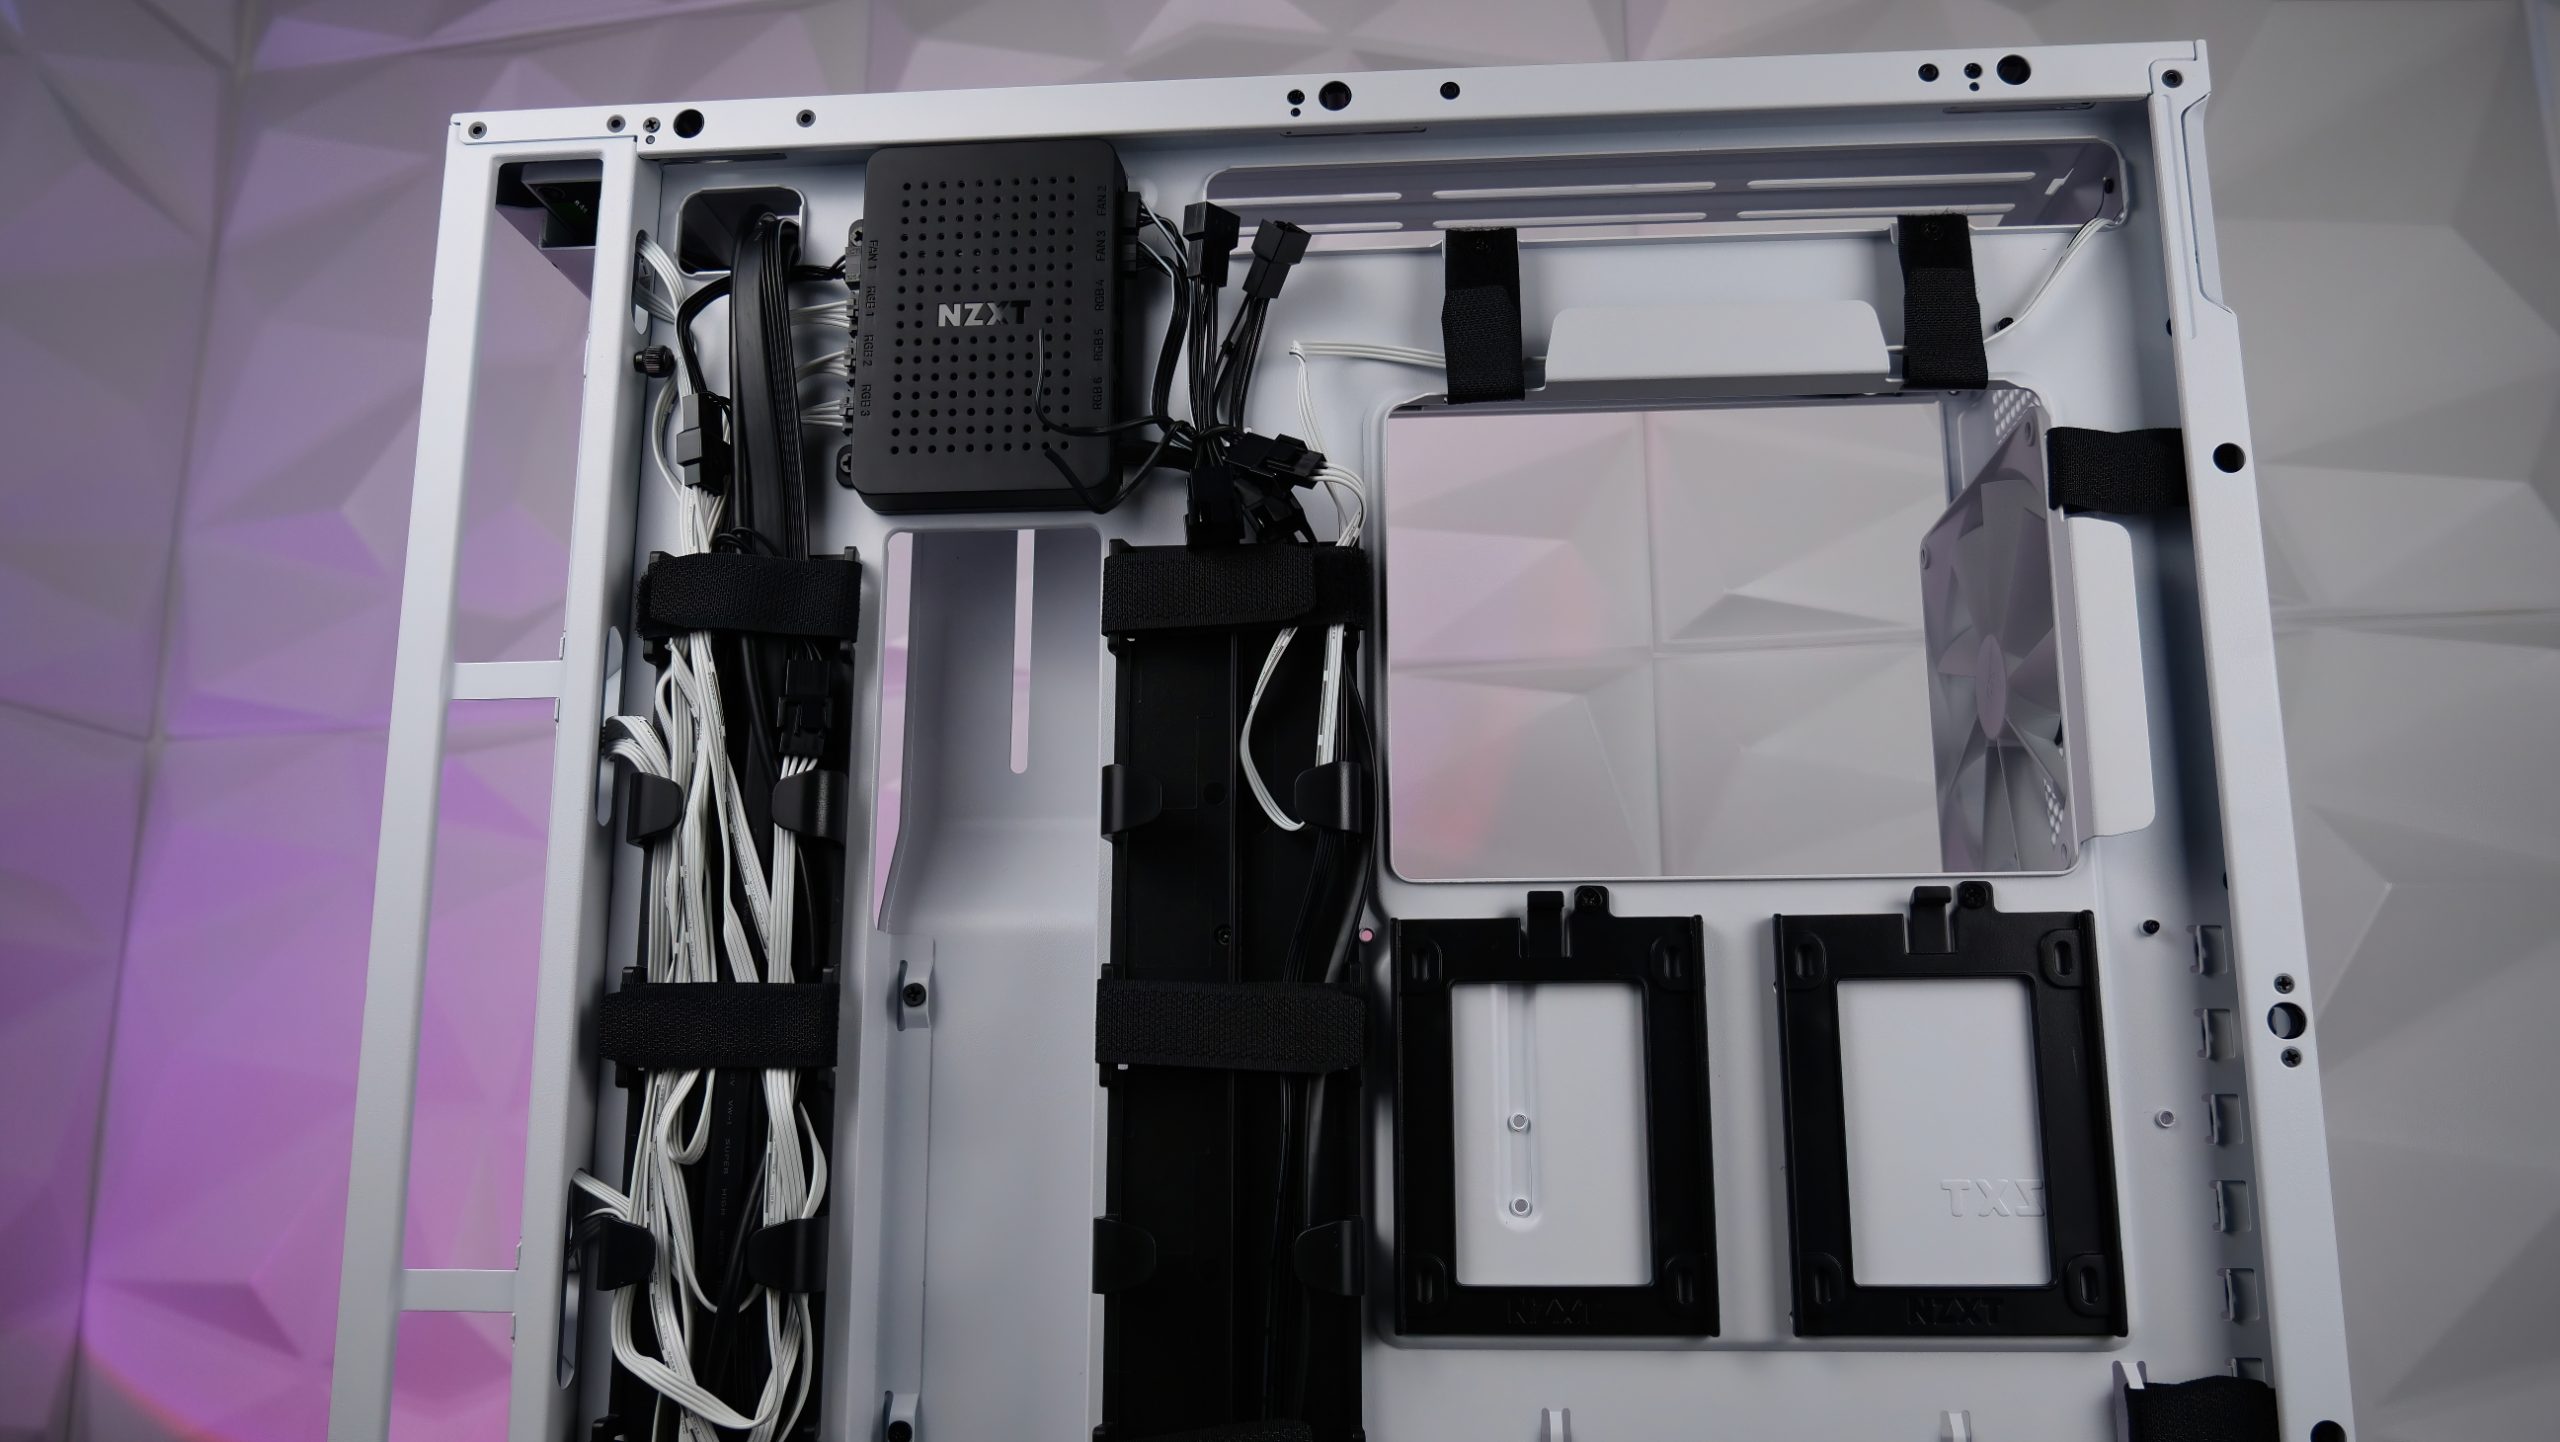
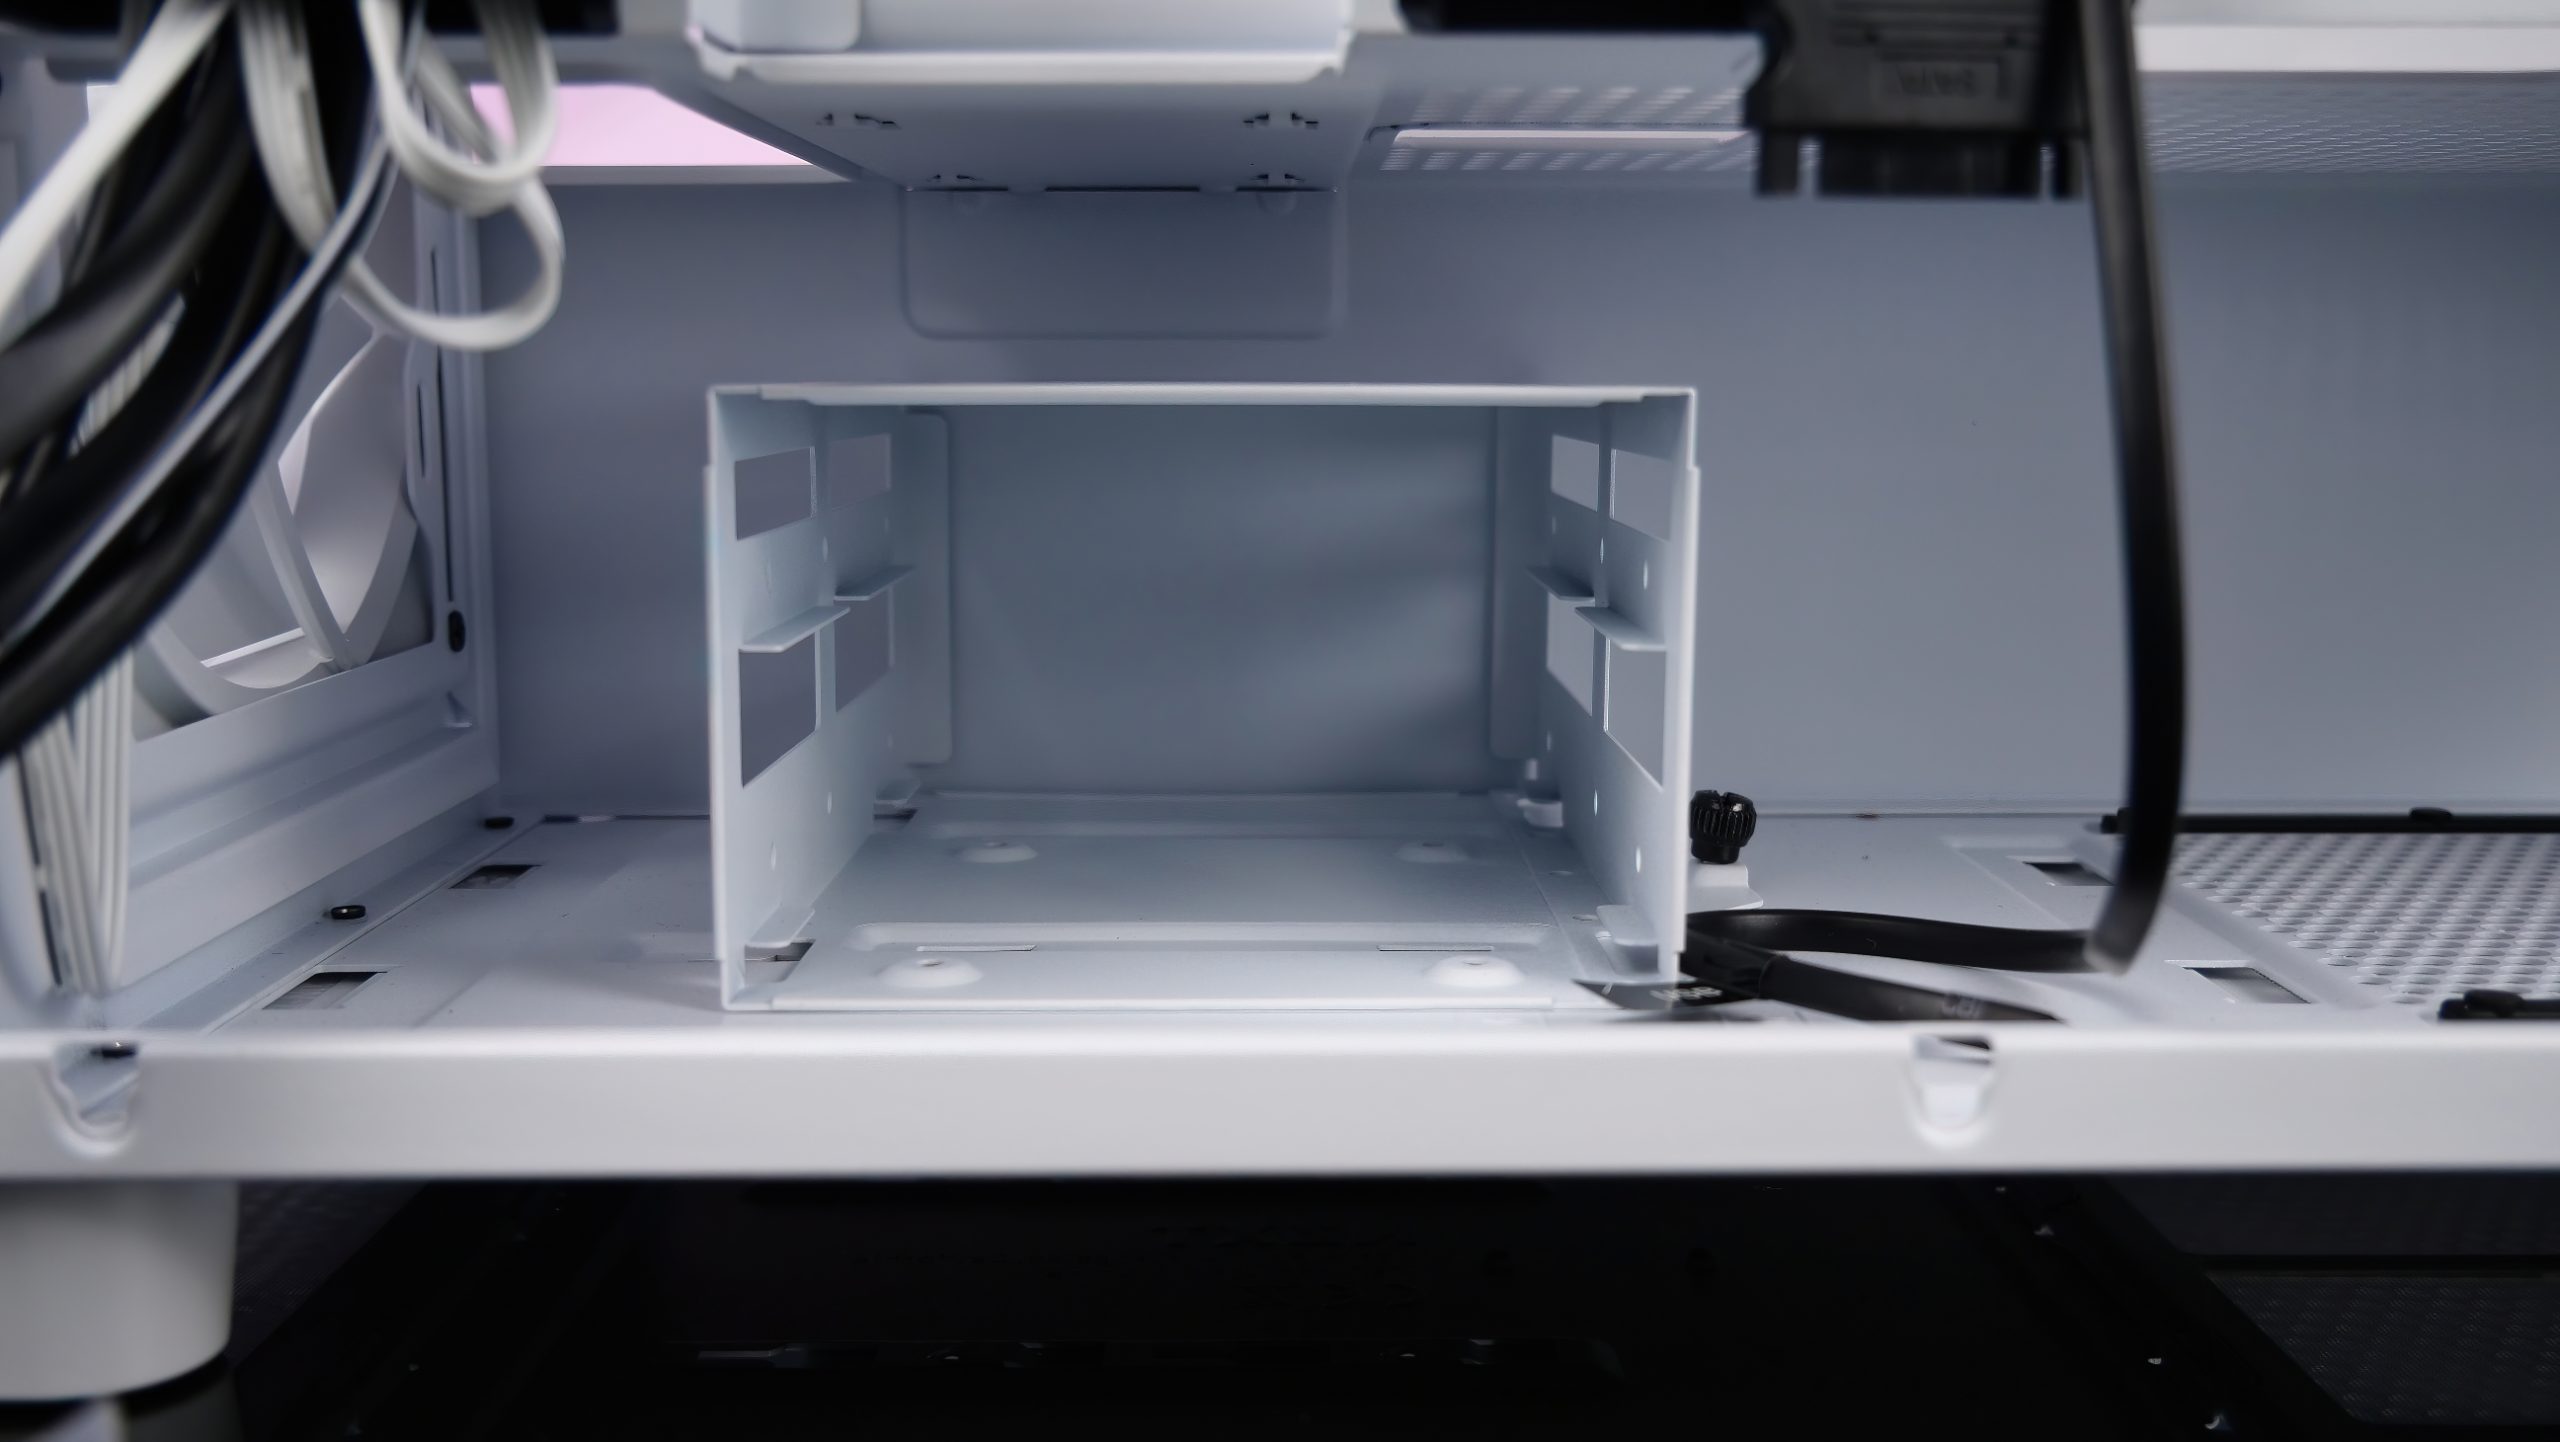
Let’s start in the ground first. We see a continuous PSU bay with an HDD cage in the front third, where we can install two HDDs decoupled with the included accessories.
The cage can of course also be dismantled, should you not really need it. To the right, towards the rear, the power supply of our choice is then installed. To prevent vibrations and scratches there, the PSU’s support is covered with rubber pads. That’s all there is to see down here.
Let’s now direct our eyes to the center of the case. As mentioned at the beginning, NZXT has already neatly routed all the pre-assembled cables in plastic cable guides complete with Velcro. This means that we hardly have to do anything ourselves for the remaining cables that will be added later. I really like that at this point, because who doesn’t know it: The build is finished and it’s time for the annoying and universally hated cable management as an annoying final chord. Some people have already despaired (me too, by the way).
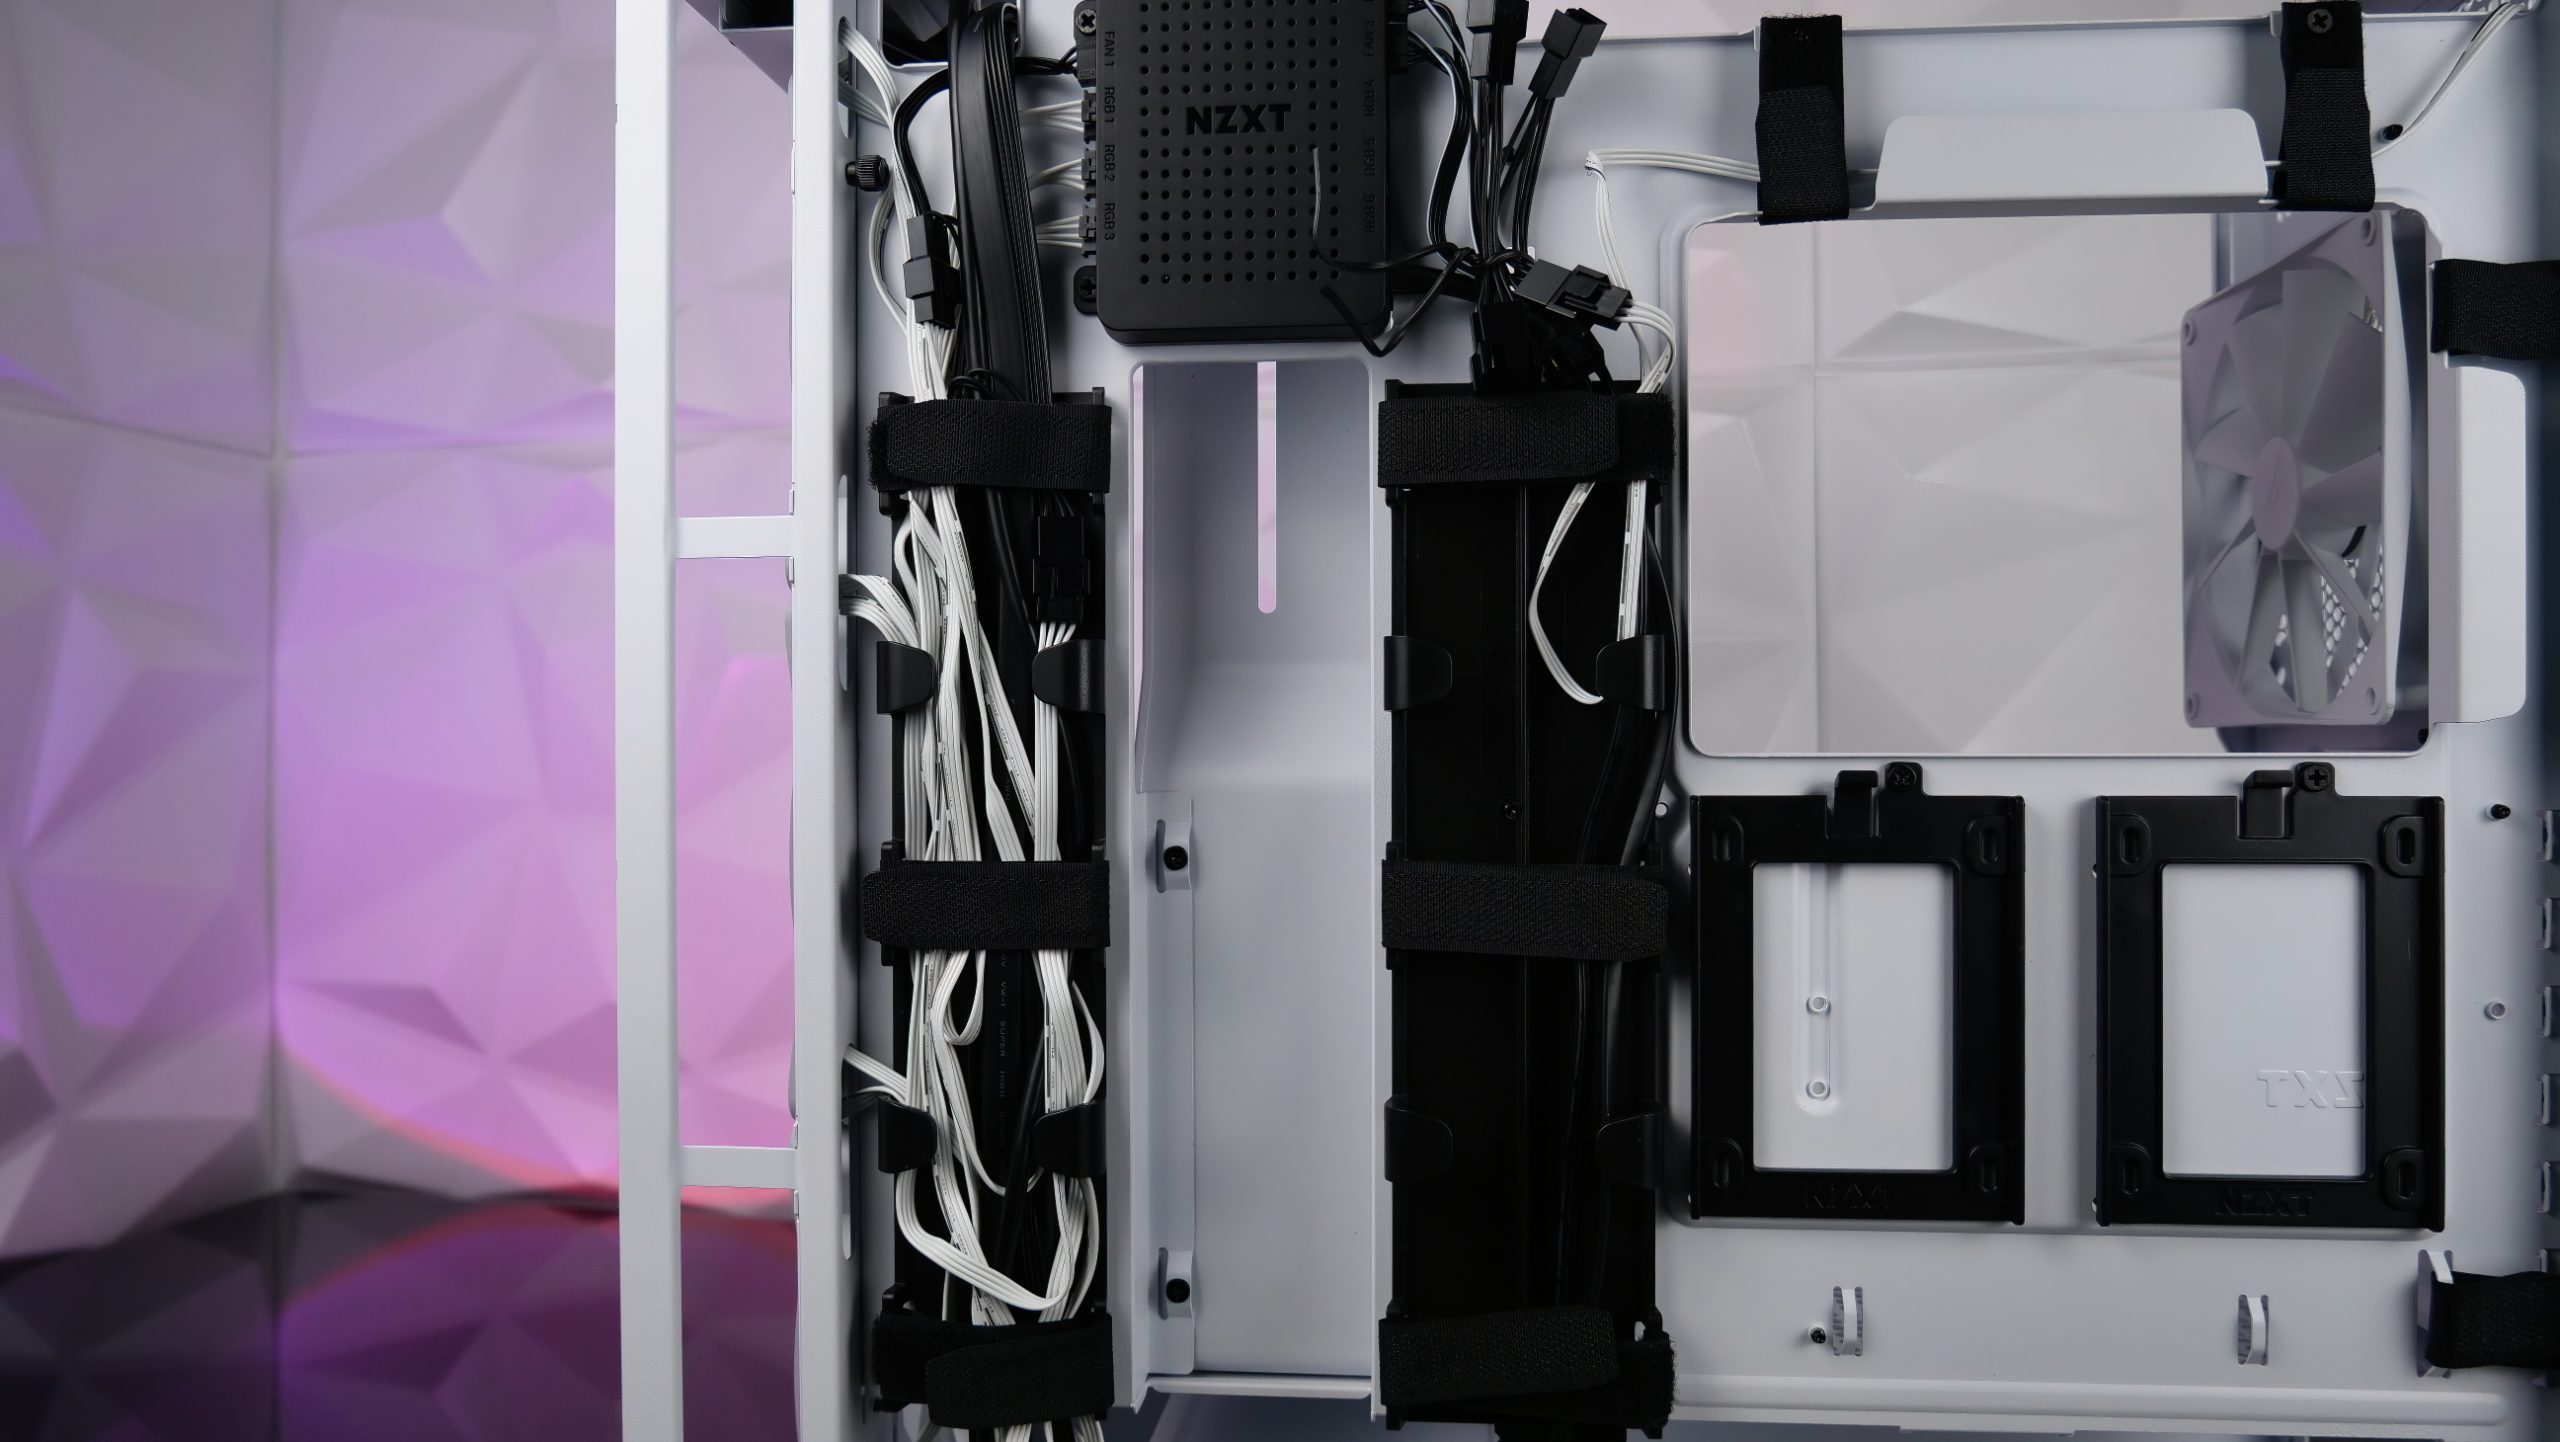
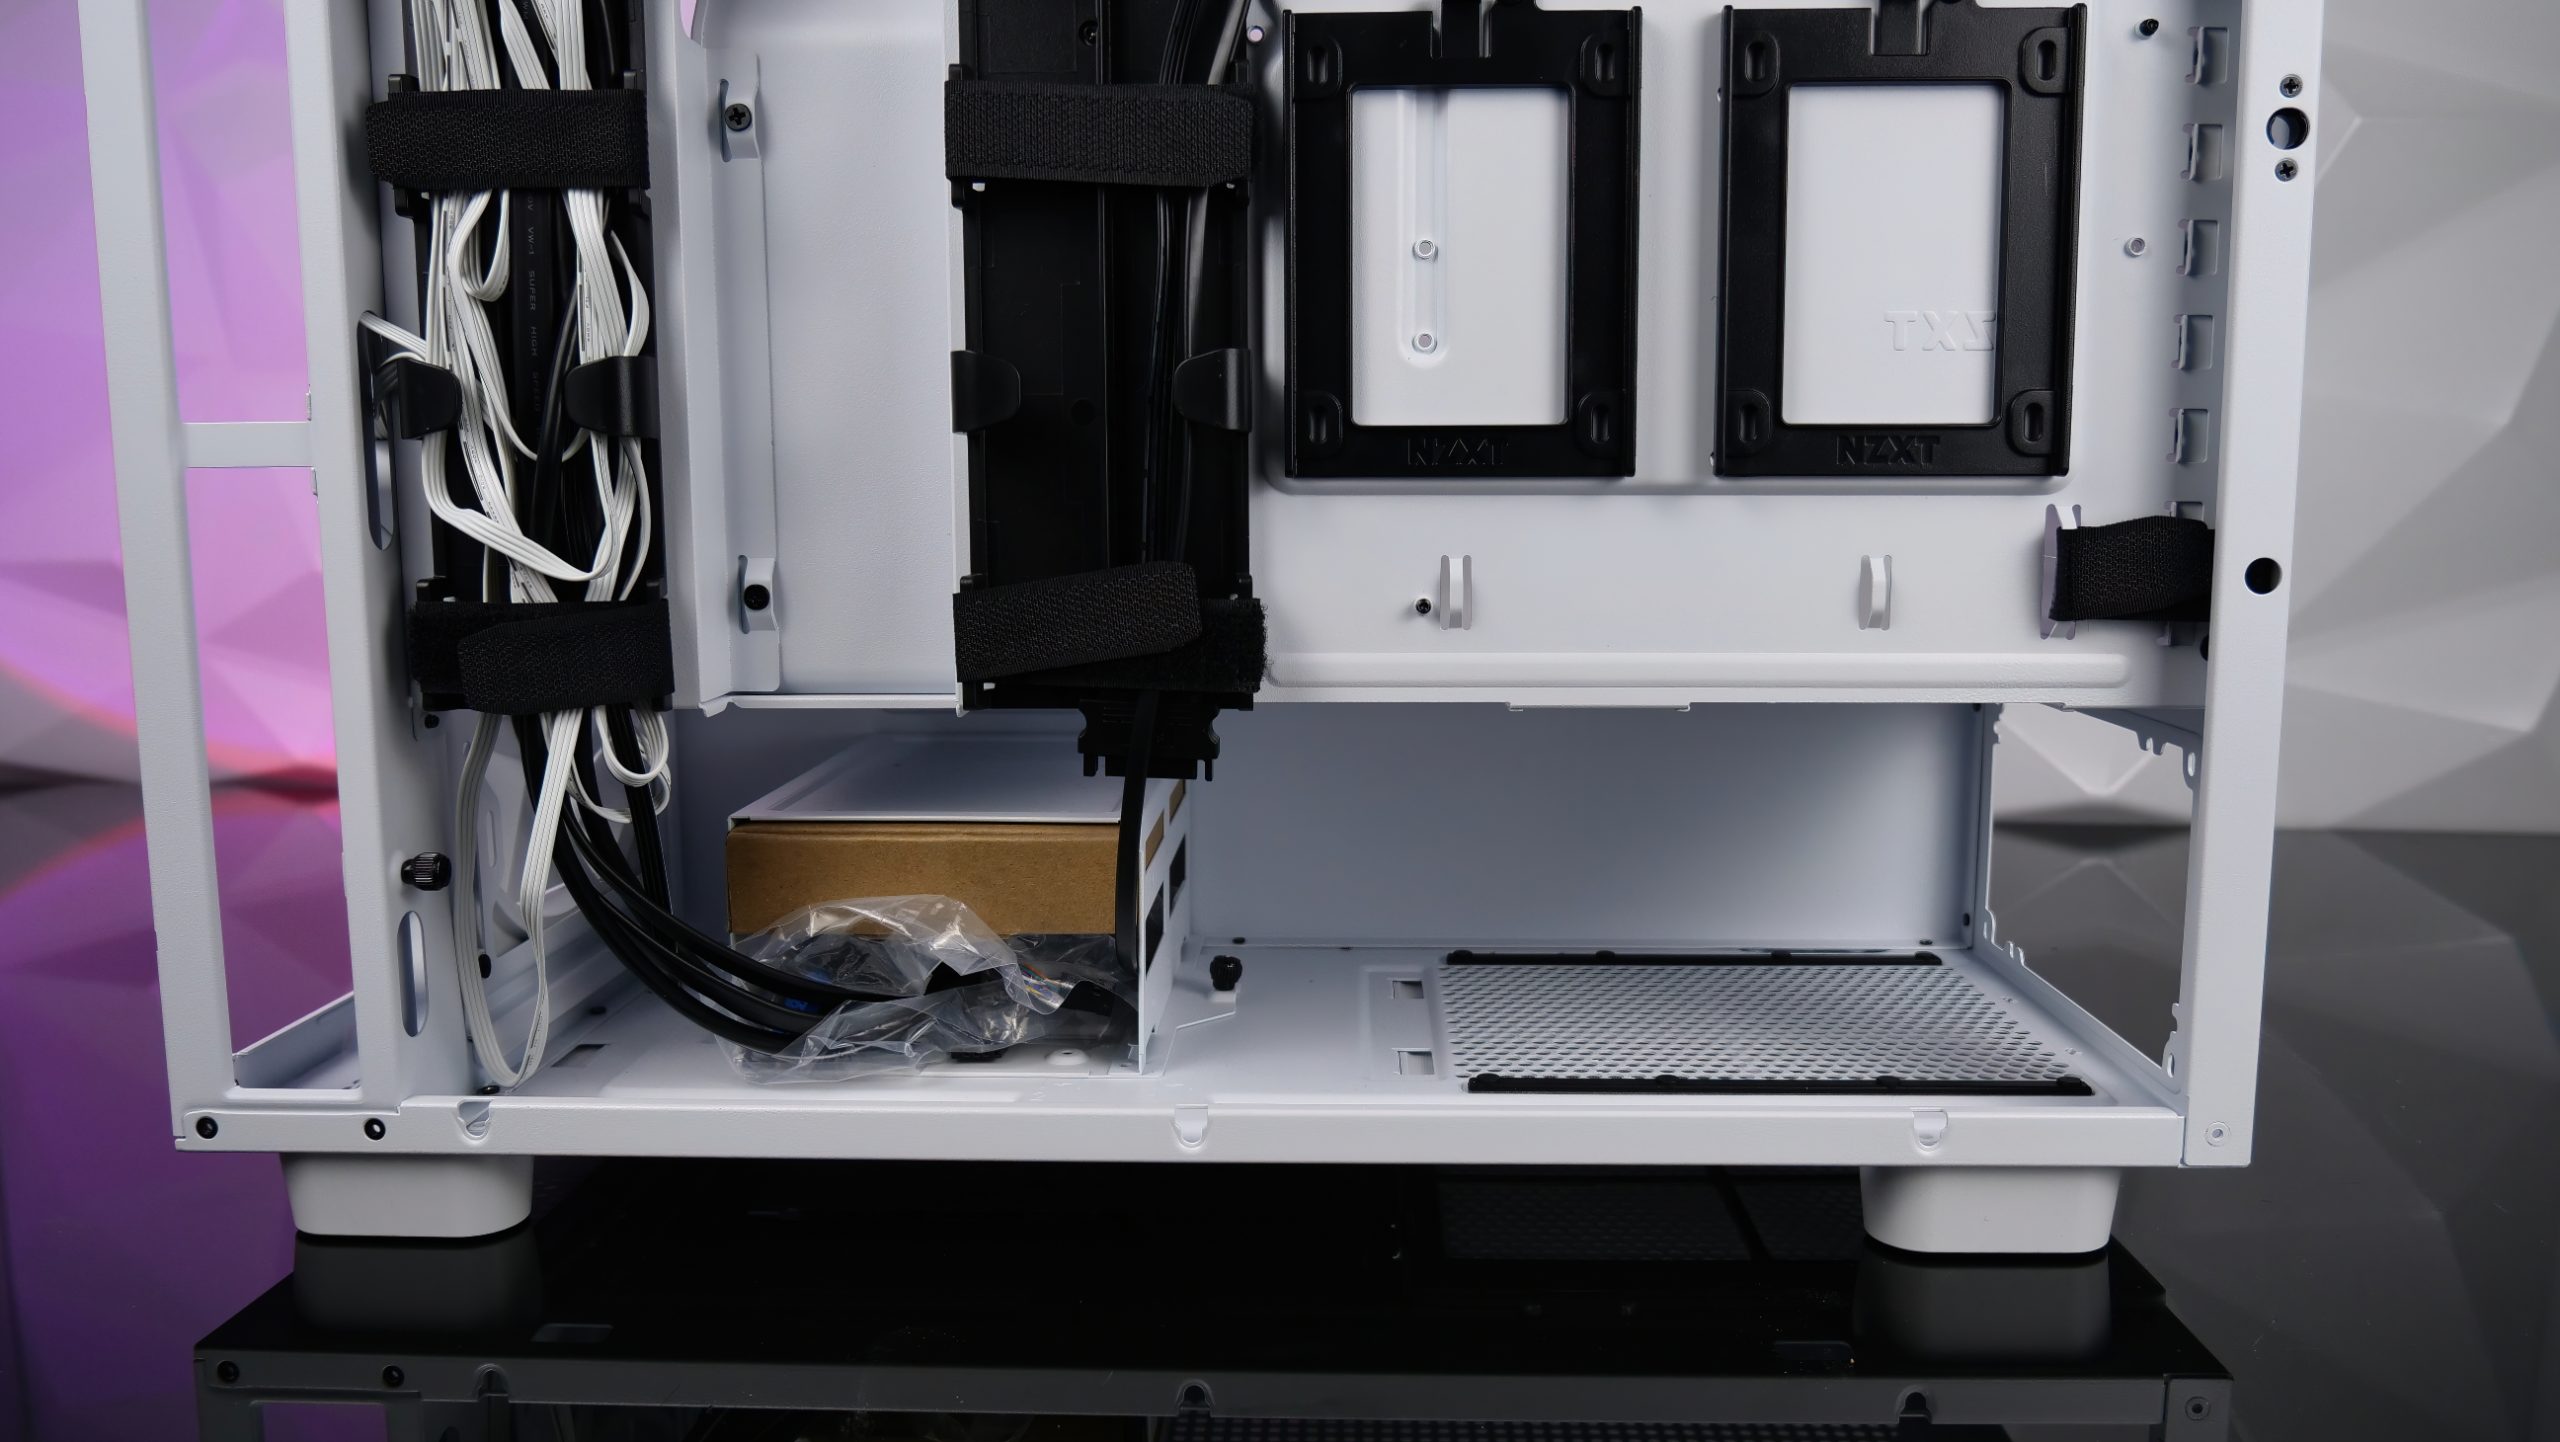
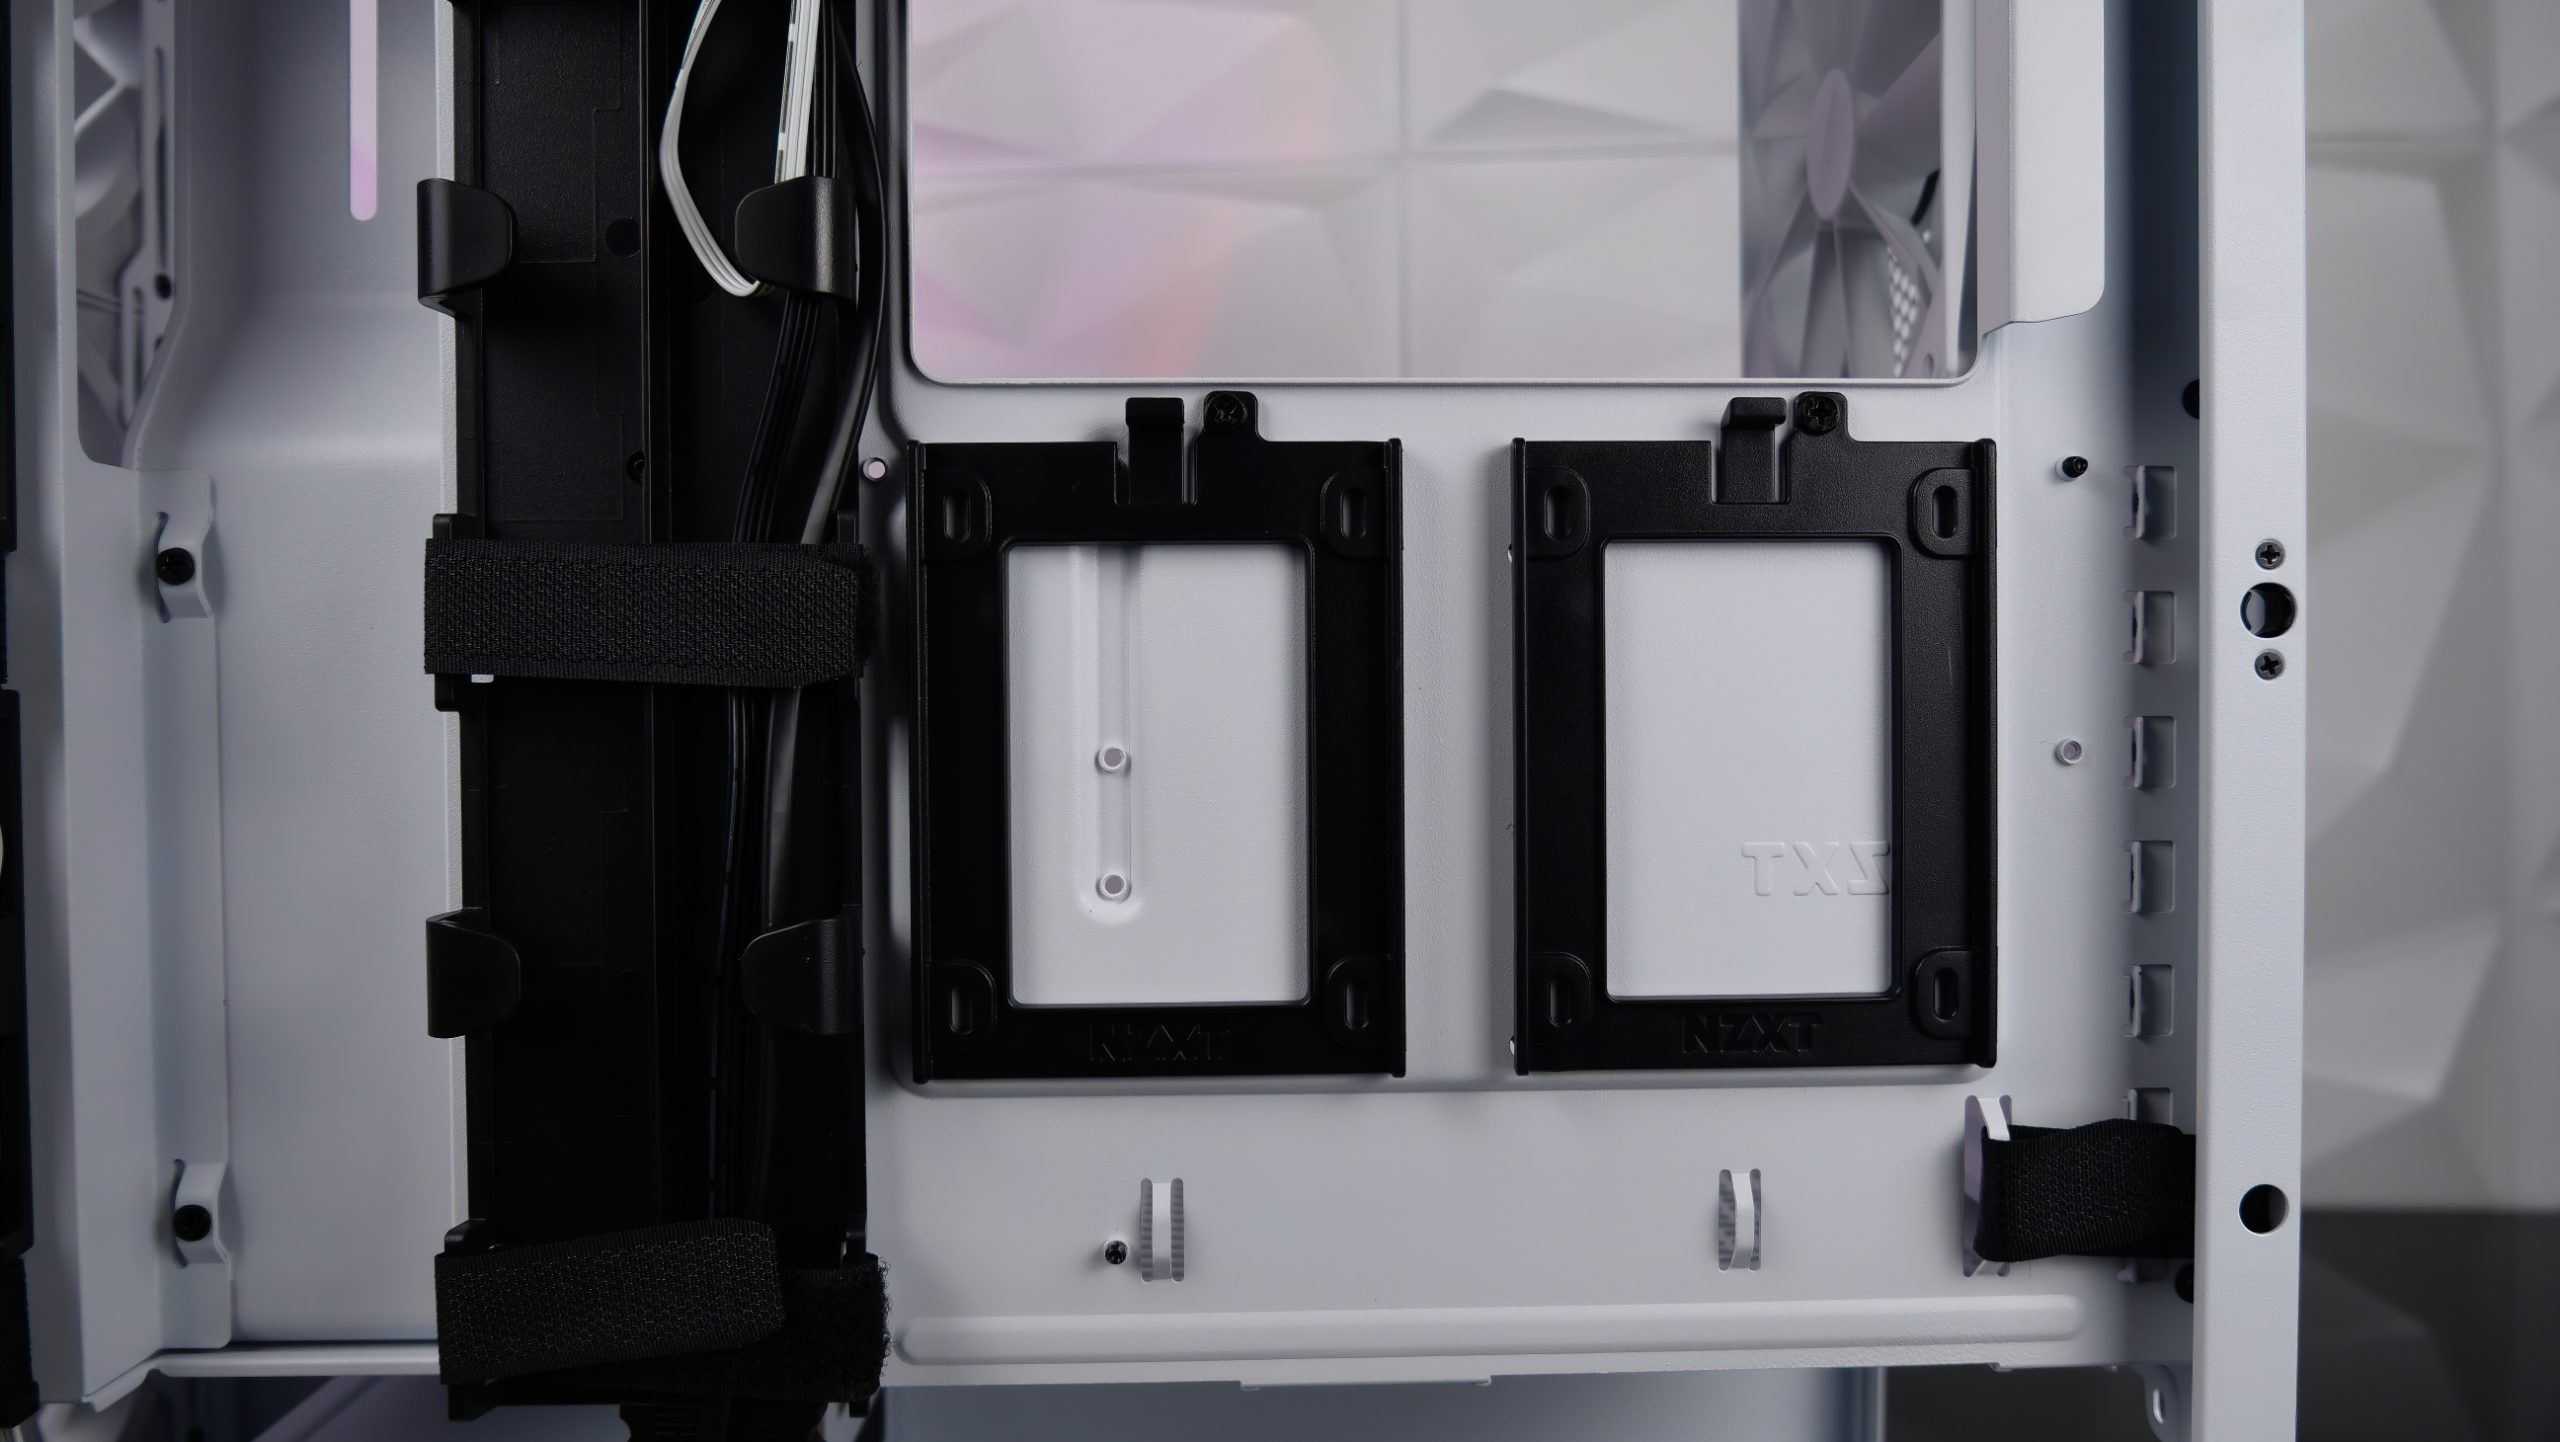
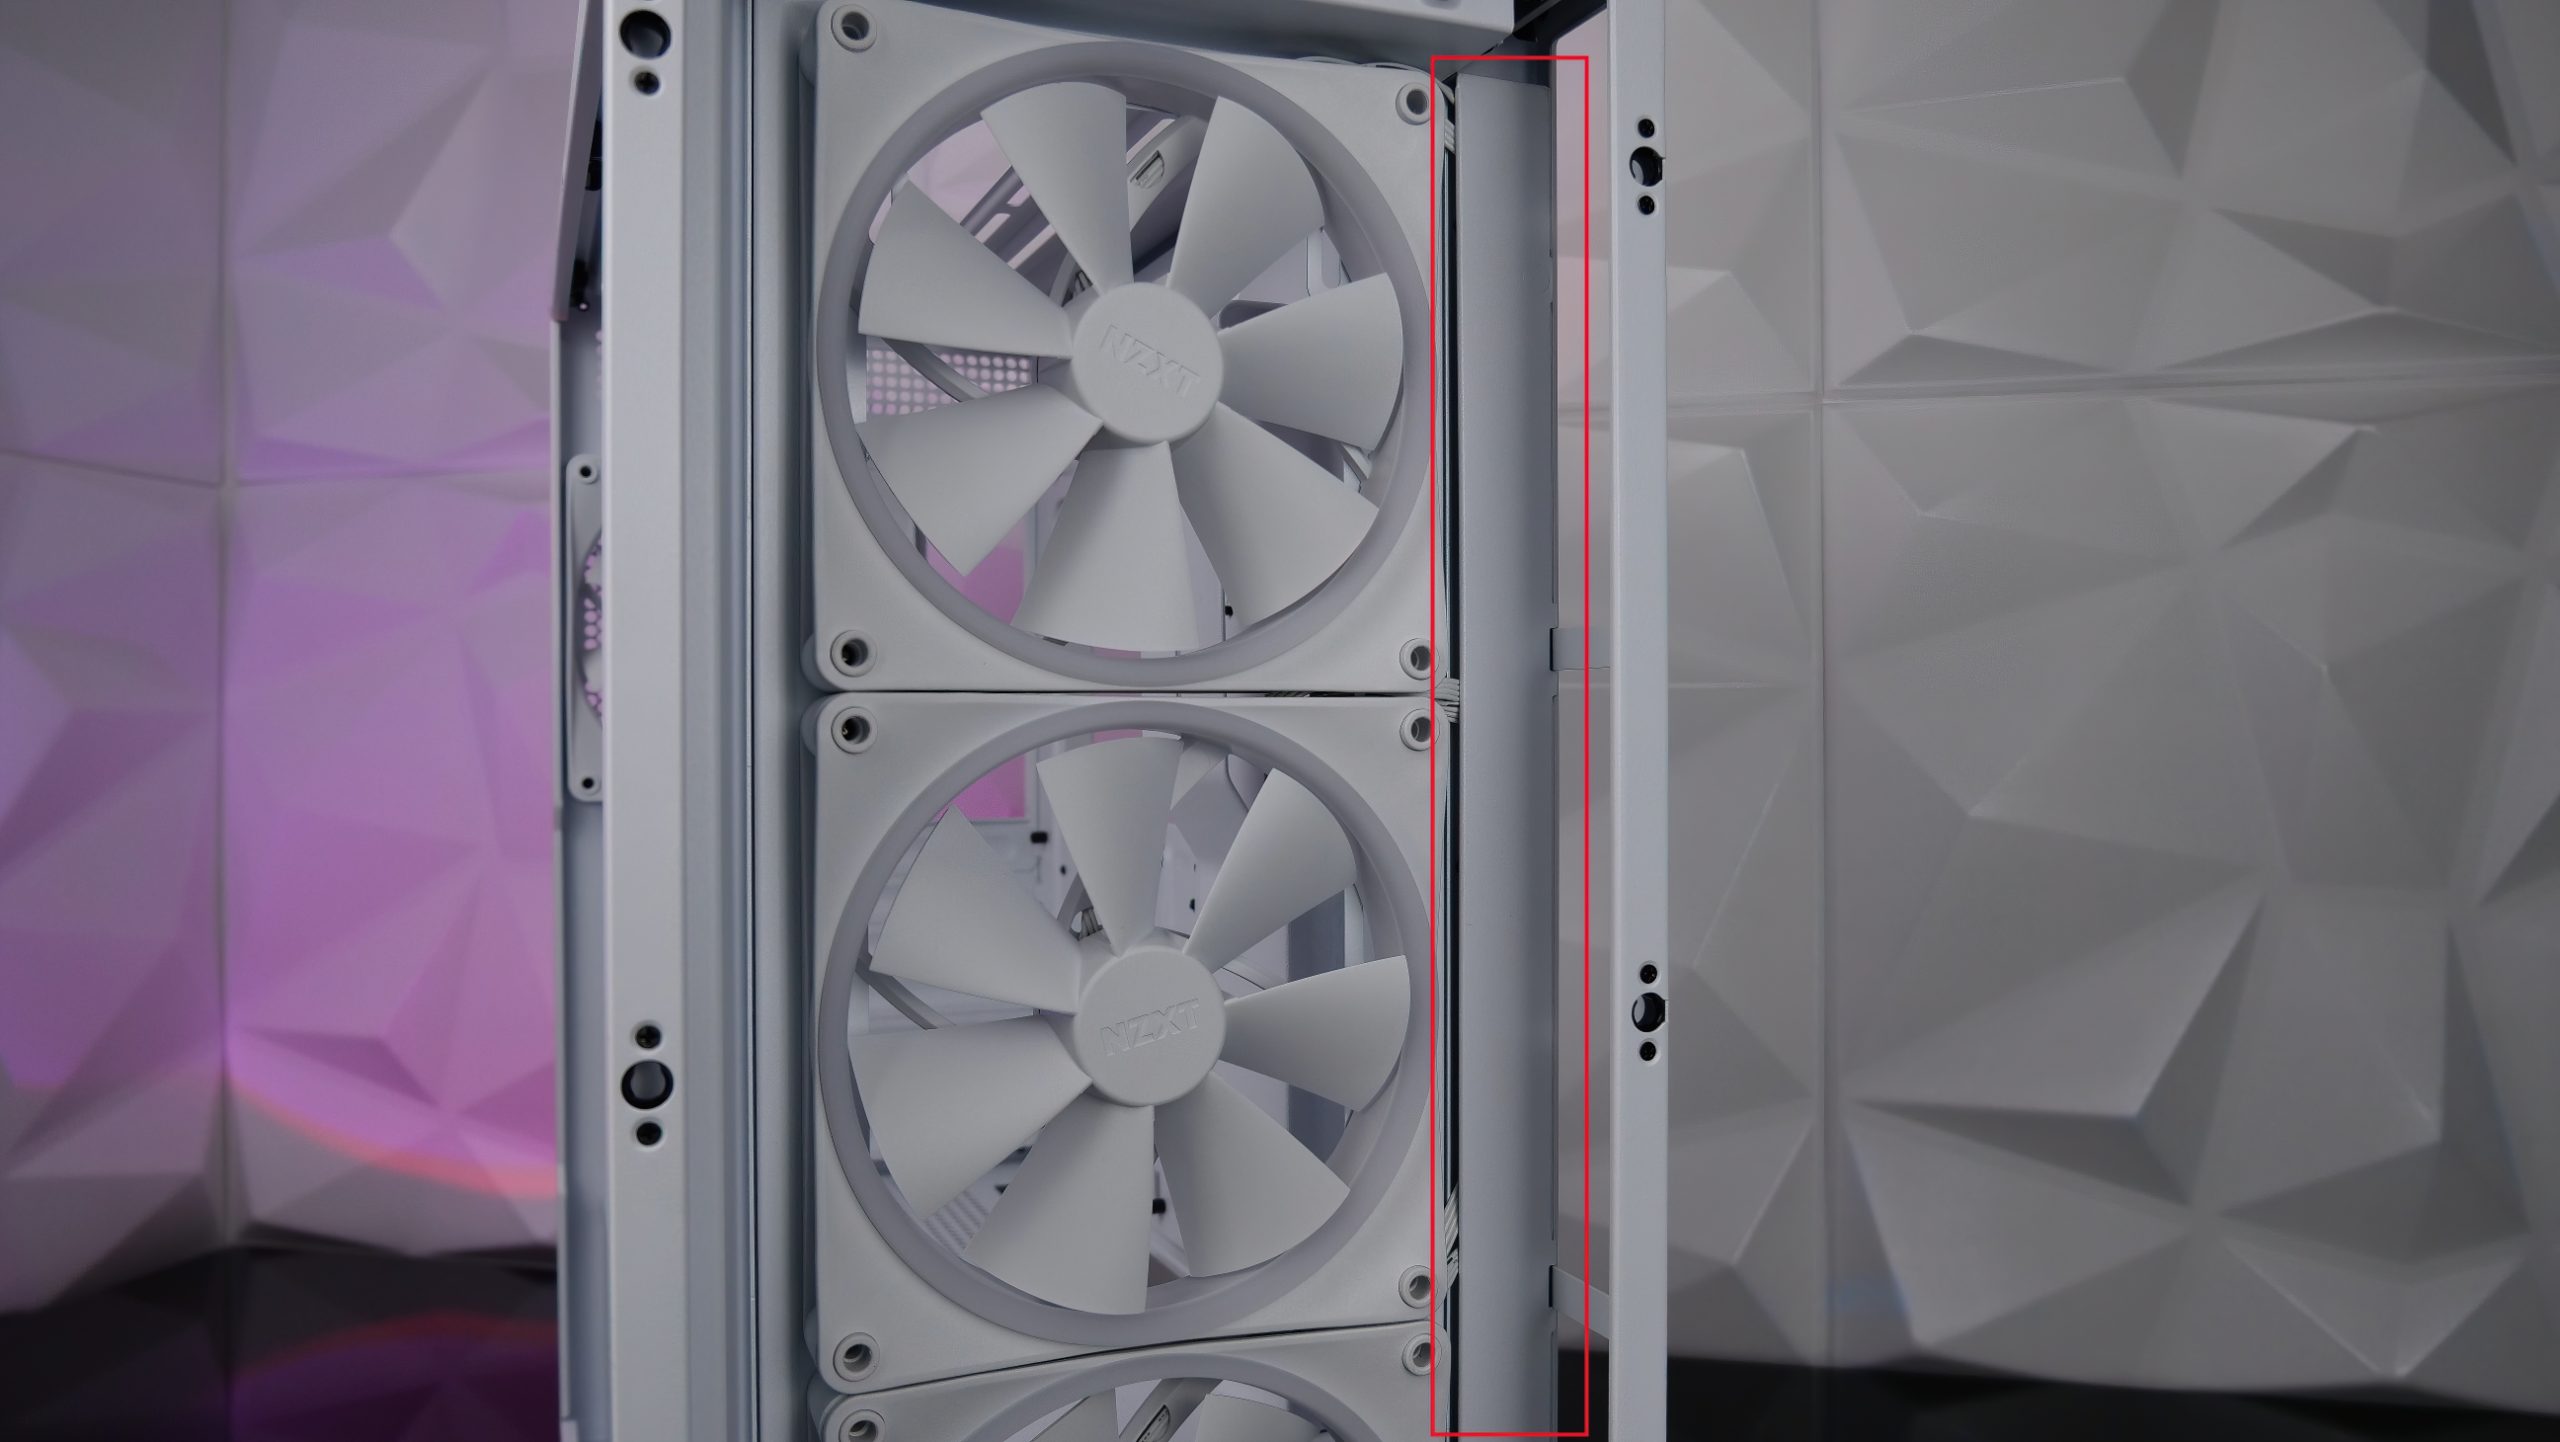
On the right side, directly behind the motherboard, we still have mounting points for SSDs. The matching brackets are included in the accessories. If we go a bit further to the right, we also find very well-positioned cable guides and Velcro fasteners for cable management here. Fits!
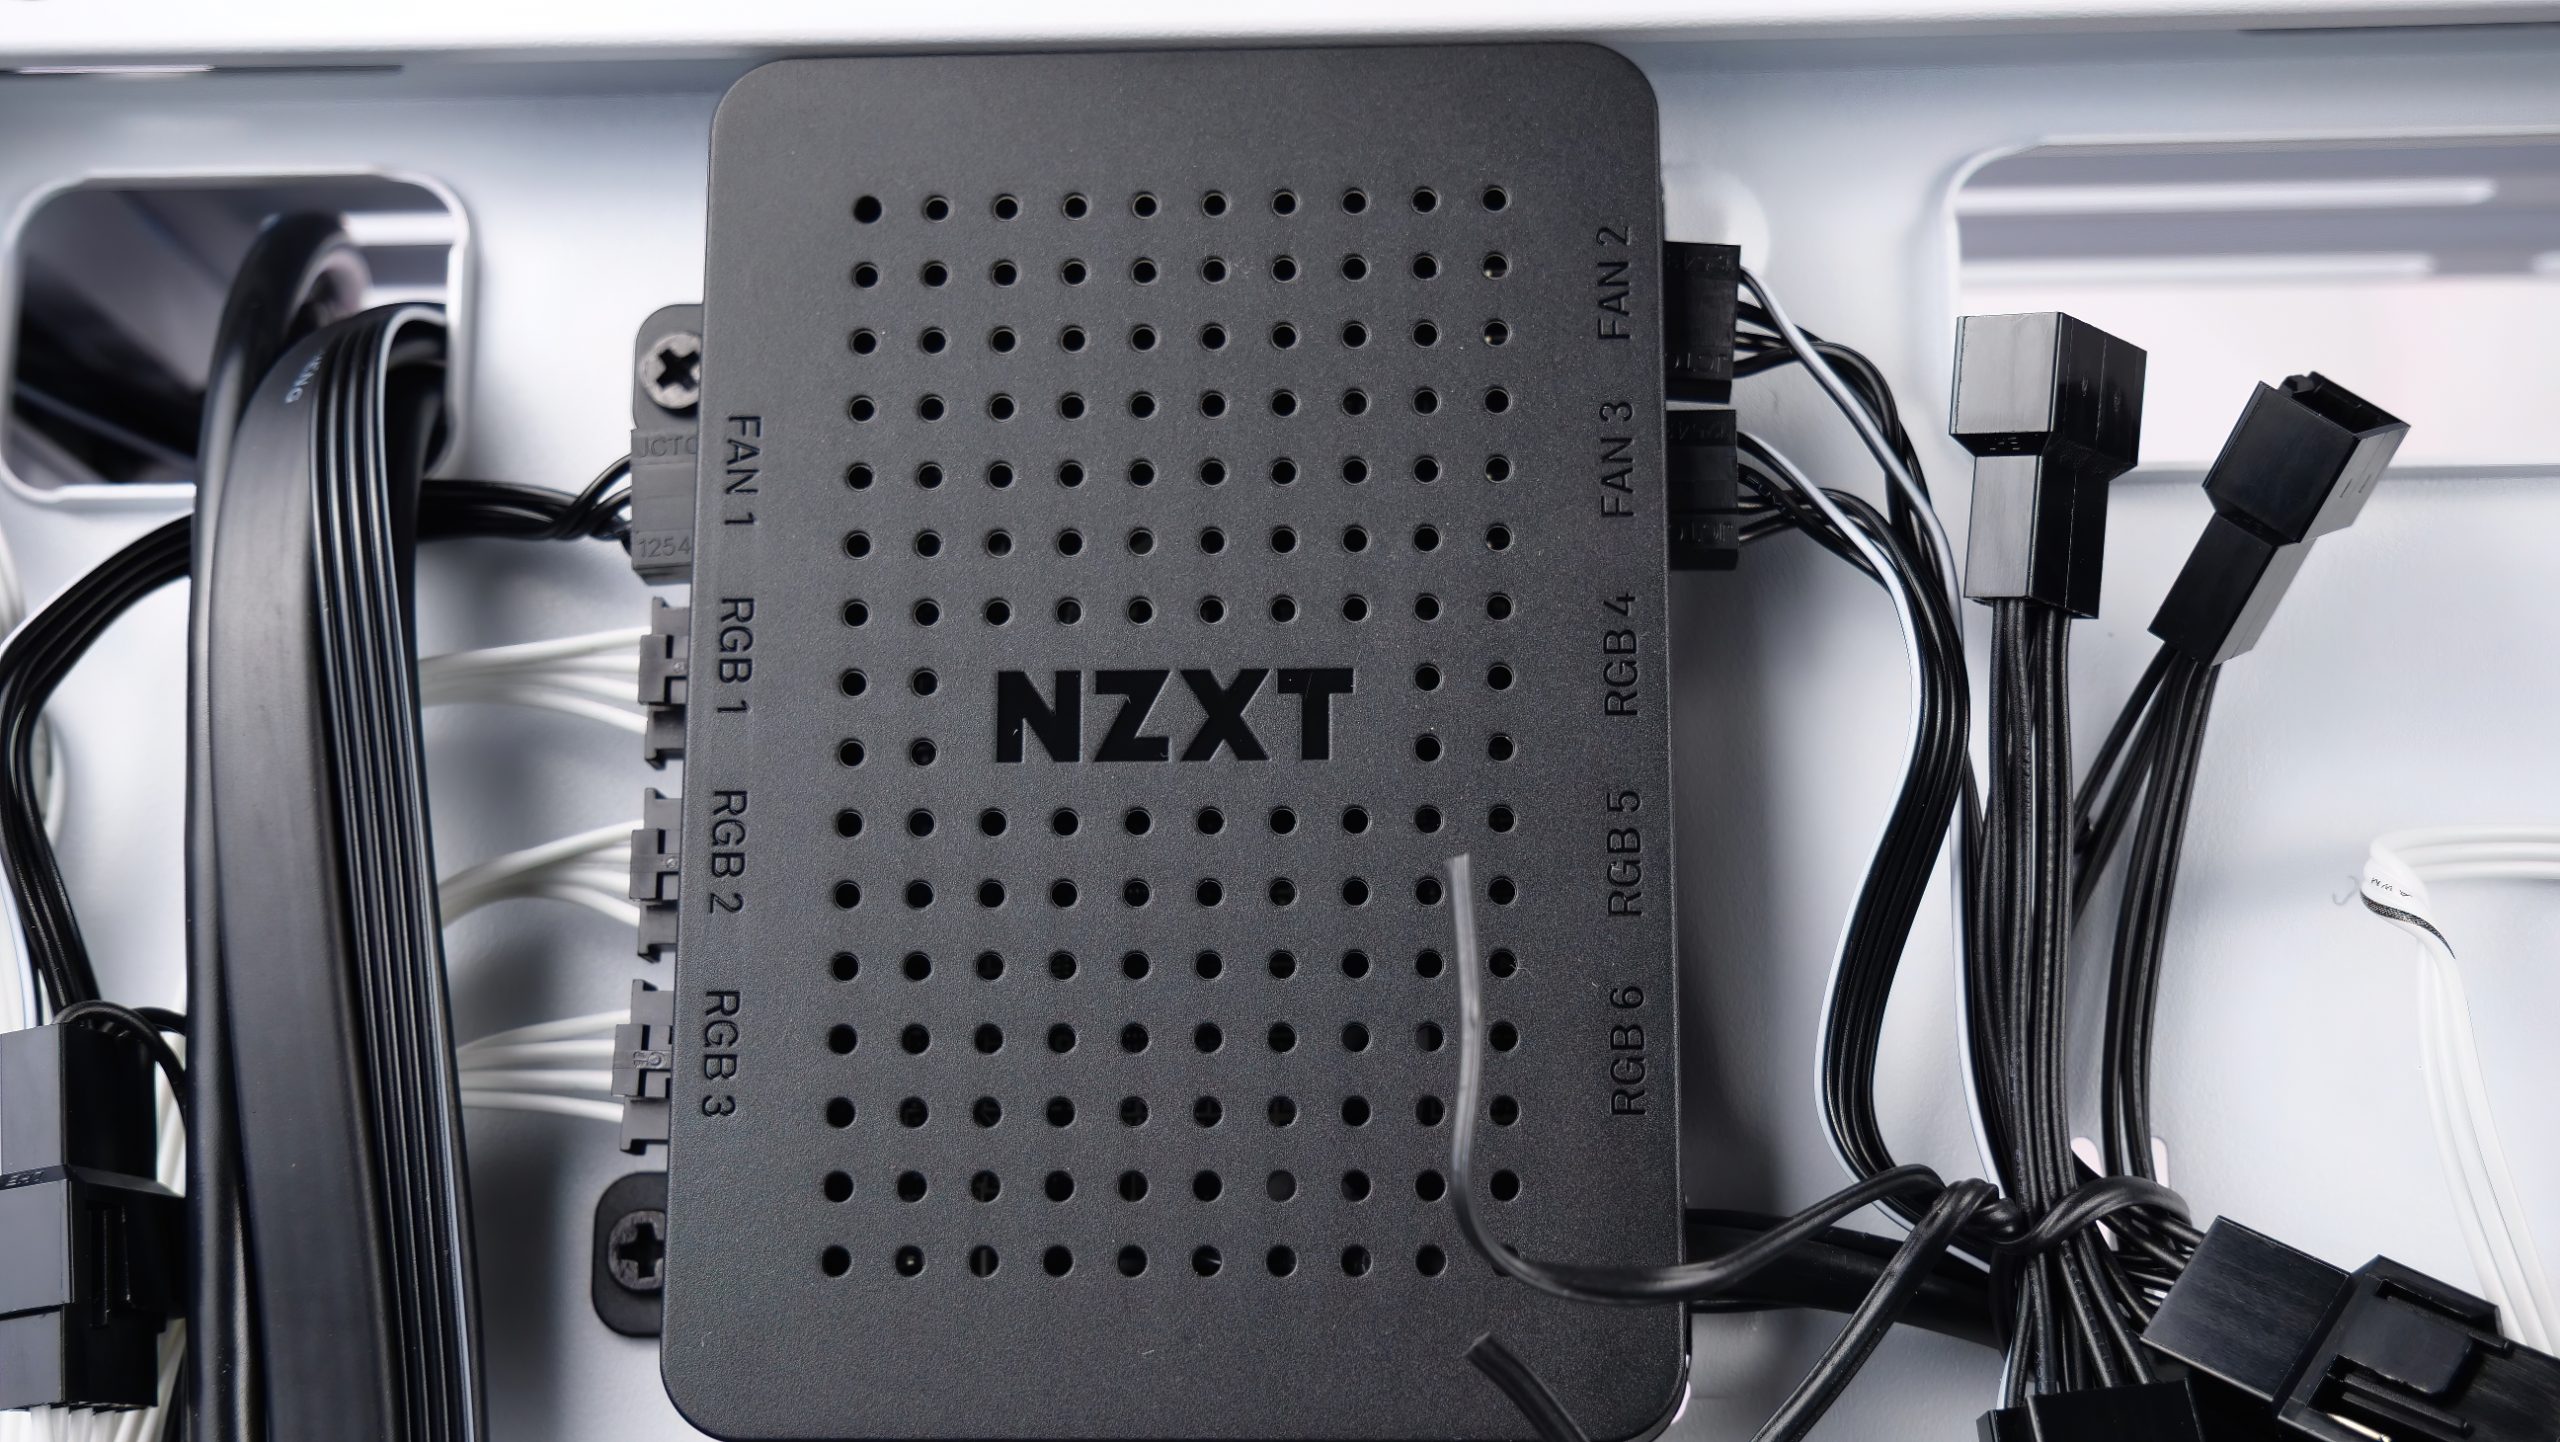
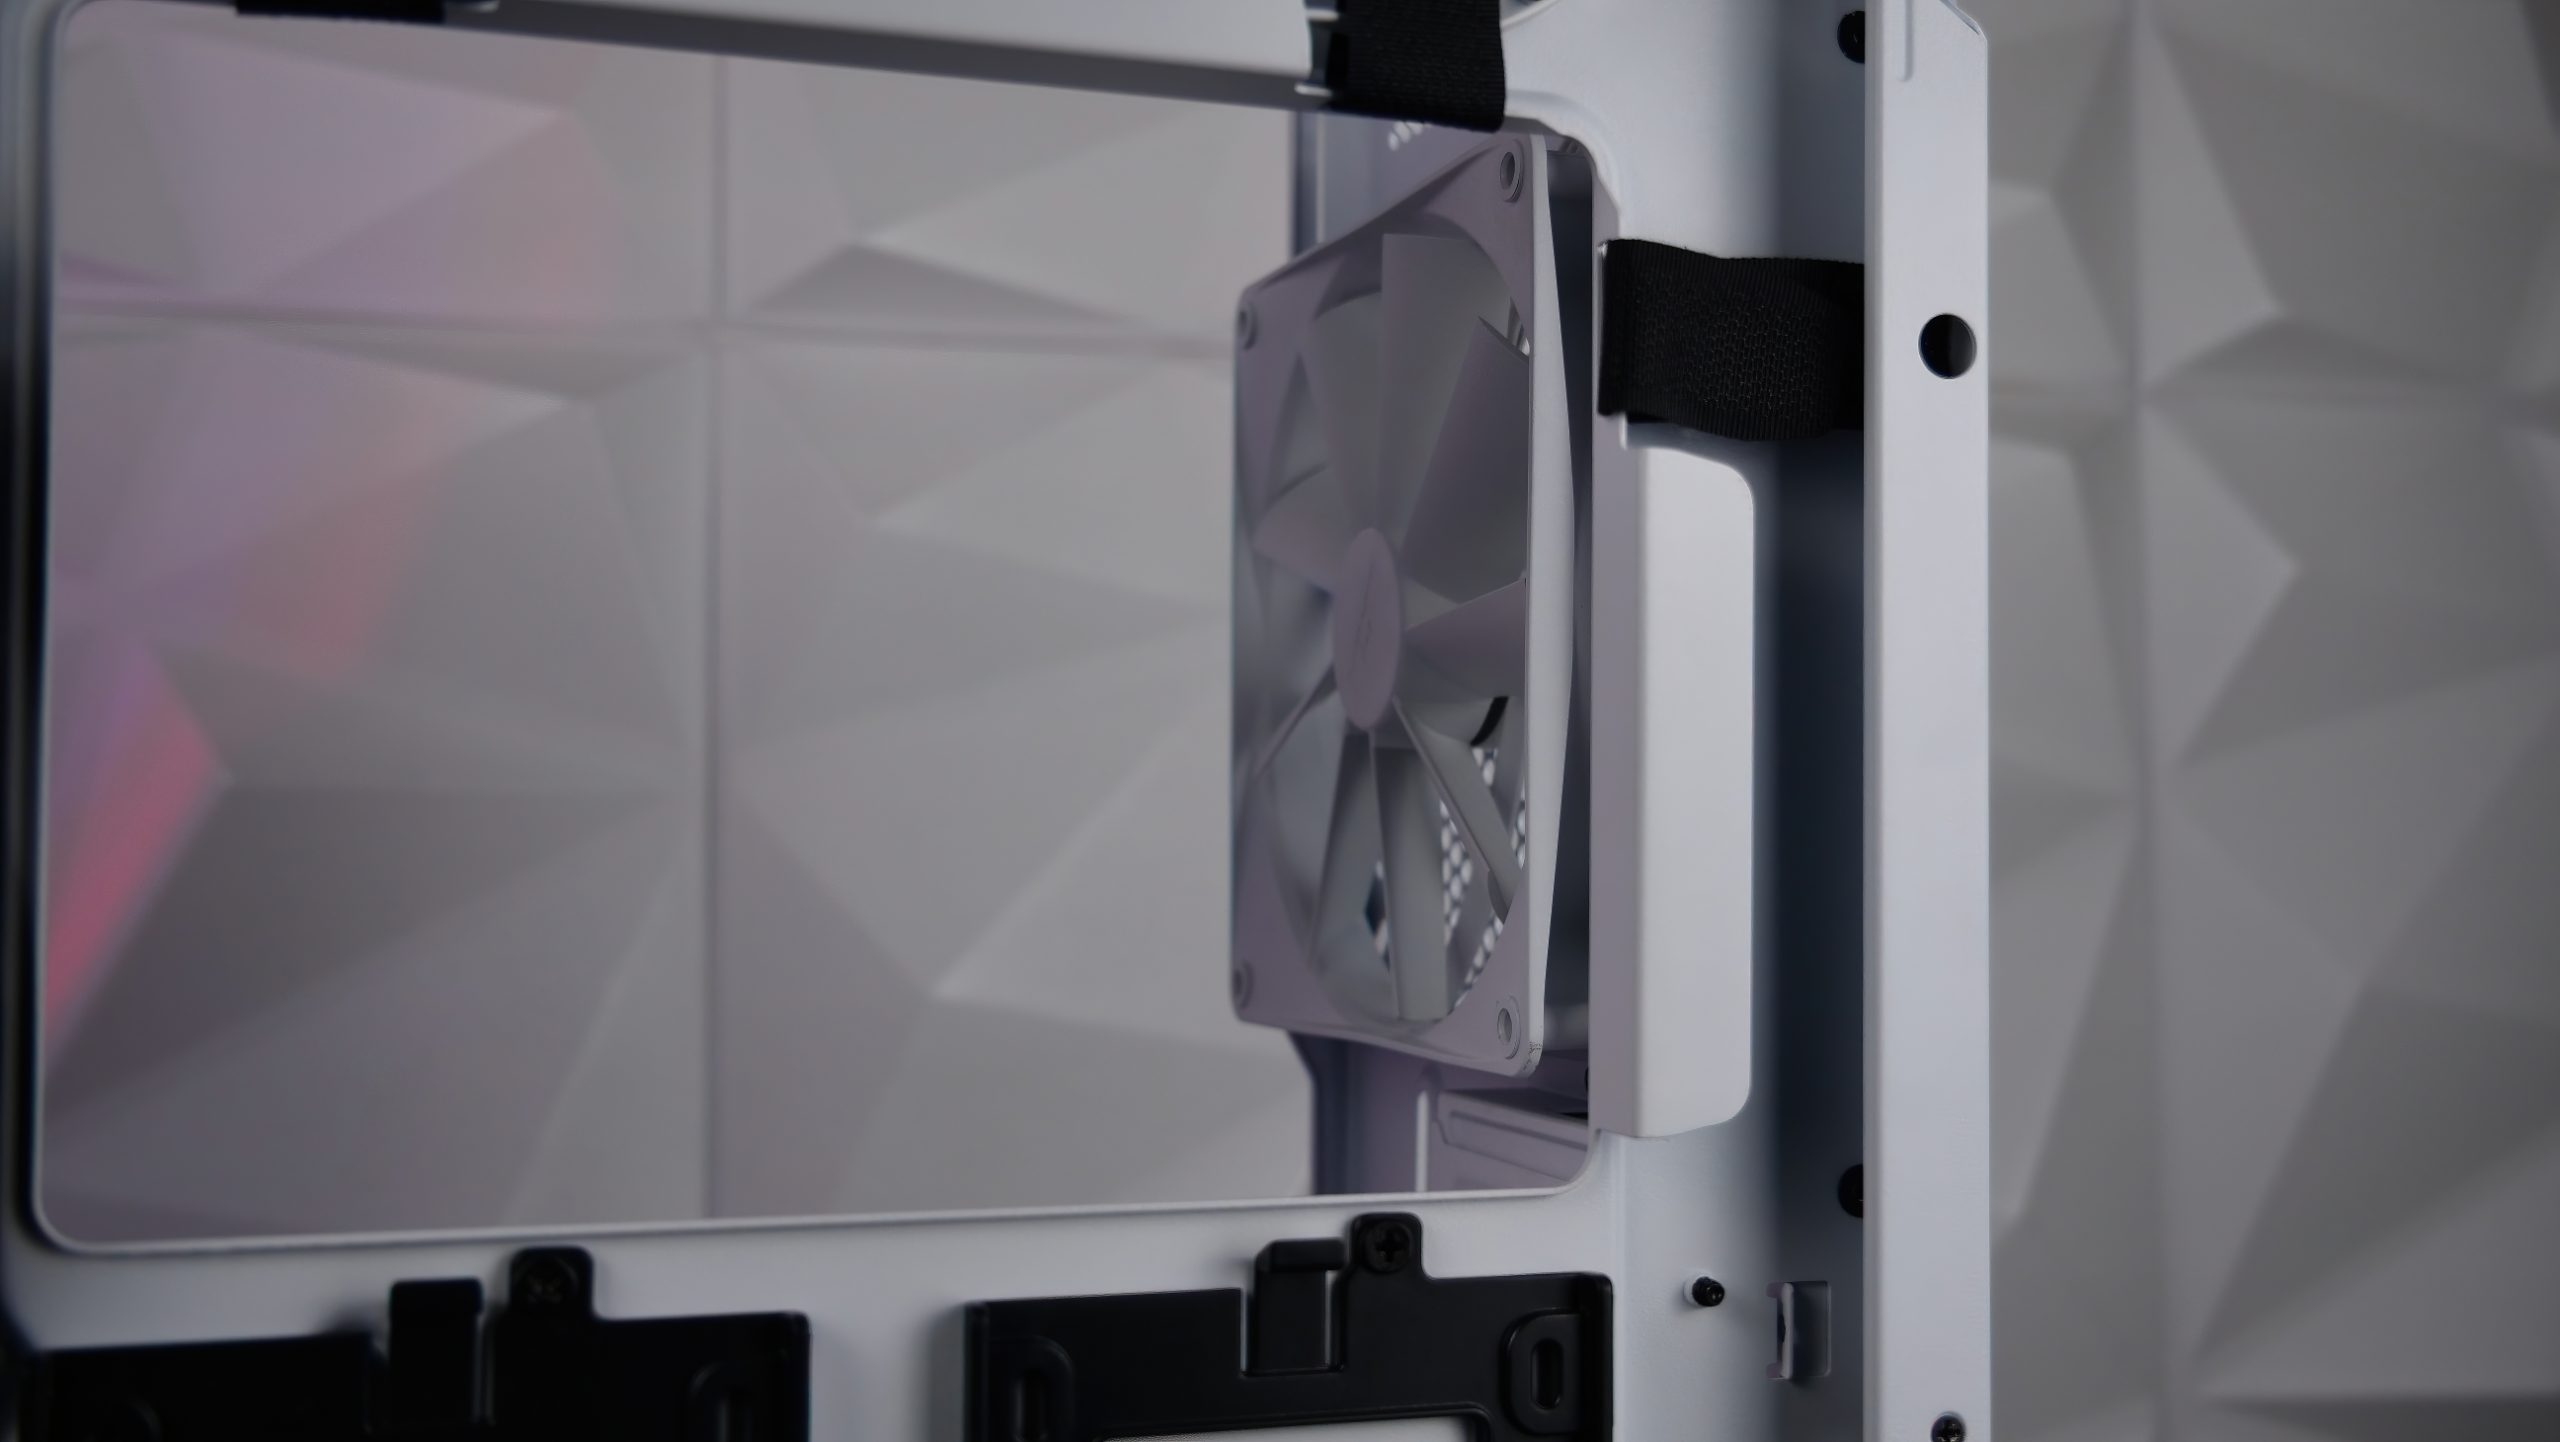
No, we are far from finished! Because it still goes up a bit further. Here we see, as mentioned in the scope of delivery, the well-known NZXT RGB fan hub. All fans from the front are already connected to it and ready for use. In addition, NZXT has already attached suitable Y-cables here to connect the remaining fans, which can be purchased optionally, as well. All we have to do is connect the hub to our motherboard via pin USB and power the hub via SATA. Everything is ready to go. Also, everything has already been neatly routed by NZXT and there is order in the cable routing.
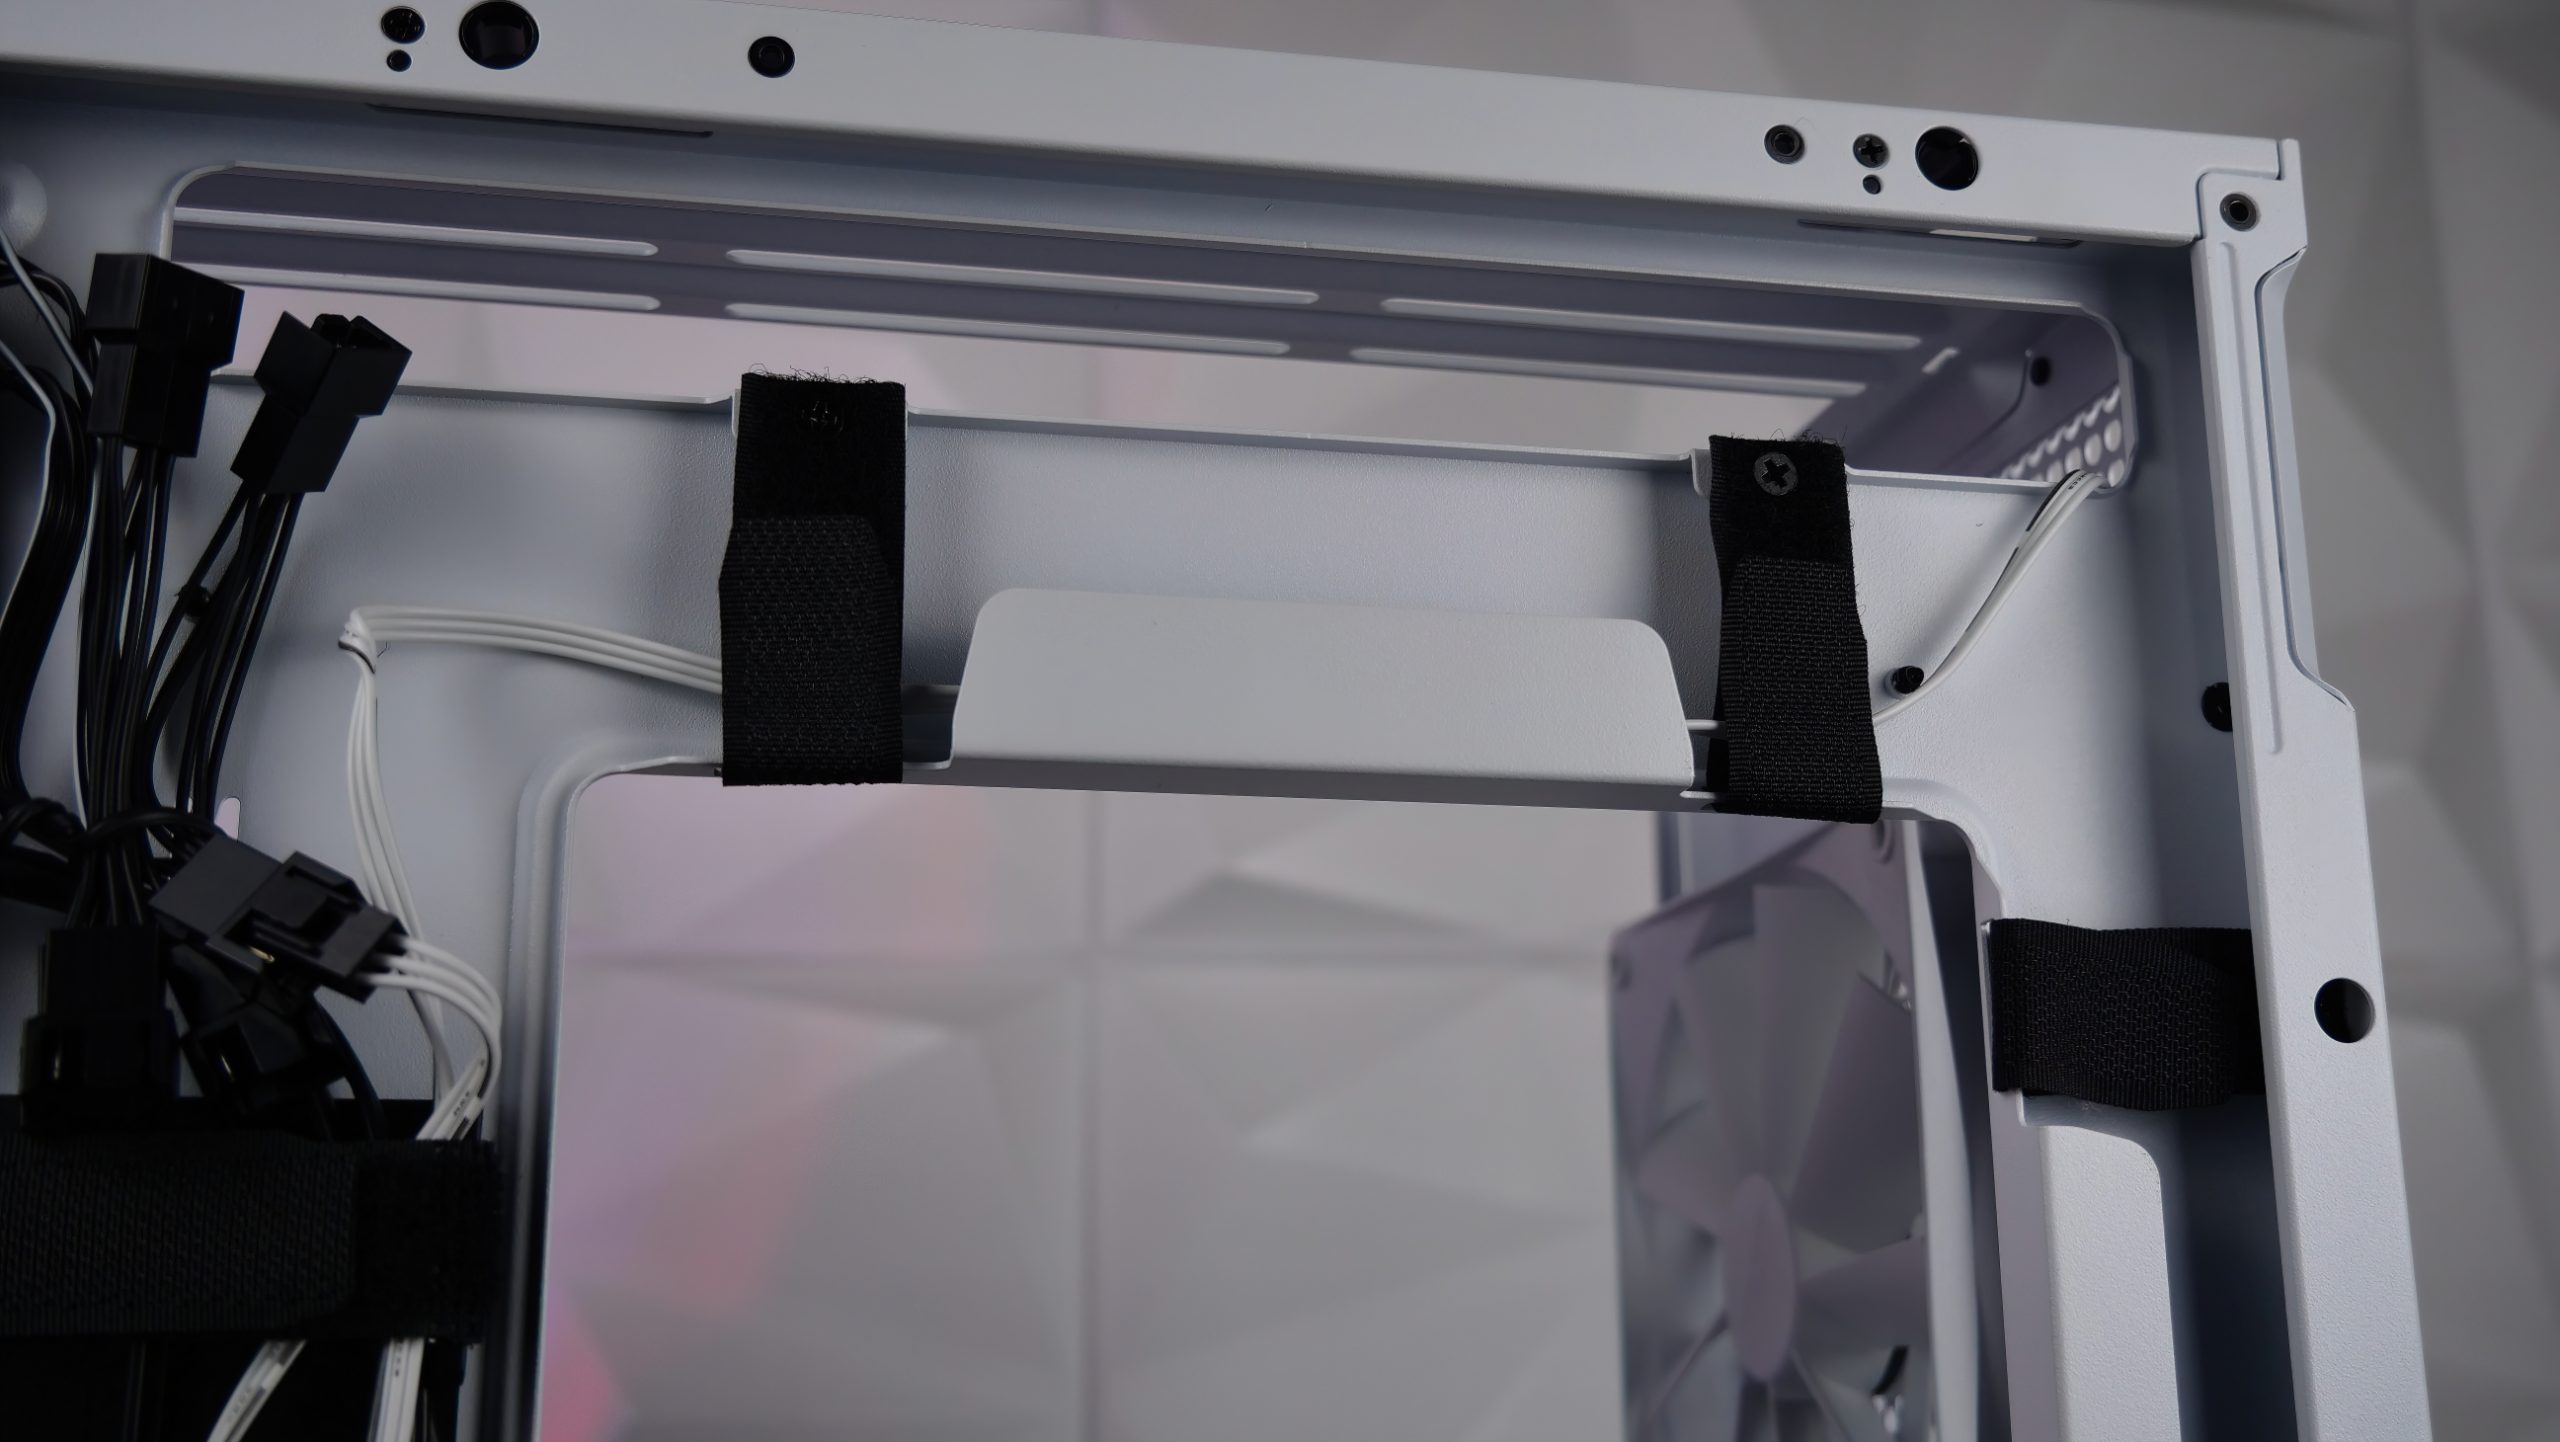
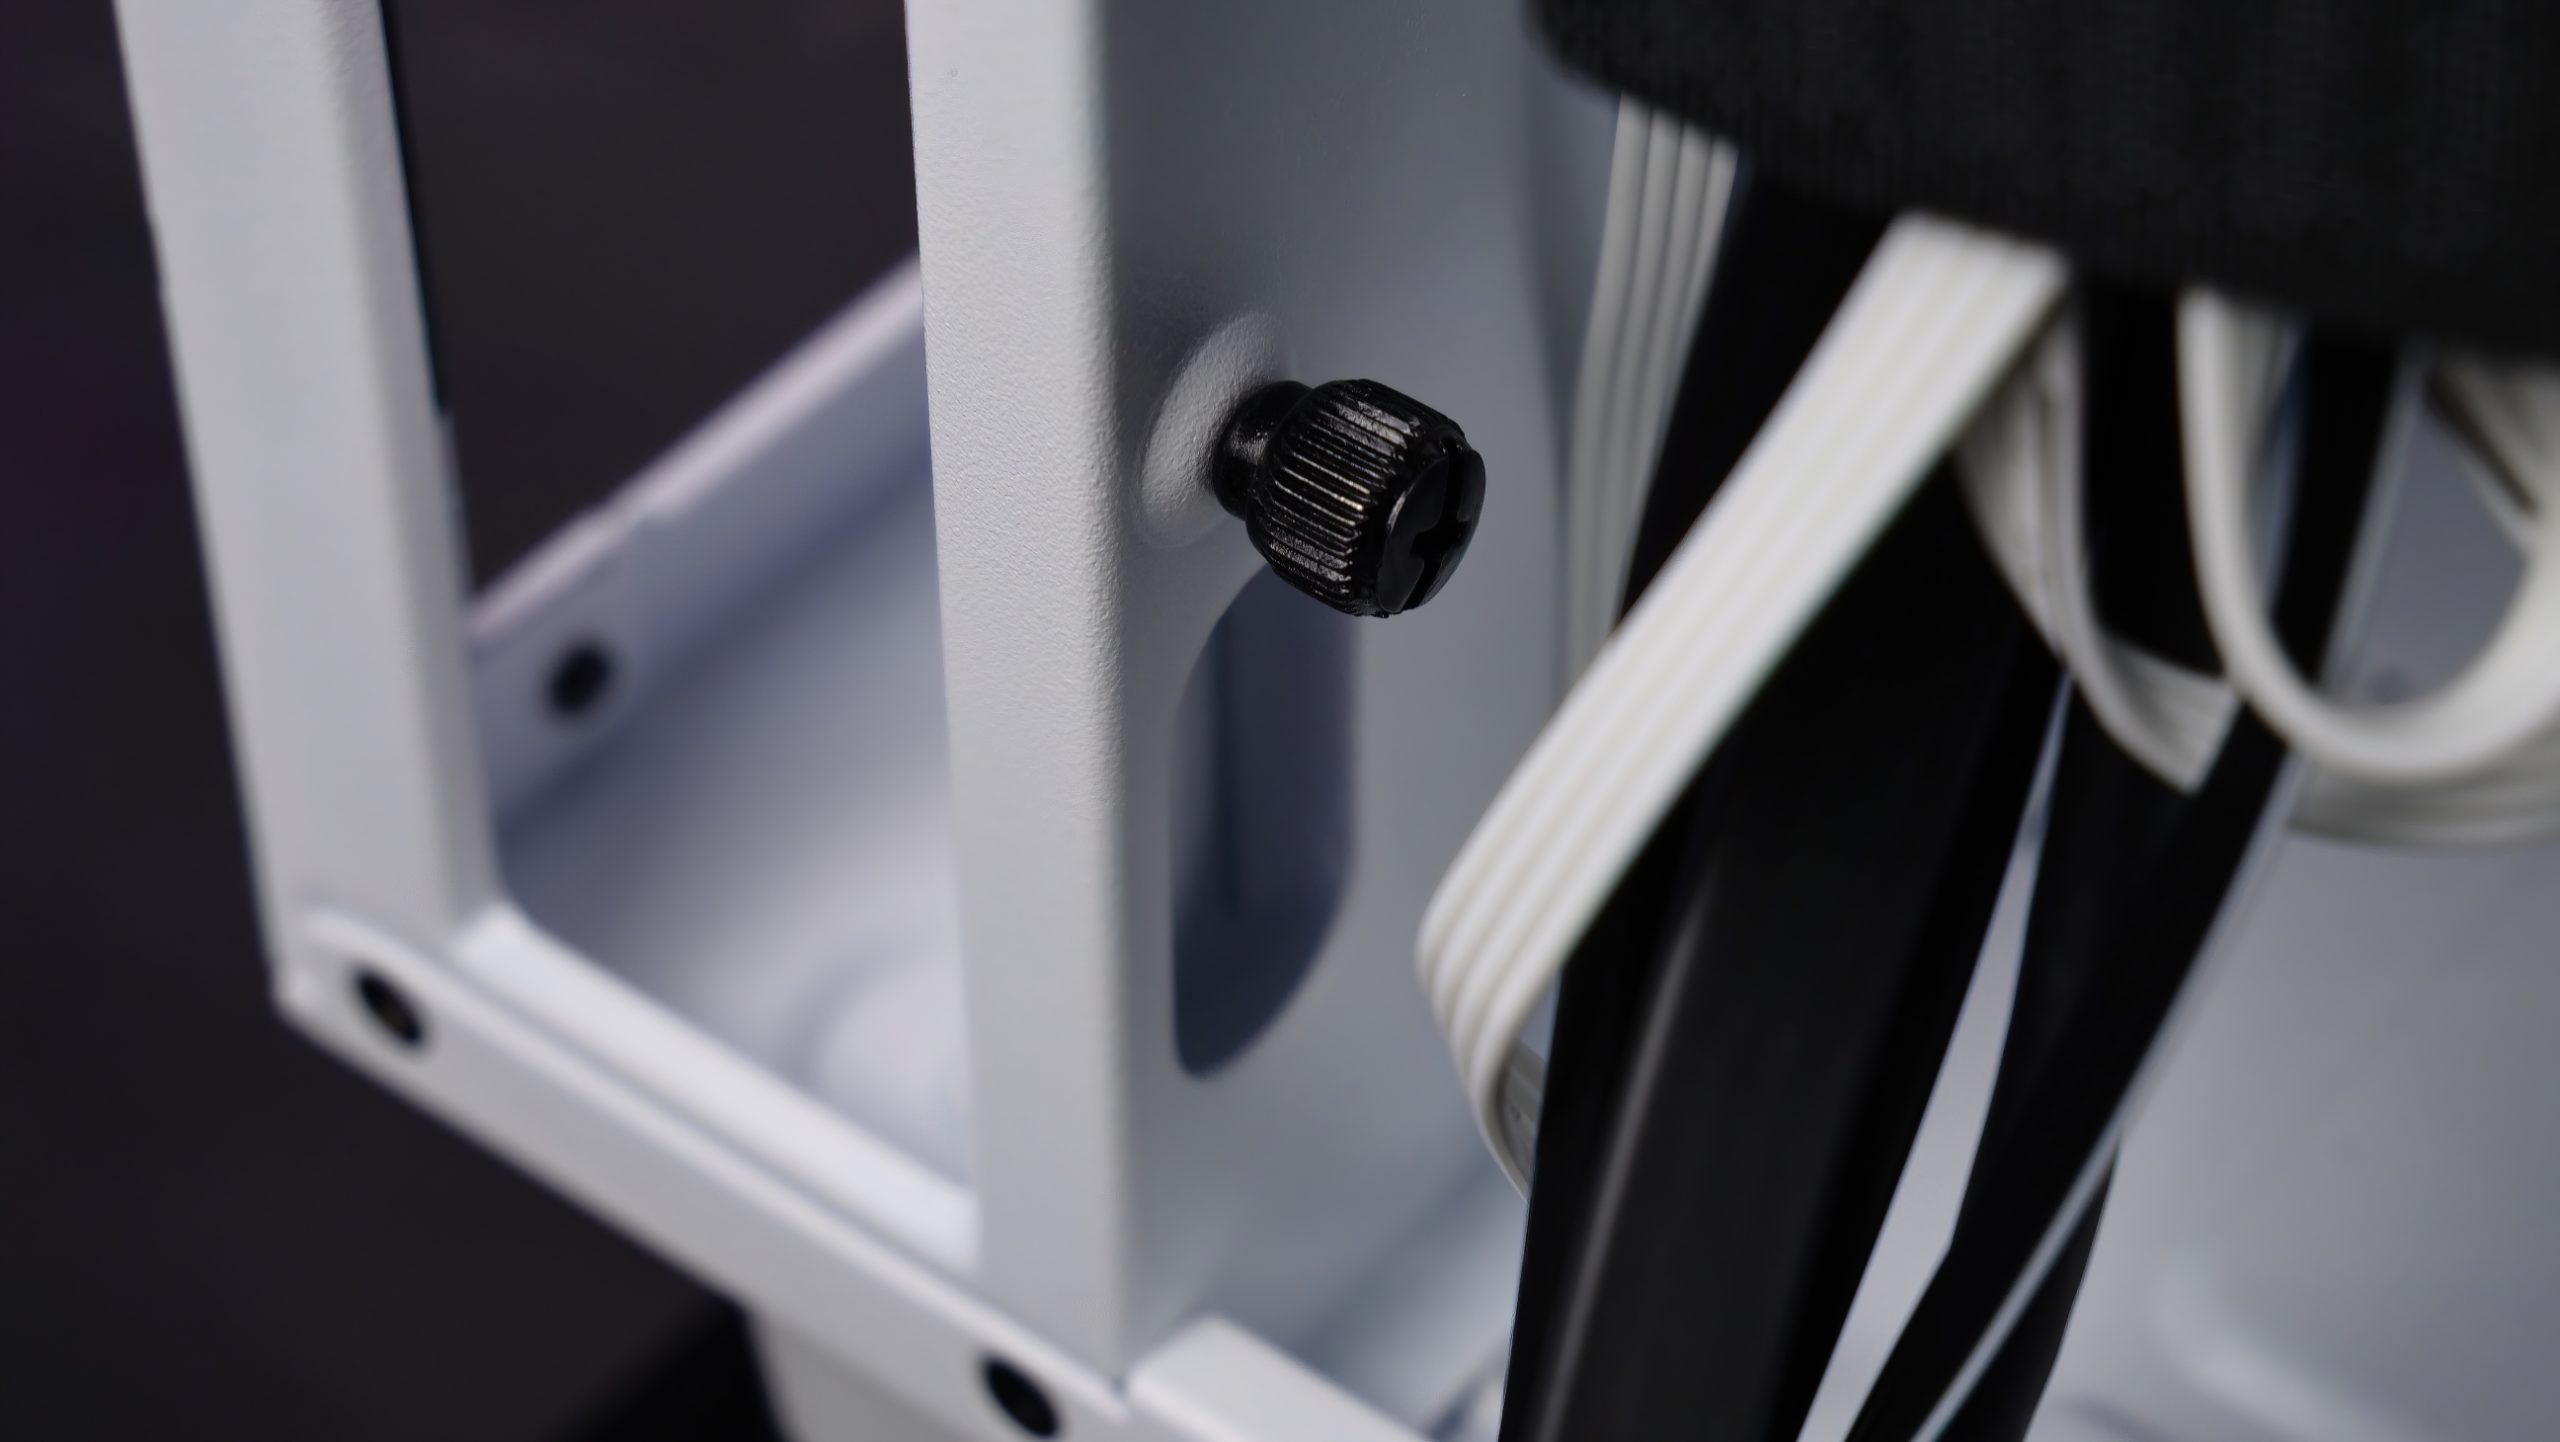
Is that it? No, of course not. There’s one more little thing to mention here, because after looking at the entire back, I noticed two thumbscrews to the left of the front. Curious as I am, I took a closer look. After loosening these two thumbscrews, an angle plate in the front comes loose. All cables from the front for the fans and from the I/O panel were hidden underneath. NZXT thus puts a lot of emphasis on ensuring clean cable routing. Ultimately, of course, this is noticeable in the overall assembly, as it makes our lives easier and also saves time and nerves.

Finally, we put the case on its side and look at the bottom. Next to the four rubberized feet, we find a dust filter for our power supply – but there is nothing else to see.


46 Antworten
Kommentar
Lade neue Kommentare
Urgestein
Urgestein
Mitglied
Urgestein
Urgestein
Urgestein
Urgestein
Urgestein
Urgestein
Urgestein
Urgestein
Veteran
Urgestein
Urgestein
Urgestein
Urgestein
Urgestein
Urgestein
Alle Kommentare lesen unter igor´sLAB Community →