


Unboxing and case features in detail
Now, as always, let’s get to some numbers. The dimensions of the H7 Elite are 505 x 230 x 480 mm (L x W x H). As we can already see from the numbers, it is an ATX/EATX case, in which of course mATX or also ITX/DTX can be installed. The interior allows us to install graphics cards with a length of up to 400 mm. Thus, we should still find enough space for the really big hulks.
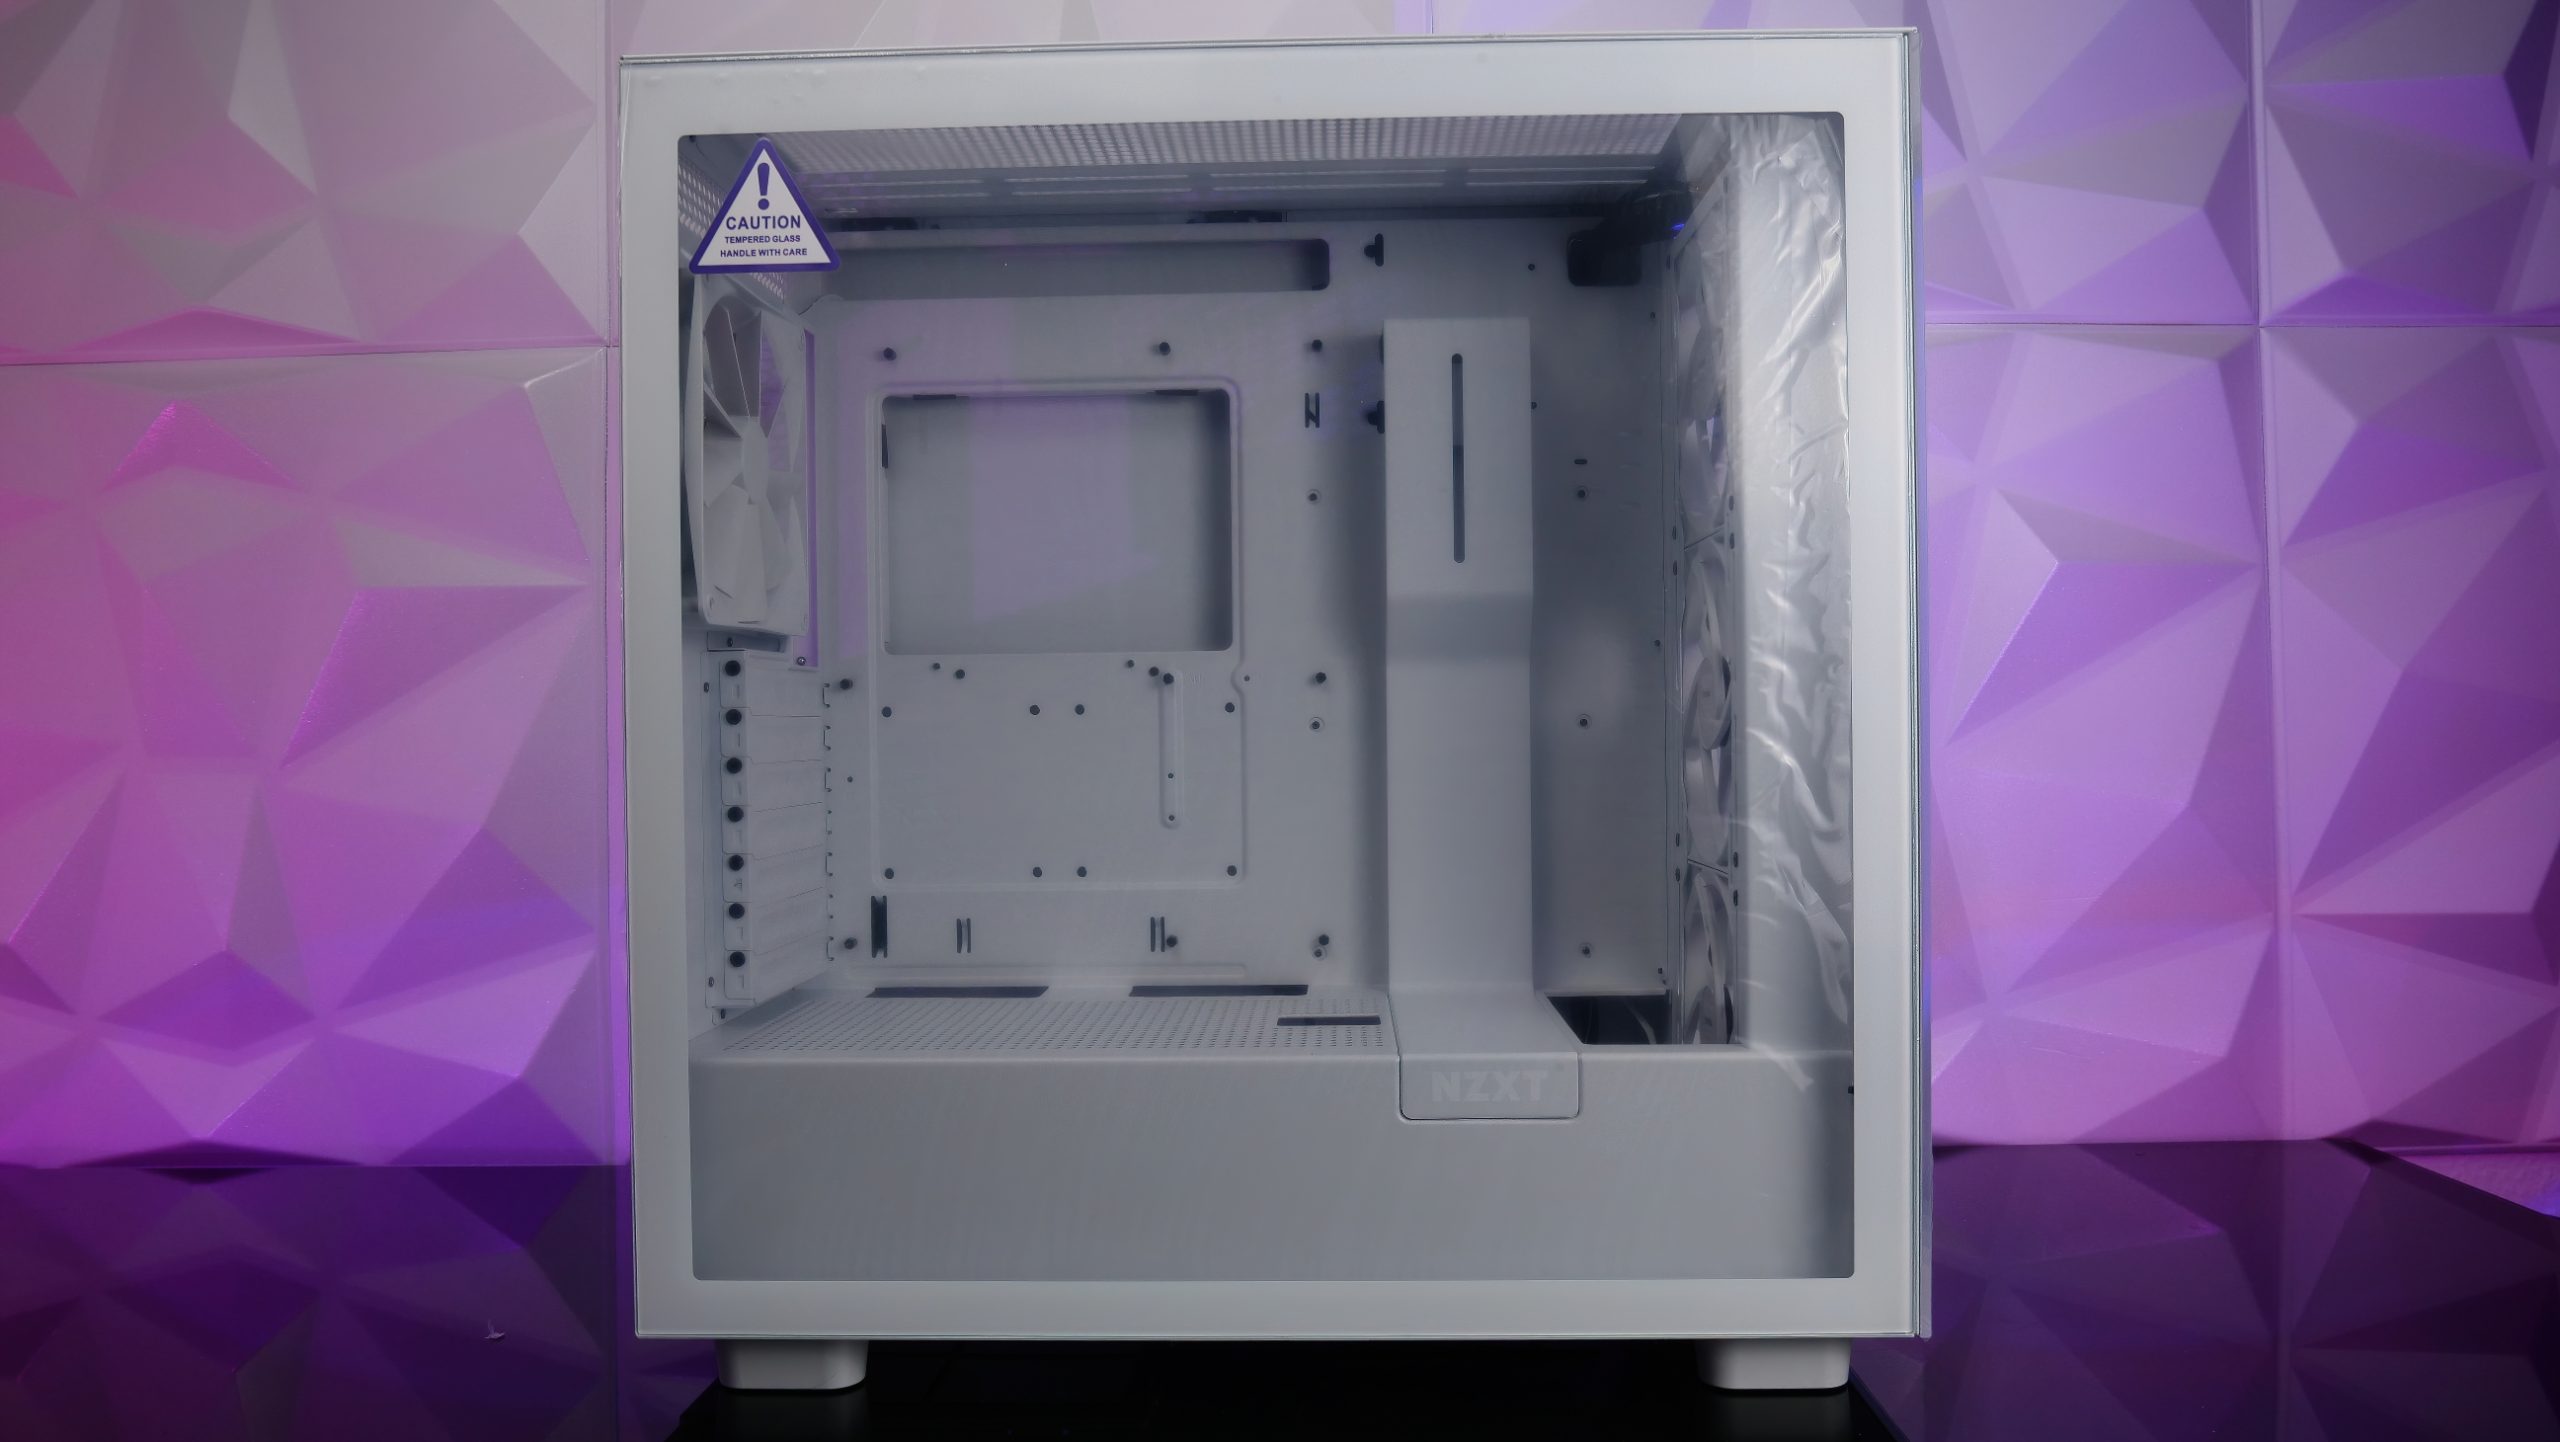
Once we have memorized the numbers well, we start our tour on the left side. Here we find a side panel made of tempered glass without tinting, which allows us to curiously look inside – even without perhaps using RGB entertainment.
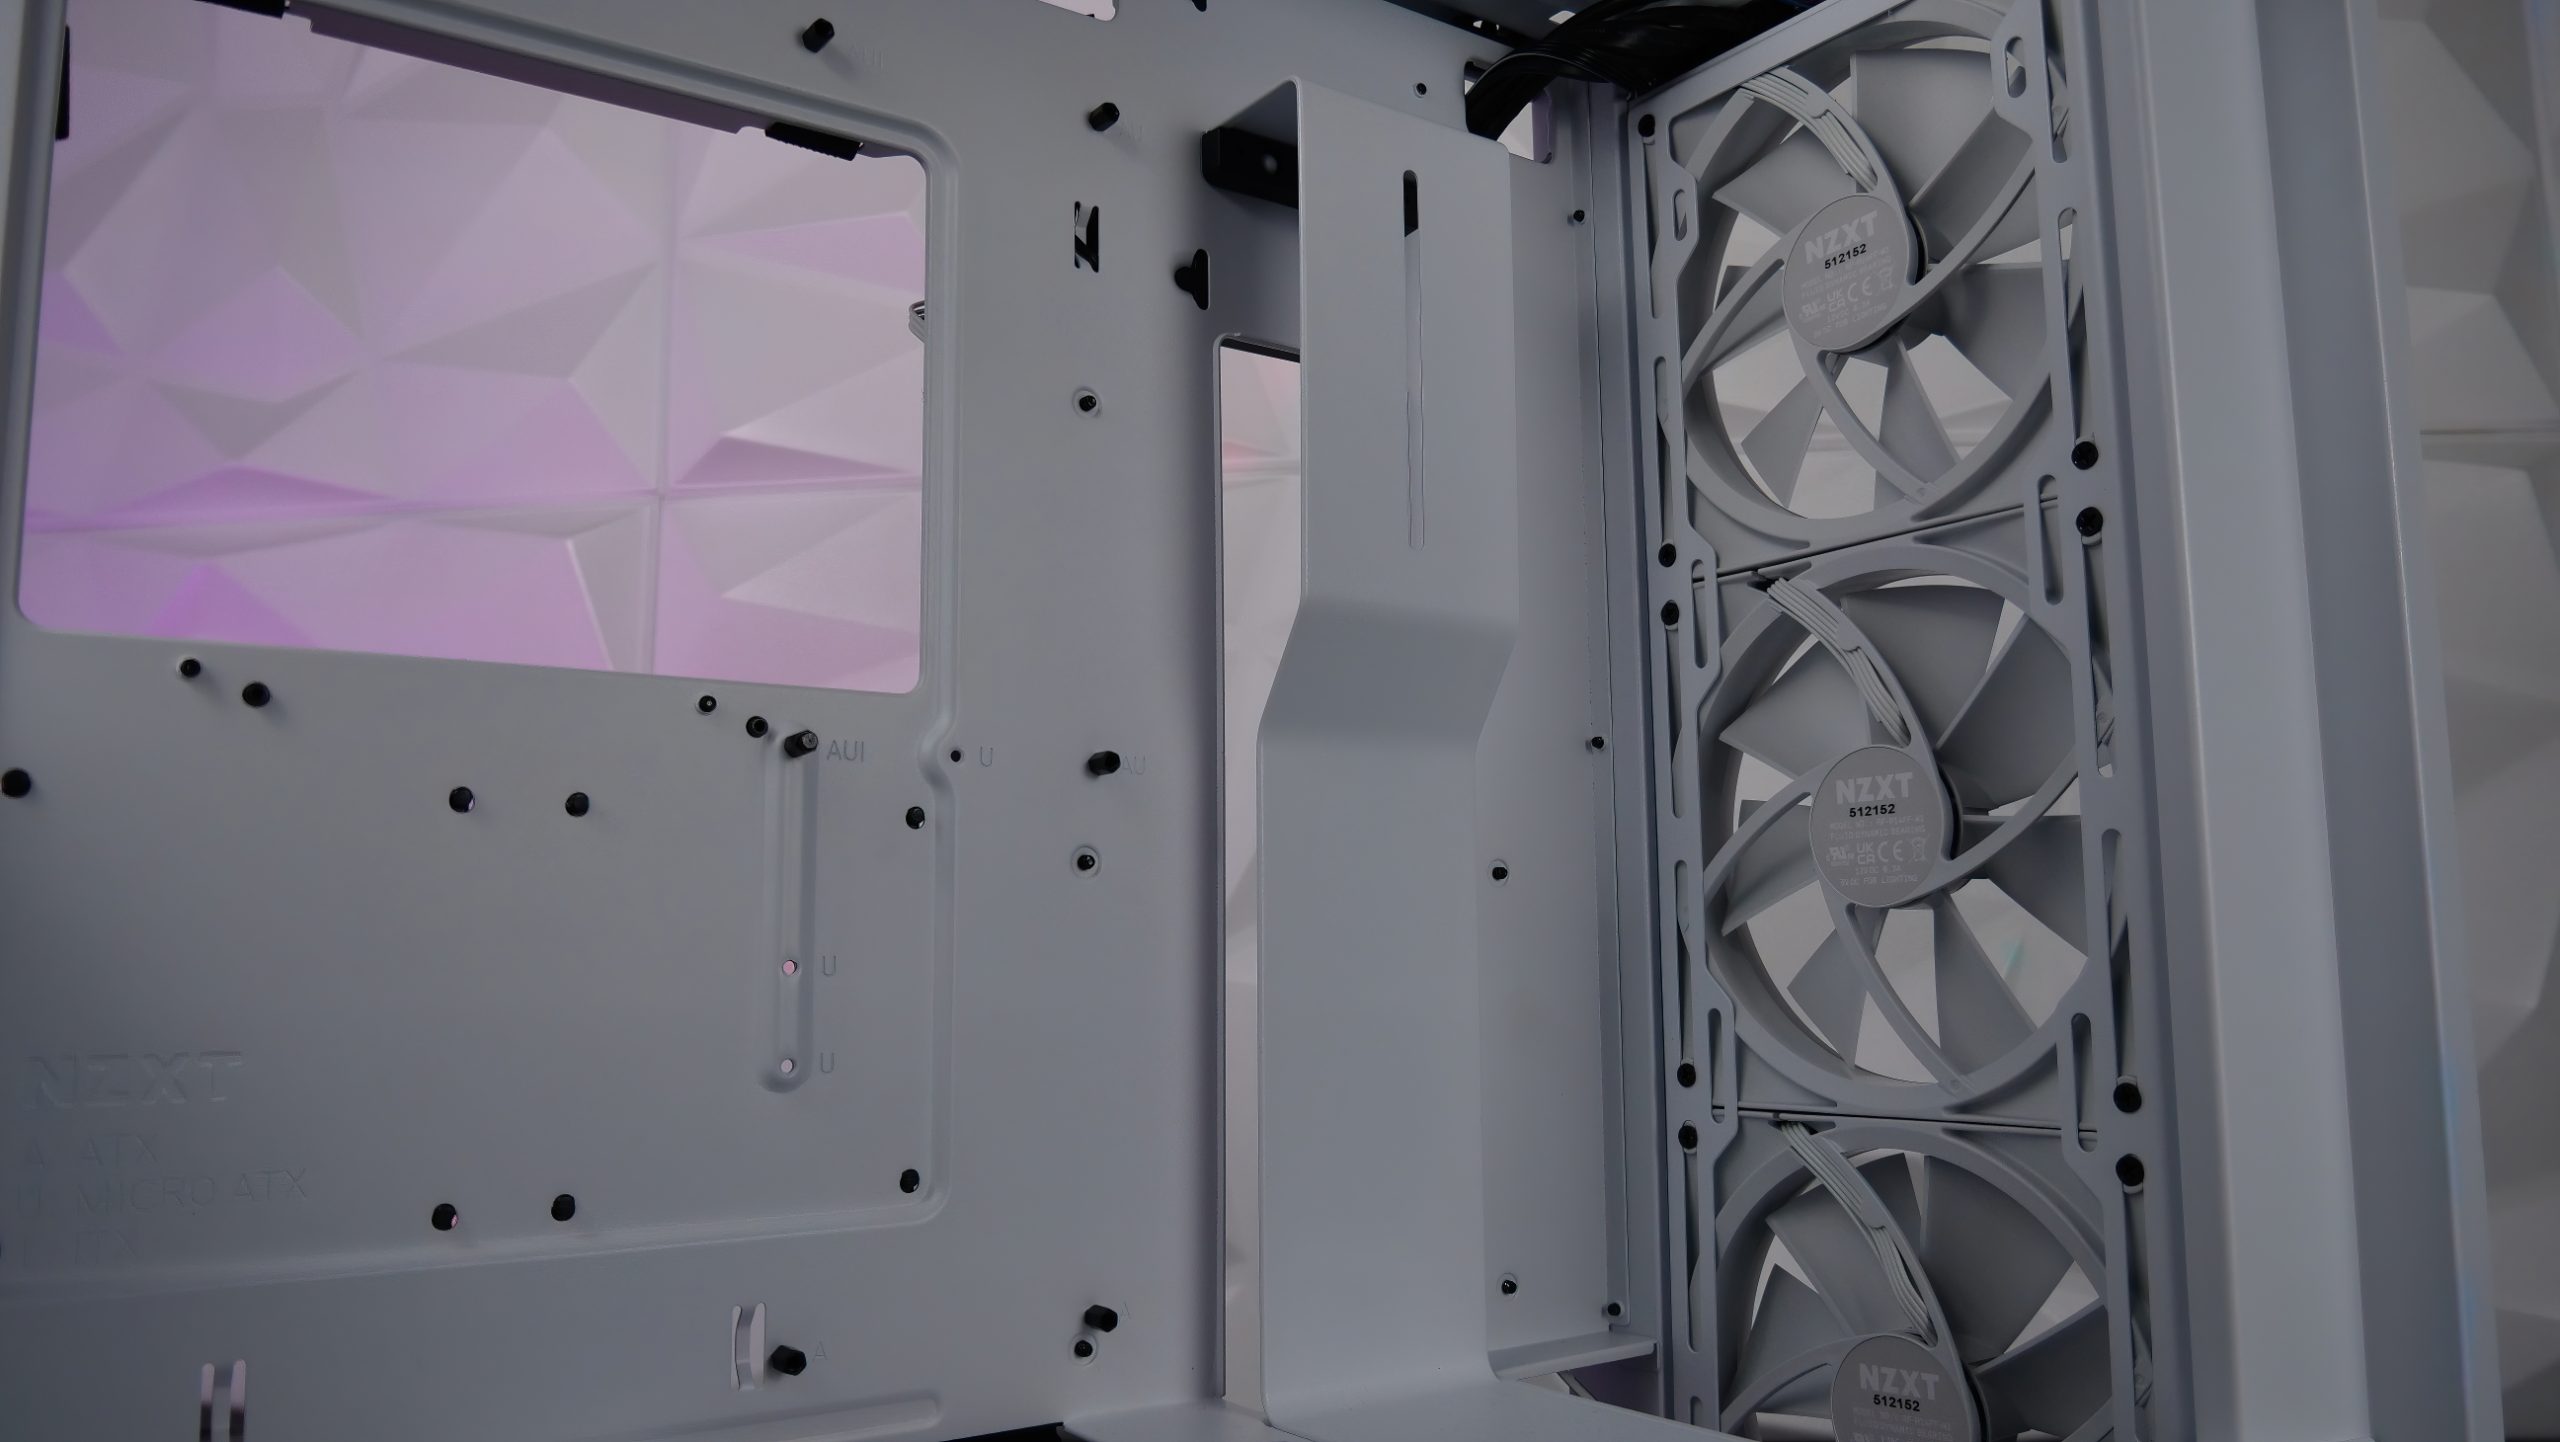
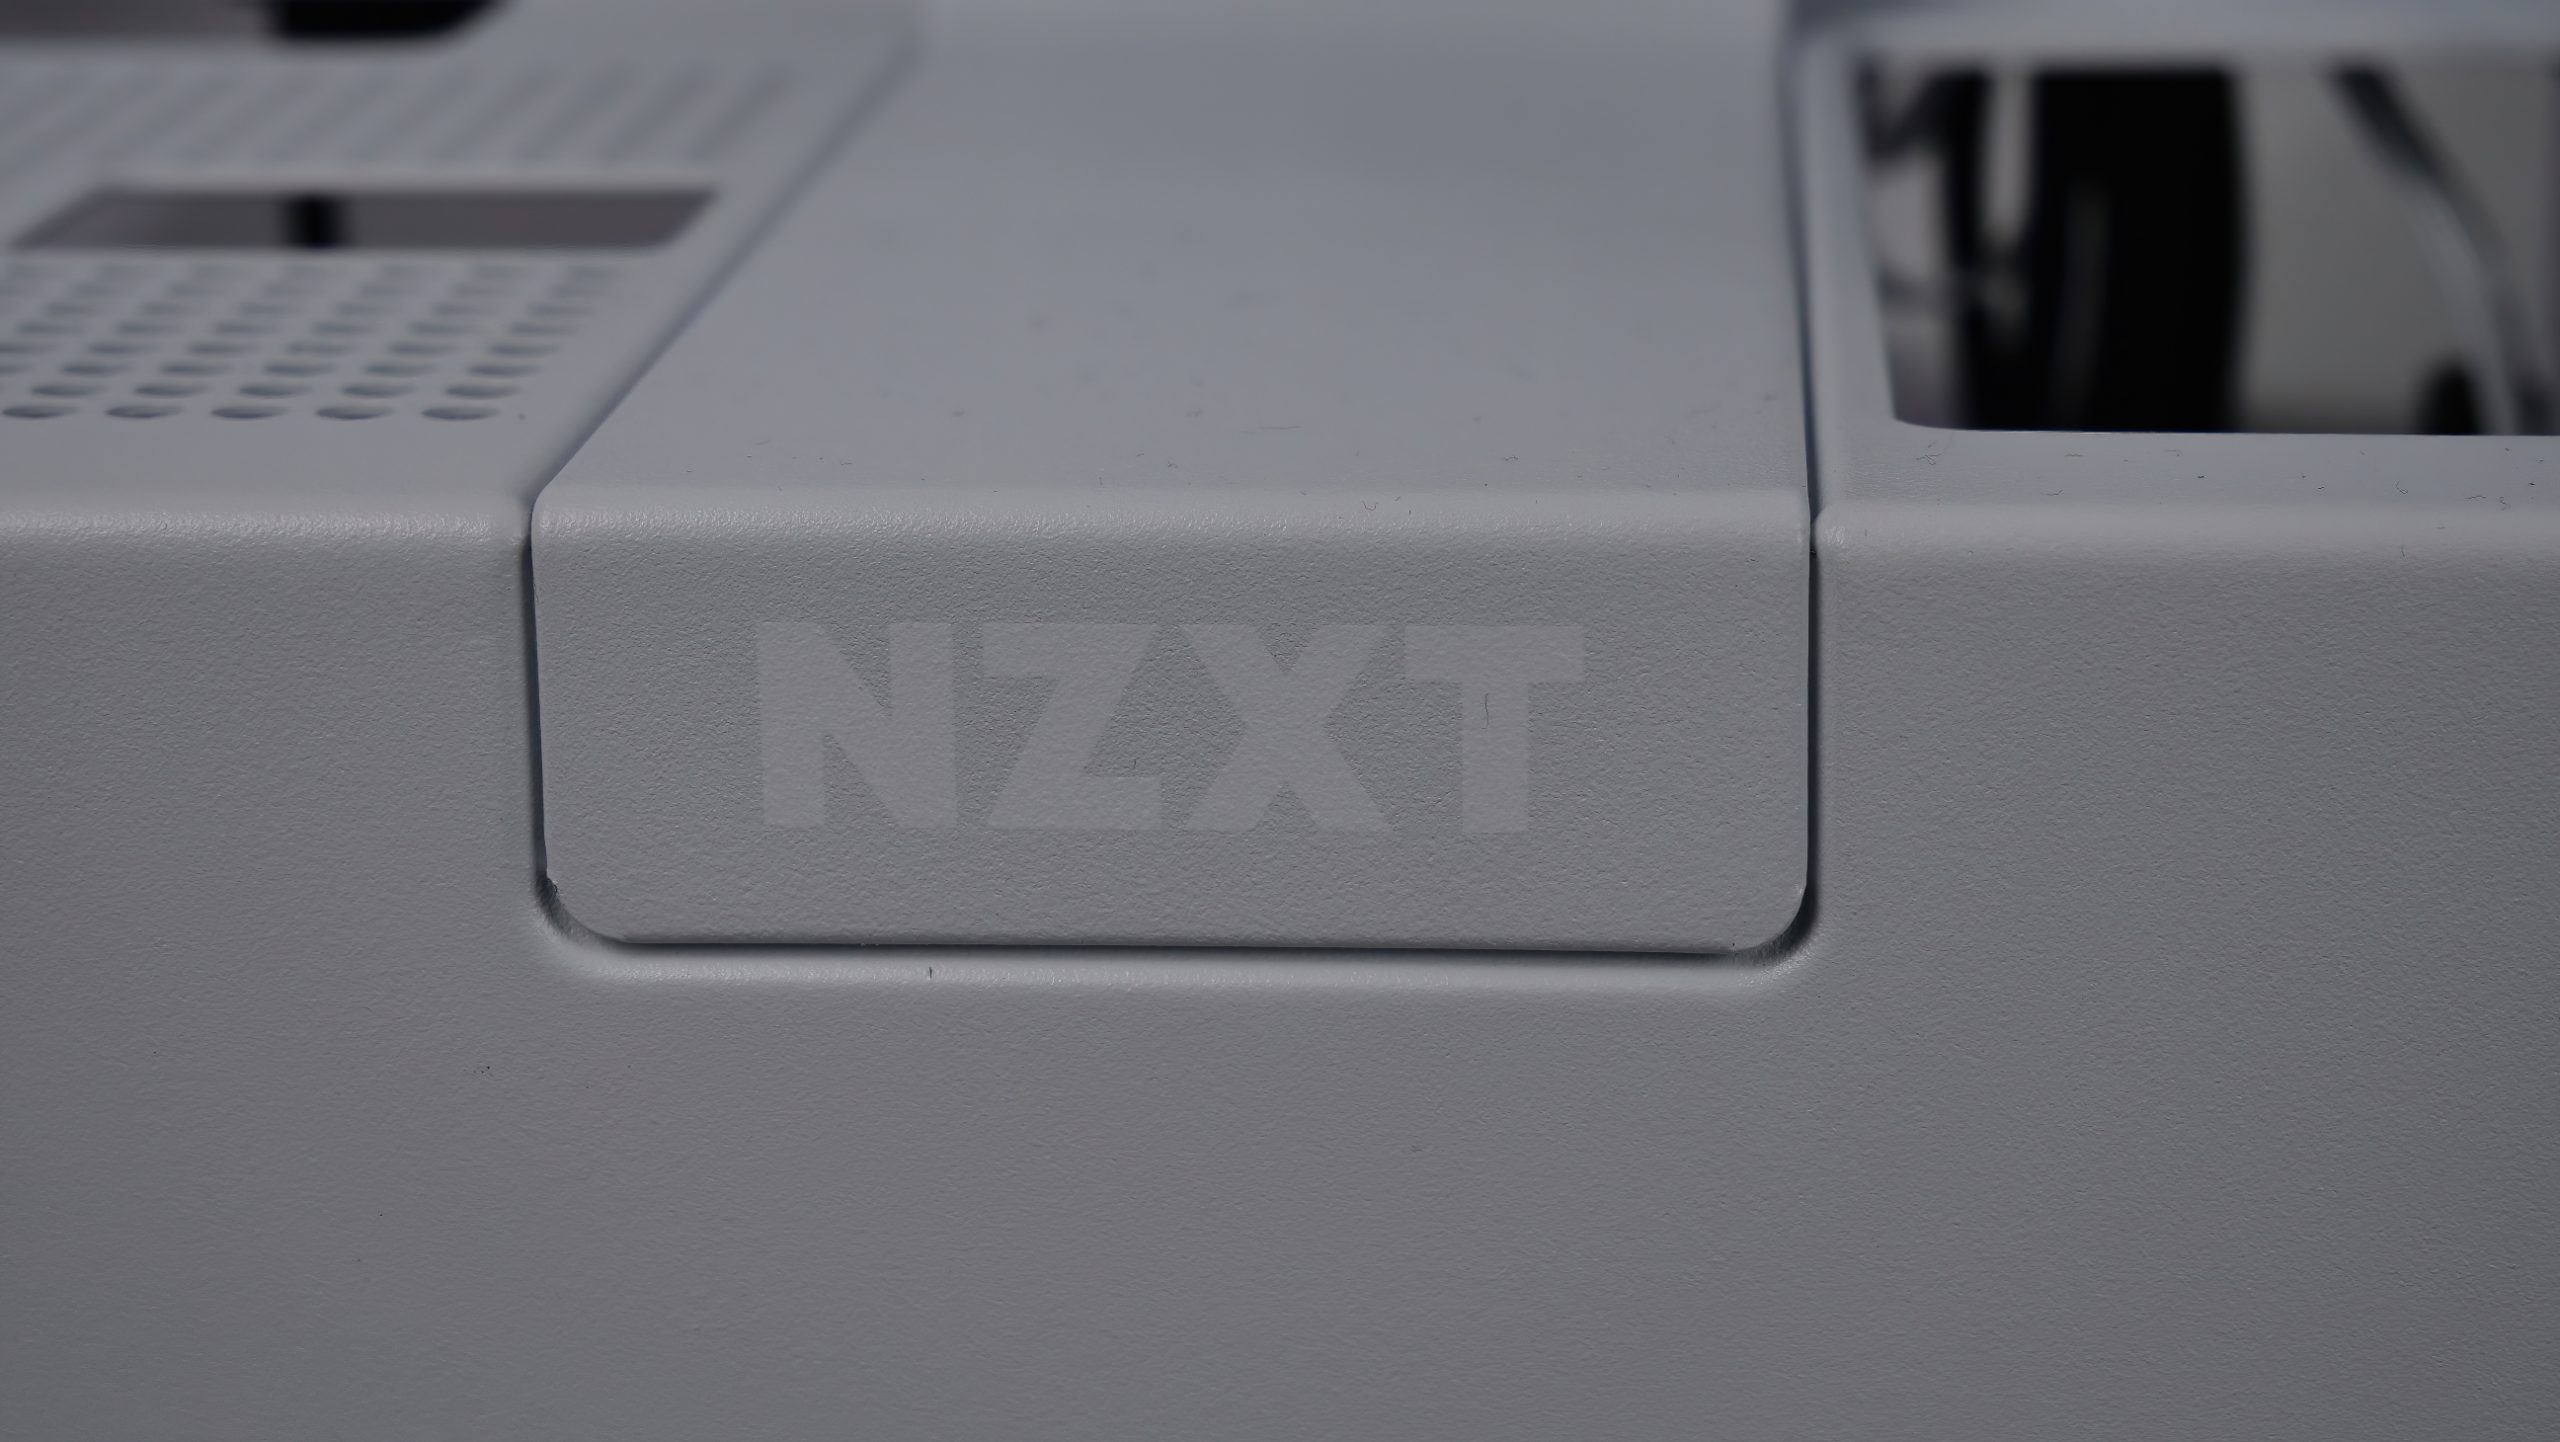
Let’s now take a look behind the glass. First and foremost, we see that NZXT has stayed true to itself in terms of design. This then ends nicely harmonized with the 24-pin cable cover and the NZXT logo. On the bottom right side towards the front, we have a fairly large opening that allows us to install a 360 AIO or a 360 radiator for a custom loop. The recess is sized large enough so that we can either use Push/Pull in conjunction with a Slim Radiator here, or uncharacteristically even a true 45mm radiator.
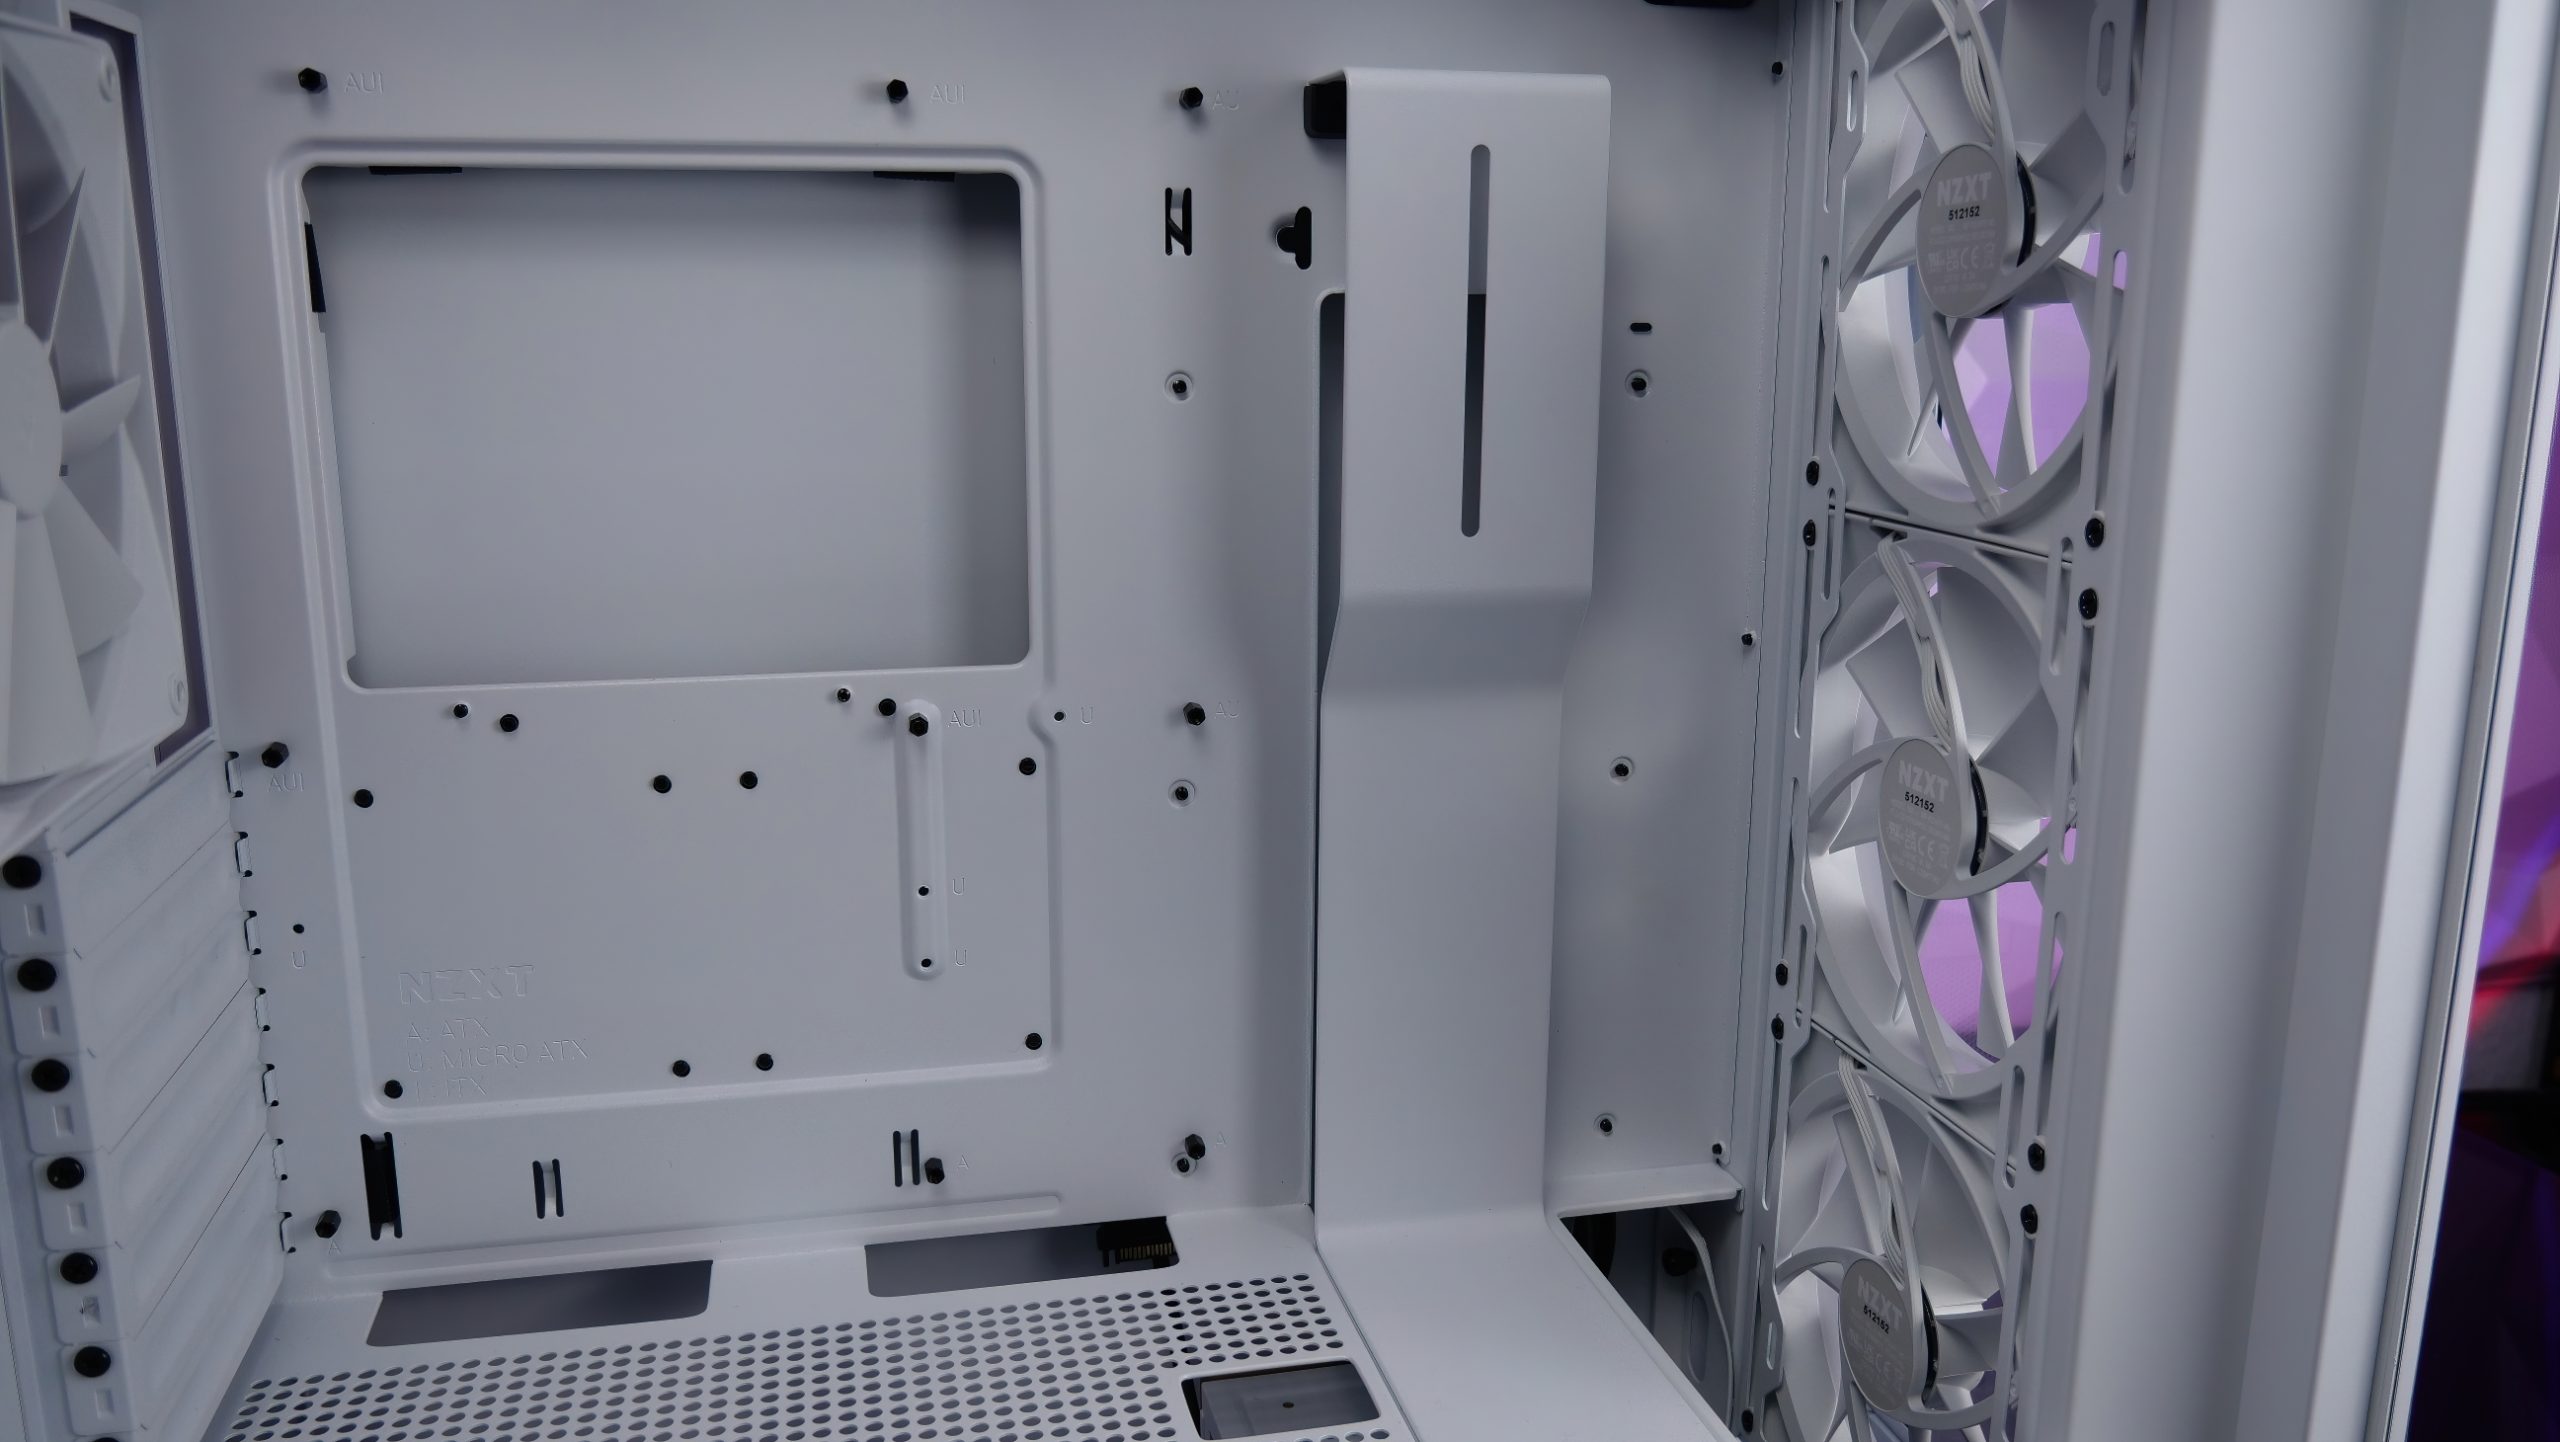
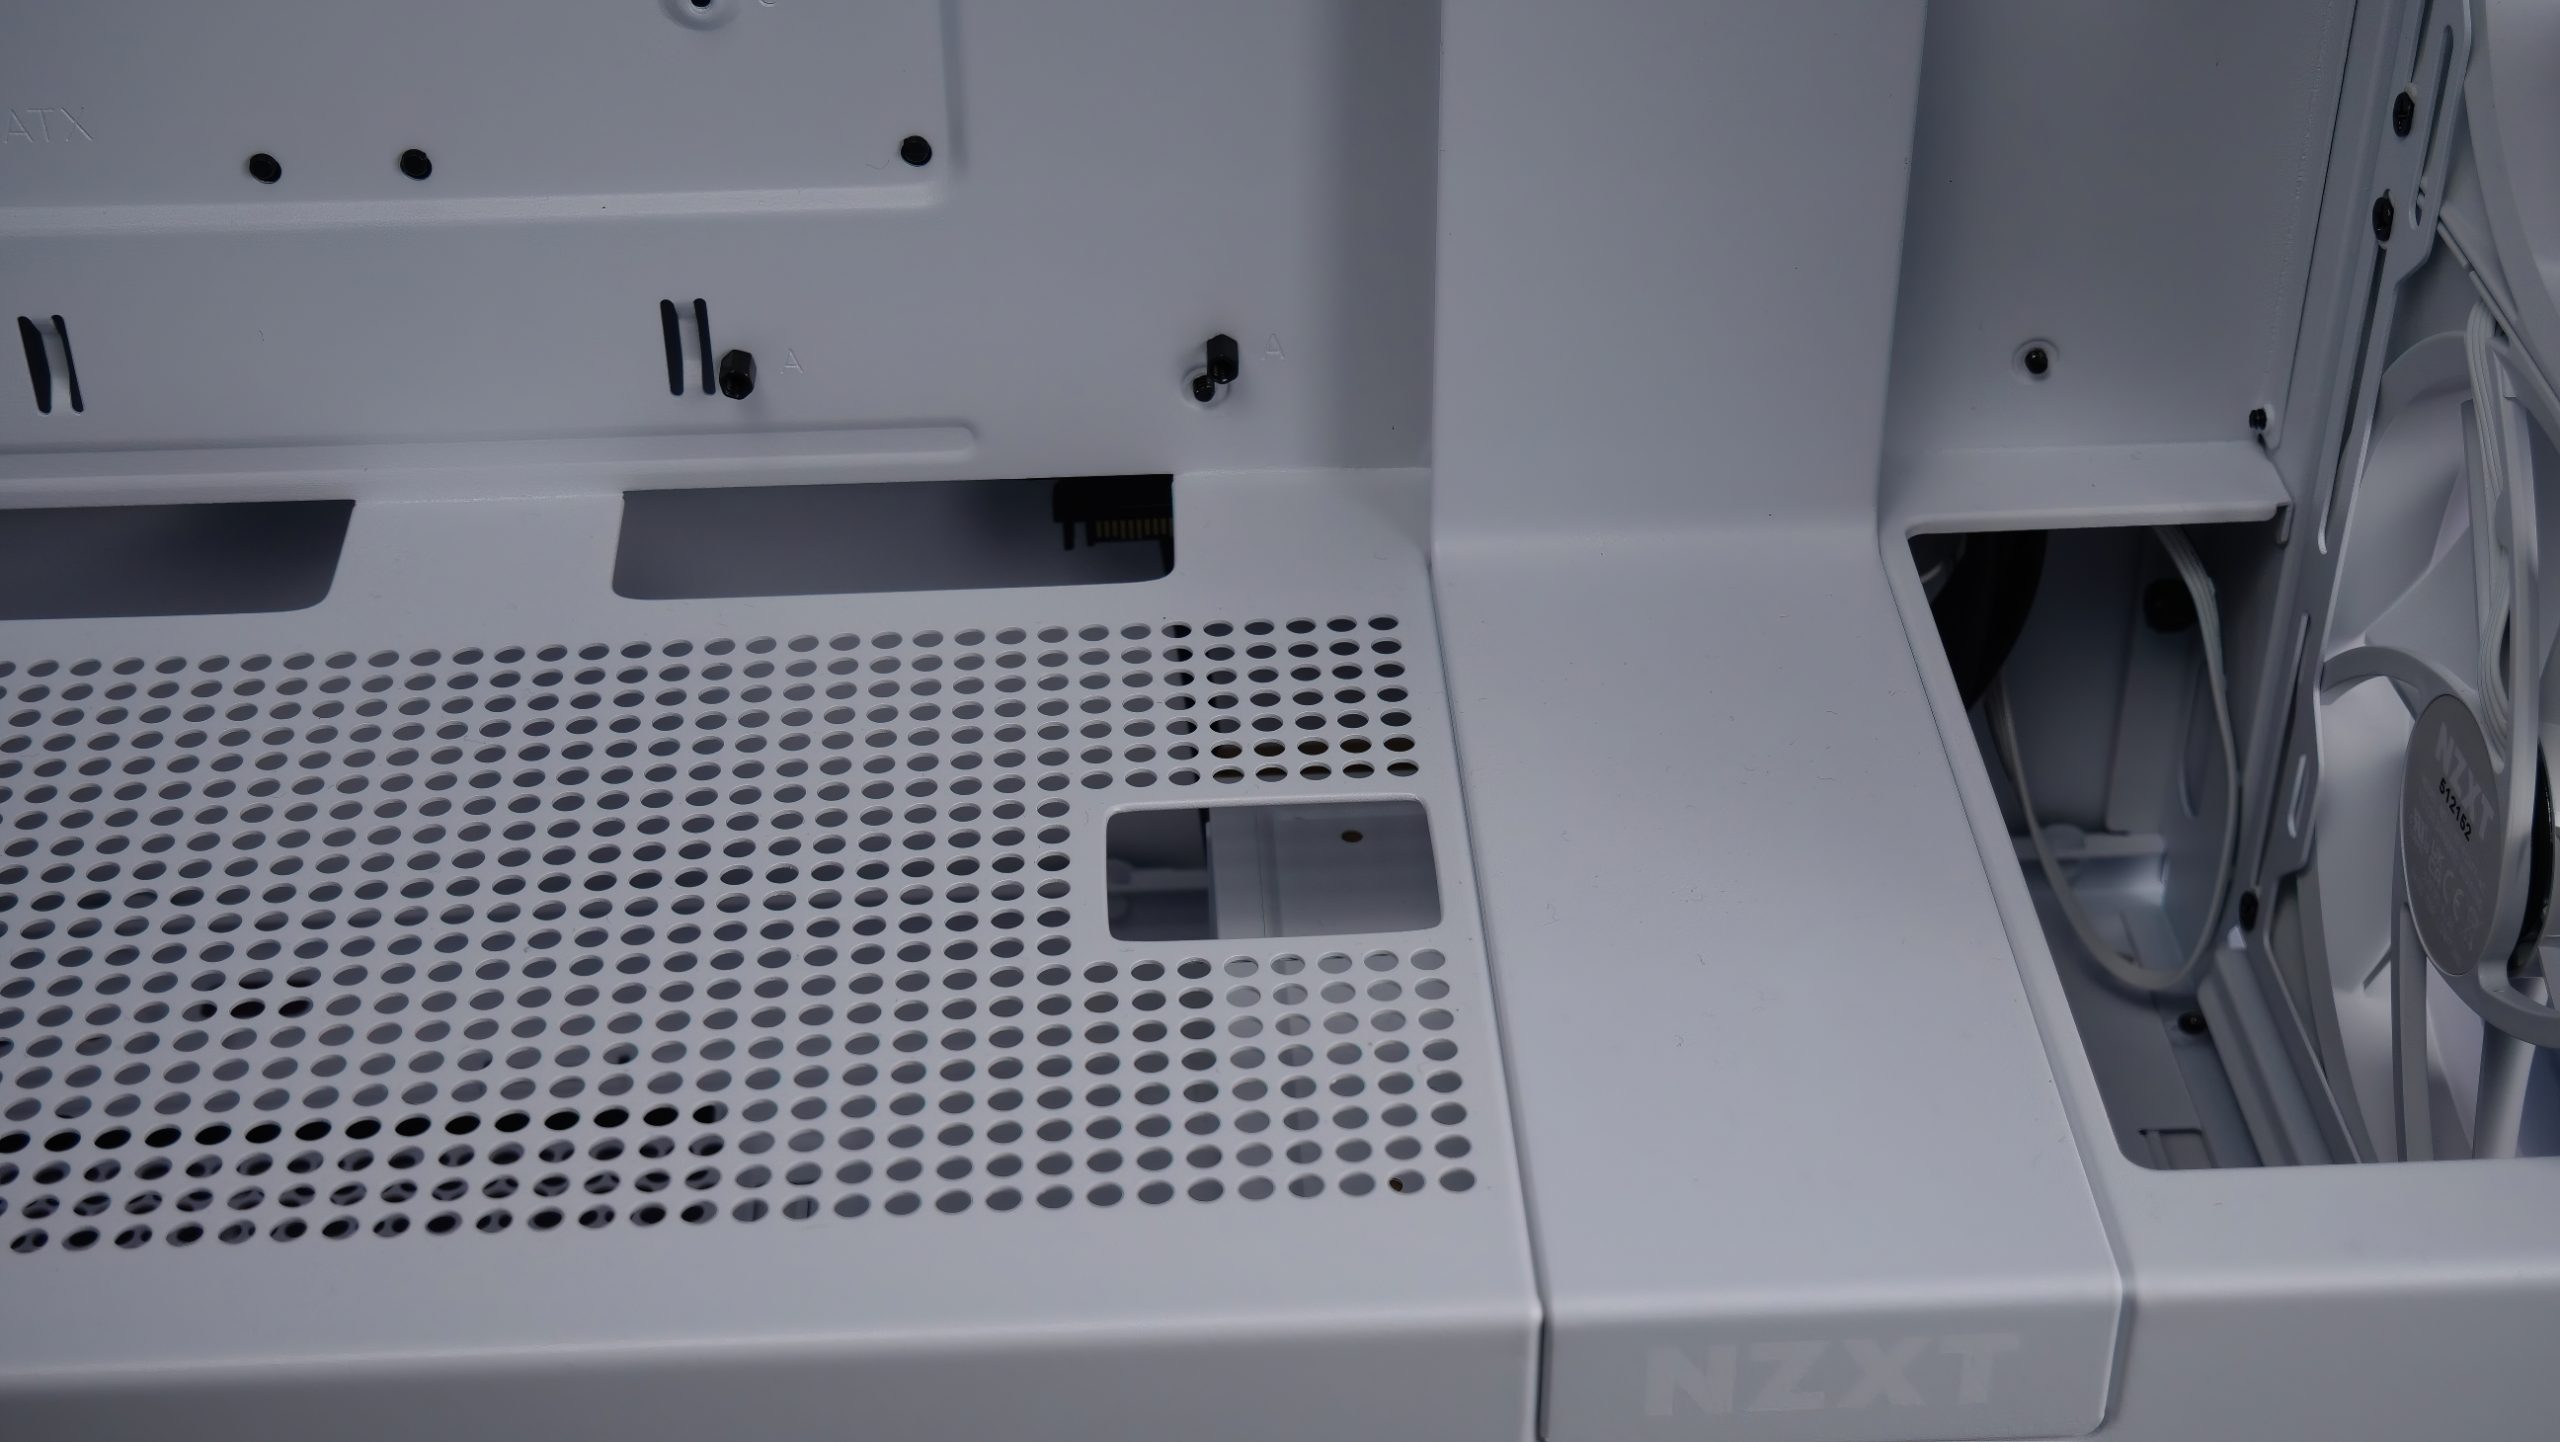
The entire PSU cover is perforated and ensures that our PSU does not suffocate in the bay. Cable grommets are also provided, which allow us to manage cables neatly.
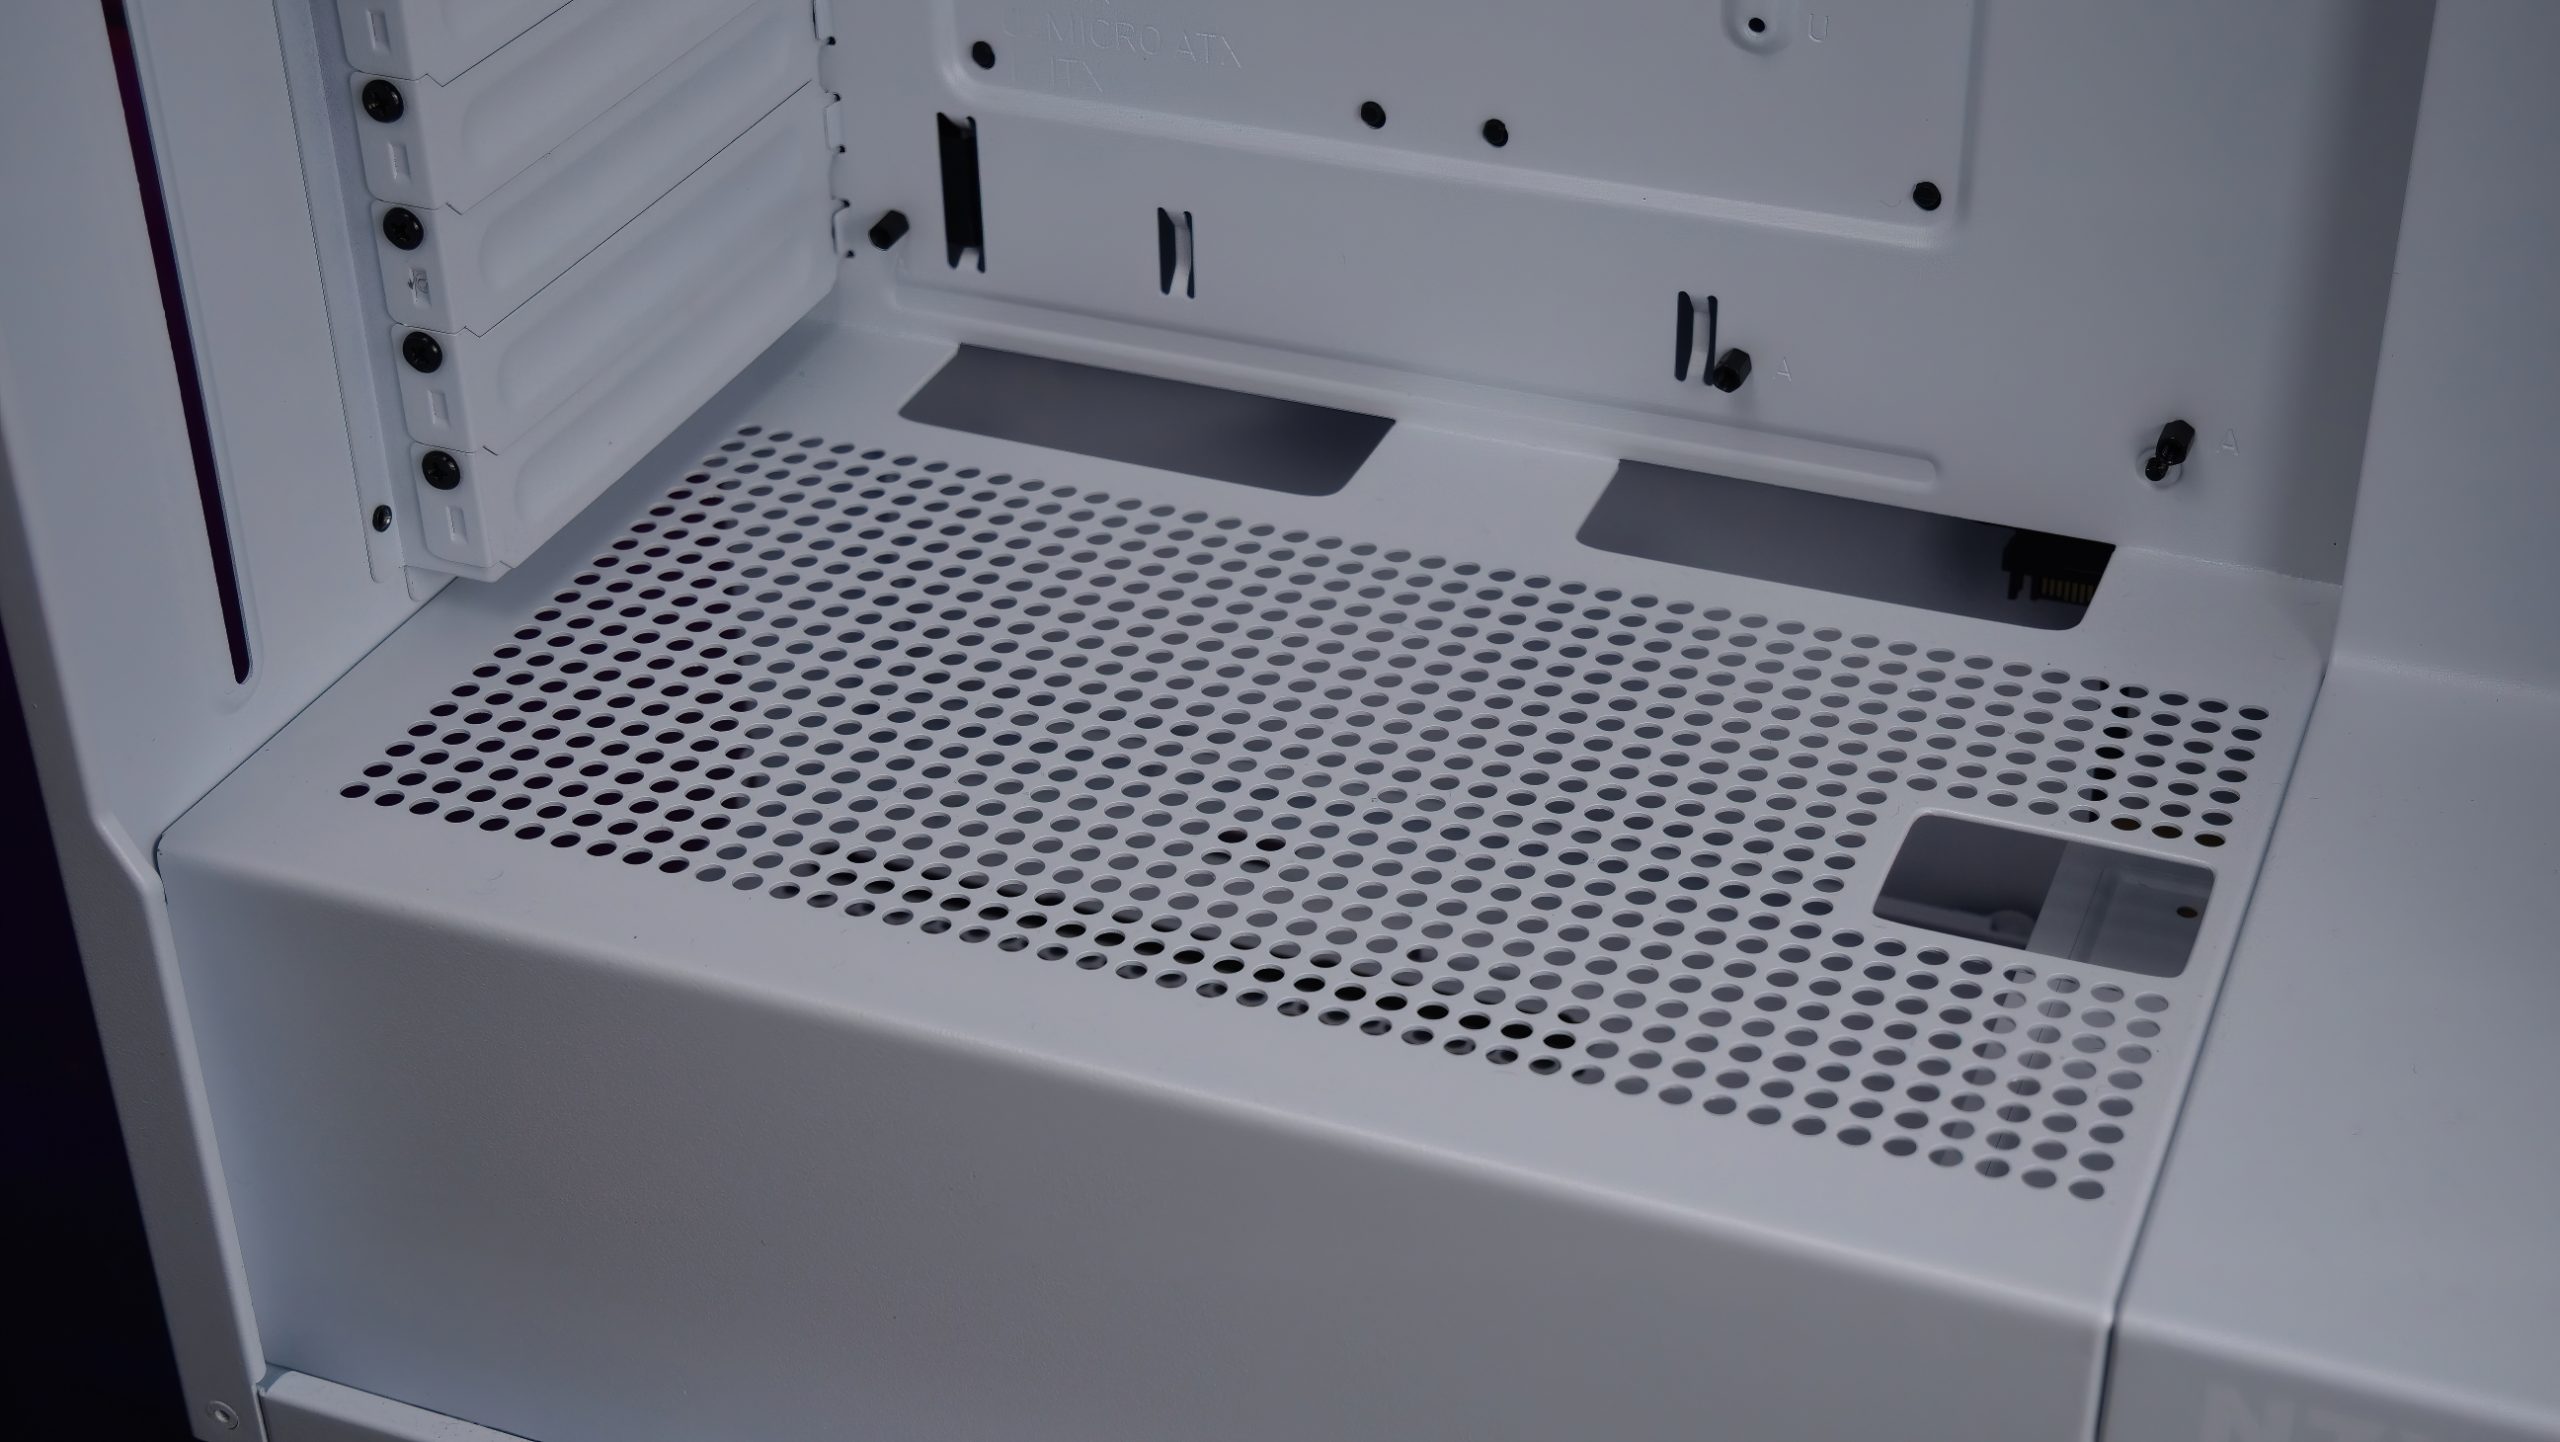
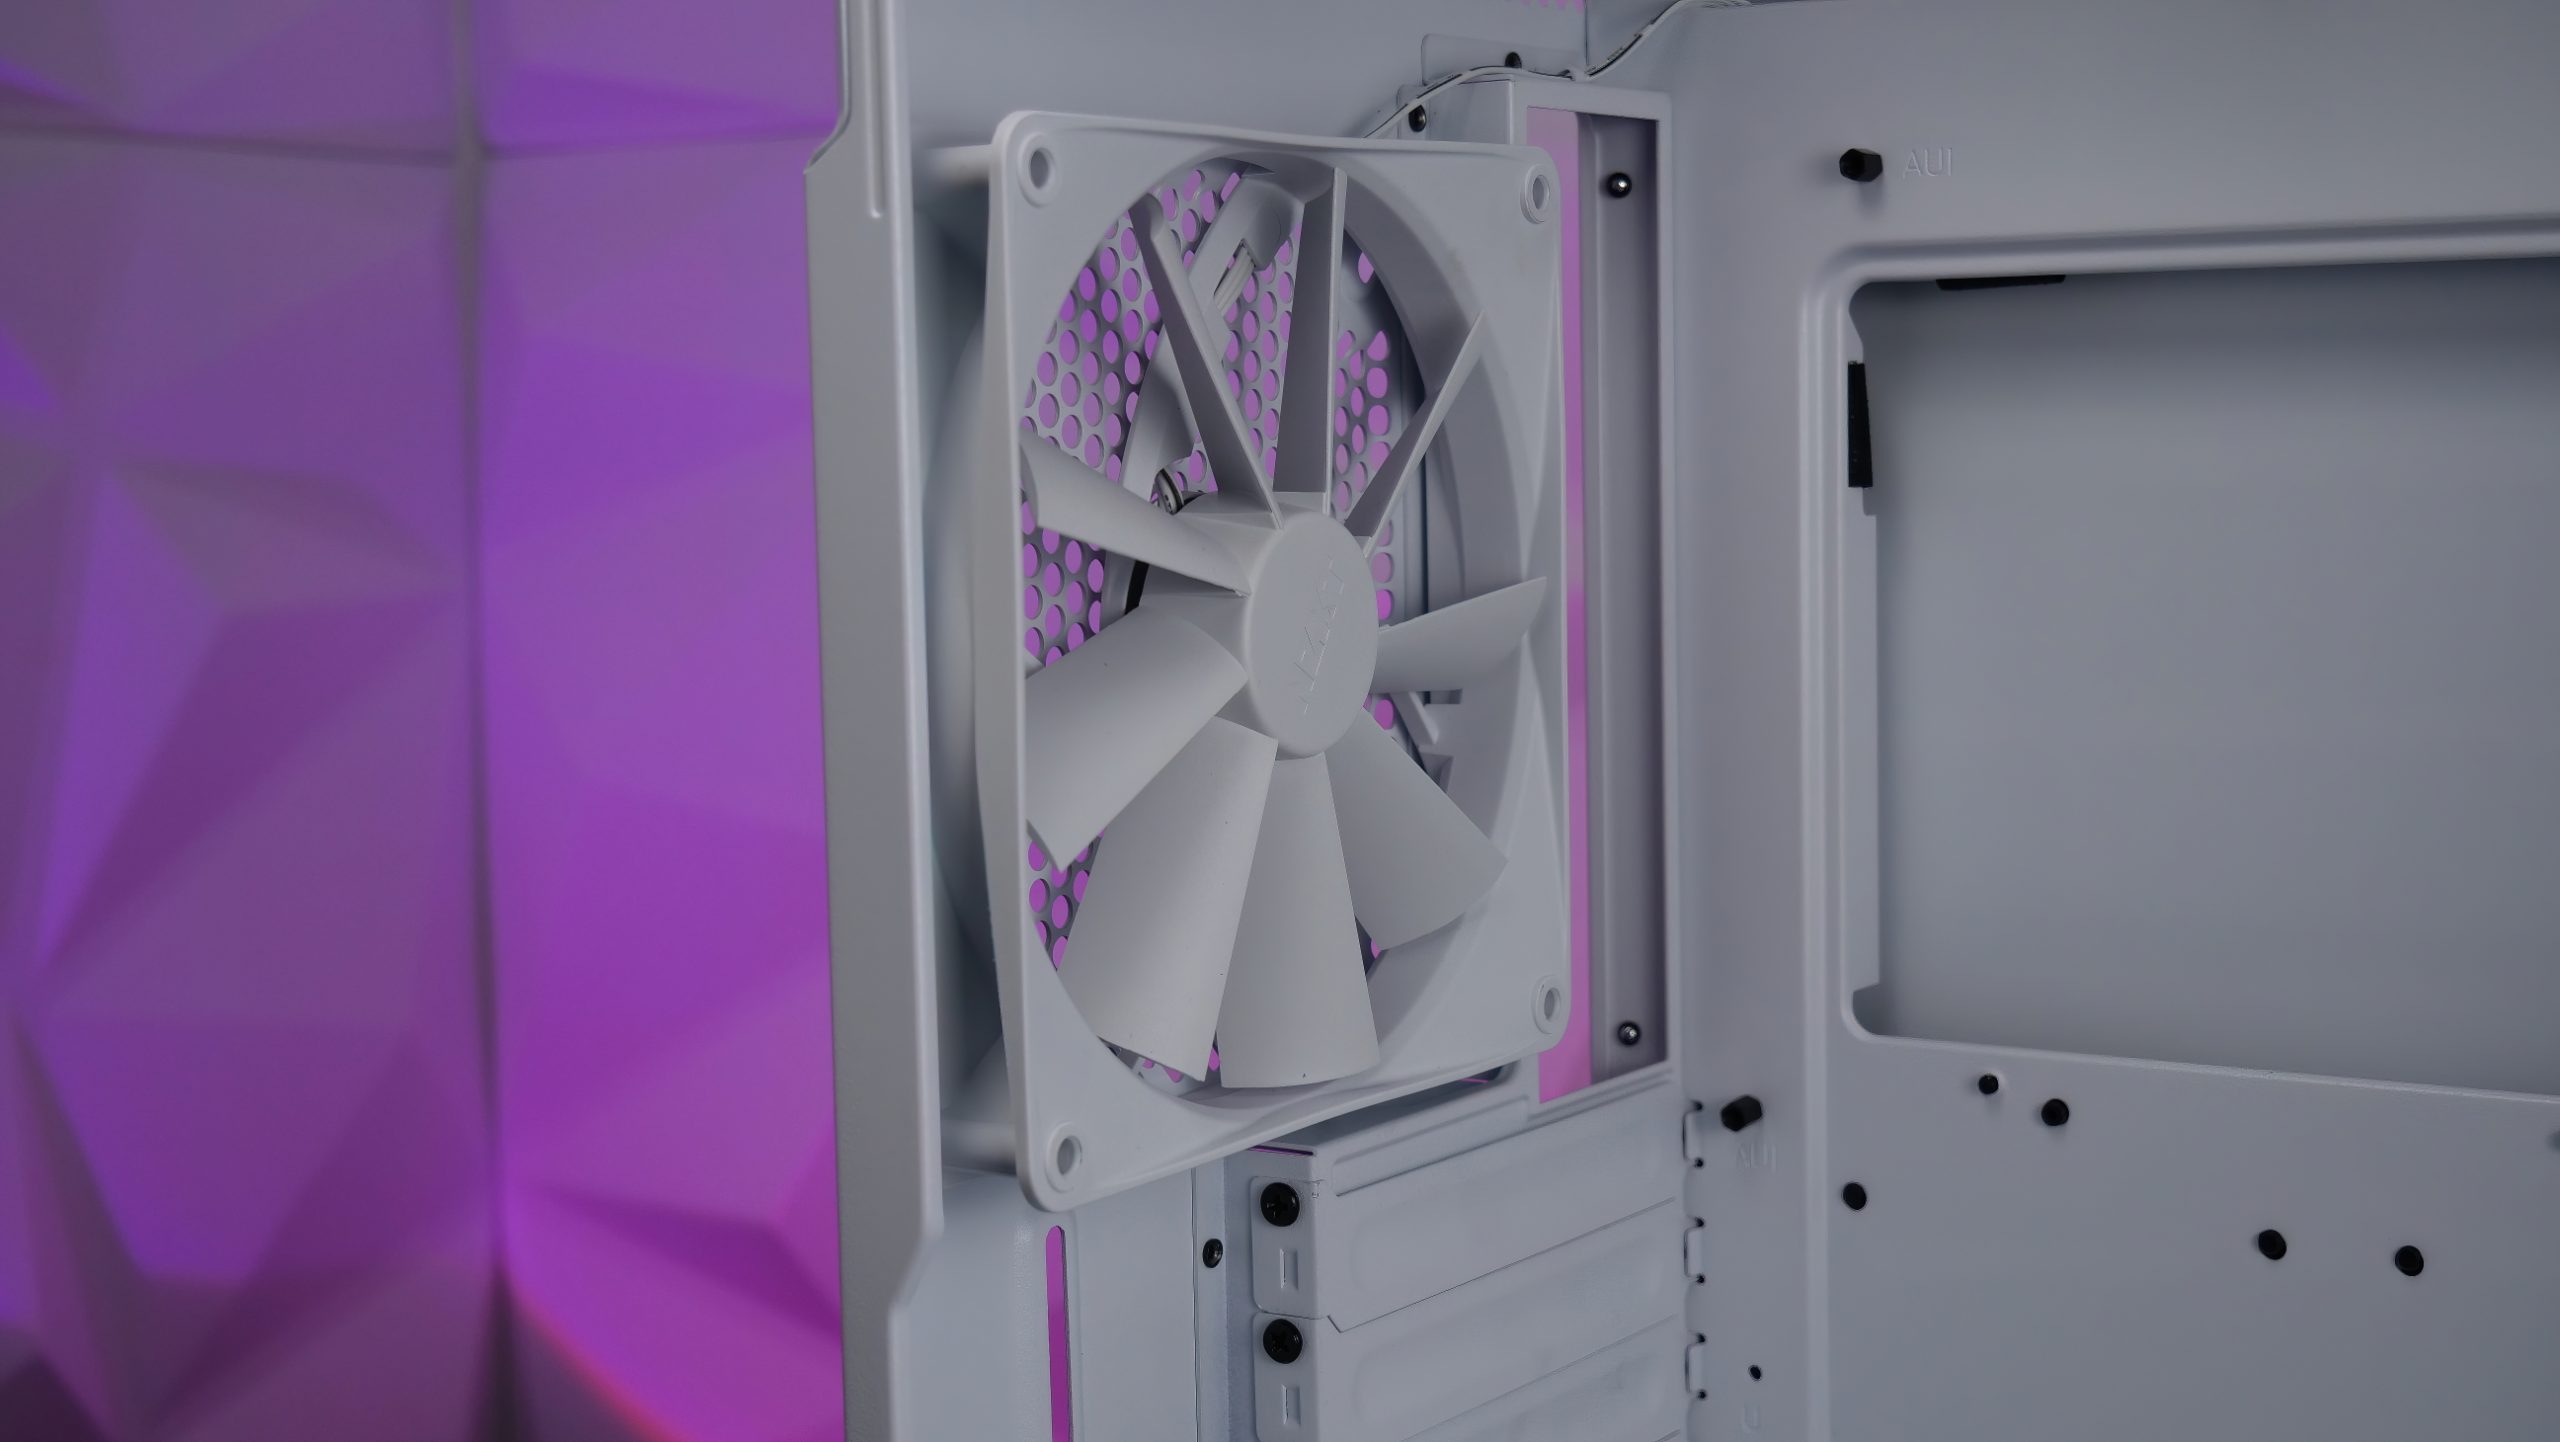
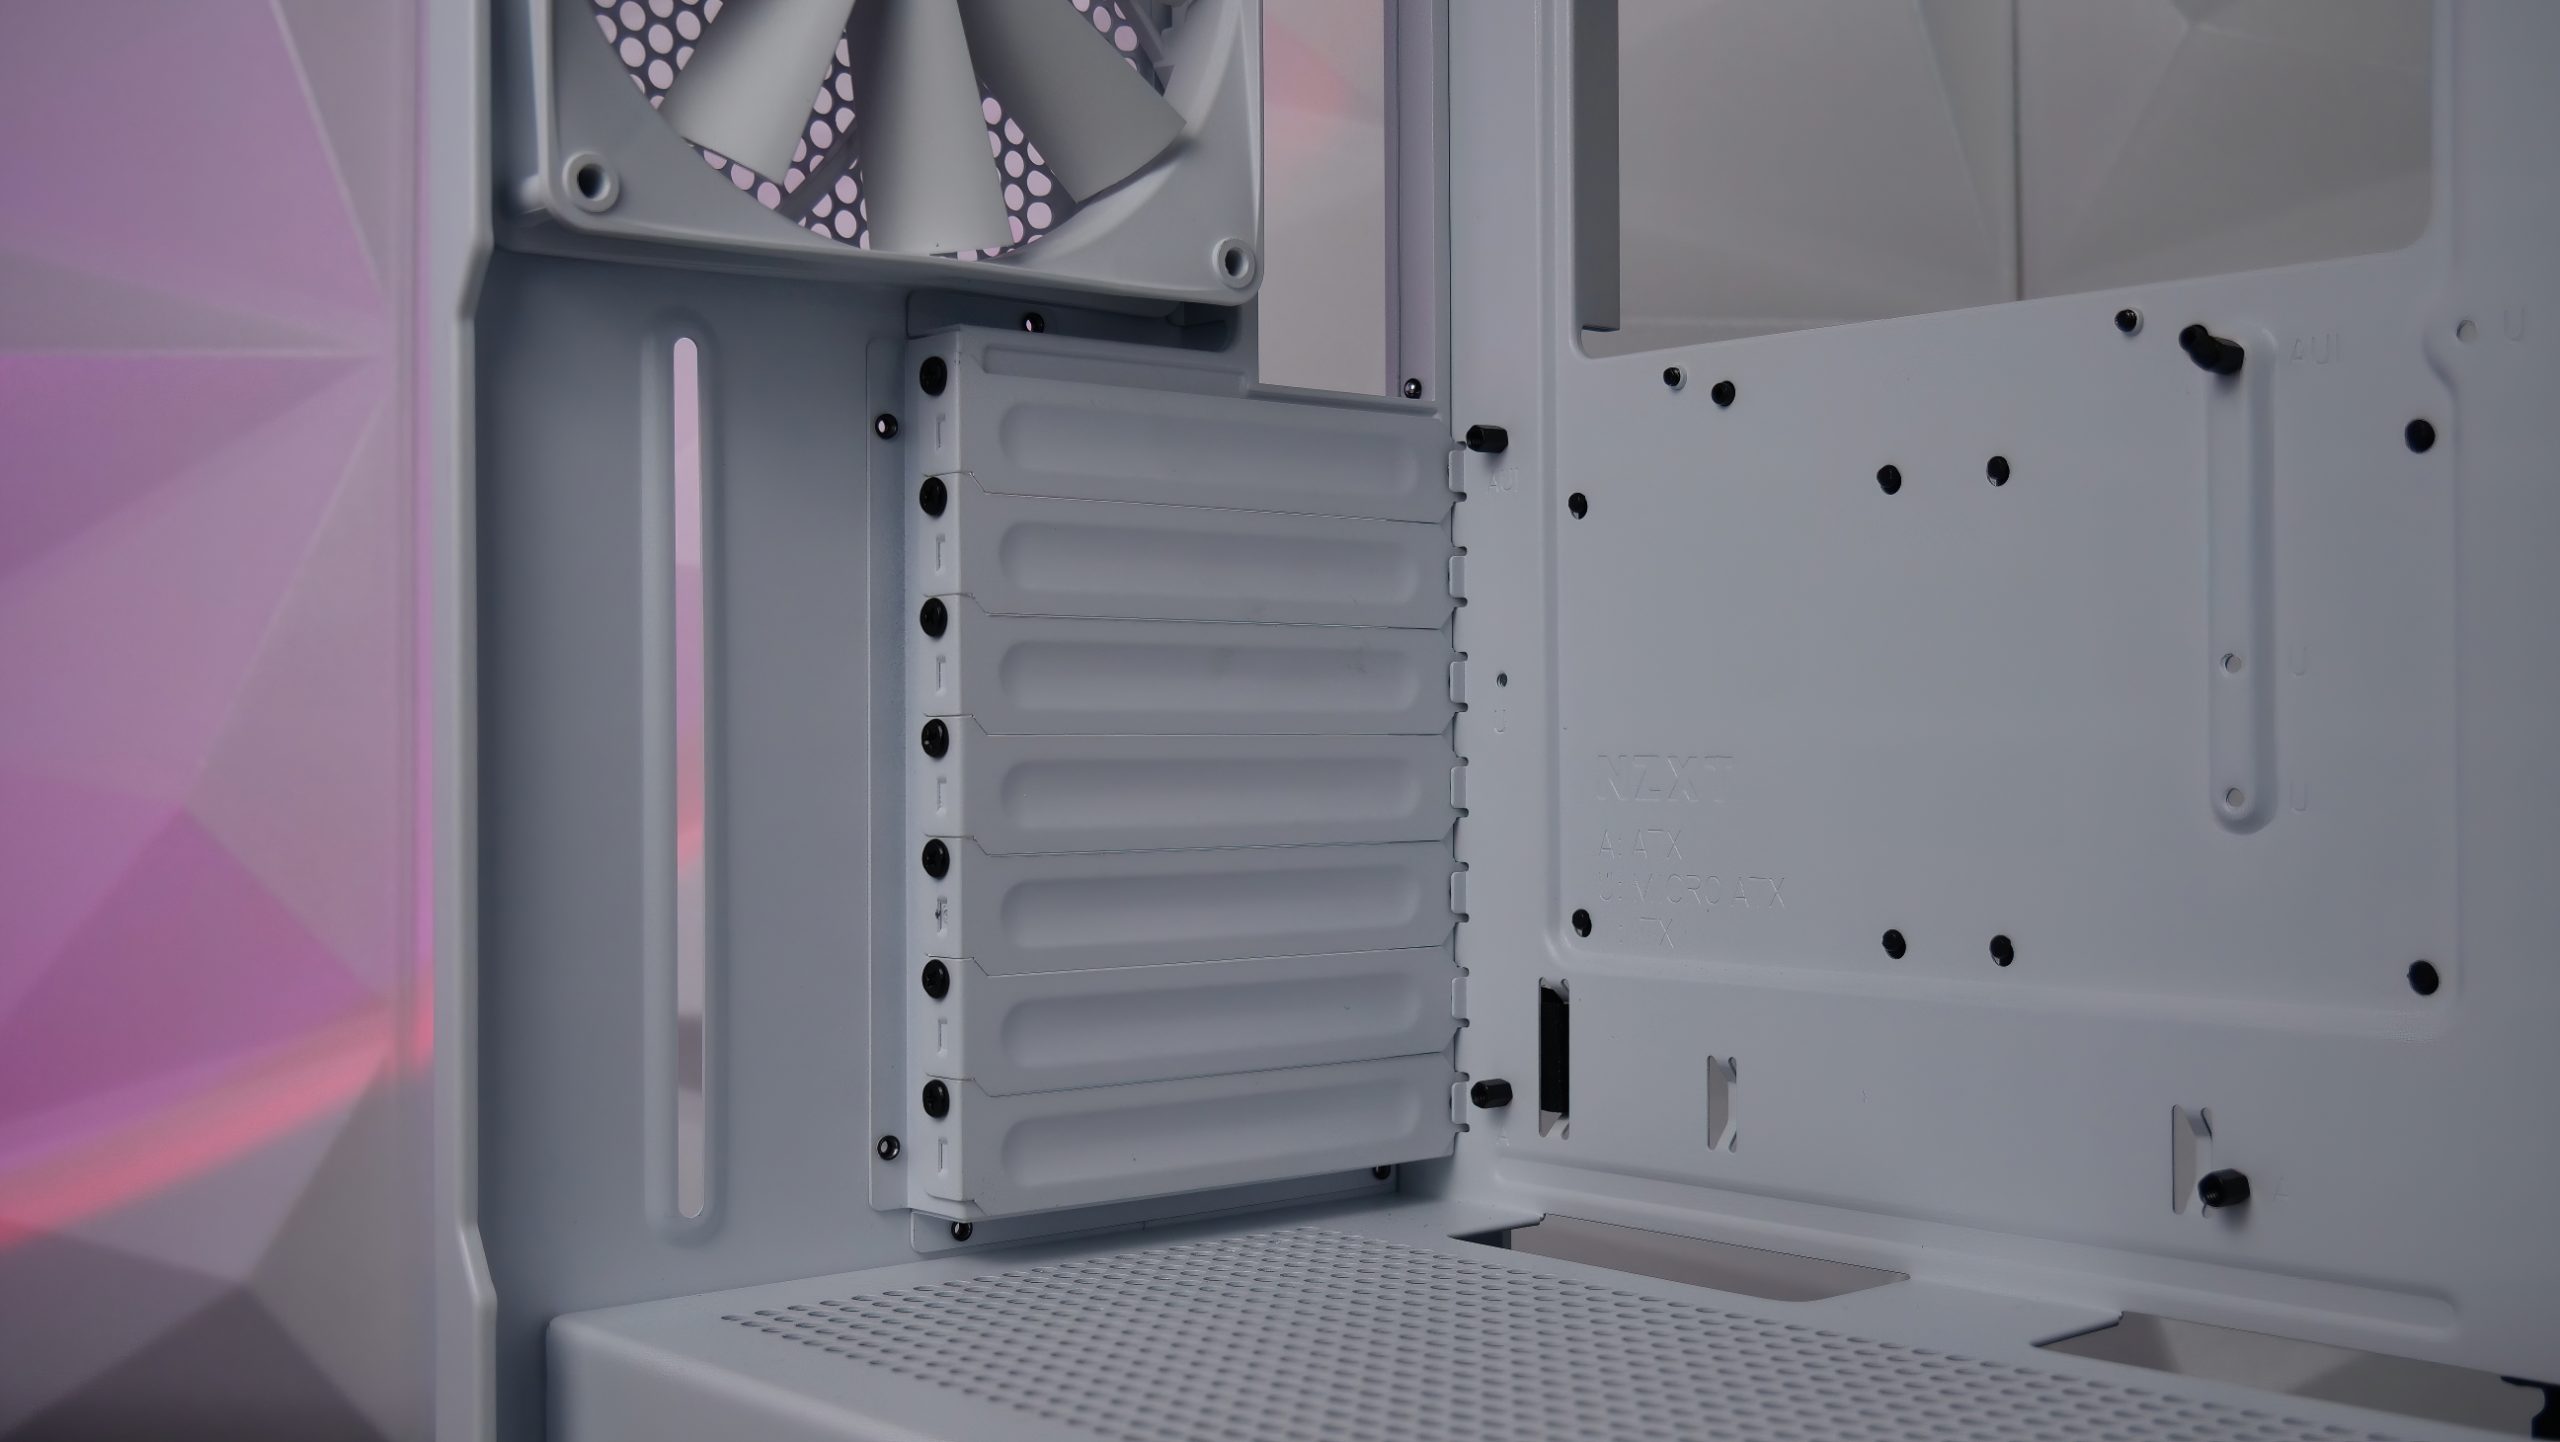
In the rear of the H7 Elite, as already mentioned, there is the pre-mounted 3-pin fan and 7 removable slot bezels below it. But you can also see that there is no possibility to install the GPU vertically. If we really want to do that, we would have to buy a suitable vertical mount. Too bad.
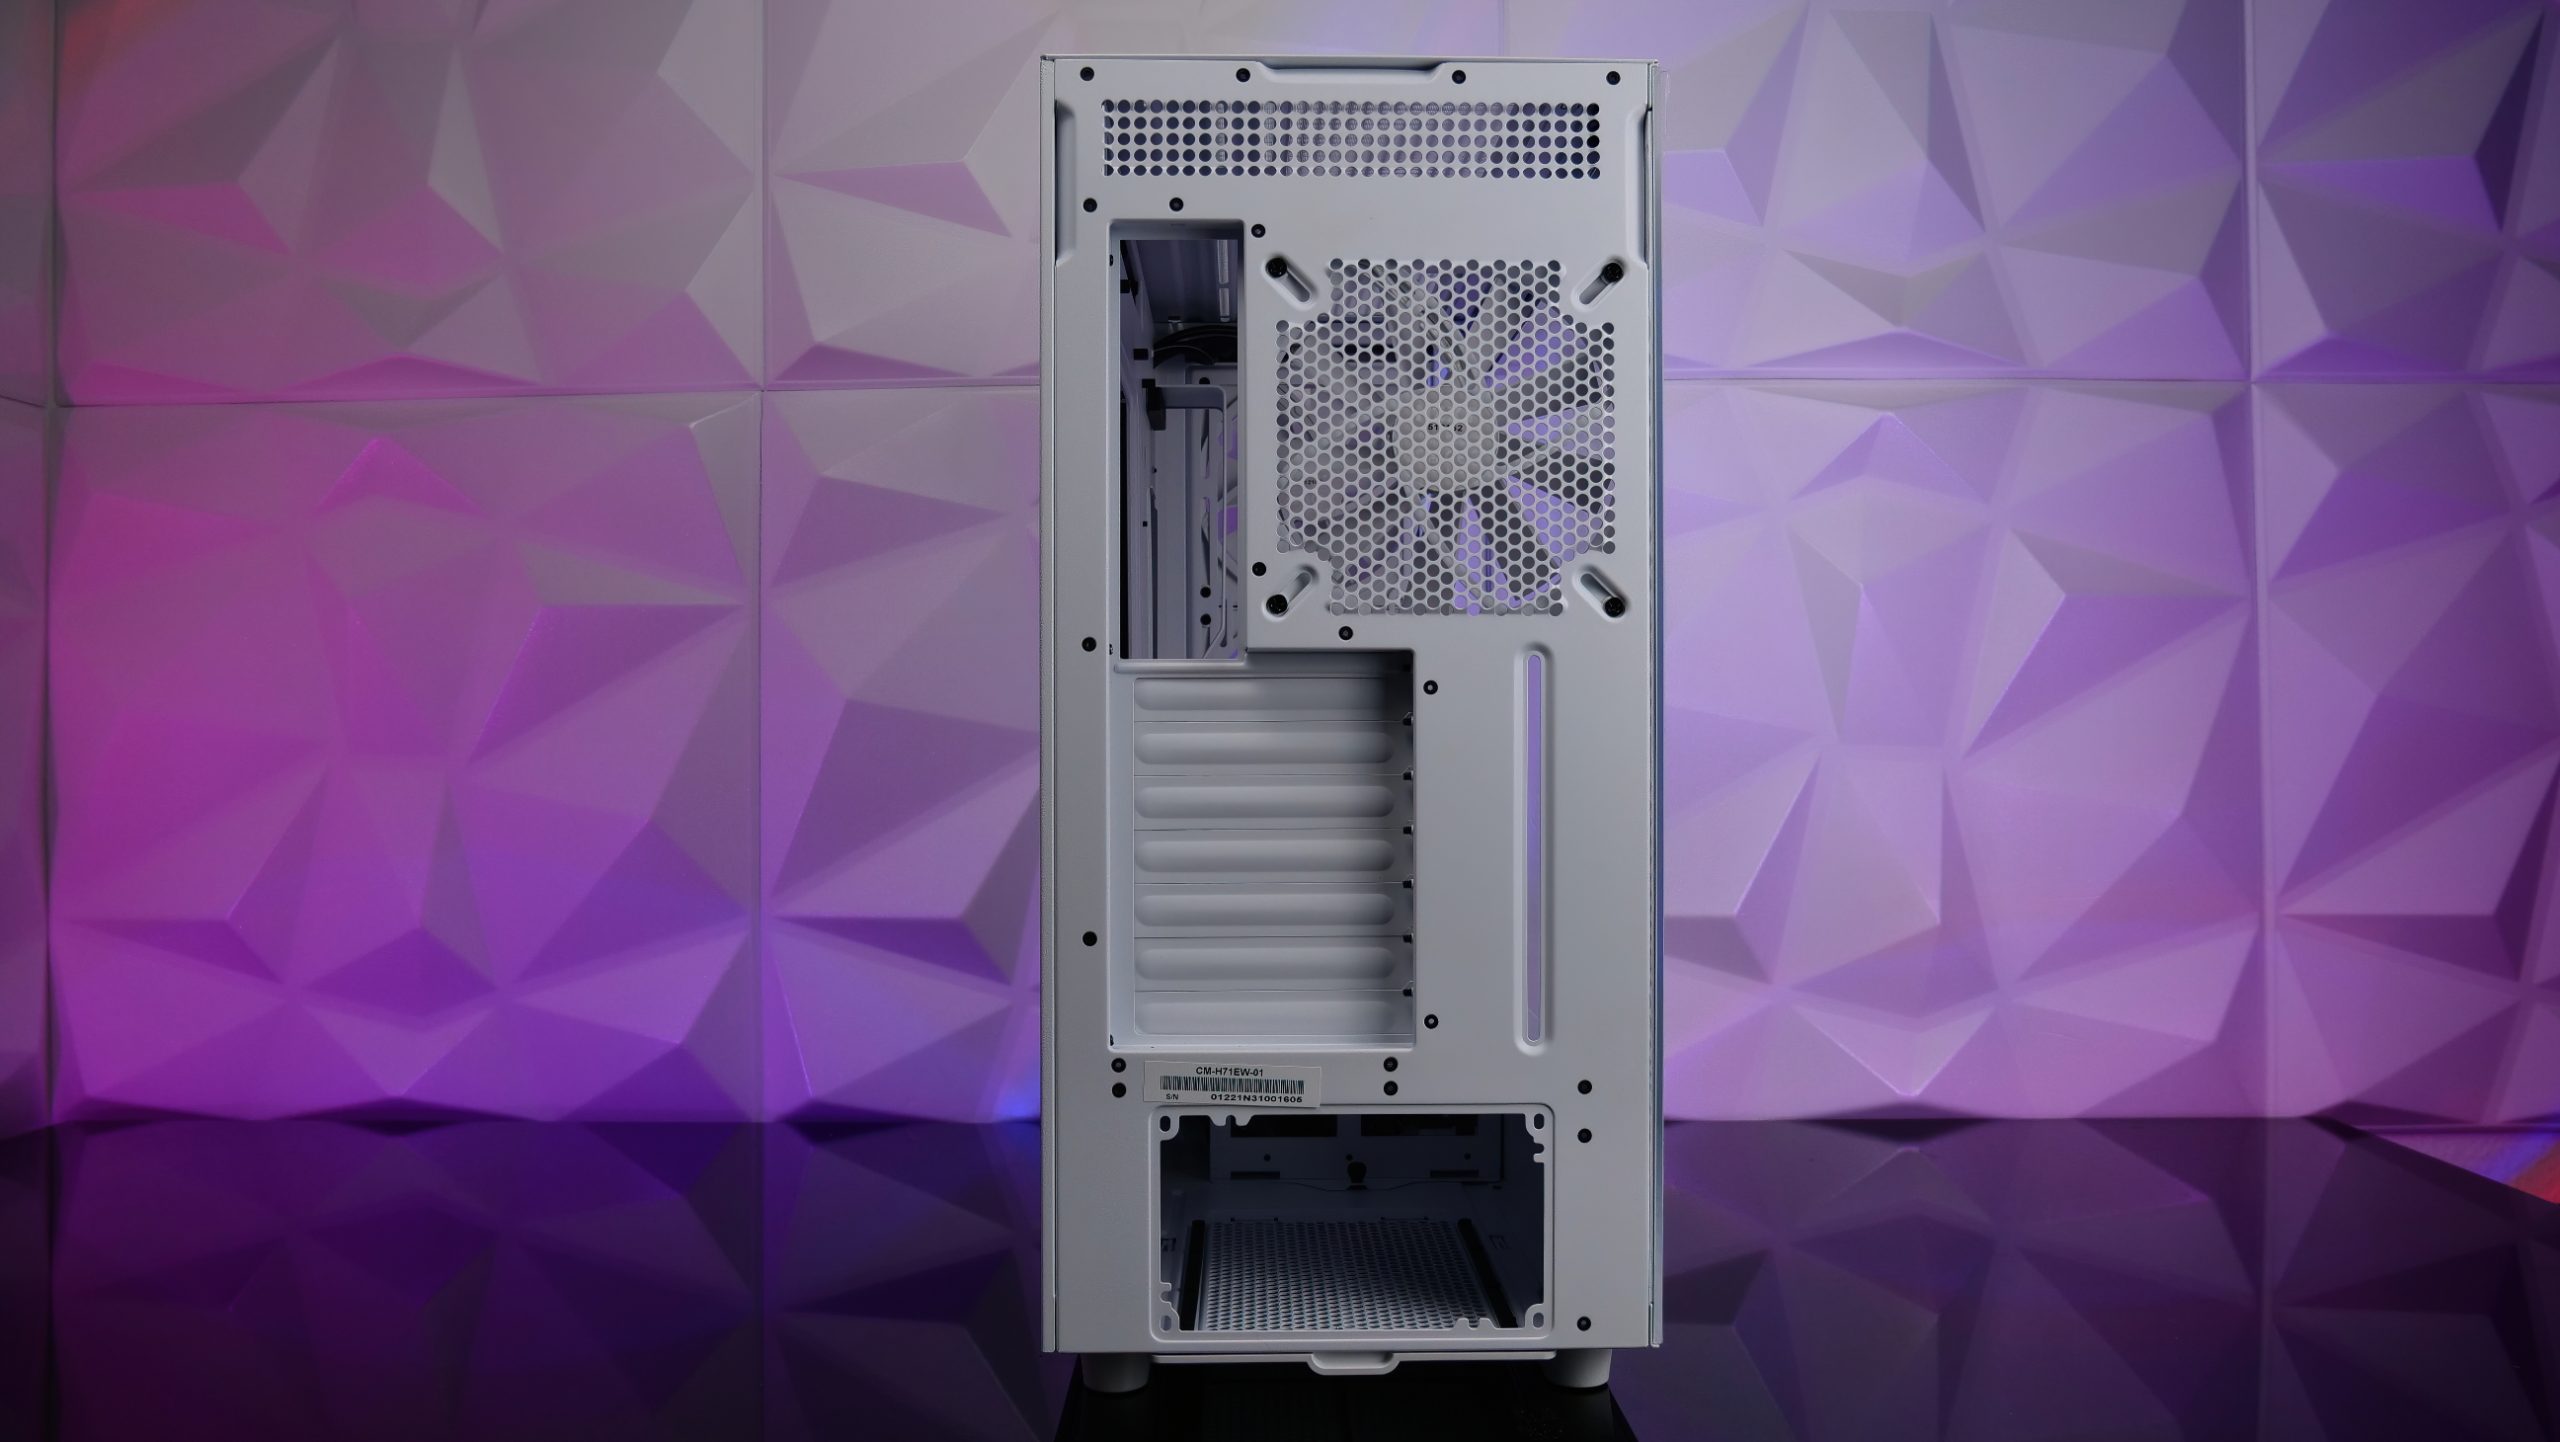
Next, we turn our gaze upward. Here we have the option of either installing normal fans or radiators up to a size of 420 mm, that is, up to 3 x 140mm or, of course, optionally only 3 x 120 mm. On the outside is a plugged-in dust filter, which can be easily removed after dismounting the top panel.
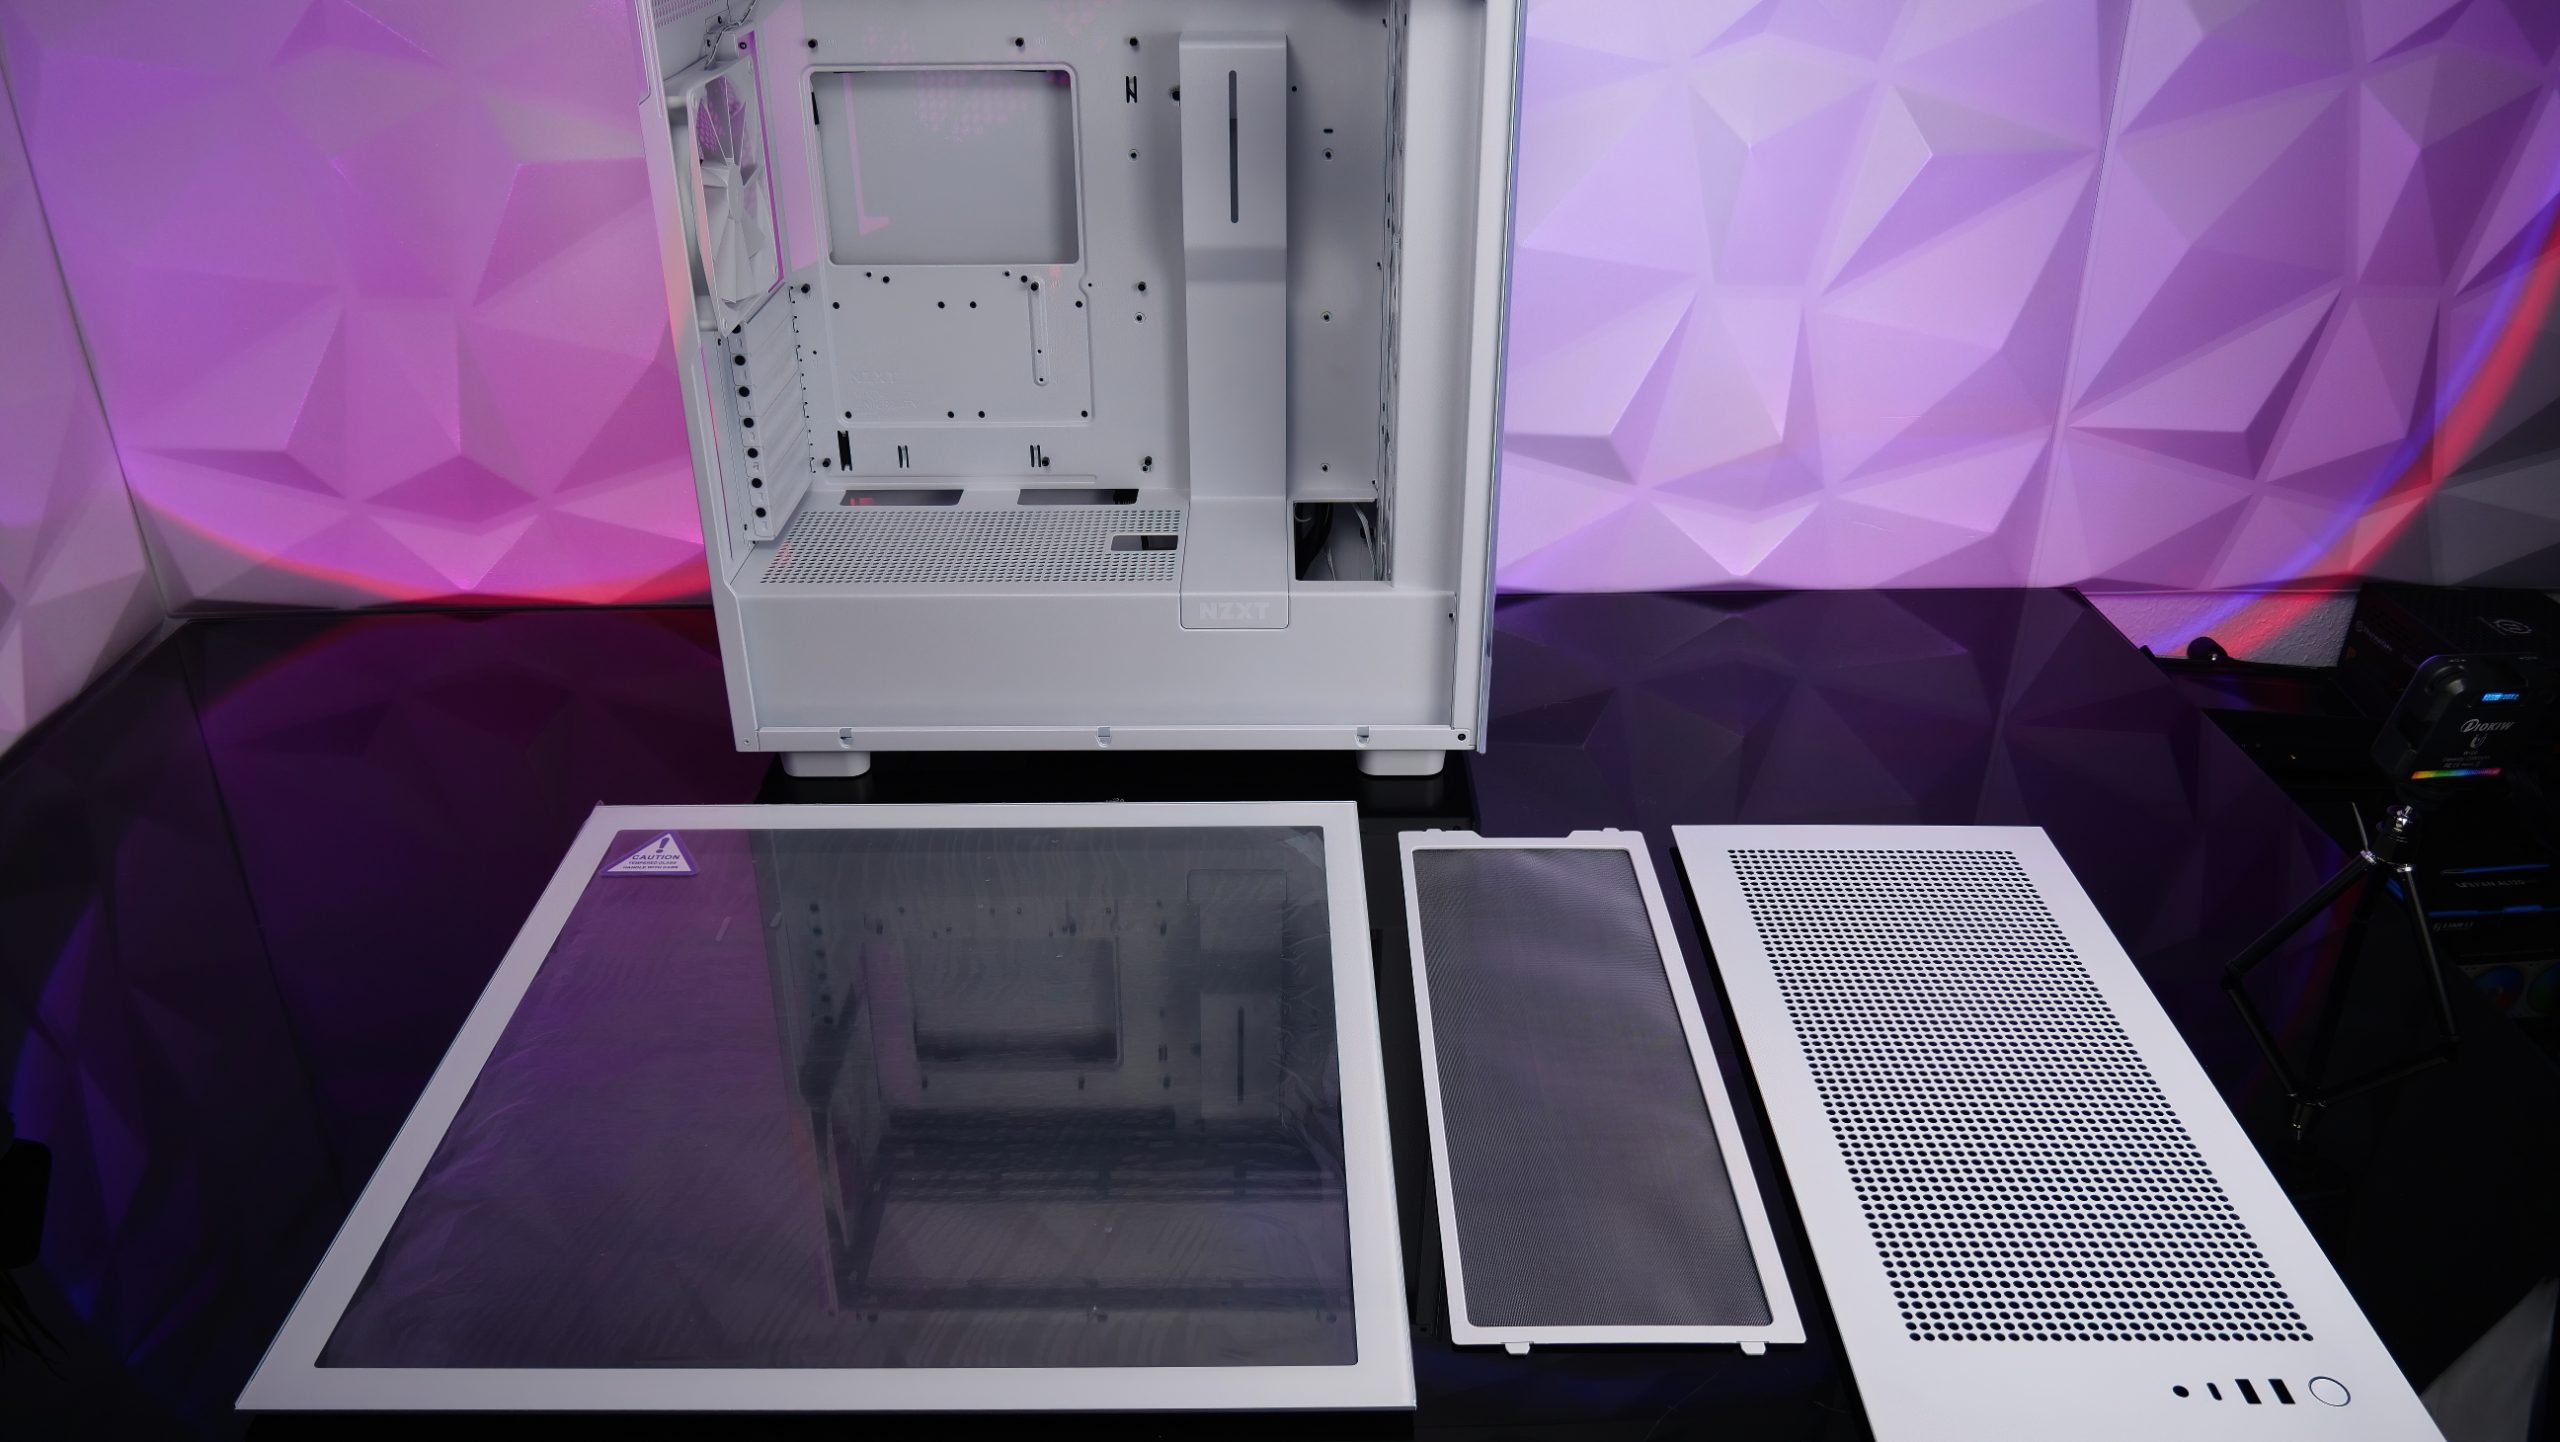
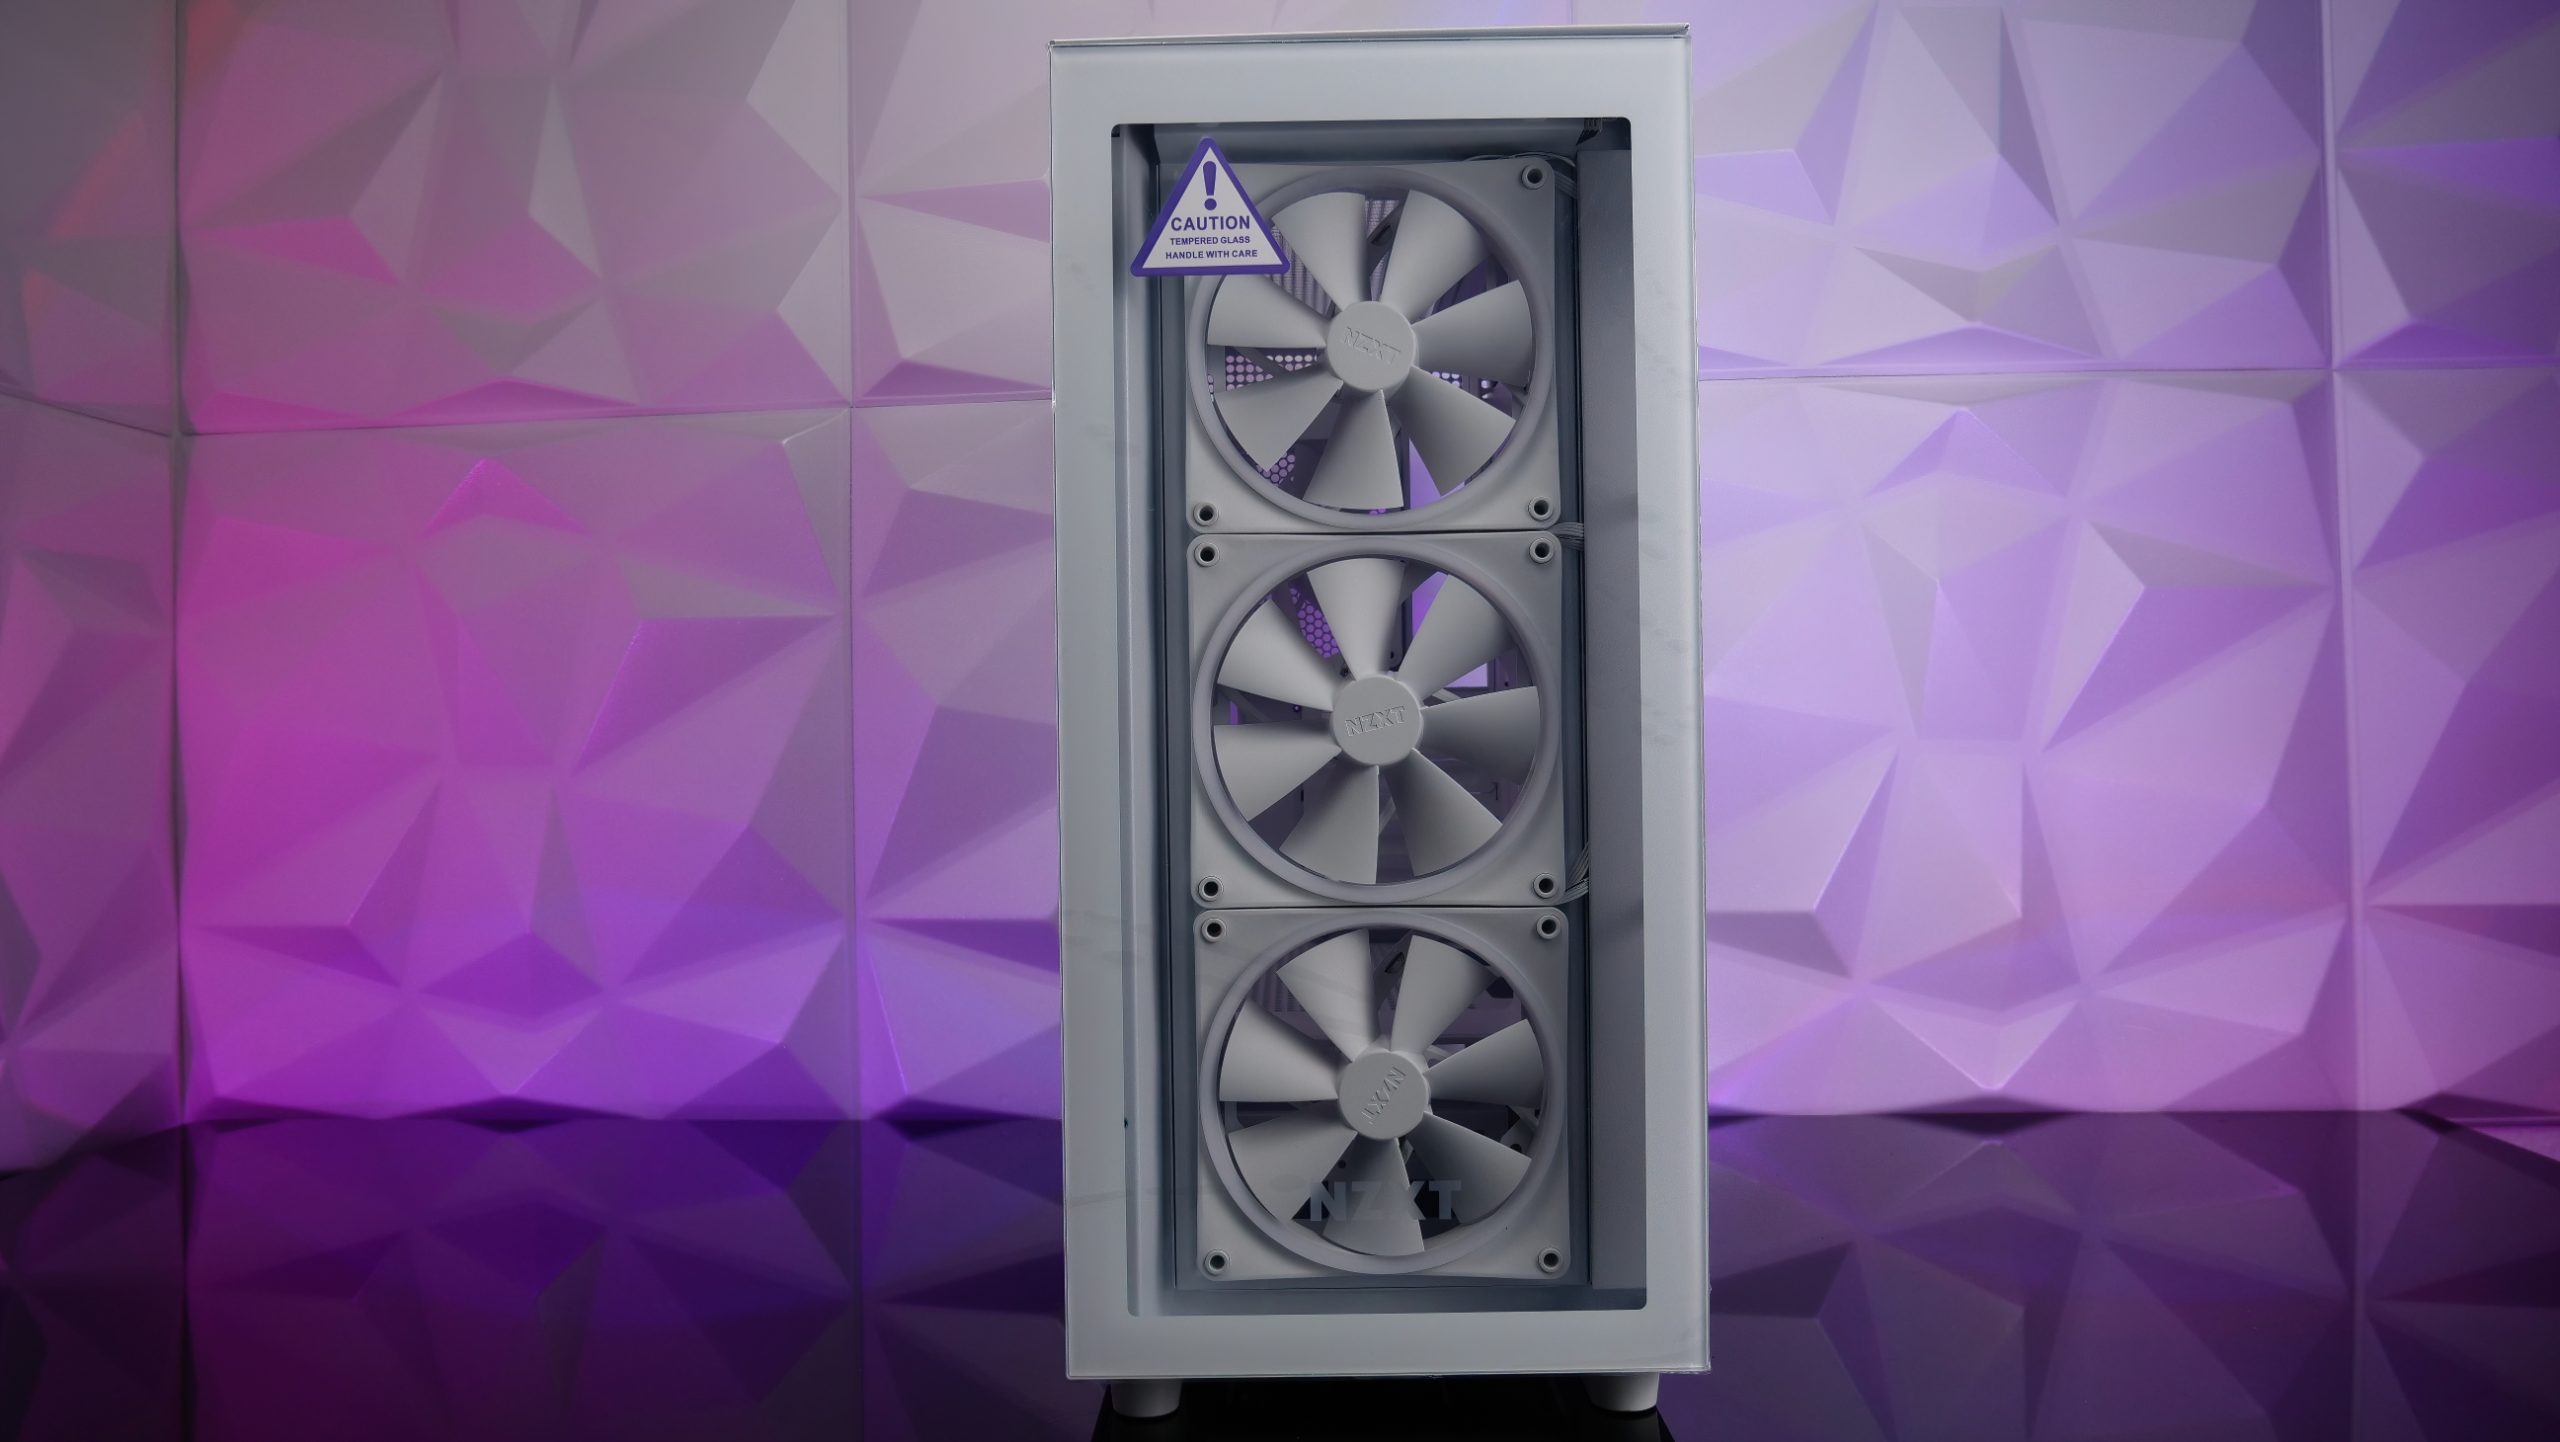
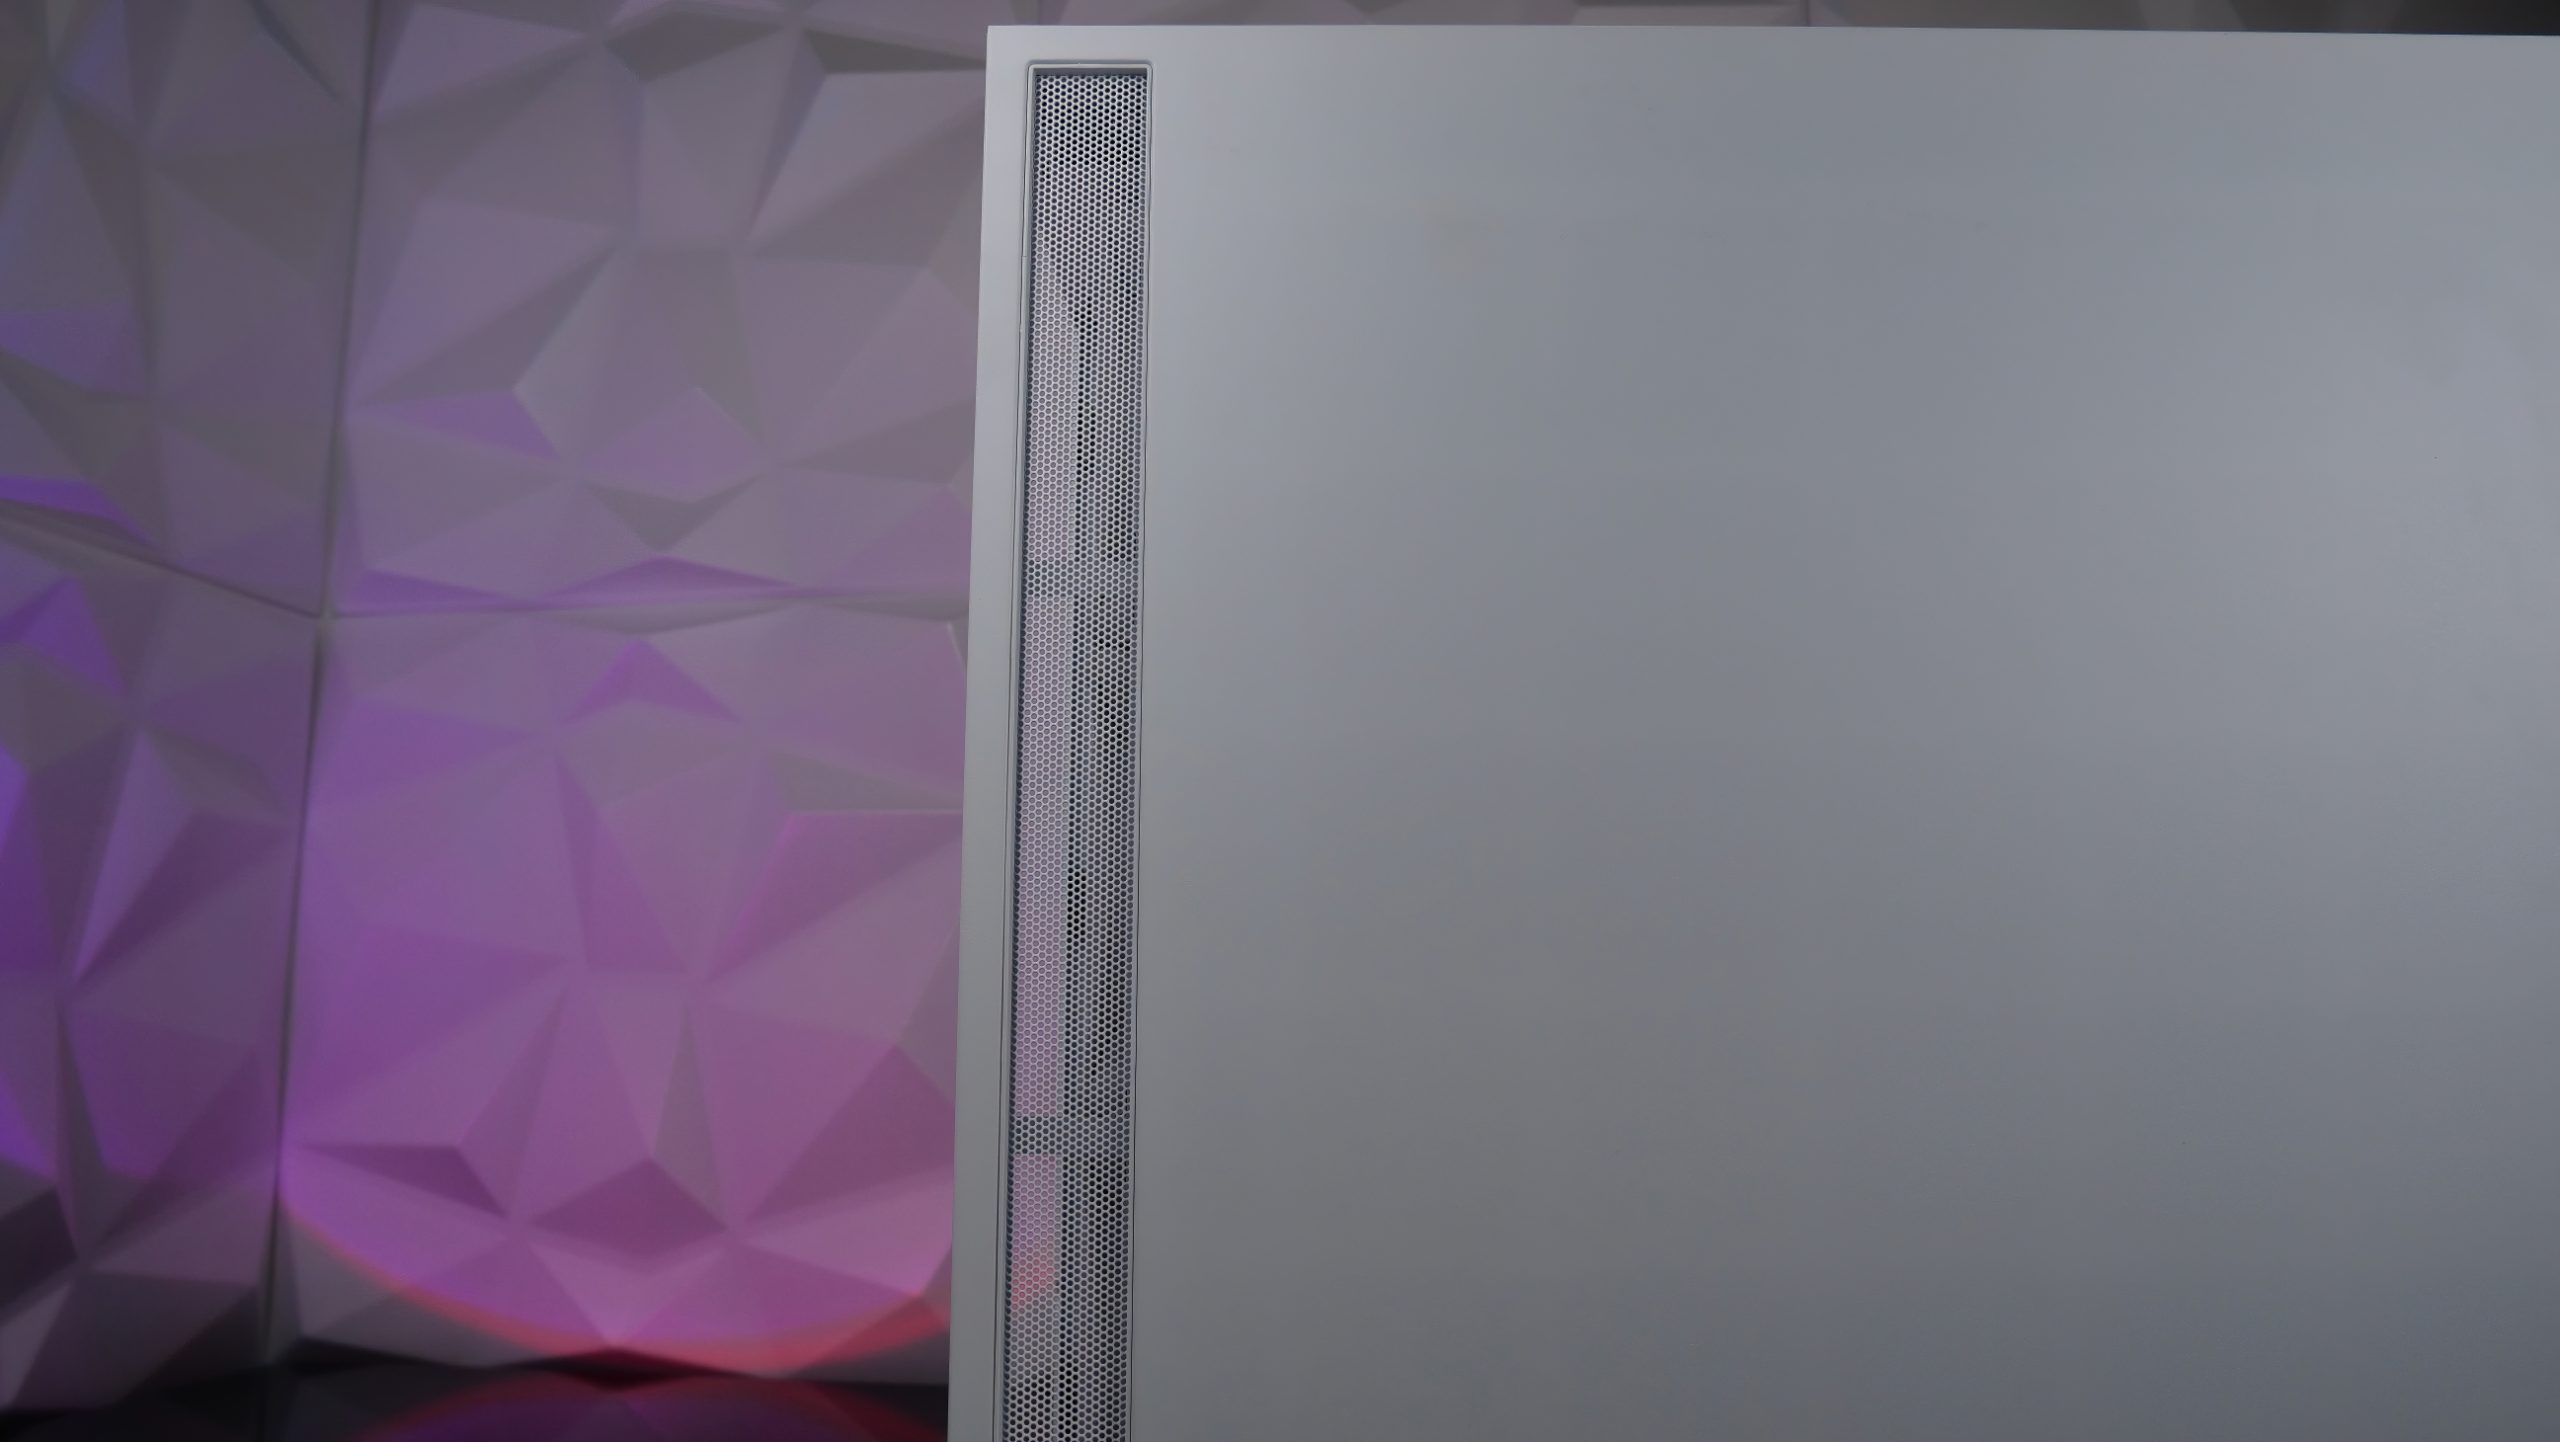
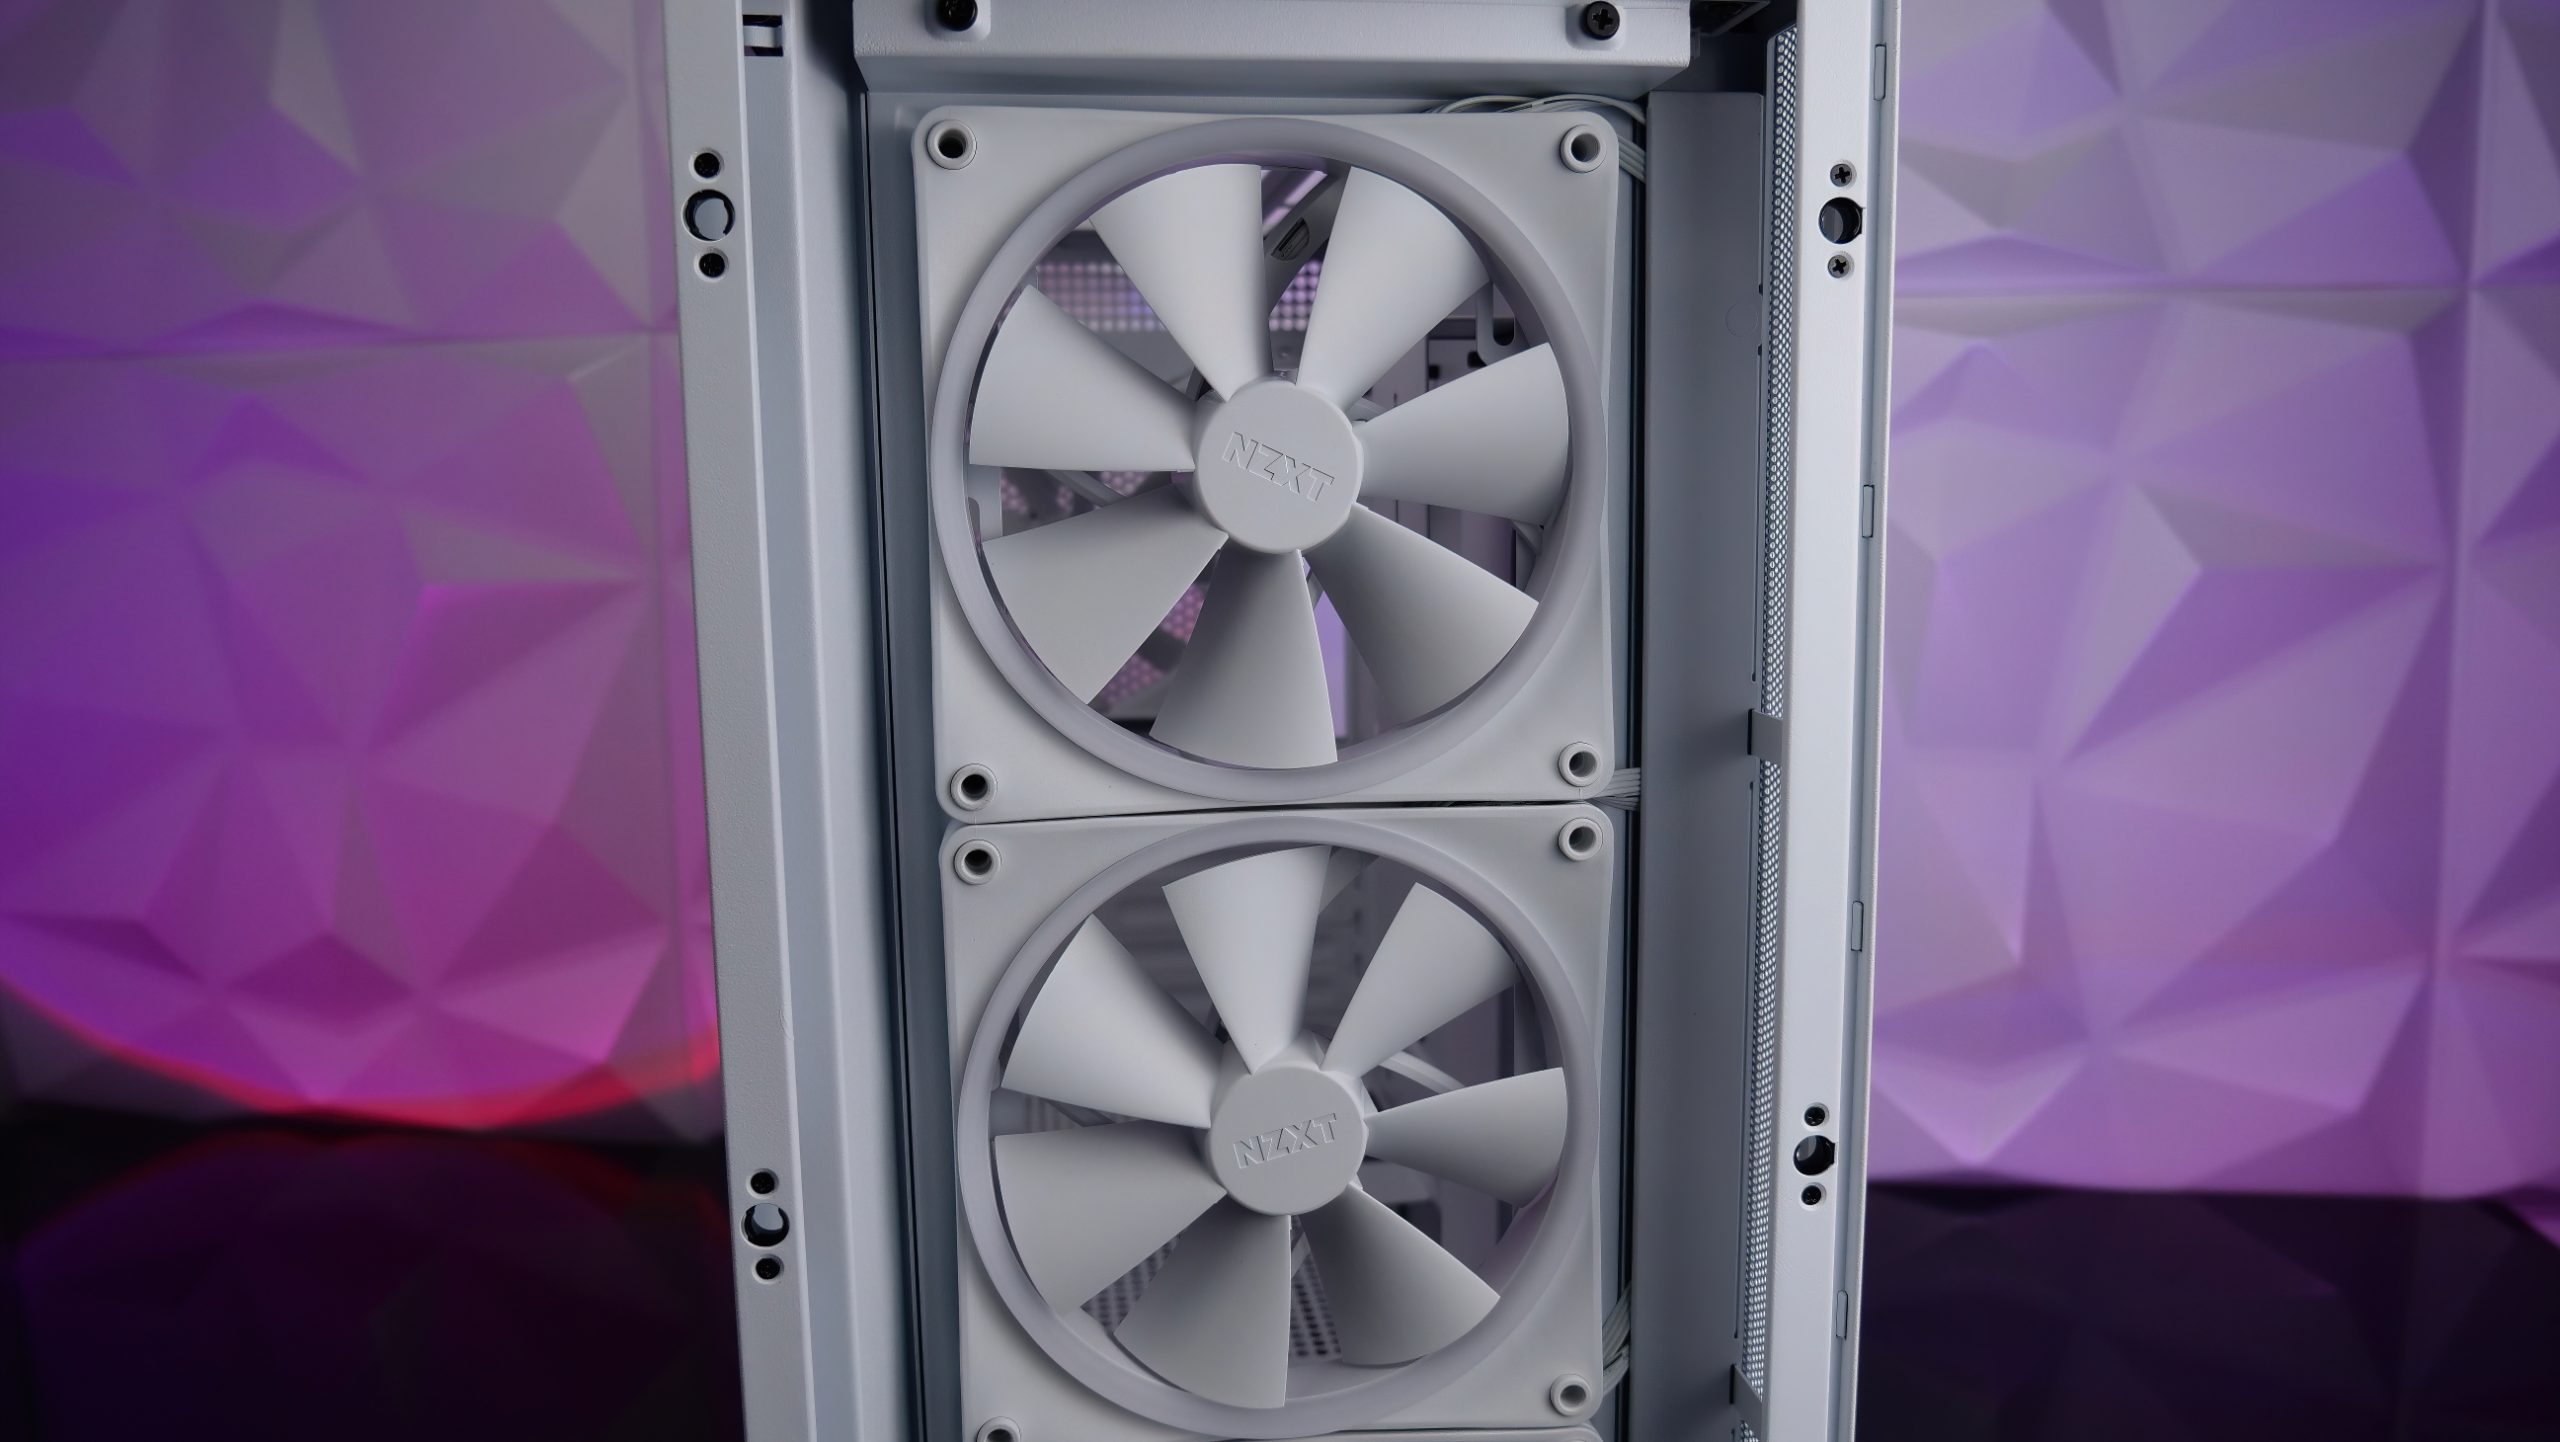
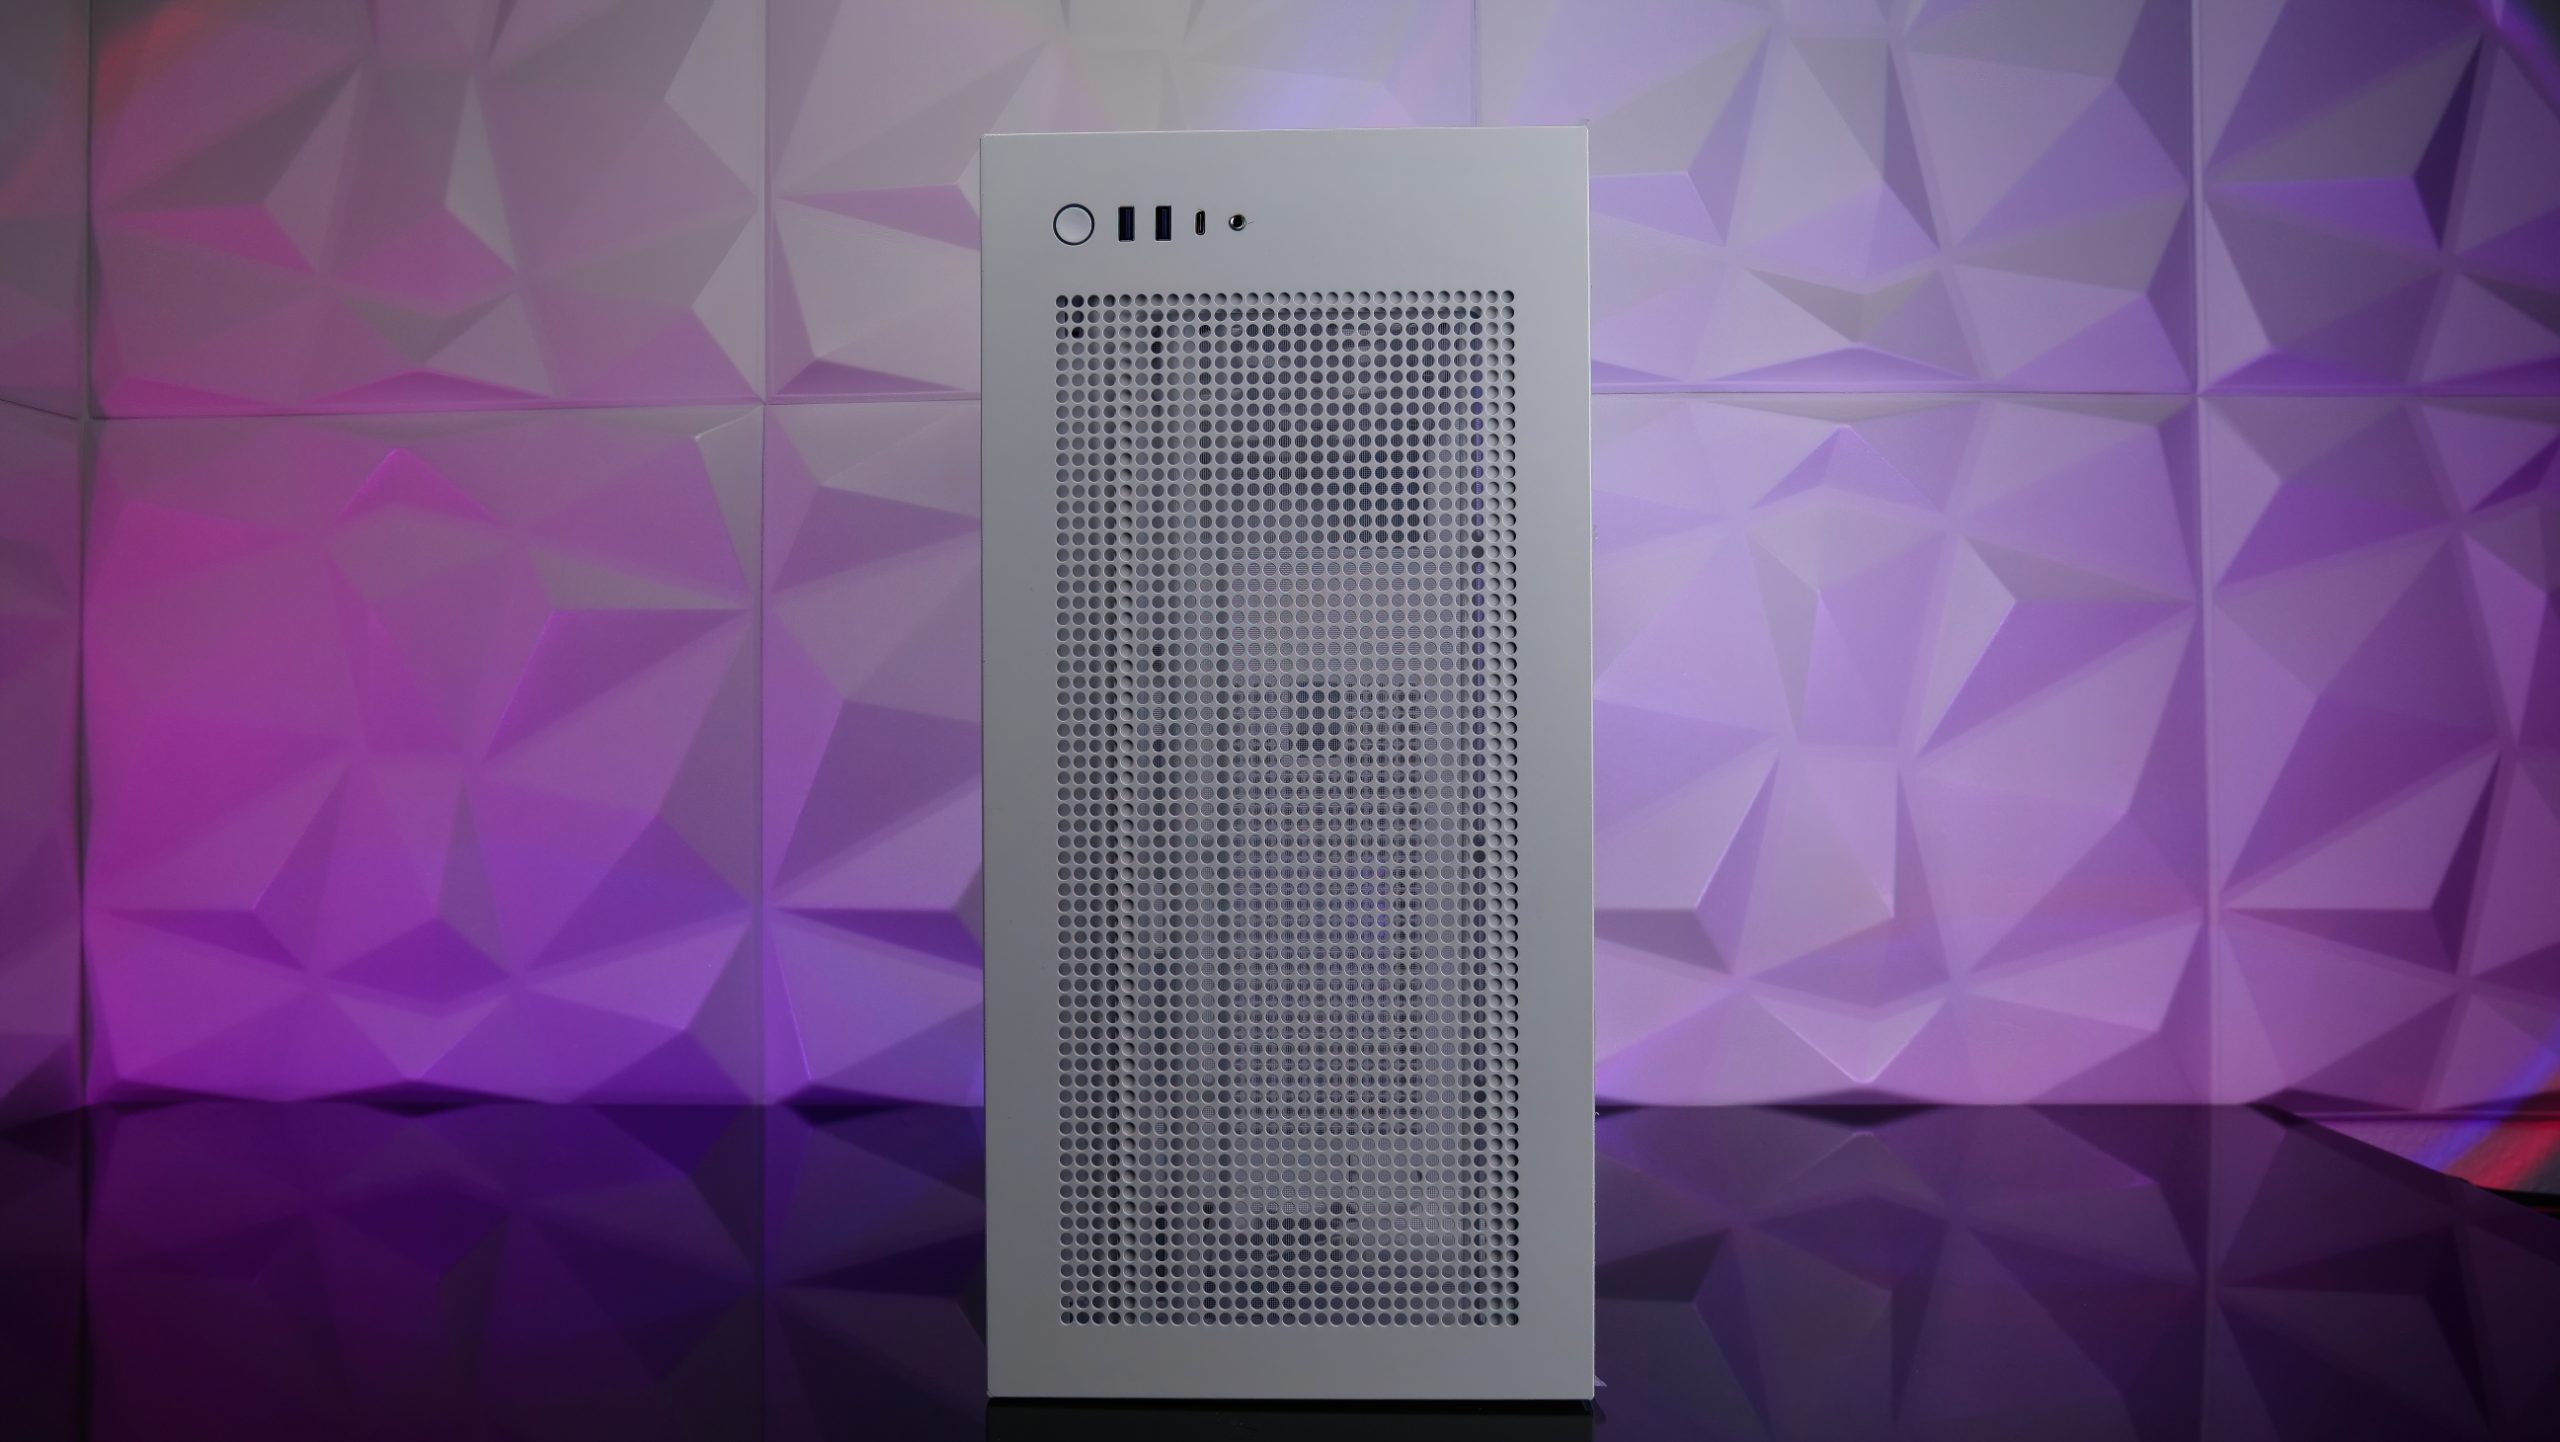
Let’s move on to the front. There, just like on the side panel, we find a tempered glass panel without tinting that allows us to look at and see the three new pre-mounted F140 RGB fans. The NZXT logo is located on the bottom in a nice frosted glass look. After removing the disc by giving it a slight tug, we now have enough free space to carry out any work. Either 3 x 140mm fans can be installed in the front (as pre-installed) or 3 x 120 mm. So that the case can also suck in air from the front, NZXT has placed an opening in the bottom to suck the air up from there. Of course, this alone would probably not have been enough, so the right side towards the rear wall was completely opened to draw in more fresh air through the rear wall cover. We have already seen this solution from other manufacturers, so it is nothing new.
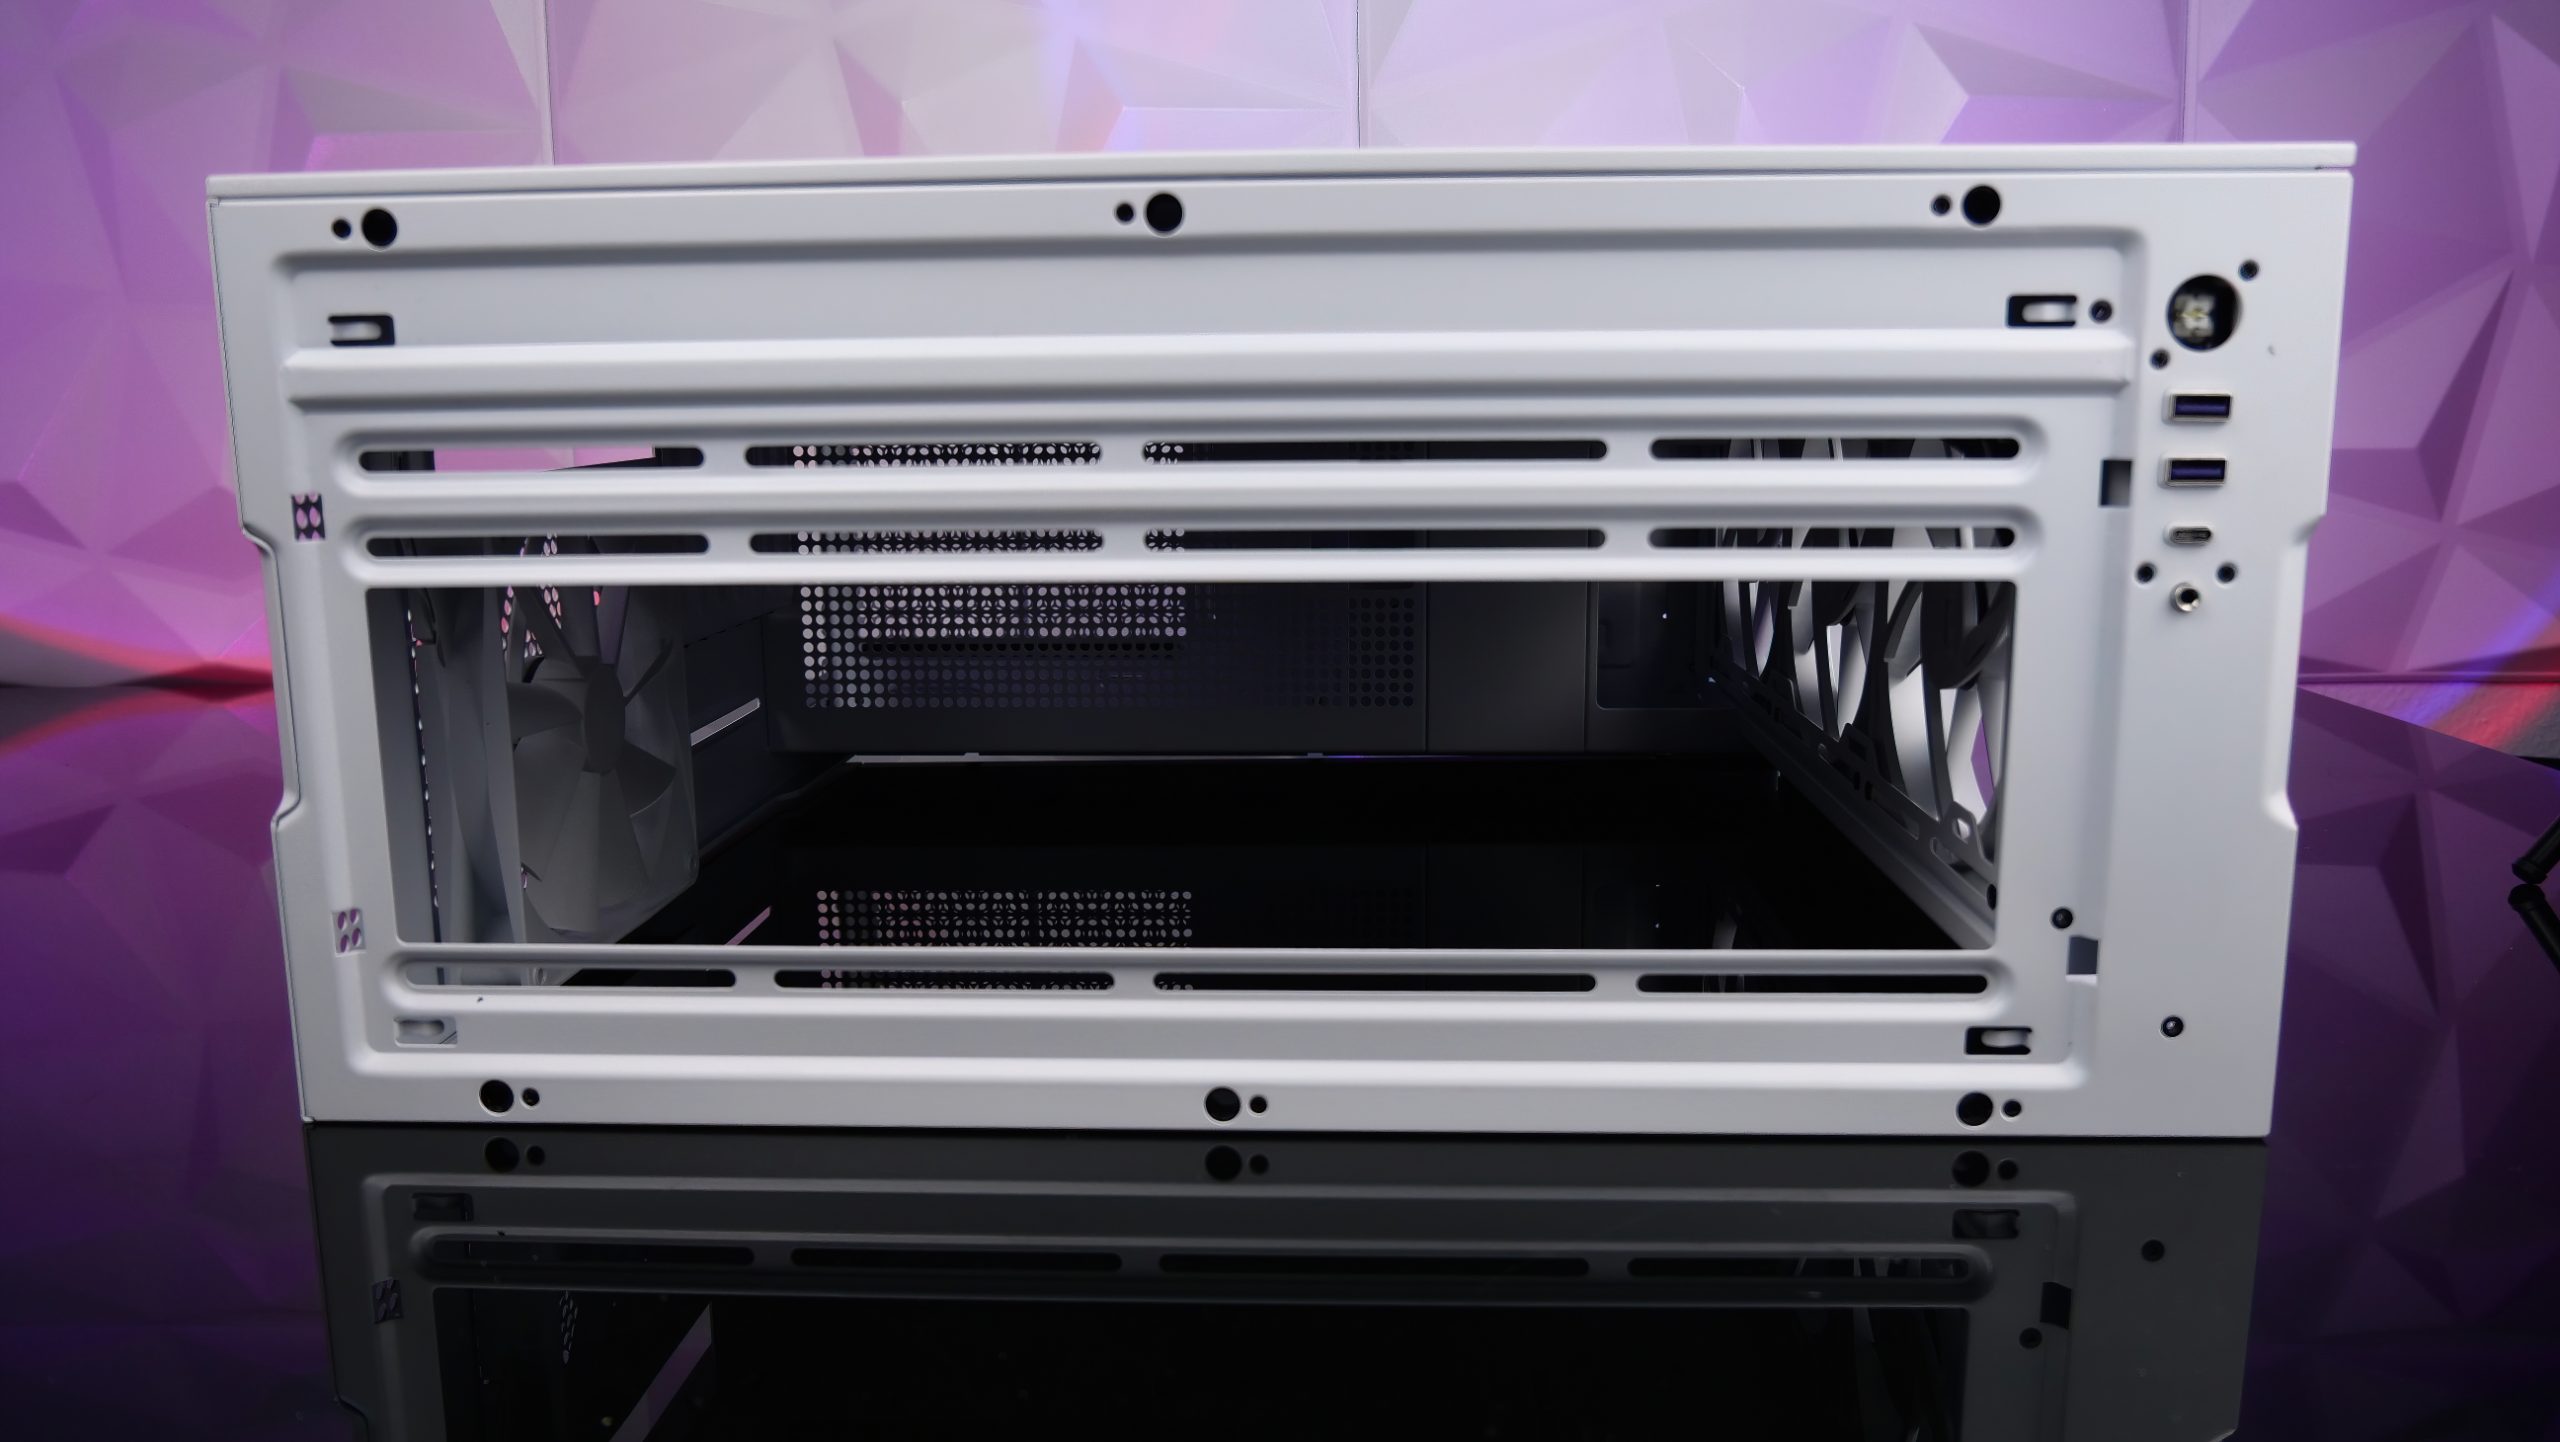
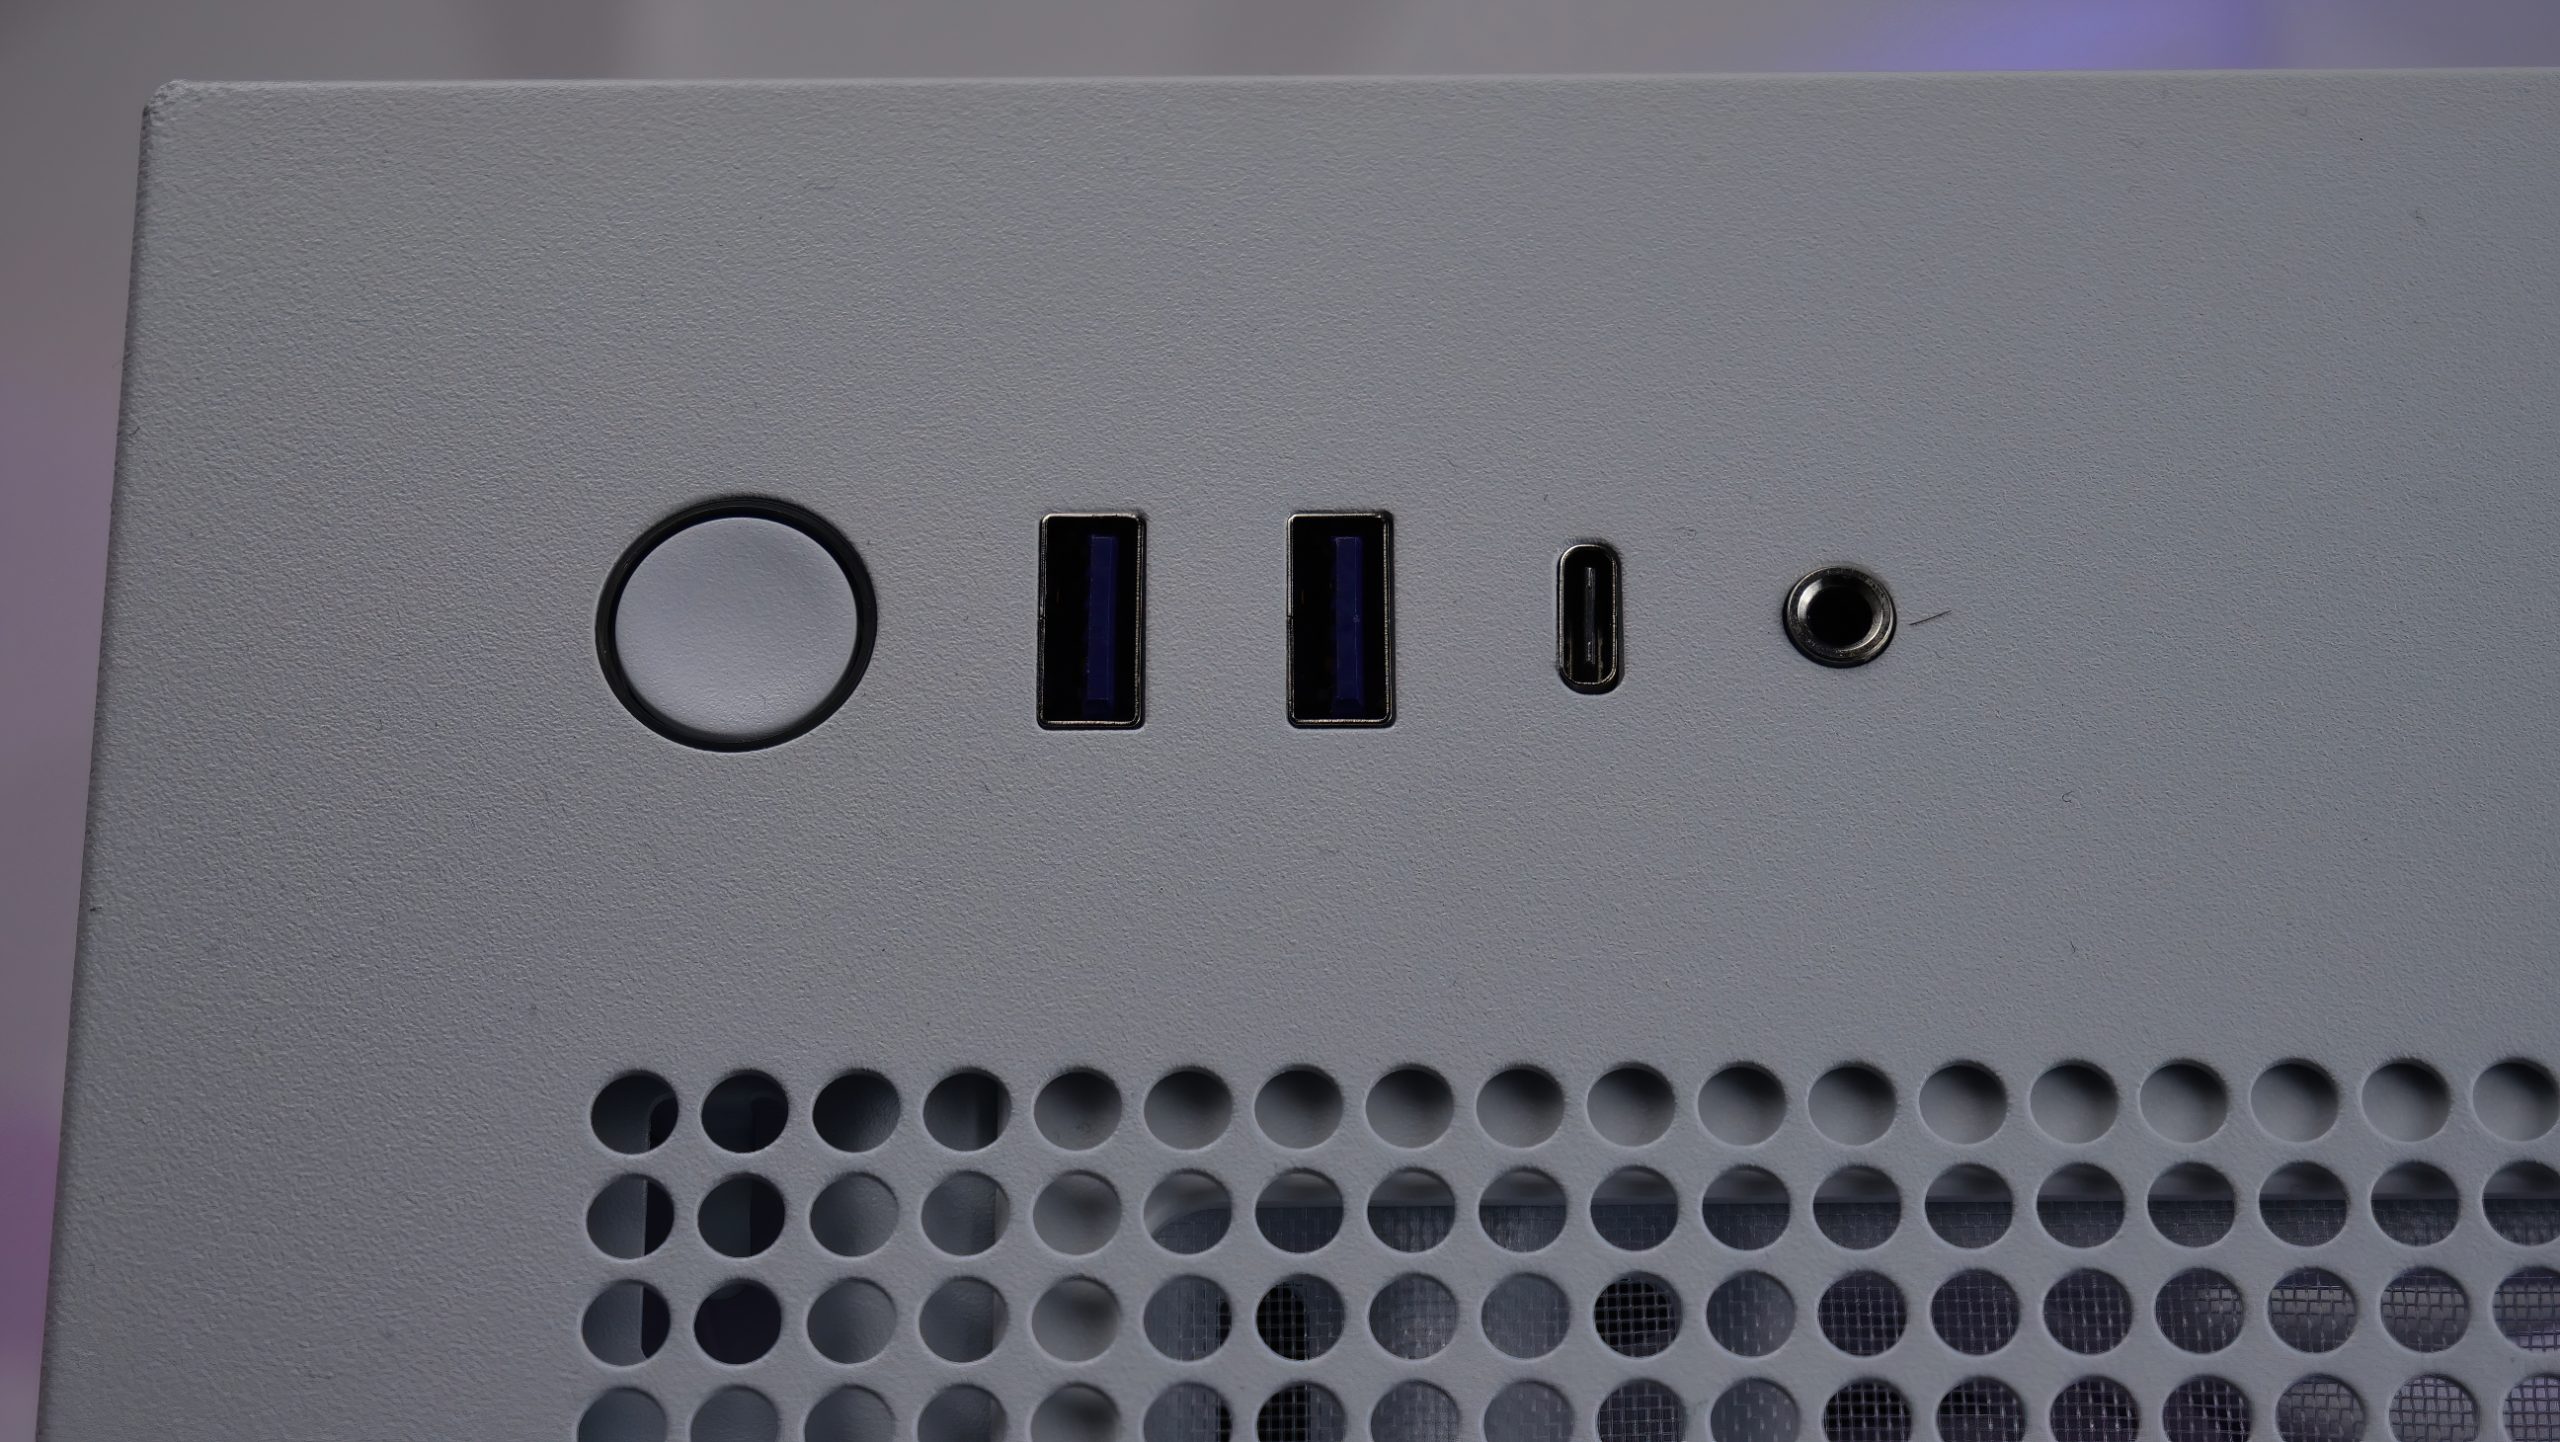
Next, let’s look at the lid. The I/O panel is also located there. Besides the power button, we see two USB 3.2 Gen 1 Type-A ports, one USB 3.2 Gen 2 Type-C, and a headset audio jack. There is nothing more. The lid is also perforated to allow warm air to escape from the case. The lid, like the front and side panels, is just plugged in, so we don’t need any tools to remove it.
As mentioned earlier, the dust filter is also located underneath, which is easily accessible after removing the lid.


46 Antworten
Kommentar
Lade neue Kommentare
Urgestein
Urgestein
Mitglied
Urgestein
Urgestein
Urgestein
Urgestein
Urgestein
Urgestein
Urgestein
Urgestein
Veteran
Urgestein
Urgestein
Urgestein
Urgestein
Urgestein
Urgestein
Alle Kommentare lesen unter igor´sLAB Community →