


Watercool Heatkiller IV Pro
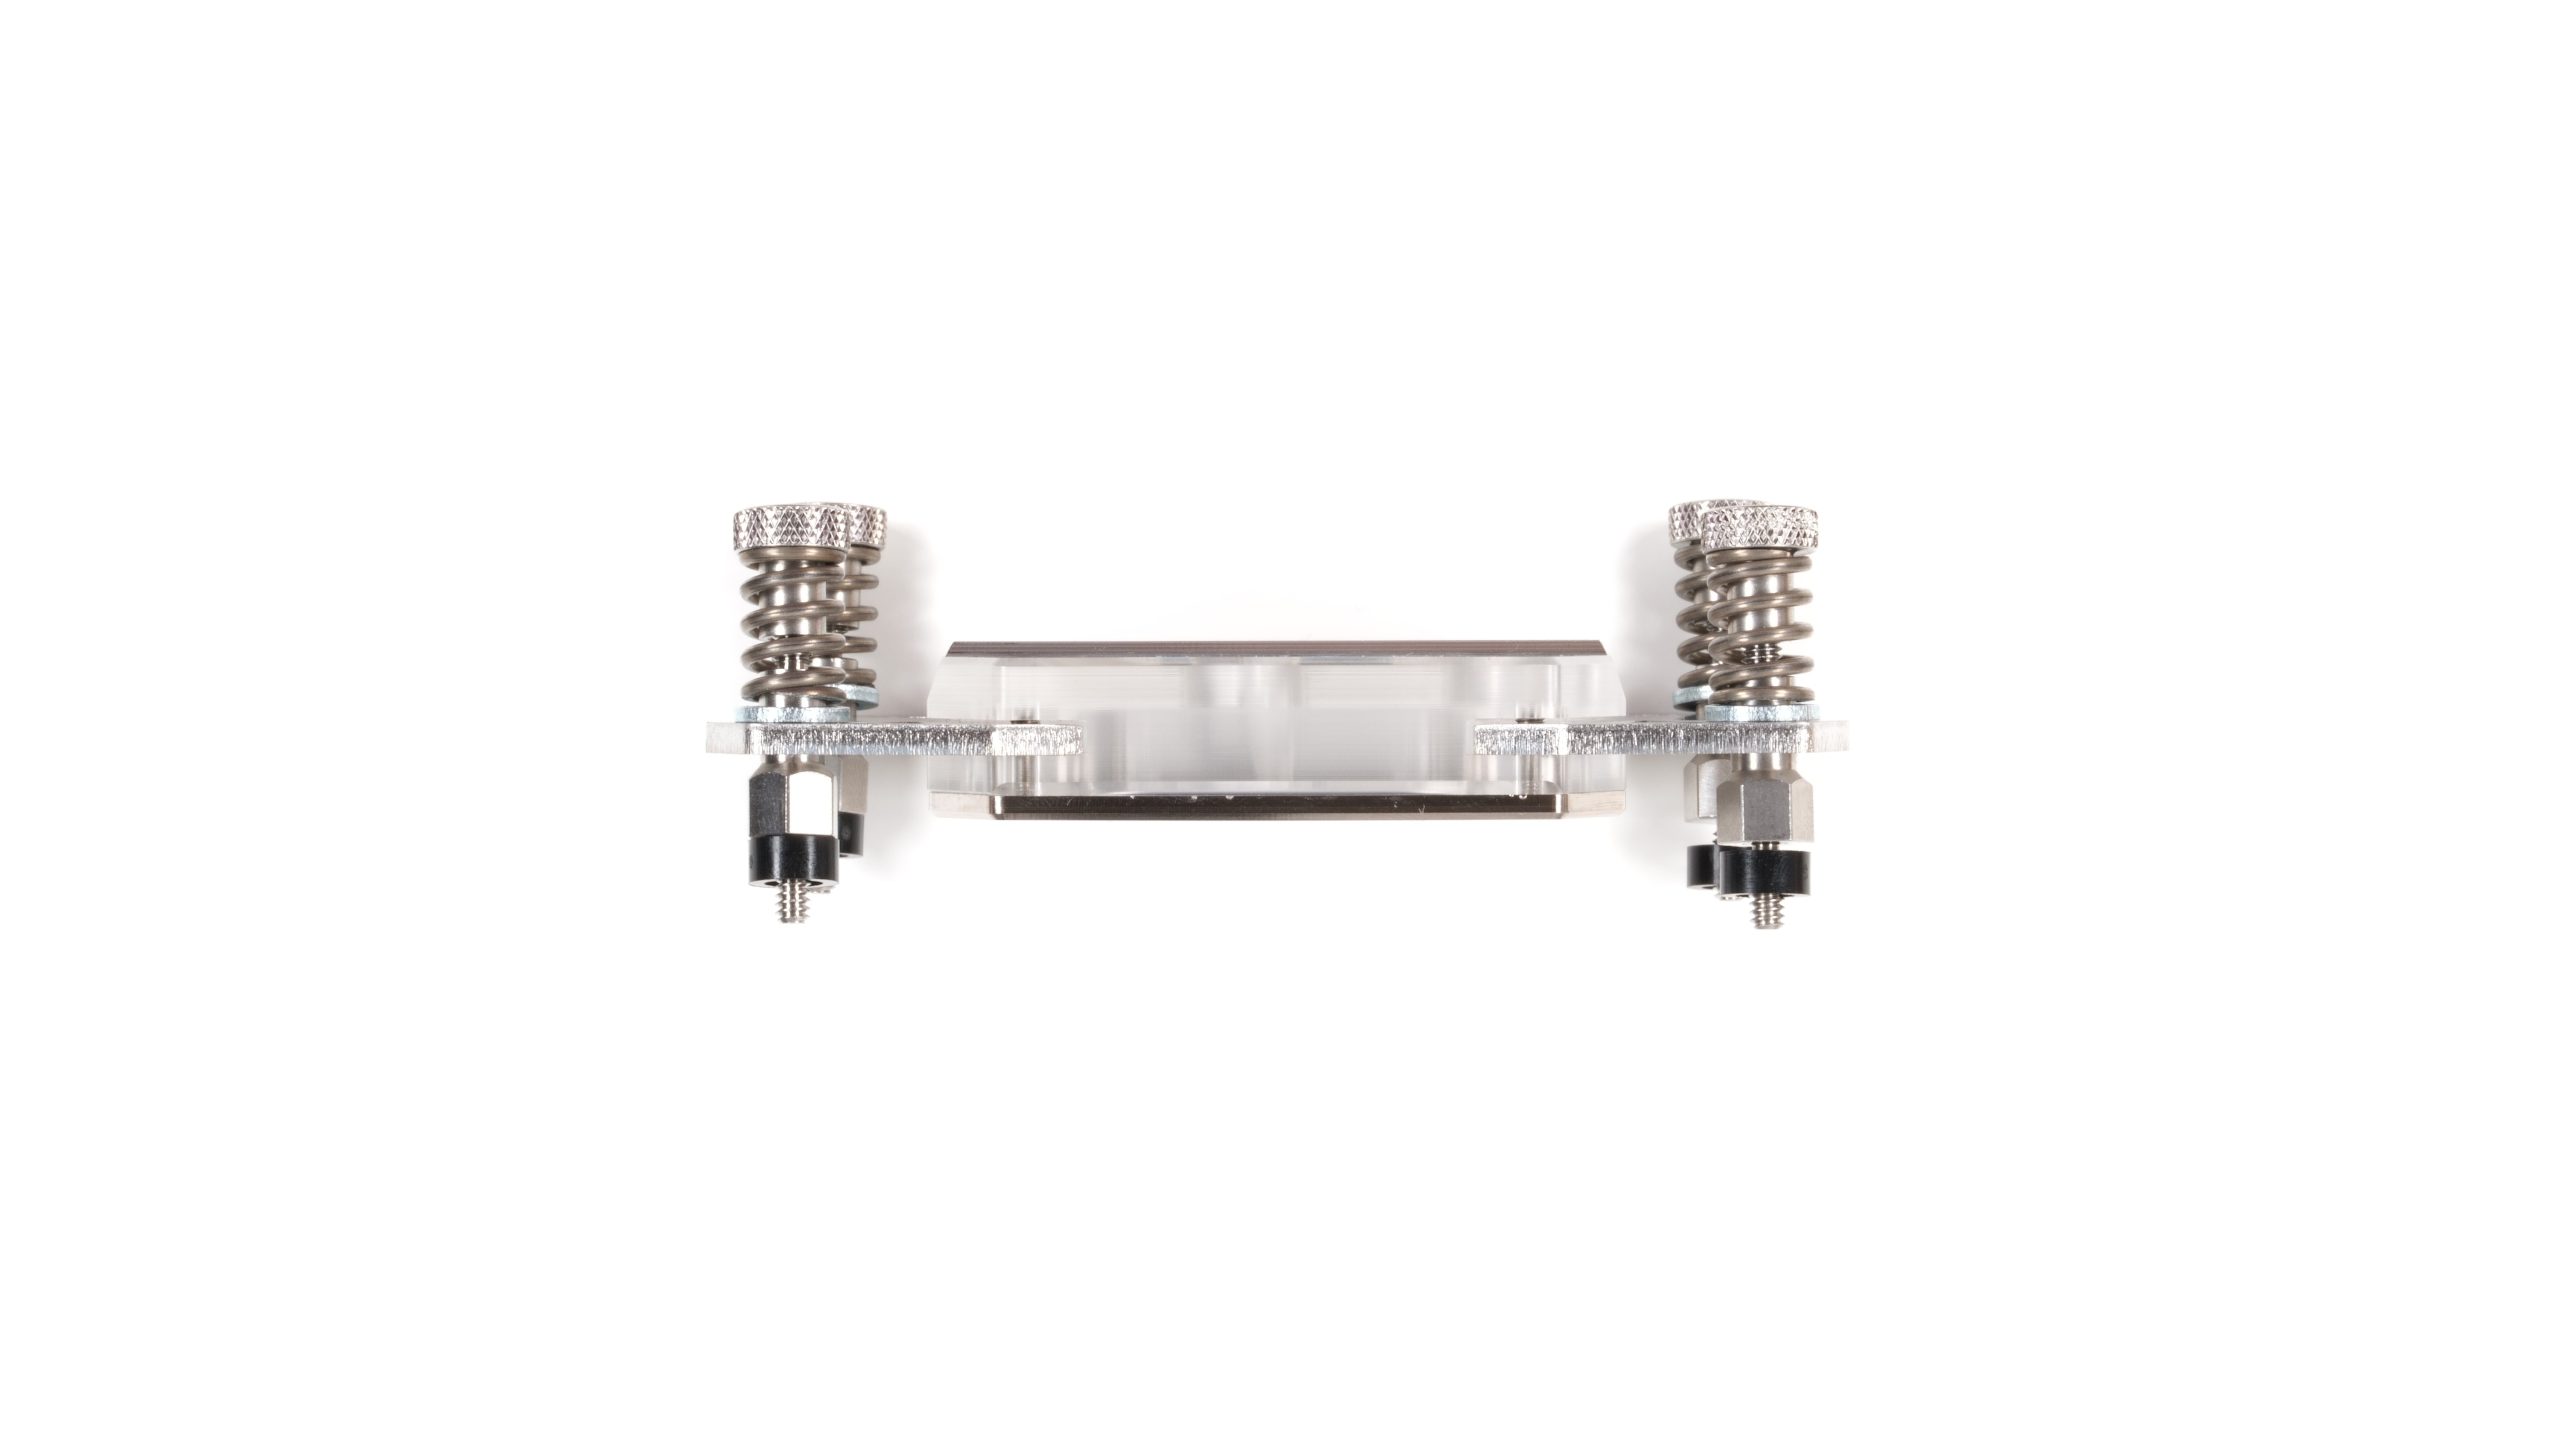
I ordered the latest version of the renowned Heatkiller water block in the LGA 1700 version, which is also compatible with the older Intel LGA 1xxx sockets. An LGA 1700 backplate and a conversion kit for AM4/AM5 are available as add-ons. Without these additional products, the scope of delivery initially only includes the block itself, together with 4 sets of an M4 screw with H3 hexagon socket head, a stud bolt or standoff, a metal washer, a spring and a knurled nut, which are used to mount per motherboard hole in this order from back to front. Two plastic washers provide insulation between the circuit board and the metal parts. The block alone is relatively inexpensive in this version at 85 euros 10 euros for the “normal” backplate. However, there are no wrenches, paste or other non-essential extras.


However, due to the well-known bending problem with Intel’s current desktop socket, we only carried out our tests with the additional backplate so that the block performs as well as it can. The backplate replaces the M4 screws as the bottom layer in the metal sandwich and already integrates a plastic washer on the pressed steel bolts. Incidentally, this is not the “heavy backplate”, which I had simply overlooked while browsing the store.


Even though no instructions are included in paper form, the assembly makes a high-quality and well thought-out impression after a brief online search. The integrated bolts of the backplate simplify threading into the holes of the mainboard. With many other blocks, on the other hand, you have to hold the backplate exactly in position and then thread a screw through the mainboard into the backplate. This variant is much more relaxed. The standoffs are then screwed on, followed by the block and then washers, springs and nuts. The latter do not have a head, so they are screwed in by hand using the knurling. This works well, and a defined stop can be felt at the end of the thread of the standoffs – without any torque guessing/measuring.


The block itself has a copper base plate. In this version, the base plate is still nickel-plated and then a cover made of transparent acrylic is placed on top. For the industrial flair, there is also a kind of plaque with the Heatkiller lettering and cut-outs for the inlet and outlet. When connecting, it is noticeable that the G1/4 threads themselves are cut a little too narrow, making it difficult to screw in my fittings. No, it wasn’t because the thread was dirty. As metal grips acrylic here, applying more force always causes some concern, as the weaker acrylic tends to tear. But in the end, the fittings could be screwed in completely without damage.


Unfortunately, there are no reliably beautiful thermal paste impression pictures, as the standoffs come off the backplate first during disassembly, but not the knurled nuts from the standoffs. As a result, the block at the respective corner comes off abruptly and the paste is subsequently displaced again. This makes it difficult to draw conclusions about the contact with the CPU.
AM5 conversion


To convert to AM5, the block must be effectively dismantled – the kit costs 20 euros. To do this, the 4 Torx T10 screws in the base plate are loosened and this can be removed. The inner workings, including the fins, are revealed, and it appears that someone has stumbled with the screwdriver and made a significant scratch – but that’s beside the point. The two plates that provide the adaptation to the base can then simply be pulled out and replaced. The block is then screwed back into place. Care must be taken to ensure that the two small sealing strips, here above and below the central inlet, are correctly positioned. Then the whole thing is simply screwed back together.

Out of the box, the screw sets for AM5 come pre-assembled, but unfortunately in the wrong order – the washer belongs underneath, not on top of the spring. However, the assembly is ultimately the same as for LGA1700, except that the integrated backplate of the AM5 socket is used. As this has a UNC (not metric) thread, different screws are required. Here the thermal paste impression looks good, with the highest pressure and smallest distance along the “north-south” axis of the CPU and slightly weaker in the “west” and “east”, where the lugs of the mounting frame press the CPU into the socket and make it slightly convex.


Post-test with “heavy” backplate
I didn’t want to leave the heavy backplate untested after all – so I bought it for 30 euros and carried out another retest. In addition to the backplate, it includes 4 M4 grub screws, 4 UNC 6/32 socket screws, each with an H2 hexagon socket “head” and 4 neoprene washers for a “washer mod”. The heavy backplate also replaces the stock backplate of the LGA1700 ILM, which is why corresponding screws with a longer thread are supplied. Watercool also recommends the “Washermod” with its supplied washers in order to reduce the contact pressure of the ILM and thus the concavity of the CPU. We were the first to report on this topic together with Buildzoid. It is interesting to see that this approach has also found favor with water block manufacturers.


The washers for the Washermod are 0.80 mm +- 0.01 mm thick, i.e. manufactured almost identically and therefore ideal for a Washermod – I have seen much greater tolerances, even if we are not testing this one today for reasons of fairness. This is because all other water blocks must also suffer from the concavity caused by the stock Intel ILM. A test with frame or washer mod will be published separately if necessary. The supplied socket screws are used to screw the ILM to the heavy backplate, but without washers and therefore with the original contact pressure of the ILM. The mounting sandwich therefore consists of a heavy backplate, M4 grub screws, black plastic washer on the mainboard, standoff, water block, metal washer, spring and knurled nut.

It is worth noting that Watercool uses M4 threads throughout. M3 threads with aluminum screws reach their limits with LGA 1700 and the forces prevailing here. 0.6 Nm is often specified as a torque recommendation for water blocks for good reason, as this is also the highest torque that a conventional M3 aluminum screw can safely transport. Above this, plastic deformation can occur, effectively creating an expansion bolt and, strictly speaking, reuse is no longer possible. And even if you consider manufacturing tolerances and possible quality fluctuations, as we have seen with the Aquacomputer cuplex kryos NEXT, it makes perfect sense to use the larger thread such as M4 for LGA1700.


Watercool Heatkiller CPU Rev. 4.0 Pro Acryl (18004)
 | Zentrallager: verfügbar, Lieferung 3-5 WerktageFiliale Wilhelmshaven: nicht lagerndStand: 17.05.24 20:07 | 79,89 €*Stand: 17.05.24 20:12 |
 | lagernd: 2 | 79,90 €*Stand: 17.05.24 19:46 |
 | 4-6 Werktage | 93,32 €*Stand: 17.05.24 19:48 |

- 1 - Introduction and test methodology
- 2 - Test hardware and systems
- 3 - EK-Quantum Velocity 2 D-RGB 1700
- 4 - Watercool Heatkiller IV Pro
- 5 - Alphacool Core 1 Aurora
- 6 - Aqua Computer cuplex kryos NEXT
- 7 - Thermaltake Pacific SW1 Plus
- 8 - Liquid Extasy No. Uno
- 9 - EK-Quantum Magnitude
- 10 - Corsair Hydro X XC7 RGB Pro
- 11 - Alphacool Eisblock XPX Aurora und XPX Pro 1U
- 12 - Results for Intel LGA 1700 – Core i9 13900KF
- 13 - Results for AMD AM5 – Ryzen 9 7950X
- 14 - Lessons learned, summary and conclusion


114 Antworten
Kommentar
Lade neue Kommentare
Urgestein
Veteran
Moderator
Urgestein
Veteran
Mitglied
Urgestein
Urgestein
Veteran
Urgestein
Veteran
Veteran
Mitglied
Urgestein
Urgestein
Veteran
Urgestein
Urgestein
Mitglied
Alle Kommentare lesen unter igor´sLAB Community →