


The REV300 in detail
From the outside, the casing looks quite inconspicuous at first glance. But if you look more closely, you find that it is somehow different. If you were to put it on the table to your right, you would only see the back wall. Mirror inverted!
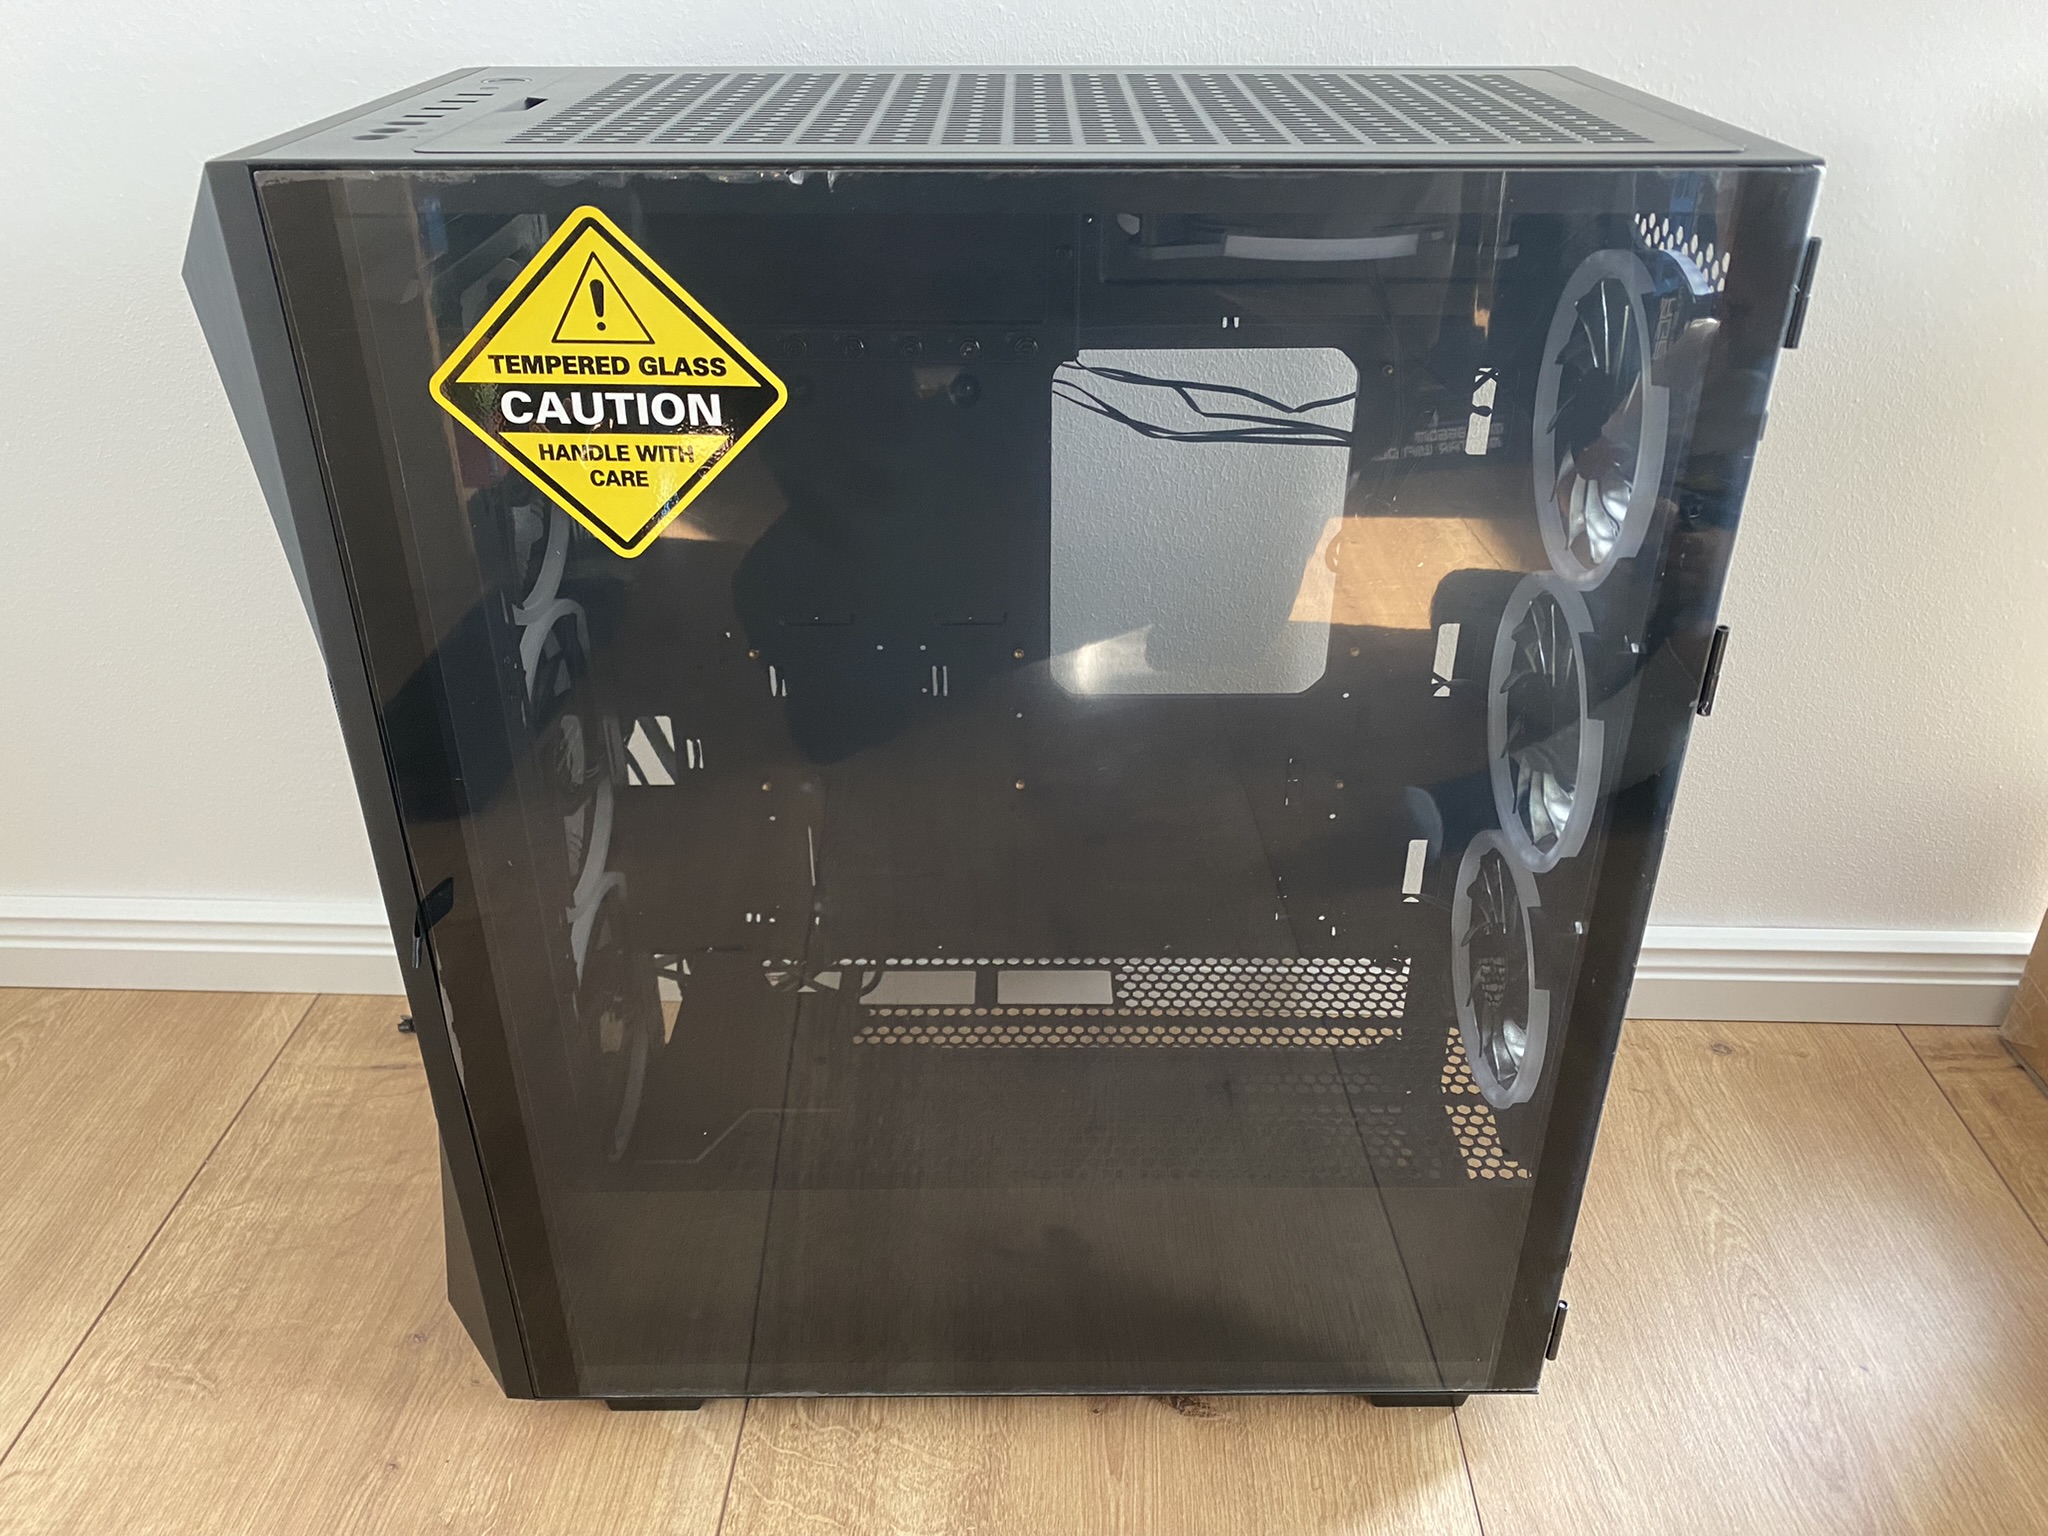
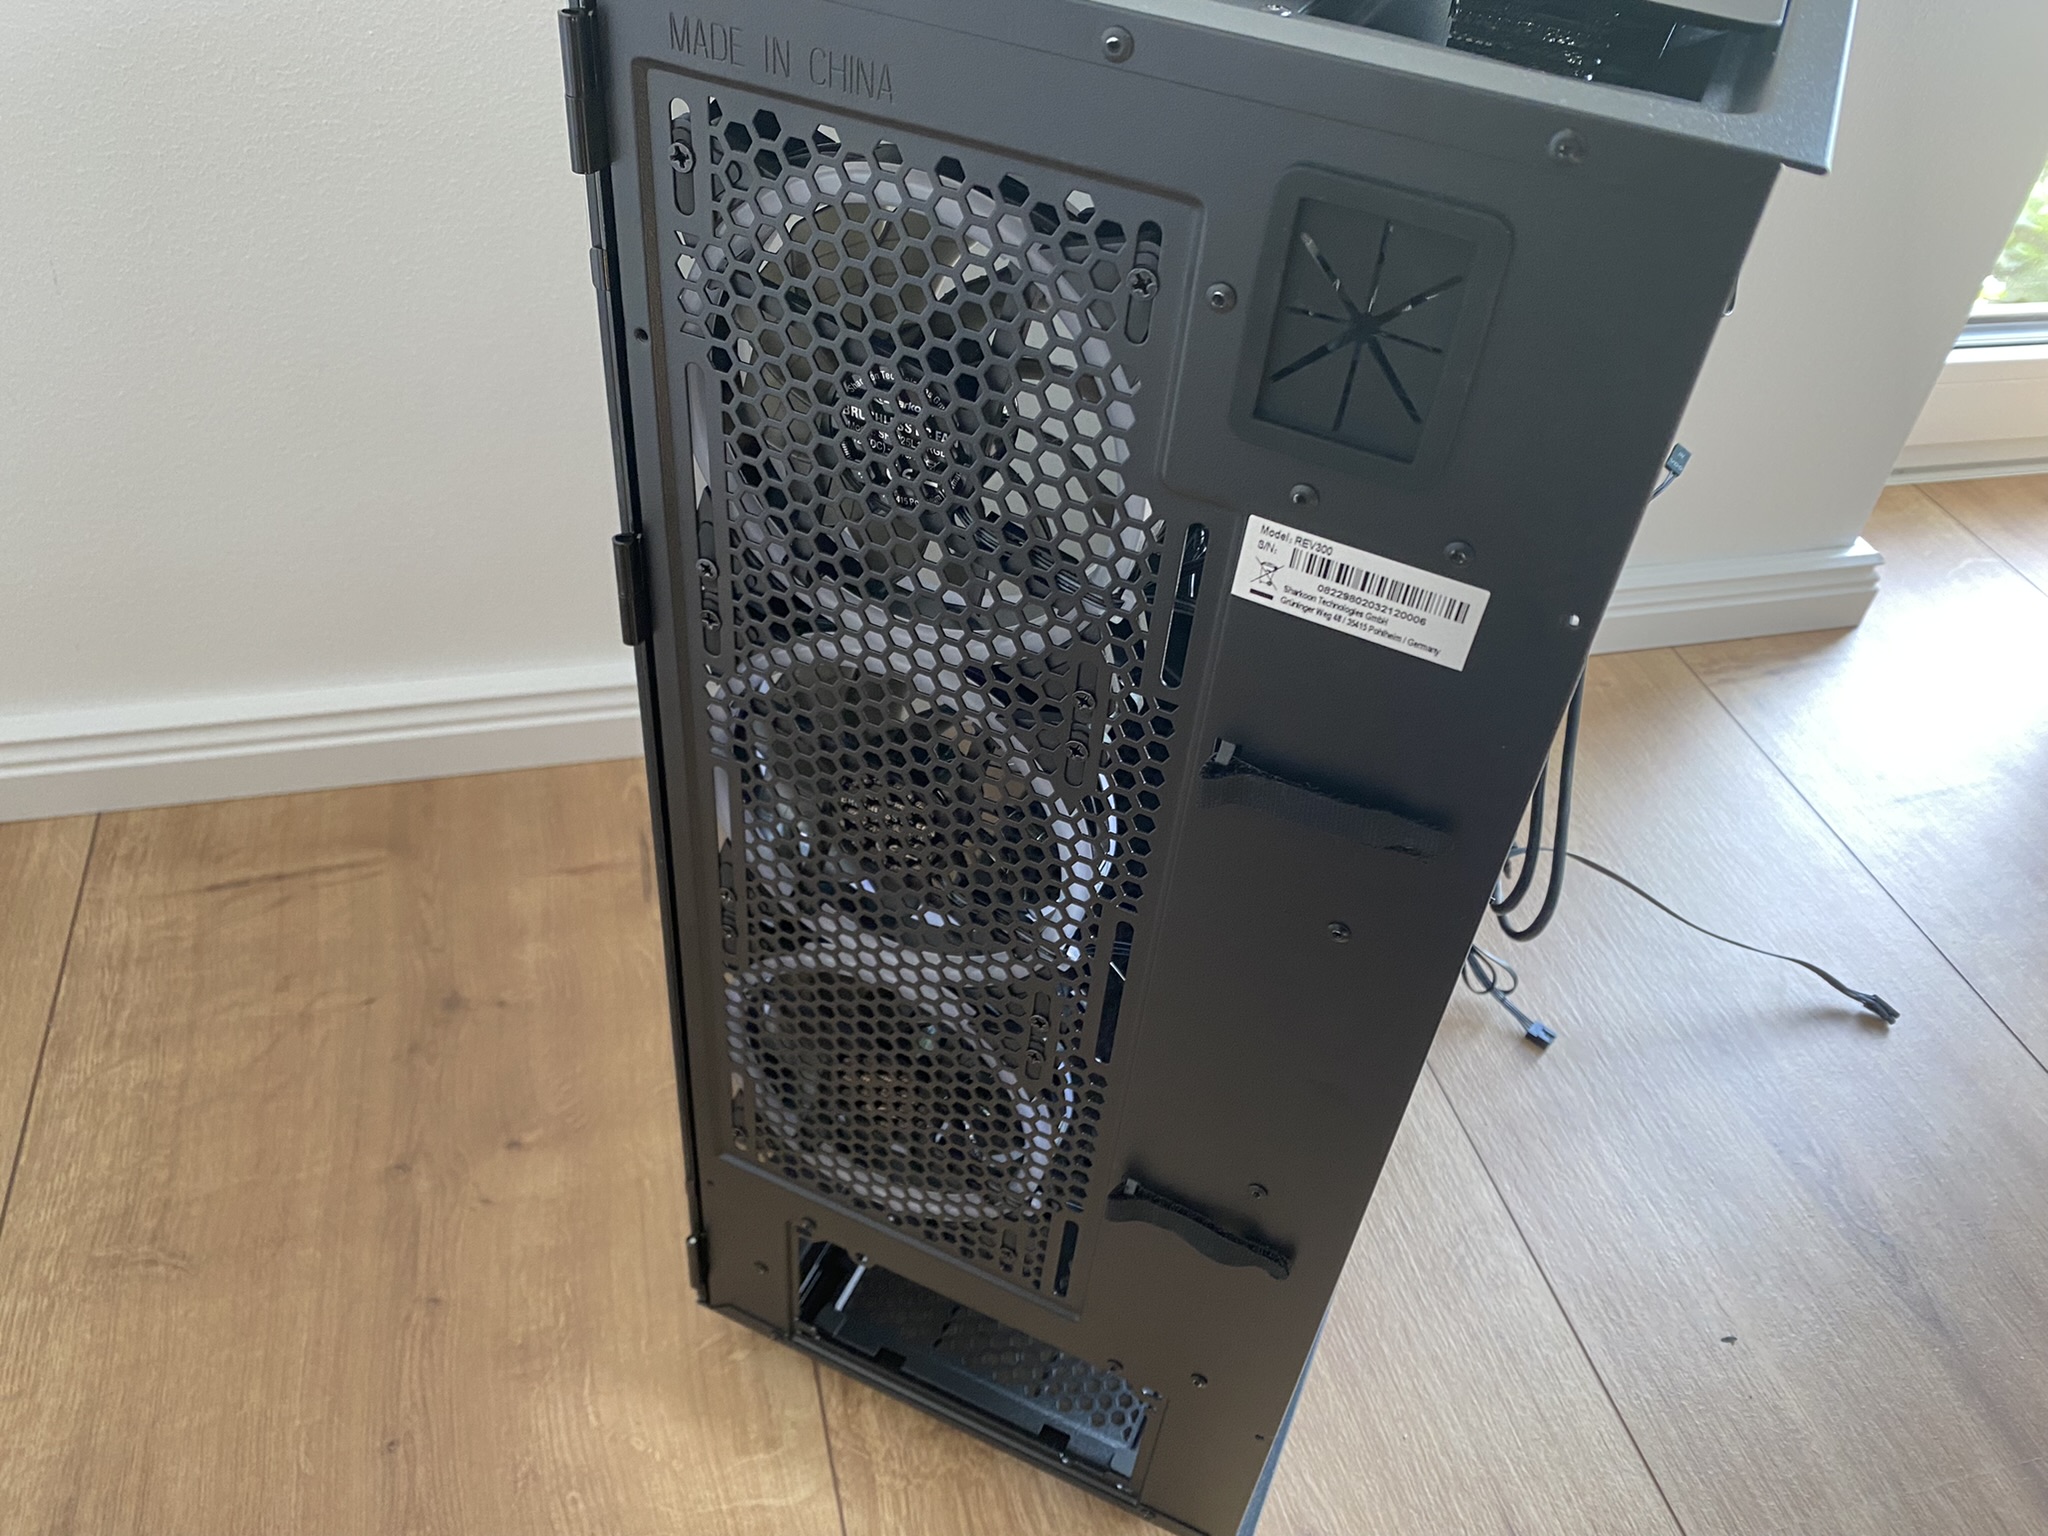
Taller than wide and a beautiful tampered real glass pane supported via hinges and held magnetically. If you dismantle the pane, you get a full view of the interior. The back panel is fixed by means of lady screws and is also quickly disassembled.
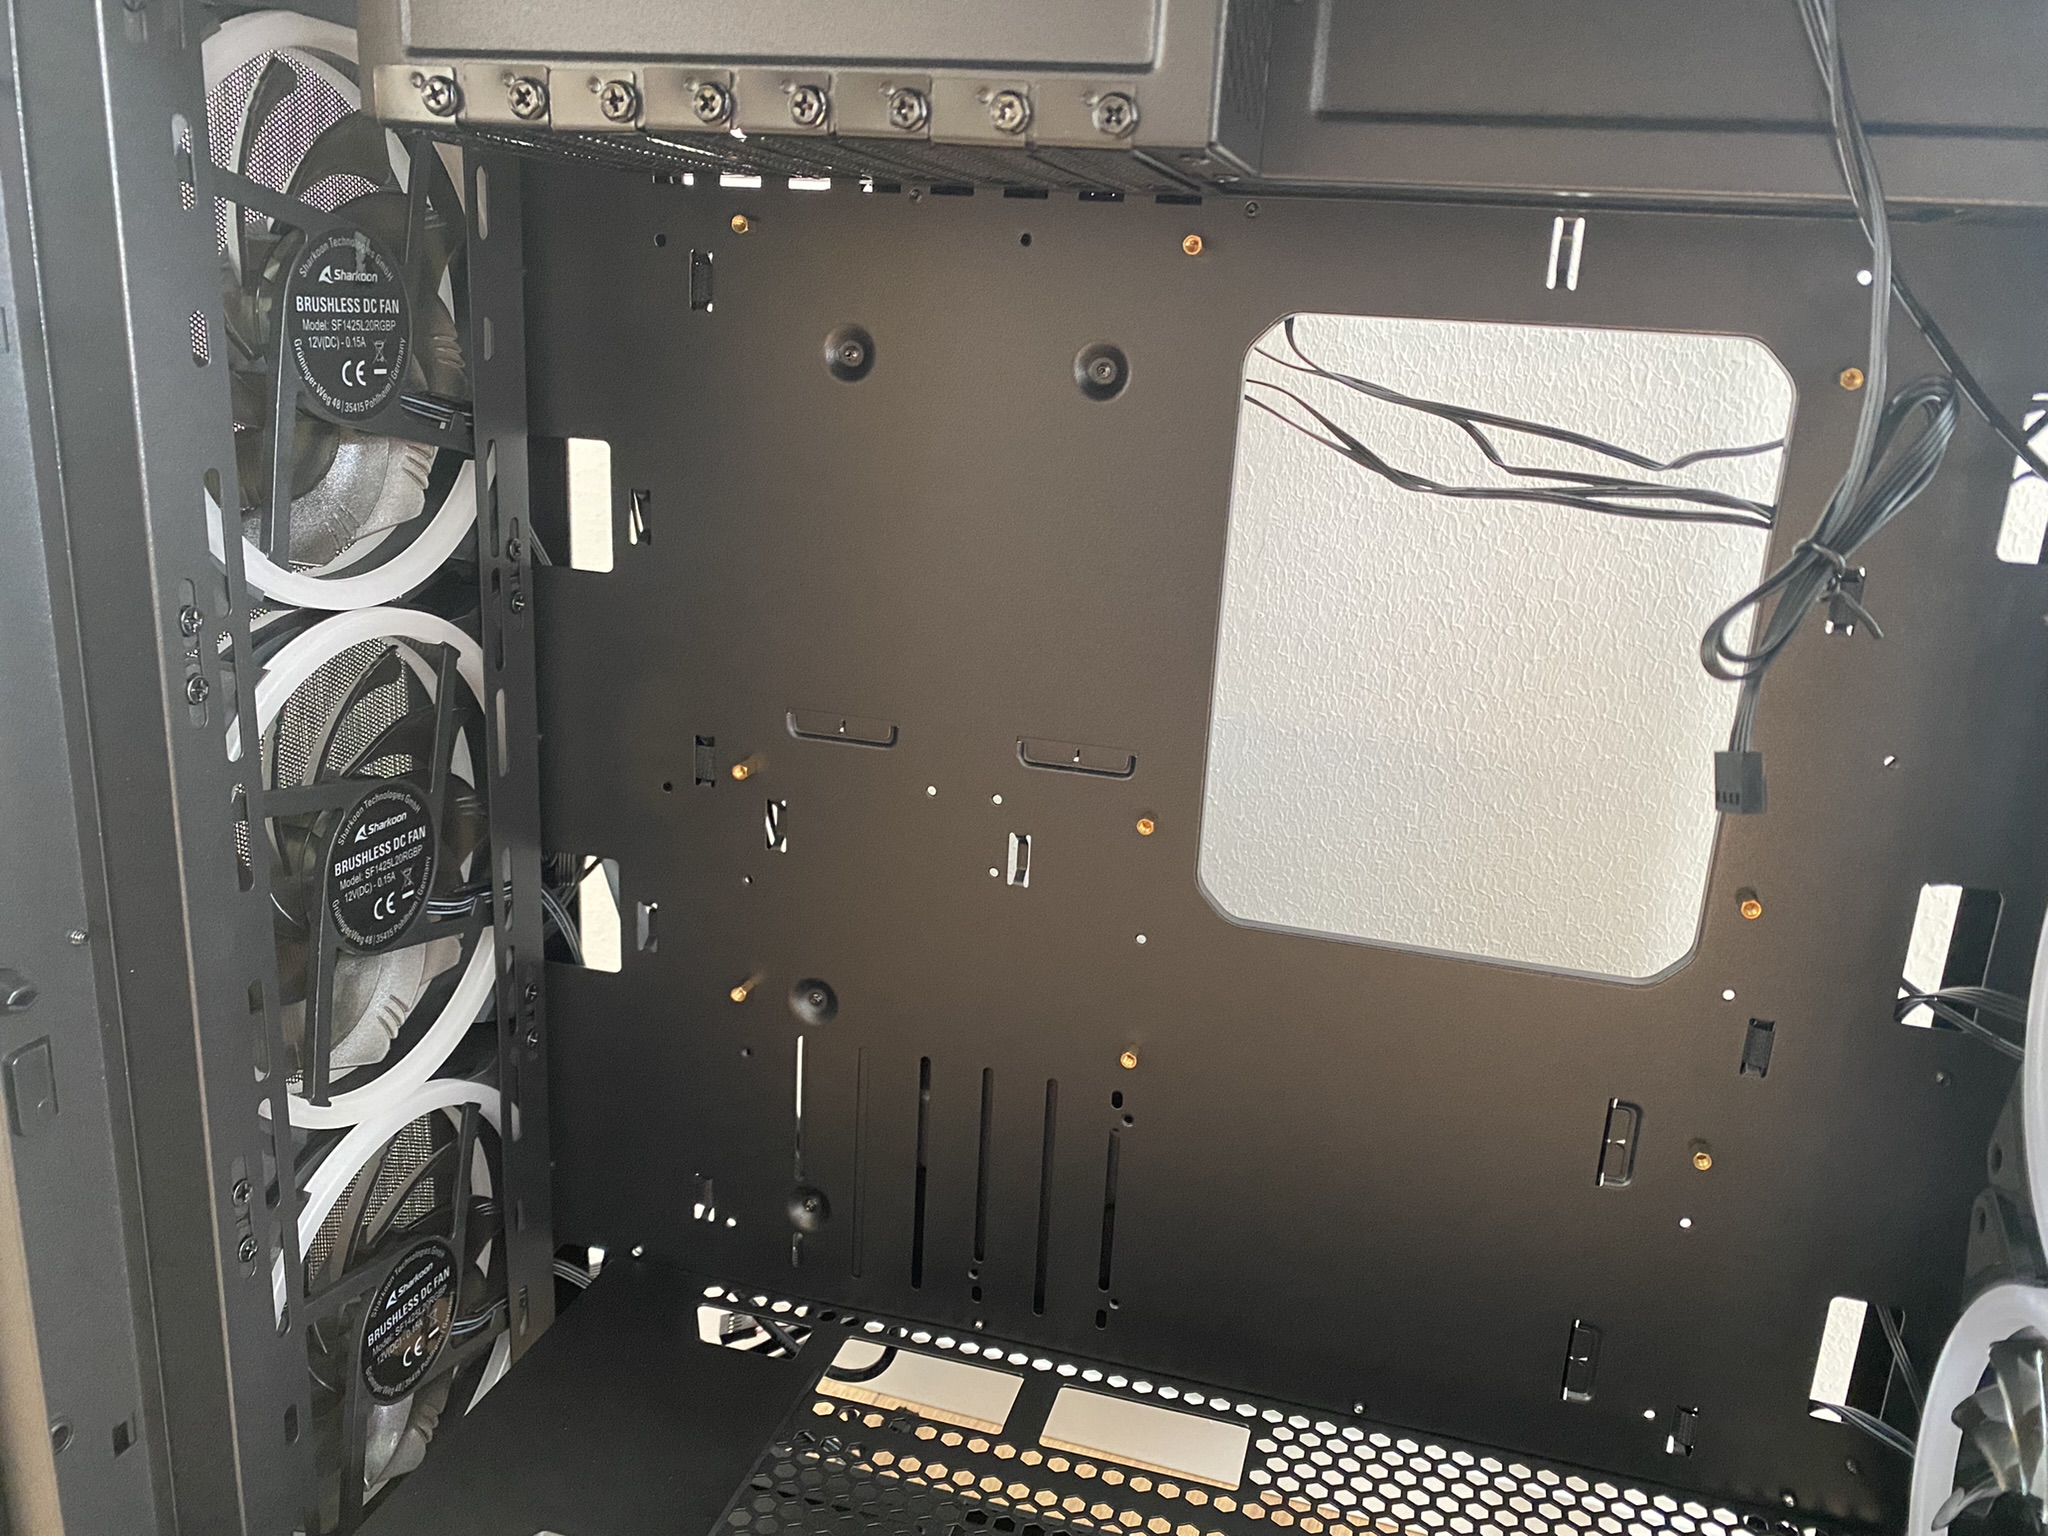

Plenty of preparations for cable management fanatics, Sharkoon has thought along well. But, the sight took some getting used to, at least for me. The otherwise typical rear – is now in the front and where should the I/O panel or the motherboard look out?
The cables have to be plugged in from above. There’s something about that, it’s easier to get to. You have to fumble them out again through the breakthrough at the back, but you get used to it.
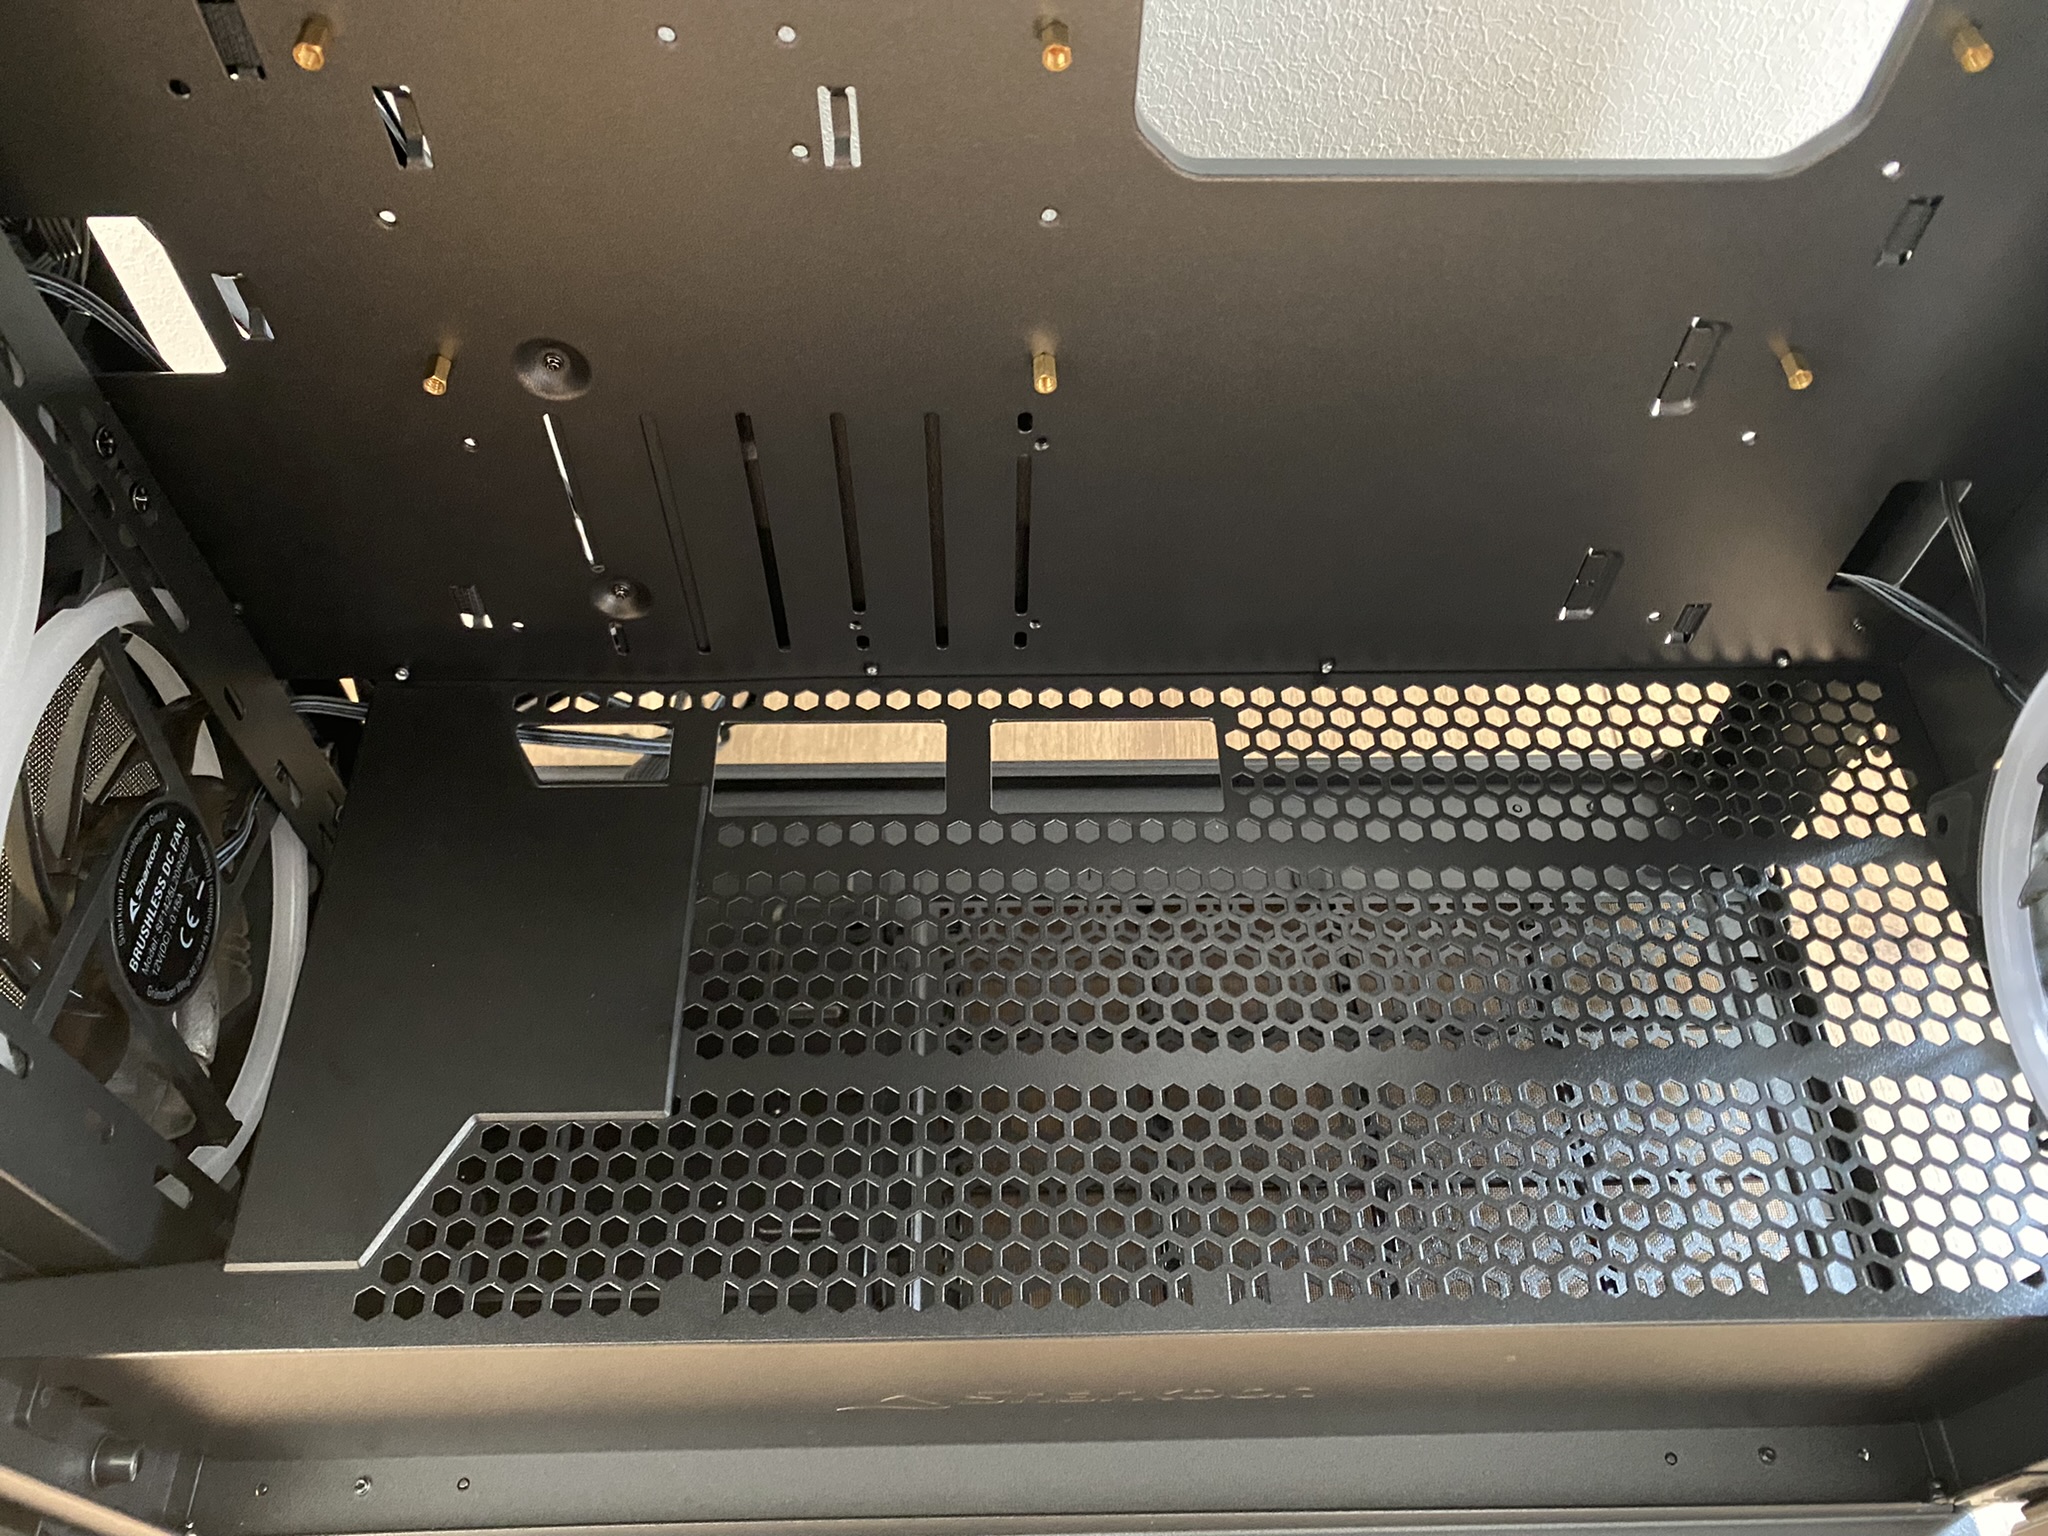
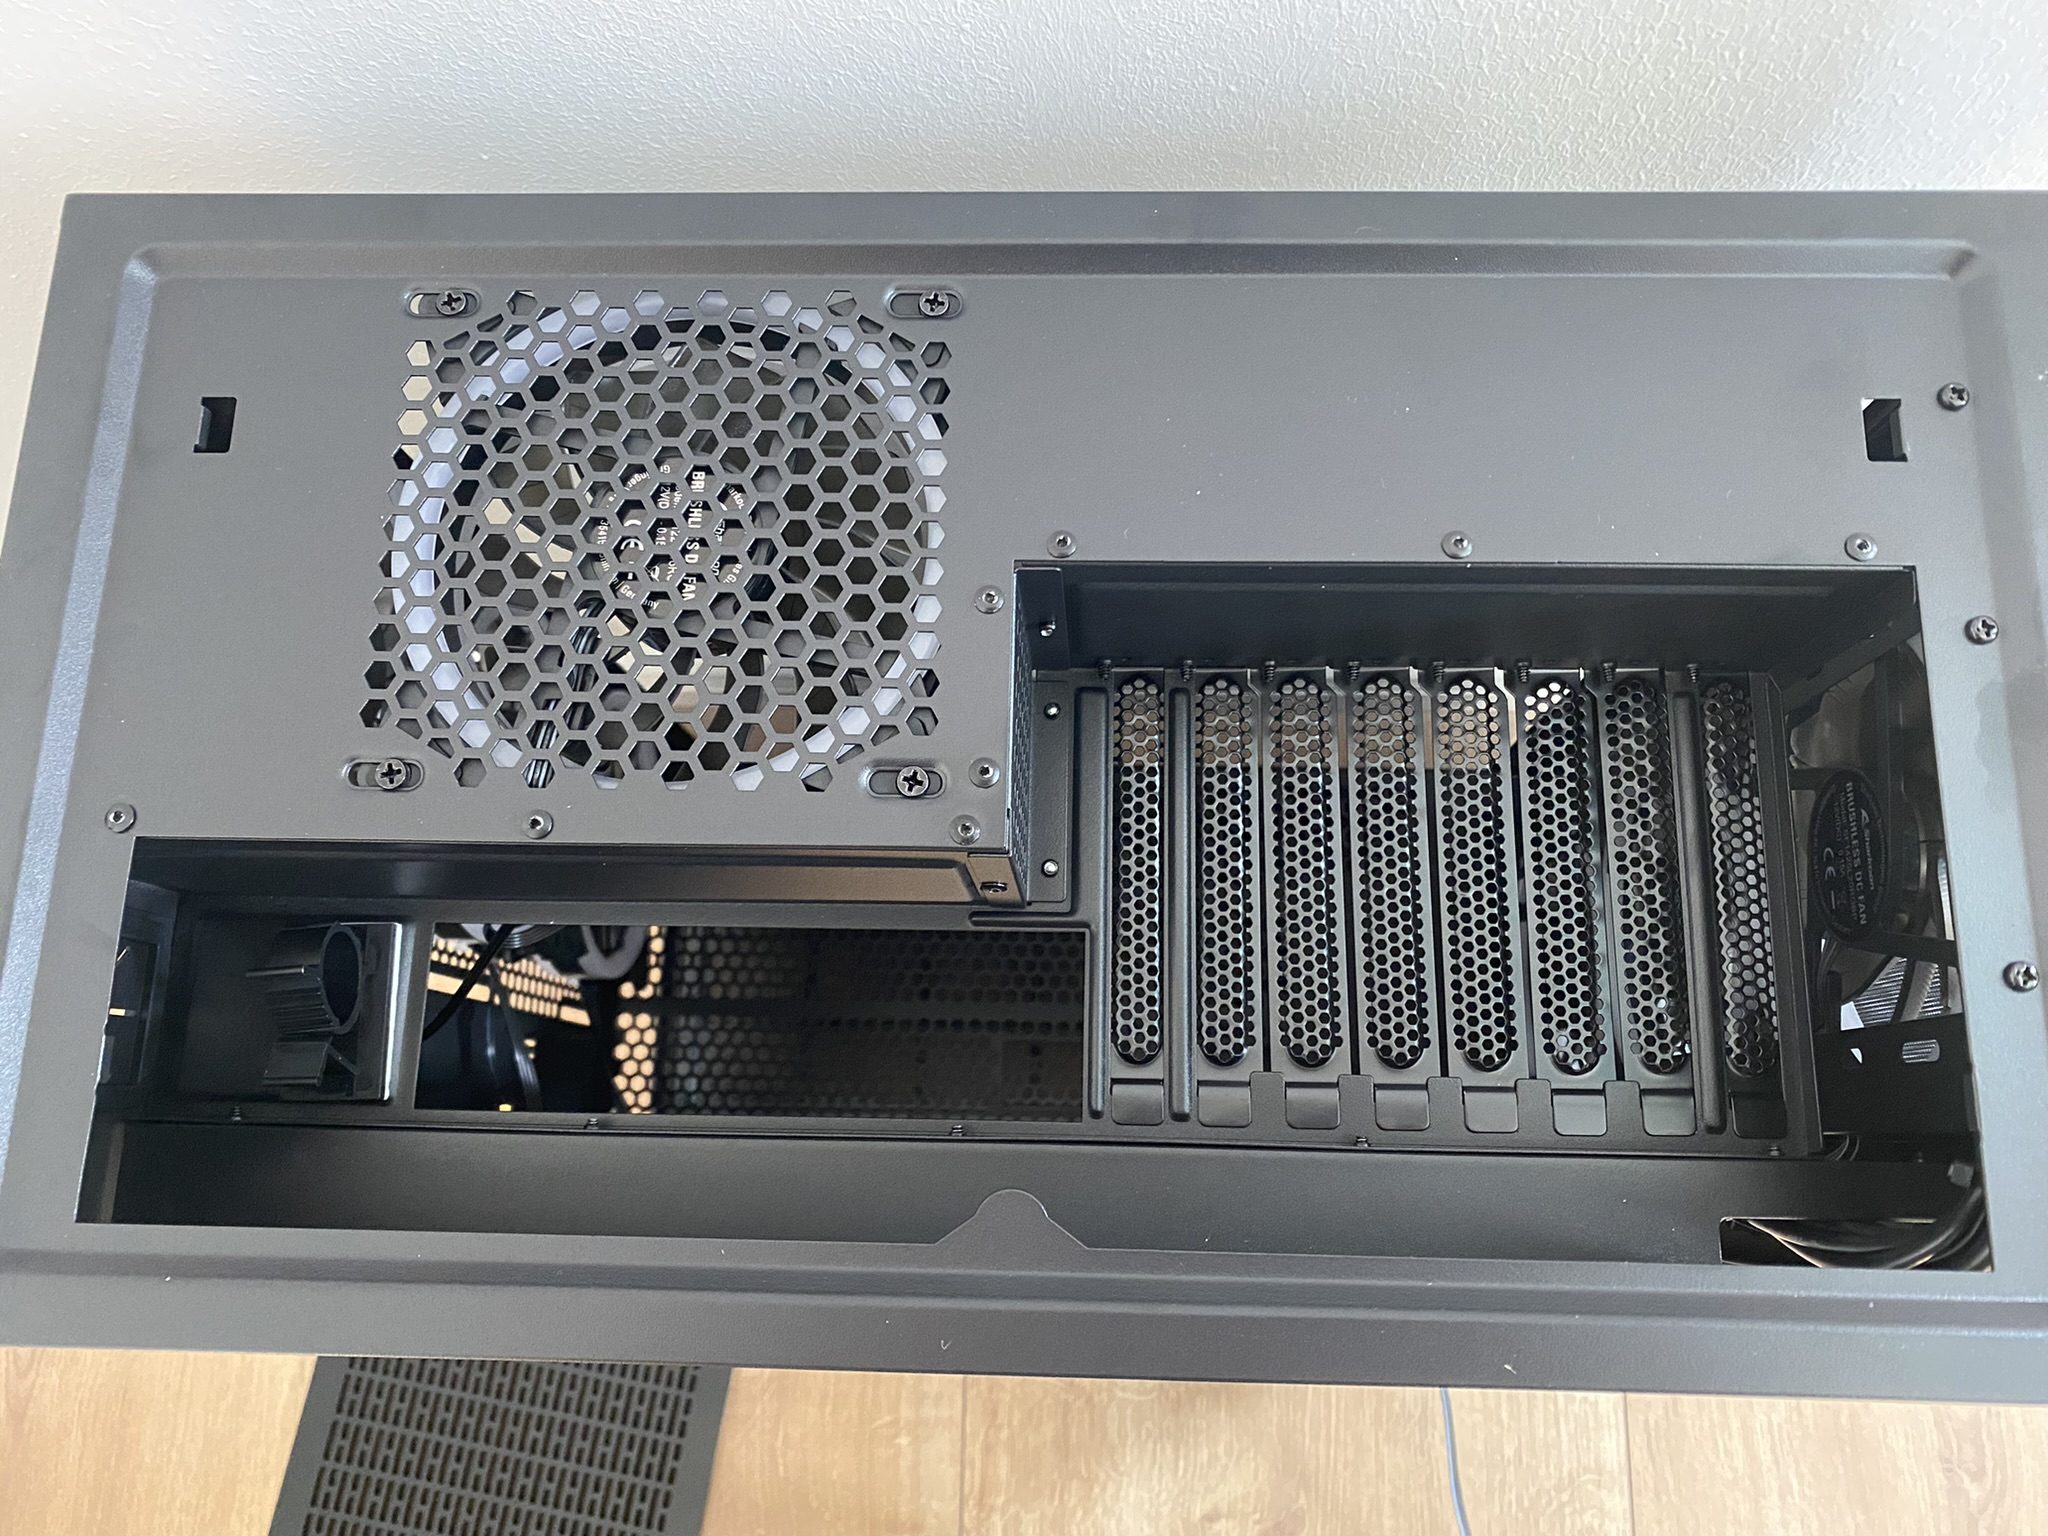
Here, too, are two Velcro loops to guide the cables or stow them well. I like that very much, someone has thought! Below you can see the cutout for the power supply…
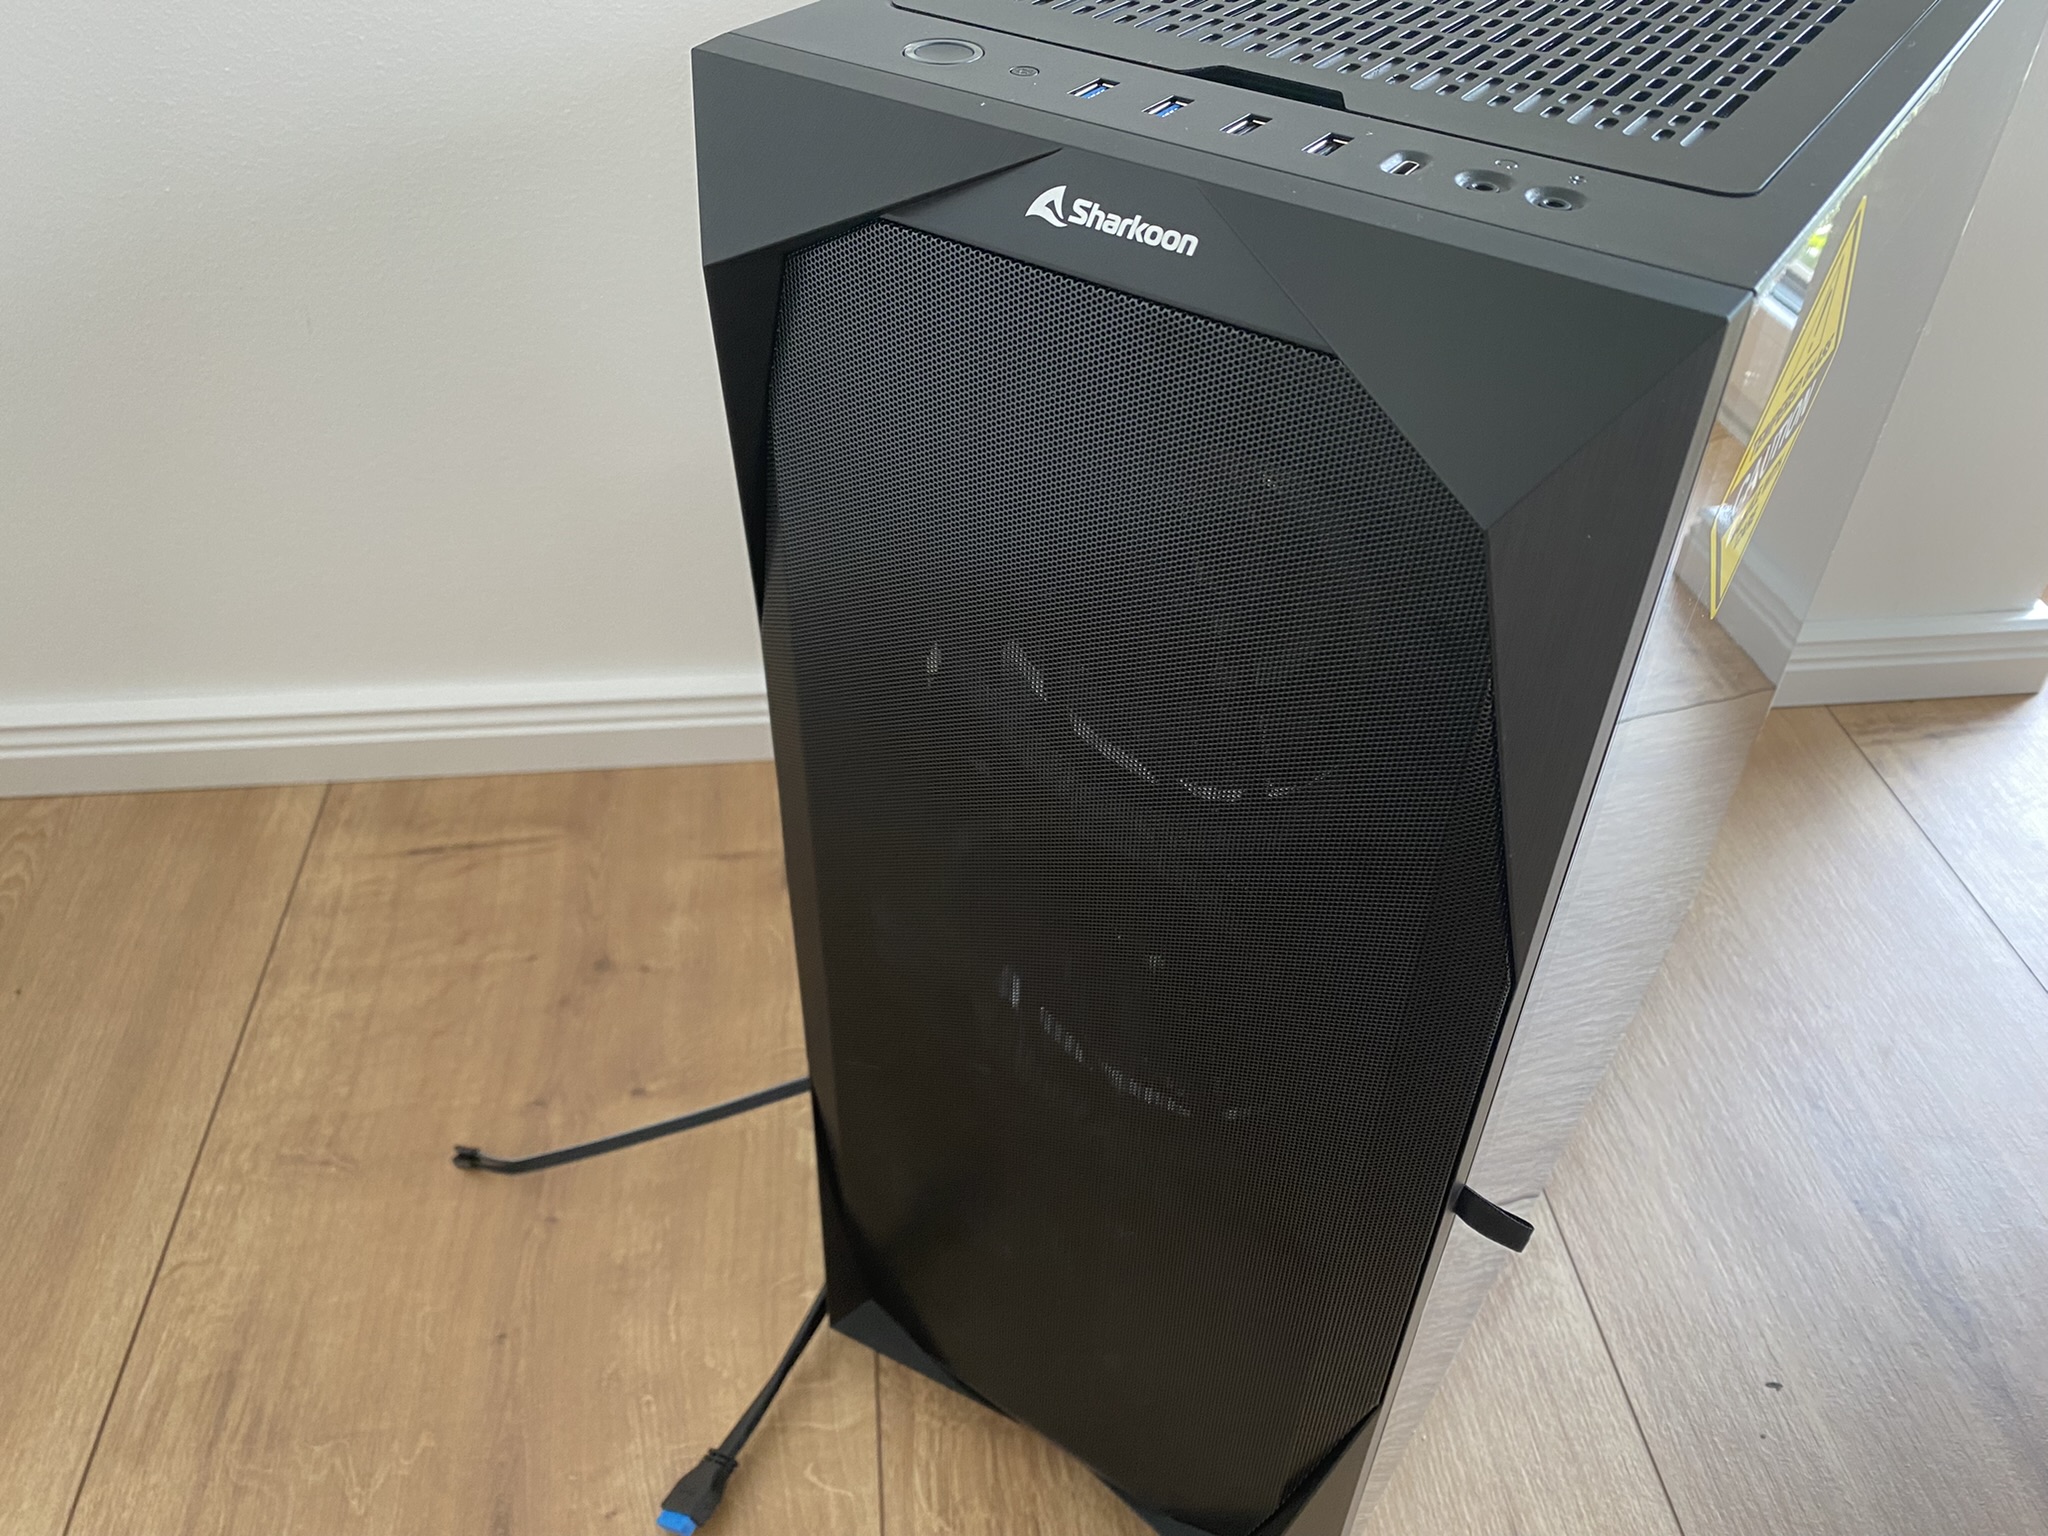
If you remove the mech front, there is another dust filter to take off and another one to pull out at the bottom. Power supplies are also supposed to suck up dust, I’ve heard…
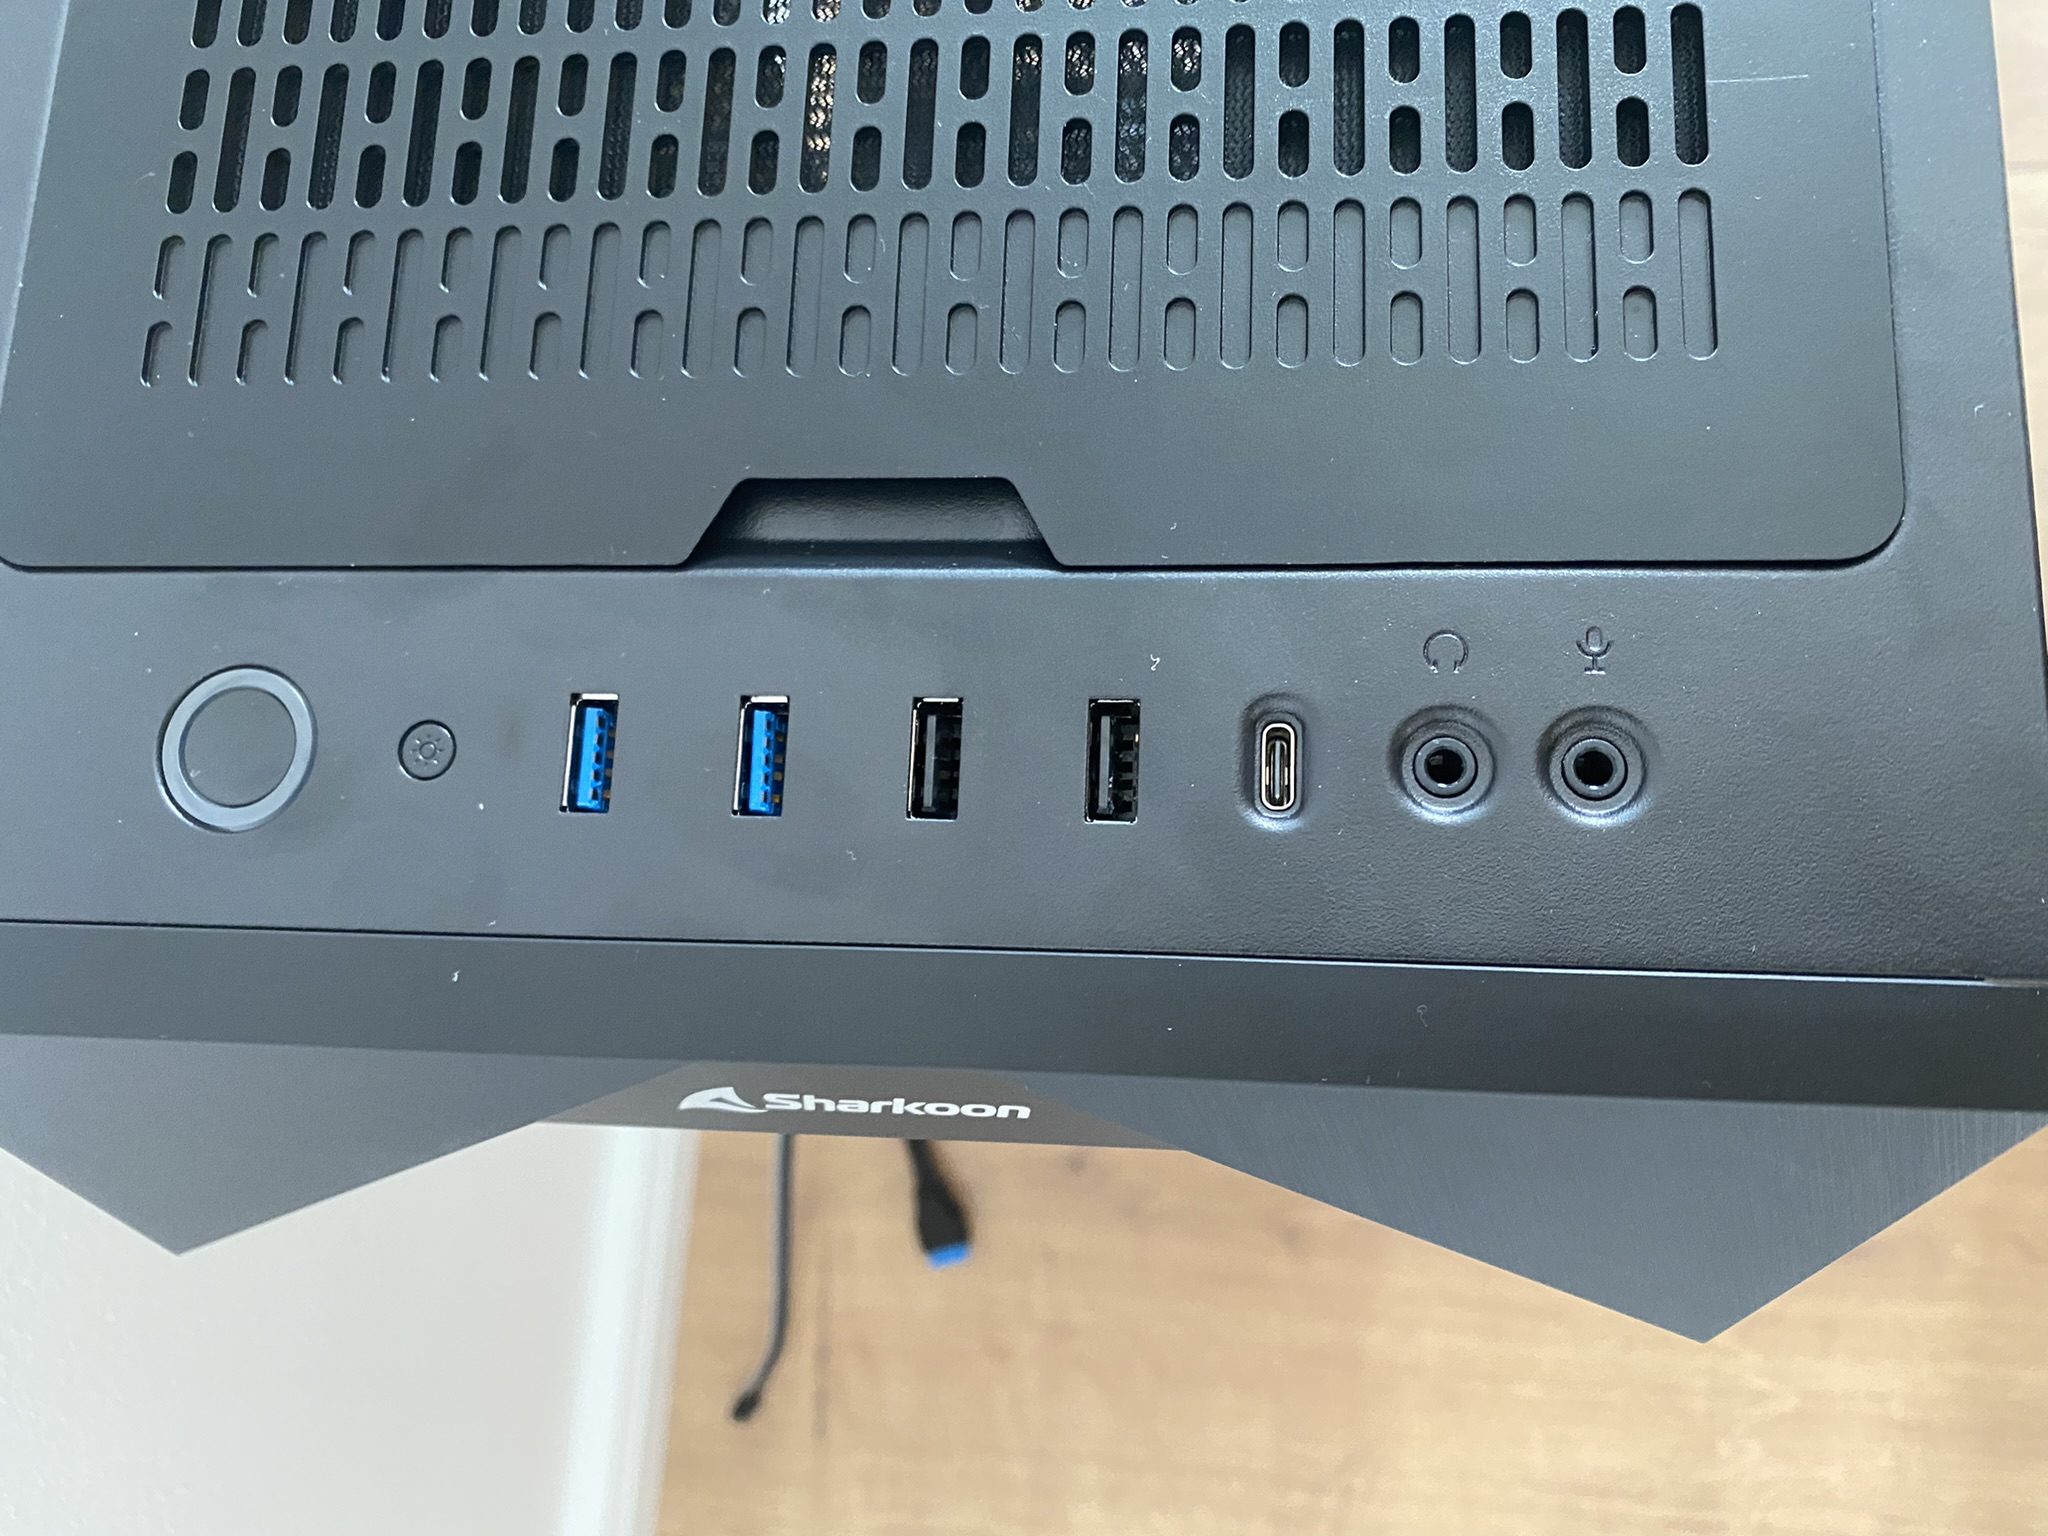
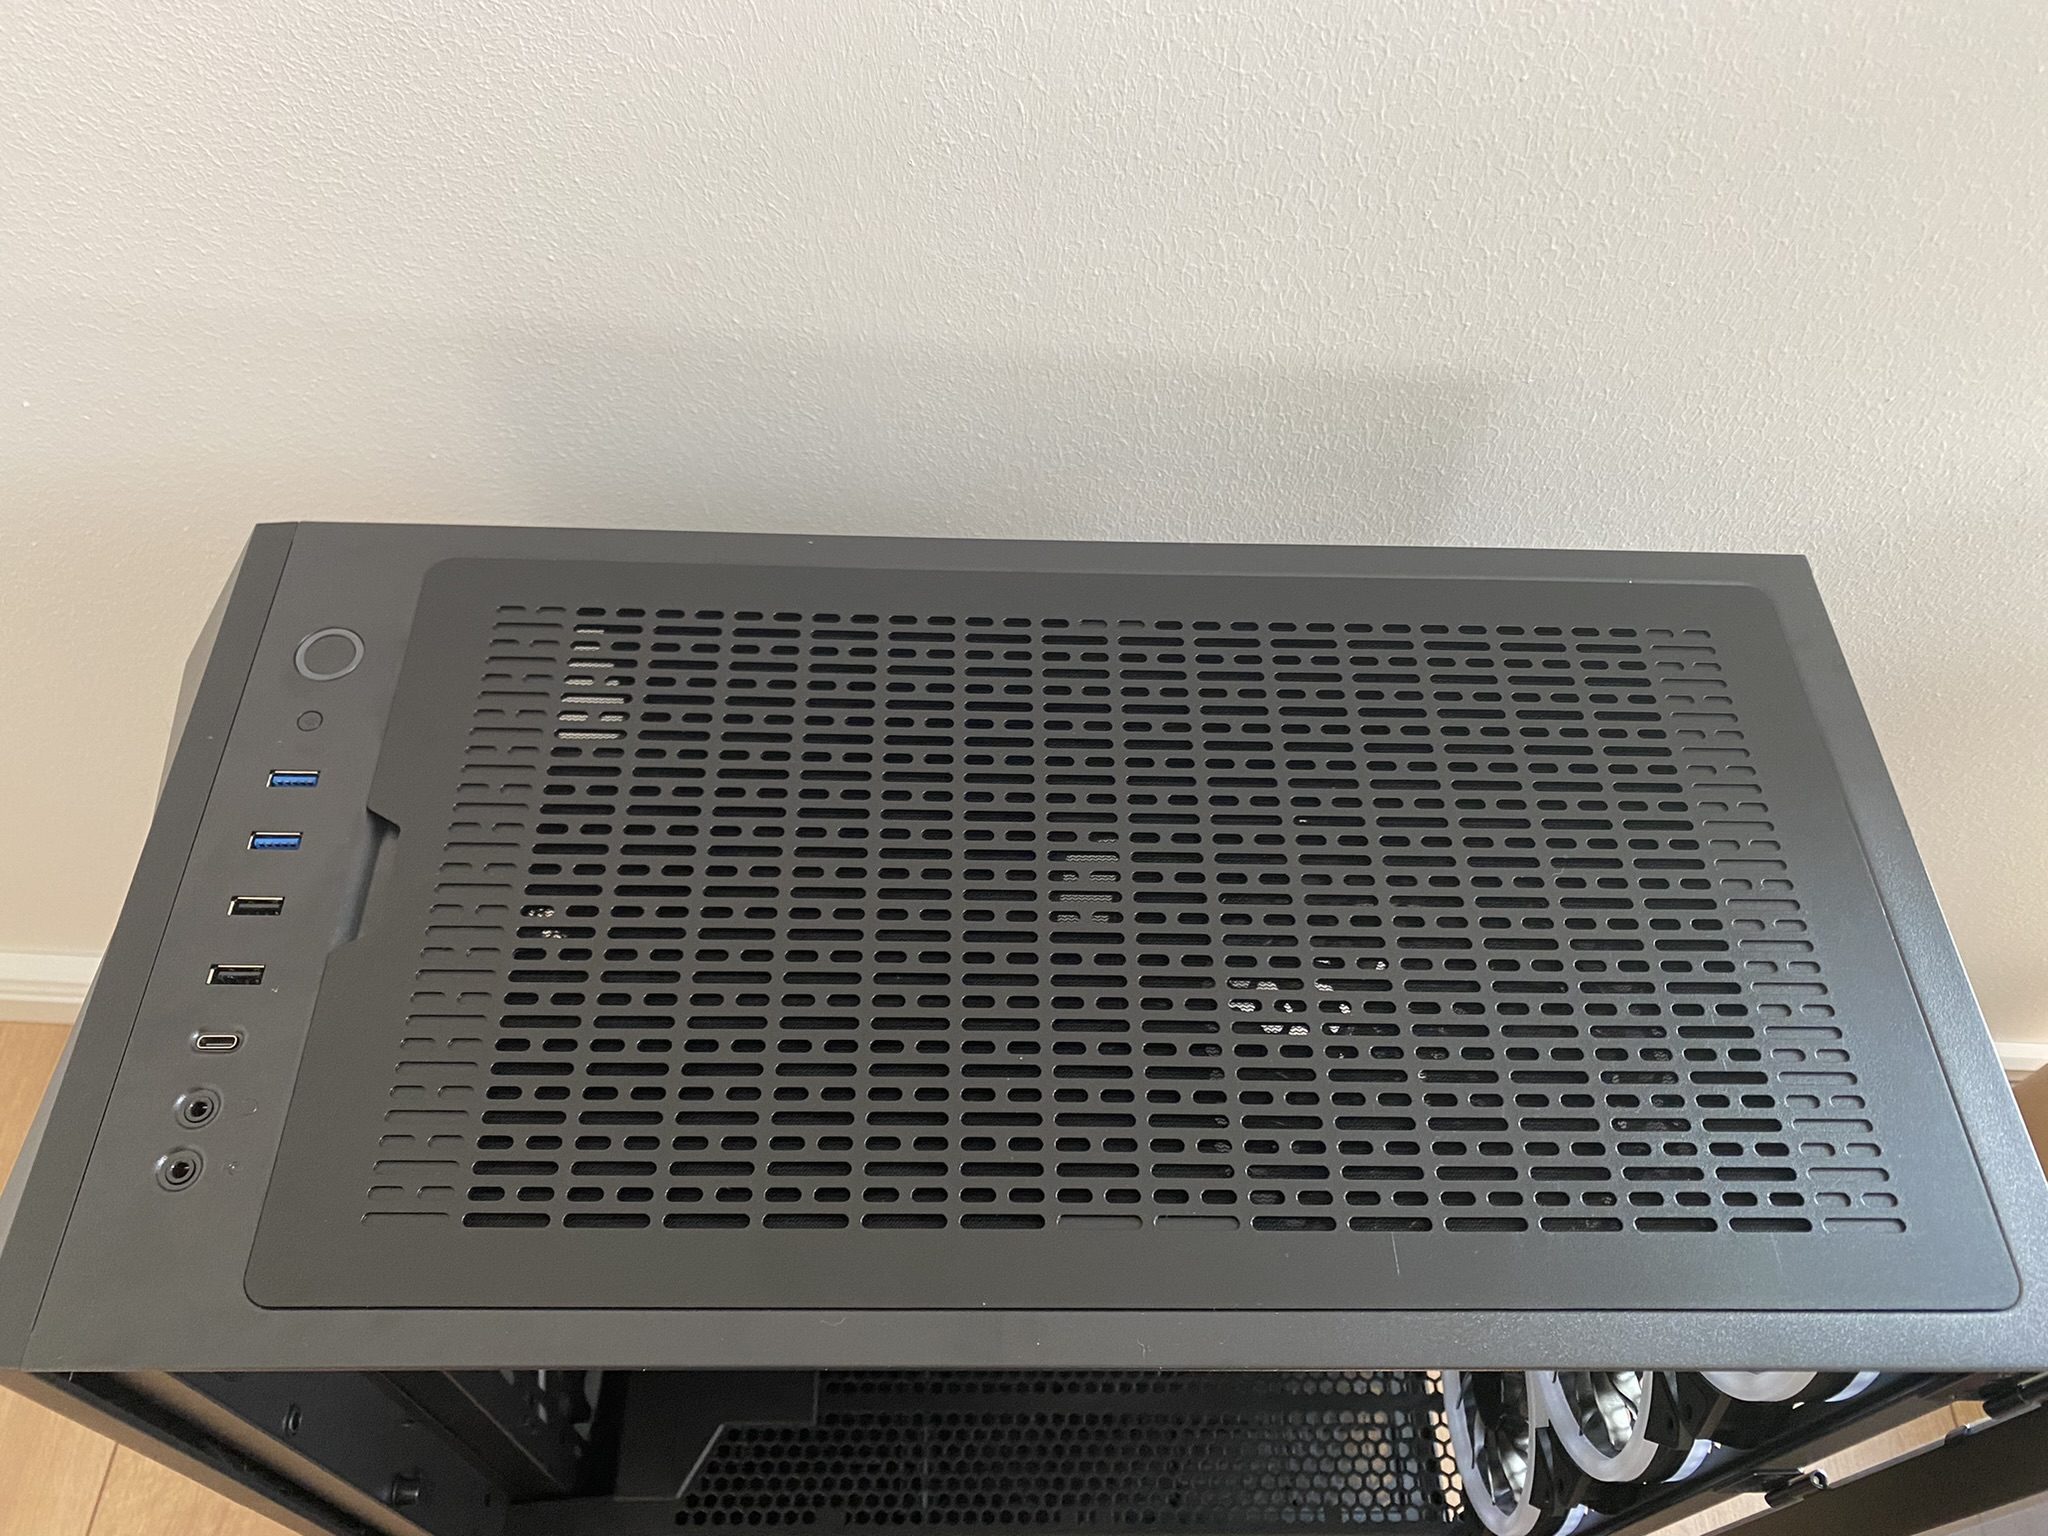
It says – on/off – should I press it or what? Radio PSR – Classic! Next to it is the (small) button for direct control of the RGB lighting. Followed by 2x USB 3.0, 2x USB 2.0, USB Type-C (3.2 Gen. 2) and front audio. Everything you need is there.
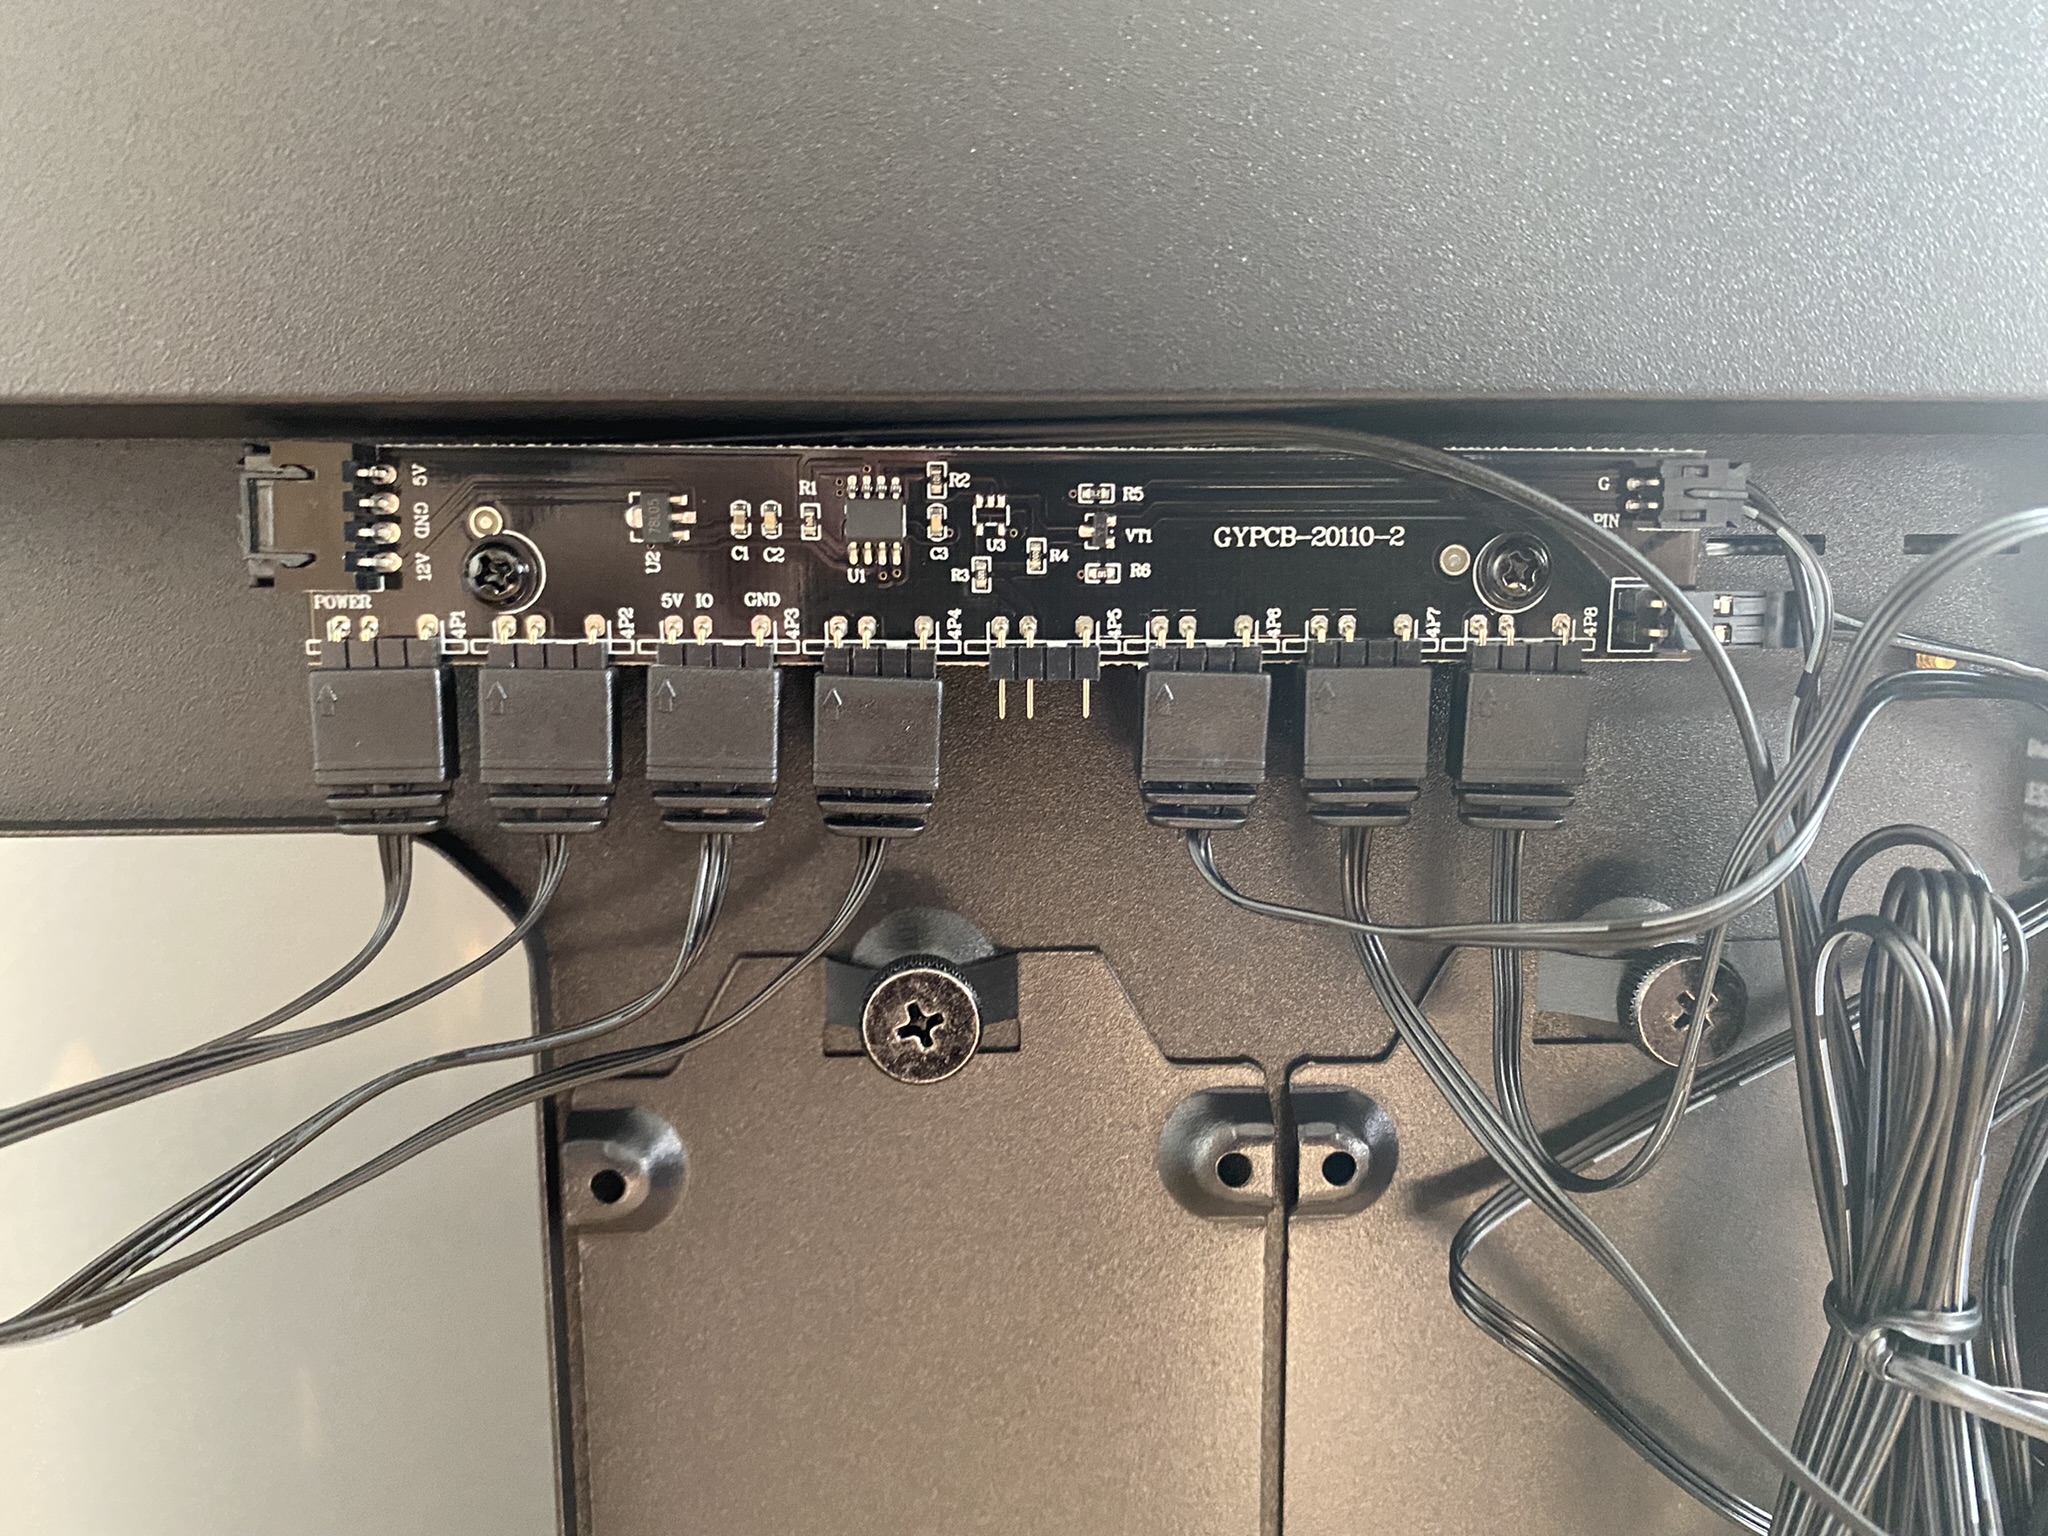
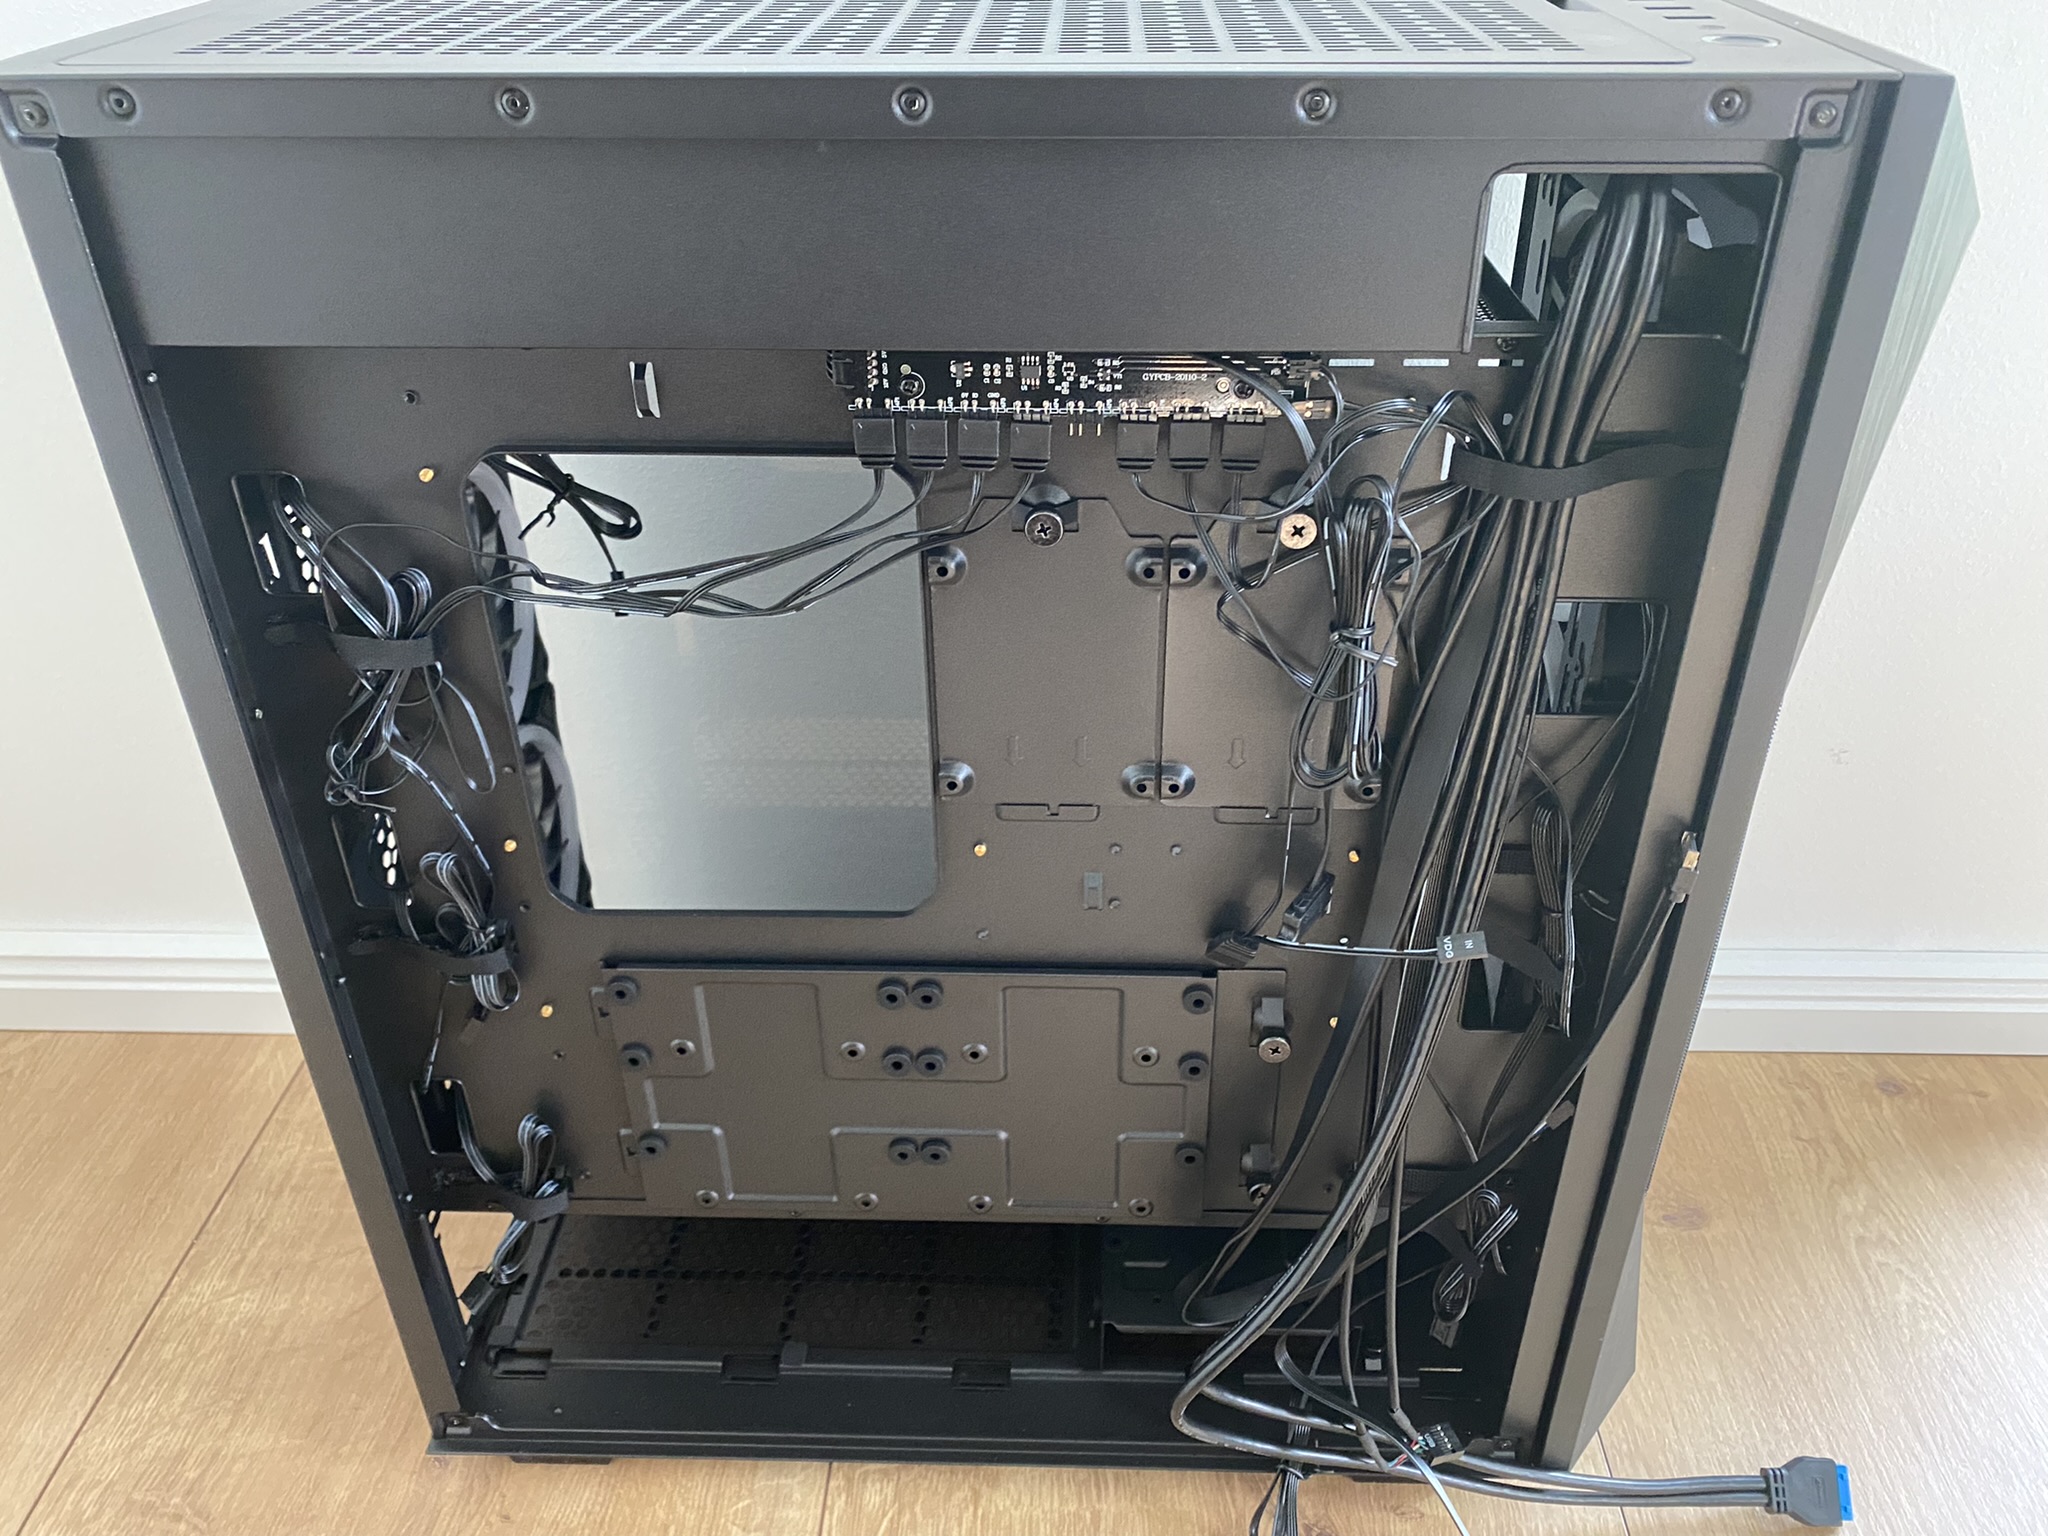
My personal highlight: the aRGB HUB. Connect via S-ATA power cable and via 3Pin to the mainboard. So you can occupy up to 8 seats. If you want, you can control everything via a button from the casing or hold the button down longer until the light turns off and on again. Then you control the whole thing via the mainboard. All manufacturers (ASUS, MSI, Gigabyte, ASRock) are supported here. Two 2.5″ S-ATA SSDs can still be installed underneath the aRGB HUB. An HDD can be installed at the bottom for those who still need it (see PDF below).
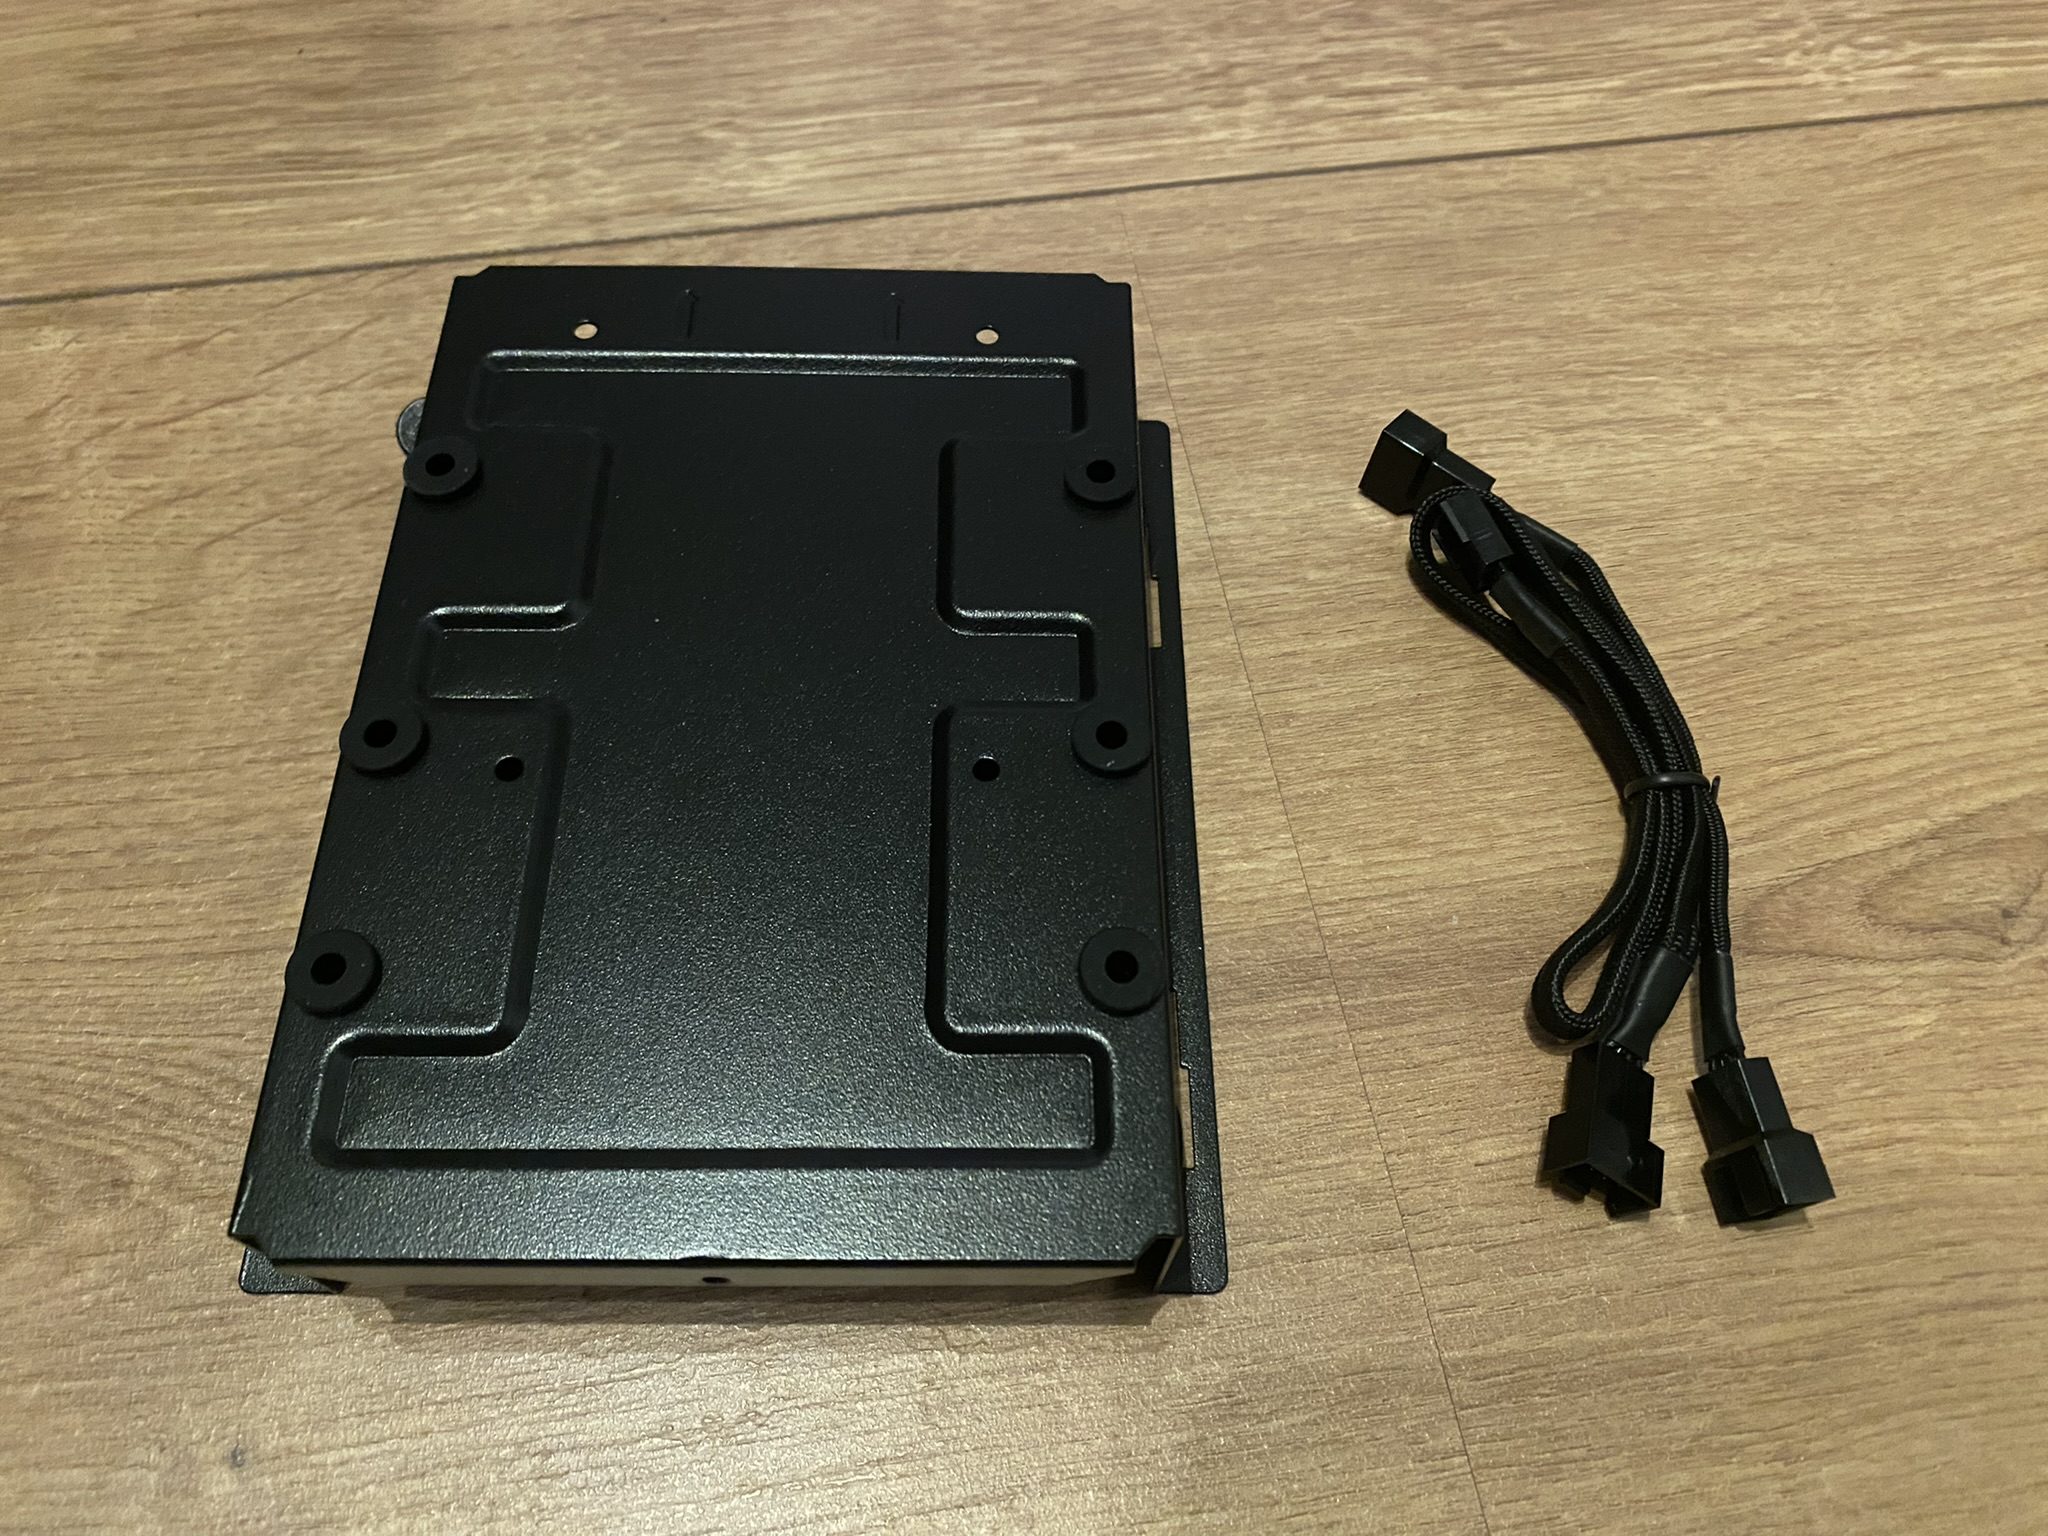
You will not find a PWM fan hub. This is not a big deal because Sharkoon includes two Y-cables besides the usual accessories (screws, etc.). This allows you to connect 3 fans to one mainboard connector. So basically you only need three PWM headers on the motherboard. So you are not forced to buy additional cables. Very commendable!
prem_rev_300_de_01
In the PDF, among other things, the topic of dust filters and radiators was illustrated once again. You can pack quite a bit into it. There is basically nothing more to say. See you on the next page….


59 Antworten
Kommentar
Lade neue Kommentare
Mitglied
Moderator
Urgestein
Moderator
Urgestein
Mitglied
Urgestein
Moderator
Moderator
Urgestein
Urgestein
Urgestein
Urgestein
Urgestein
Moderator
Urgestein
Moderator
Moderator
Urgestein
Alle Kommentare lesen unter igor´sLAB Community →