Case Cooling Practice Reviews Watercooling

The Sharkoon Rev300 Case Review – A different design with plenty of space for a custom Water Cooling

The installation of the custom water cooling

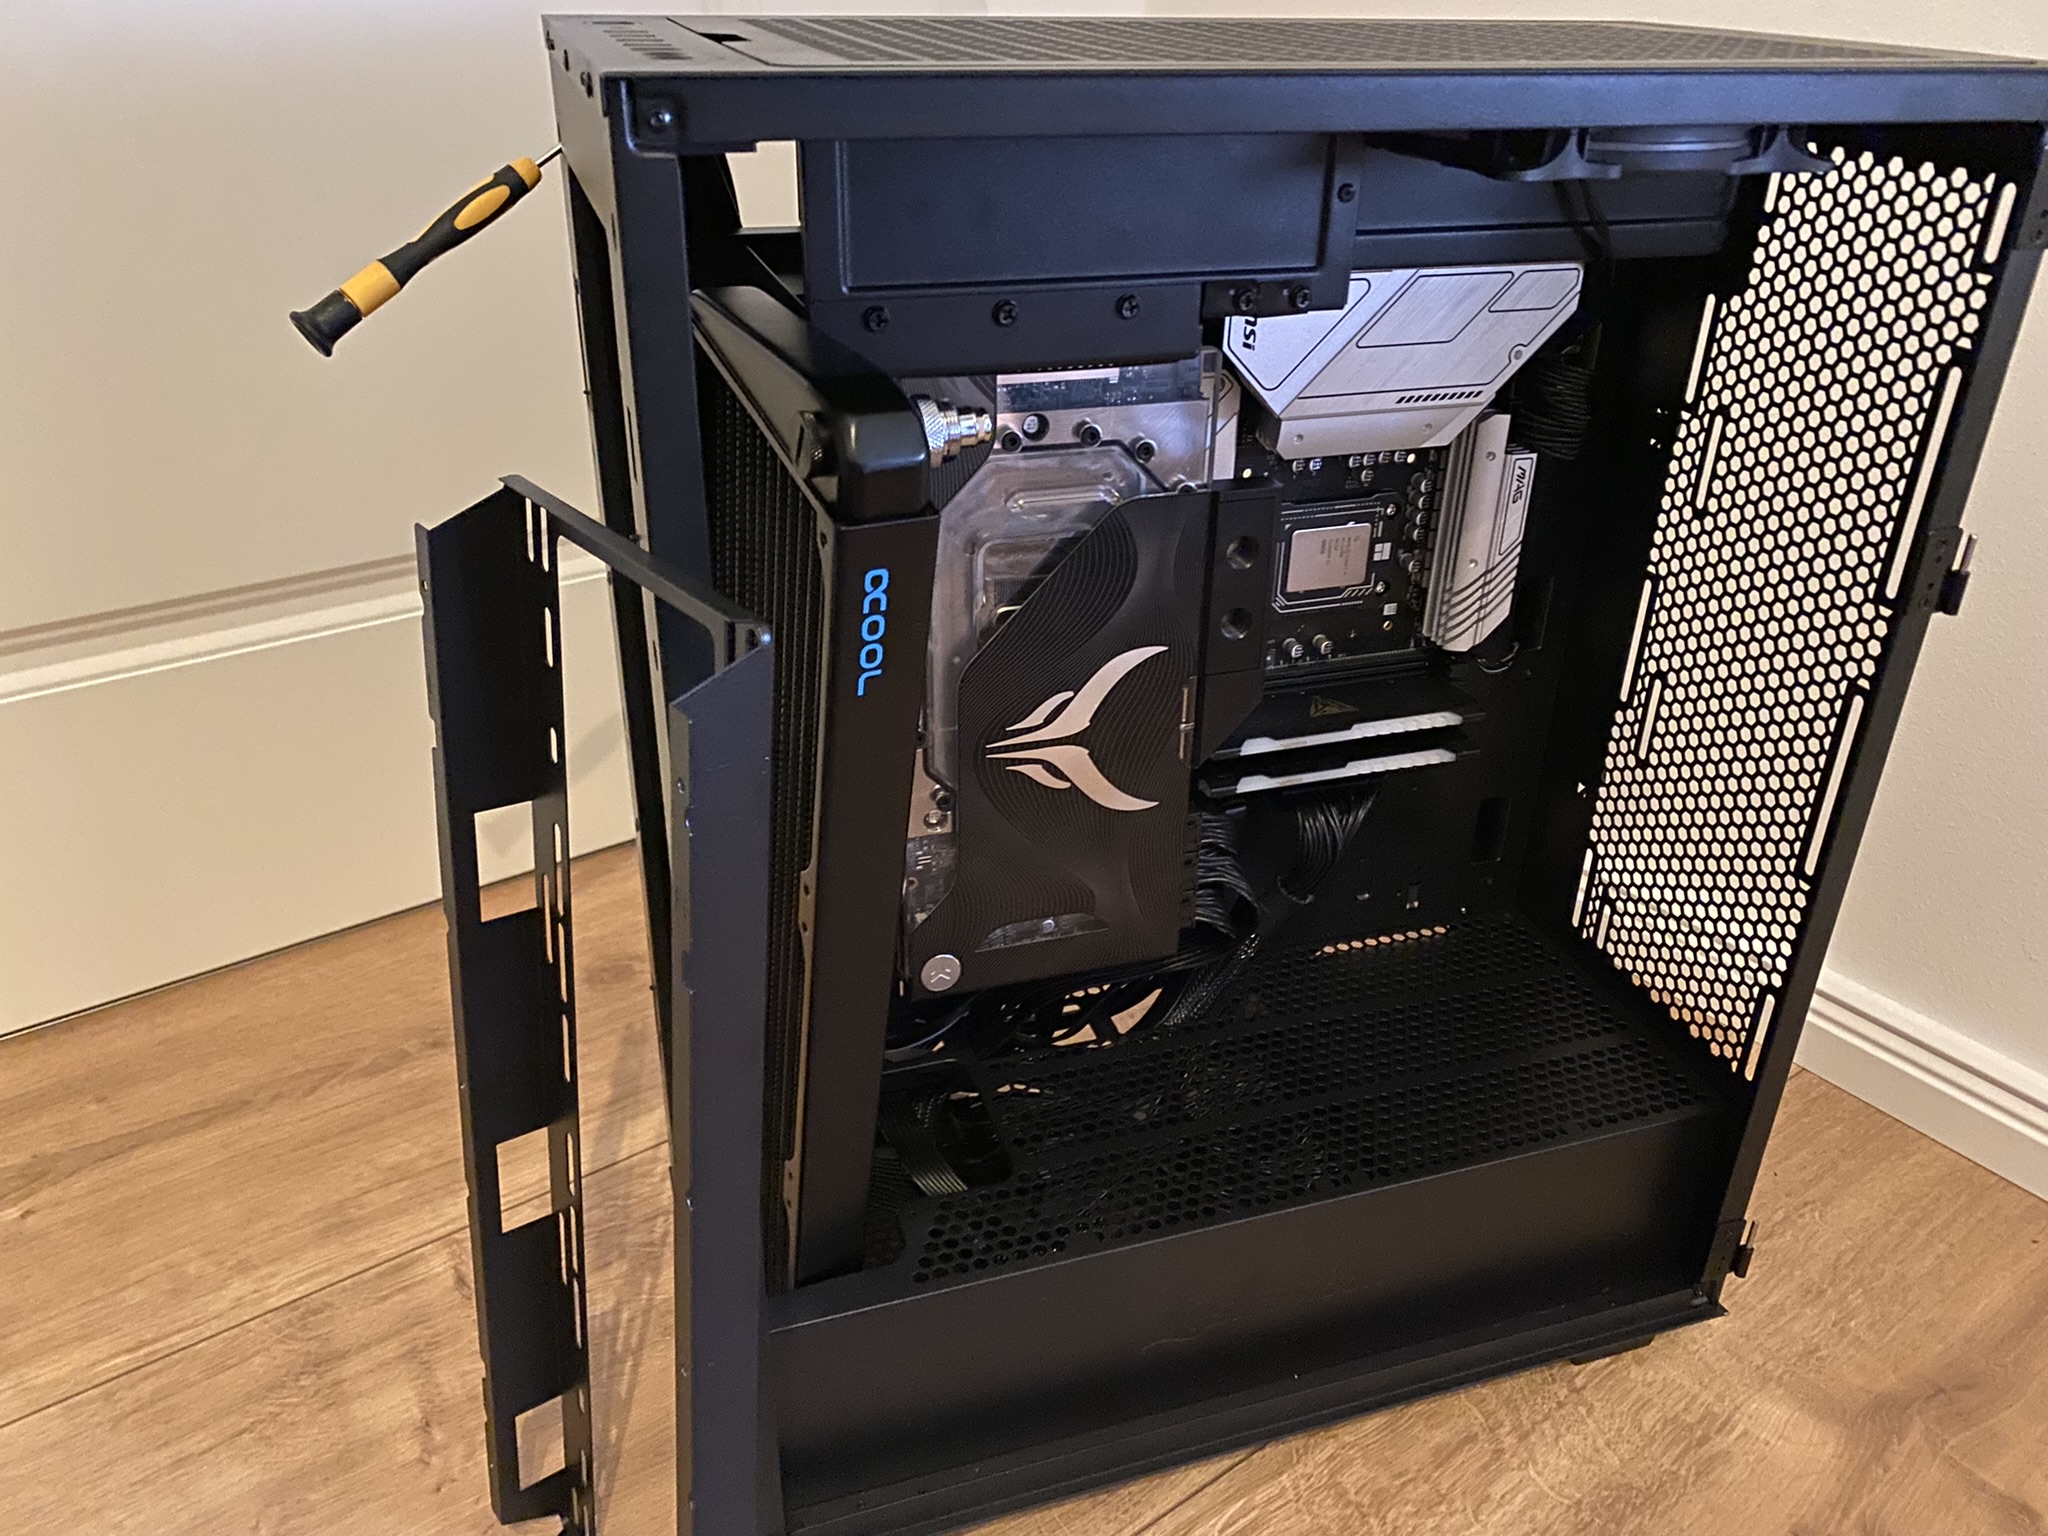
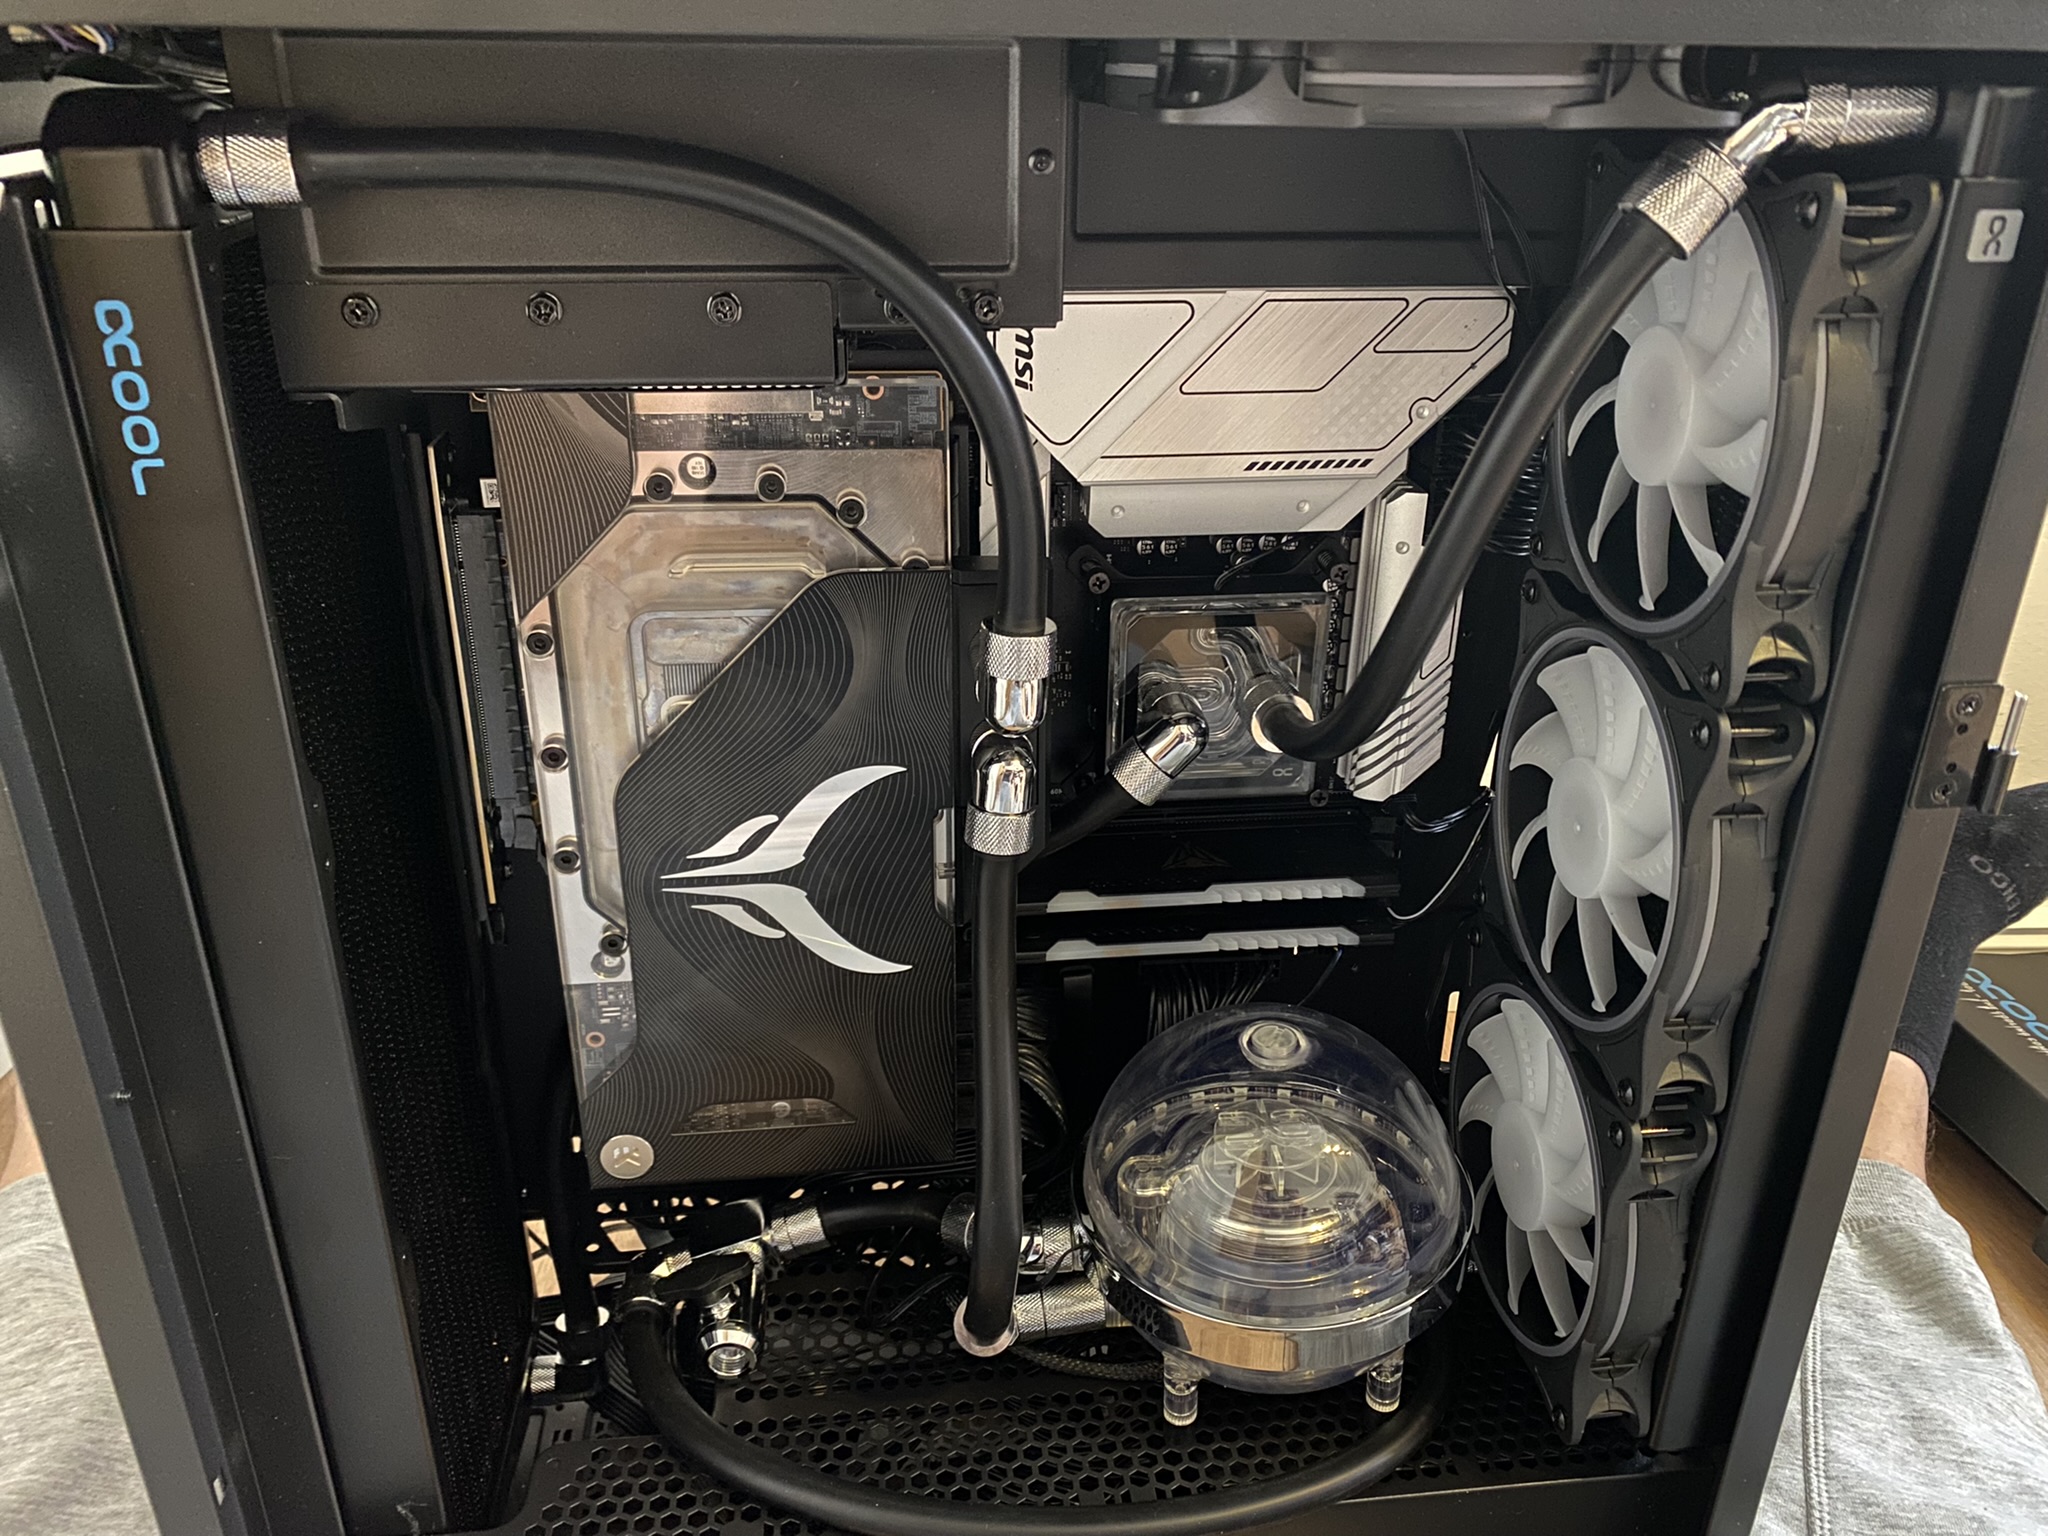
To mount the 420 radiator on the front, you need to remove the bracket first. Simply loosen the few screws, then the radiator (with fitting above and 90 ° angle piece below) purely, everything together with the fan install and ready. As you can see, the motherboard, the GPU including the vertical kit and the power supply are already installed and wired. You should also do this beforehand, otherwise it will be extremely difficult or even impossible later on. How to install these standard components, I wanted to spare you. Anyone can do this, and if not YT, there are 1000 and one explainer video…


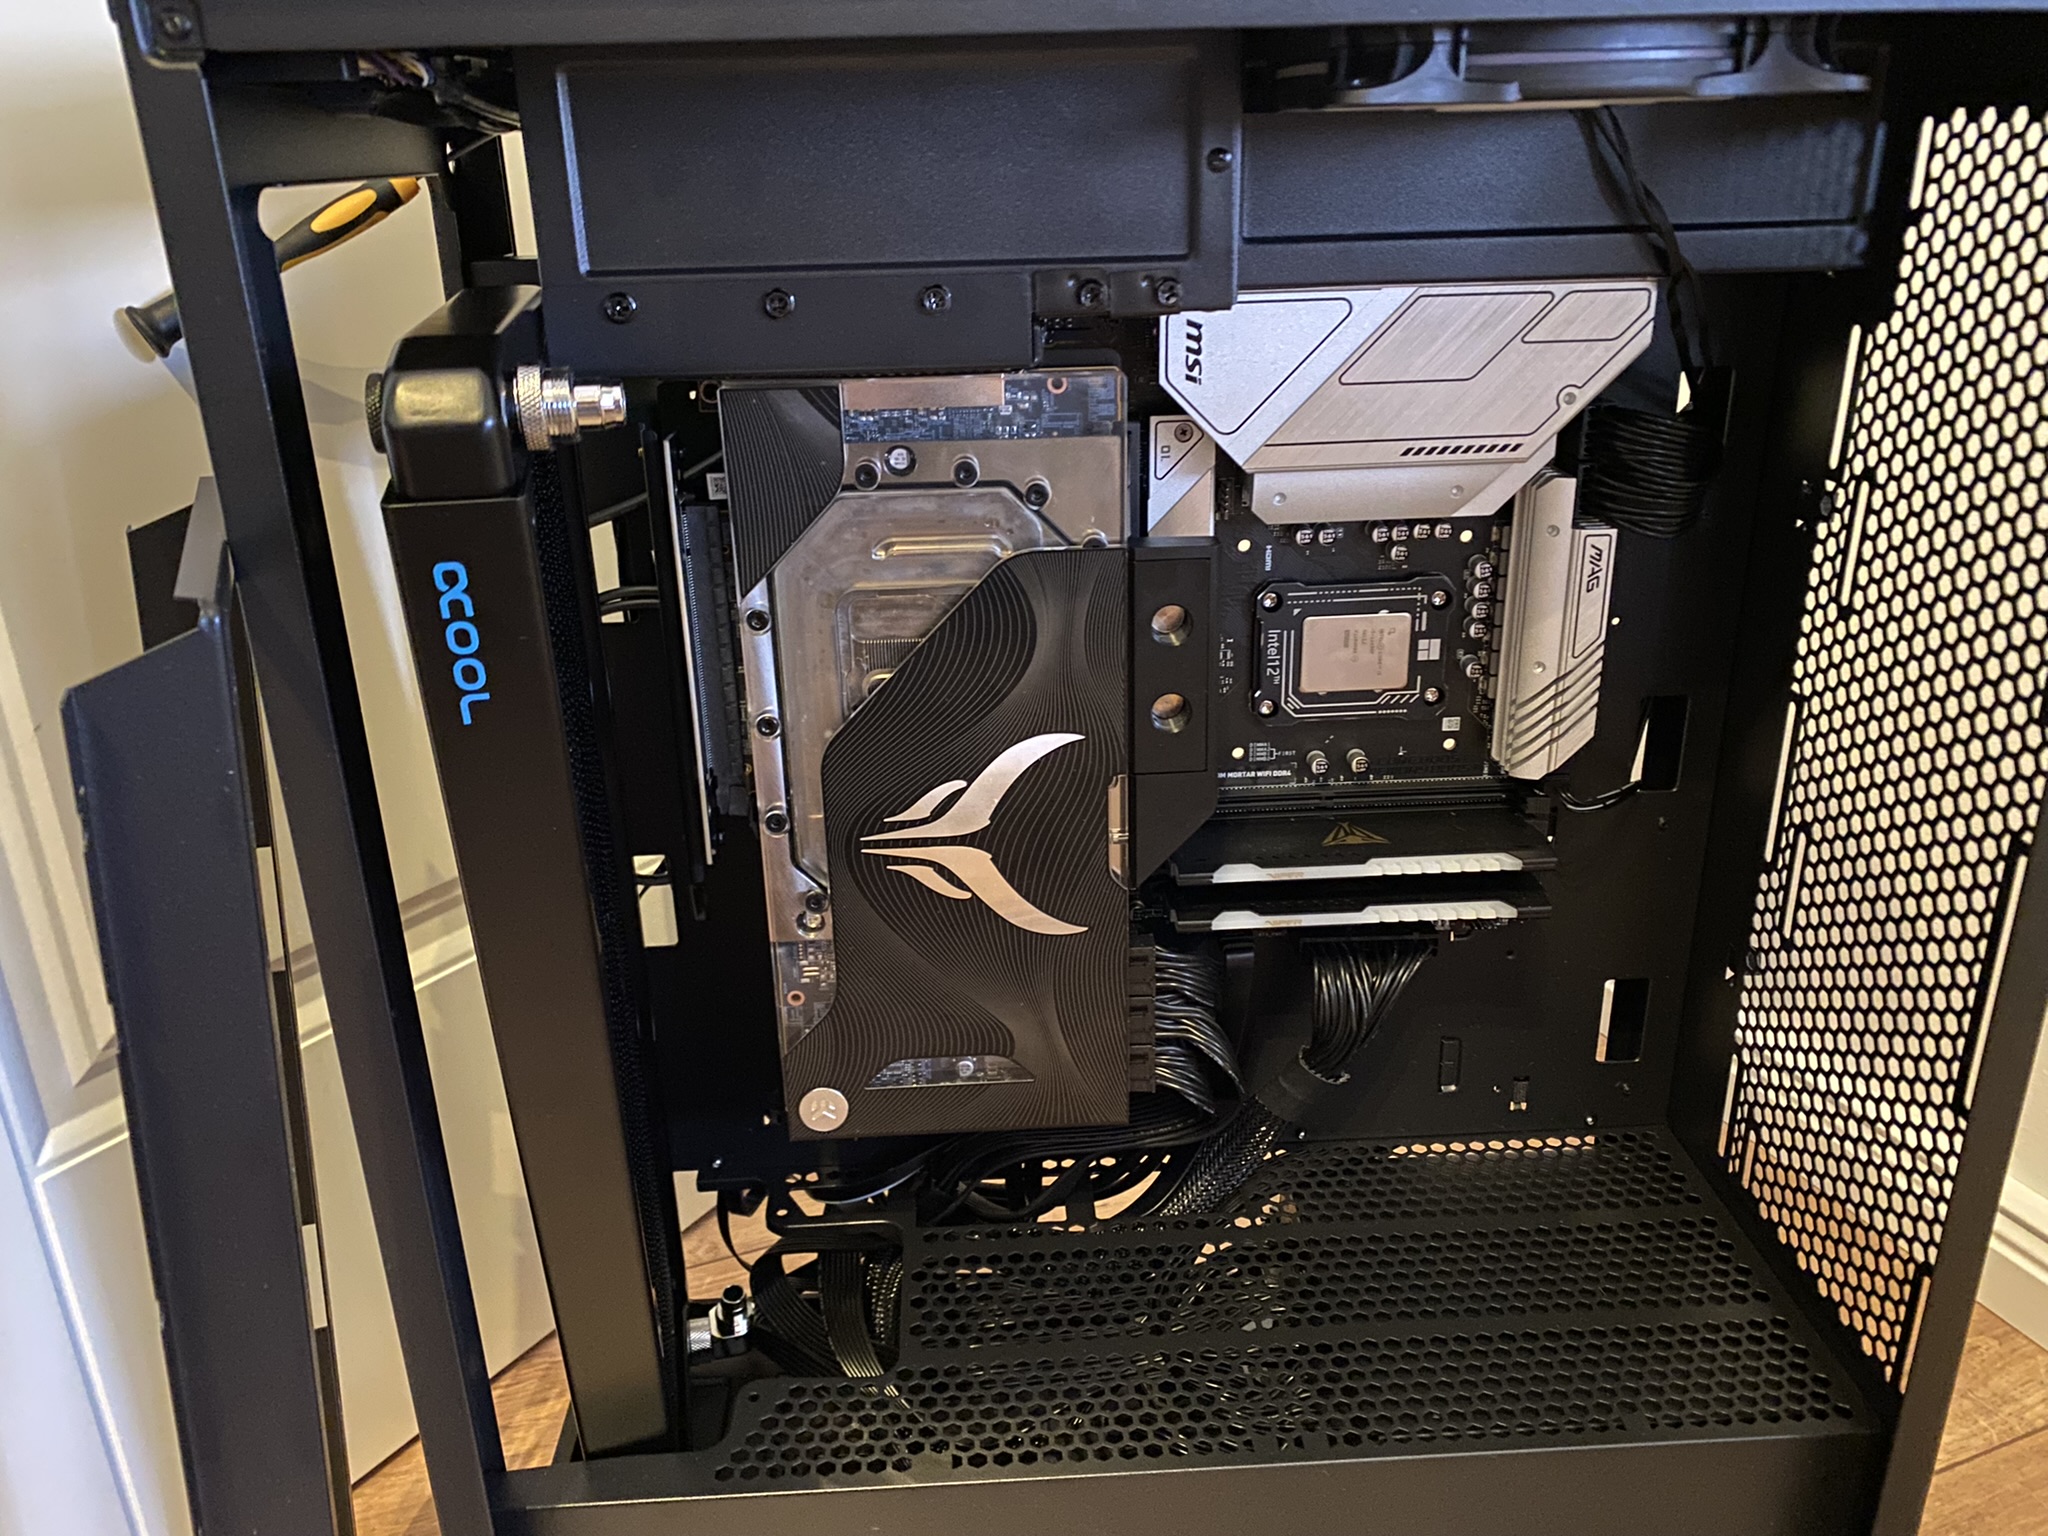
I have summarized everything else for you in a picture gallery. Because with hoses, the whole thing is really simple and there is nothing to be afraid of, even as a “beginner”. It is important that you screw everything hand-tight, then everything is also tight. It can be difficult with the fittings. If the hose is on it, then the “union nut” goes over quite difficult. You can help a little with a pair of pliers. Always remember: after firm – comes off!


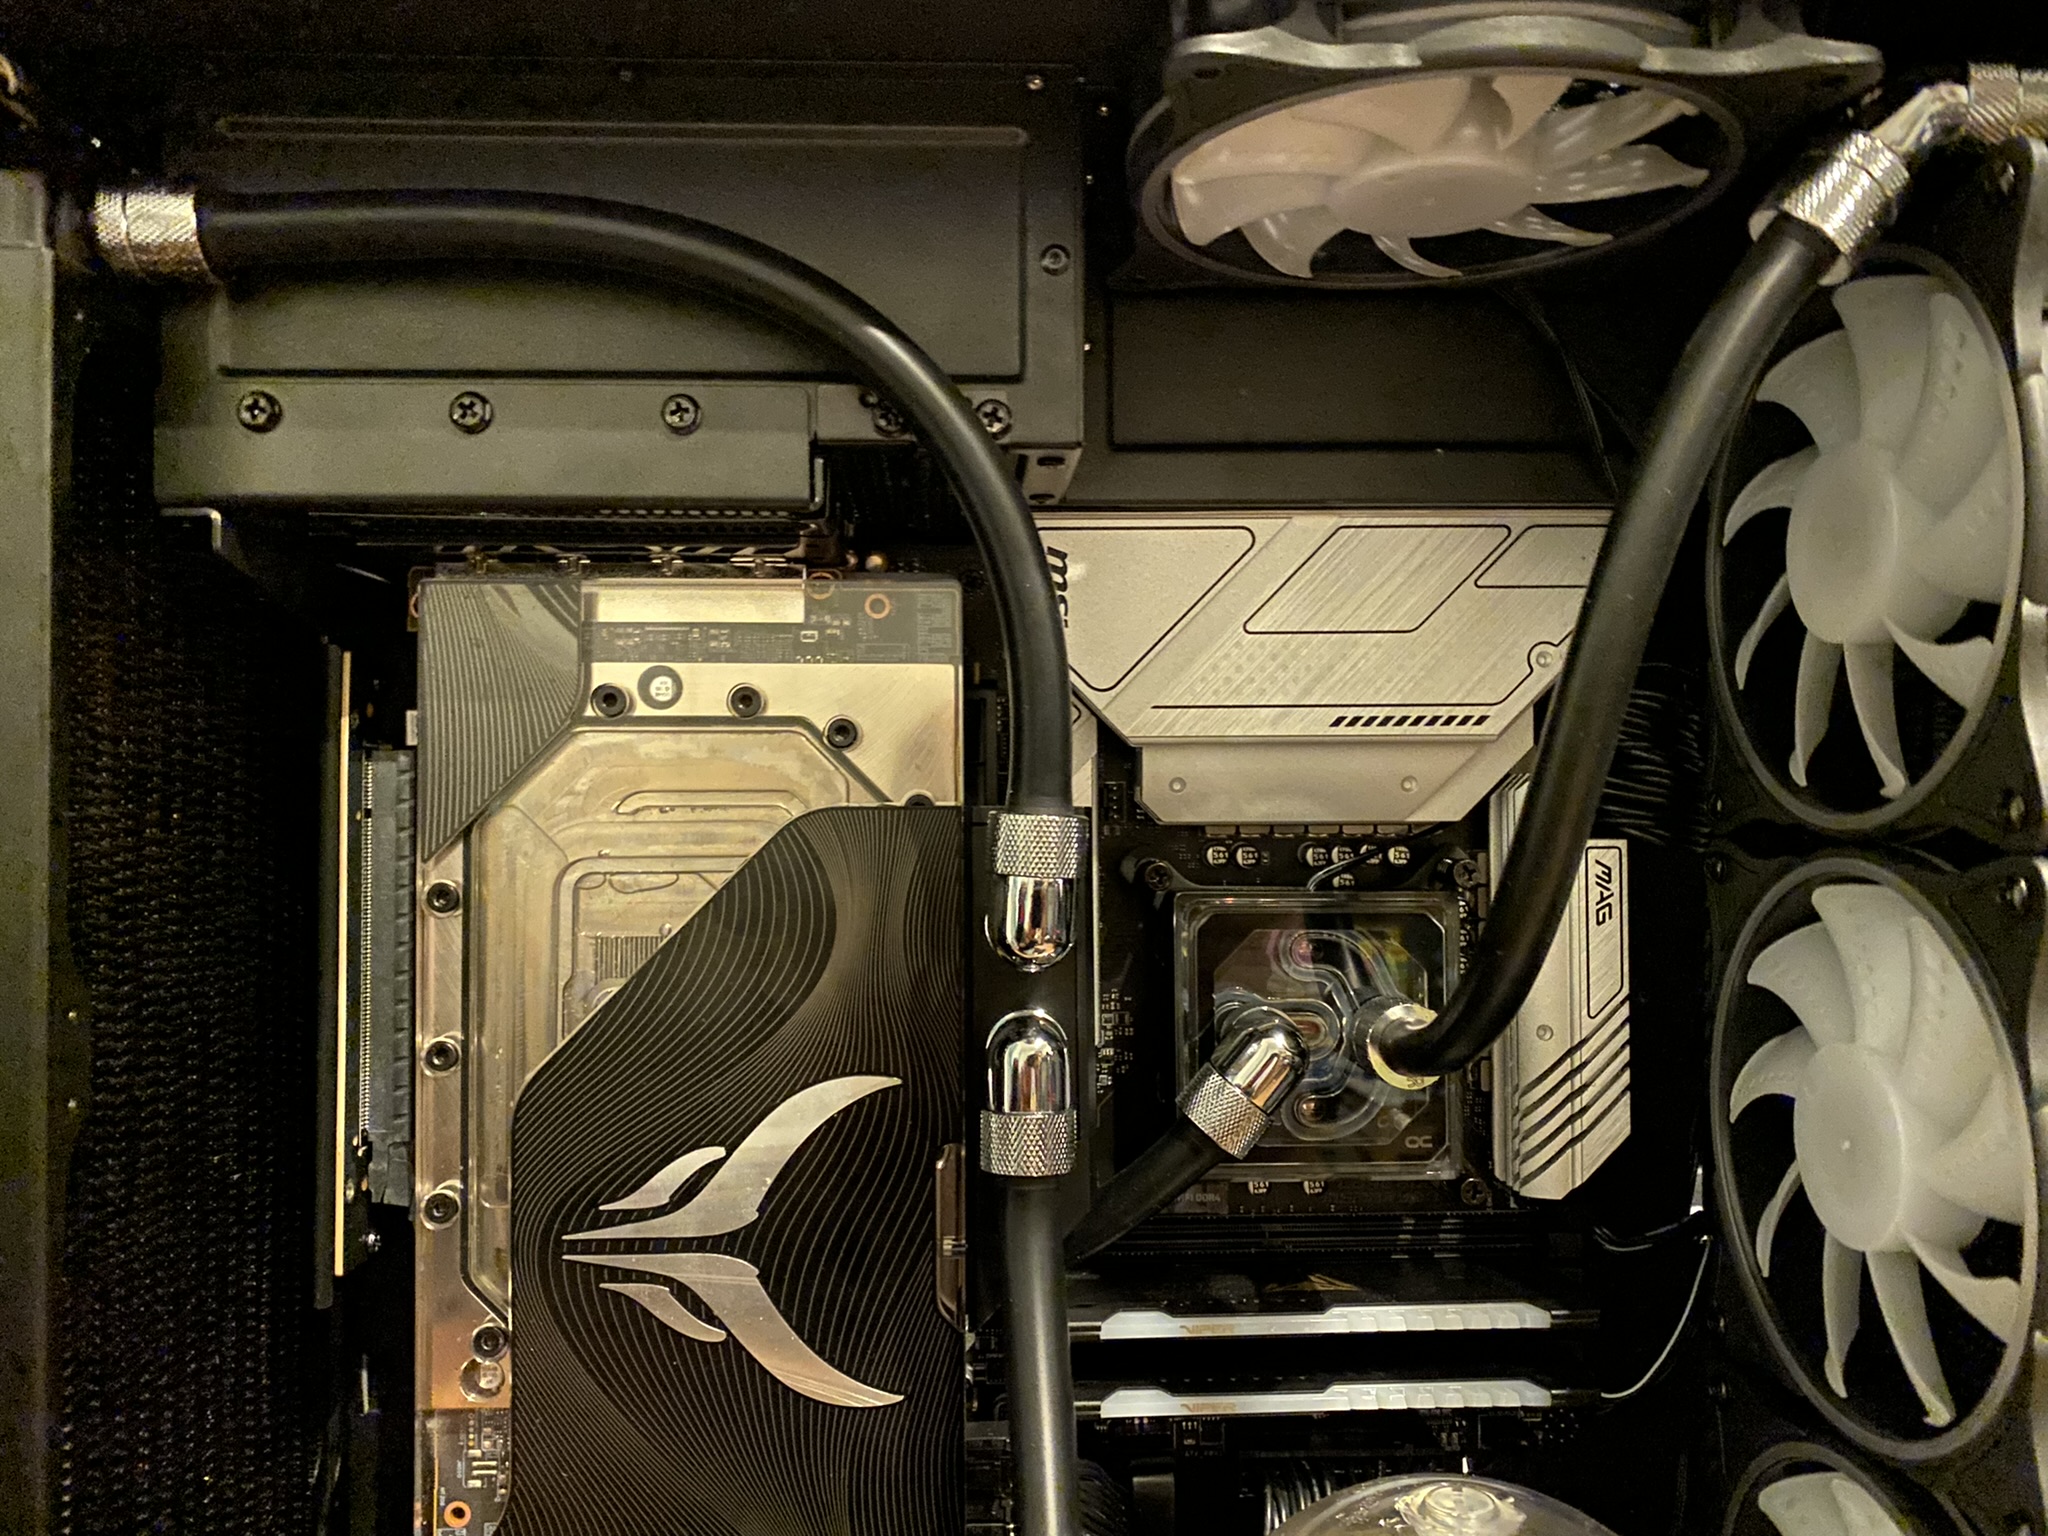
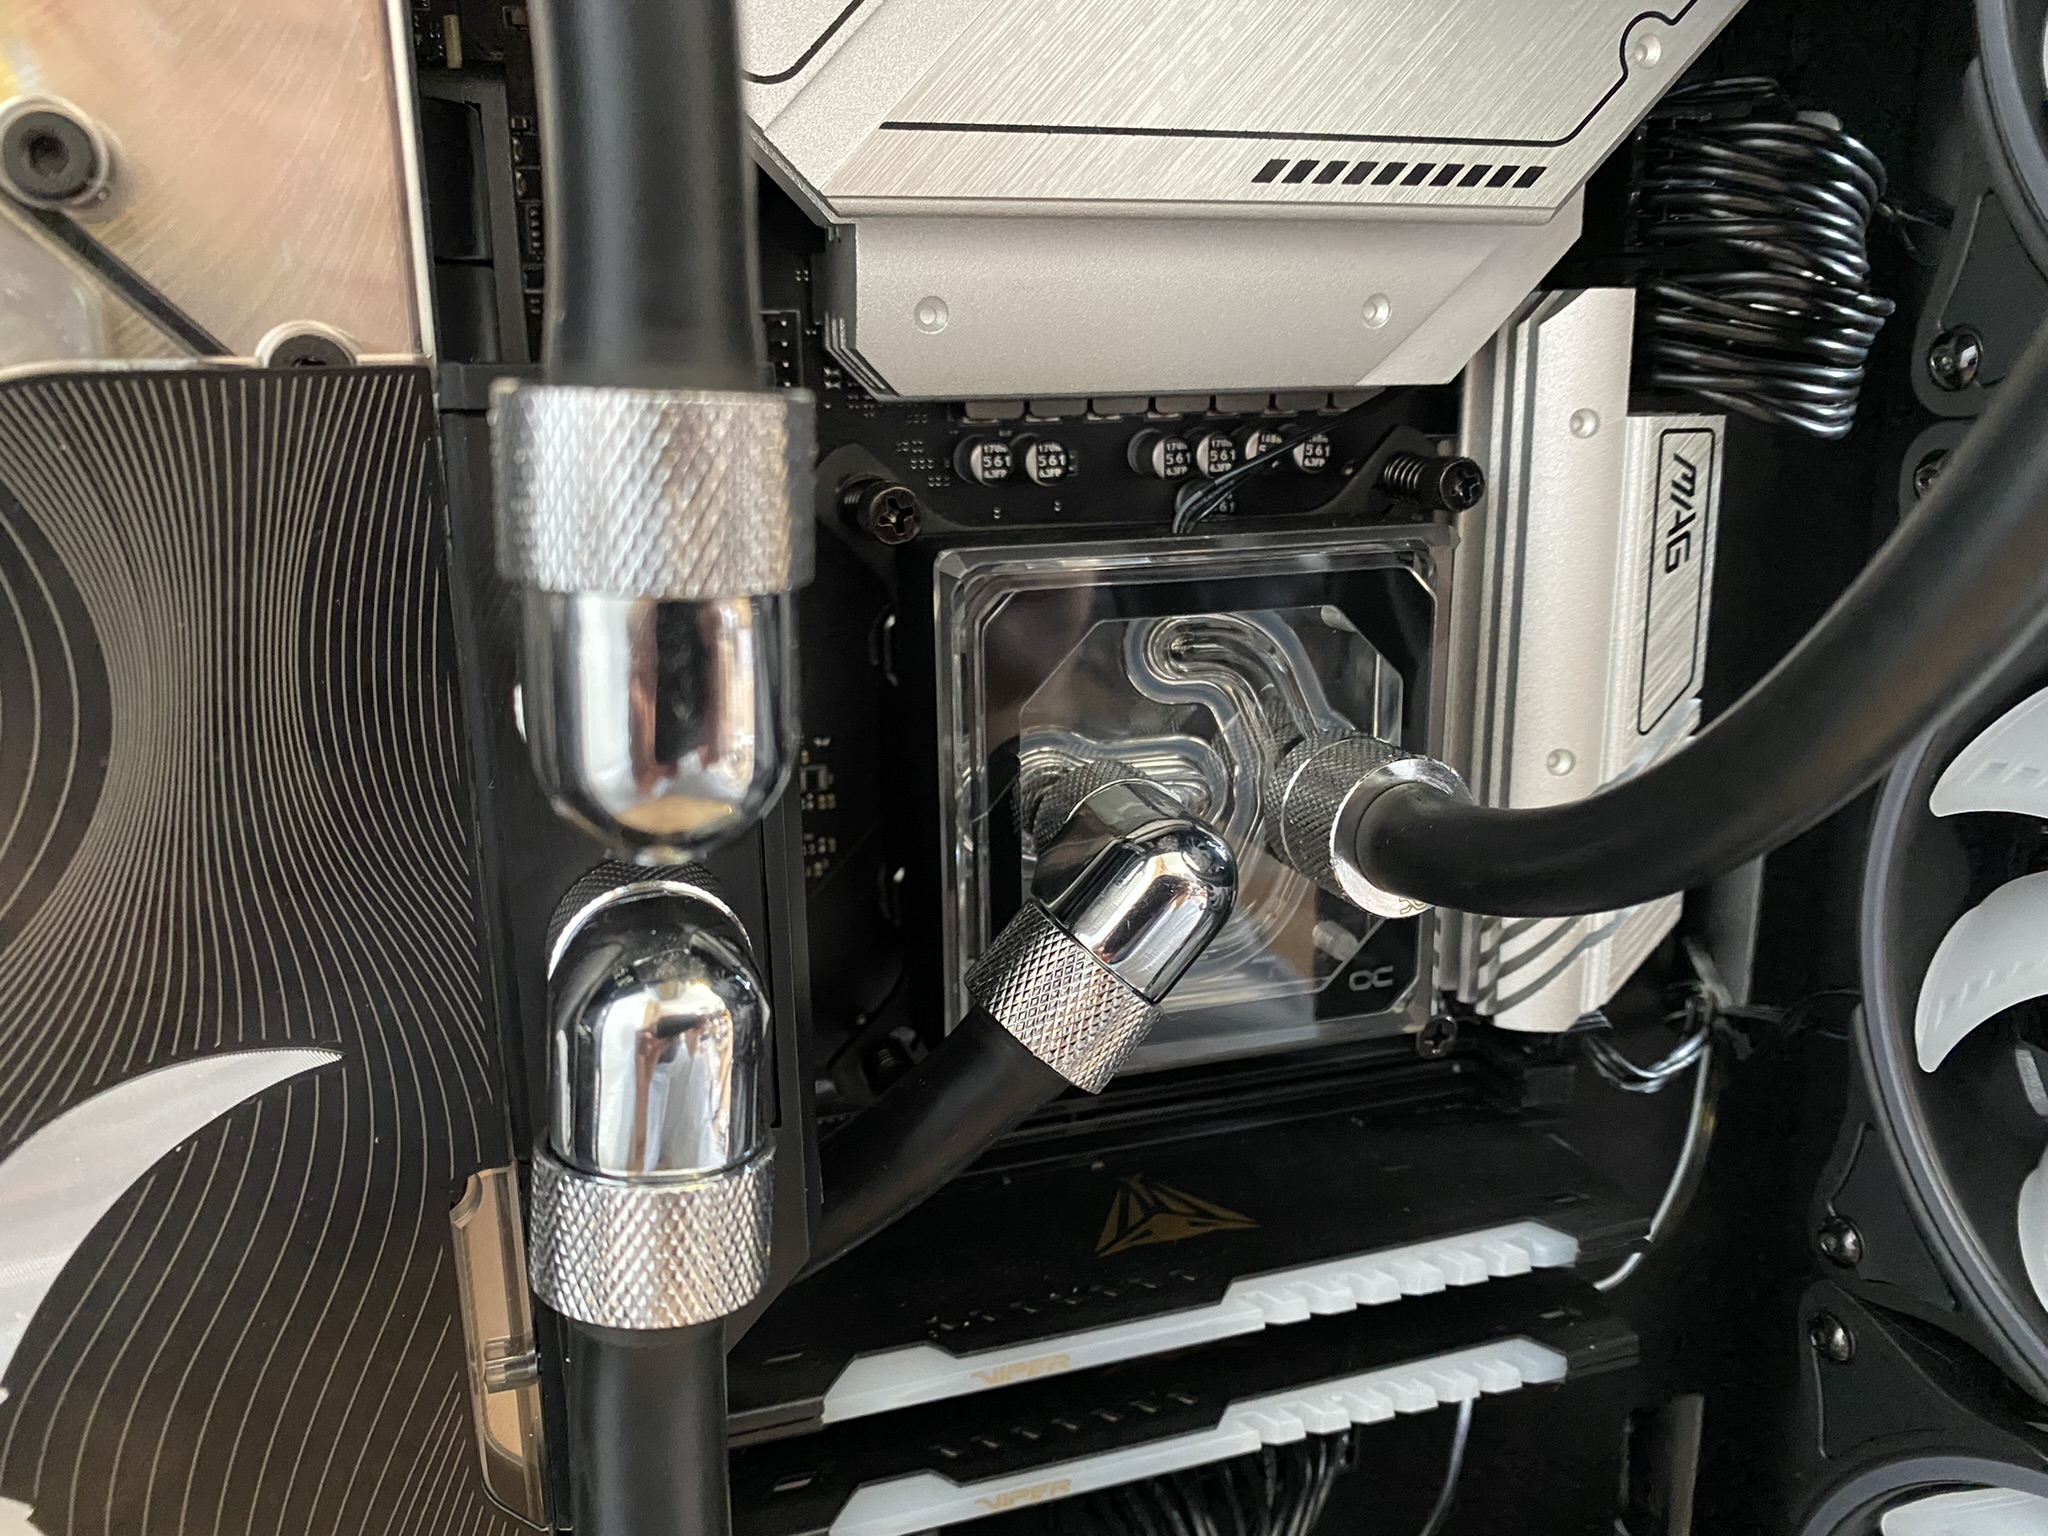
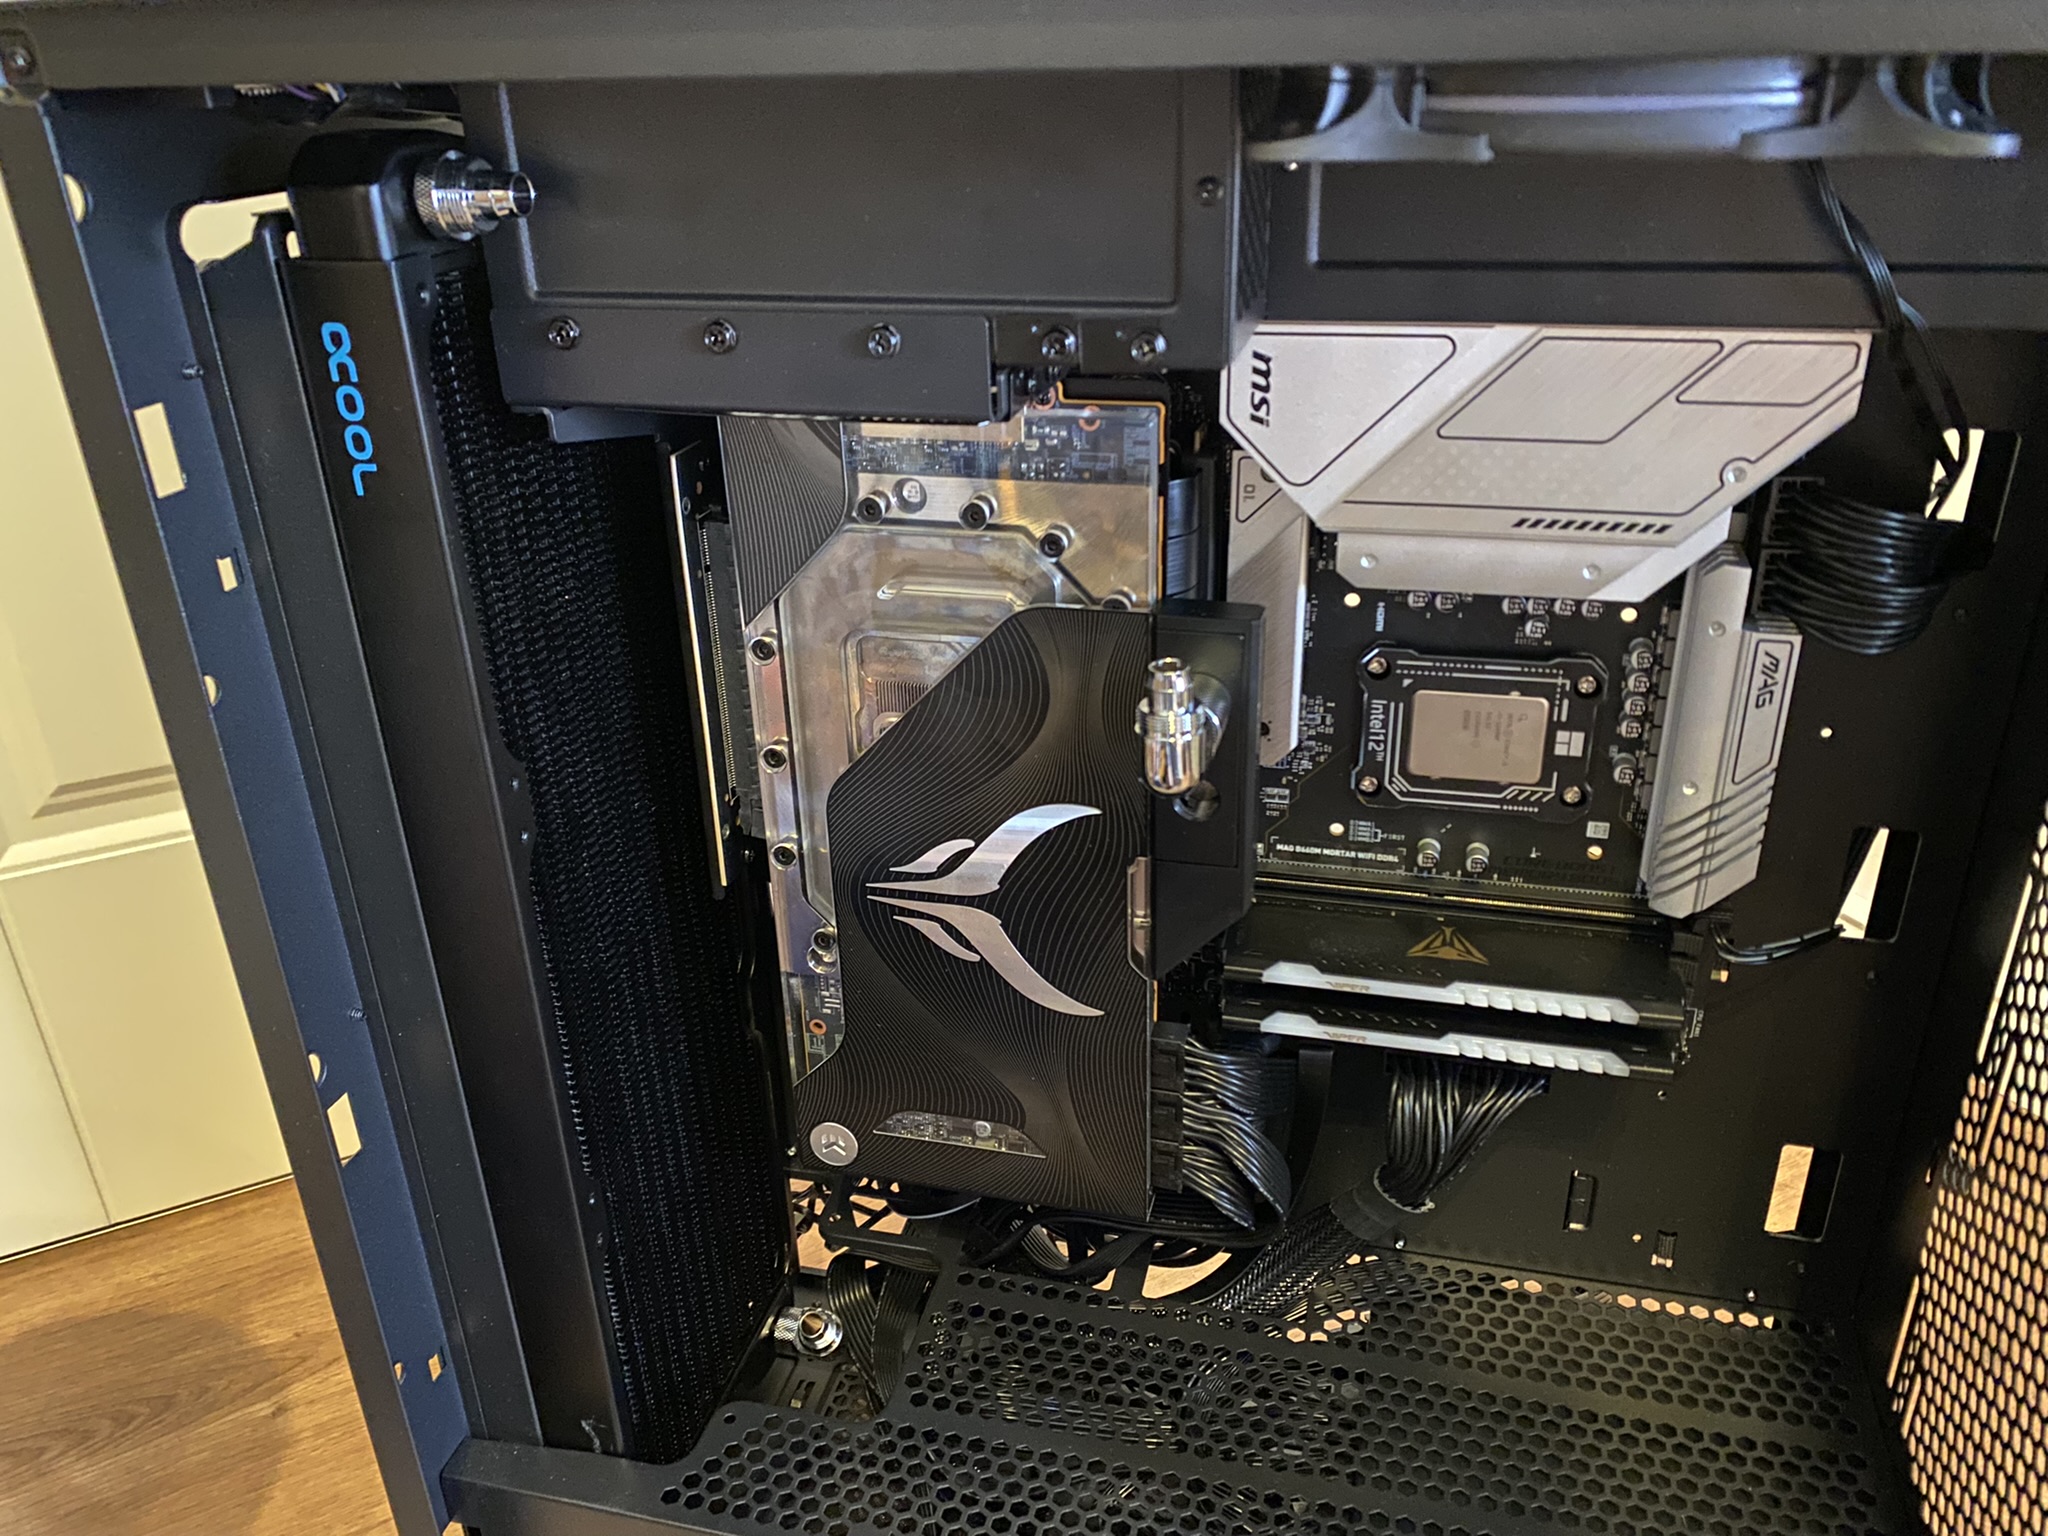
I could have gone straight behind the ice ball from the 360 radiator. But then it would have become even more complicated with the connection to the ice ball in connection with the drain system. Therefore, I decided to go the way shown. Visually, it turned out quite well – in my opinion. Only the corner with the drain cock, I do not really like. So far, I haven’t come up with a solution on how to do this better without documents. Maybe you can think of something?

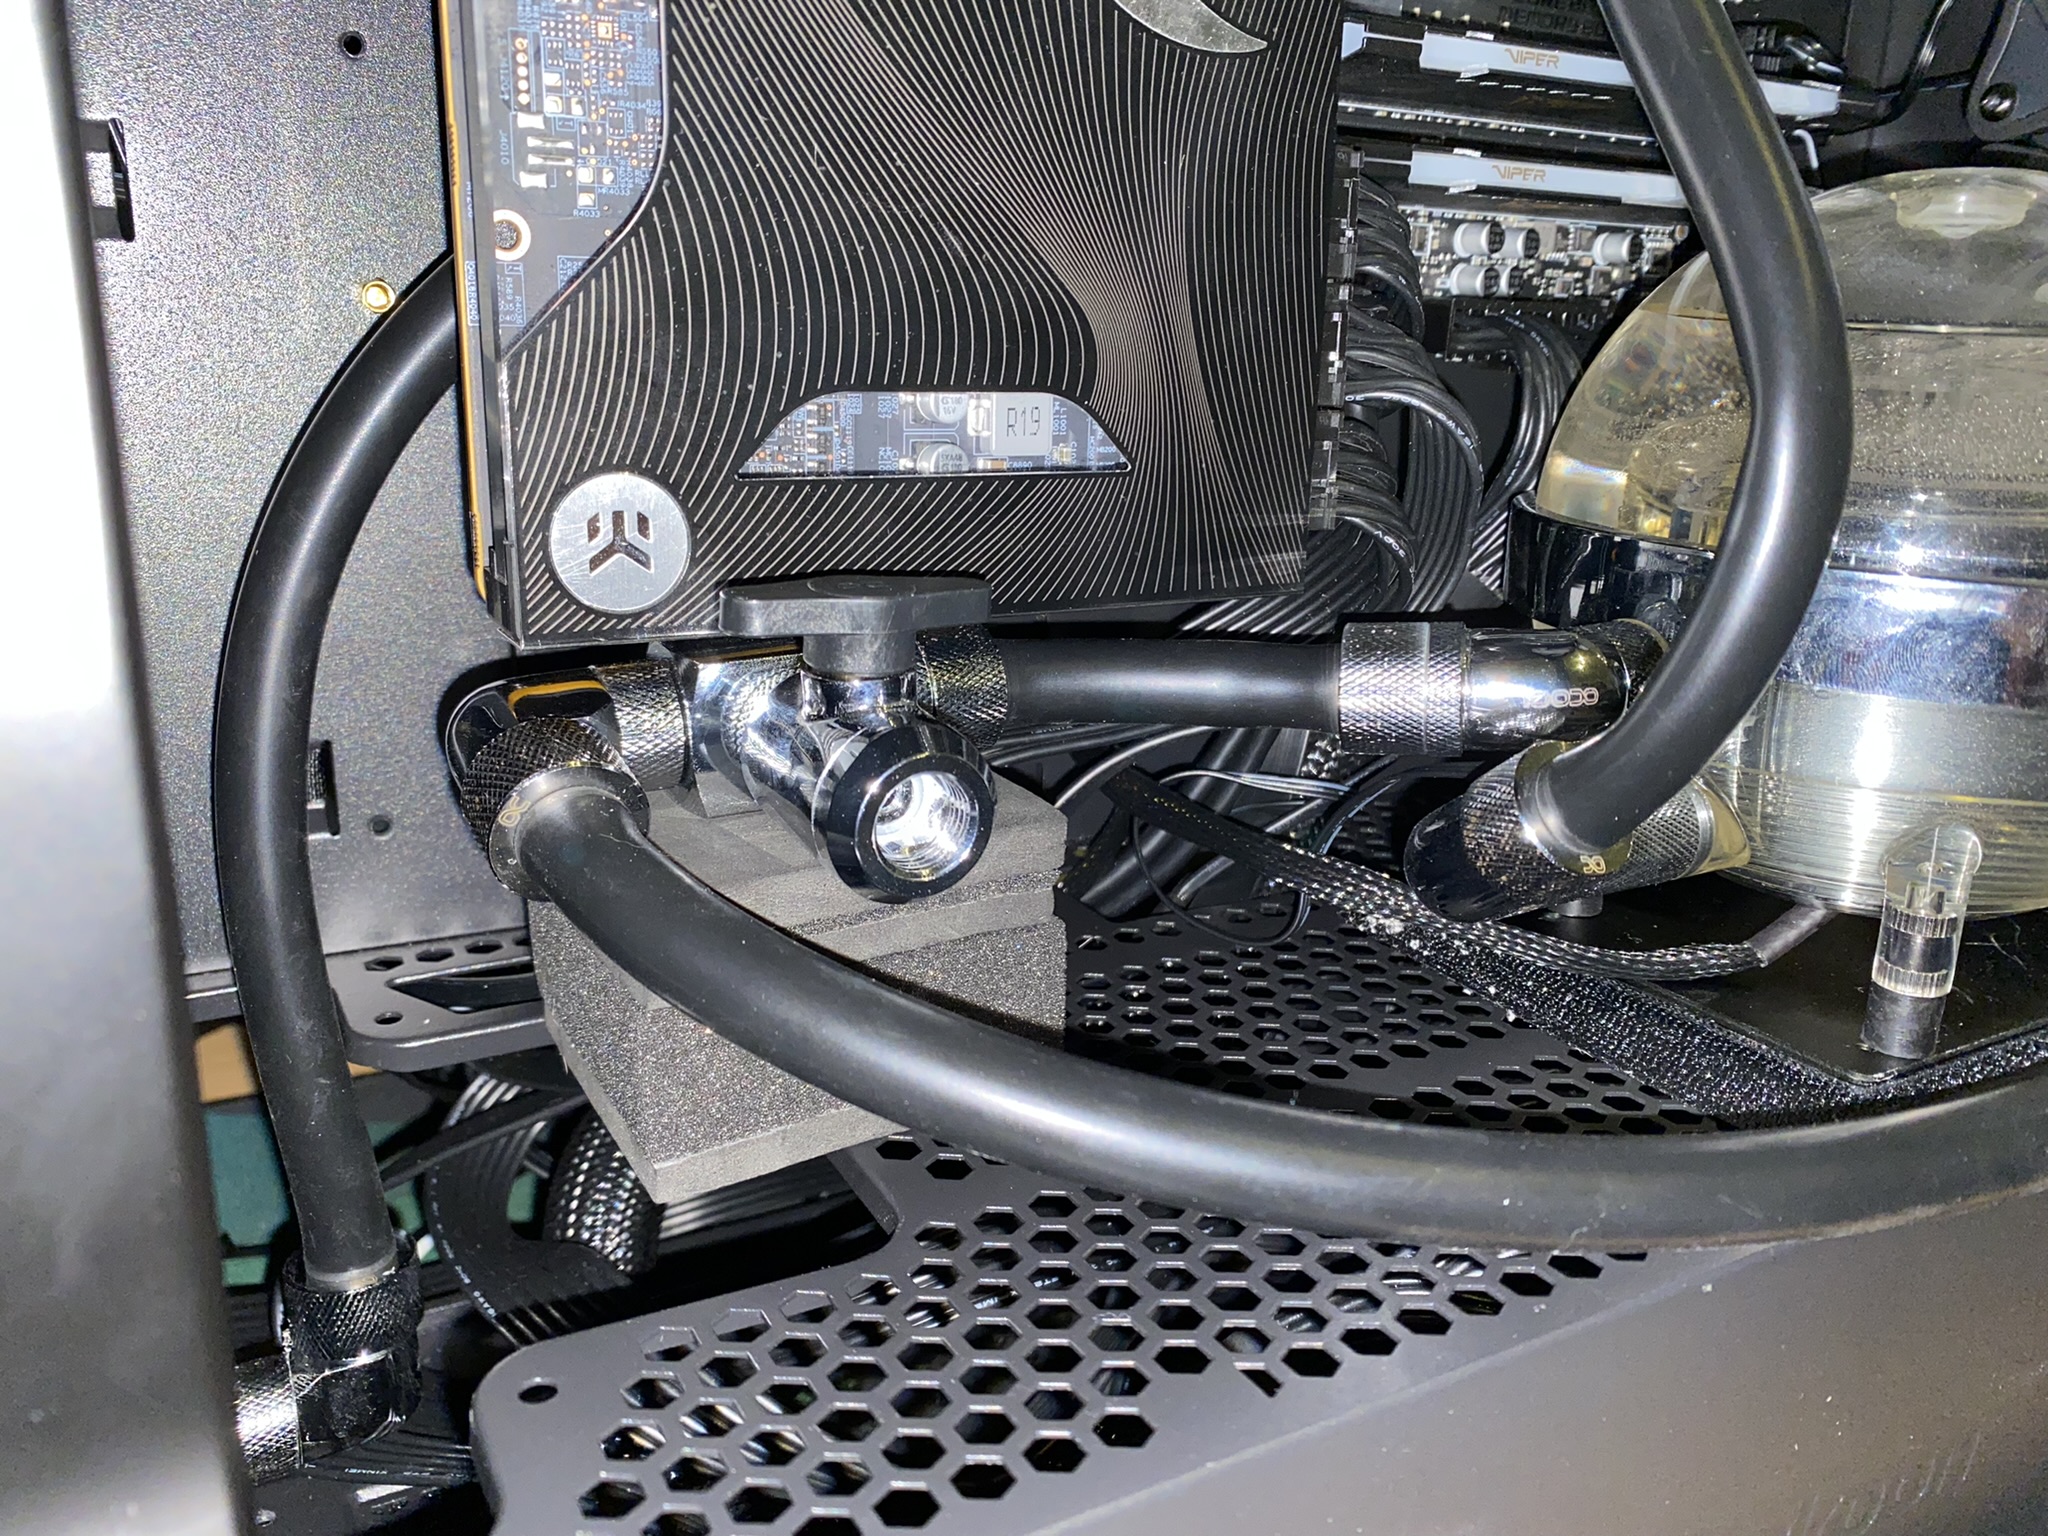
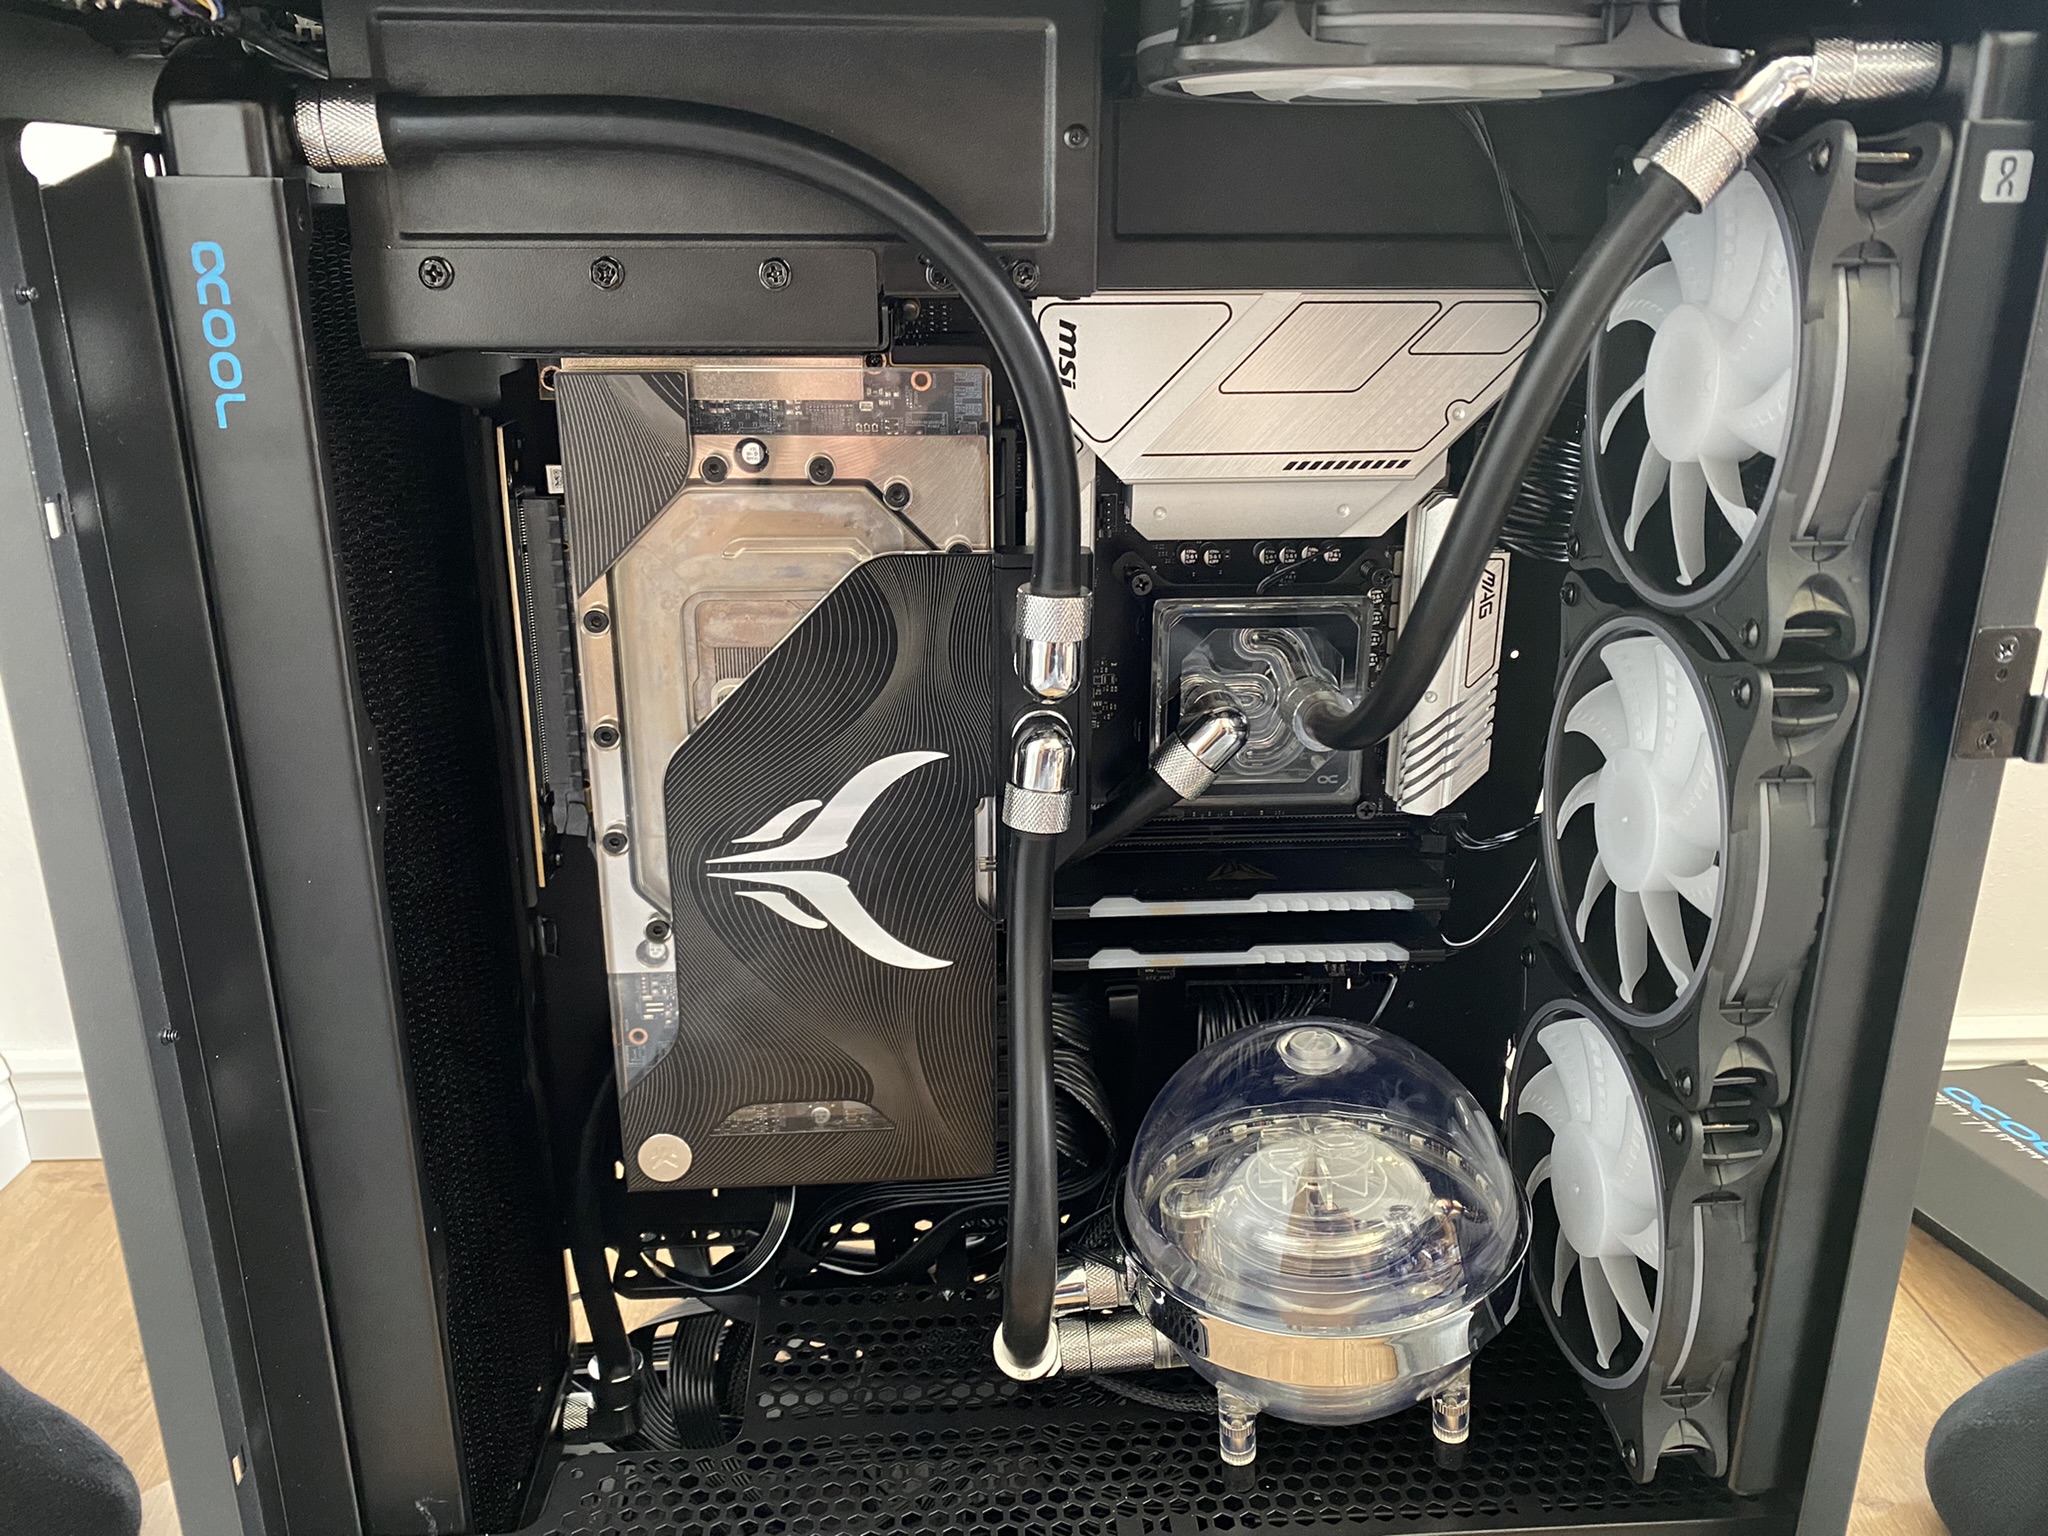
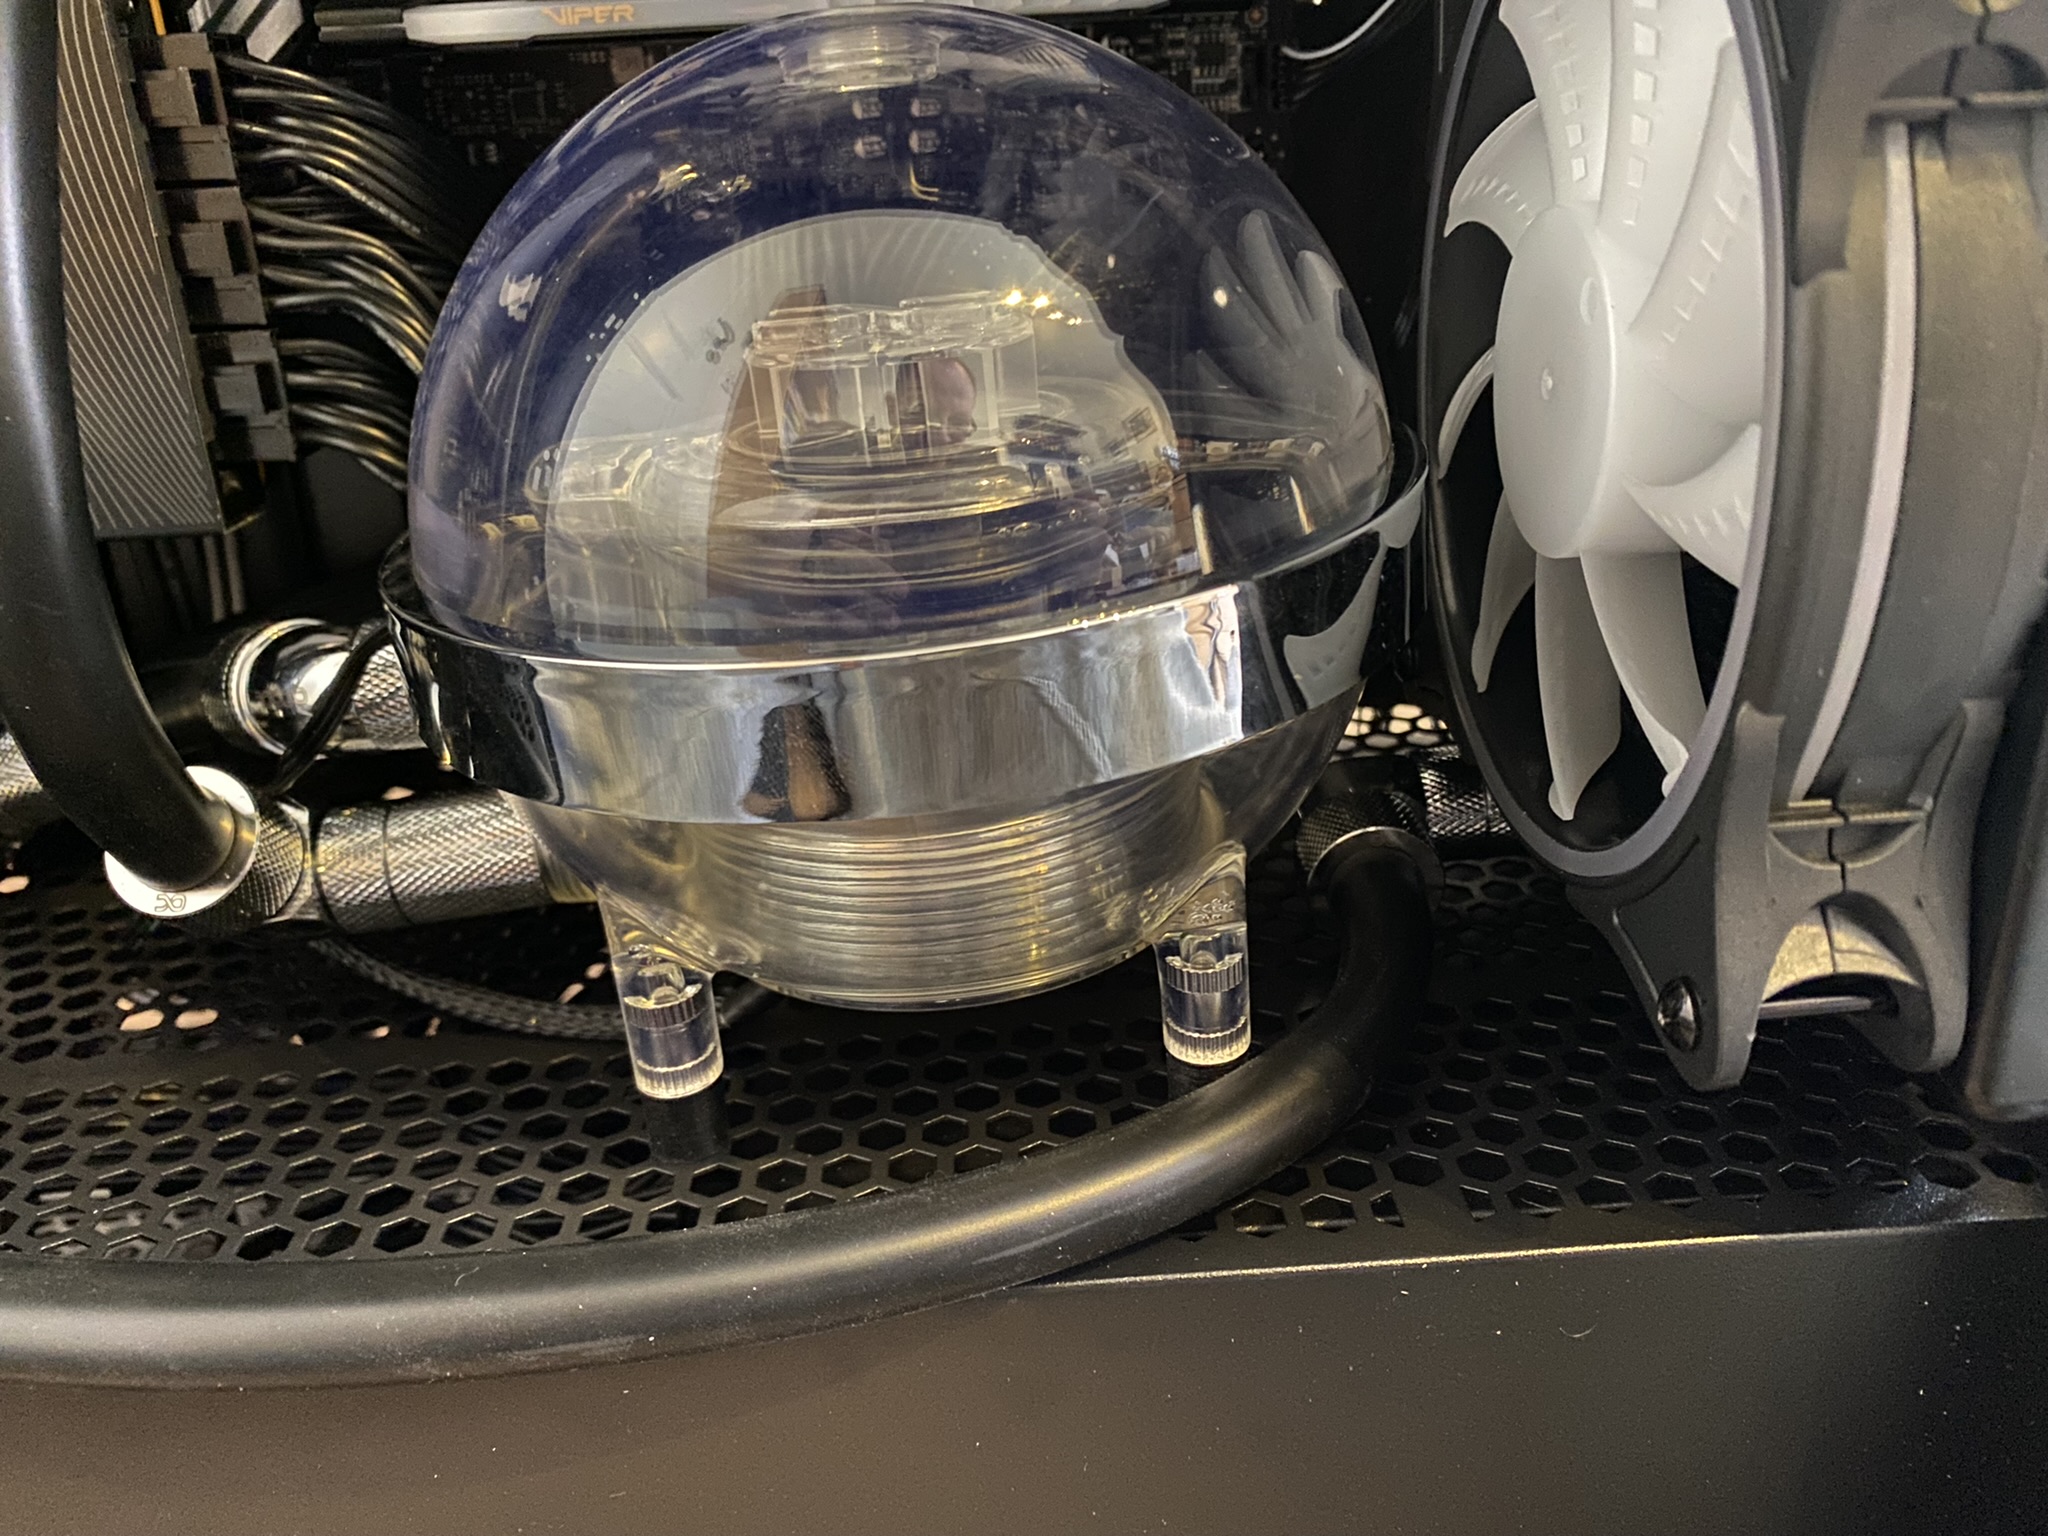
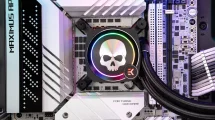
So, the water is in and the ice ball is connected to the case using Velcro. It actually holds like hell. So if you – like me – don’t want to screw it together, you can do it that way without worrying. I didn’t cover myself with glory when it came to cable management. Not so important, no one sees anyway.


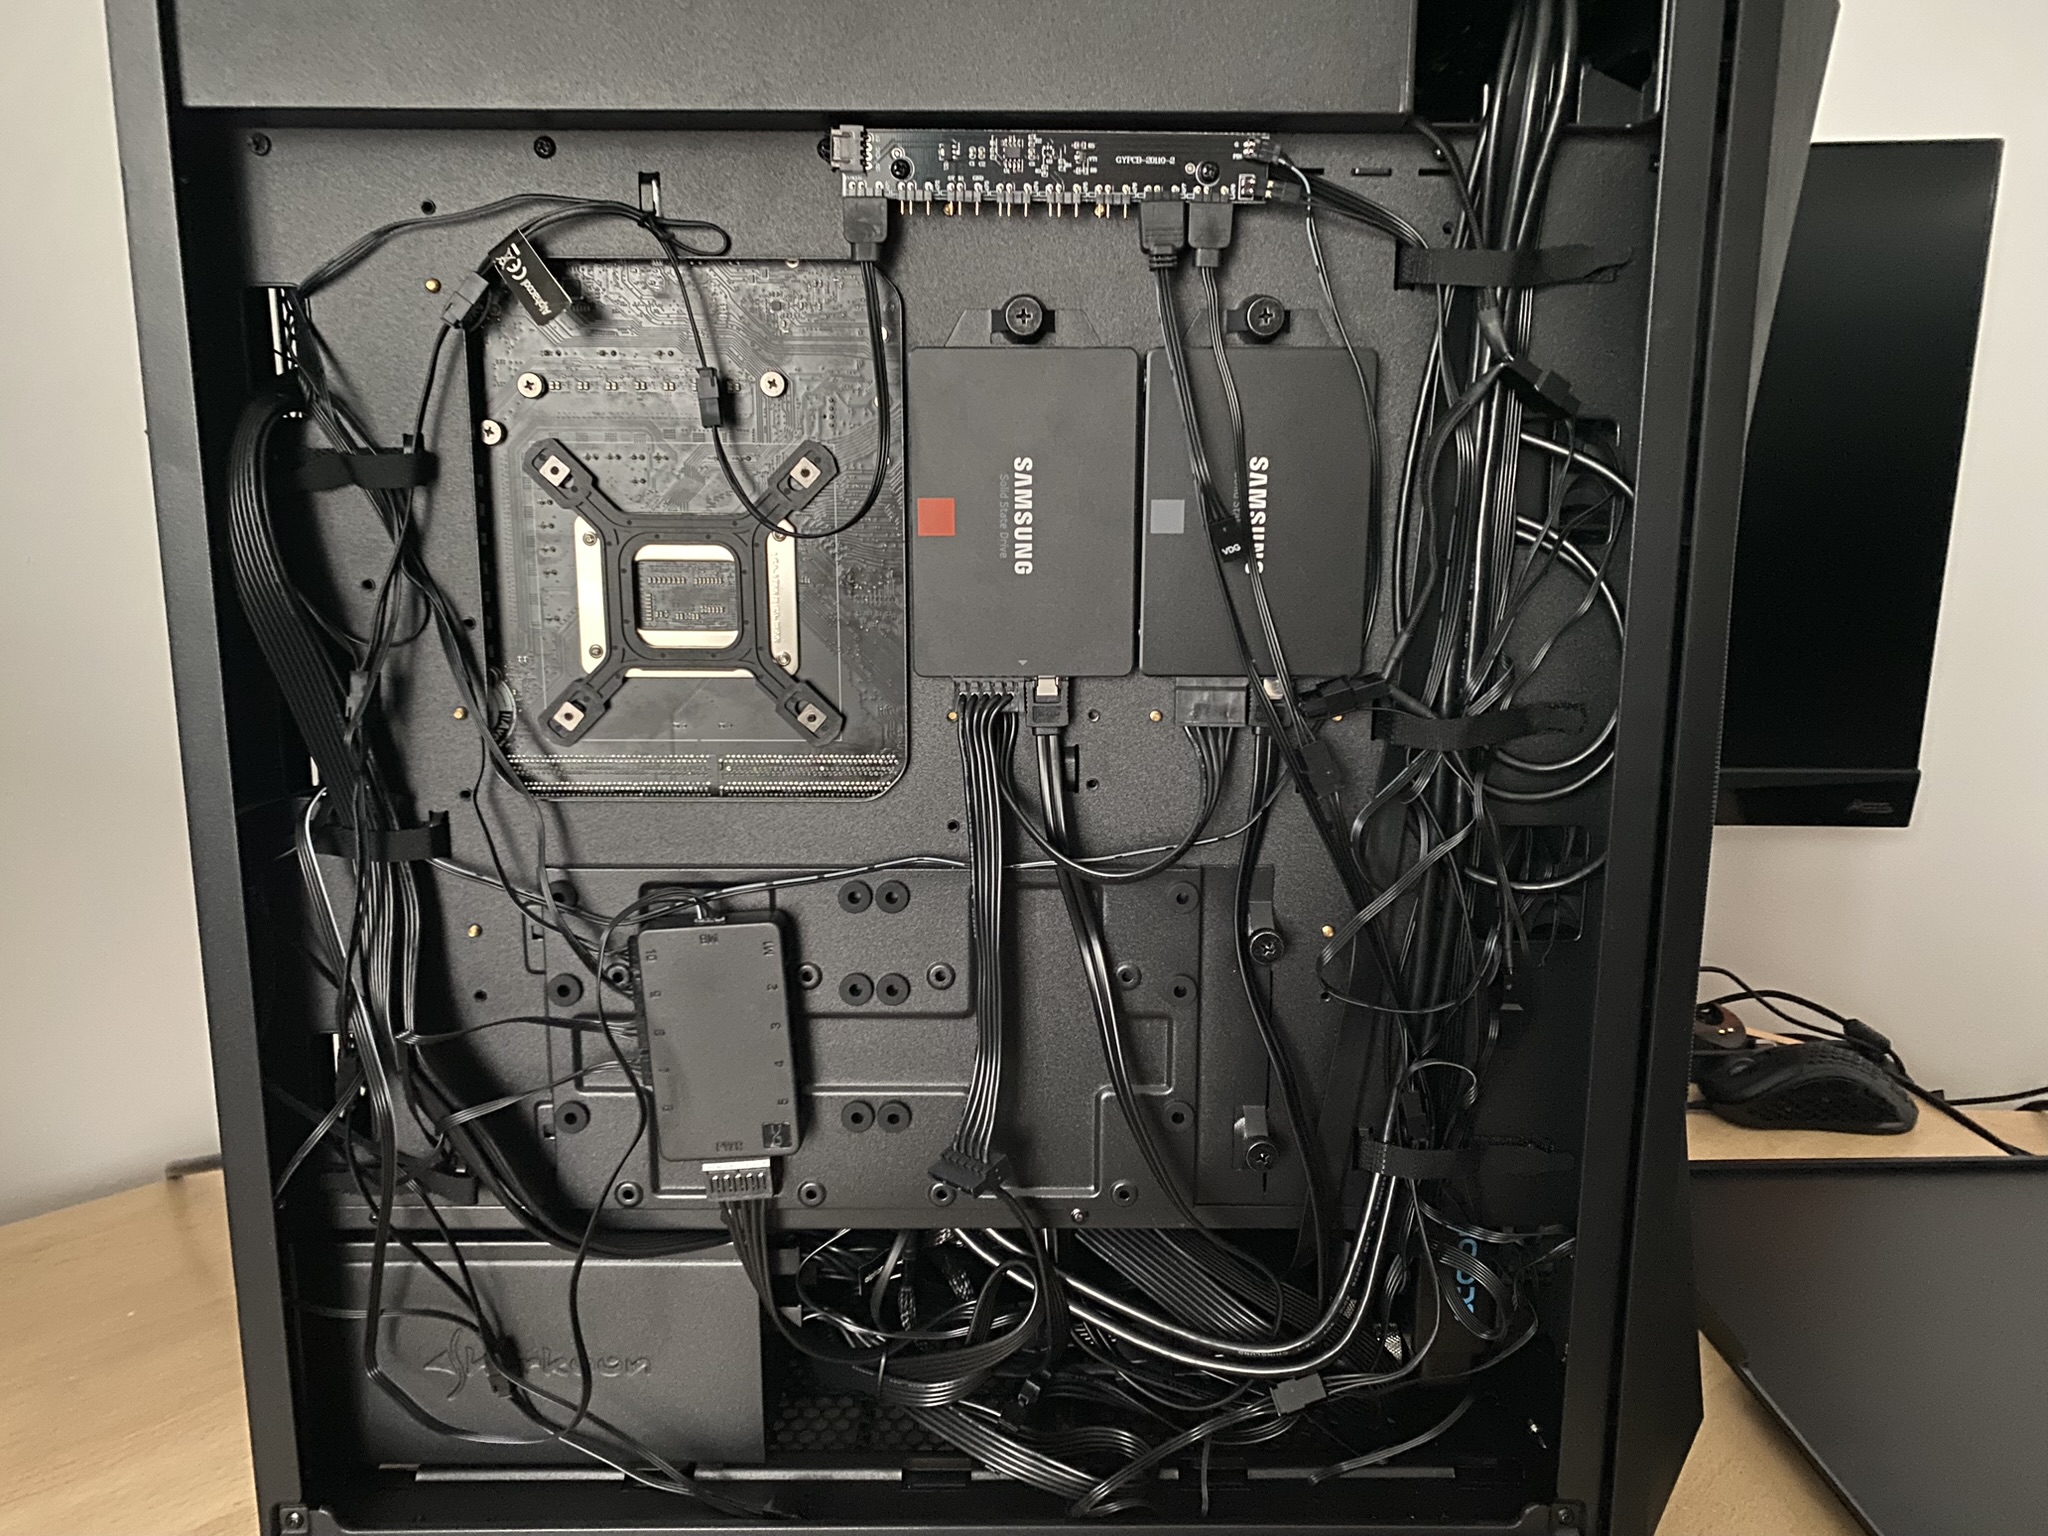
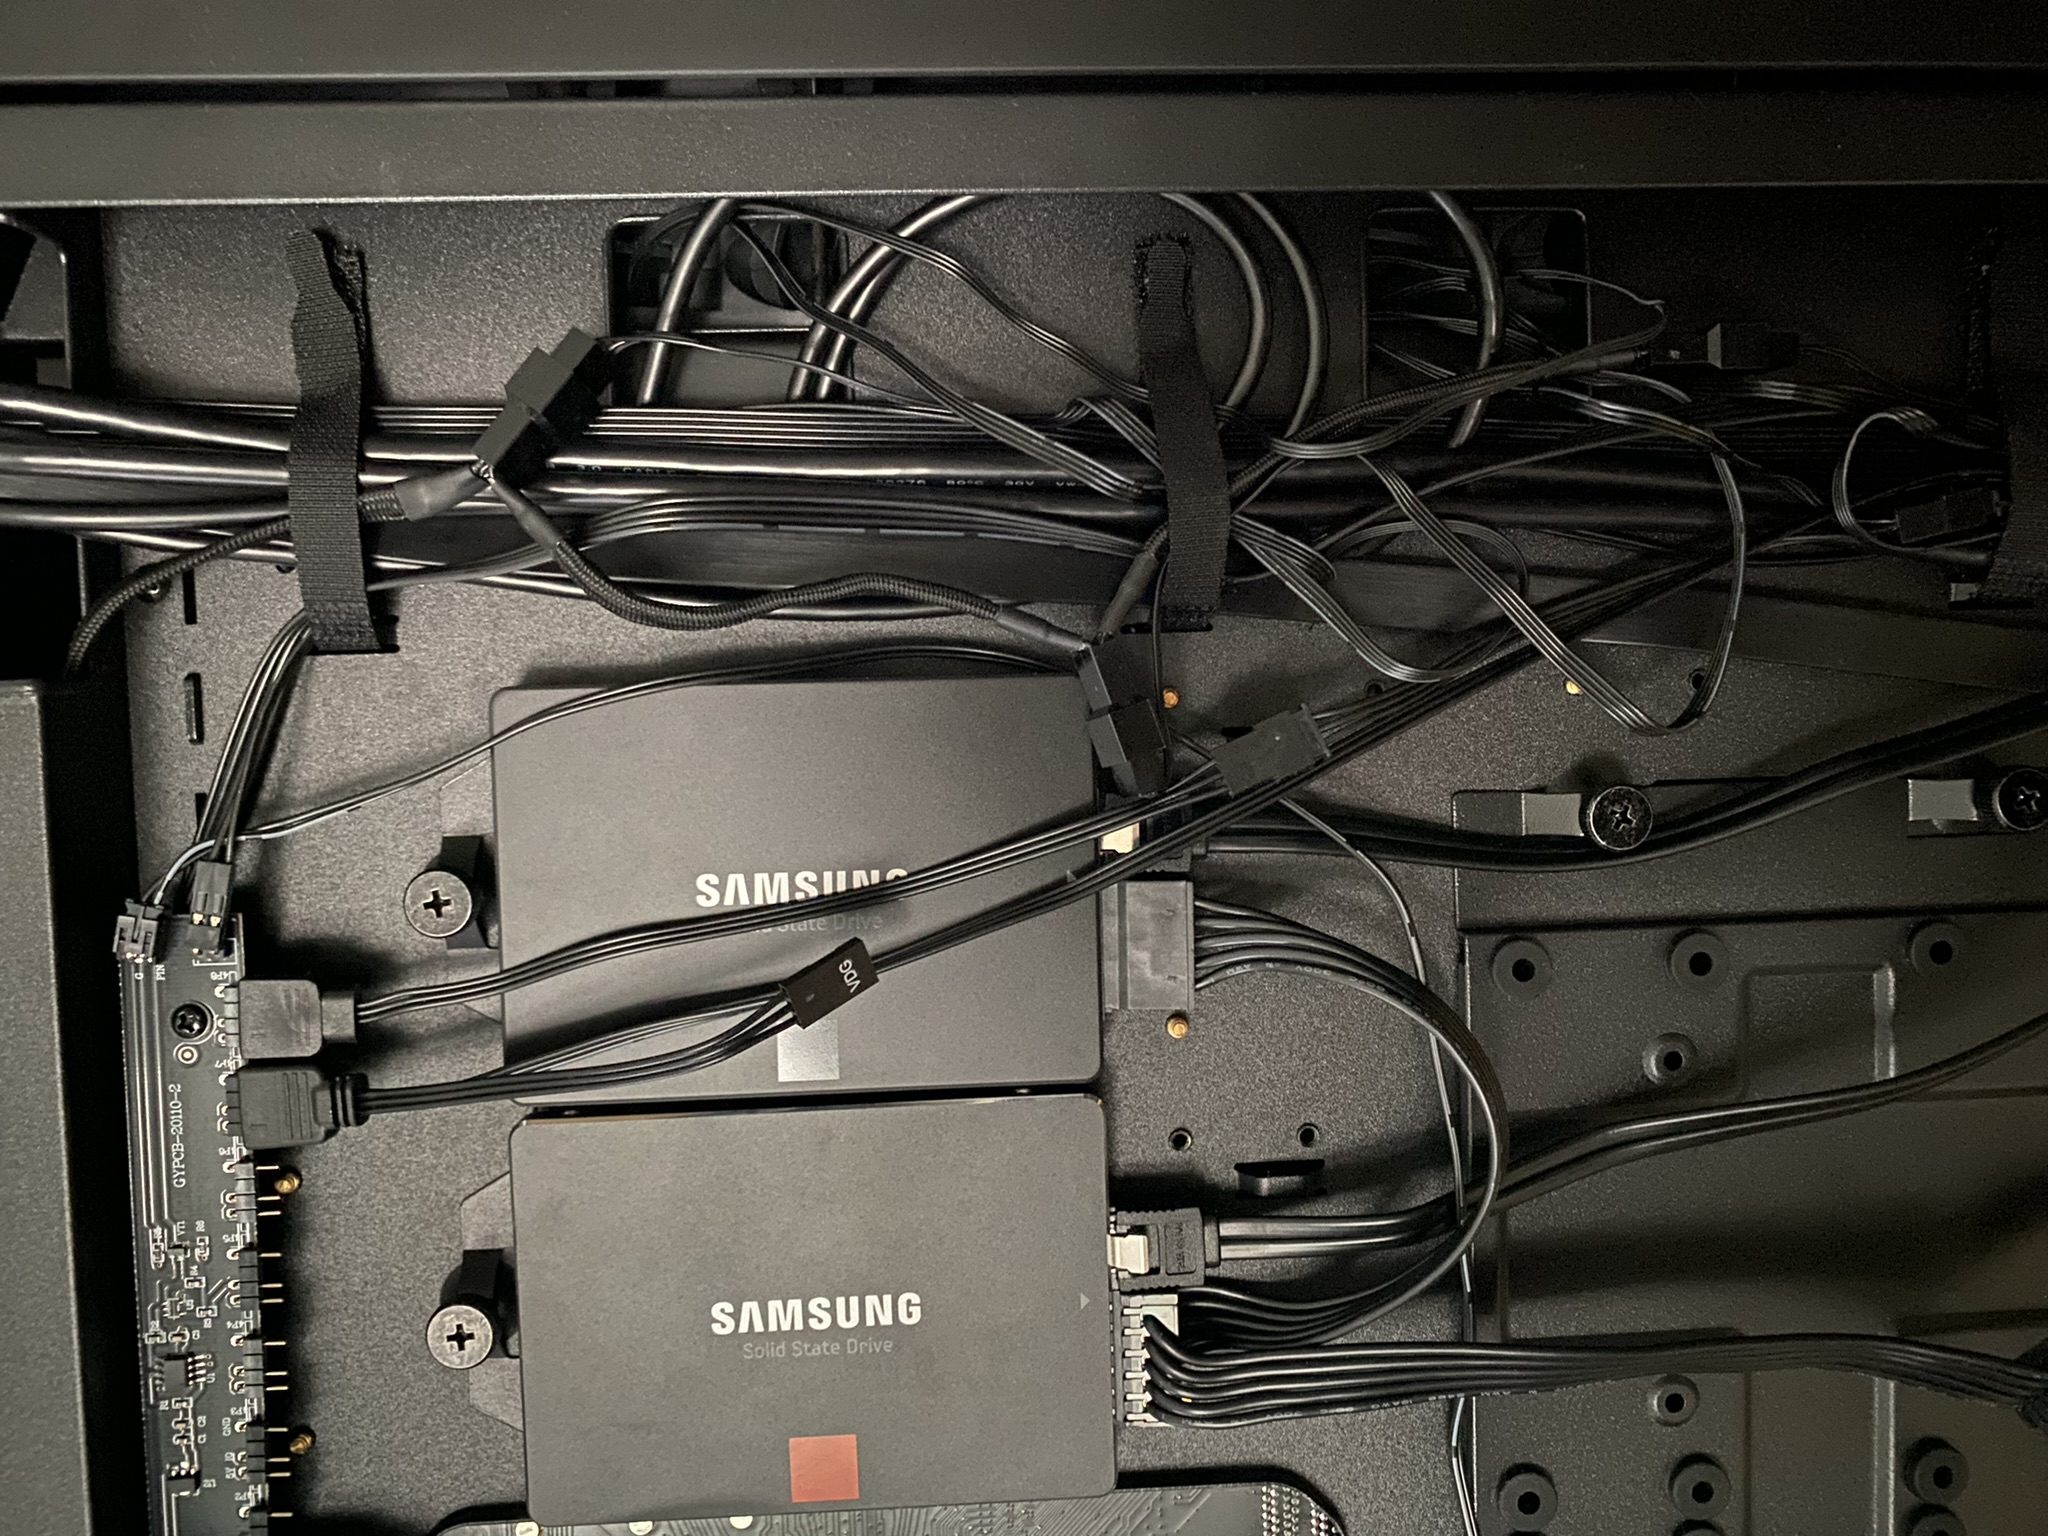
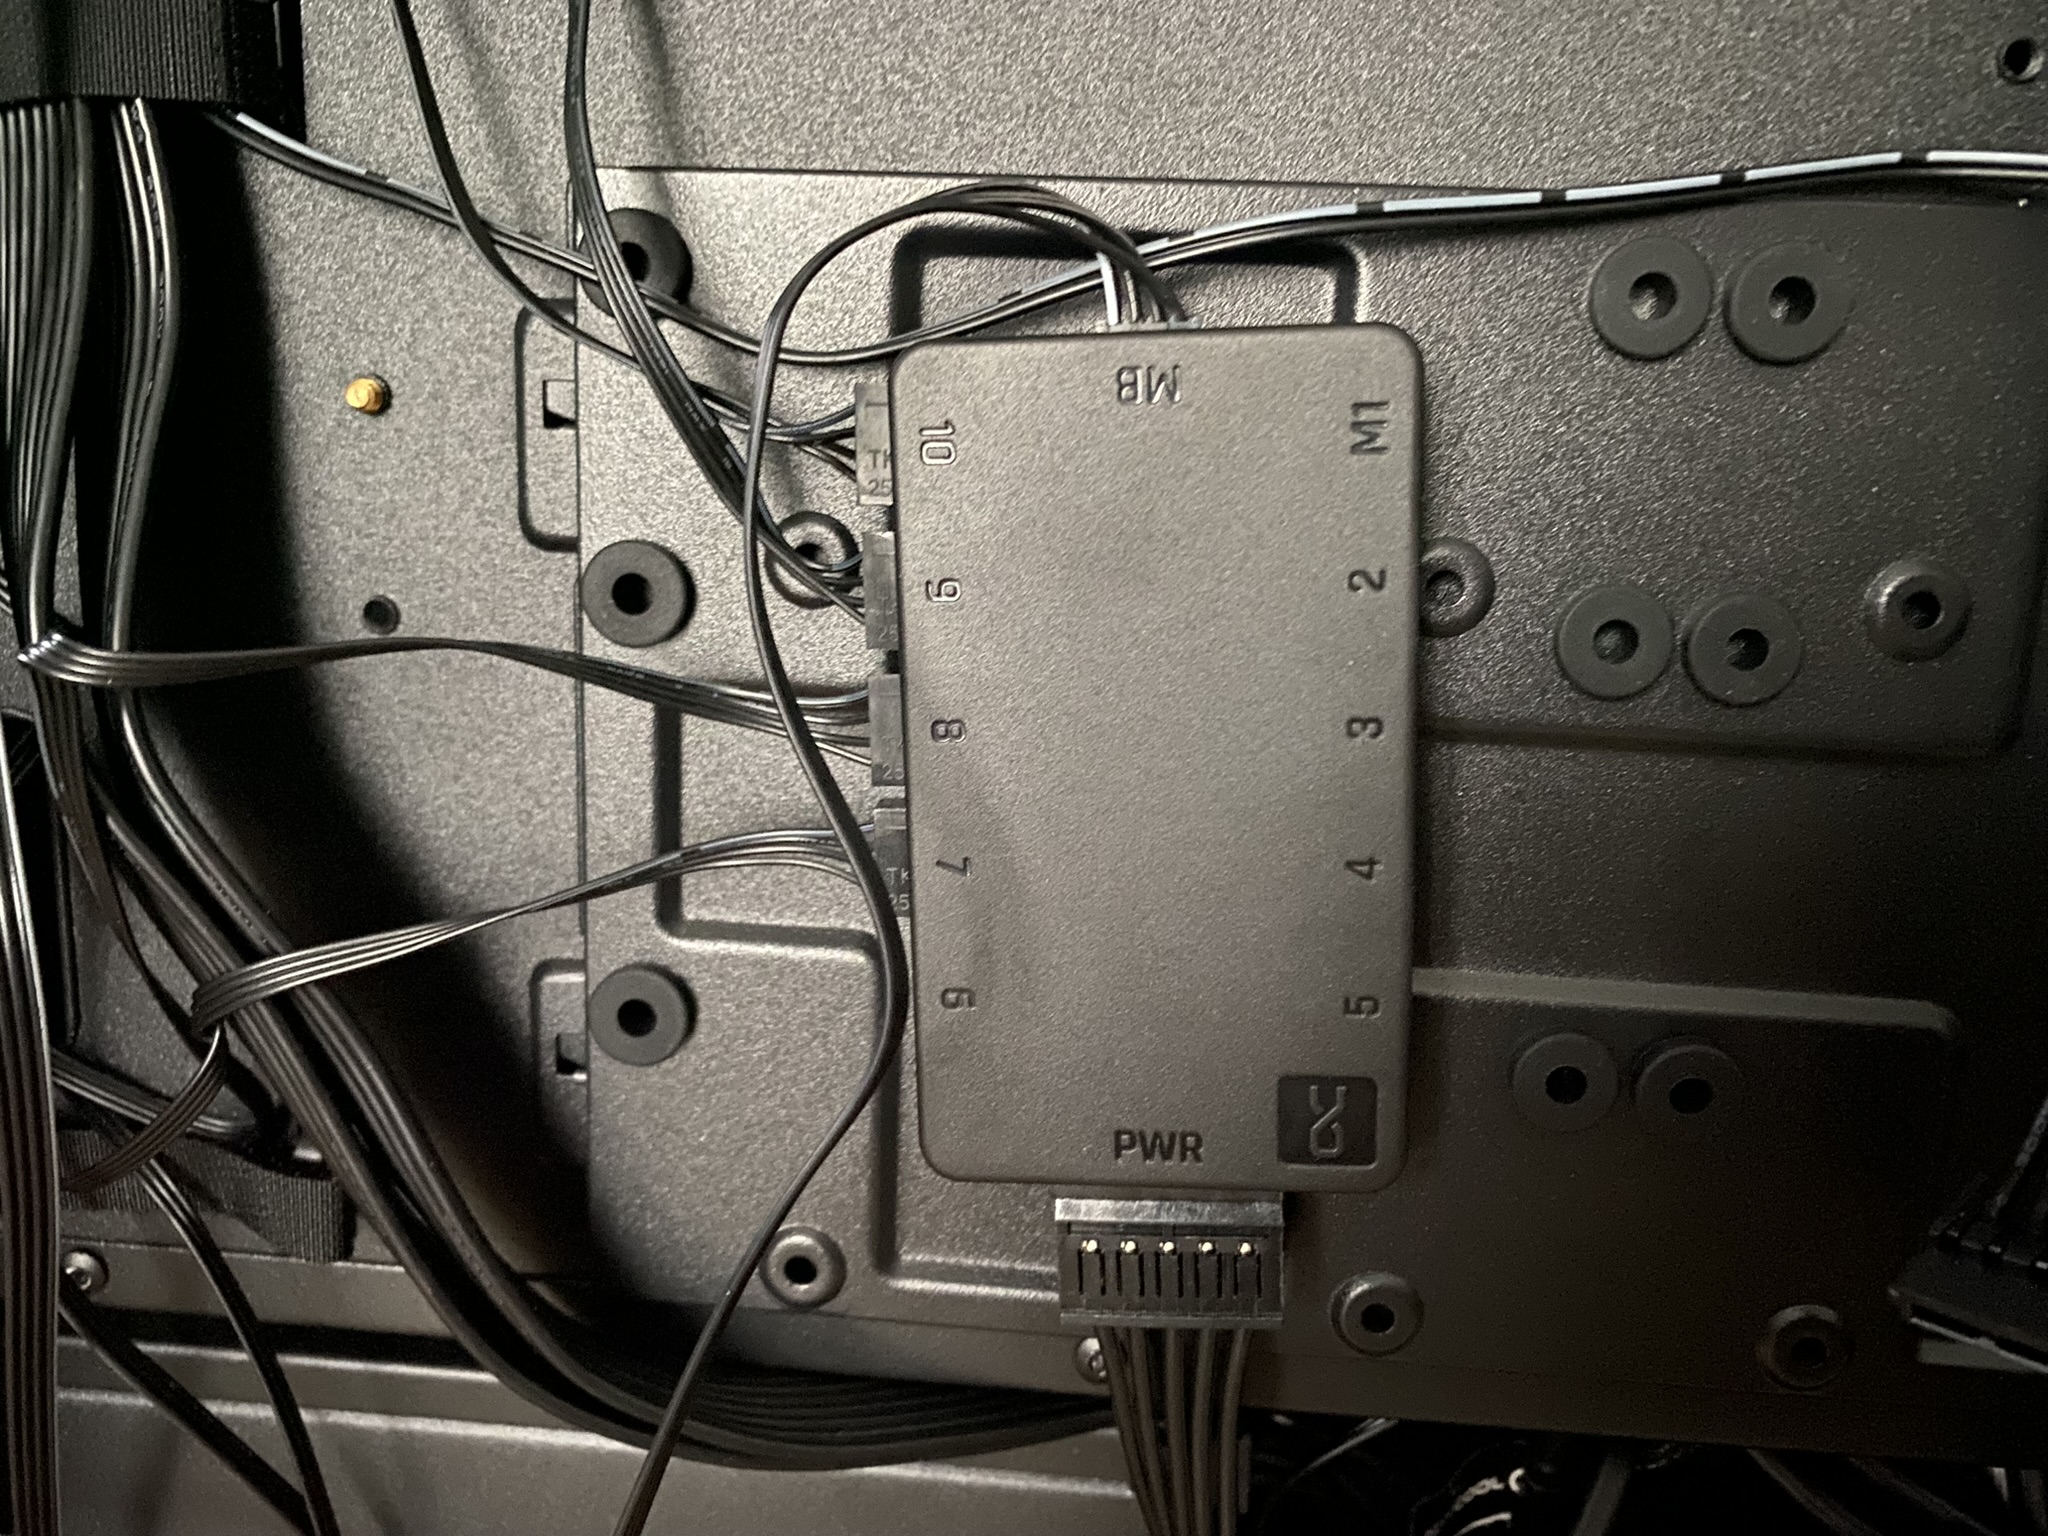
Besides the two S-ATA SSDs and the installed PWM splitter cable, you can also see a PWM fan HUB. You can also get it in the Alphacool range soon. This was tested at the same time, so to speak. Let’s turn on the device…

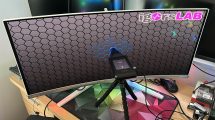
This is way too dark on the left edge. For this reason, I had planned push-pull. I don’t like it at all. After pondering for a long time, I remembered that I bought two aRGB strips from Sharkoon years ago. Just before I started with the articles at Igor. Finally, I was able to use one.

That looks so much better! The project is saved… Yes, some of you will probably bite the keyboard now because I’m wetting my pants over RGB lighting. That’s just the way I am and that with over 40 years… It’s like religion: you don’t have to understand it, you just have to believe it! On the next page we continue with a test setup…


Kommentar

Lade neue Kommentare

mblaster4711

Mitglied

52 Kommentare 27 Likes

Die Rechtschreibkorrektur ist heute sehr Feminin.
:ROFLMAO:
In welchen Größen gibt's die Damenschrauben?

Das Ablass-System direkt vor den Ball, mit der Öffnung nach oben? Vorausgesetzt es wird beidseitig ohne Winkel eingebaut.

Antwort 1 Like

FritzHunter01

Moderator

1,150 Kommentare 1,567 Likes

Rechtschreibfehler drin?? Wenn ja wo?

update: Damen… 🤦🏼‍♂️ sehr geil… Ich frag mal bei Sharkoon nach, ob man die in verschiedenen Größen bekommt!

wie meinst du das mit dem Ablass-System?

Antwort Gefällt mir

Ghoster52

Urgestein

1,402 Kommentare 1,059 Likes

Danke für den Test! (y)
Ich hatte das Gehäuse schon mal auf dem Schirm, mich dann doch für was anderes entschieden...
Das Ablass-System hätte ich nicht sichtbar in den NT-Schacht verfrachtet.

Antwort 1 Like

FritzHunter01

Moderator

1,150 Kommentare 1,567 Likes

Hatte ich mir auch gedacht, mich aber für die Lösung entschieden.

Ich wollte den Hahn vor dem Wasser IN (Rücklauf). So kann ich das Wasser einfacher ablassen.

Antwort Gefällt mir

Tronado

Urgestein

3,701 Kommentare 1,940 Likes

Sicher sehr gut belüftet, aber das Anschlusskabel hinten/oben reinfummeln hat schon einem Silverstone Raven 2012/2013 sehr gute Temperaturen beschert, aber auch eine kurze Nutzungsdauer, weil es für uns Dauerbastler lästig ist. Für viele moderne Grafikkarten auch leider gar nicht geeignet, da Vapor Chamber mittlerweile üblich ist. Davon abgesehen ist es ein hässlicher Plastikbomber.

Antwort 1 Like

mblaster4711

Mitglied

52 Kommentare 27 Likes

Die Idee es ohne Unterlagen besser hinzubekommen, siehe Anhang

Antwort 1 Like

Roland83

Urgestein

669 Kommentare 515 Likes

Interessantes Gehäuse, eventuell brauche ich genau das für ein nächstes Kundenprojekt der auch viel Radiatorfläche haben will ...
Kommt auf jeden Fall auf die Liste, danke für den Test. Den IceBall find ich einfach nur furchtbar xD Aber er lässt sich zugegeben halt von der Dimension her wirklich in nahezu jedes Setup integrieren ... Müsste ich persönlich umbauen ist der BQ Pure Base 500FX aber immer noch der Favorit im Moment wenn man den Bereich zwischen 100 und 150 Euro betrachtet.

Antwort 2 Likes

FritzHunter01

Moderator

1,150 Kommentare 1,567 Likes

Ja, das BQ PB FX/DX steht bei mir auf der Liste. Will unbedingt mal einen weißen PC bauen…

Antwort Gefällt mir

FritzHunter01

Moderator

1,150 Kommentare 1,567 Likes

Könnte klappen… schau ich mir nach Weihnachten mal an

Antwort Gefällt mir

Ghoster52

Urgestein

1,402 Kommentare 1,059 Likes

Mein erster Versuch mit Custom WaKü im weißen Gehäuse (iCue 5000x).
Es gehen zwar nur 360er Radis, aber man kann Sie seitlich und nach oben ausblasen lassen.
Einblasend (wie im Bild) würde ich ein Radiator nicht mehr verbauen wollen....

Antwort 1 Like

Tronado

Urgestein

3,701 Kommentare 1,940 Likes

Dazu noch eine Einhorn Figur. 😀

View image at the forums

Antwort 1 Like

Roland83

Urgestein

669 Kommentare 515 Likes

Aber ein kotzendes so wie die Schläuche liegen ;)

Antwort Gefällt mir

Roland83

Urgestein

669 Kommentare 515 Likes

wieso nicht einblasend ? Staub ?

Antwort Gefällt mir

Tronado

Urgestein

3,701 Kommentare 1,940 Likes

Nicht so gemein. Ich bekomme aber bei Schläuchen an sich das Kot***. :)

Antwort Gefällt mir

FritzHunter01

Moderator

1,150 Kommentare 1,567 Likes

Hard-Tubing hat so seine Nachteile

Antwort Gefällt mir

Roland83

Urgestein

669 Kommentare 515 Likes

Leider ja, deshalb bin ich nach wie vor bei Schläuchen... Aber mit ordentlicher Ware von Alphacool und ein bisschen Liebe geht das schon ;) Dann kann man auch mit Schläuchen optisch sehr ansprechendes schaffen.

Antwort 1 Like

FritzHunter01

Moderator

1,150 Kommentare 1,567 Likes

Nur ausblasende Radiatoren ist zwar für die Kühlung an sich besser, aber man braucht dafür ein passendes Gehäuse mit richtig fetten Lüftern in der Front, die für frische Luft und Überdruck sogen, sonst hat man schnell Unterdruck. Stab usw

Antwort Gefällt mir

FritzHunter01

Moderator

1,150 Kommentare 1,567 Likes

Die klaren Schläuche vergilben schnell… TVP und EPDM ist besser, auch wenn es optisch nicht so ansprechend aussieht

Antwort Gefällt mir

Roland83

Urgestein

669 Kommentare 515 Likes

ich hab die Standard OC mit dem "frozen transparent" look 13/10 drinnen. Seit 2 Jahren kein Problem. Sehen immer noch aus wie neu.

Antwort Gefällt mir

Danke für die Spende


Du fandest, der Beitrag war interessant und möchtest uns unterstützen? Klasse!

Hier erfährst Du, wie: Hier spenden.

Hier kannst Du per PayPal spenden.

About the author

Fritz Hunter

Werbung

Werbung