


Teardown
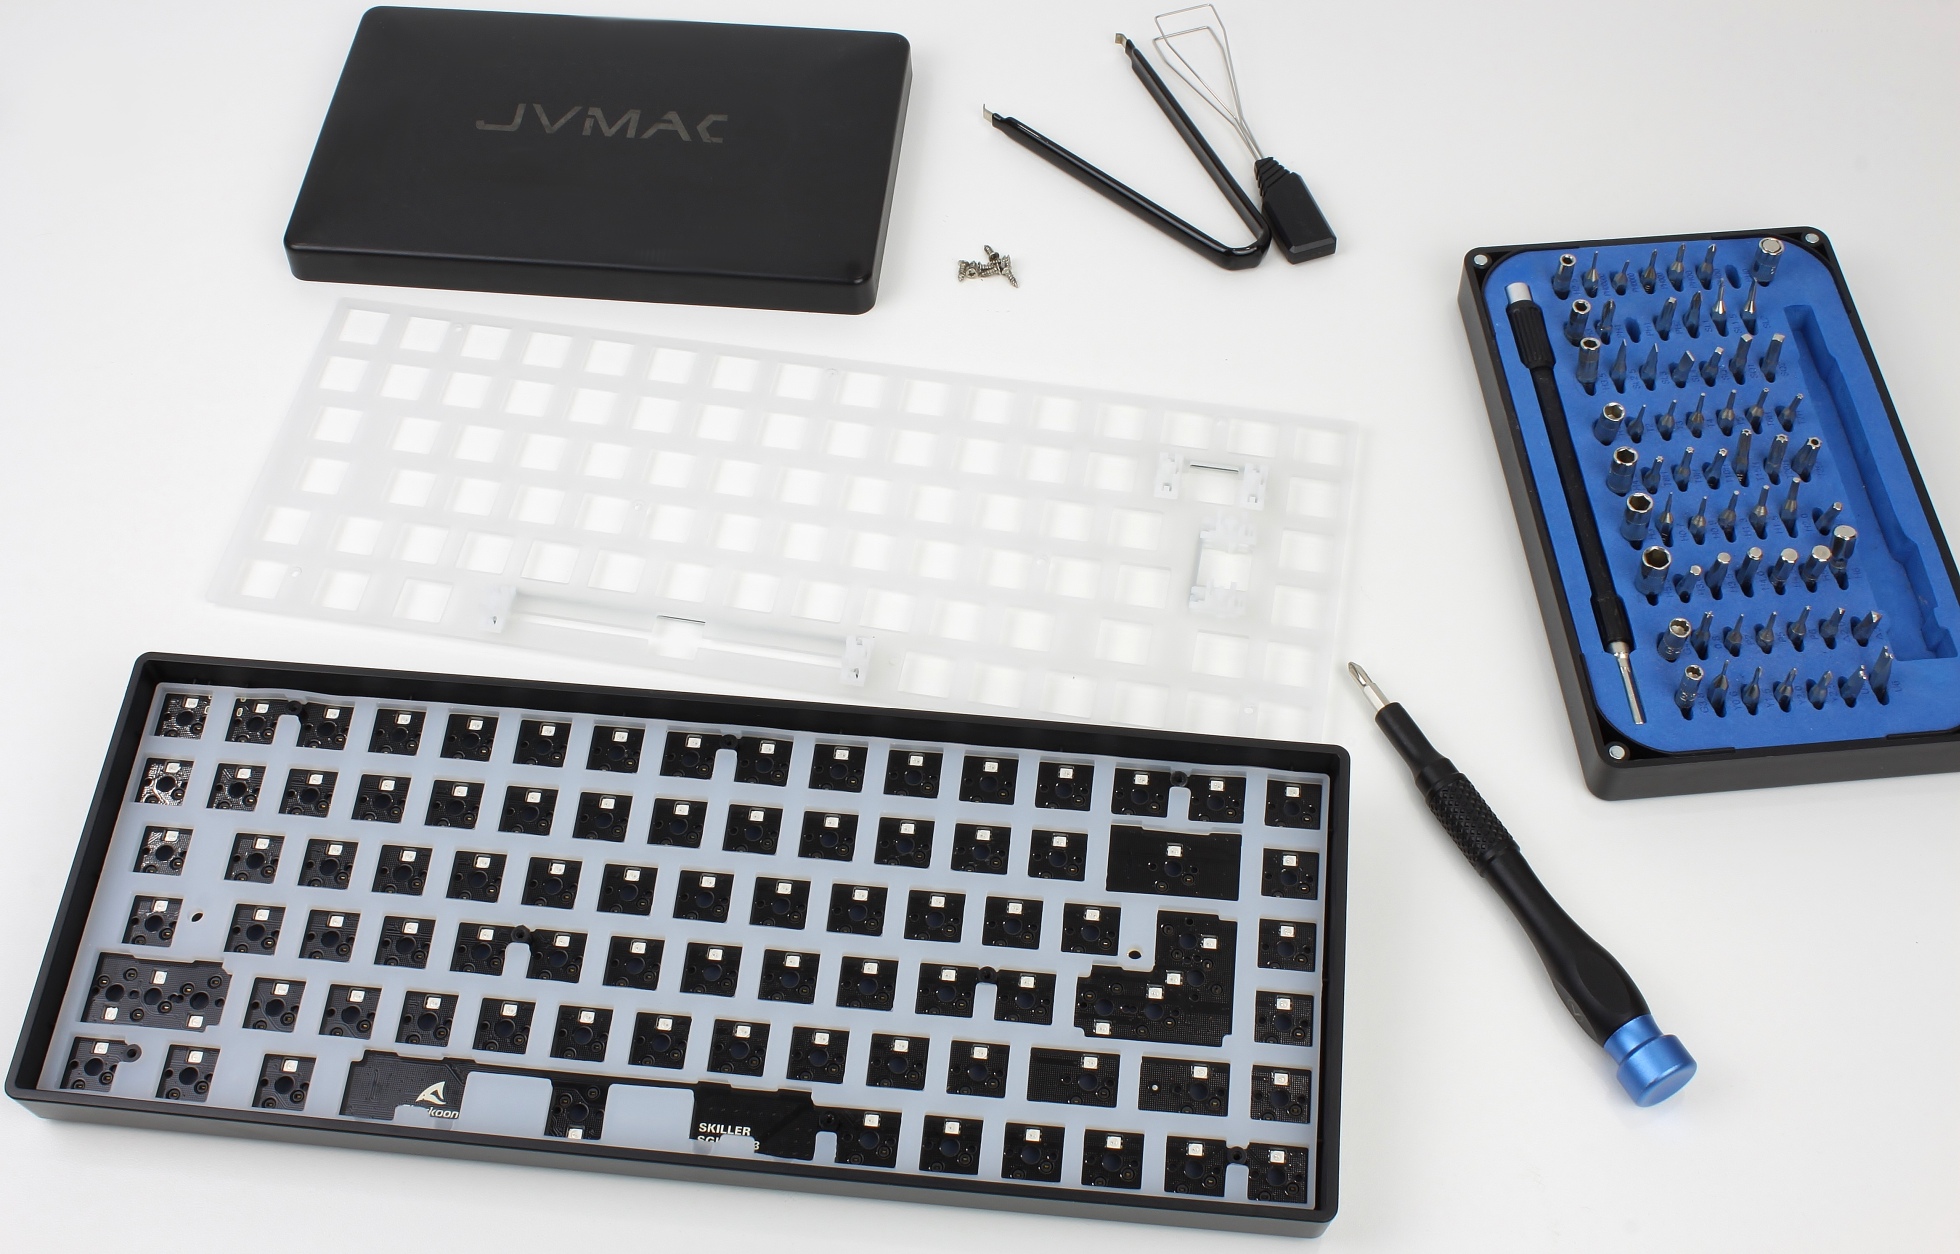
As we all know, you should take advantage of opportunities and when is it easier to disassemble a keyboard than when it comes to you “naked” and you only have to loosen 8 screws? As a “barebone” (without switches), this model in particular is of course aimed at the custom scene and because much more extensive modifications are carried out there, it would be nonsense to make the inner workings of the keyboard difficult to access anyway. So Sharkoon has deliberately decided against this and has even included a second baseplate instead, so that you are practically invited to take a look at the inner workings.
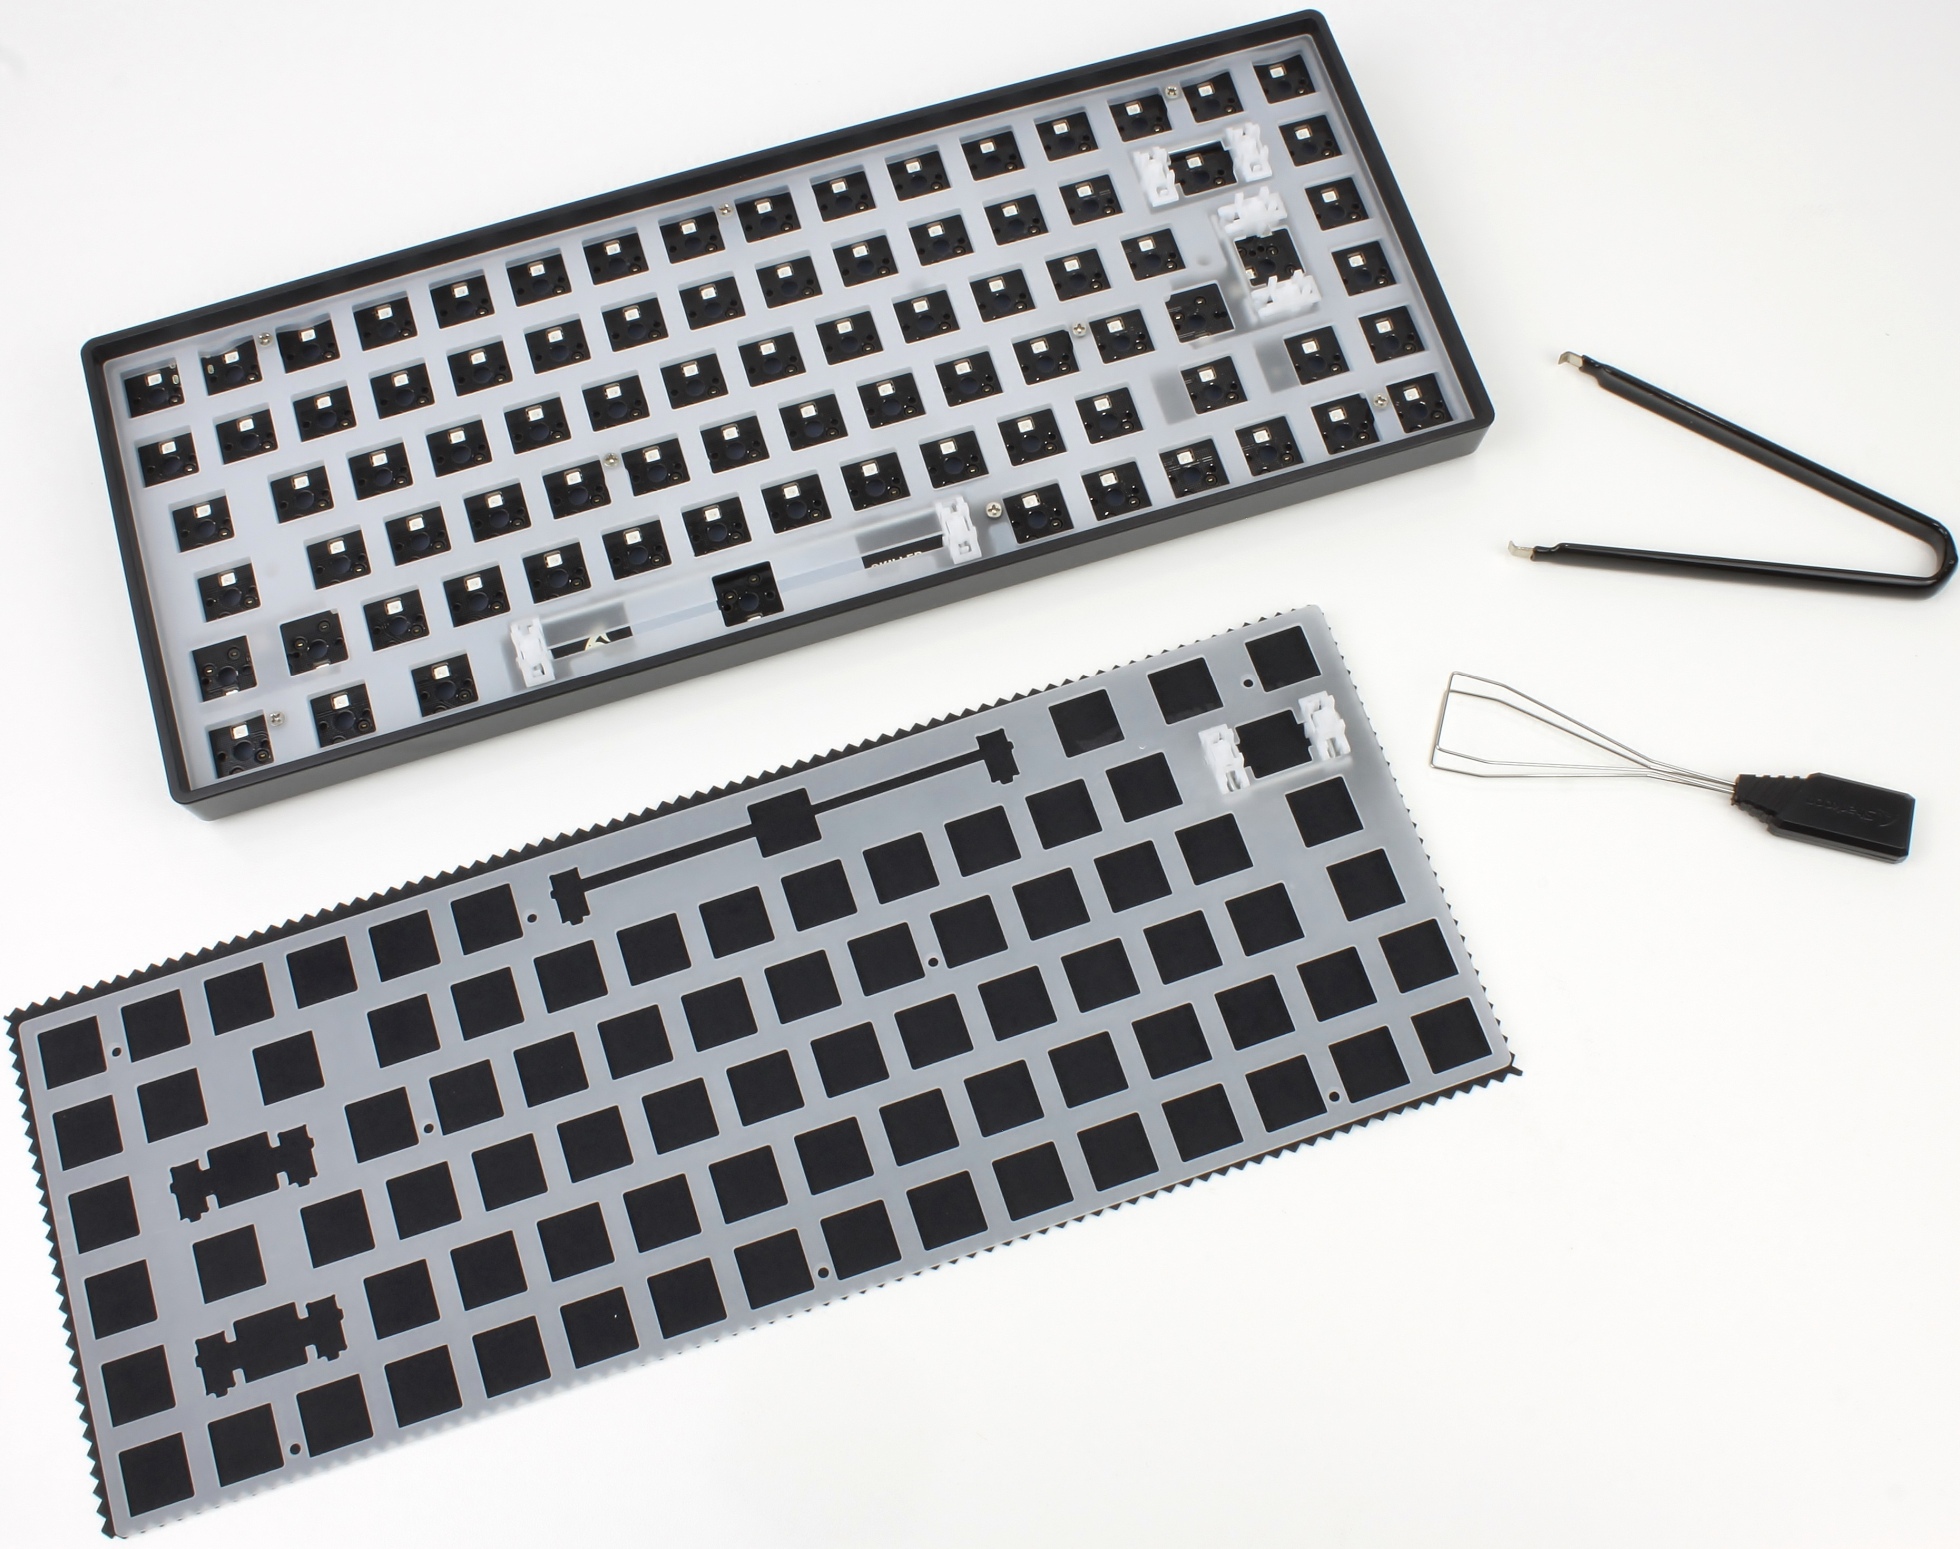
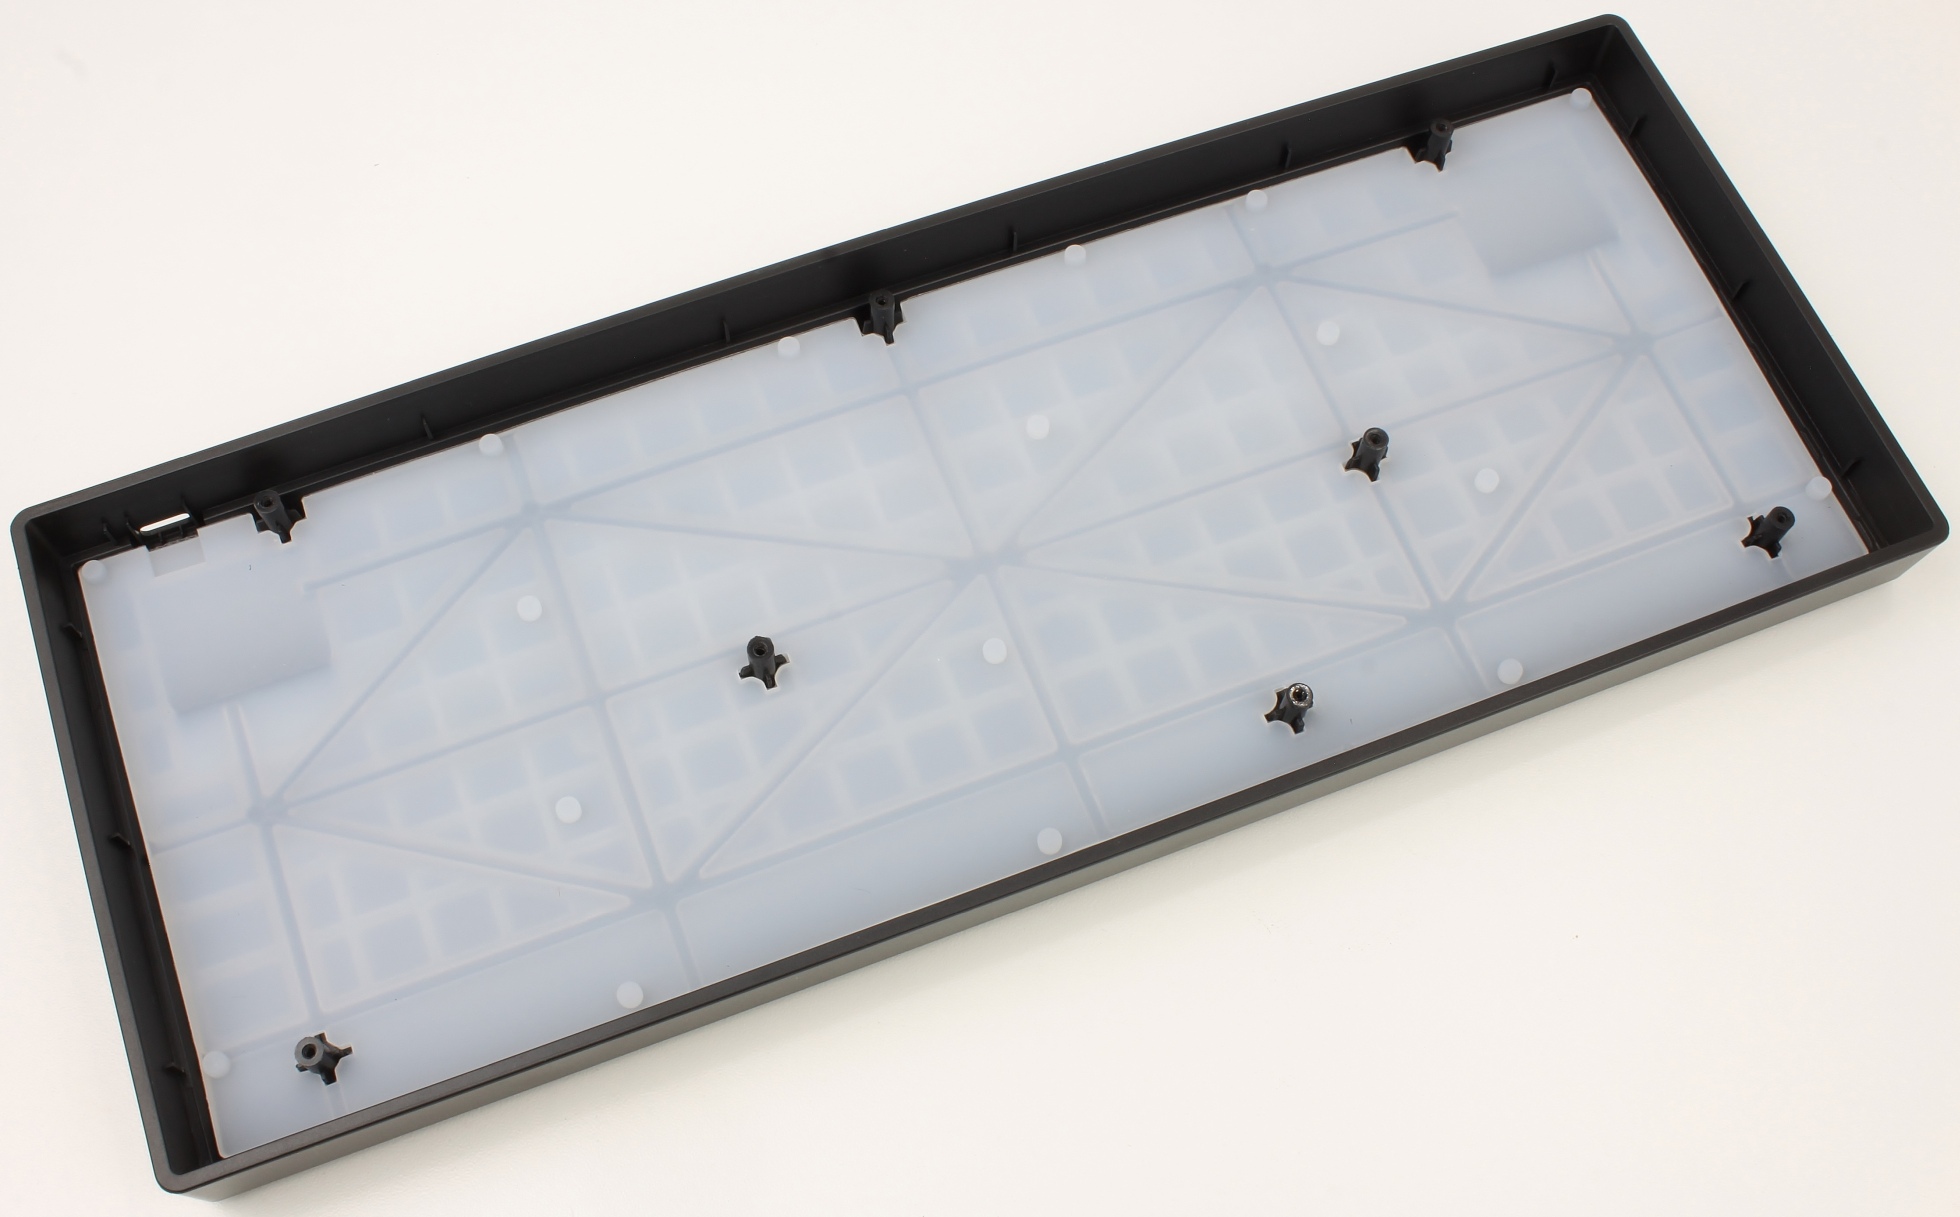
The screws were quickly removed and the baseplate taken out.
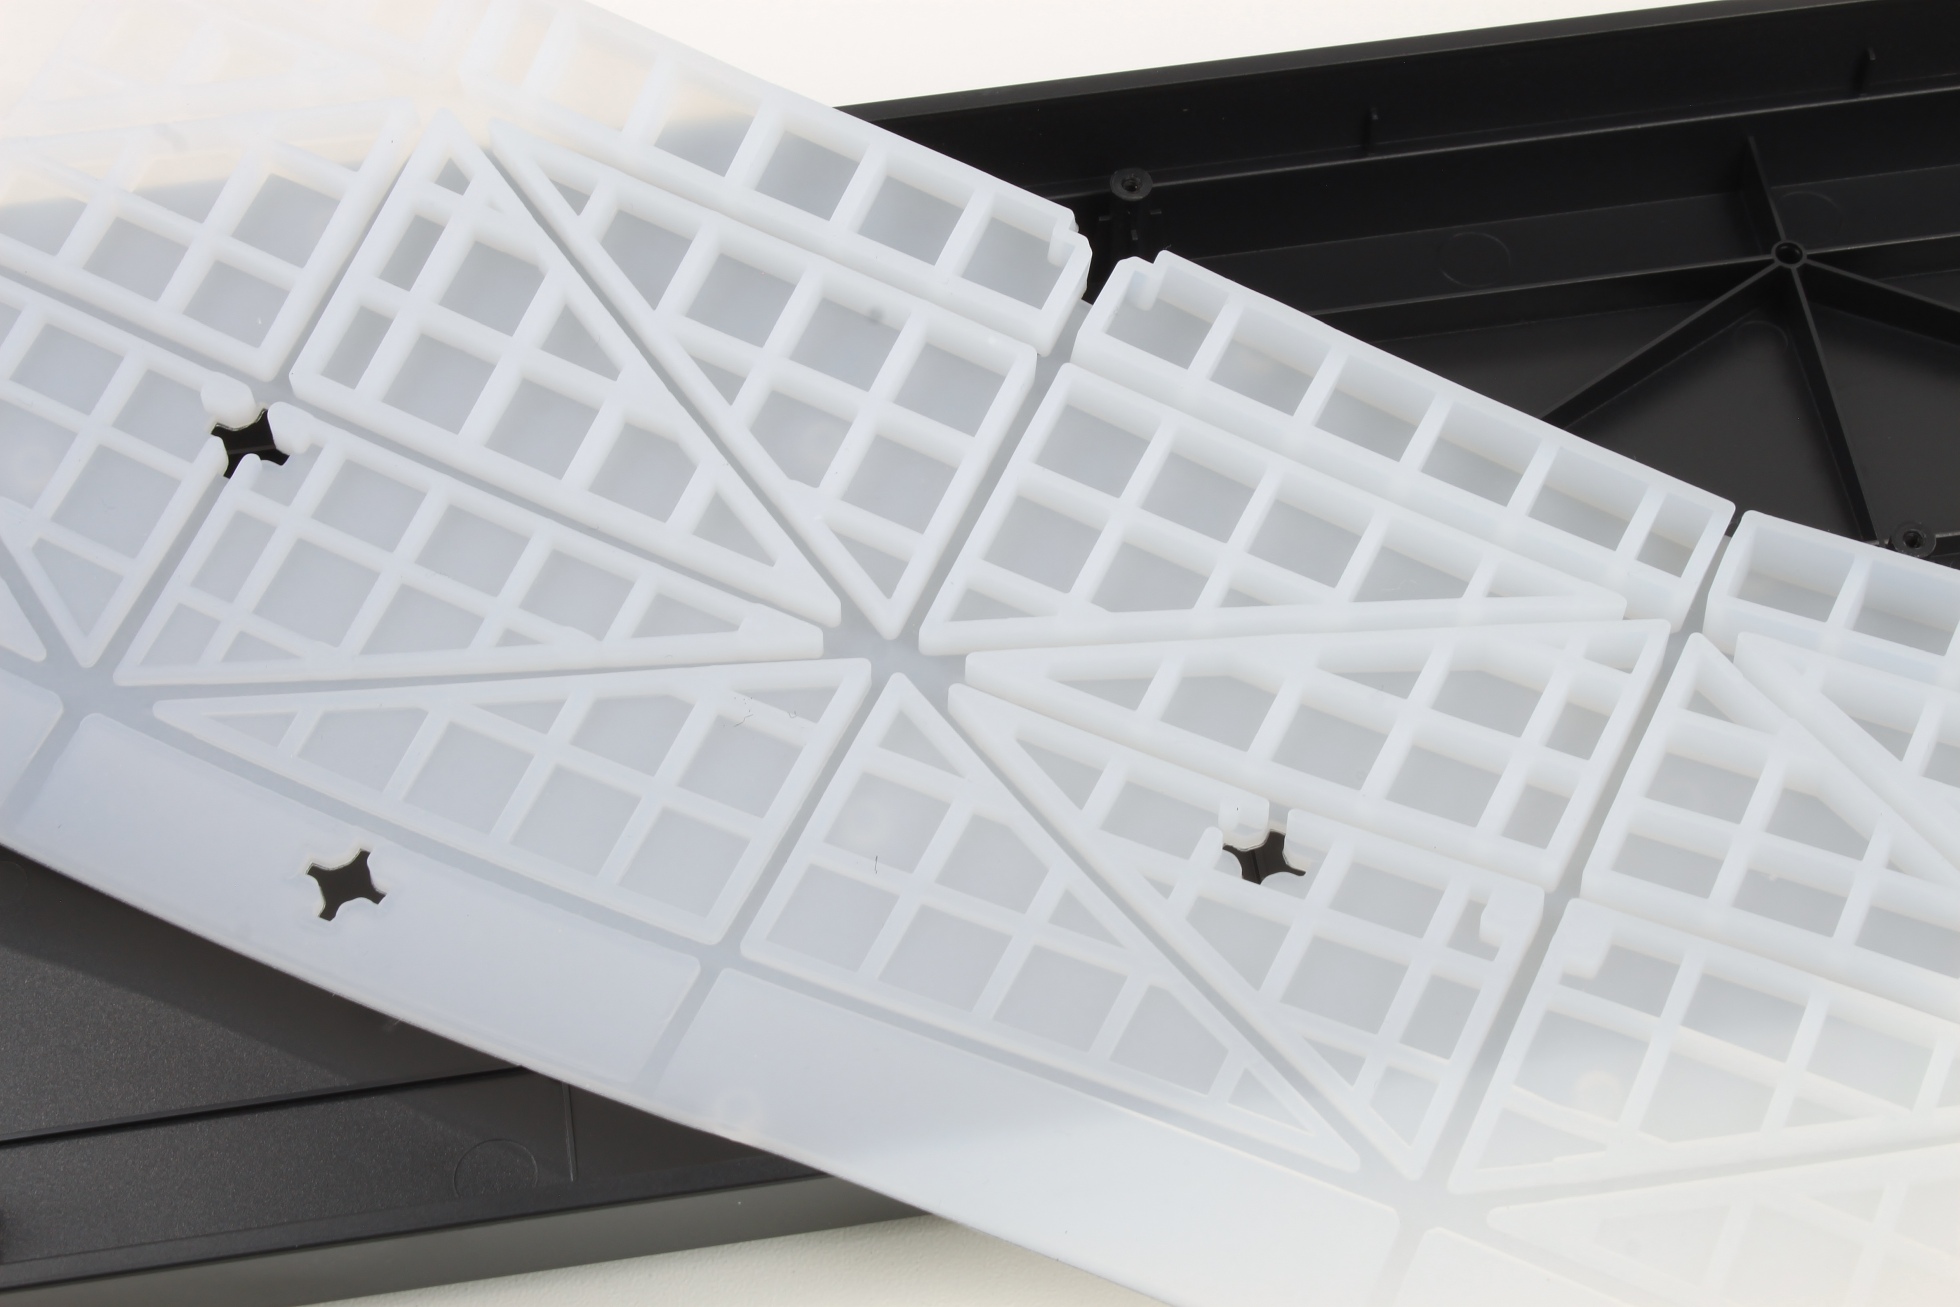
Underneath the baseplate is a thick silicone mat, which is designed to absorb the sound of keystrokes.
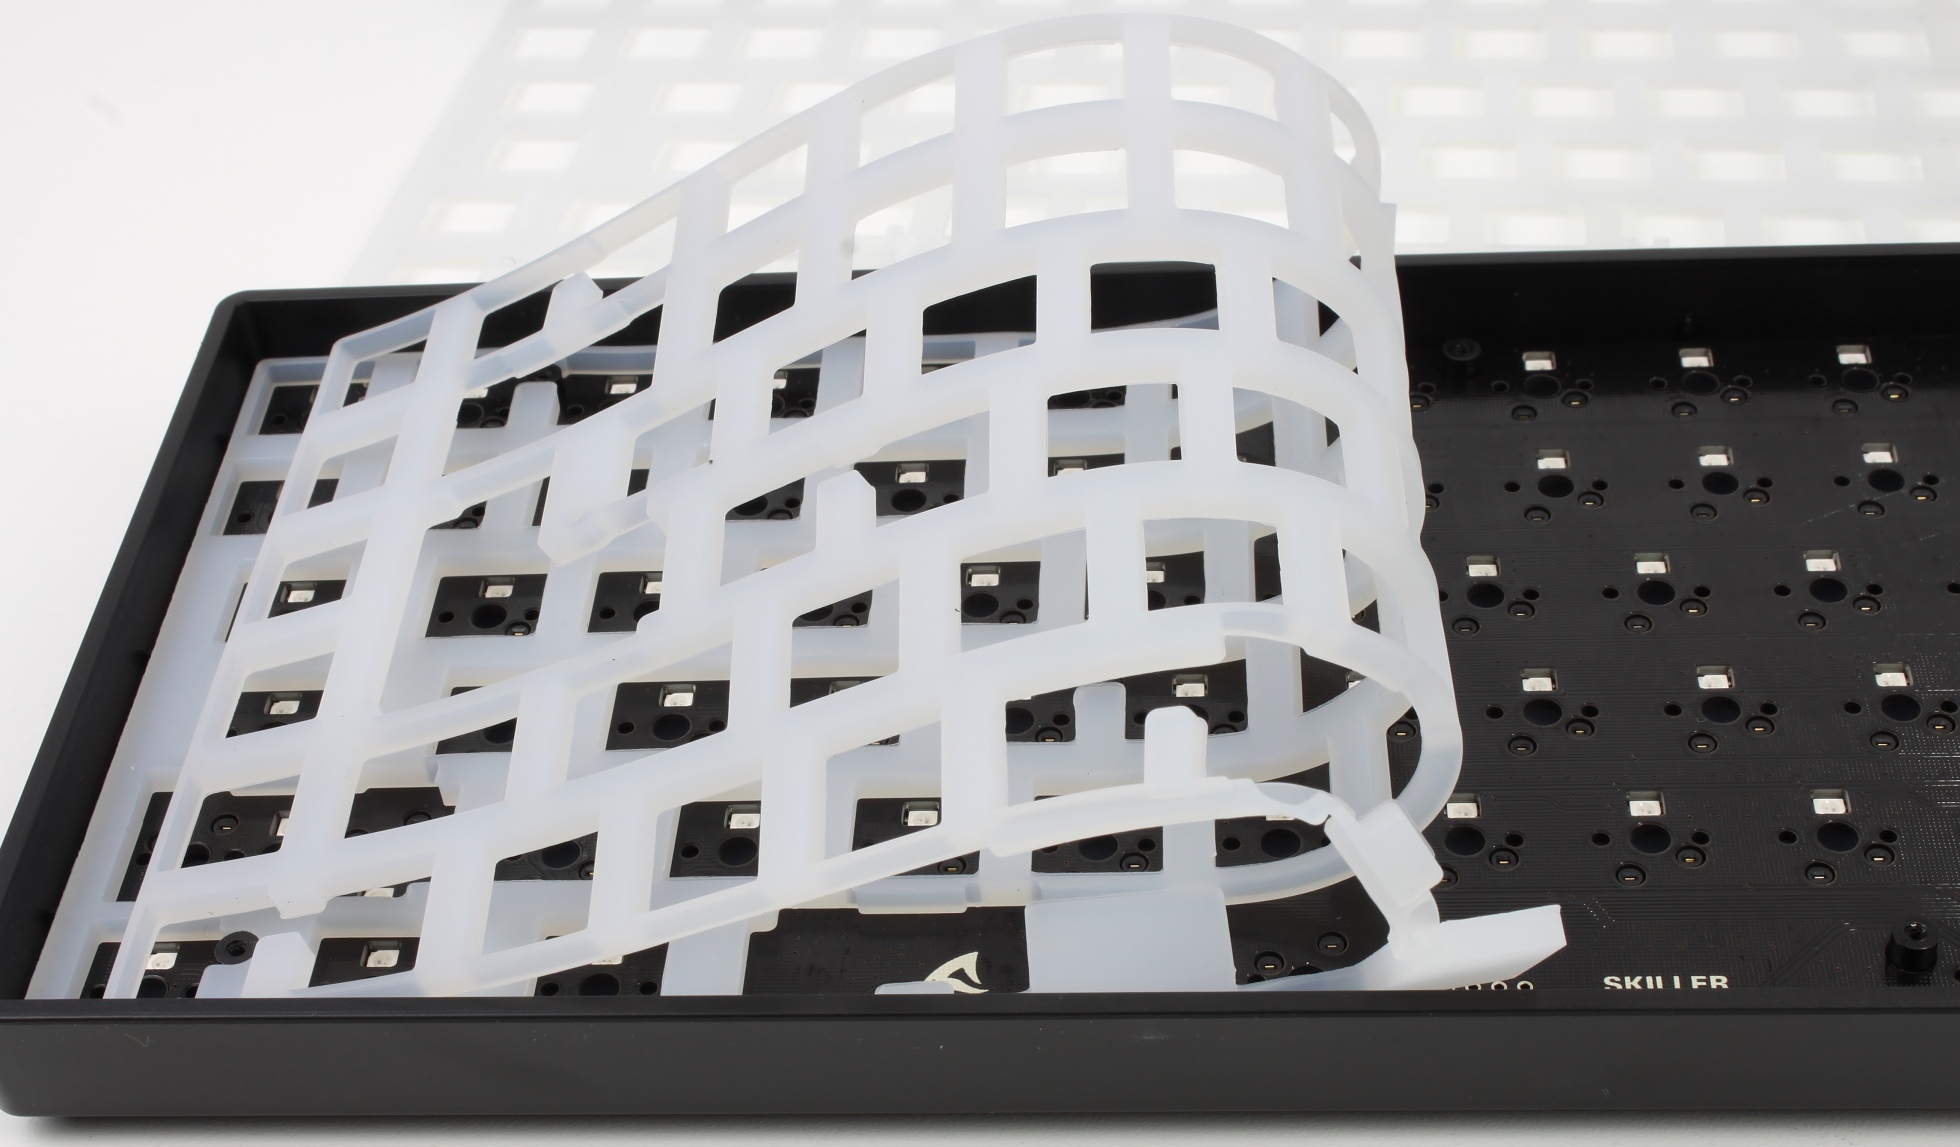
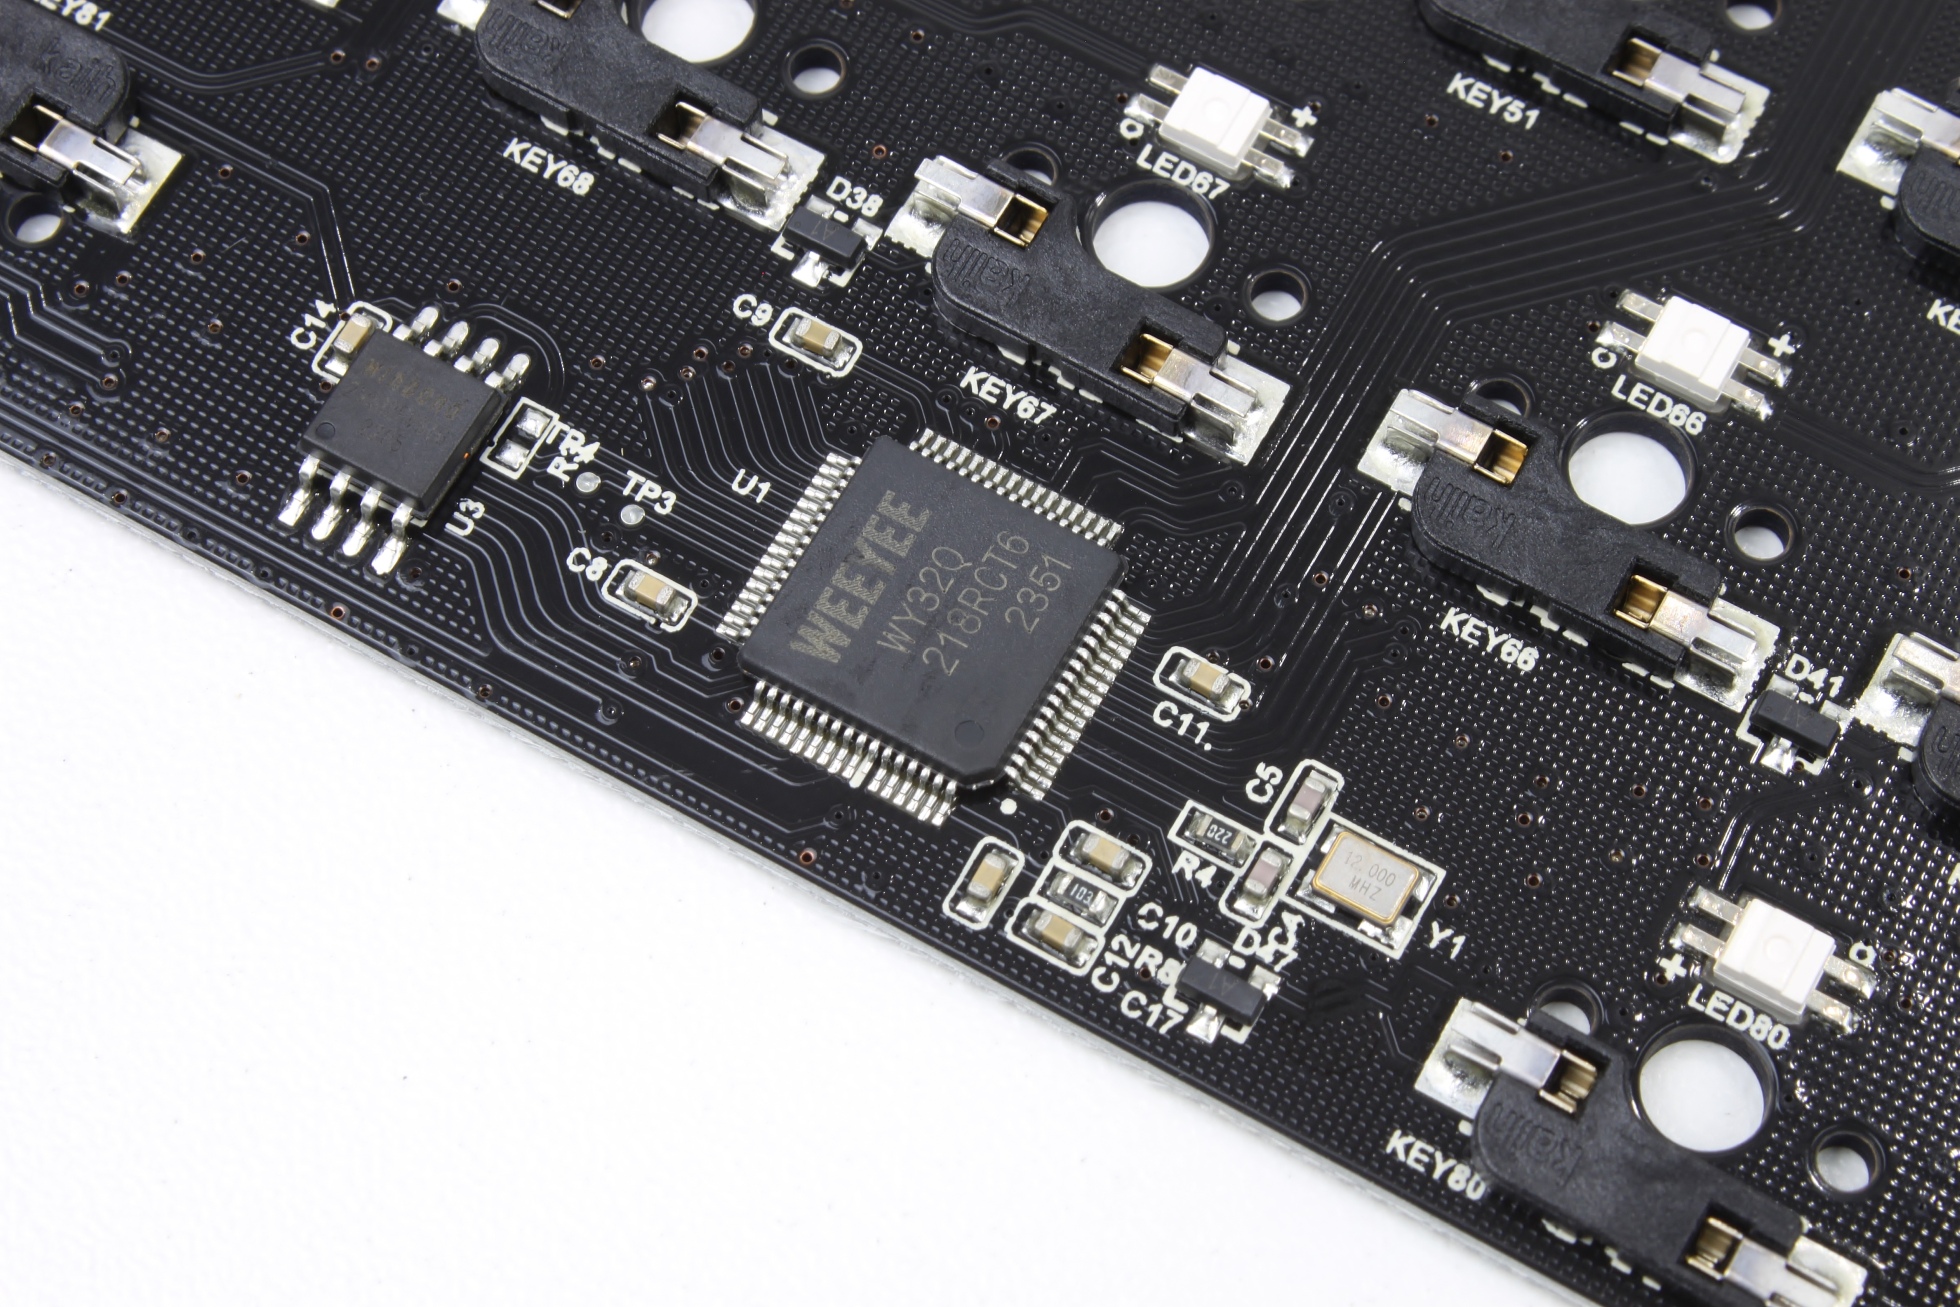
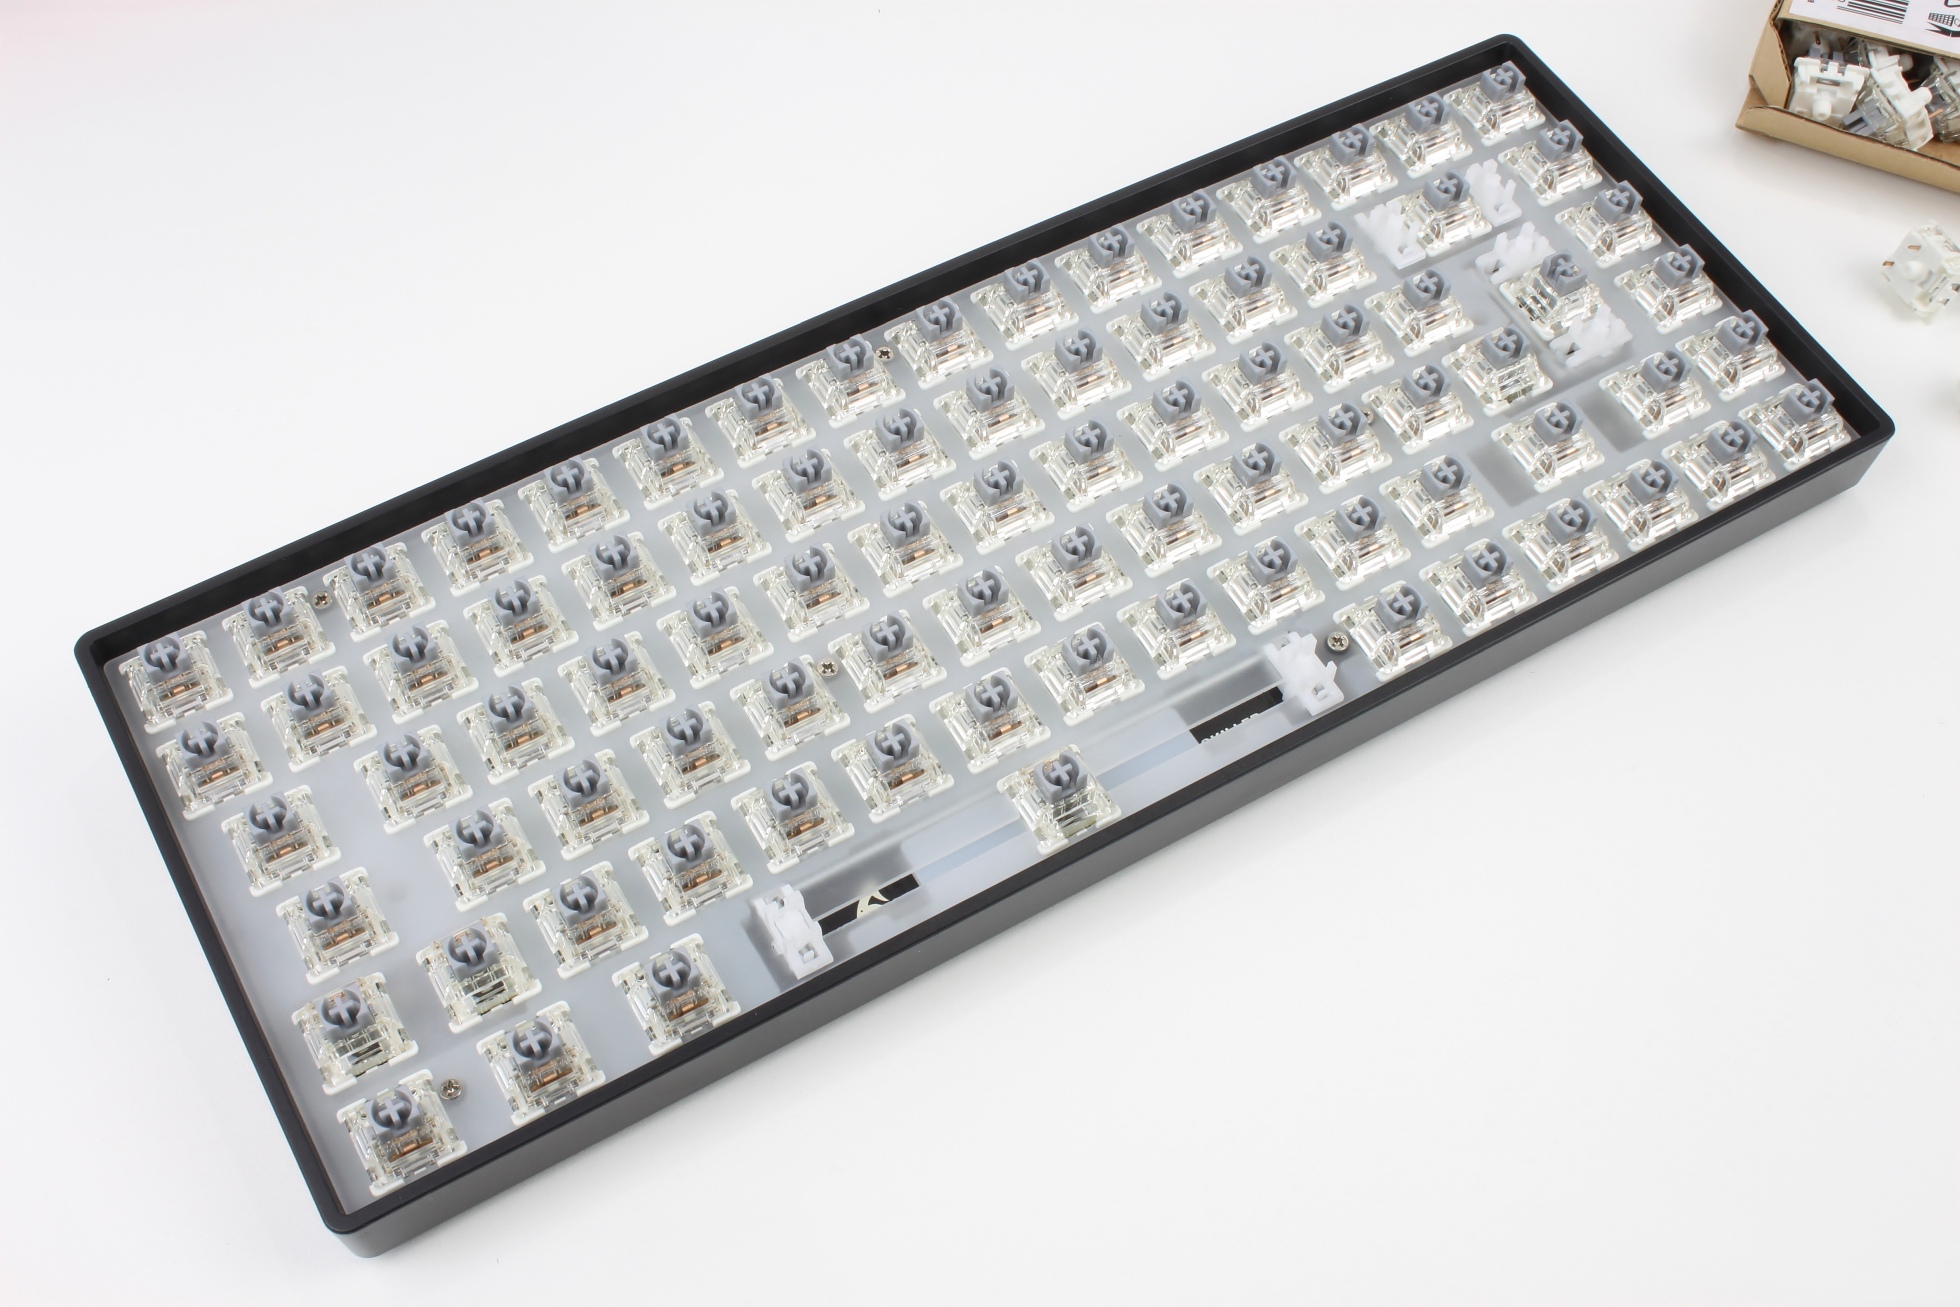
And under this silicone mat is the circuit board into which the compatible switches can be plugged.

The board essentially consists of switch sockets from Kailh and a USB-C connection,
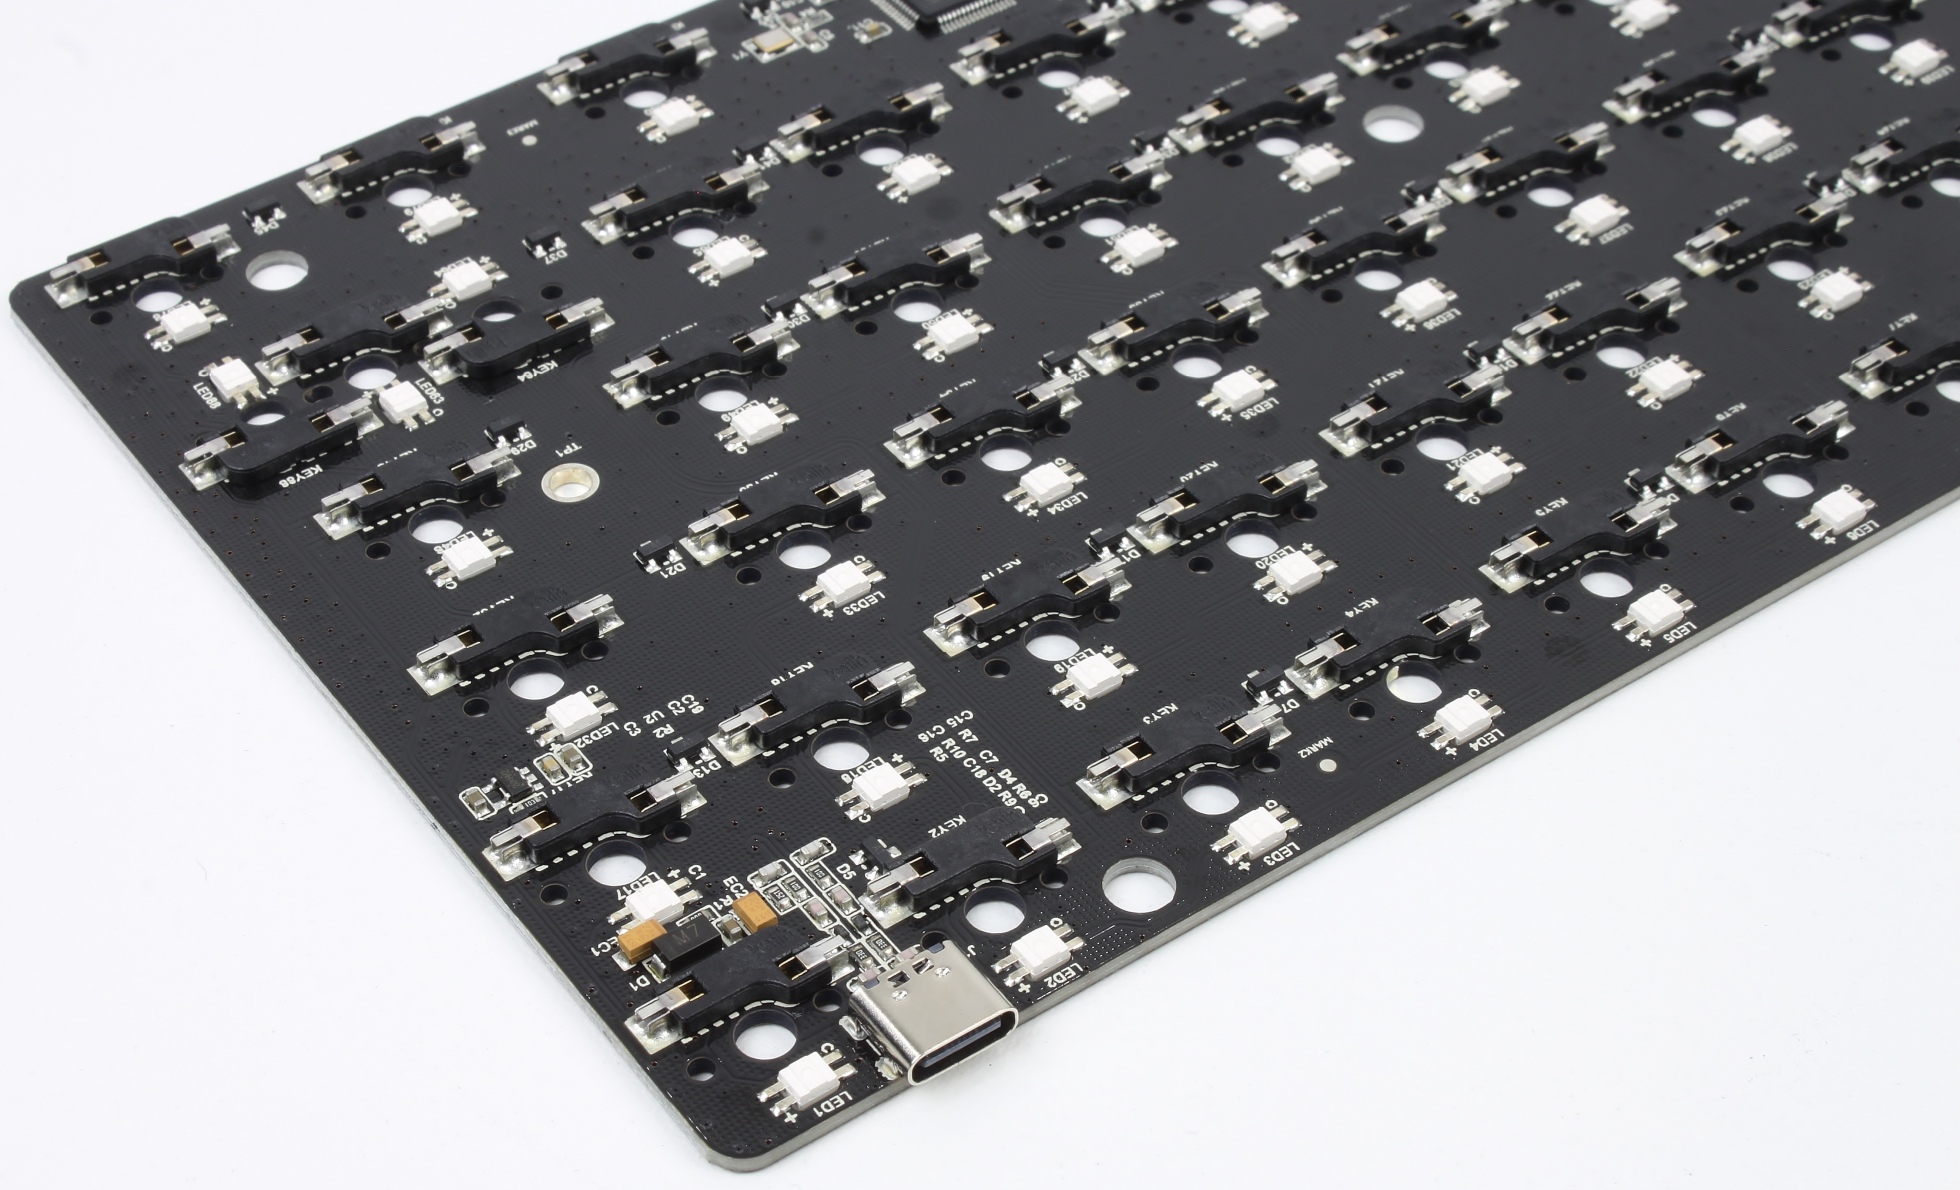
At the bottom we find two components that I, as a layman, would have thought were a MOSFET and a microcontroller, but I’m happy to let our board professionals teach me.
There is another thick silicone mat in the bottom of the housing.
No wonder the Sharkoon keyboards sound so rich!
Custom build
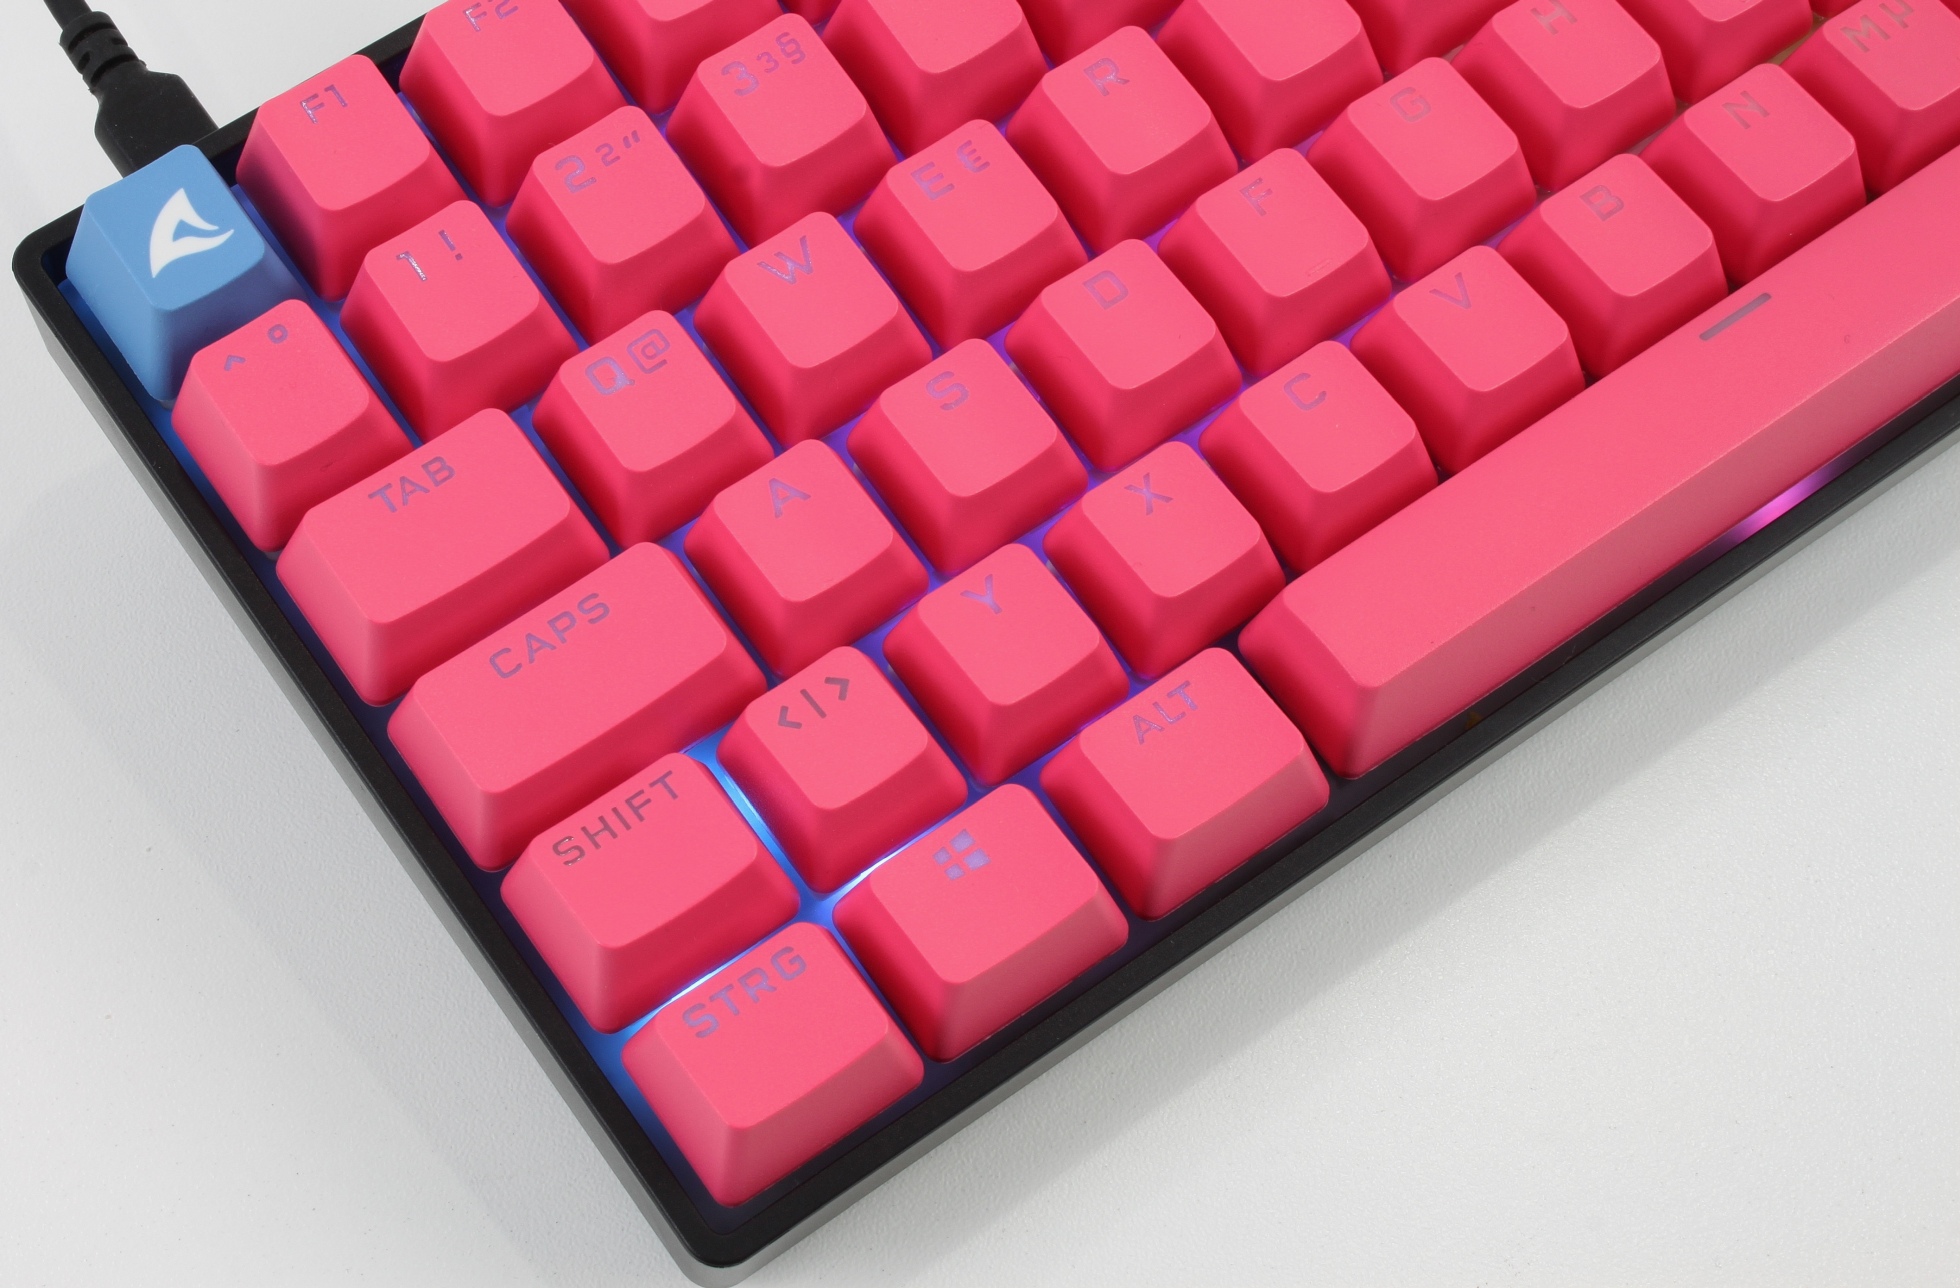
For a simple custom build without further modifications, a set of Gateron G Pro 2.0 Silver Switches was installed in the bare board. So that I could compare all the configurations directly with each other, I dug out my last available keycaps, the Corsair PBT Double-Shot Pros in the (attention, irony!) unobtrusive color “rouge pink”, from the shelf.
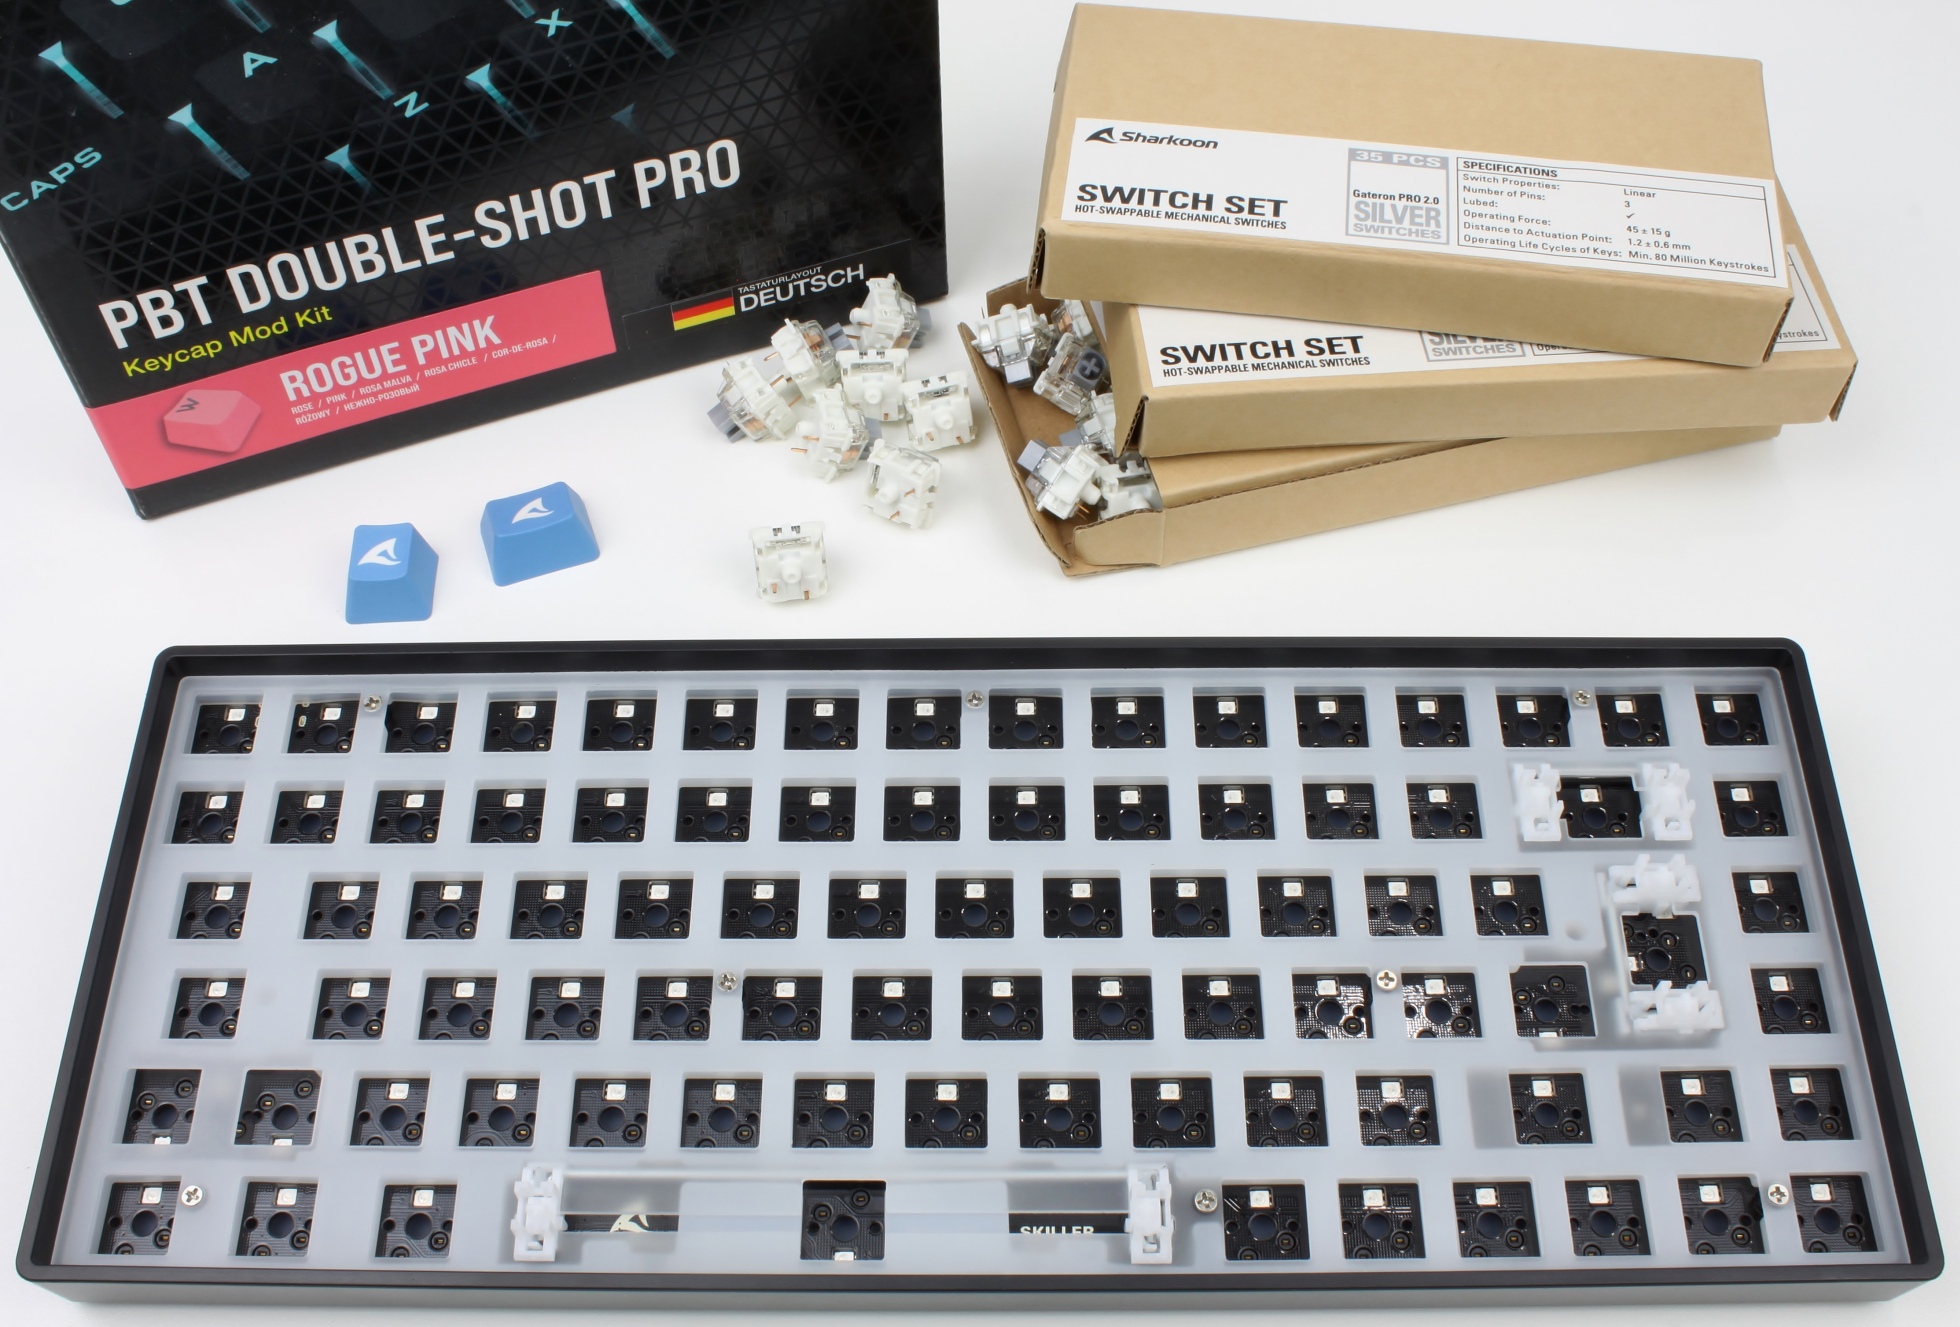
Installing the switches is very simple. Note the orientation of the respective button (some buttons are reversed in favor of the illumination of the corresponding symbol), place the button as straight as possible (to avoid bending the sensitive pins) and then press down gently until the button snaps into the board.

In a few minutes, the keyboard is fully assembled and the search for the keycaps can begin.
About half an hour later, the keyboard was fully assembled and it was time for the function test. I had to rework the “C” key because I bent a pin in the heat of the moment. That’s what happened. Due to the non-standardized layout of the SGK50 S3, I had to improvise a little with some keys and this would definitely bother me in everyday use, but it would be fine for a test.
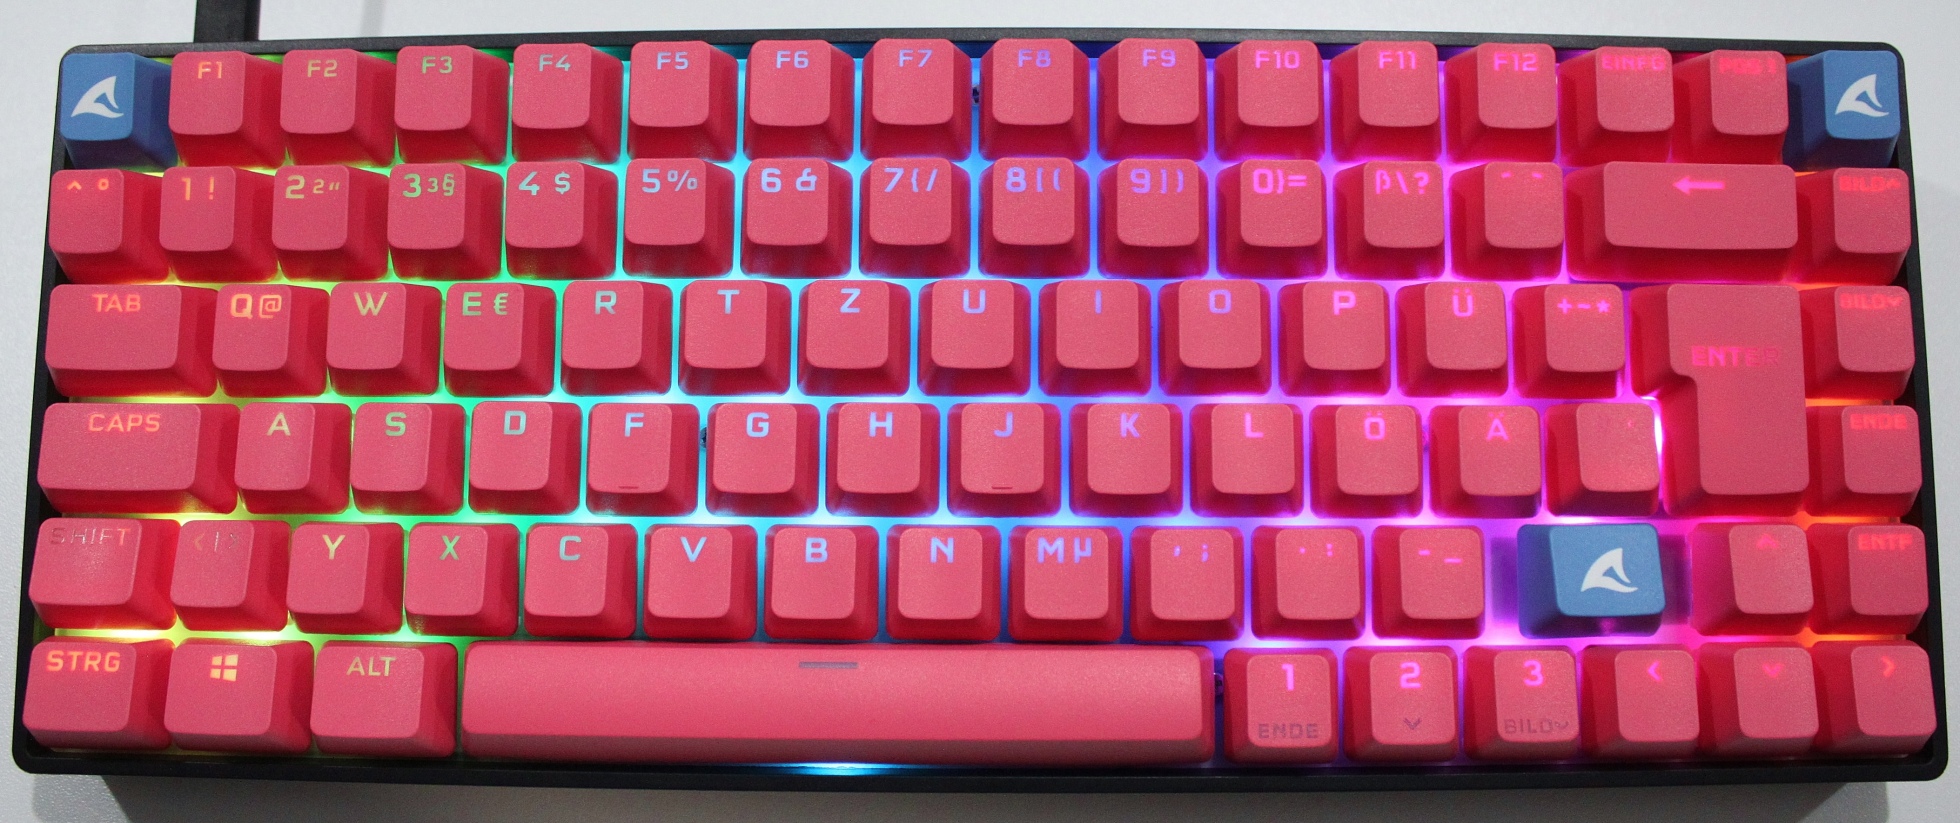
The color is definitely bold and will certainly catch the eye of some readers, but I can tell you one thing: 9 out of 10 women who enter my office talk to me about my beautiful keyboard!


41 Antworten
Kommentar
Lade neue Kommentare
Veteran
Mitglied
Veteran
Mitglied
Moderator
Veteran
Mitglied
Veteran
Moderator
Veteran
Moderator
Veteran
Neuling
Moderator
Urgestein
Mitglied
Veteran
Veteran
Moderator
Alle Kommentare lesen unter igor´sLAB Community →