Teardown: The cooler
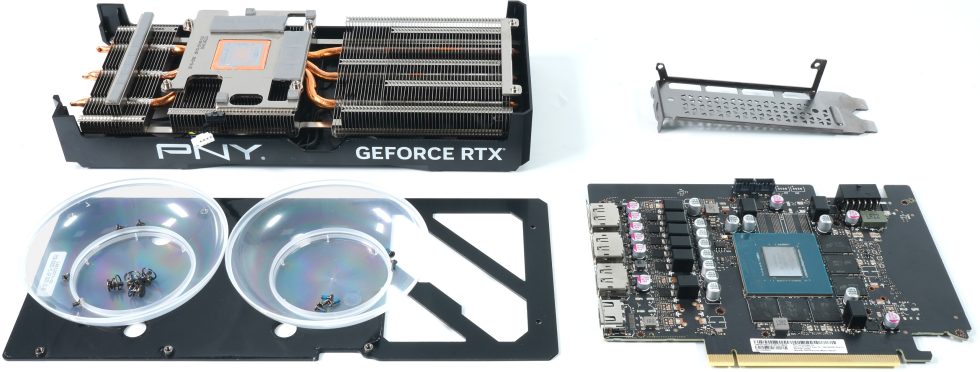
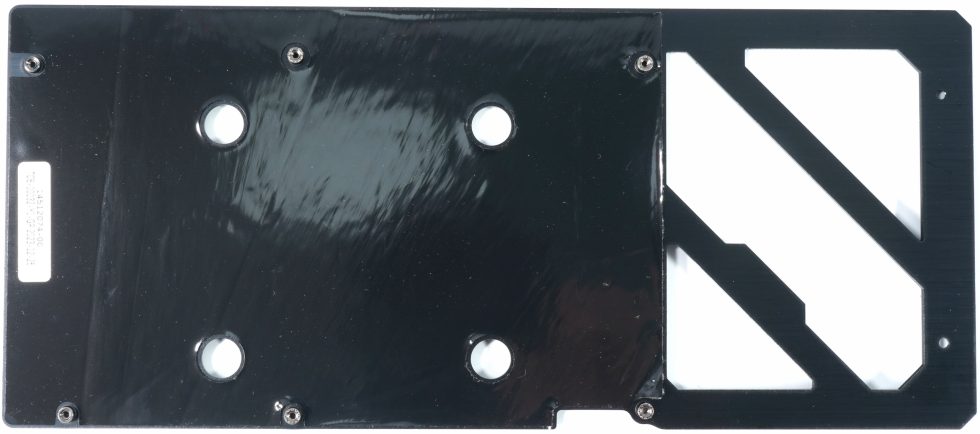
PNY has screwed the backplate to the front of the PCB, which makes disassembly a little more complicated. But there is no other way, because the cooler is only attached via the four spring screws next to the GPU and the construction is then fixed via the slot bracket with additional screws so that the VRM heatsink retains proper pressure.
After just two seals and a few screws, you can remove the plate, which unfortunately does nothing to passively cool the voltage converters.
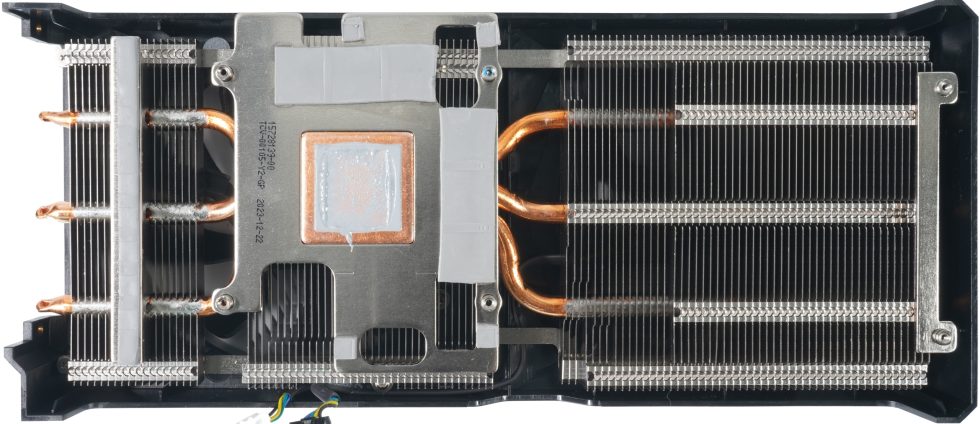
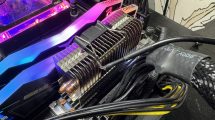
The rest is then quickly explained. A smaller, nickel-plated copper heatsink is used instead of a vapor chamber and only three non-nickel-plated heatpipes (all three running horizontally). But I’ll refer you to the next page, because this time there will also be a material analysis.
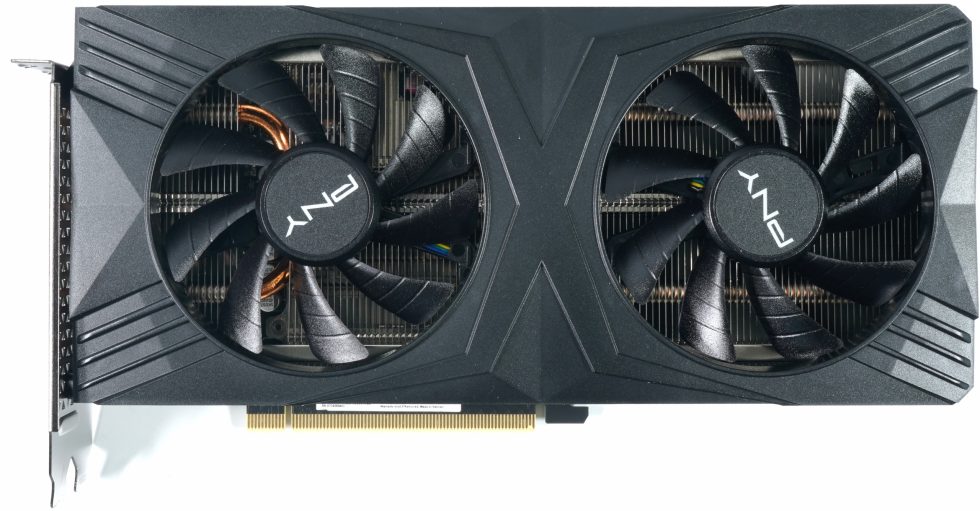
The two fans have a rotor diameter of 8.7 cm (9 cm opening) and use nine rotor blades. That explains the principle well enough, as it’s nothing new. However, I will have to write something about the fan modules later.
- 1 - Introduction, technical data and technology
- 2 - Test system and measuring equipment
- 3 - Teardown: Disassembling and cooler
- 4 - Teardown: PCB and components
- 5 - Teardown: Material analysis
- 6 - Gaming Performance FHD (1920 x 1080)
- 7 - Gaming-Performance WQHD (2560 x 1440)
- 8 - Gaming Performance Ultra-HD (3840 x 2160)
- 9 - Gaming Performance DLSS & FSR
- 10 - Power consumption and load balancing
- 11 - Transients, capping and PSU recommendation
- 12 - Temperatures, clock rate and tehrmal imaging
- 13 - Fan curves, noise and audio samples
- 14 - Summary and conclusion










64 Antworten
Kommentar
Lade neue Kommentare
Urgestein
Veteran
Urgestein
Urgestein
Urgestein
Urgestein
Urgestein
Urgestein
Urgestein
Urgestein
Urgestein
Urgestein
Urgestein
Veteran
Mitglied
Alle Kommentare lesen unter igor´sLAB Community →