The beginner does not need much
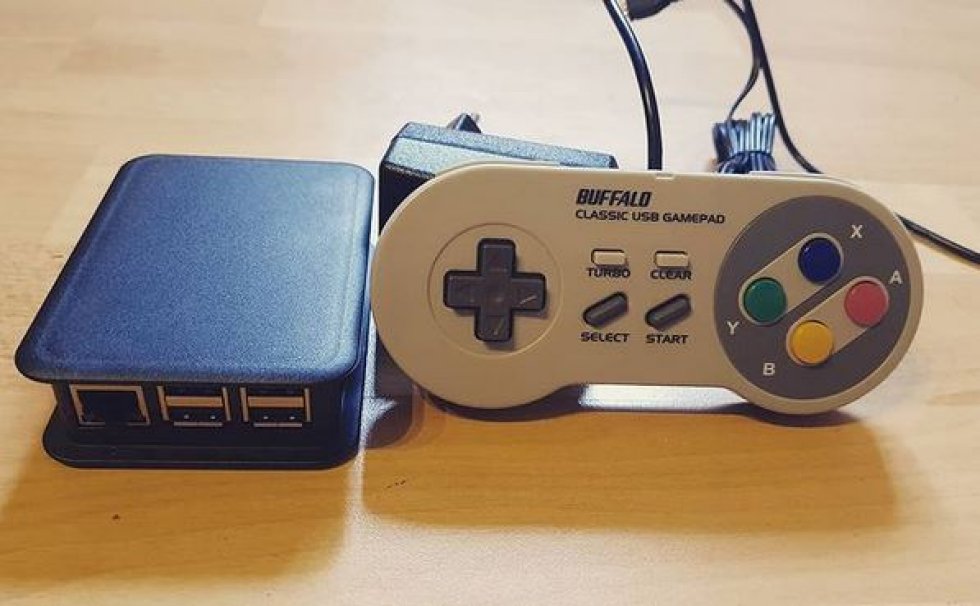
So we’ll start with the typical entry-level type of retro gamer. He wants to build a working console quickly and easily and then play Nintendo on it with the original look and feel, i.e. with preset resolution, a screen ratio of 4:3 and without shaders, effects or filters.
His shopping list:
|
Subject: |
Price: |
Quantity: |
Link: |
|
Raspberry Pi 3 B+ |
40 € |
1 |
|
|
Raspberry Pi power supply |
10 € |
1 |
|
|
Micro SD card 64 GB |
12 € |
1 |
|
|
USB game controller |
25 € |
1 |
|
|
Raspberry Pi Case (Nintendo) |
20 € |
1 |
Once all these things are ordered, we decide to use Recalbox as our operating system. Along with the OS, we then download either Etcher or RUFUS to burn the pre-built image to the SD card. While the image is being written to the SD card, we take a moment to install the Raspberry Pi into the small European SNES-style case, plug everything in, and turn the system off. Once the SD card with the image is ready, we simply insert it into the Raspberry and turn on the system.
After a short boot and the initialization of the OS we are ready to go! Just quickly set up the controller in the menu’s own configuration page and we’re ready to play. Note at this point: Almost every retro gaming OS creates two partitions: One for the system itself in a Linux file system (so not easily accessible in Windows) and one partition for the data that often needs to be changed, such as games.
However, the most important component is still missing: the game. Files between the retro console and the home PC can be transferred e.g. with a USB stick, via a web interface (if in the same network) or via SSH. Please try the relevant wikis of the corresponding operating system, because there are sometimes huge differences. If the games of choice are now in the correct folder, we will notice that after restarting the console in the main menu will now display the corresponding system. Navigation and starting, as well as the basic configuration of the game are now easily supported by the GUI. Explores the menus and likes to play around with the configuration items. For first steps you can use the VideoMode (resolution), the Aspect Ratio or shaders and filters for more comfortable pixelation.










Kommentieren