


Teardown: The cooler
There is definitely an innovation here, because like NVIDIA, both cards use a massive vapor chamber instead of a simple copper heat link. That really pays off in the end, as we’ll see later with the temperatures. The memory is directly thermally connected to the bottom of the vapor chamber, which is a good choice. In addition, all relevant voltage transformers are cooled via the massive support frame.
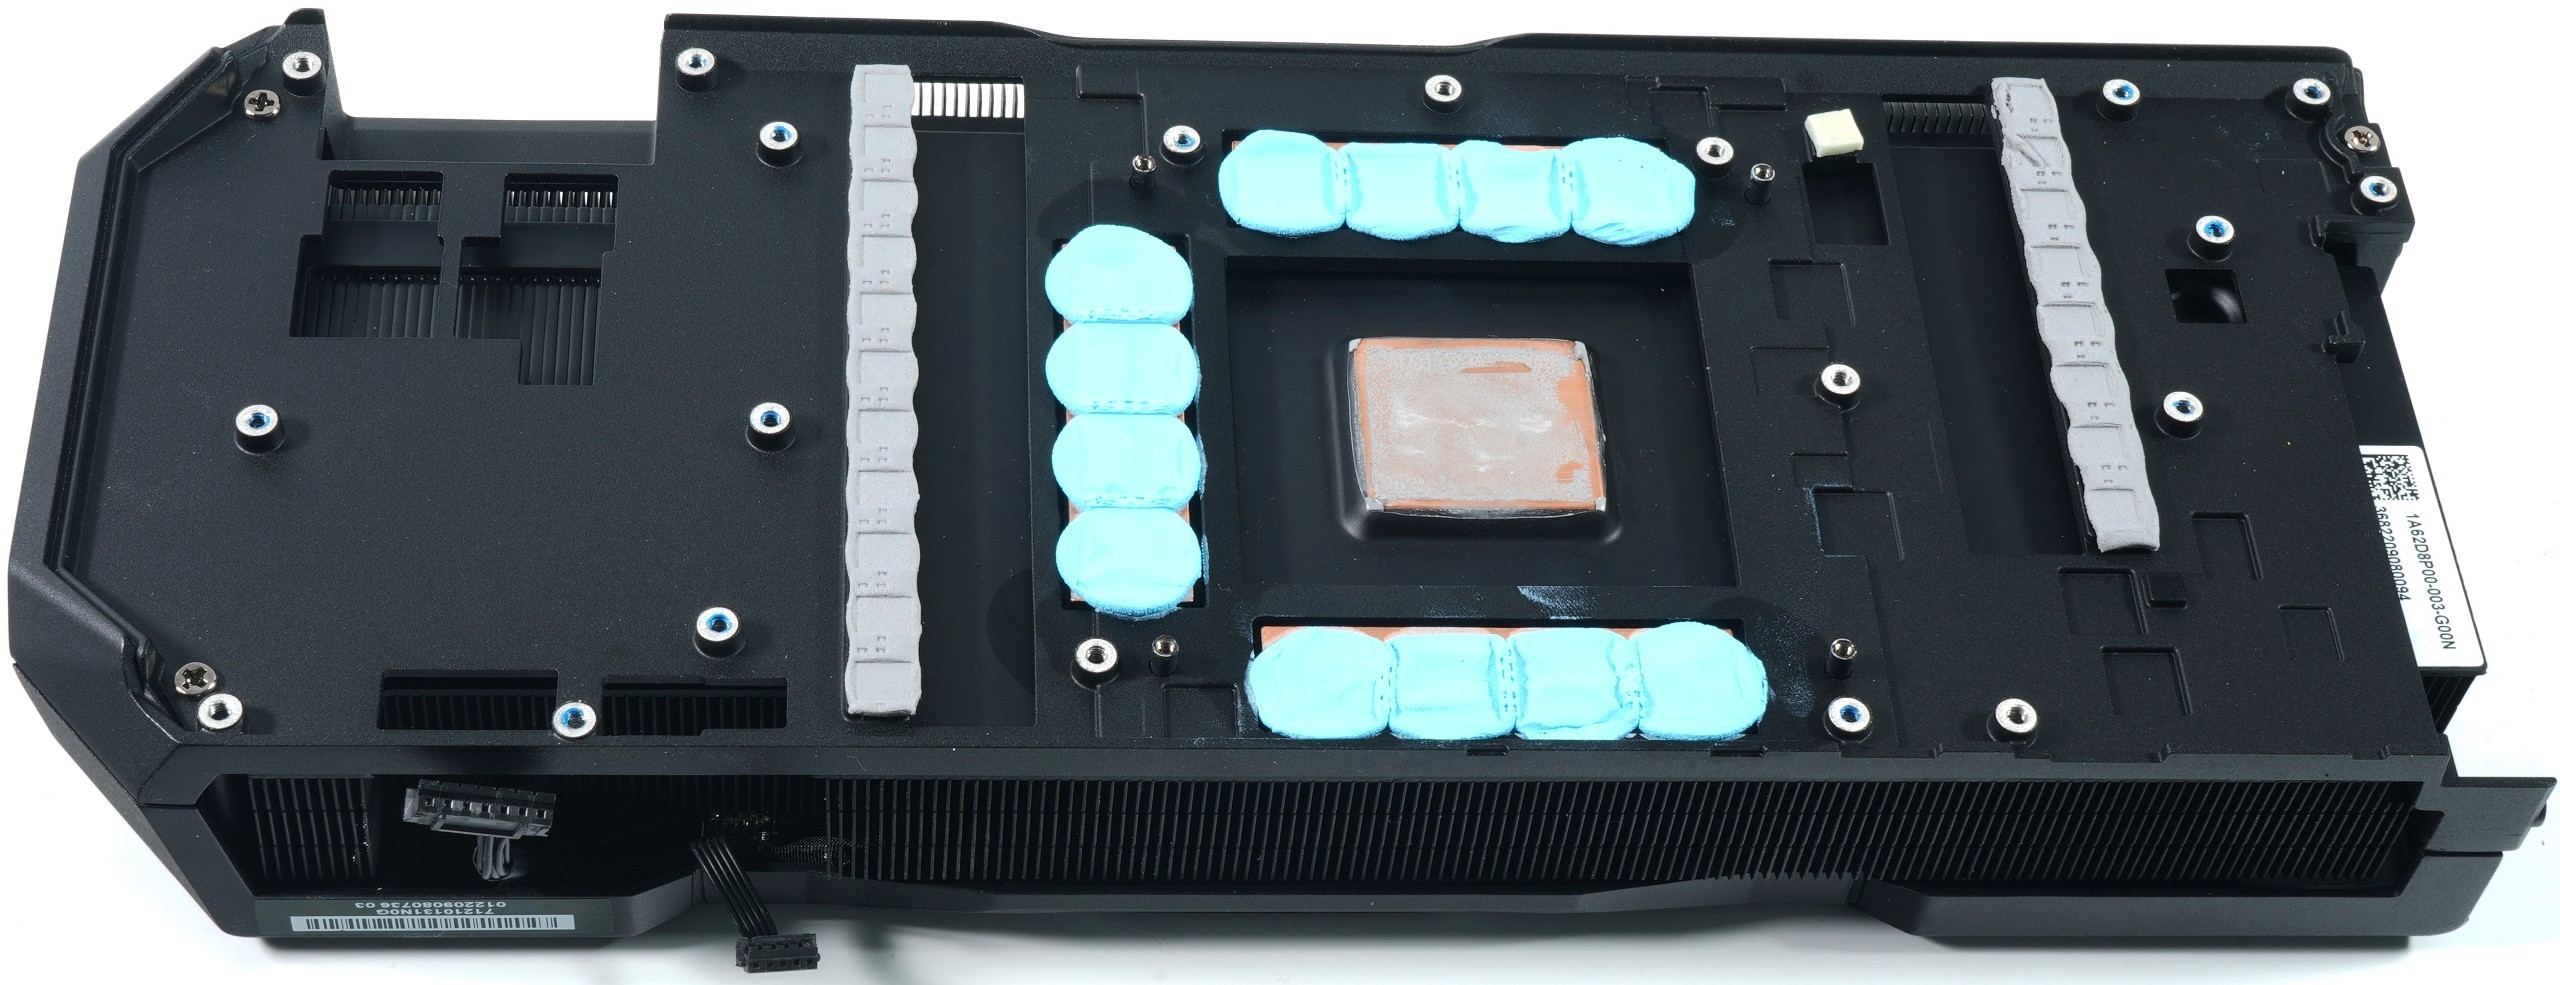
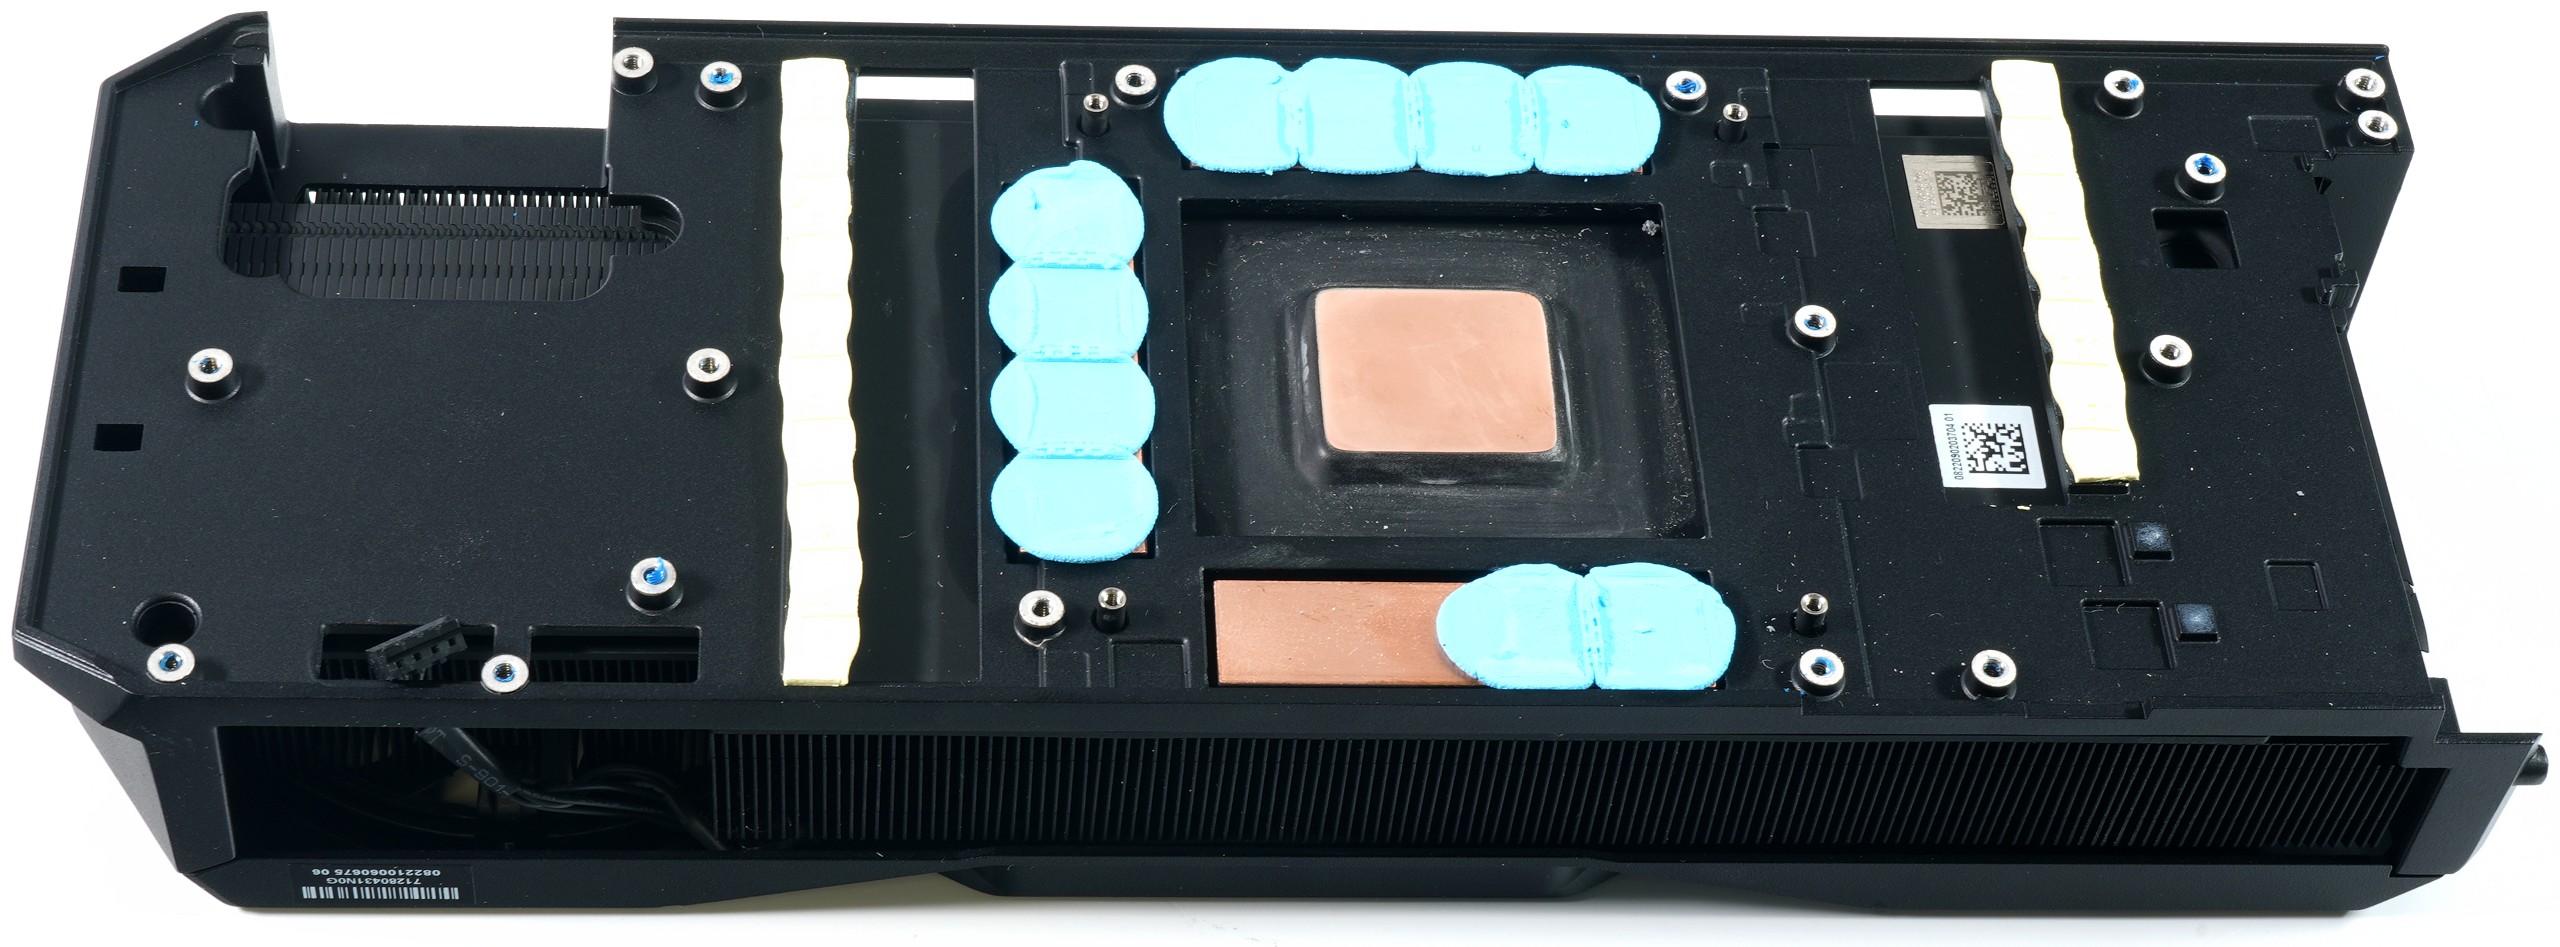
The cooler of the smaller RX 7900XT has a similar design and only differs by one centimeter in height, since the PCB is also flatter. However, this makes it more difficult for water-cooling freaks, because it will hardly be possible to make it compatible for both cards. The thermal pads are from the top drawer in both cards, whereby the ultra-soft compound for the memory is more reminiscent of gap fillers. These are pads, but as soft as play-doh.
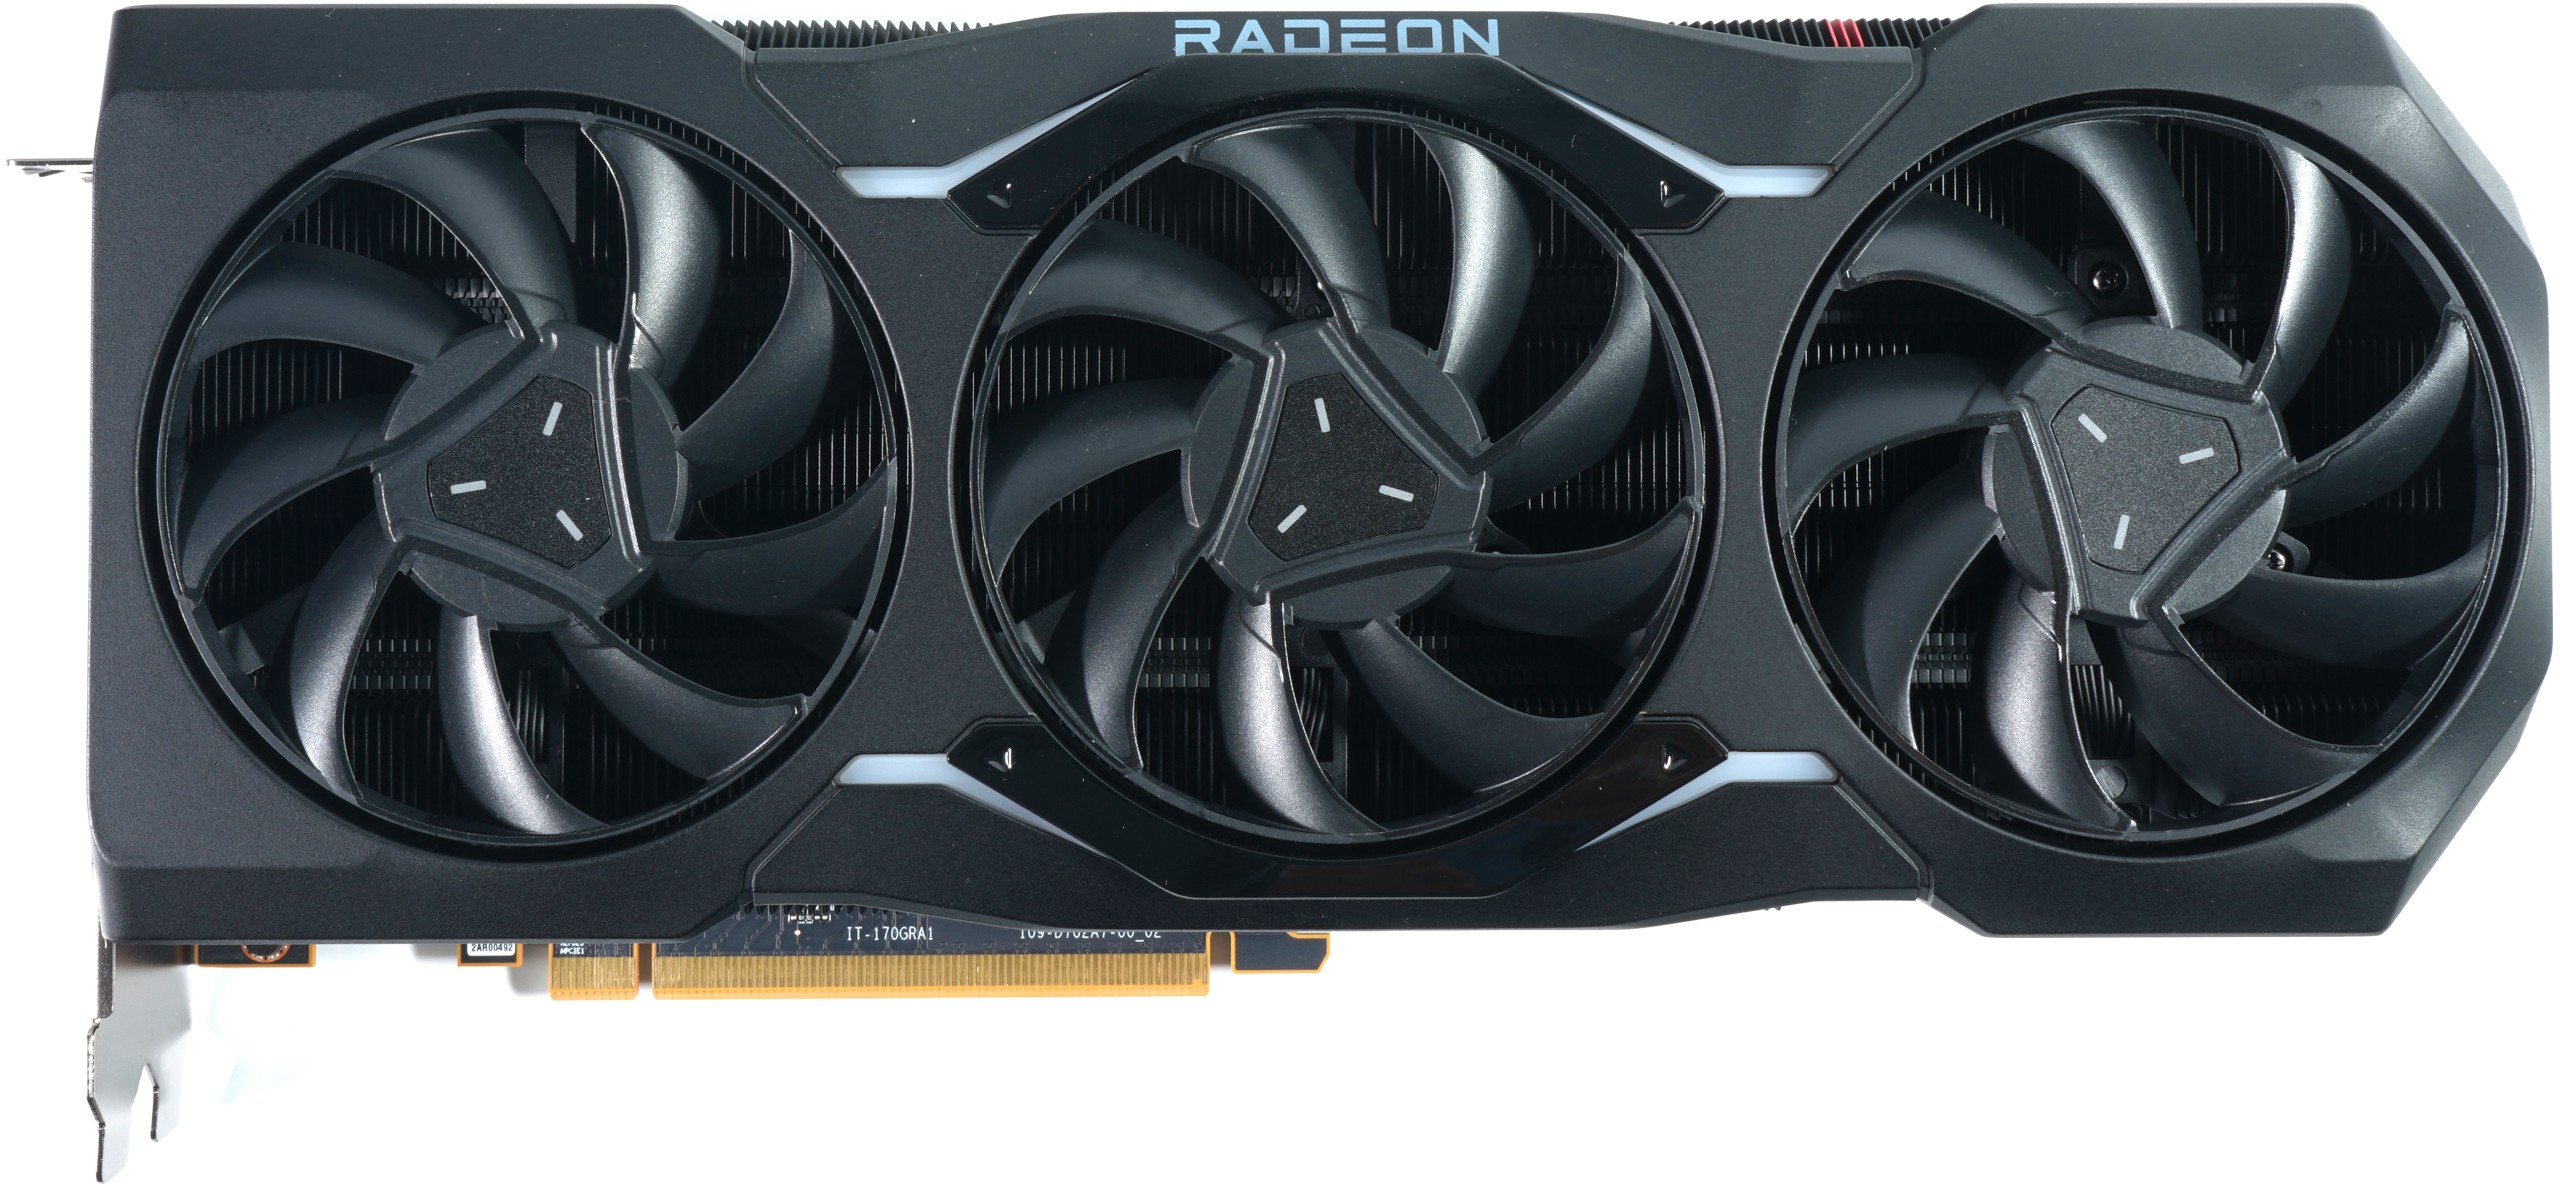
The three 8 cm fans each have nine very steeply pitched, very large rotor blades with a circumferential inner ring and are still relatively tolerable up to about 1500 rpm, and even downright quiet up to about 1000 rpm. The card occupies three slots and most of the weight is at the expense of the actual cooling design.
The heatsink of the Vapor-Chamber and tips for the GPU (cleaning, thermal paste)
The biggest problem is the flatness of the heatsink. While the RX 7900XTX still had a fairly flat heatsink, the RX 7900XT revealed a rather concave heatsink, which suggests certain production tolerances. It is well recognized by the larger amount of phase change material in the center above the die. In addition, the bubbles and the shape of the run from the burn-in show the hardening of the once soft material.
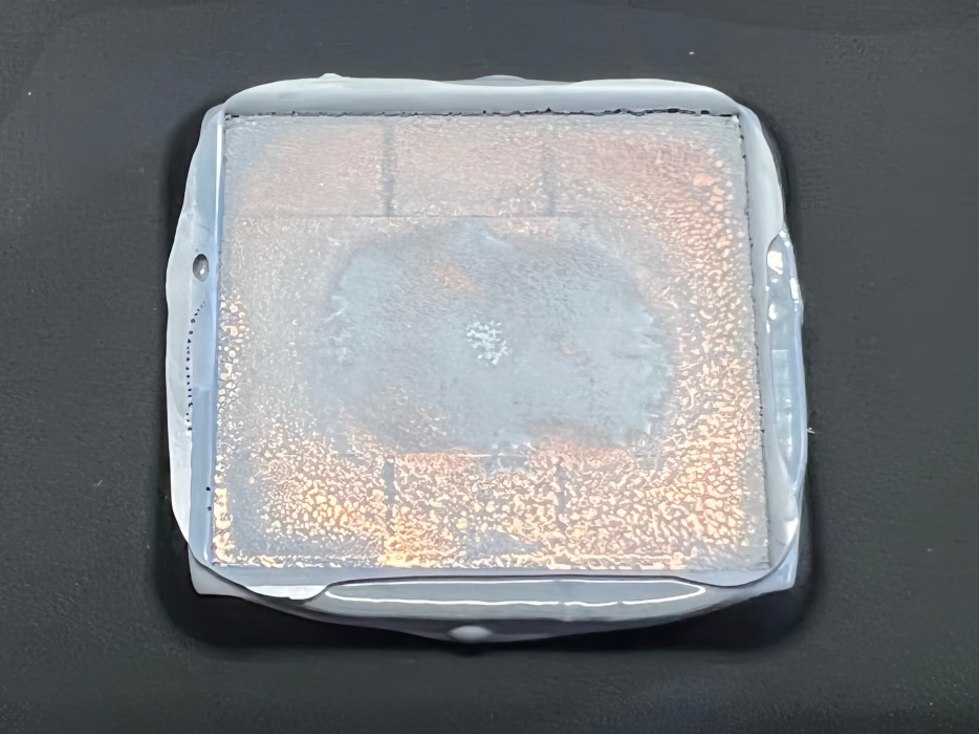
If you don’t have such materials (I have very similar and extremely thin pads from Boyd here), after a conversion to water cooling or a reassembly after a teardown, you should definitely use a fairly viscous thermal paste and certainly no liquid! Cleaning is similarly problematic as in the RX Vega, because the gaps between the graphics die and the 6 chiplets are quite narrow and the interposer underneath is very sensitive to pressure and tensions. Then, with a bit of bad luck, it cracks faster than you can say pug.
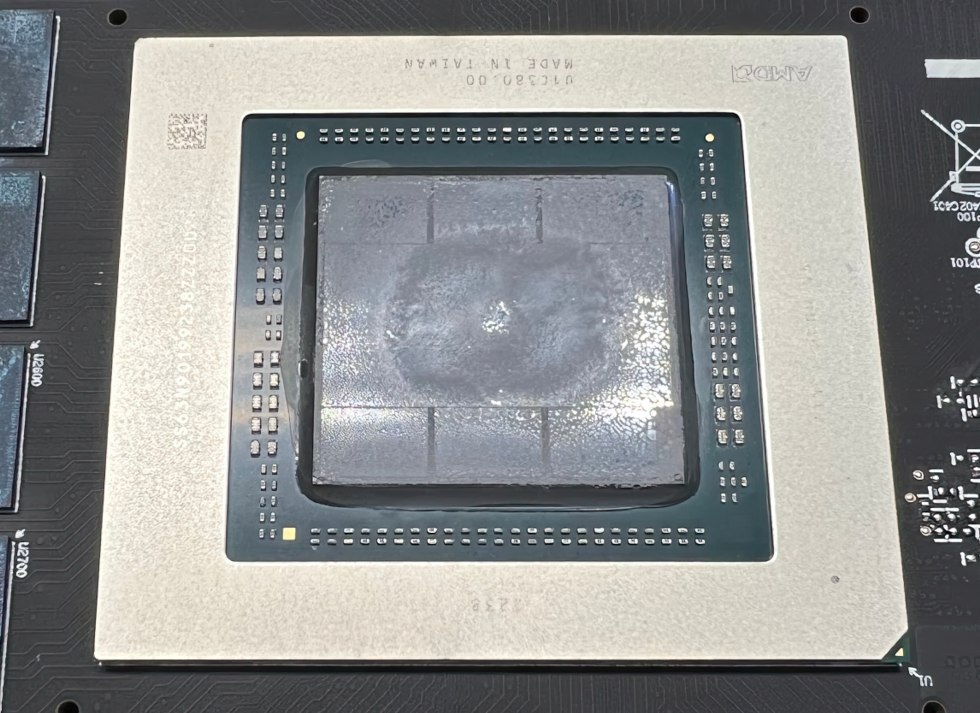
I recommend dry cleaning by rotating cotton swabs and applying as little pressure as possible. Only at the end you can do the fine cleaning with a soft cloth and isopropanol. No matter what you reapply later, no residue should be left in the relevant areas.
- 1 - Introduction, technical data and technology
- 2 - Test system with the igor'sLAB PC from MIFCOM
- 3 - Teardown: PCB and Components
- 4 - Teardown: Cooler and disassembly help
- 5 - Summary gaming performance WQHD (2560 x 1440)
- 6 - Summary gaming performance Ultra-HD (3840 x 2160)
- 7 - Single charts for WQHD (2560 x 1440)
- 8 - Single charts for Ultra-HD (3840 x 2160)
- 9 - Workstation graphics and rendering
- 10 - Power consumption in detail and load balancing
- 11 - Transients, limits and PSU recommendation
- 12 - Clock rates, temperatures and infrared
- 13 - Fan speed and Noise
- 14 - Summary and conclusion


892 Antworten
Kommentar
Lade neue Kommentare
Mitglied
1
Urgestein
Urgestein
Mitglied
Mitglied
Neuling
Urgestein
Veteran
Urgestein
Neuling
Urgestein
1
Urgestein
Veteran
Mitglied
Mitglied
Urgestein
Mitglied
Alle Kommentare lesen unter igor´sLAB Community →