


Test setup
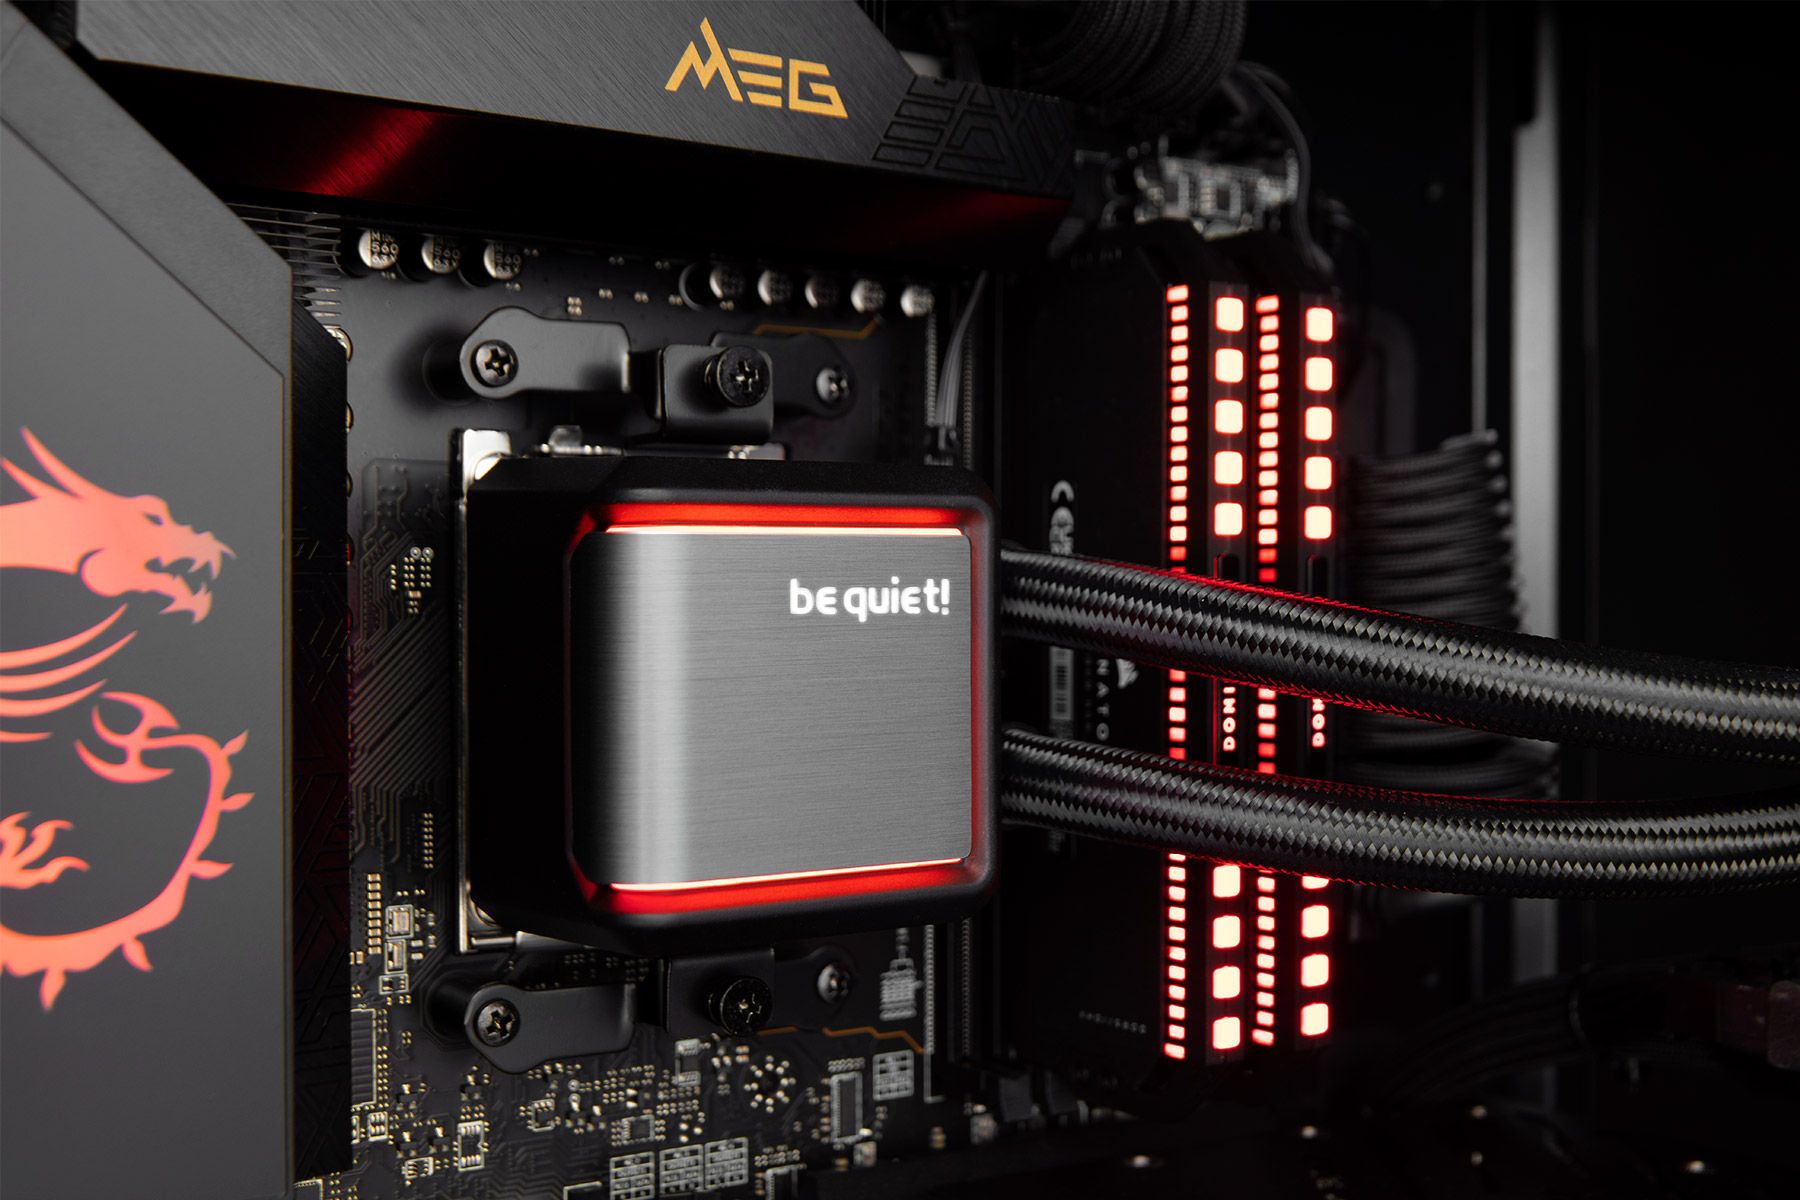
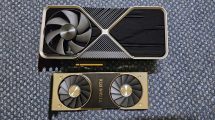
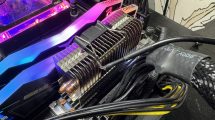
By popular demand, I’m going for a closed system in the form of a PC specially assembled for igor’sLAB by MIFCOM(exemplary product link, not an affiliate) this time. The case used is really good, has enough internal volume and also an excellent airflow. The used AiO compact water cooling in the form of Be Quiet’s Silen Loop II visually matches the GeForce RTX 4090 FE and the RGB accents of the RAM and motherboard can either be set to plain white or turned off completely in case of doubt. When things get too colorful again.
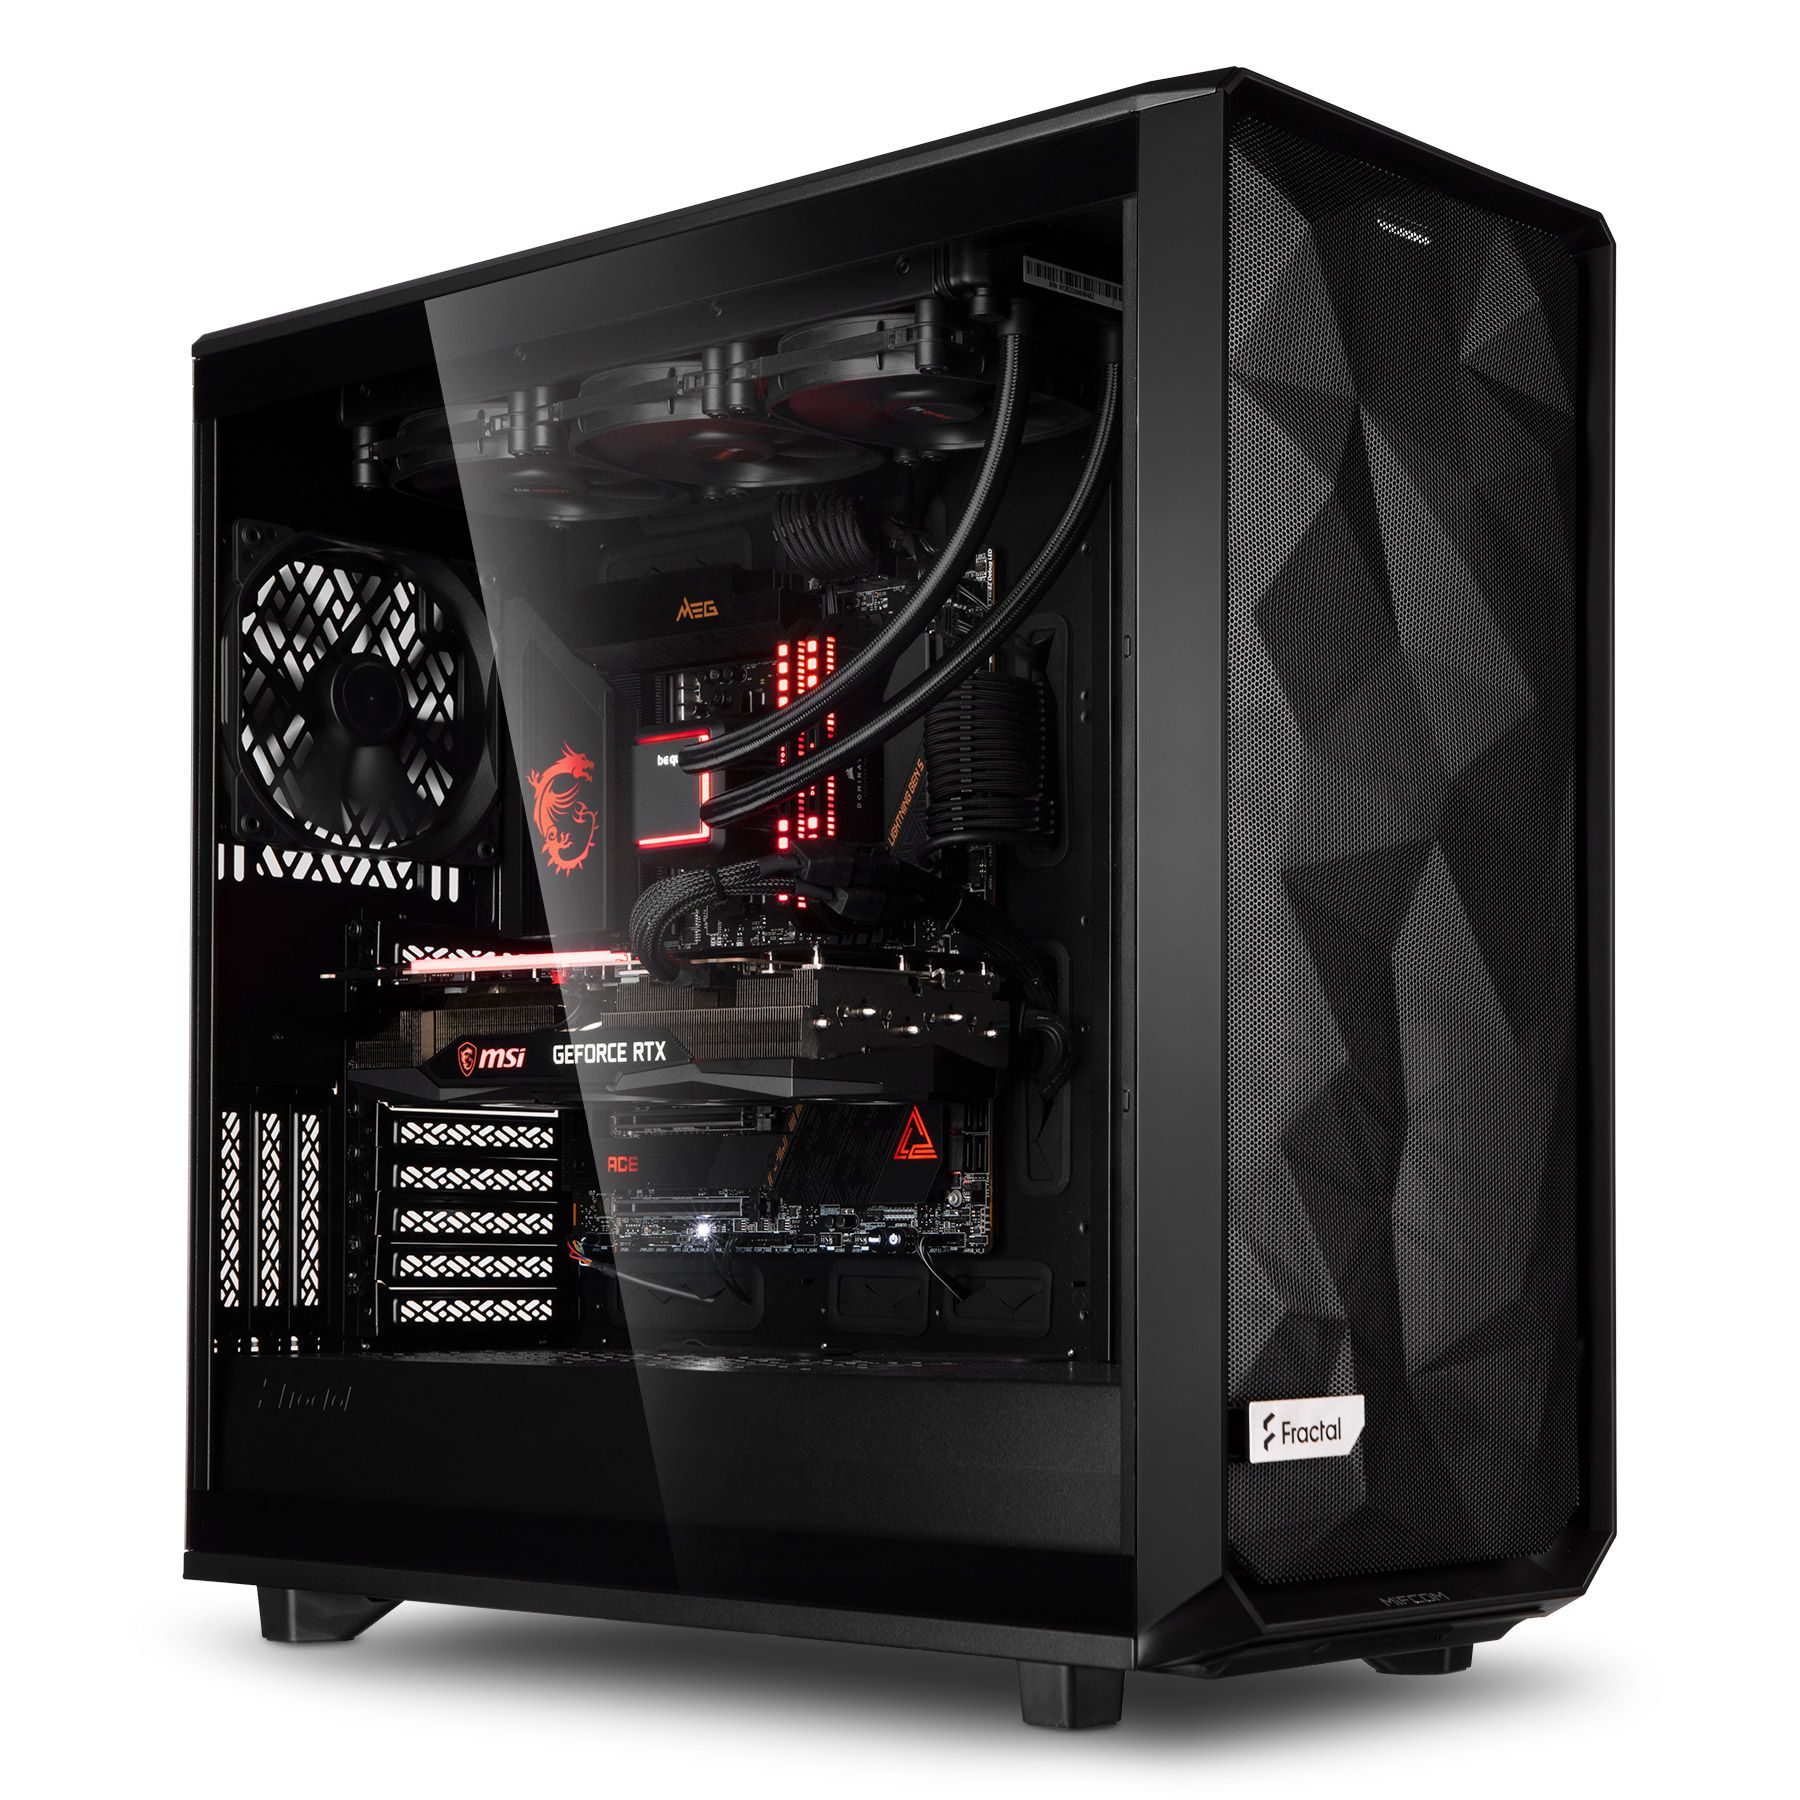
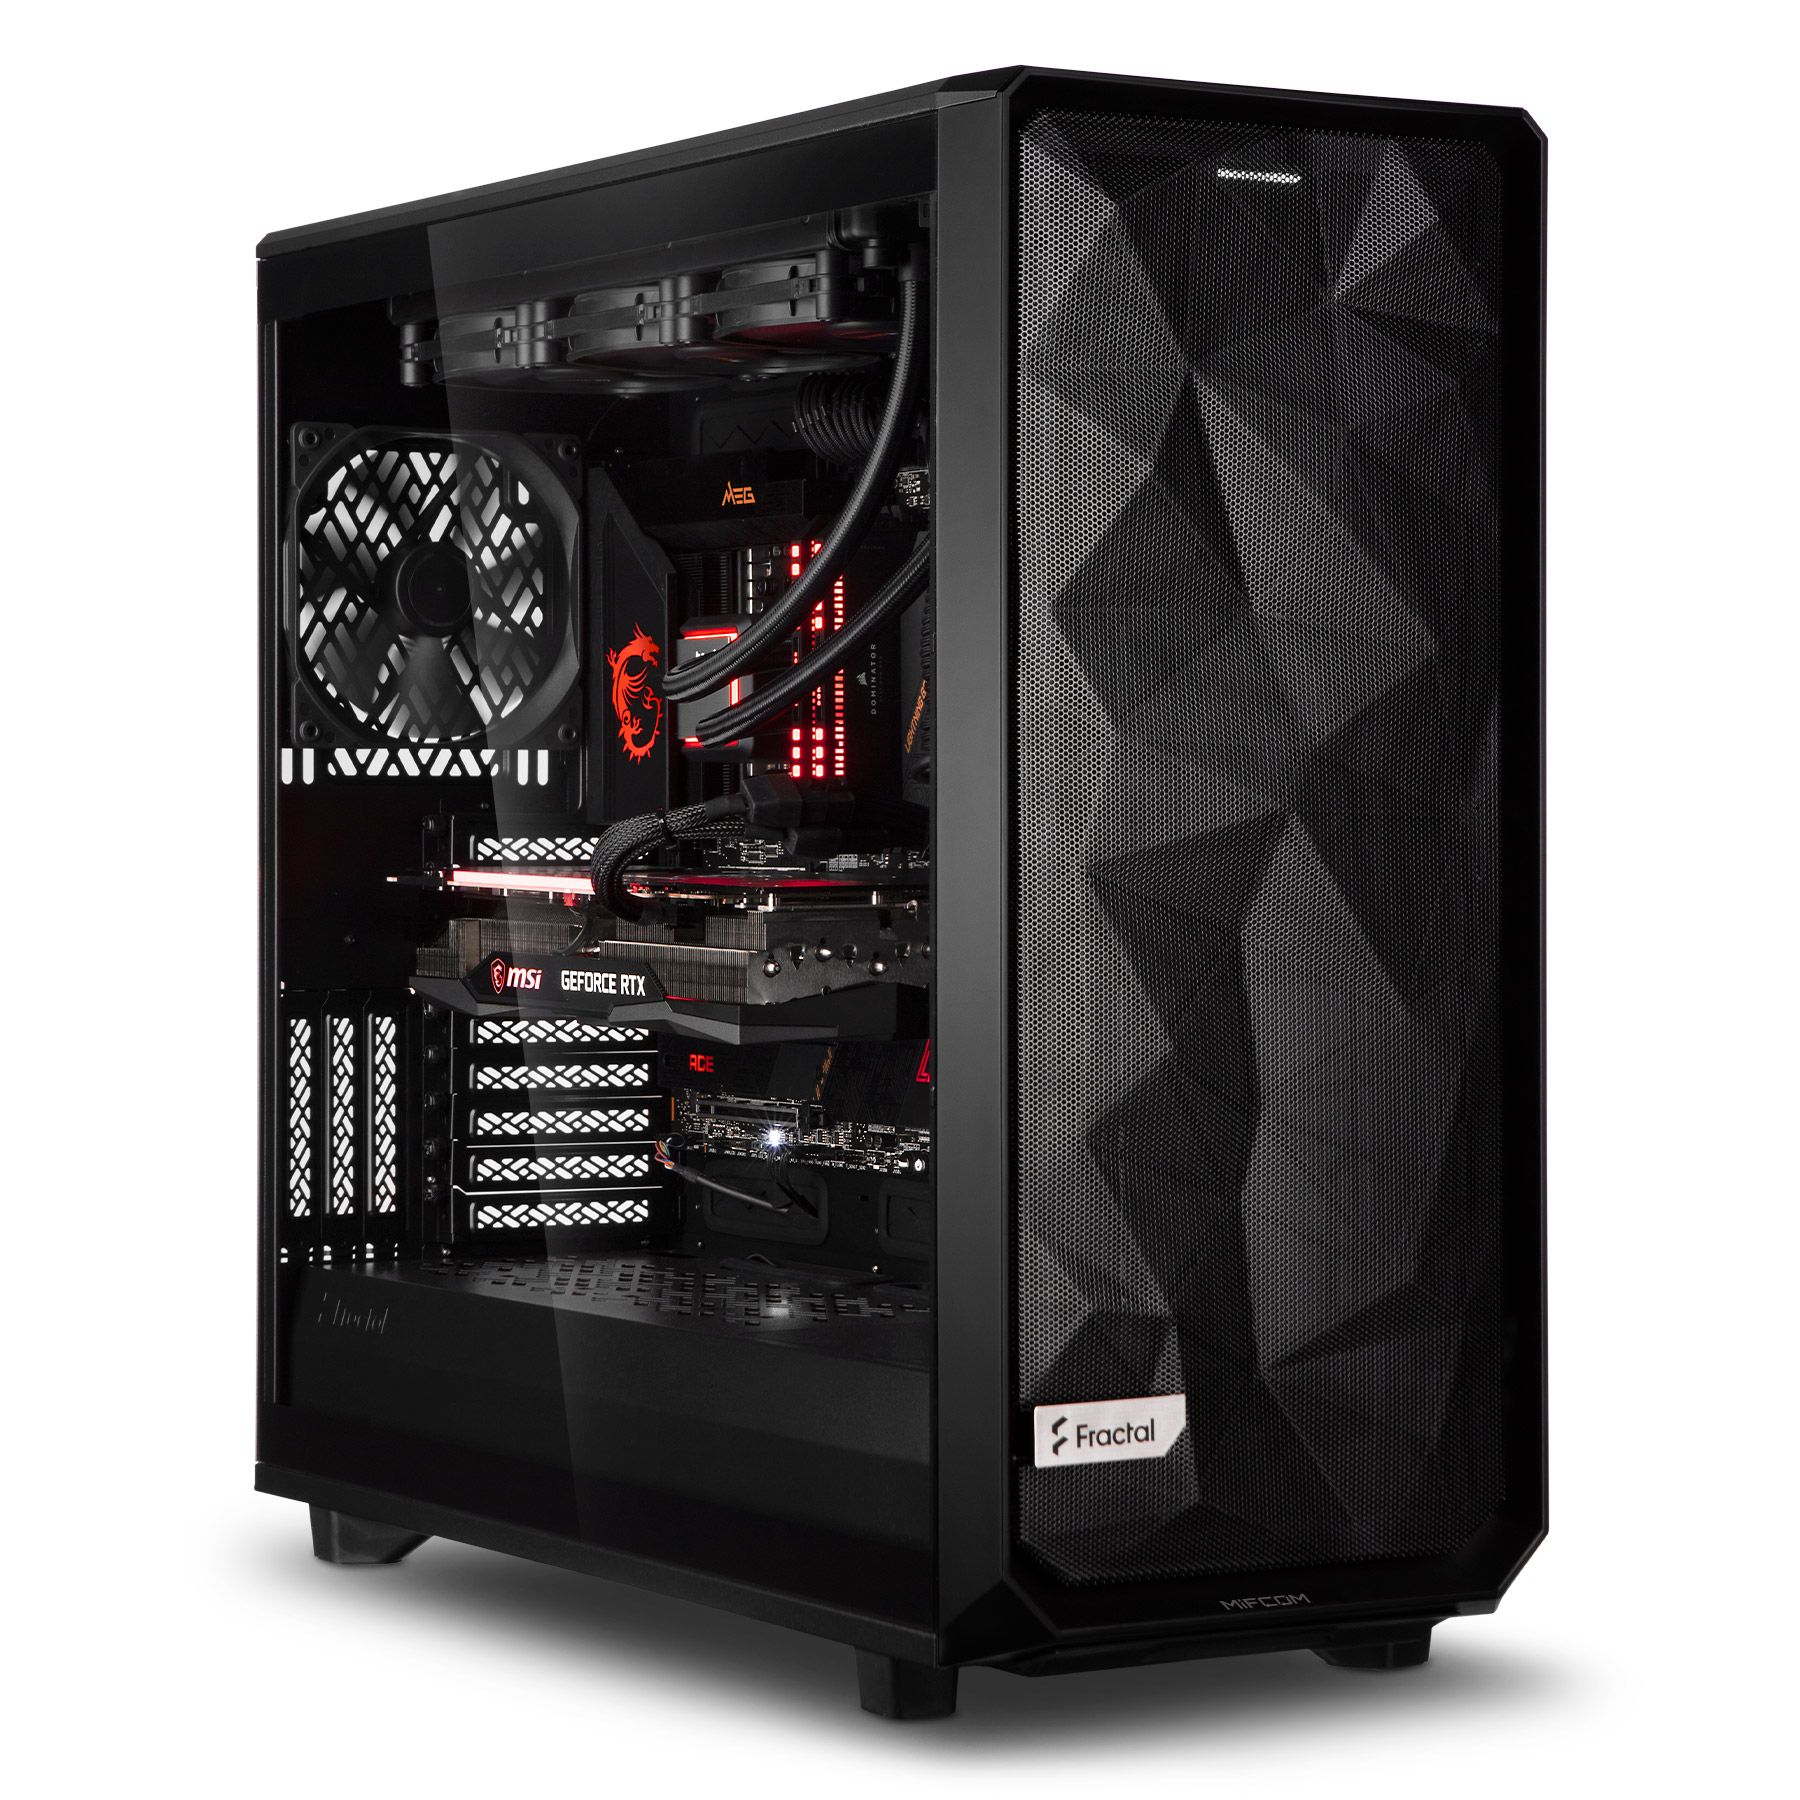
I deliberately did without all the bling-bling in my configuration, but use a current AMD CPU and a solid motherboard for the potent underpinnings. The PC was assembled nice and neat by MIFCOM (I’m always like that with the cables) and can be purchased in this configuration (see below) exactly the same or modified at the dealer. It was simply important to me here to use a commercially available solution and not my extremely chilled lab hardware in the climate oasis. There is still space between the side panel (glass) and the graphics card even with the adapter, and the storage space of the XL case was not even close to being used.
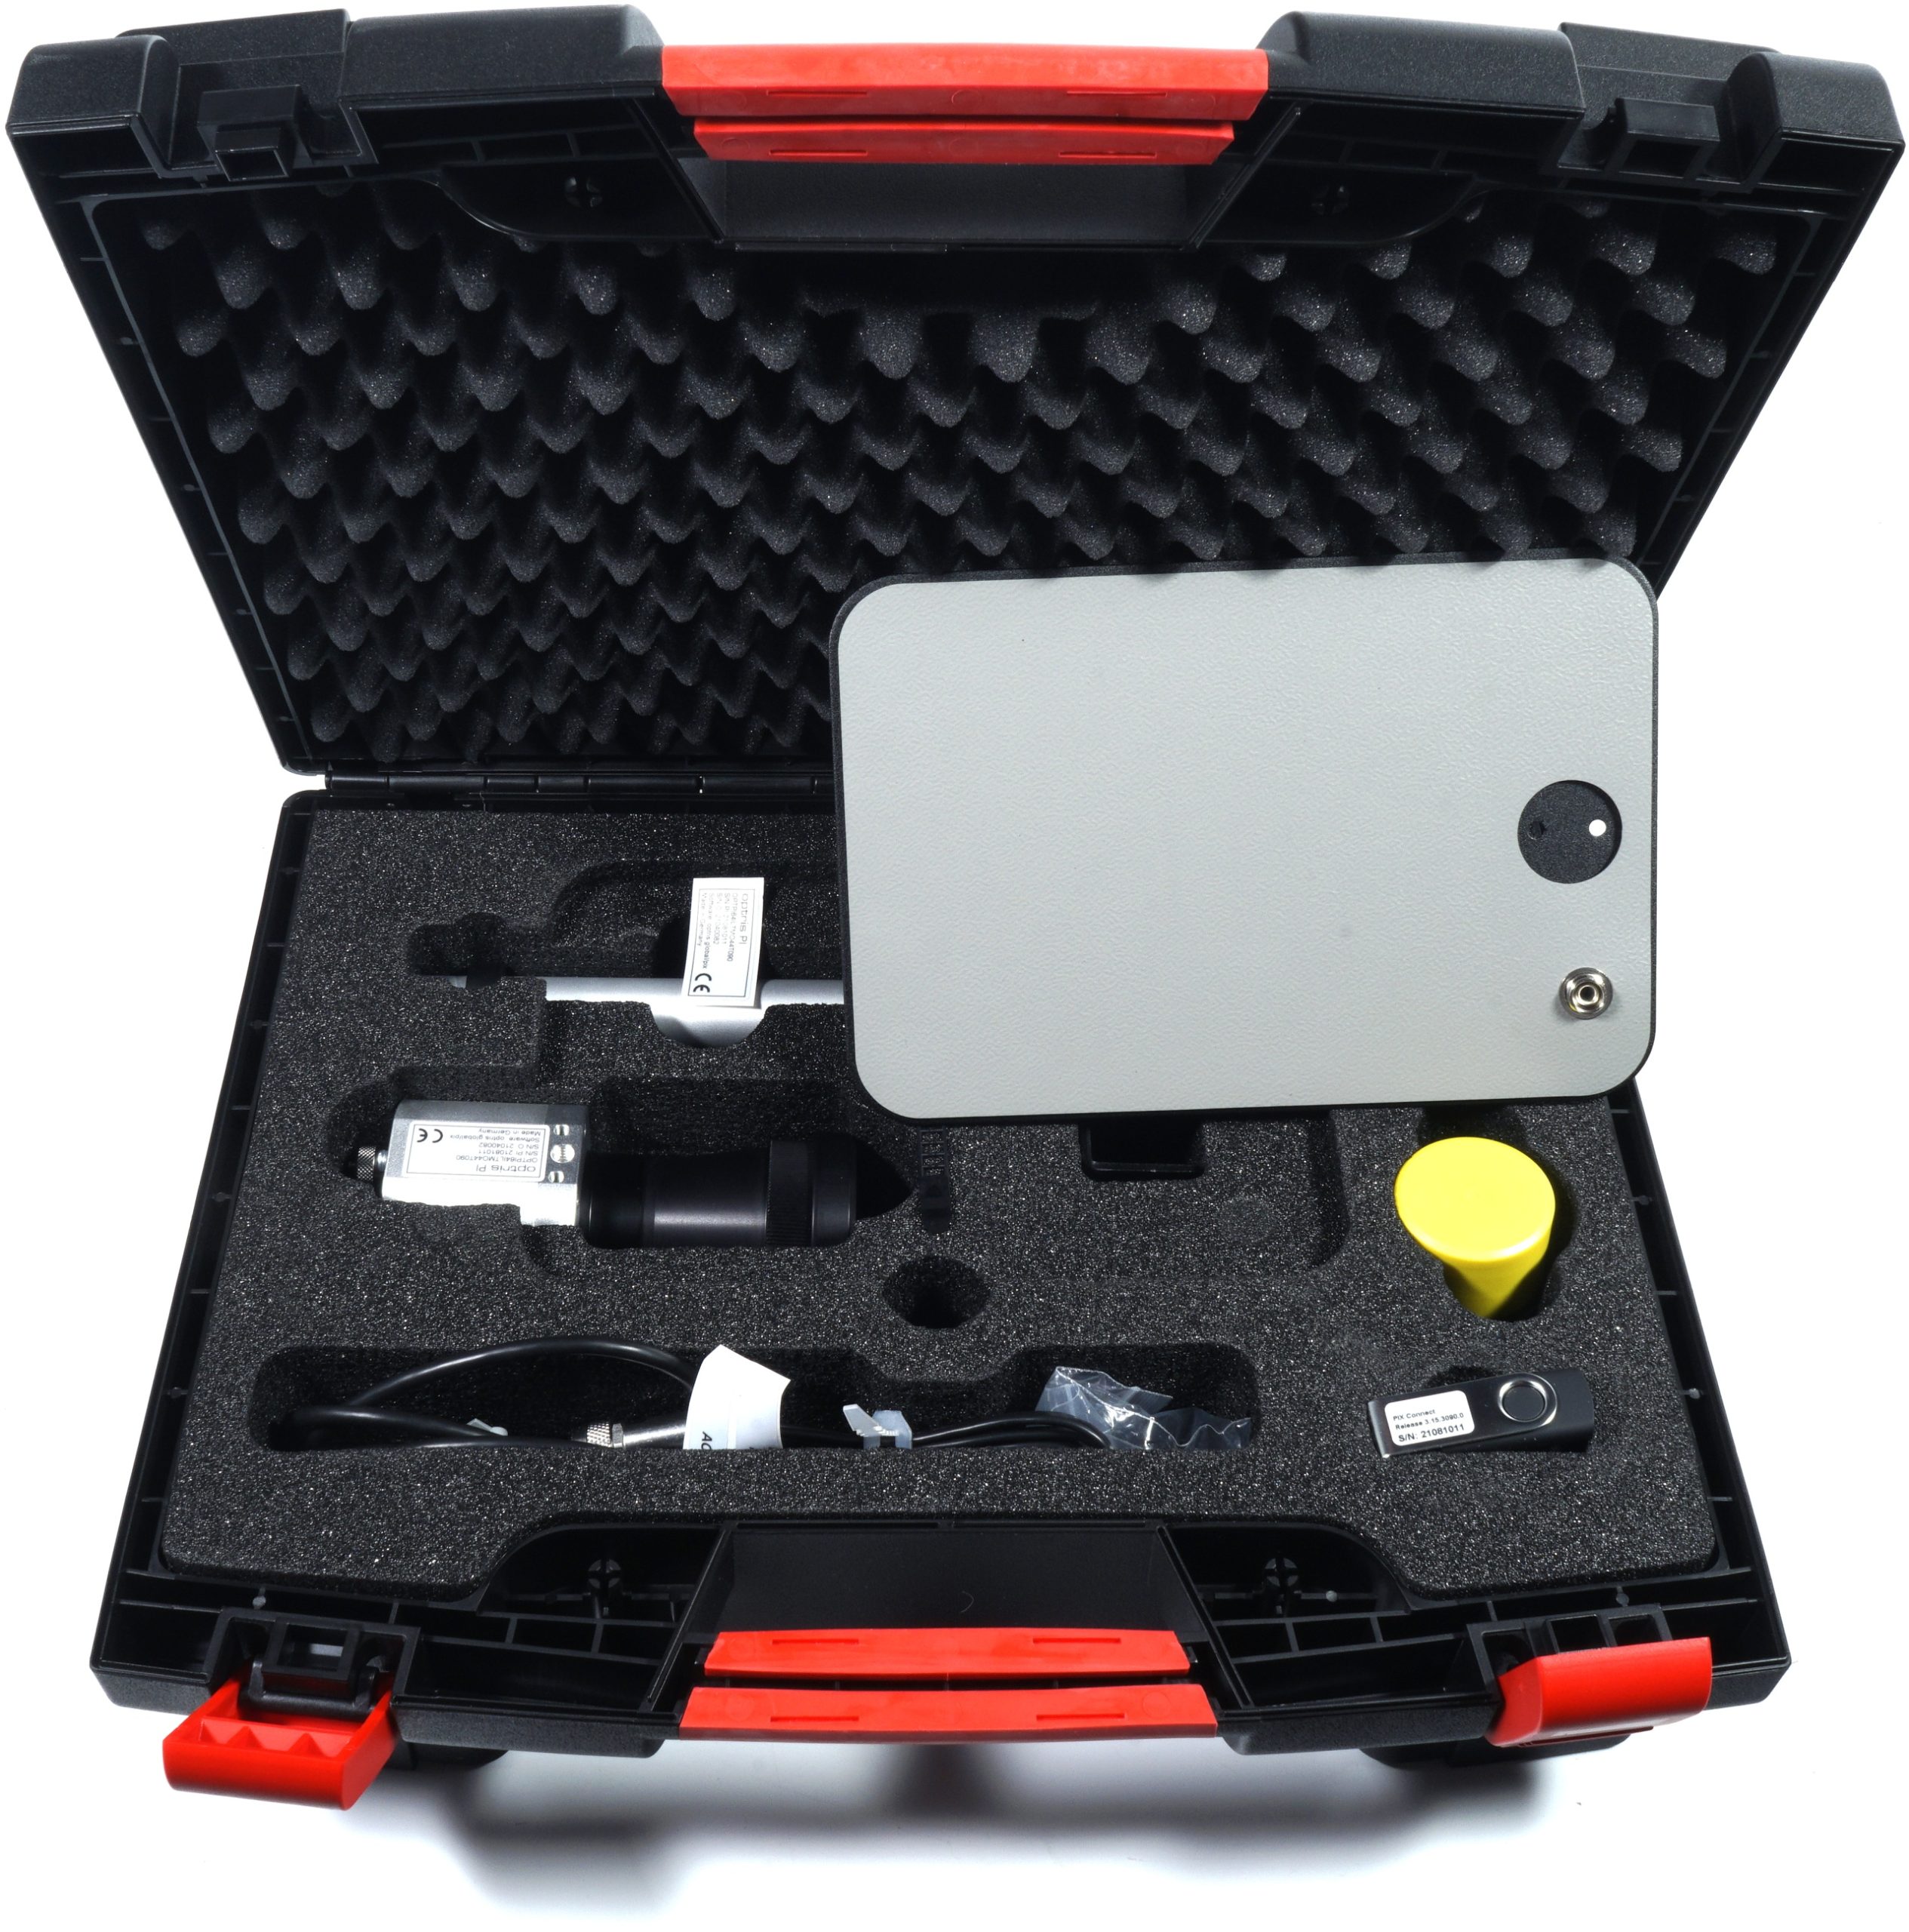
I have been doing the heat flux analyses and infrared images / radiometric videos for the non-contact measurements with an Optris Pi640 for years. This is an industrial camera with interchangeable optics, various additional parts and functional software. With a full 640 x 480 measurement pixels, the bolometer for capturing the heat radiation is already as large as a normal VGA camera, which is interpolated into the image in many cheaper devices for optical enhancement. Not much more is possible at the moment. Videos are recorded at up to 30 FPS (Hz), which is also in a class of its own.
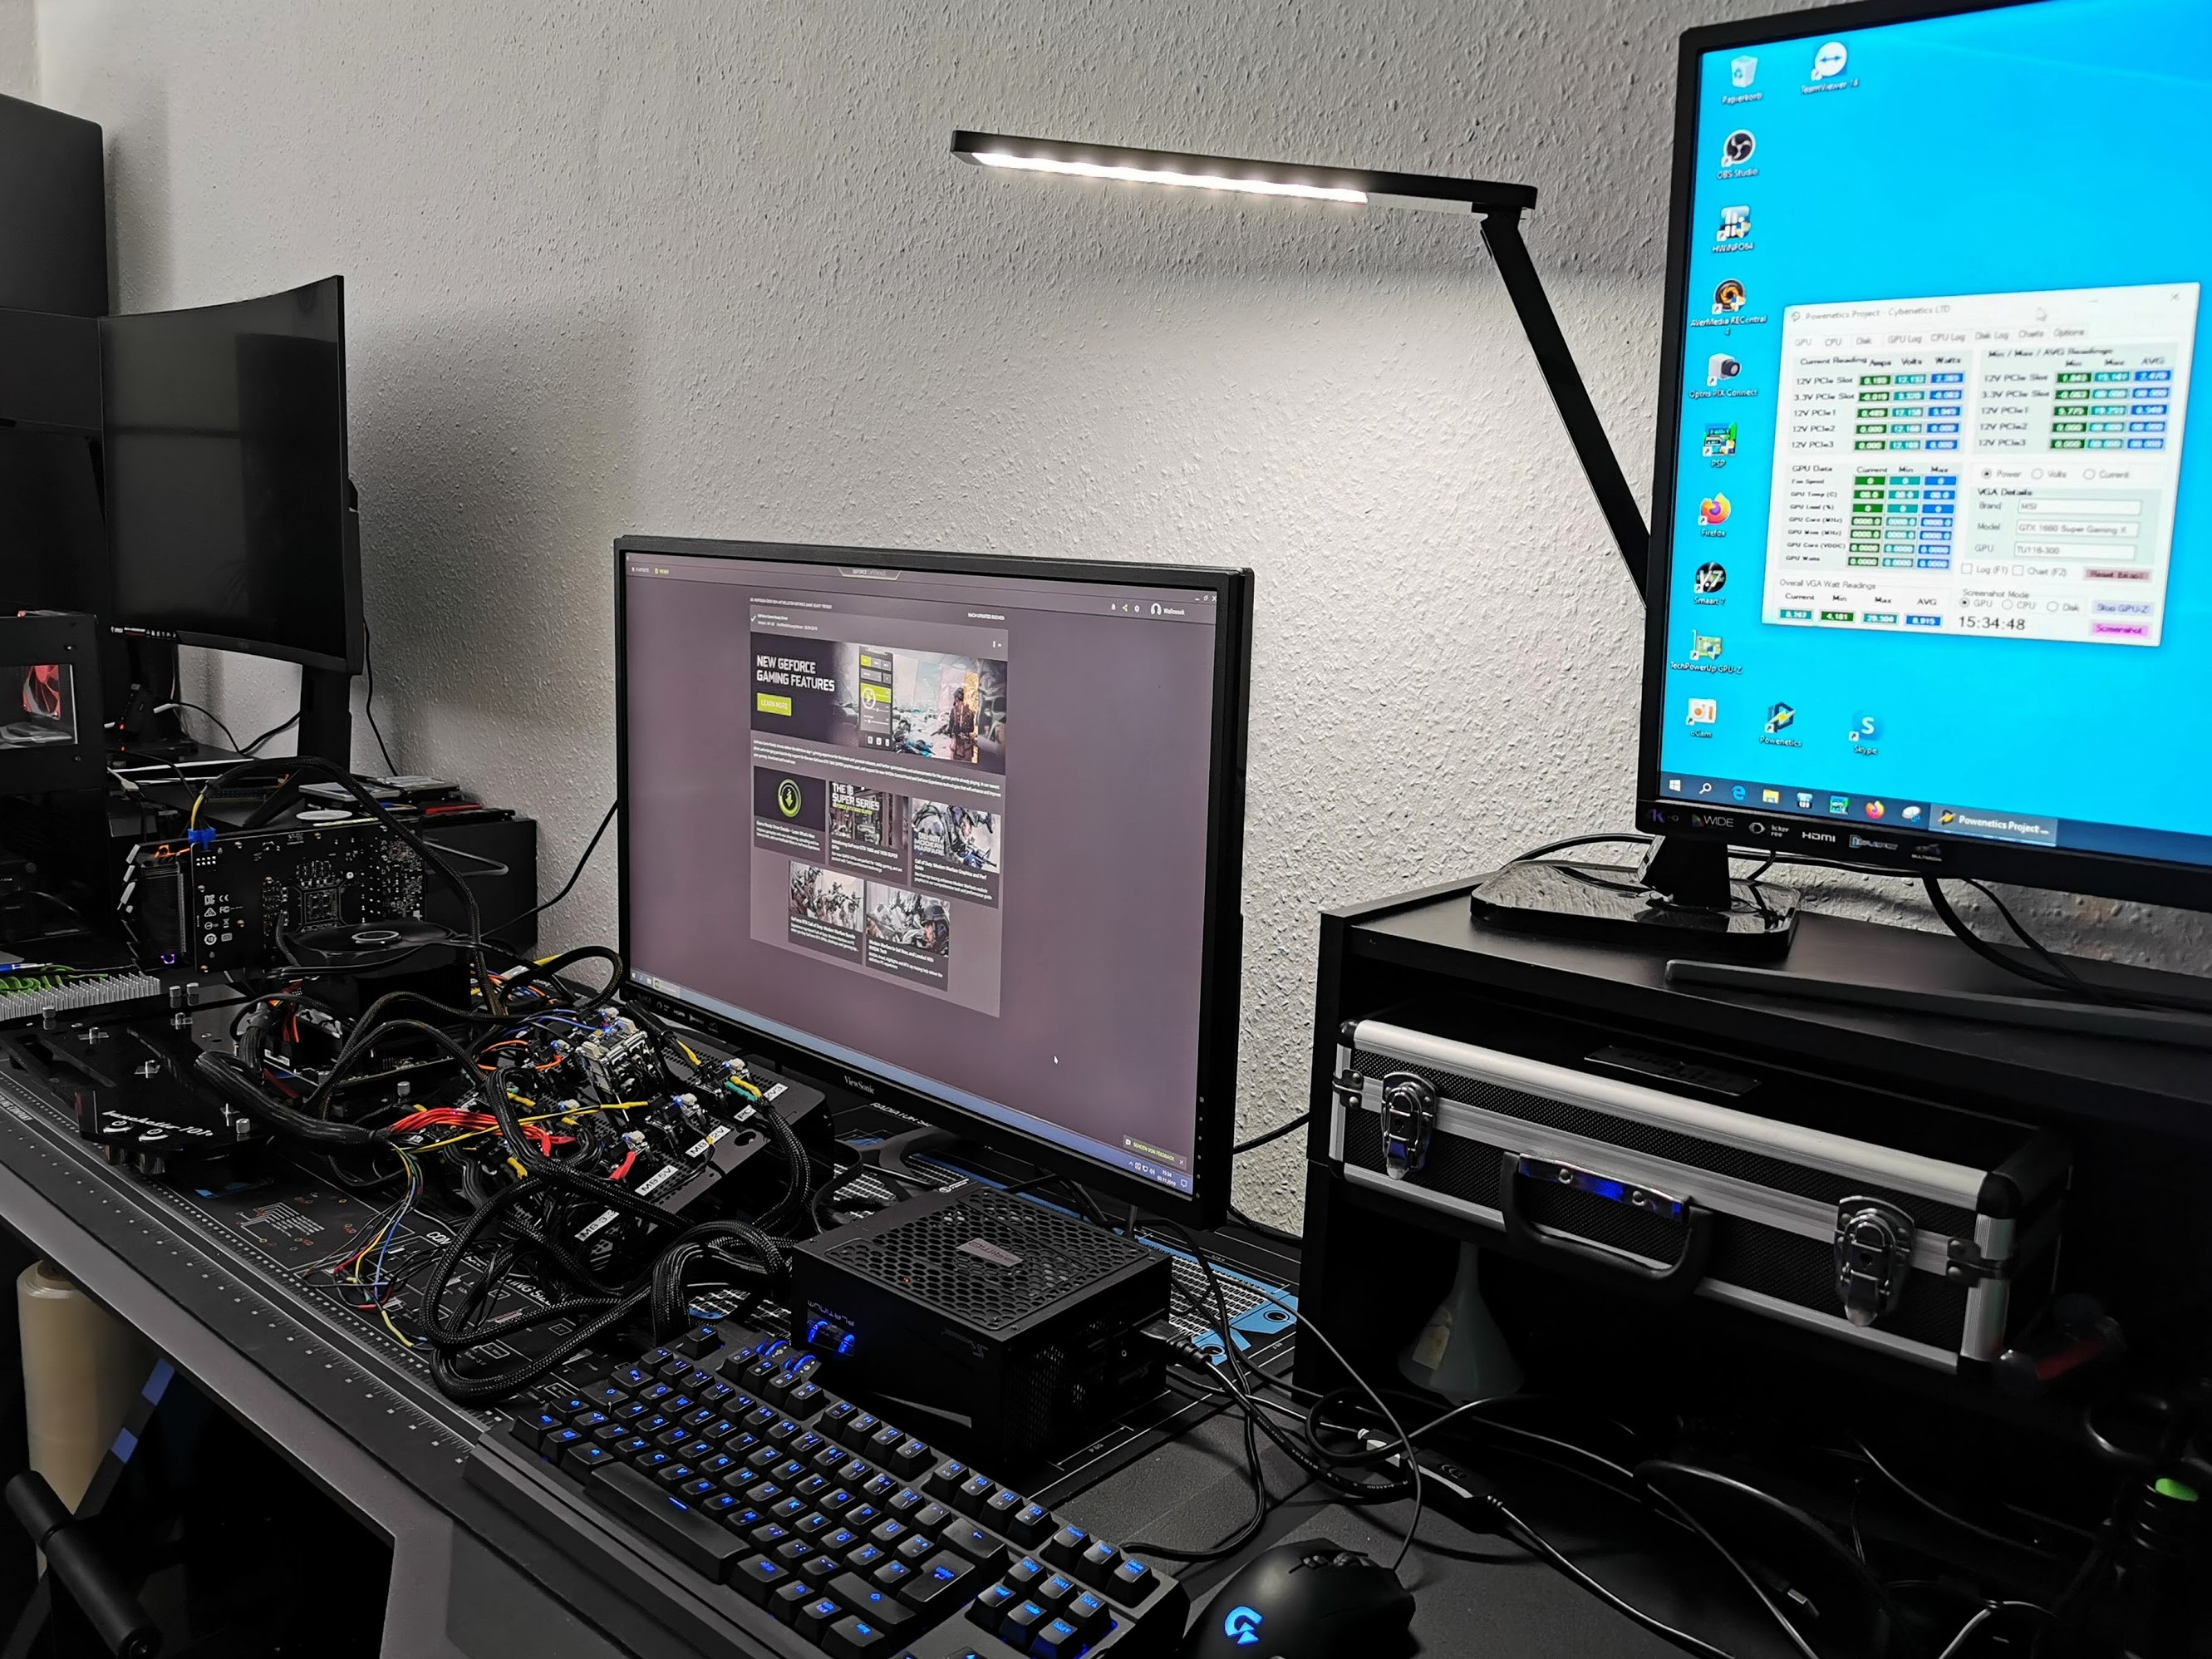
However, the measurement of the detailed power consumption and other, more in-depth things is done in the lab on two tracks using high-resolution oscilloscope technology and the self-created, MCU-based measurement setup for motherboards and graphics cards (pictures below) or NVIDIA’s PCAT. For this, of course, I use a redundant system, with the same components, because such measurements in the housing are rather difficult.
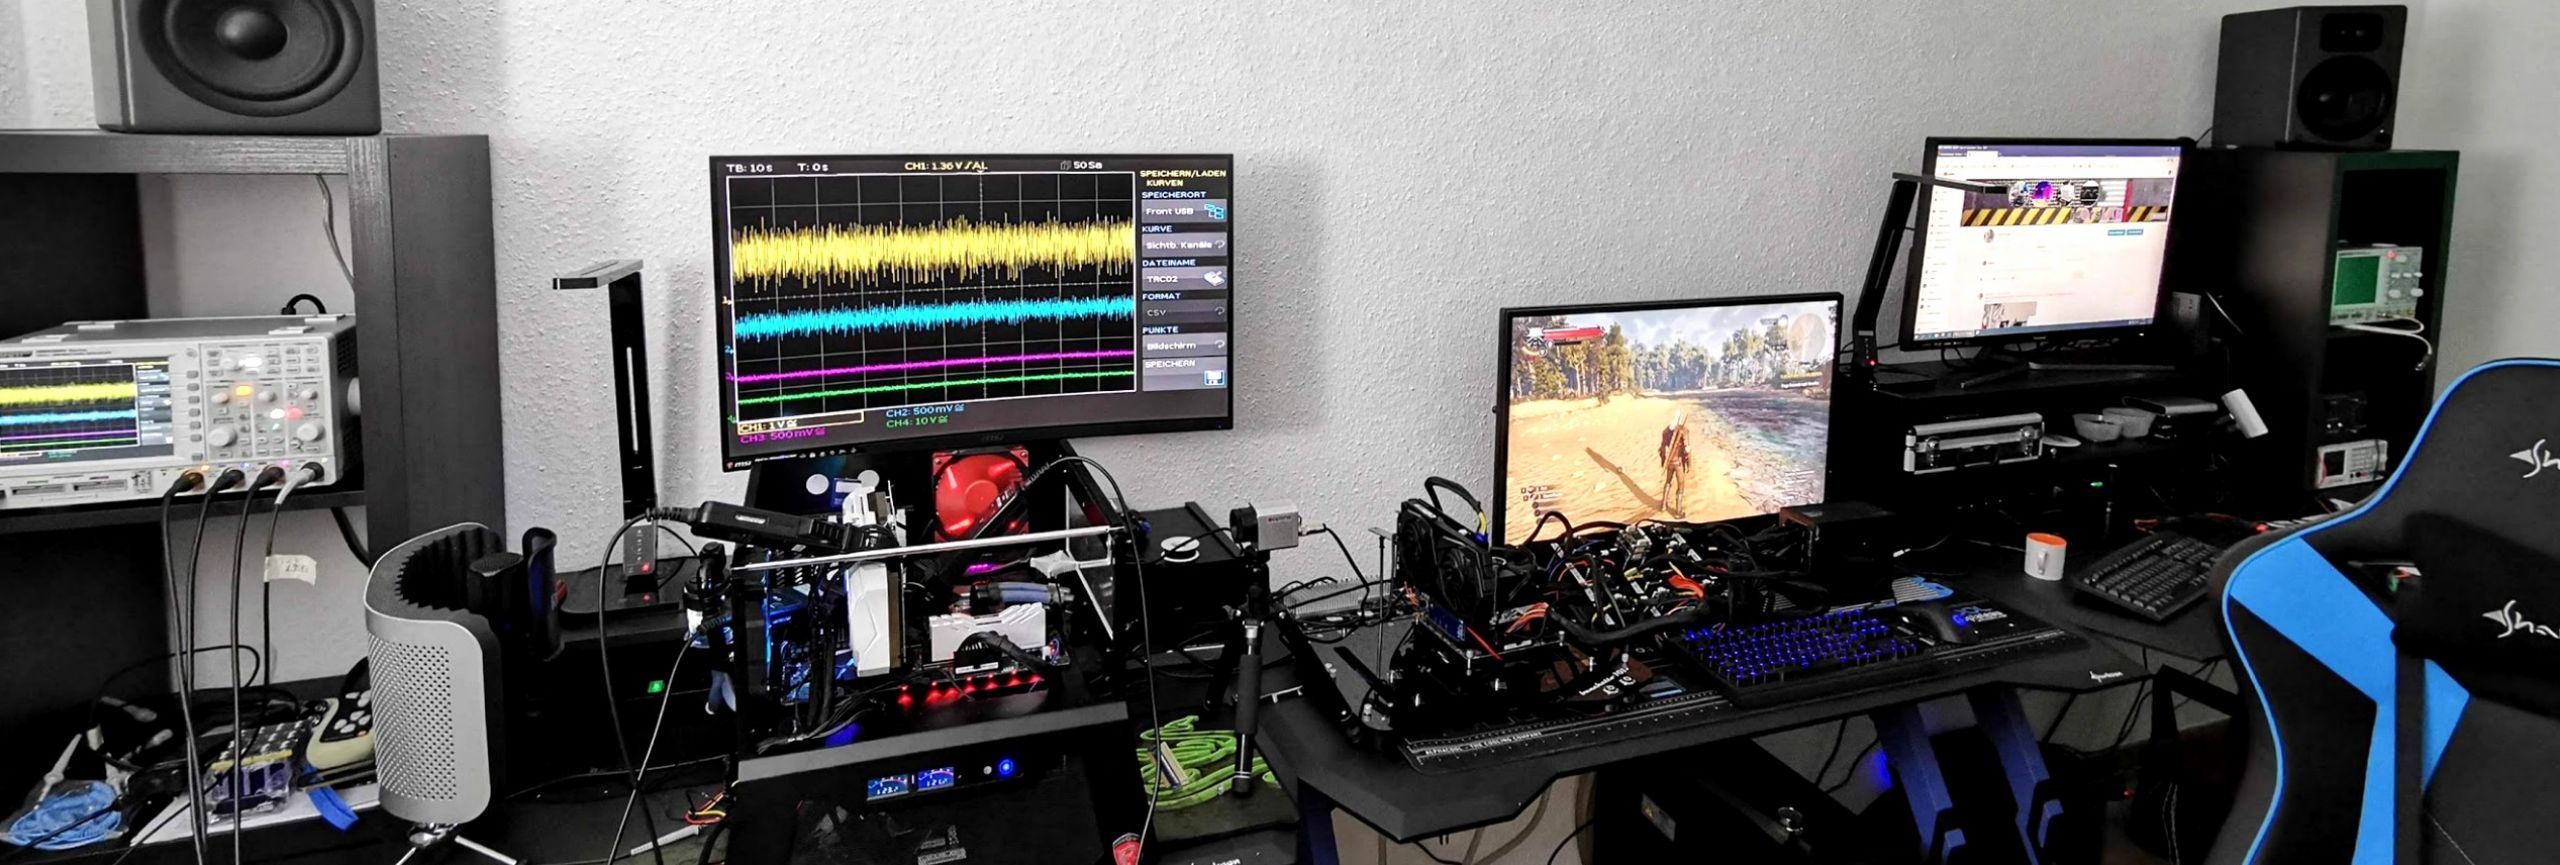
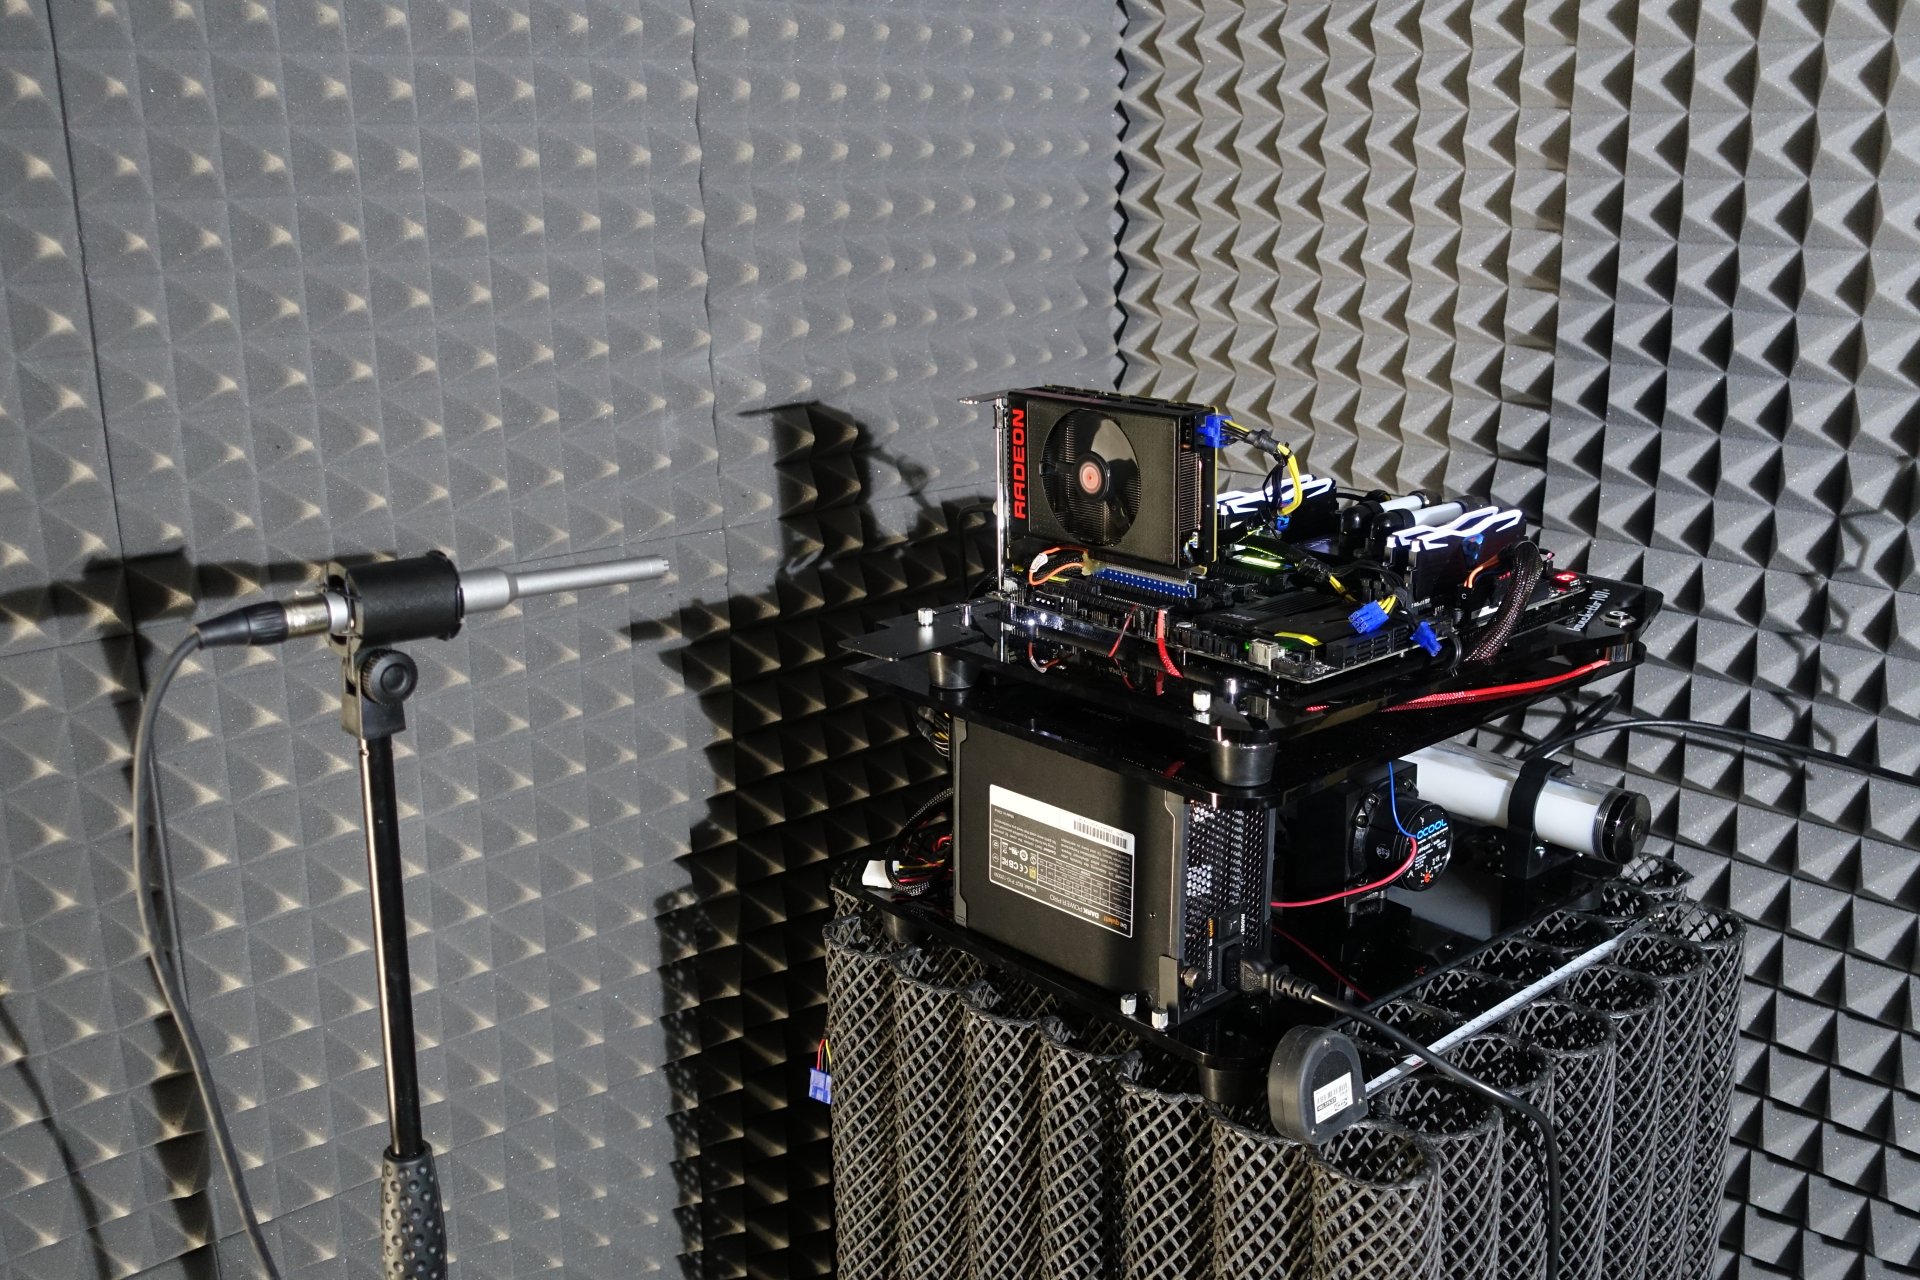
The audio measurements are done outside in my Chamber (room within a room).

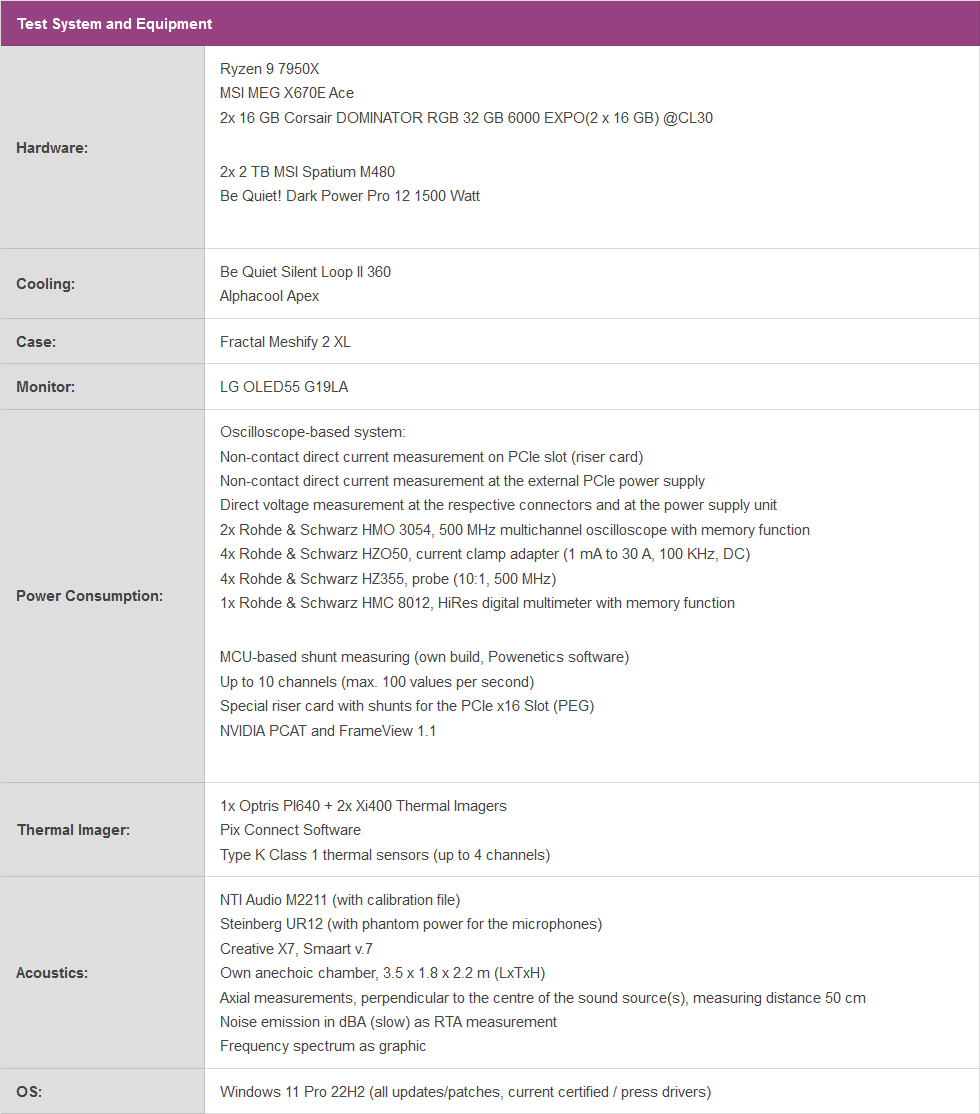
I have also summarized the individual components of the test system in a table:

- 1 - Introduction, Specs and Unboxing
- 2 - Test system, equipment and methods
- 3 - Teardown: PCB, components and cooler
- 4 - Gaming Performance Full HD (1920 x 1080)
- 5 - Summe Gaming-Performance WQHD (2560 x 1440)
- 6 - Gaming Performance Ultra HD (3840 x 2160)
- 7 - Gaming Performance DLSS vs. FSR
- 8 - Latency and DLSS 3.0
- 9 - Workstation and rendering
- 10 - Power consumption and PEG loads
- 11 - Transients, cutting and PSU recommendation
- 12 - Clock rate and OC, temperatures and thermal imaging
- 13 - Fan speed and noise level
- 14 - Summary and conclusion


258 Antworten
Kommentar
Lade neue Kommentare
Moderator
1
Urgestein
Neuling
Urgestein
Neuling
1
Veteran
Neuling
Urgestein
Urgestein
Veteran
Mitglied
Mitglied
Veteran
Urgestein
Urgestein
Urgestein
Mitglied
Alle Kommentare lesen unter igor´sLAB Community →