


Installation report
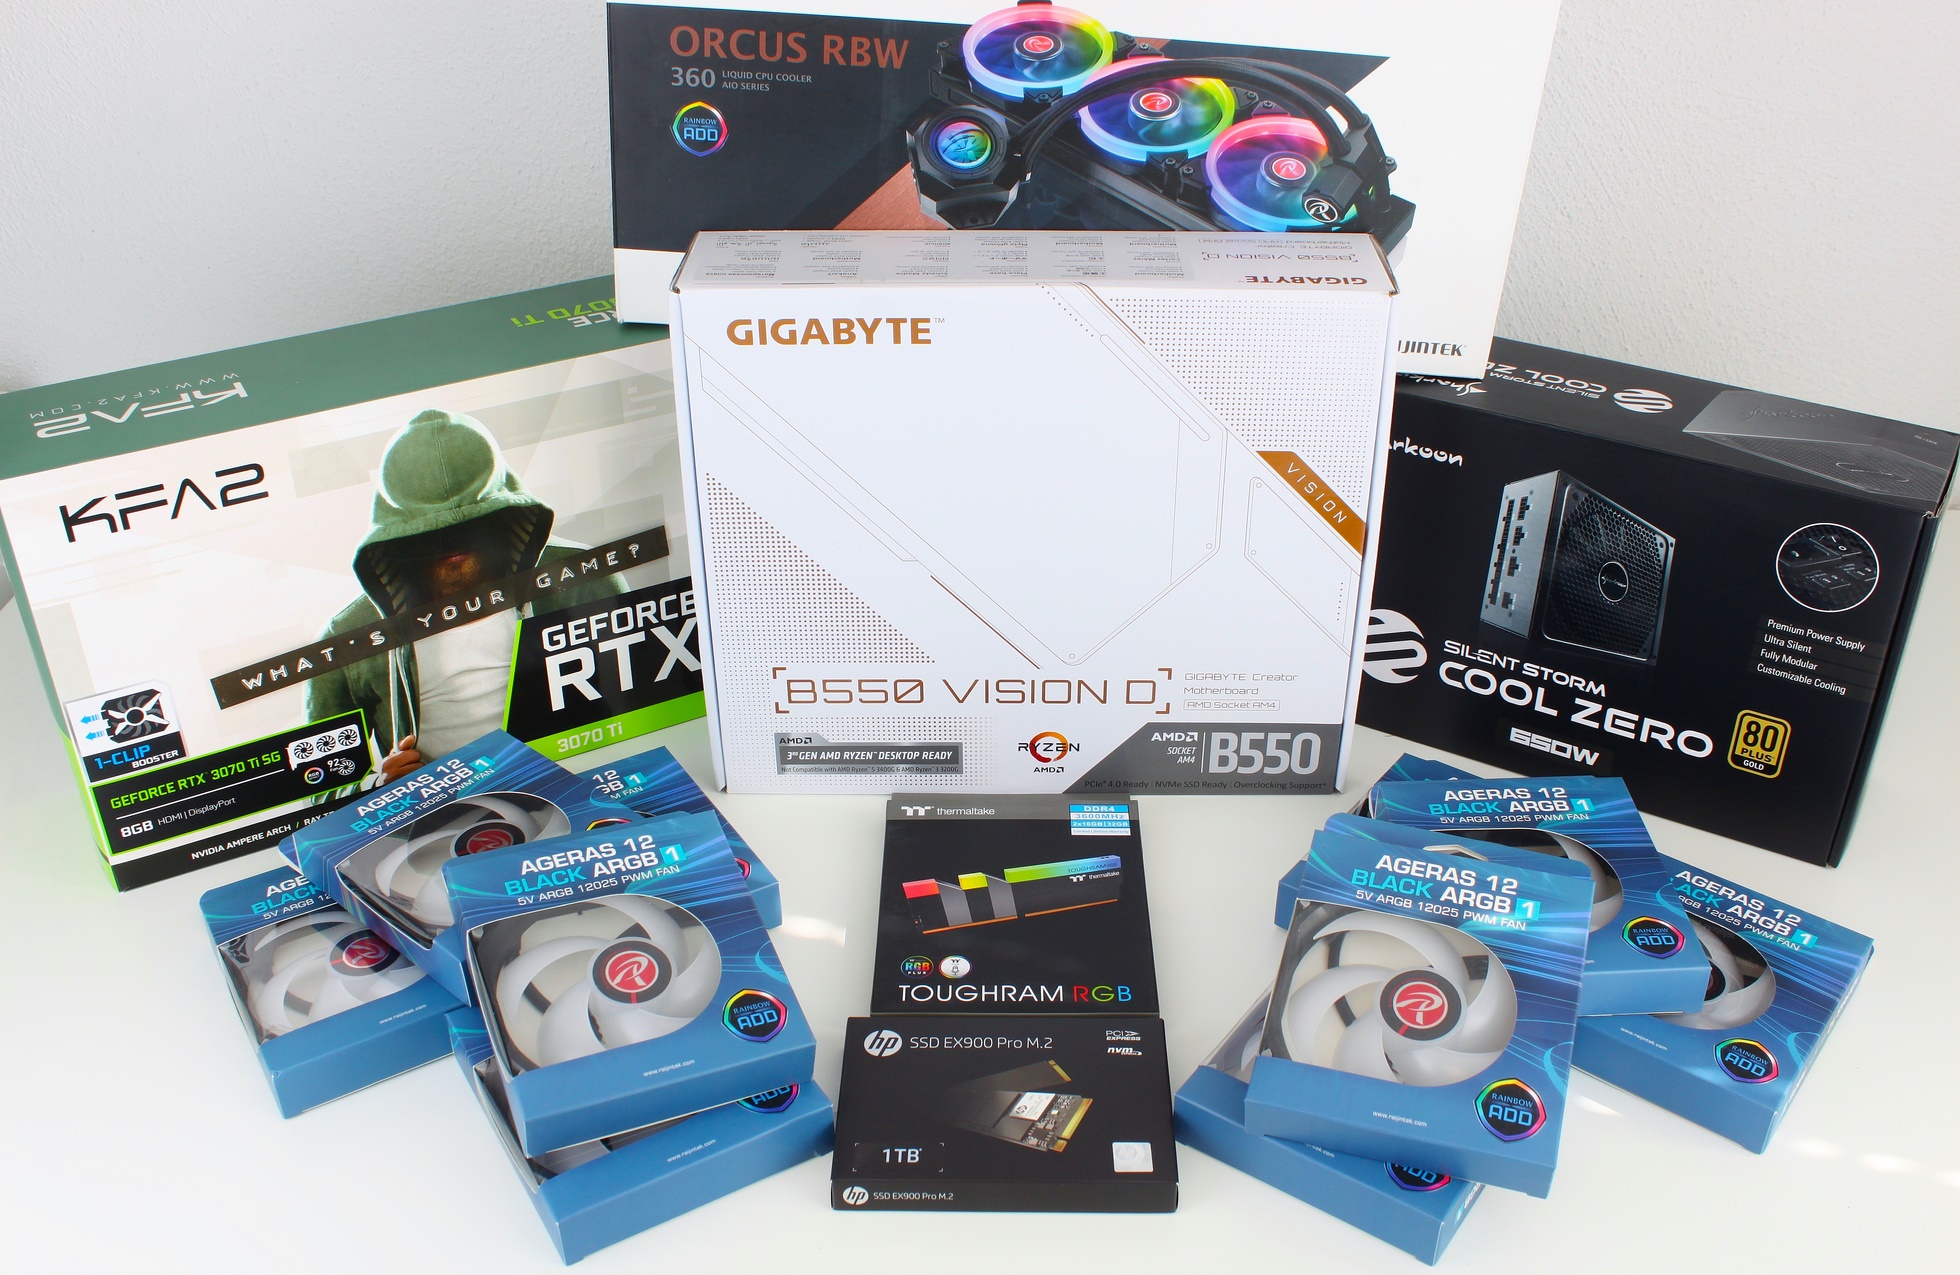
Now let’s move on to the hands-on test – the part of case reviews that generally gives me the most pleasure. Even with hardware that you’ve been using for a long time, it’s always exciting to see it in a new guise. With so much glass, the lighting can escalate completely and the AIO can have a party. The following hardware should be loaded into the compact case:
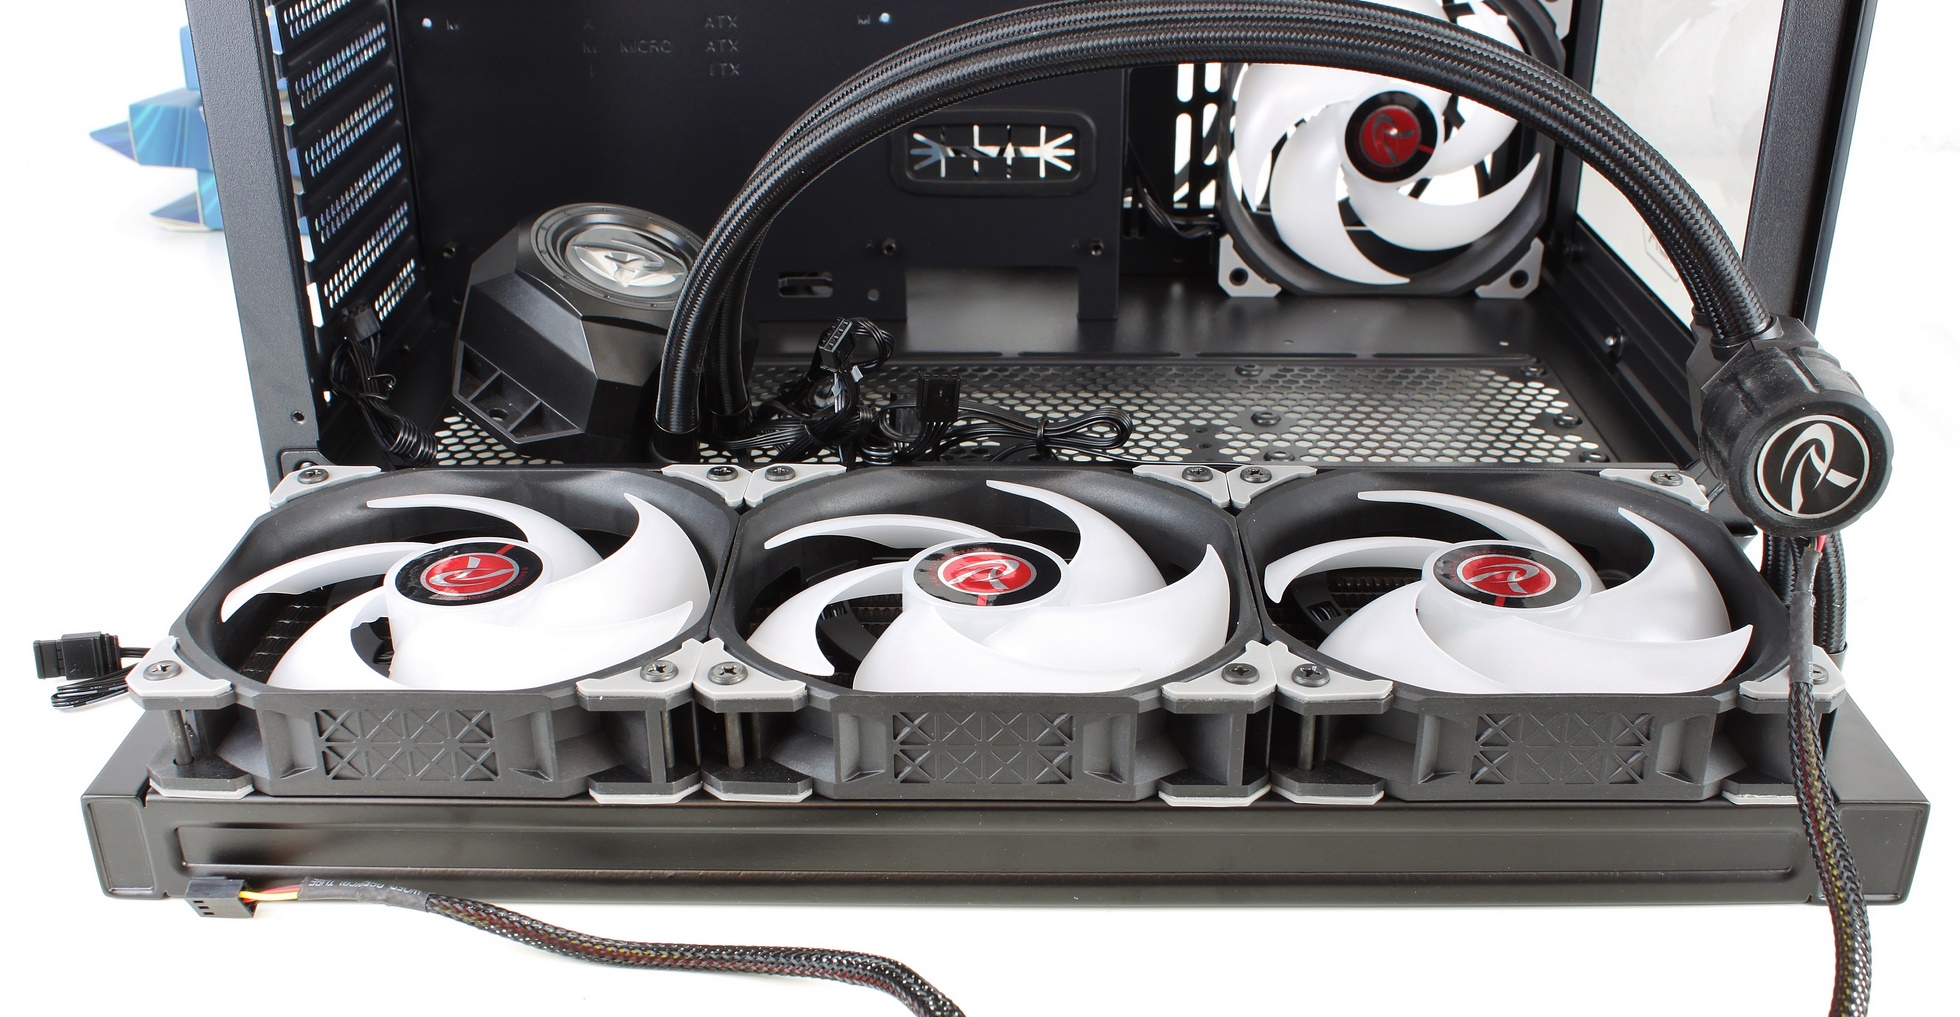
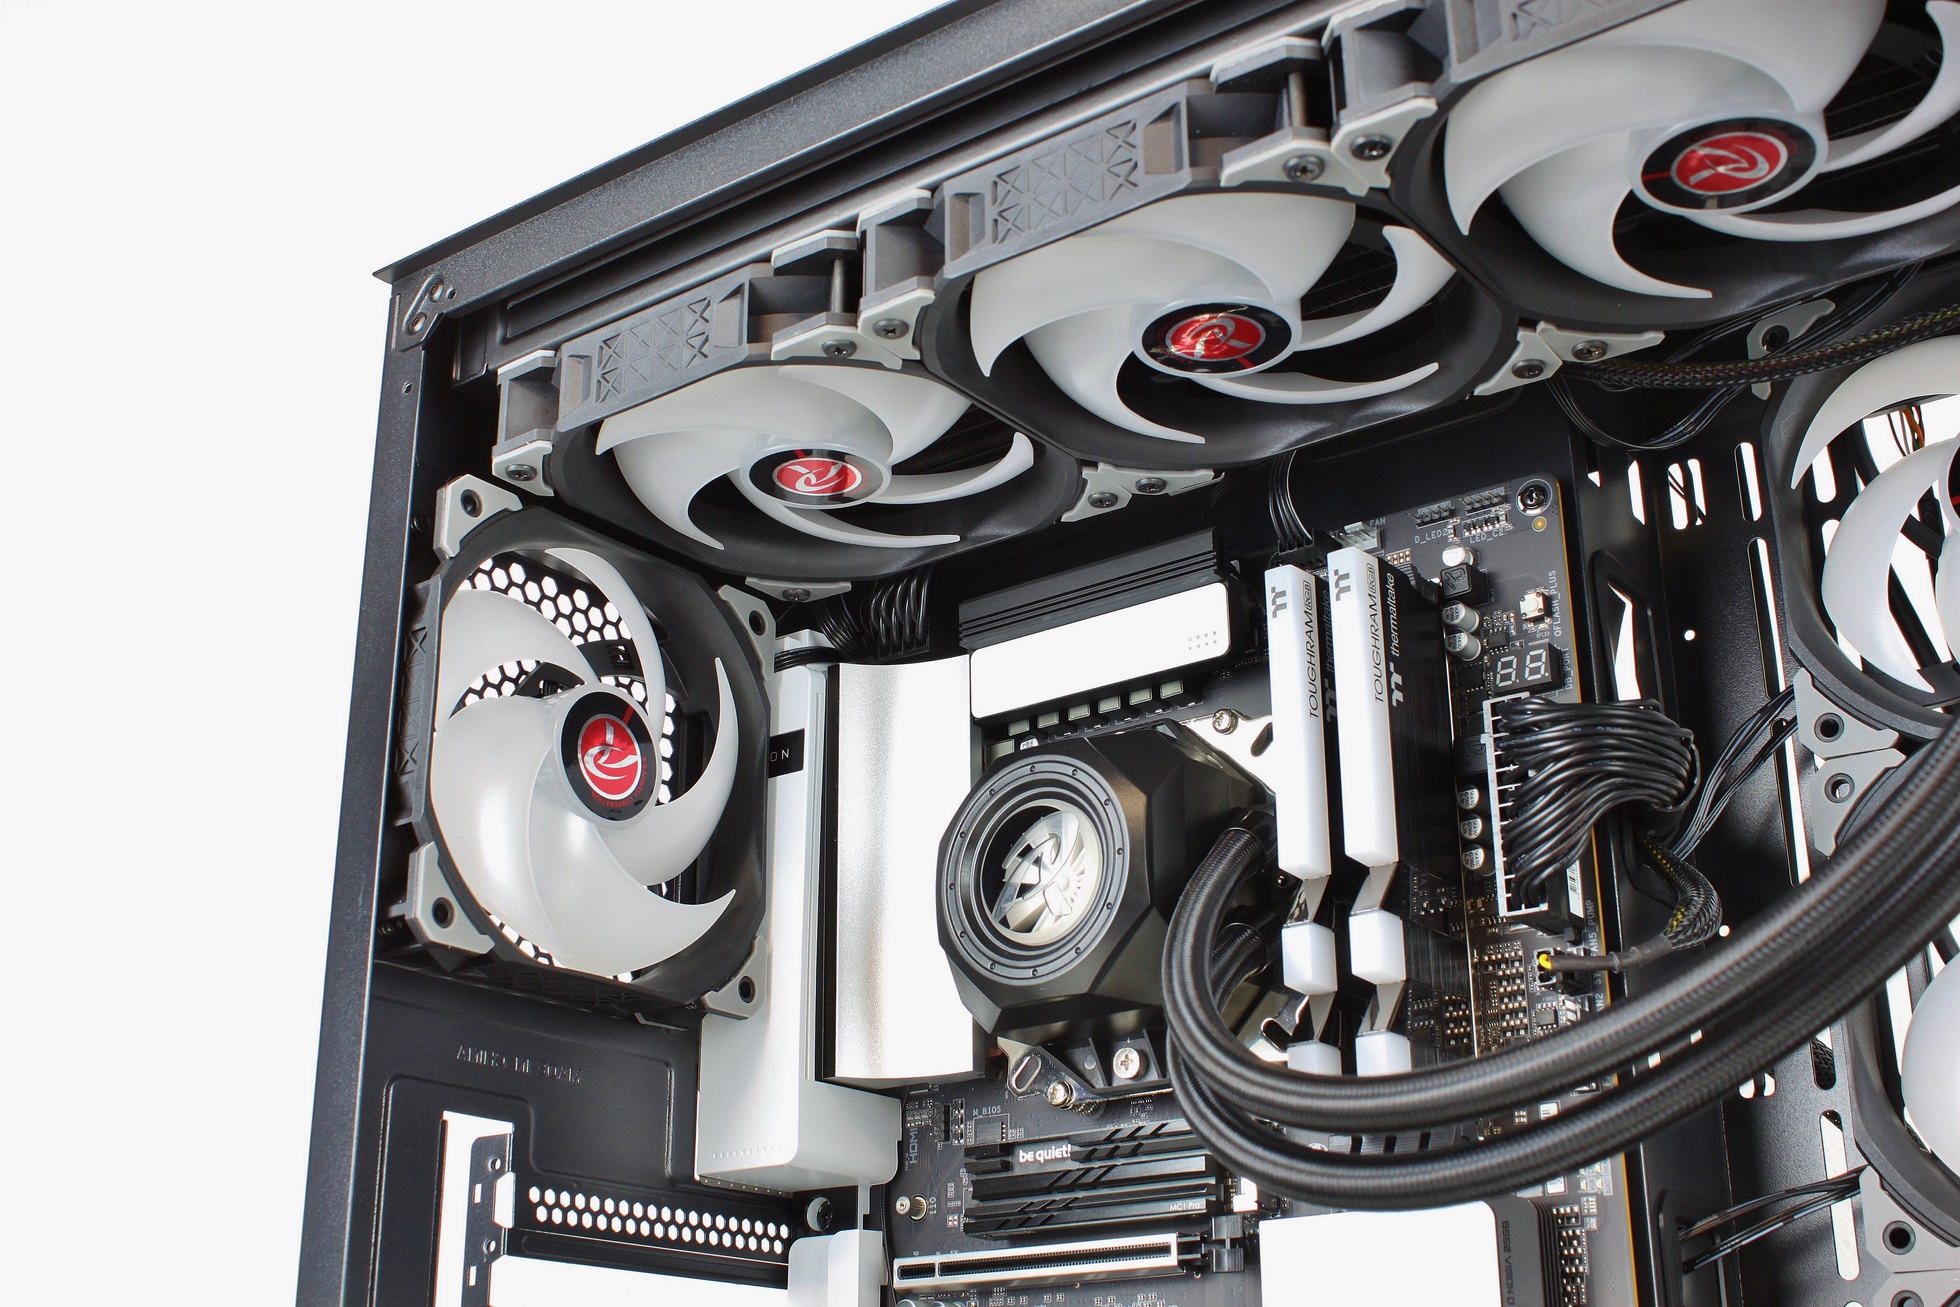
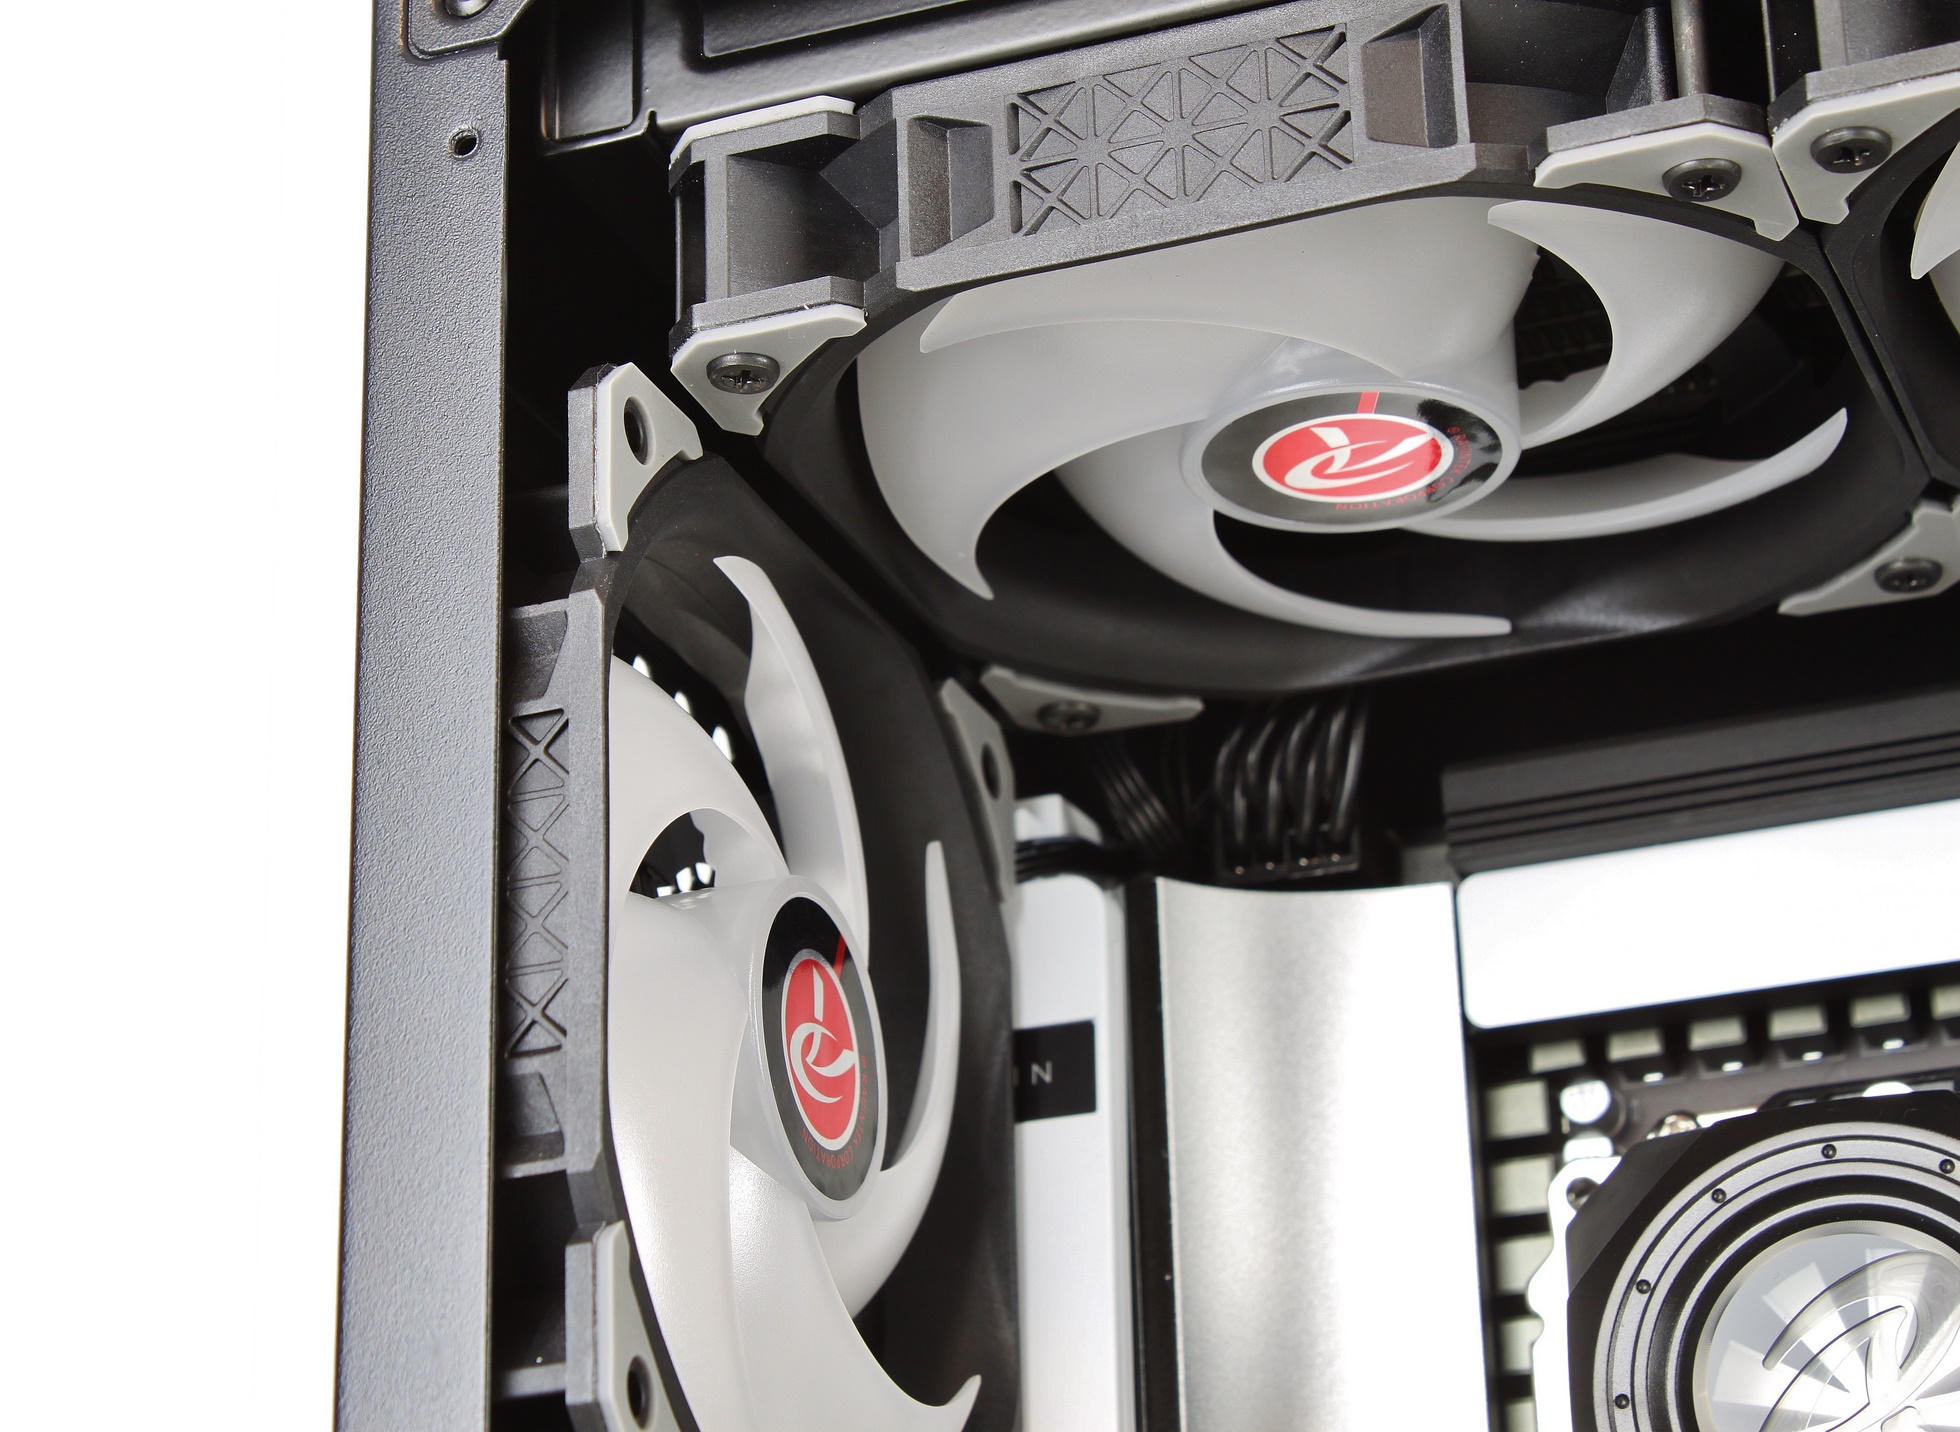
Because I had of course not looked into the manual before, I noticed only during assembly that no 360mm radiator fits in the side panel. Too bad, there are only a few millimeters missing! But actually fit quite well to the concept, because so the pretty Ageras fans come much better to the fore.
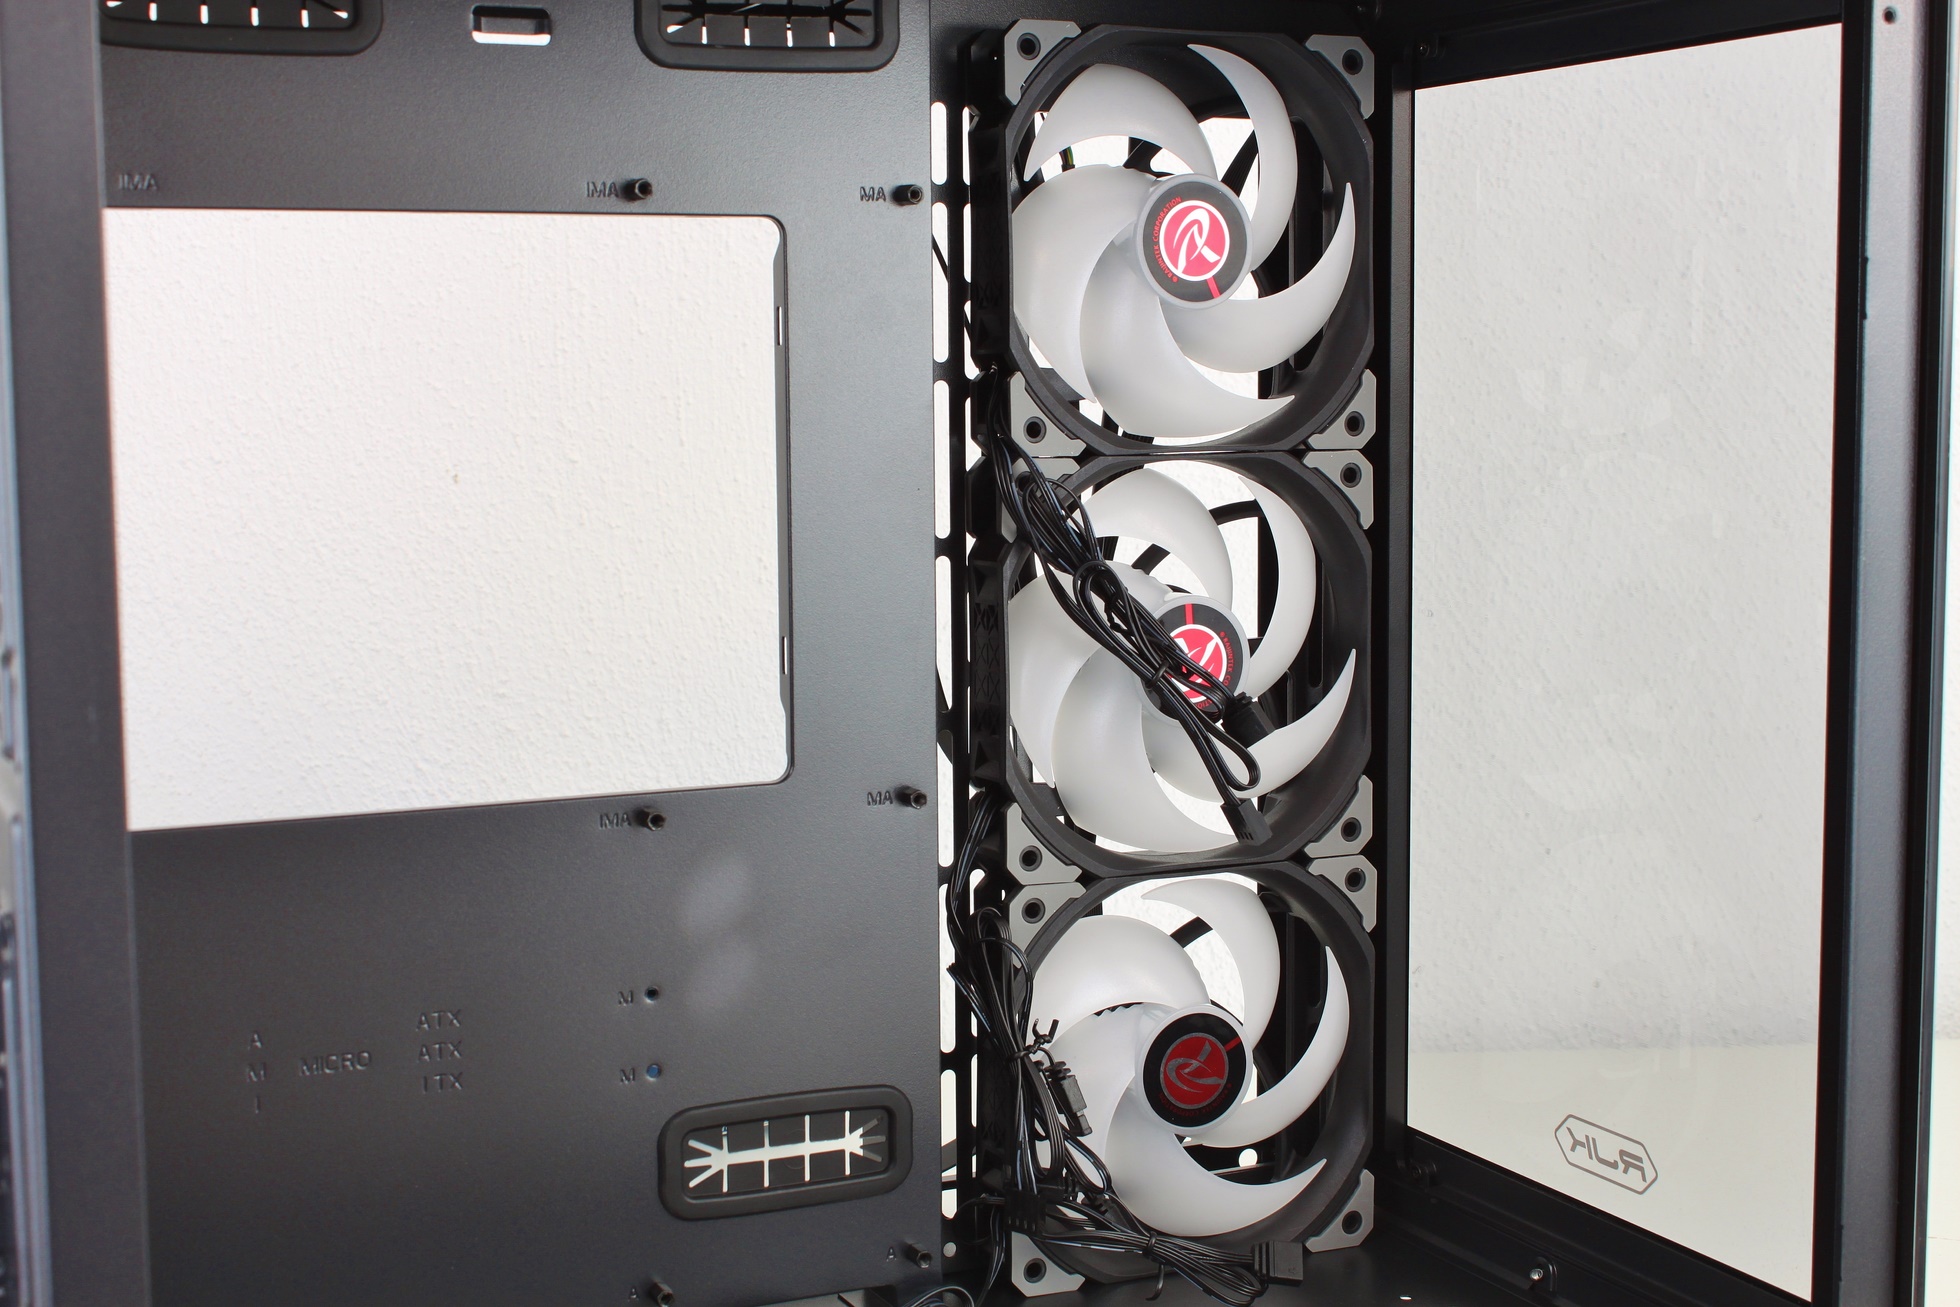
Igor had the Ageras in the RGB variant already in the test. It’s not a total failure, but it’s quite loud in a pack, especially because of the high minimum speed. However, this is about the case and not about the fans.
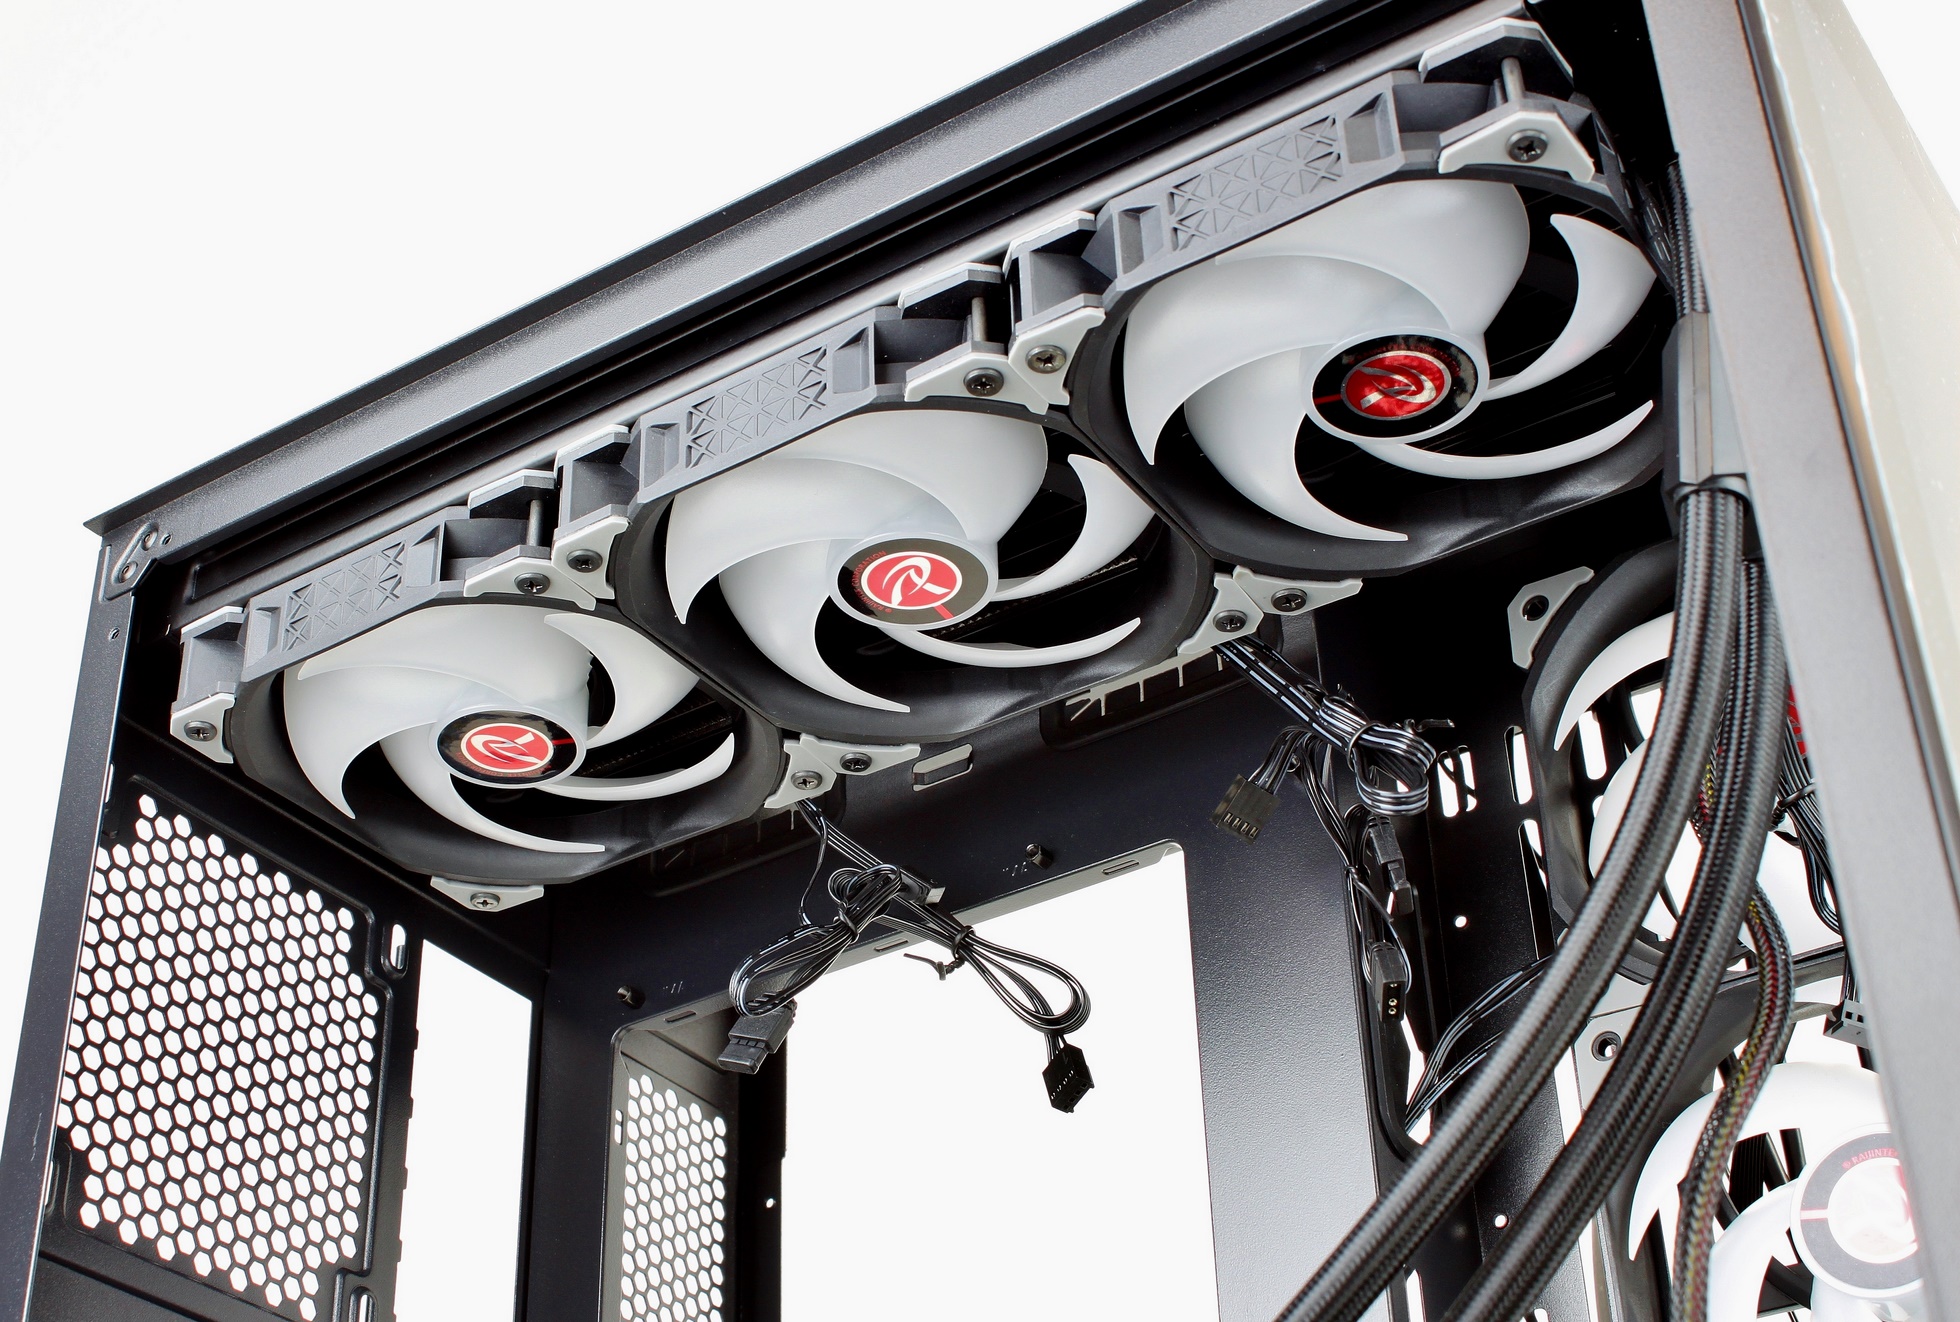
Probably for stability reasons, Raijintek has bent the sheet metal behind the fans. Not quite ideal, because the air is thus rather blown into the rear chamber (or sucked from there, if you align the fans as “Intake”). I would have preferred if you could mount something on both sides, not just the large chamber.
Radiator down would have been an option as well (the pump doesn’t sit in the CPU block on the AIO I’m using) , but I preferred to supply fresh air to the graphics card rather than blowing heated air at it.
So the radiator was mounted in the lid:
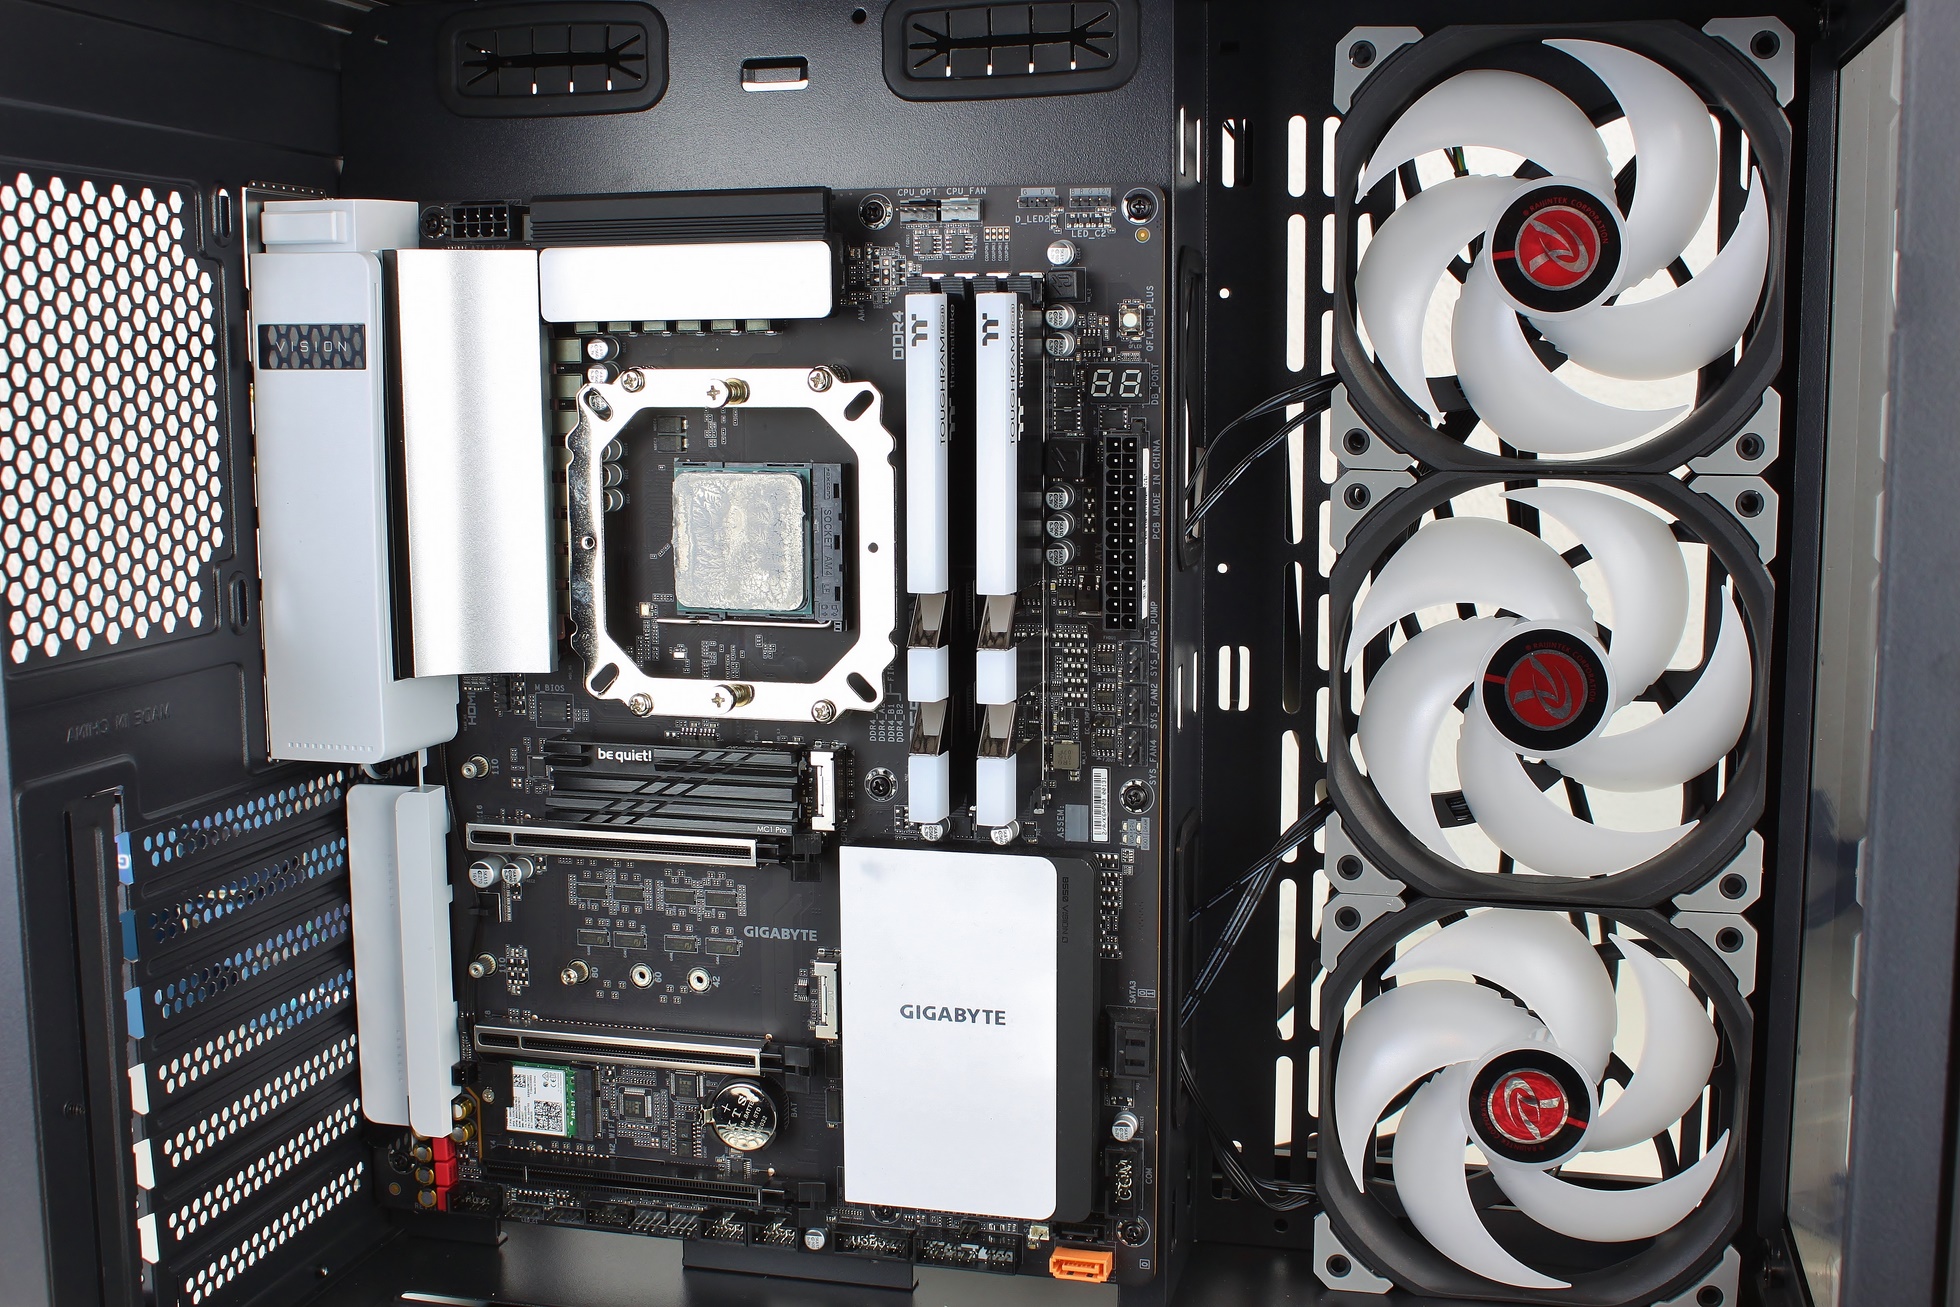
As usual, I had the CPU, radiator mounting frame, RAM, and the SSD already pre-assembled, so there was no need to install the components inside the case. In with the board!
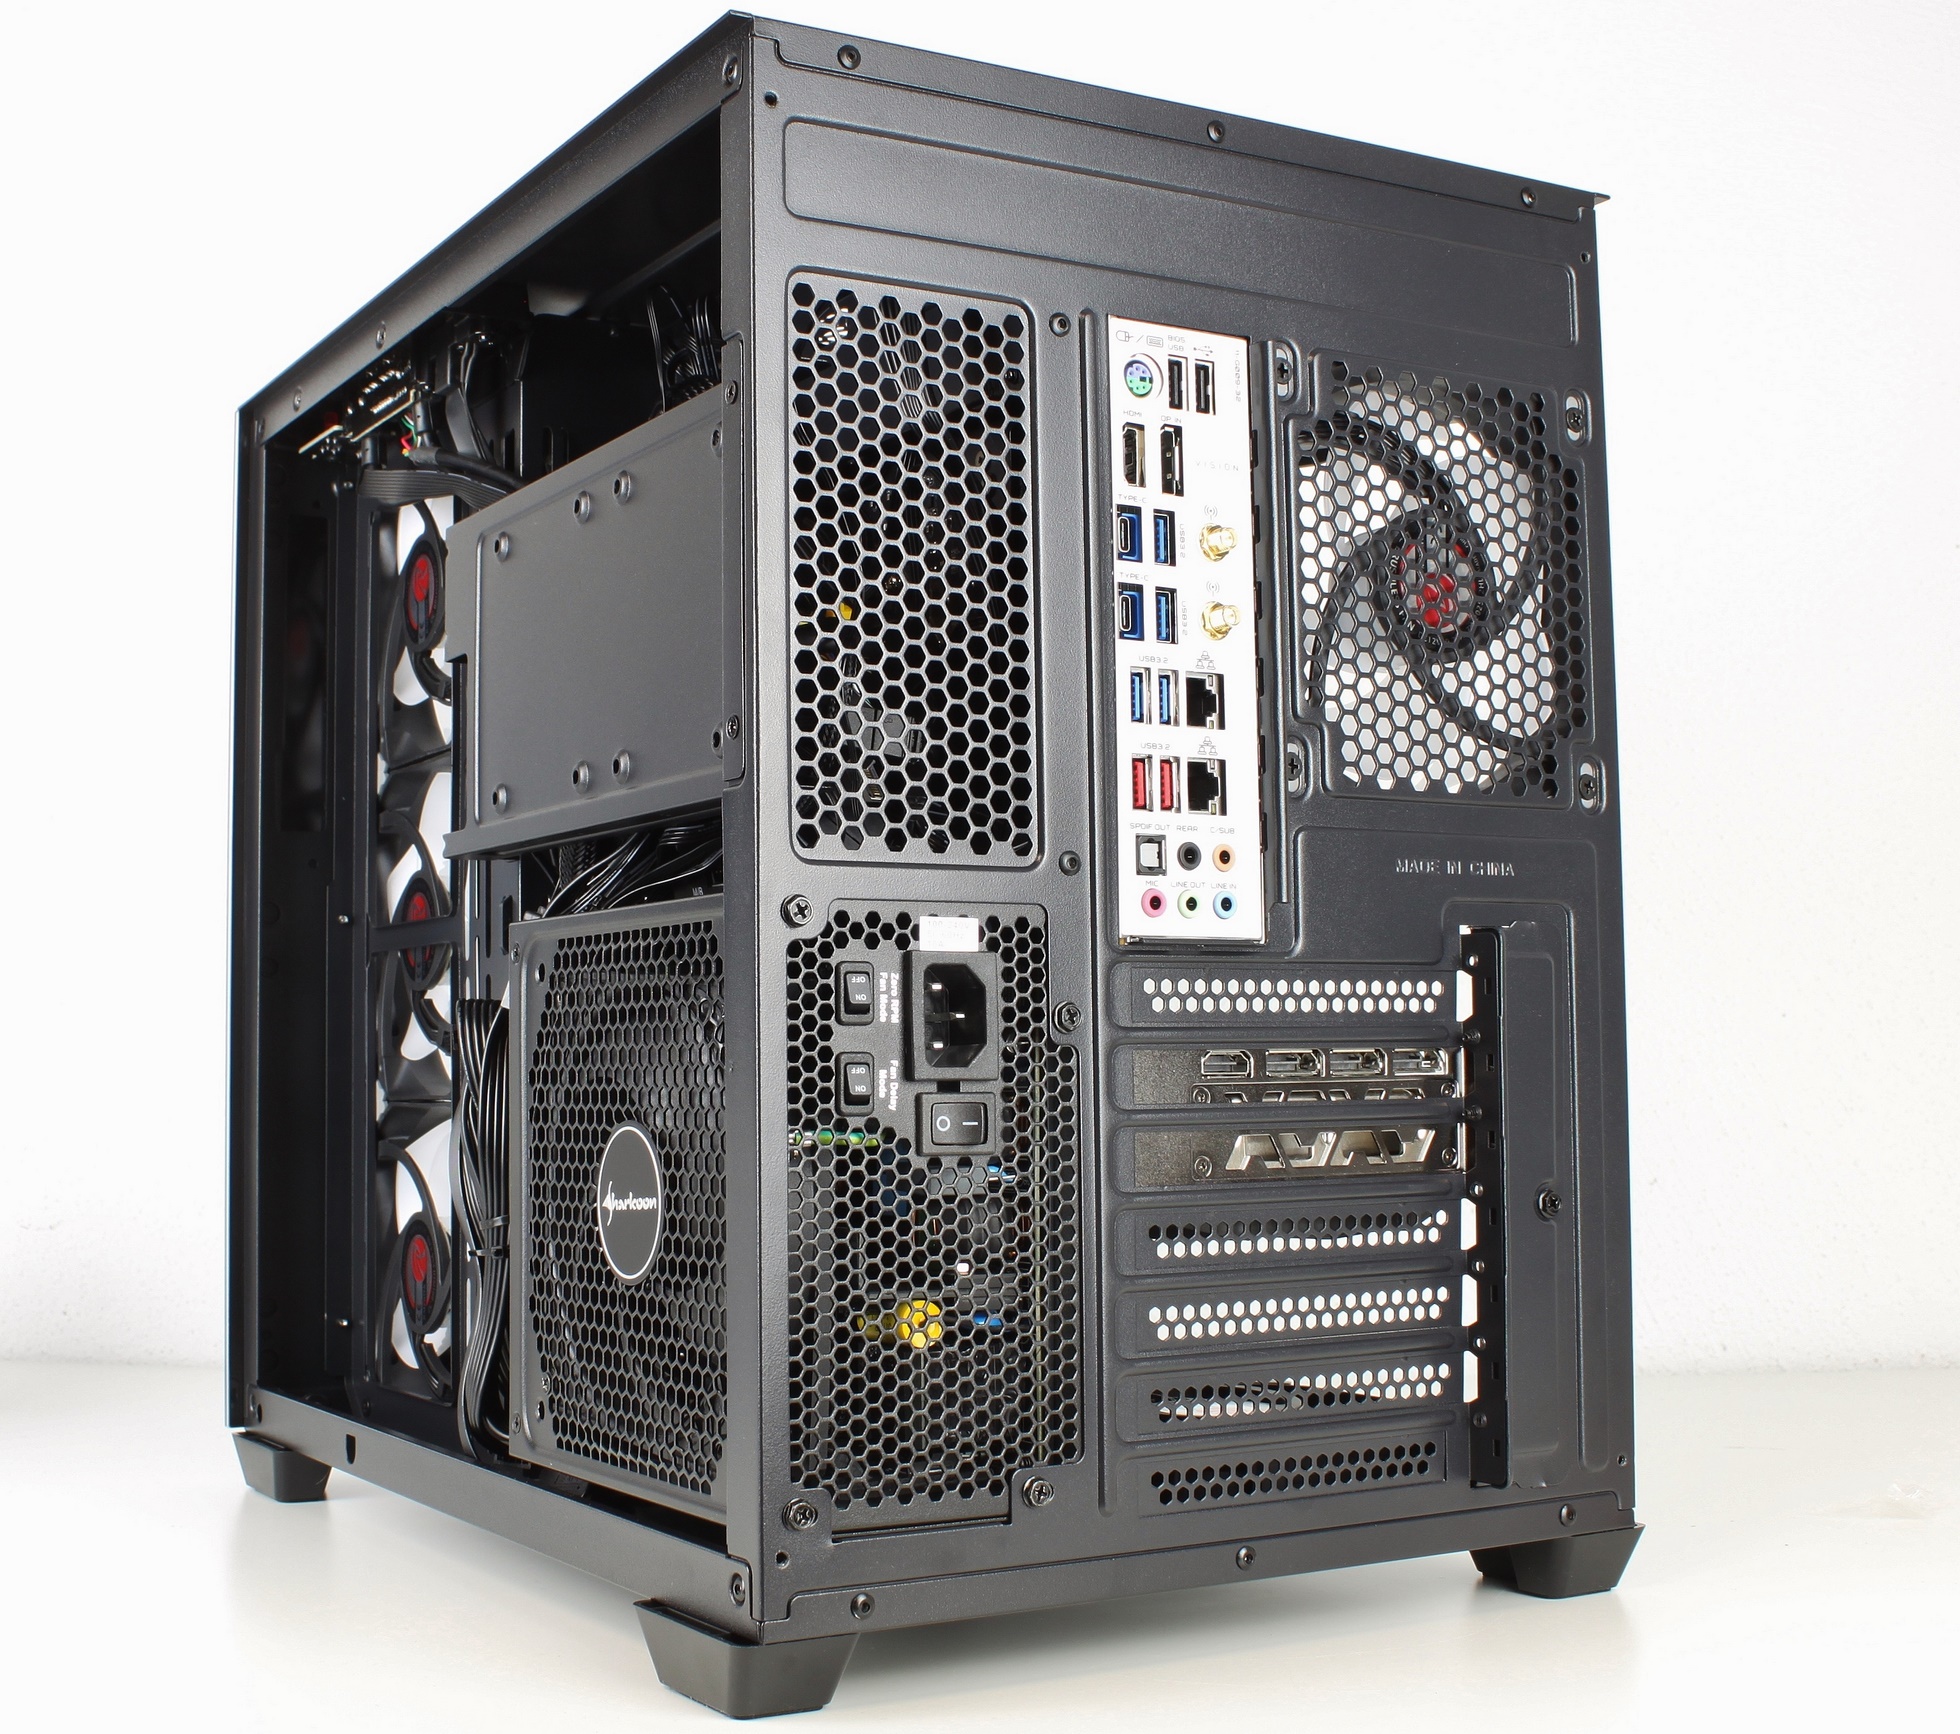
There is no decoupling for the PSU in the Paean C7, but there is plenty of space.
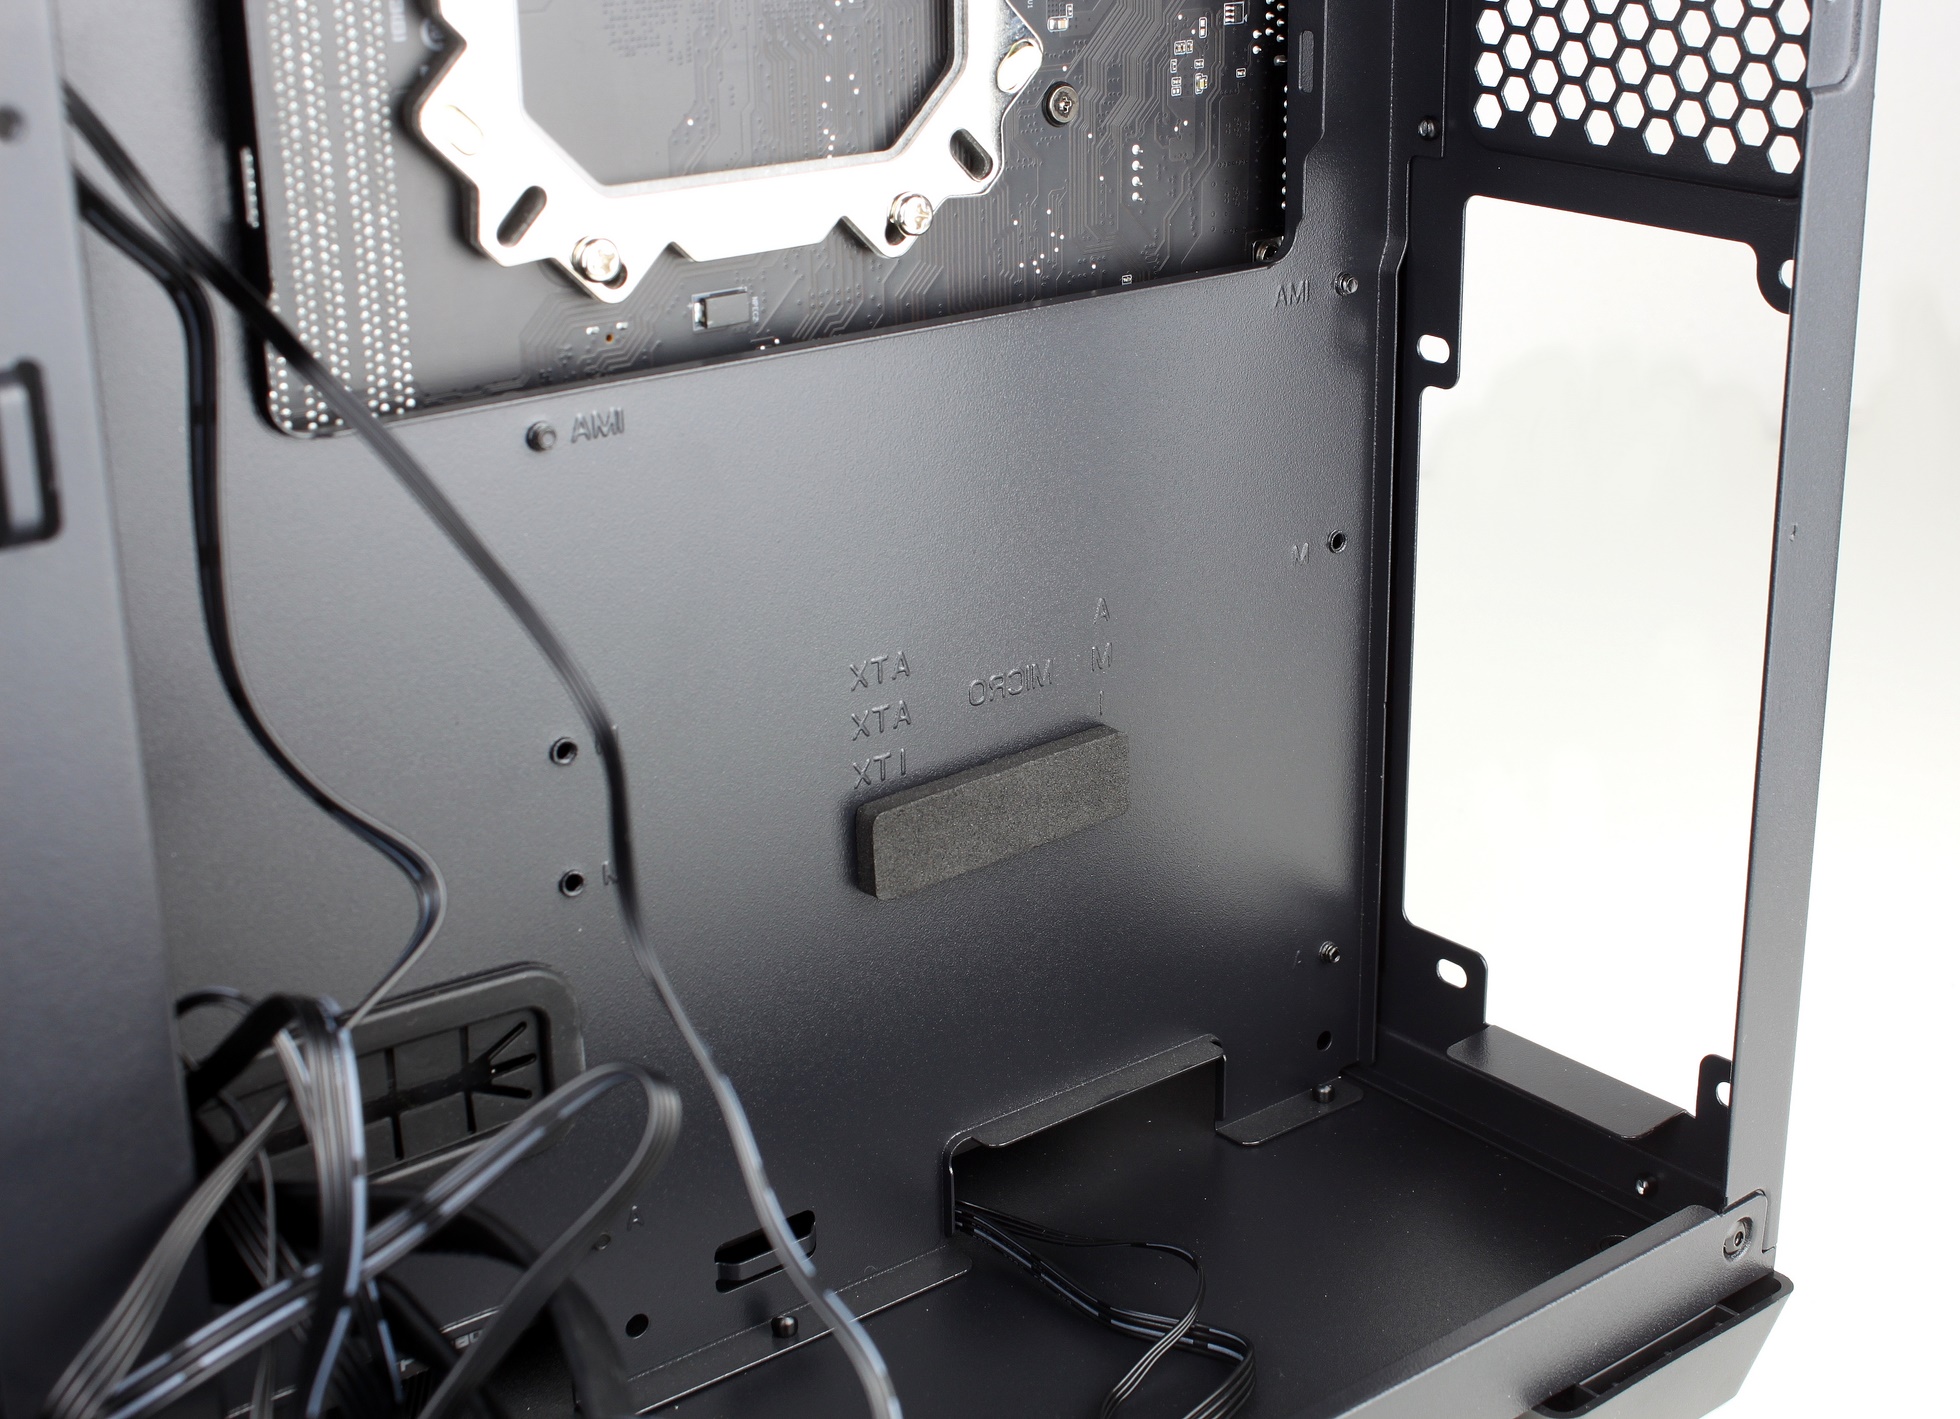
The PSU still feels comfortable, but breaking out the slot covers was a disaster and required the removal of the board to avoid damaging it. Well, the red pencil has to be applied somewhere when you offer such a case for such a small amount of money.

To make plugging in the CPU power supply as easy as possible, I mounted the AIO after installing all the cables.

AIO and rear exhaust also in place:
I was worried for a second, but it fits!
Due to the many fans, fan hubs and AIO as well as RGB controllers, a considerable amount of cables came together. Not particularly pretty.

After mounting the SSD holder, however, it’s not so wild anymore, and even looks quite neat and tidy.
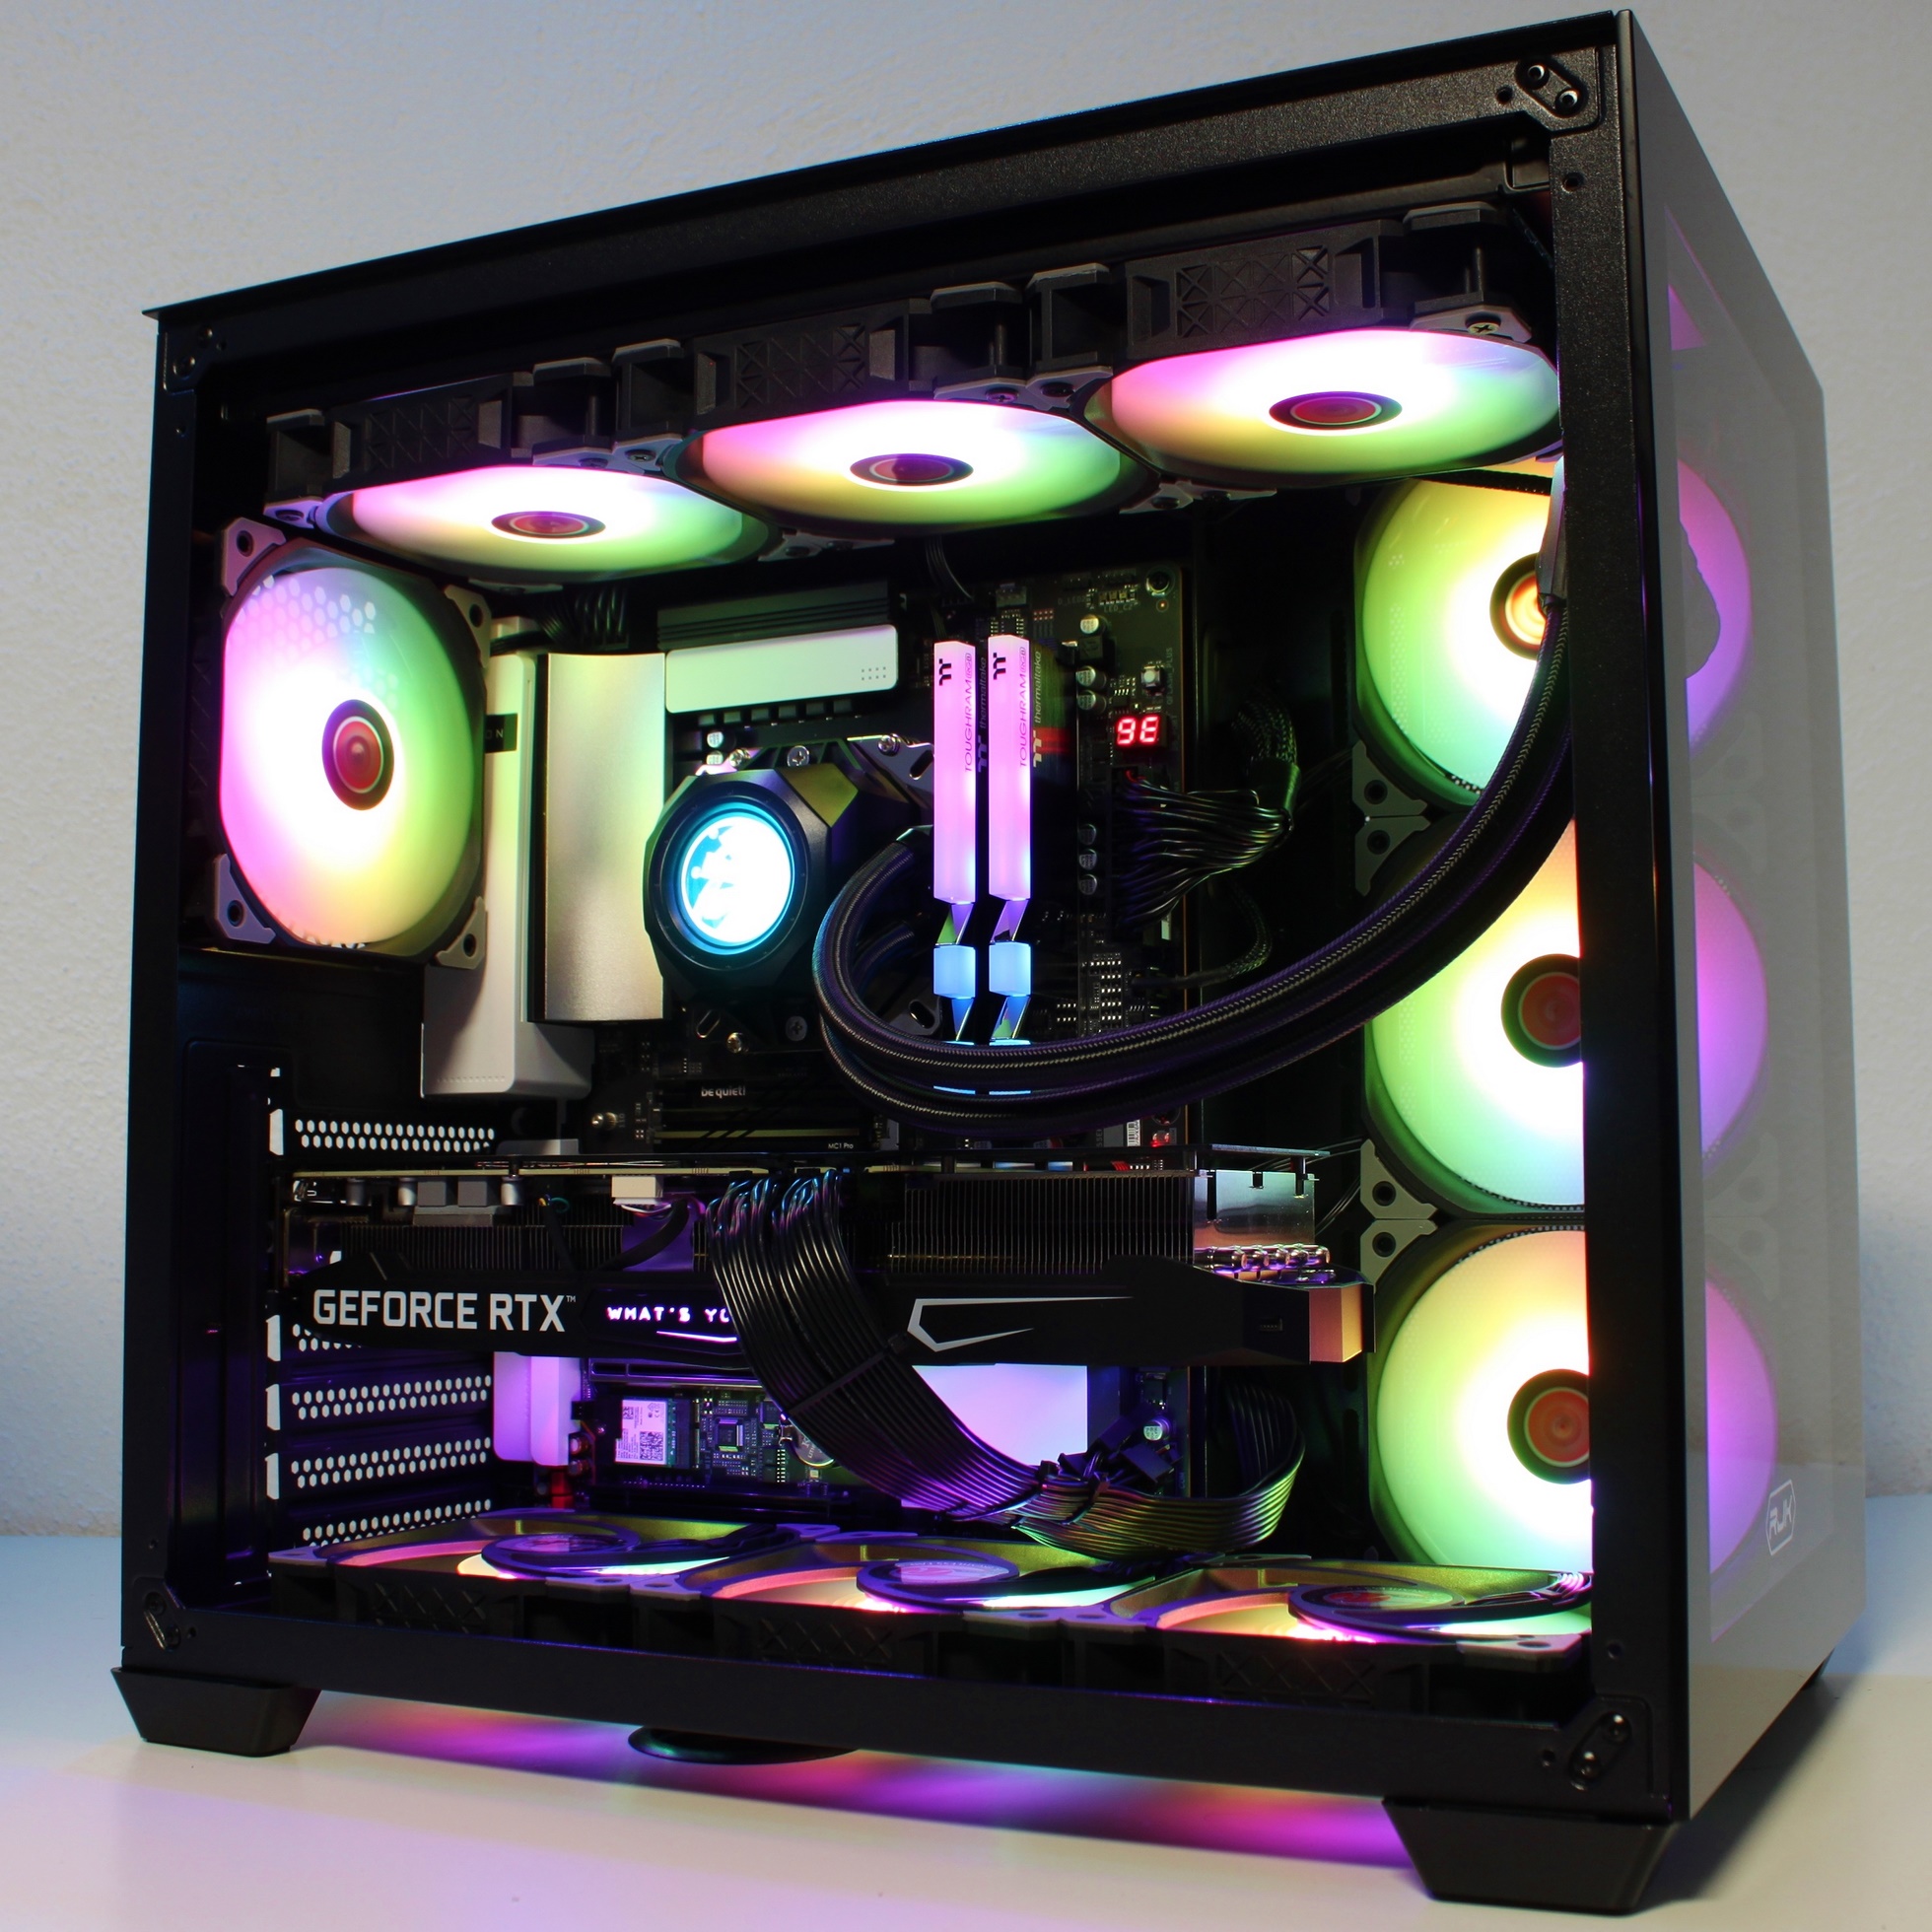
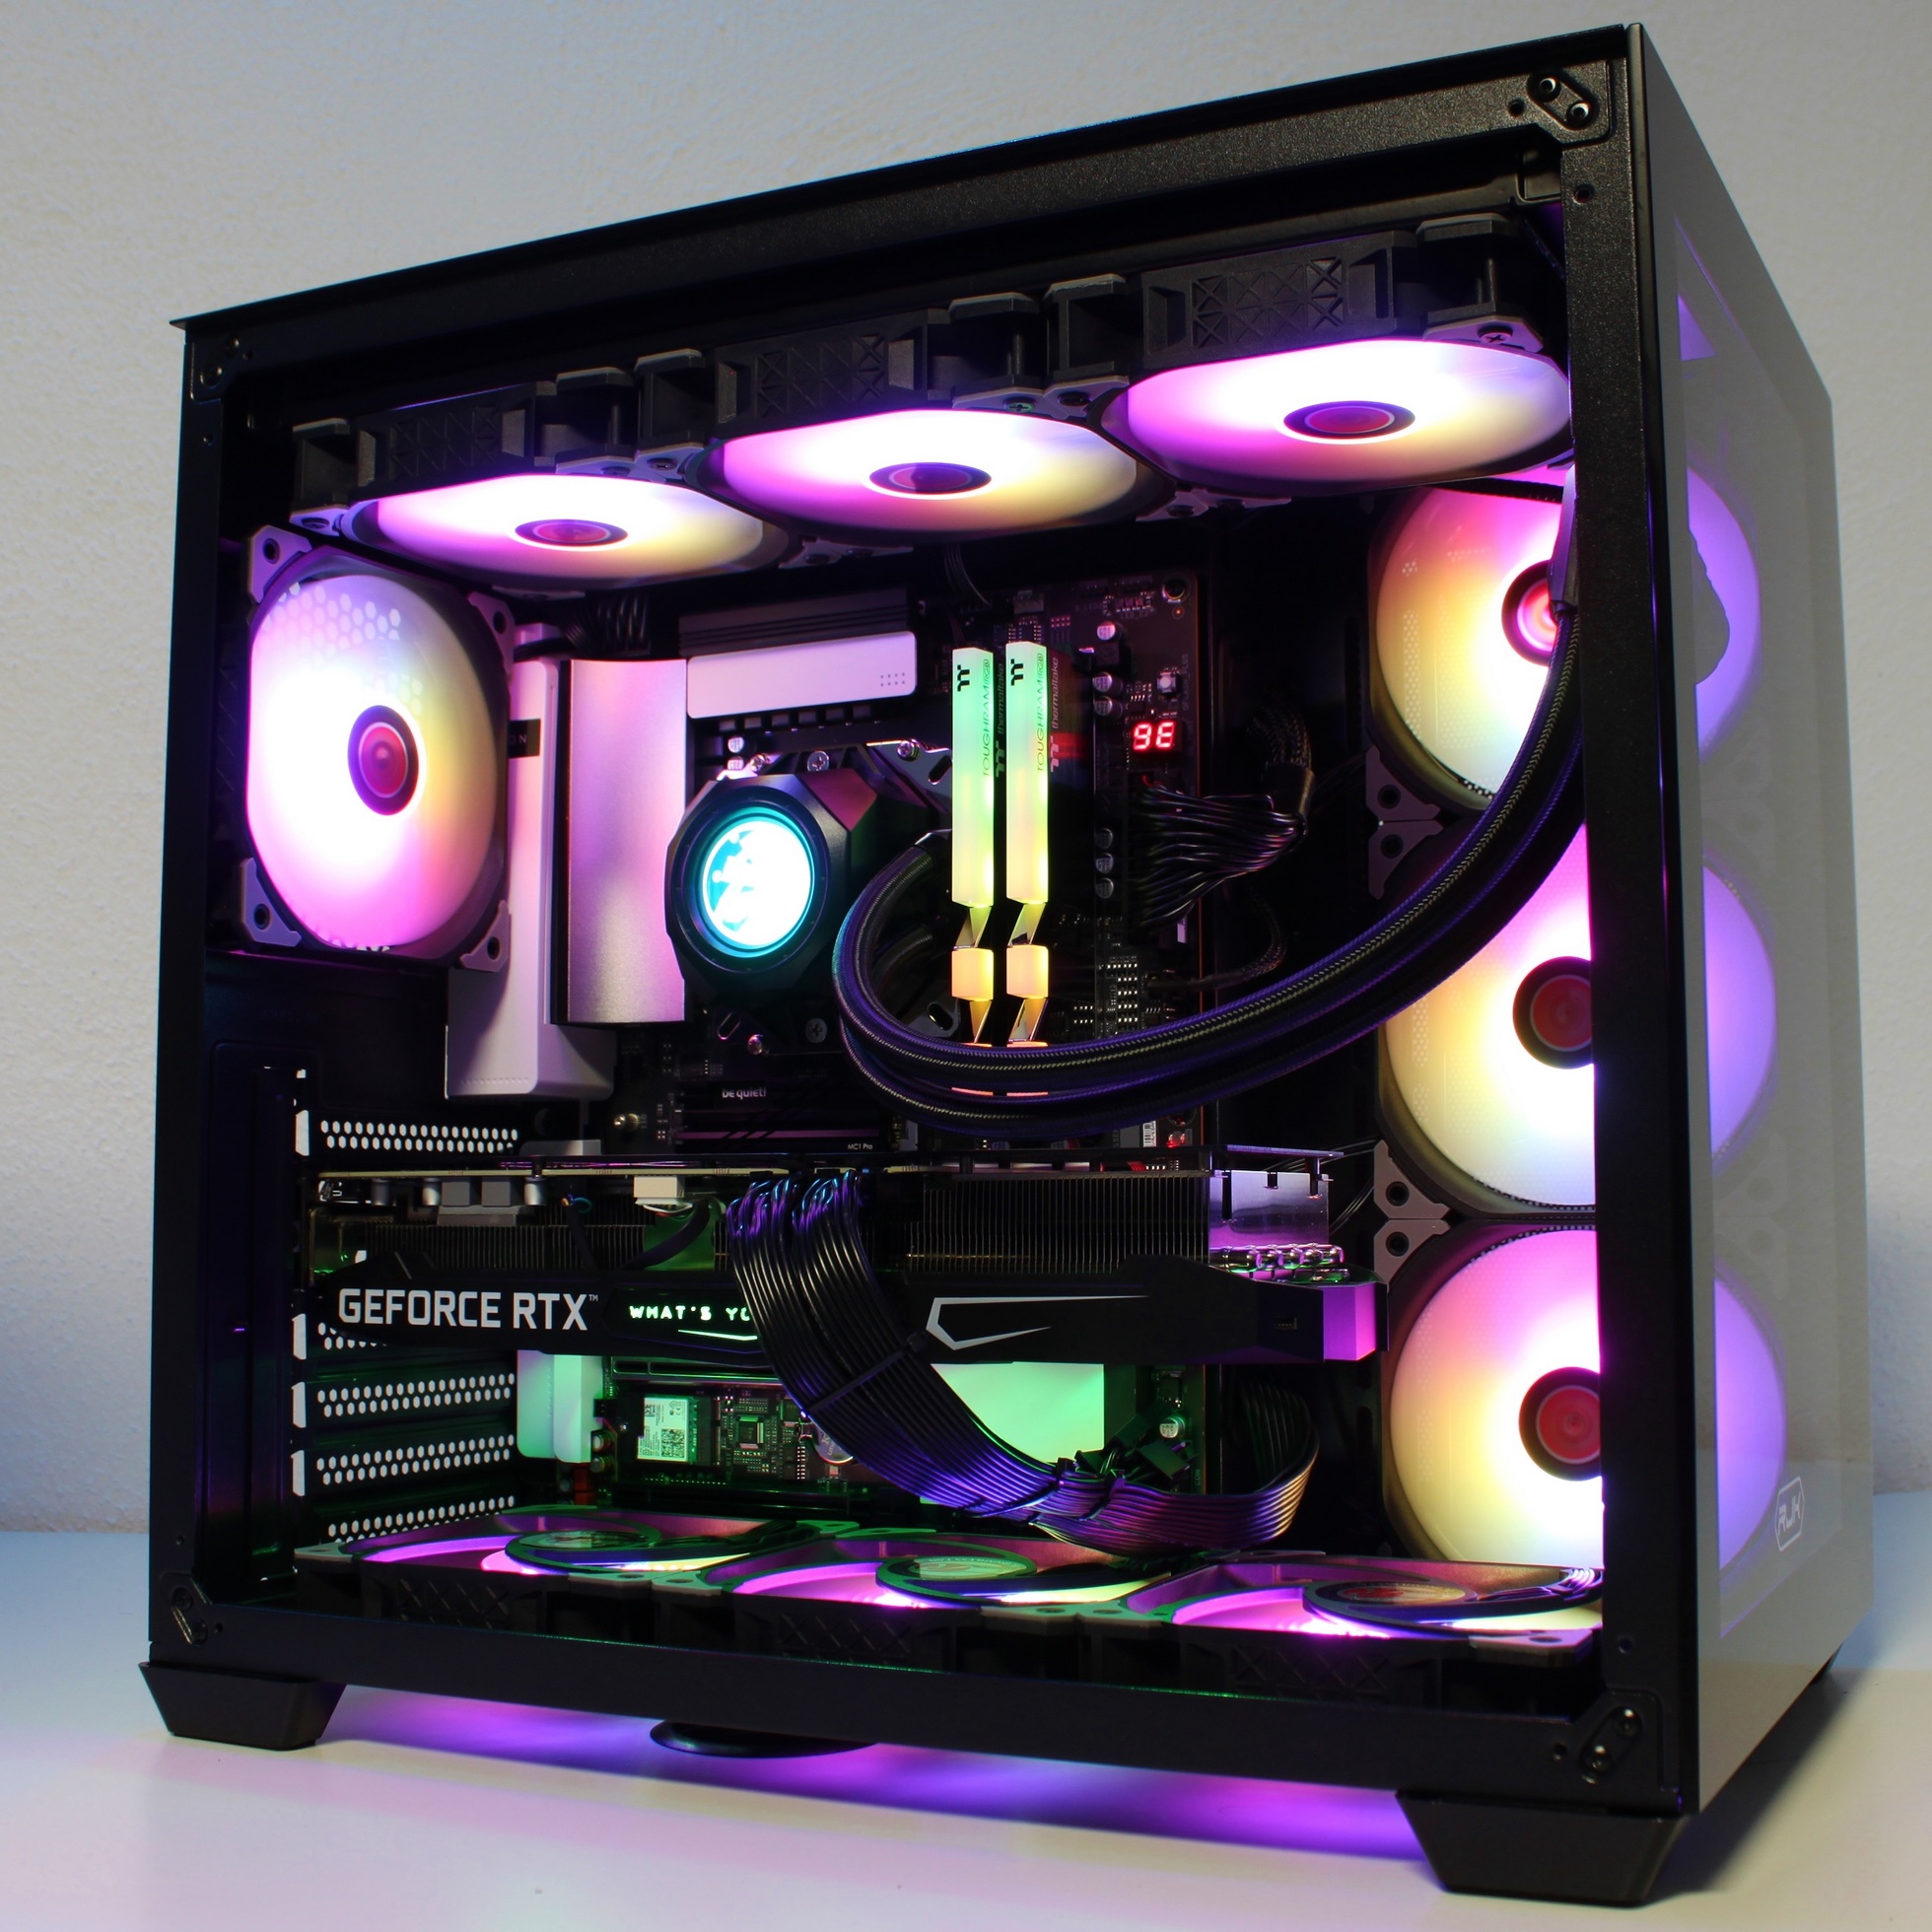
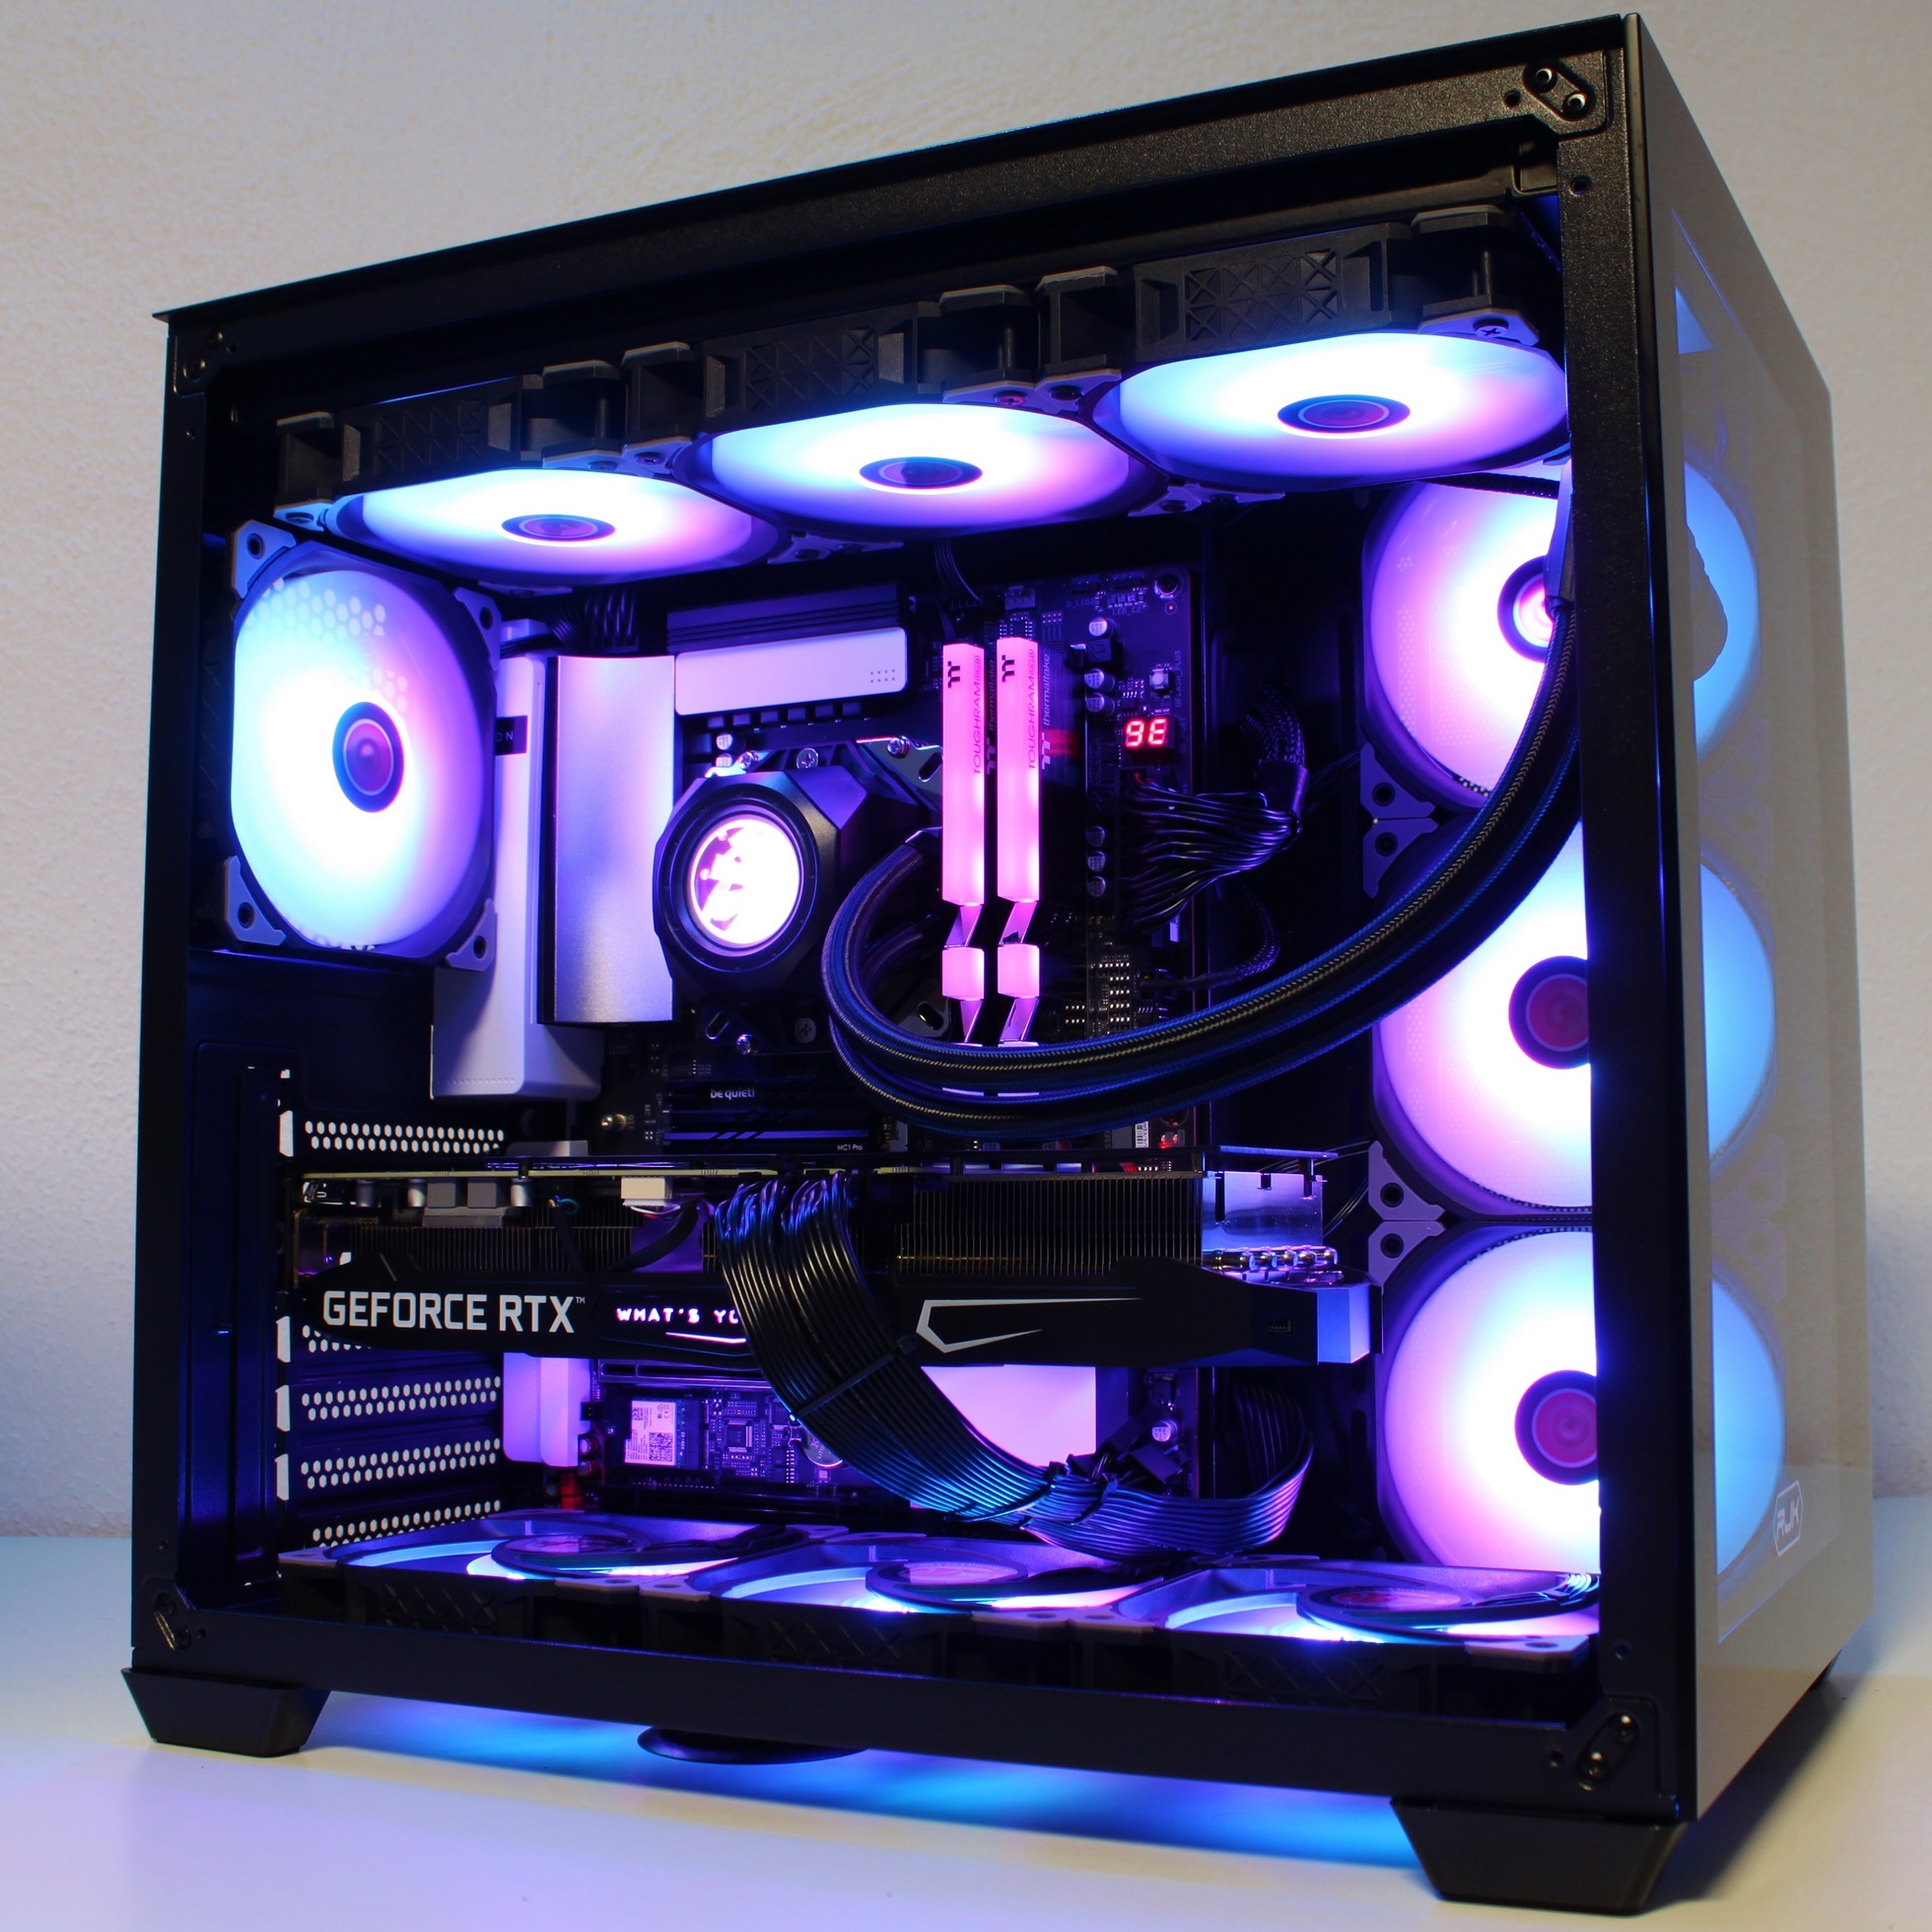
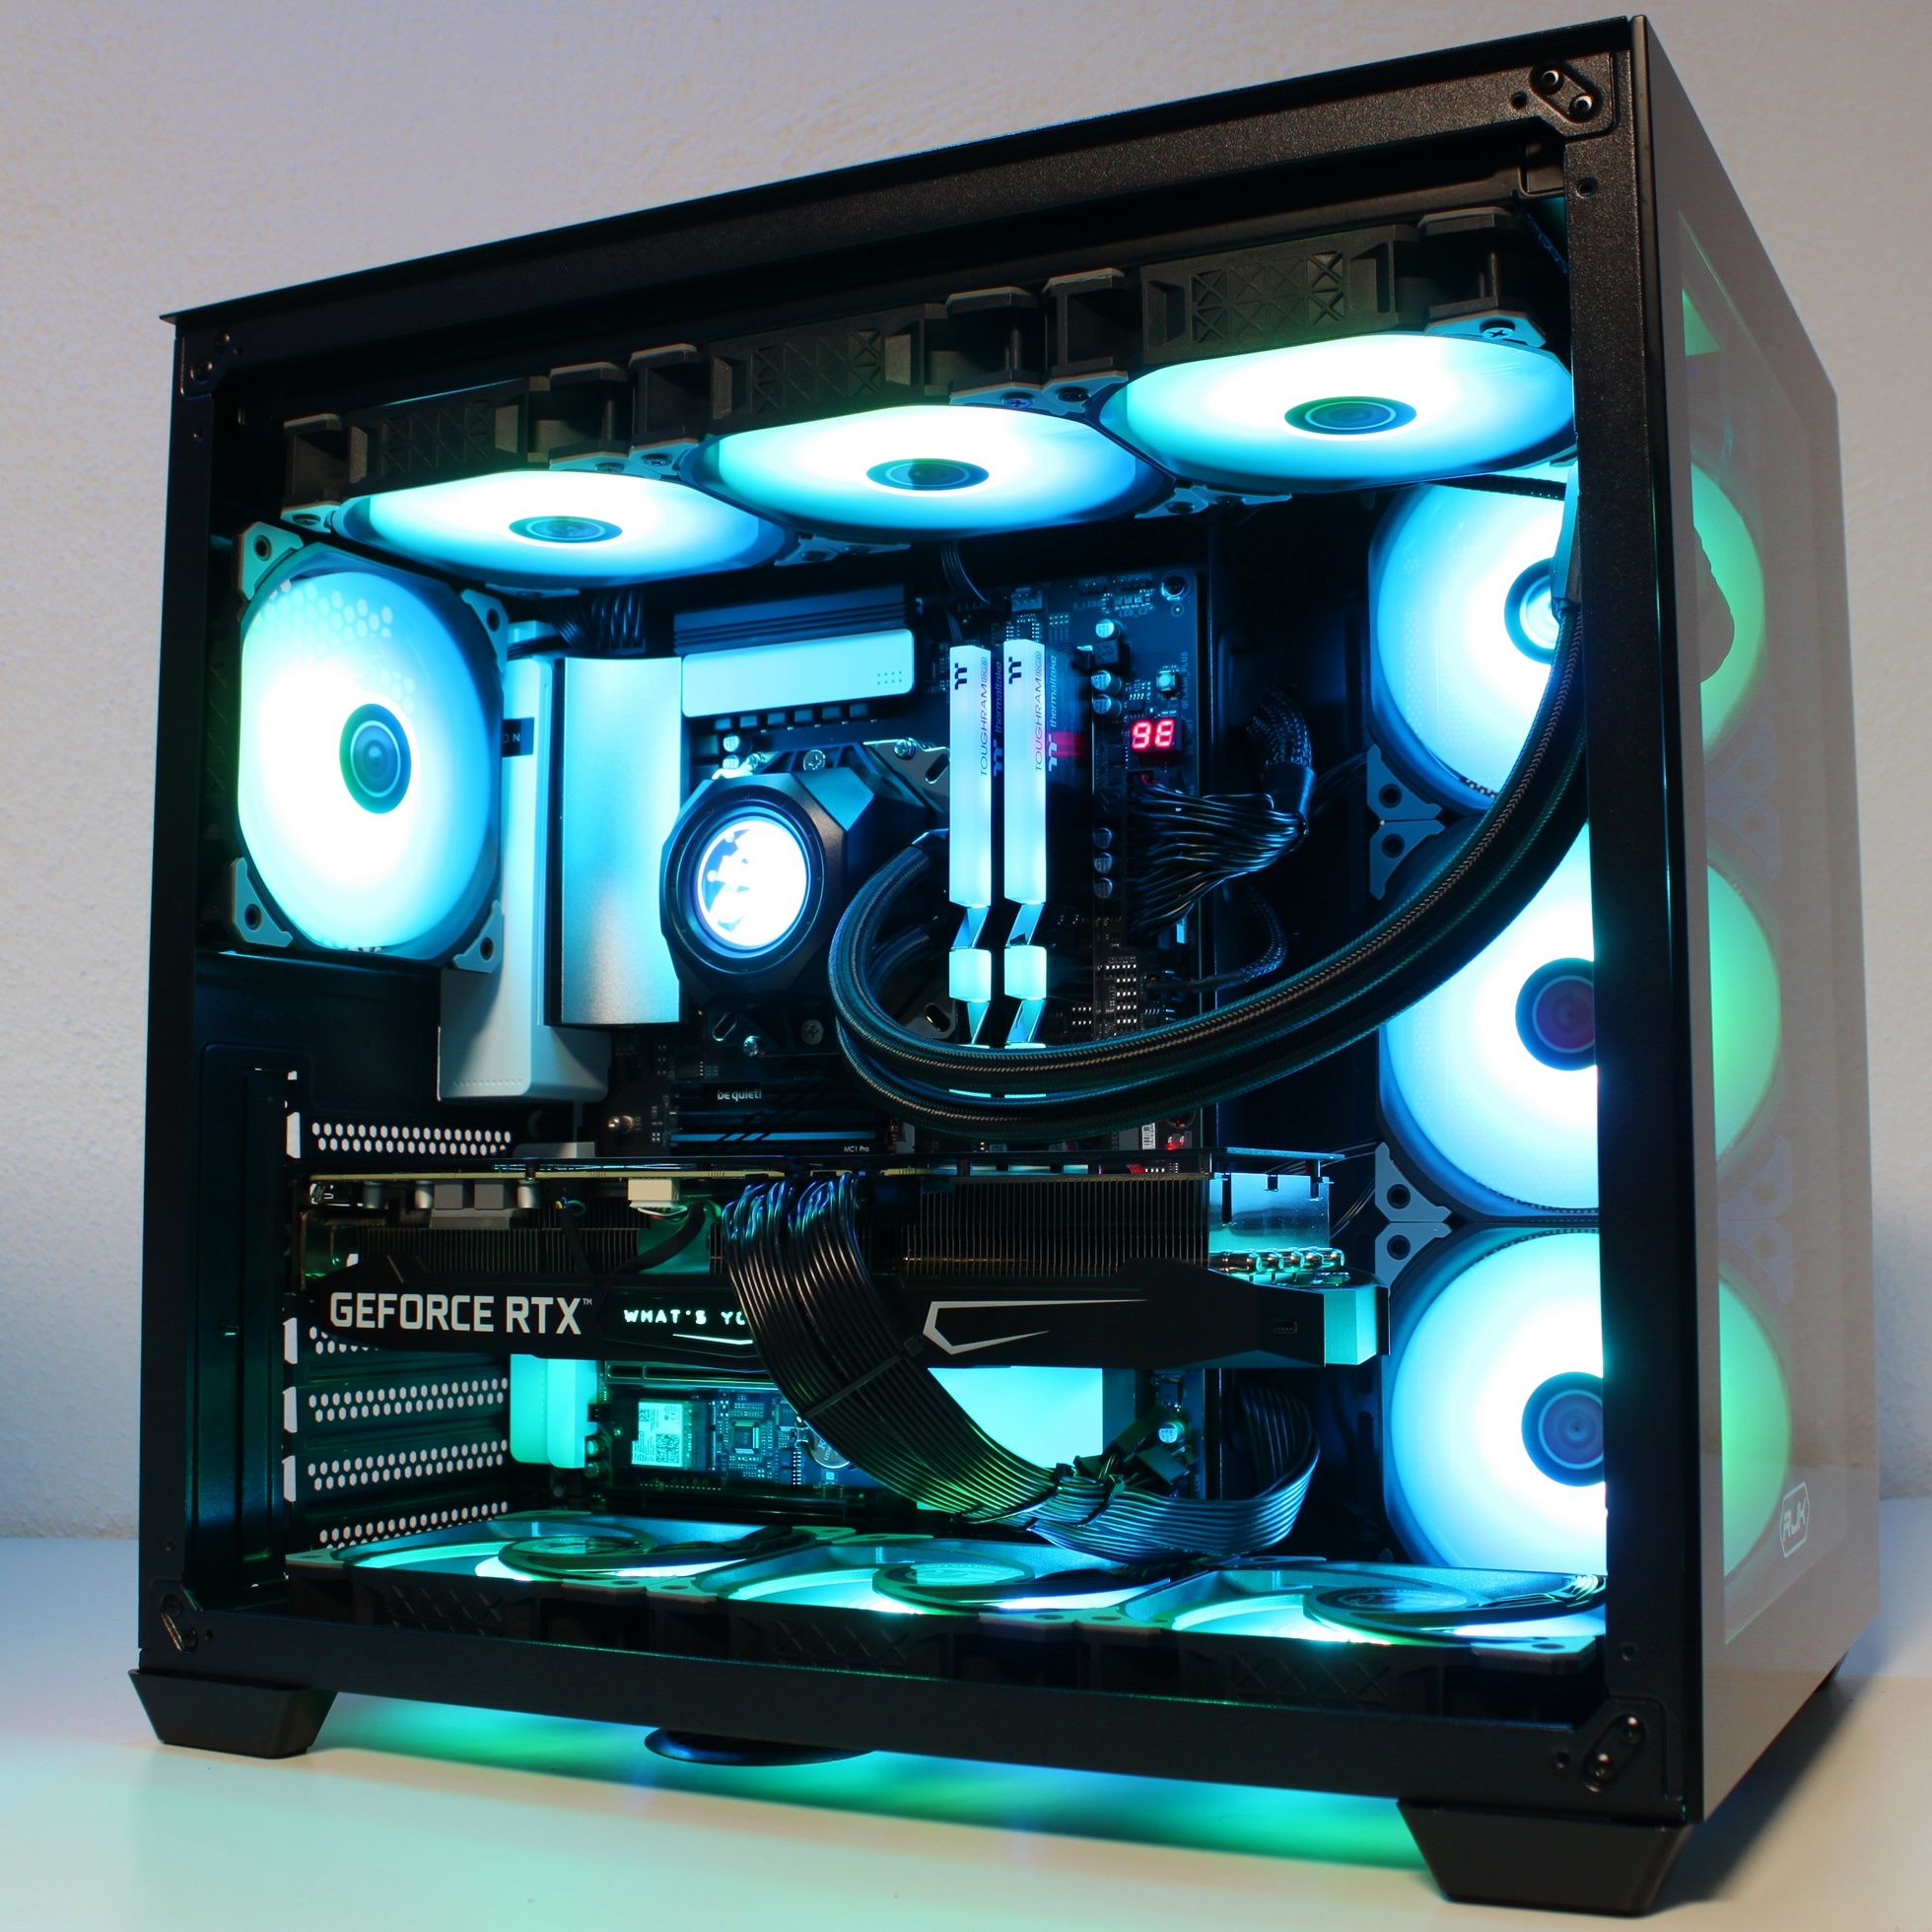
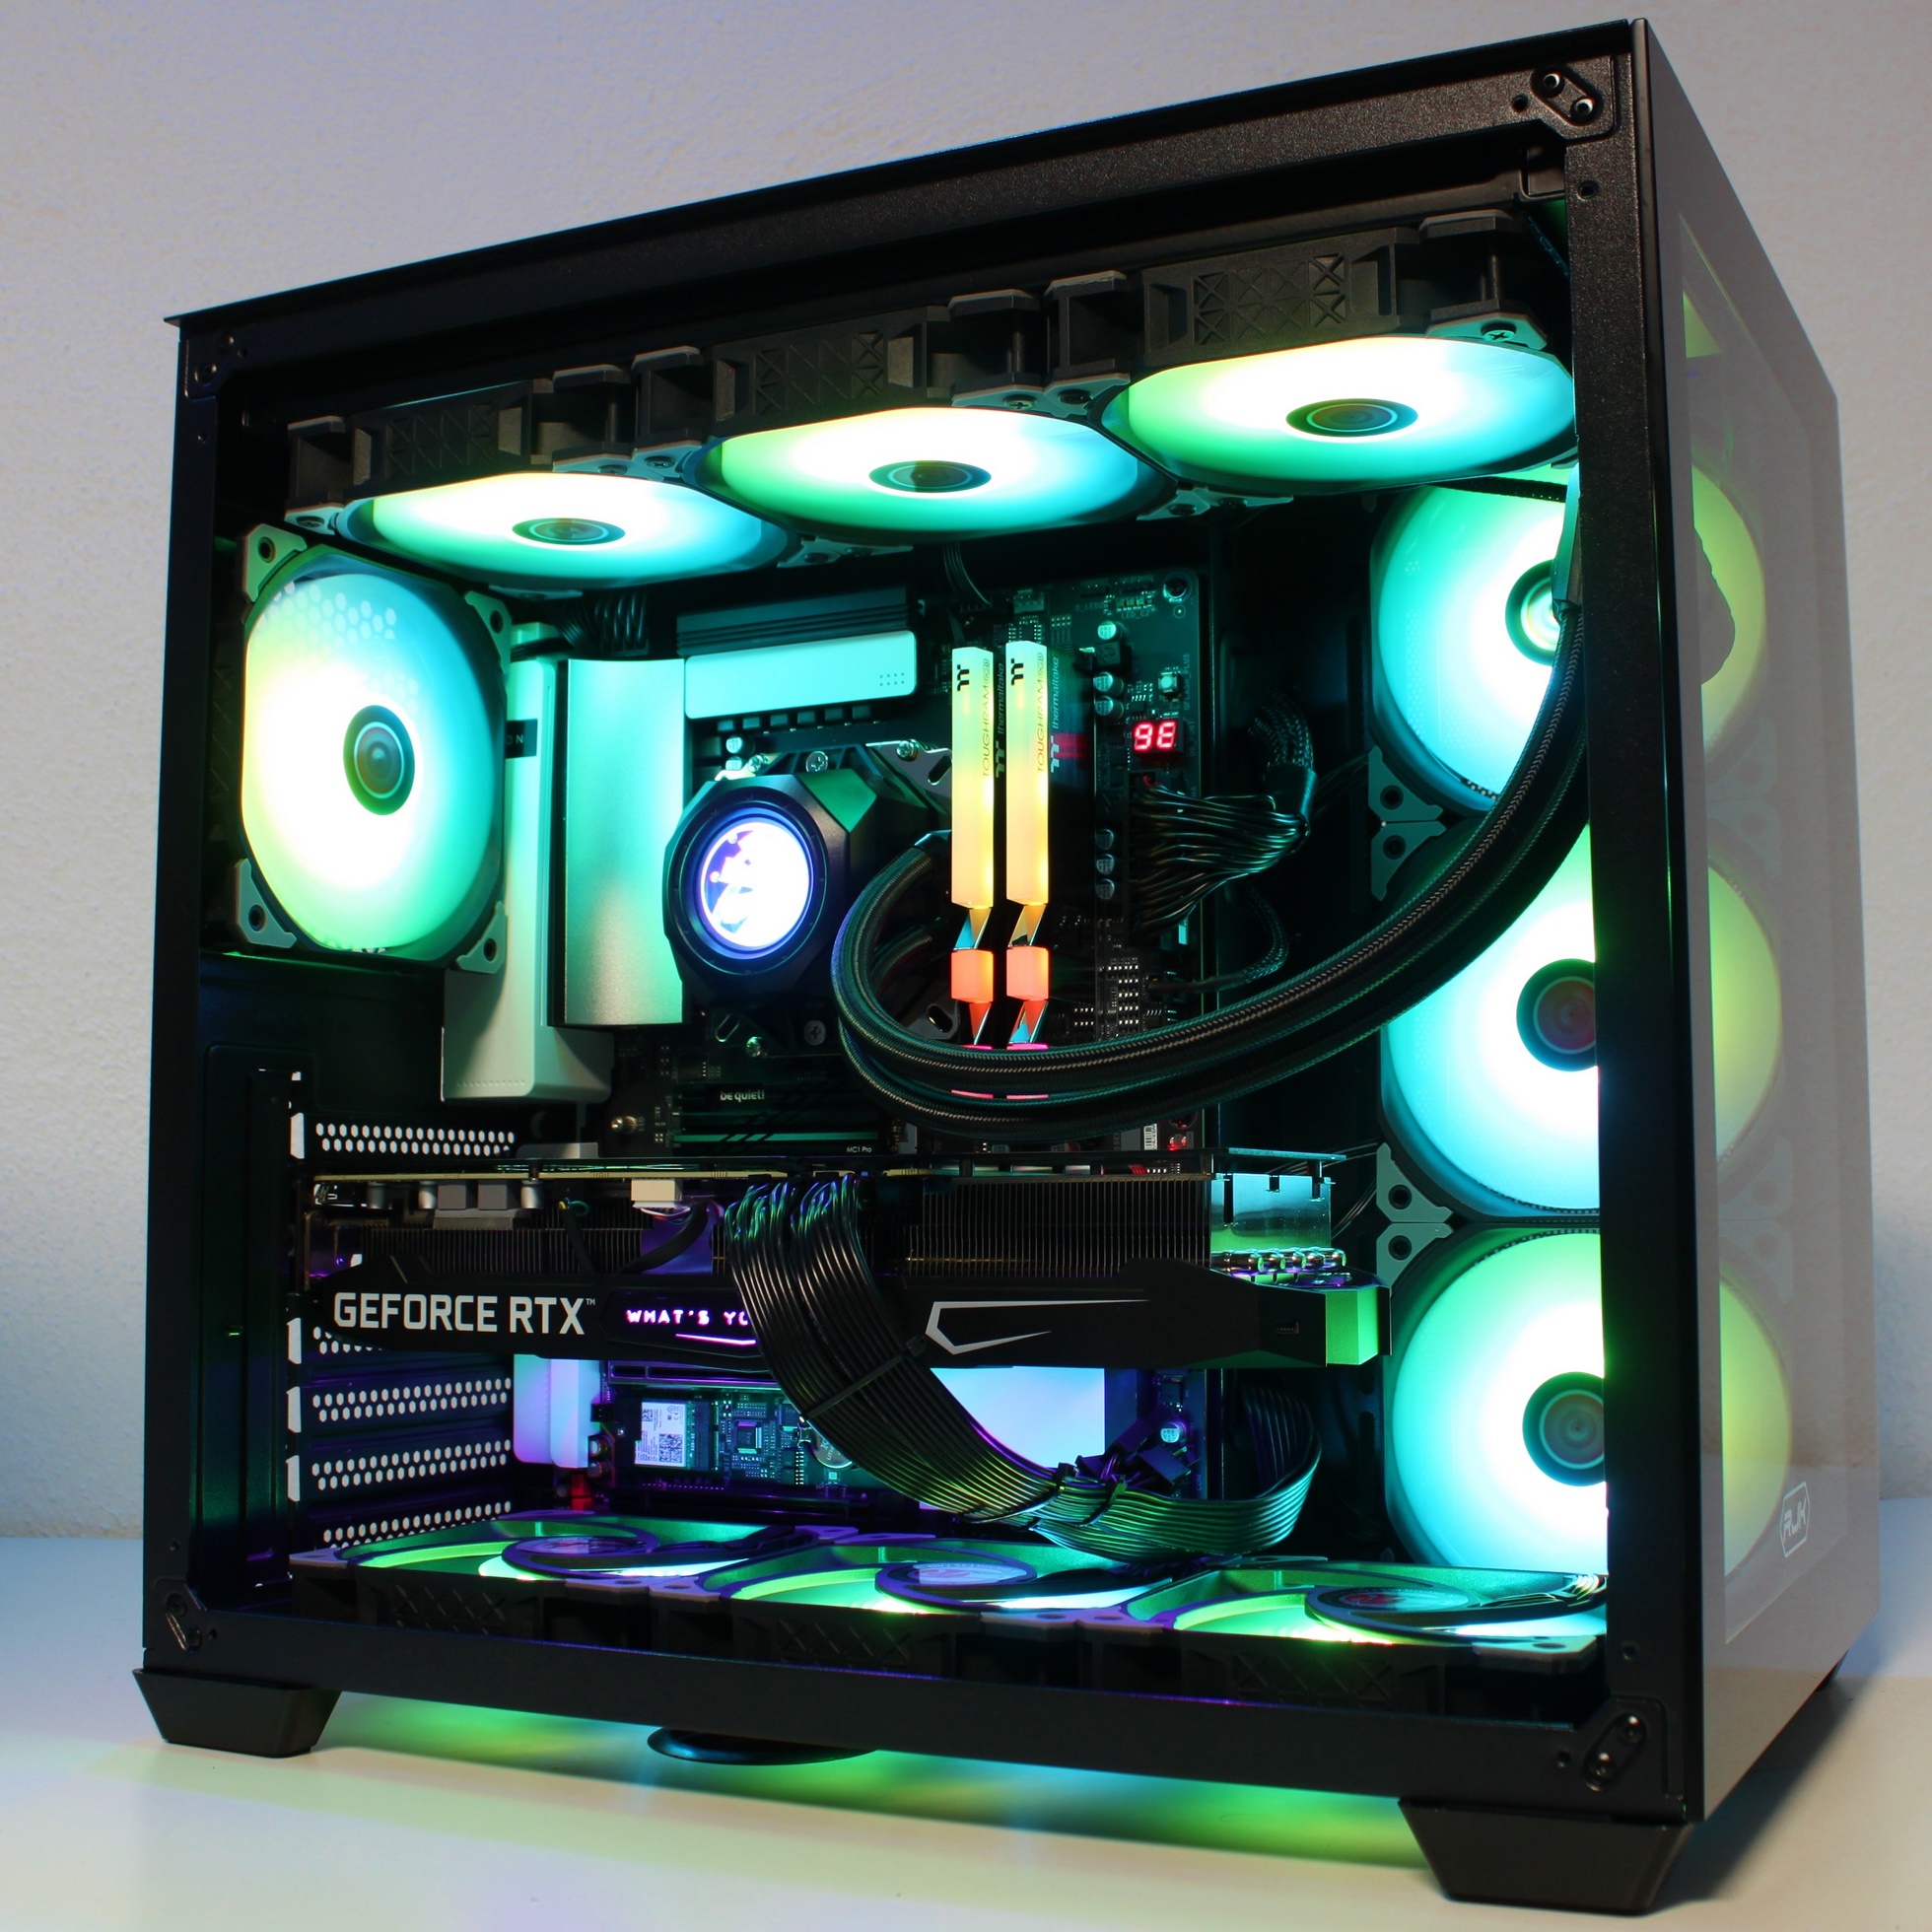
First boot – ready for take-off!
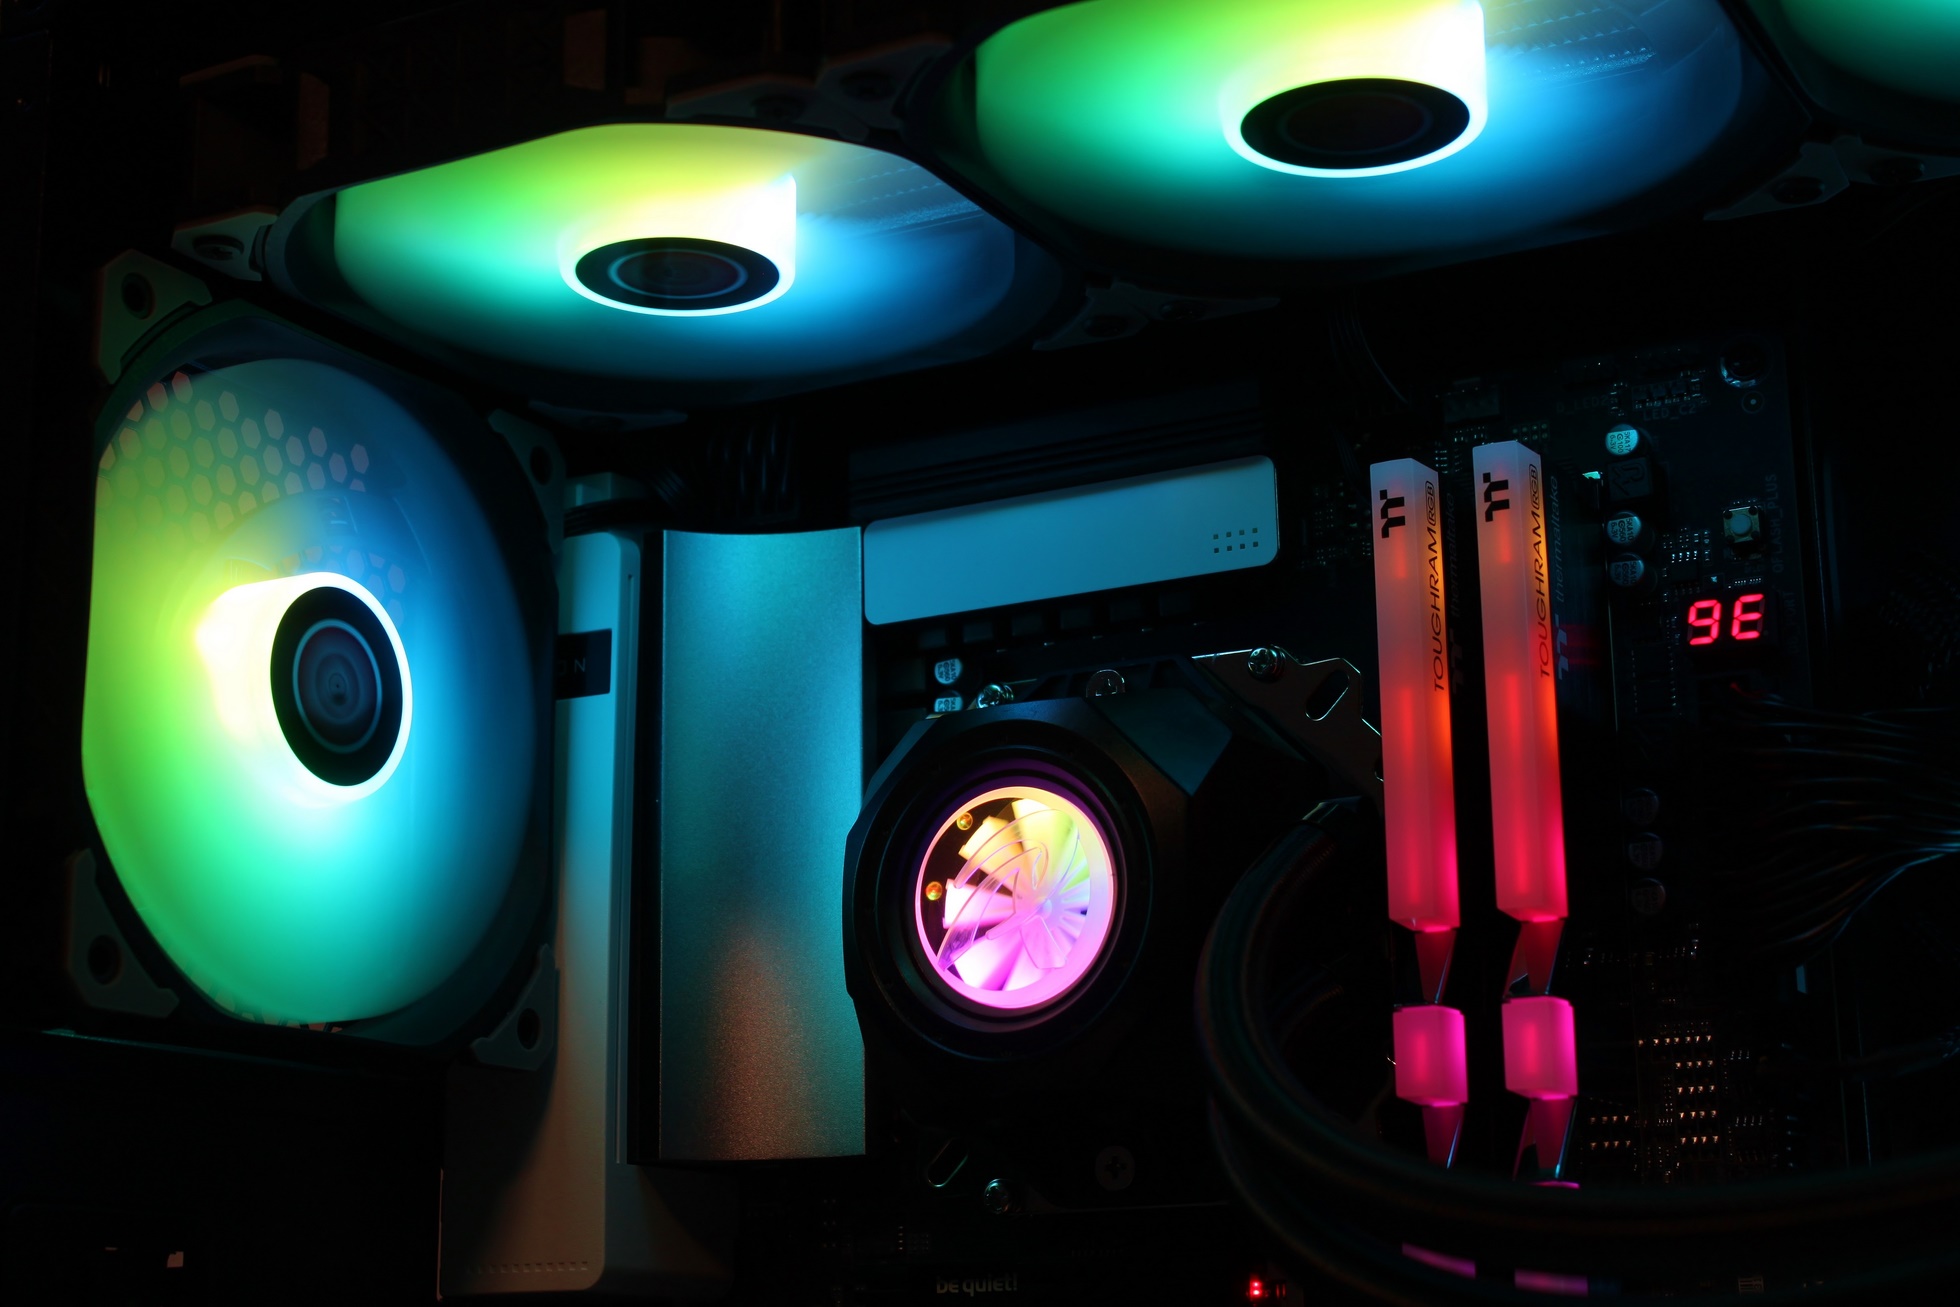
Impressions:


14 Antworten
Kommentar
Lade neue Kommentare
Urgestein
Urgestein
1
Urgestein
Urgestein
Veteran
Urgestein
Veteran
Urgestein
Urgestein
Urgestein
Veteran
Urgestein
Urgestein
Alle Kommentare lesen unter igor´sLAB Community →