


Program start and settings
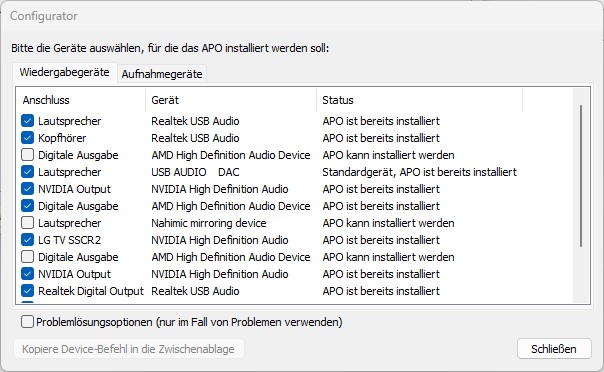
First of all, of course, we select the devices to be used with APO in the setup. However, you can change and customize this later in Peace, so don’t worry.
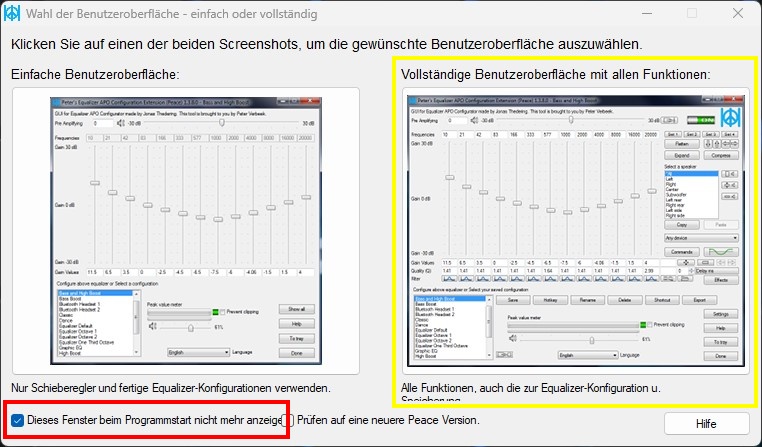
Next, Peace will ask you to select an interface. You should do two things here. Click on the “Do not show this window at startup” checkbox and then select “Full interface”. This is the box on the right-hand side. Otherwise you will deprive yourself of many important options and features.
Peace settings
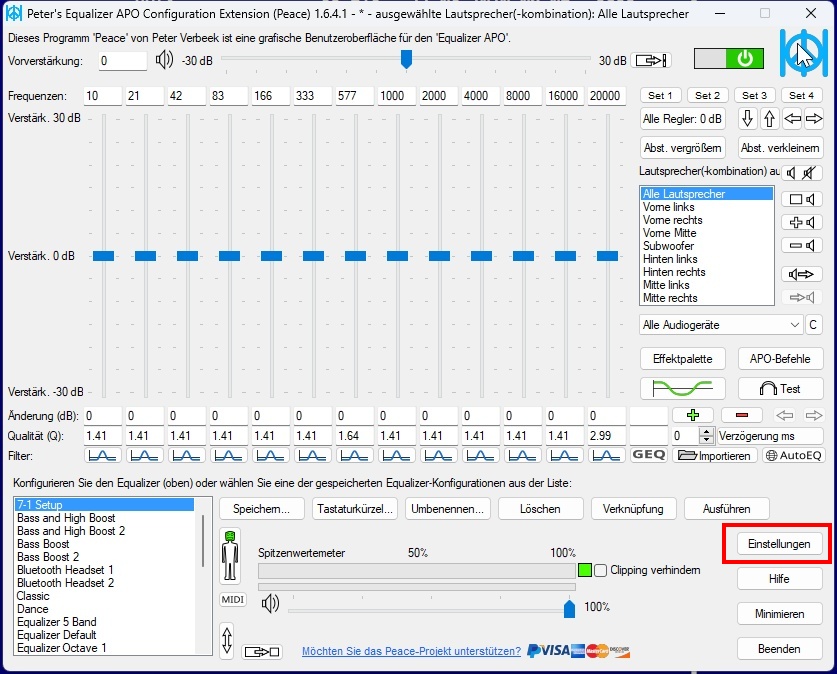
Once the interface has been selected, the main Peace window opens. Before making any settings in Peace, the settings should be checked and adjusted. In the main window of Peace, click on the “Settings” button.
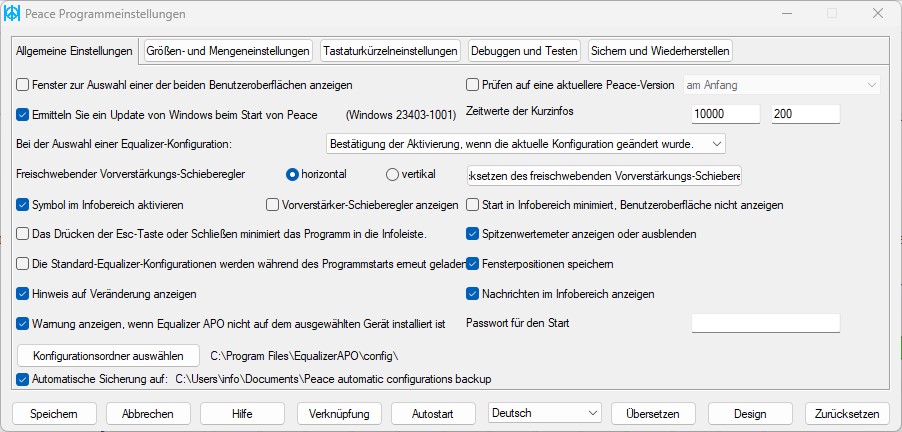
In the “General settings” tab, make sure that all checkboxes look exactly as they do on the screen below. However, changes can be made as required.
Next, I would like to briefly explain the “Debugging and Testing” tab. This is where you can access the Equalizer APO configurator. Sometimes this might be necessary because Microsoft releases updates for Windows that can disrupt or reset the configuration of the Equalizer APO. This can also happen if you install a new audio device or update an audio driver. If you are equipped with bat ears, you can activate the checkbox marked in yellow. Which, by the way, once again underlines the complete nonsense of the HiRes audio label. Ok, bats might see or hear it differently. Click on “Save” or “Cancel” to return to the Peace window.
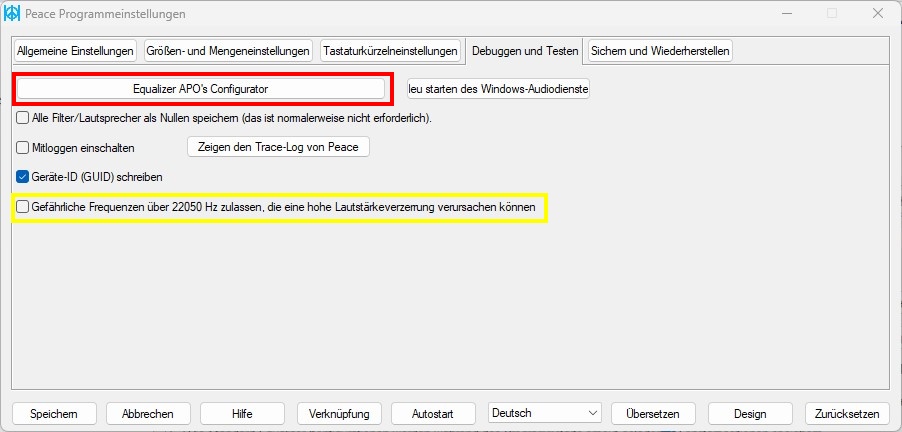
Clicking on the “Equalizer APO Configurator” button takes you to the same audio device screen that appeared when you installed the Equalizer APO. Clicking Close takes you back again.
The AutoEQ
In the Peace interface window, click on the “AutoEQ” button.
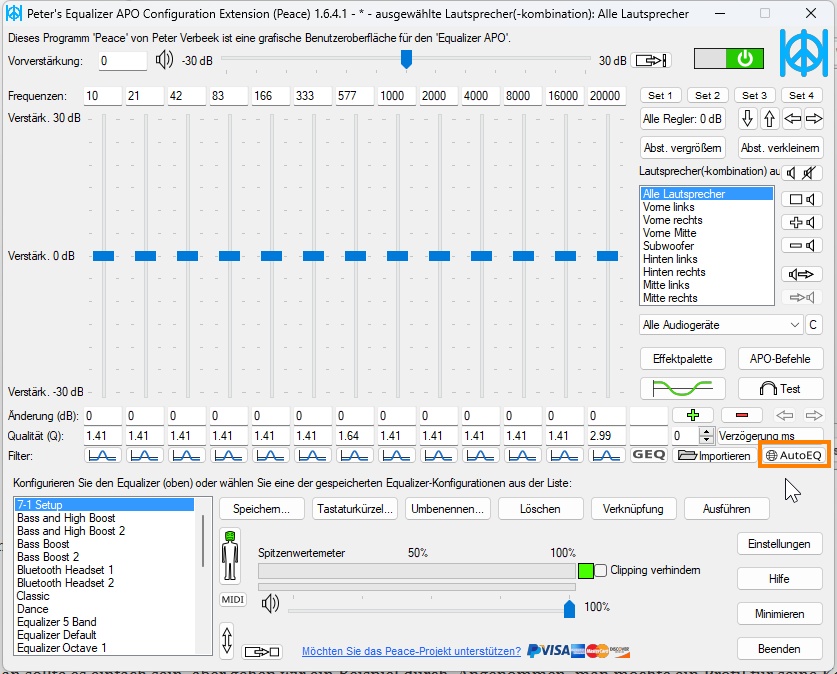
A list of headphones and a search field will appear. From here on it should be easy, but let’s go through an example. Let’s say you want to find and use a profile for your headphones, such as the HiFiMAN HE400se headphones I’ll be testing soon. In the search field, you start typing the name: something like hifi. That’s enough. As you can see, there is an available profile. Then click on the line that shows the desired headphones and then click on “Use” at the bottom left of the window.

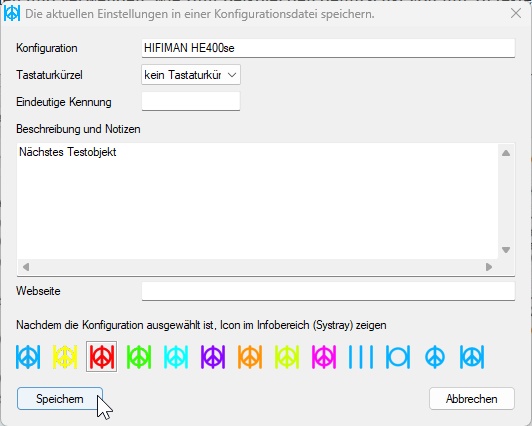
The Peace window opens and the profile is loaded. But we are not finished yet. We need to make sure that the profile is saved. So click on “Save” and again on “Save” to complete the process. Now the profile is saved and in the equalizer list.
And that’s it, we’re done. Now you can make full use of your headphones! Tip: If you want to hear the difference between the selected equalizer profile and the standard sound of the headphones, click on the power button at the top right of the Peace window to switch Peace off or on.
Using multiple AutoEQ profiles
When browsing the AutoEQ list, you will of course notice that some headphones have several equalizer profiles. If you want to hear the difference between them, you can select them one by one, save them and switch between them to see which one best suits your listening habits. You can also visit the AutoEQ website and use the web audio player provided there to do the same without having to import them into Peace. Peace also supports importing profiles from matching text files. This can be done by clicking on the “Import” button and selecting the desired file.


115 Antworten
Kommentar
Lade neue Kommentare
Urgestein
Urgestein
Neuling
1
Veteran
Veteran
Urgestein
Urgestein
1
Veteran
Veteran
Urgestein
Mitglied
Mitglied
1
1
Mitglied
1
Urgestein
Alle Kommentare lesen unter igor´sLAB Community →