


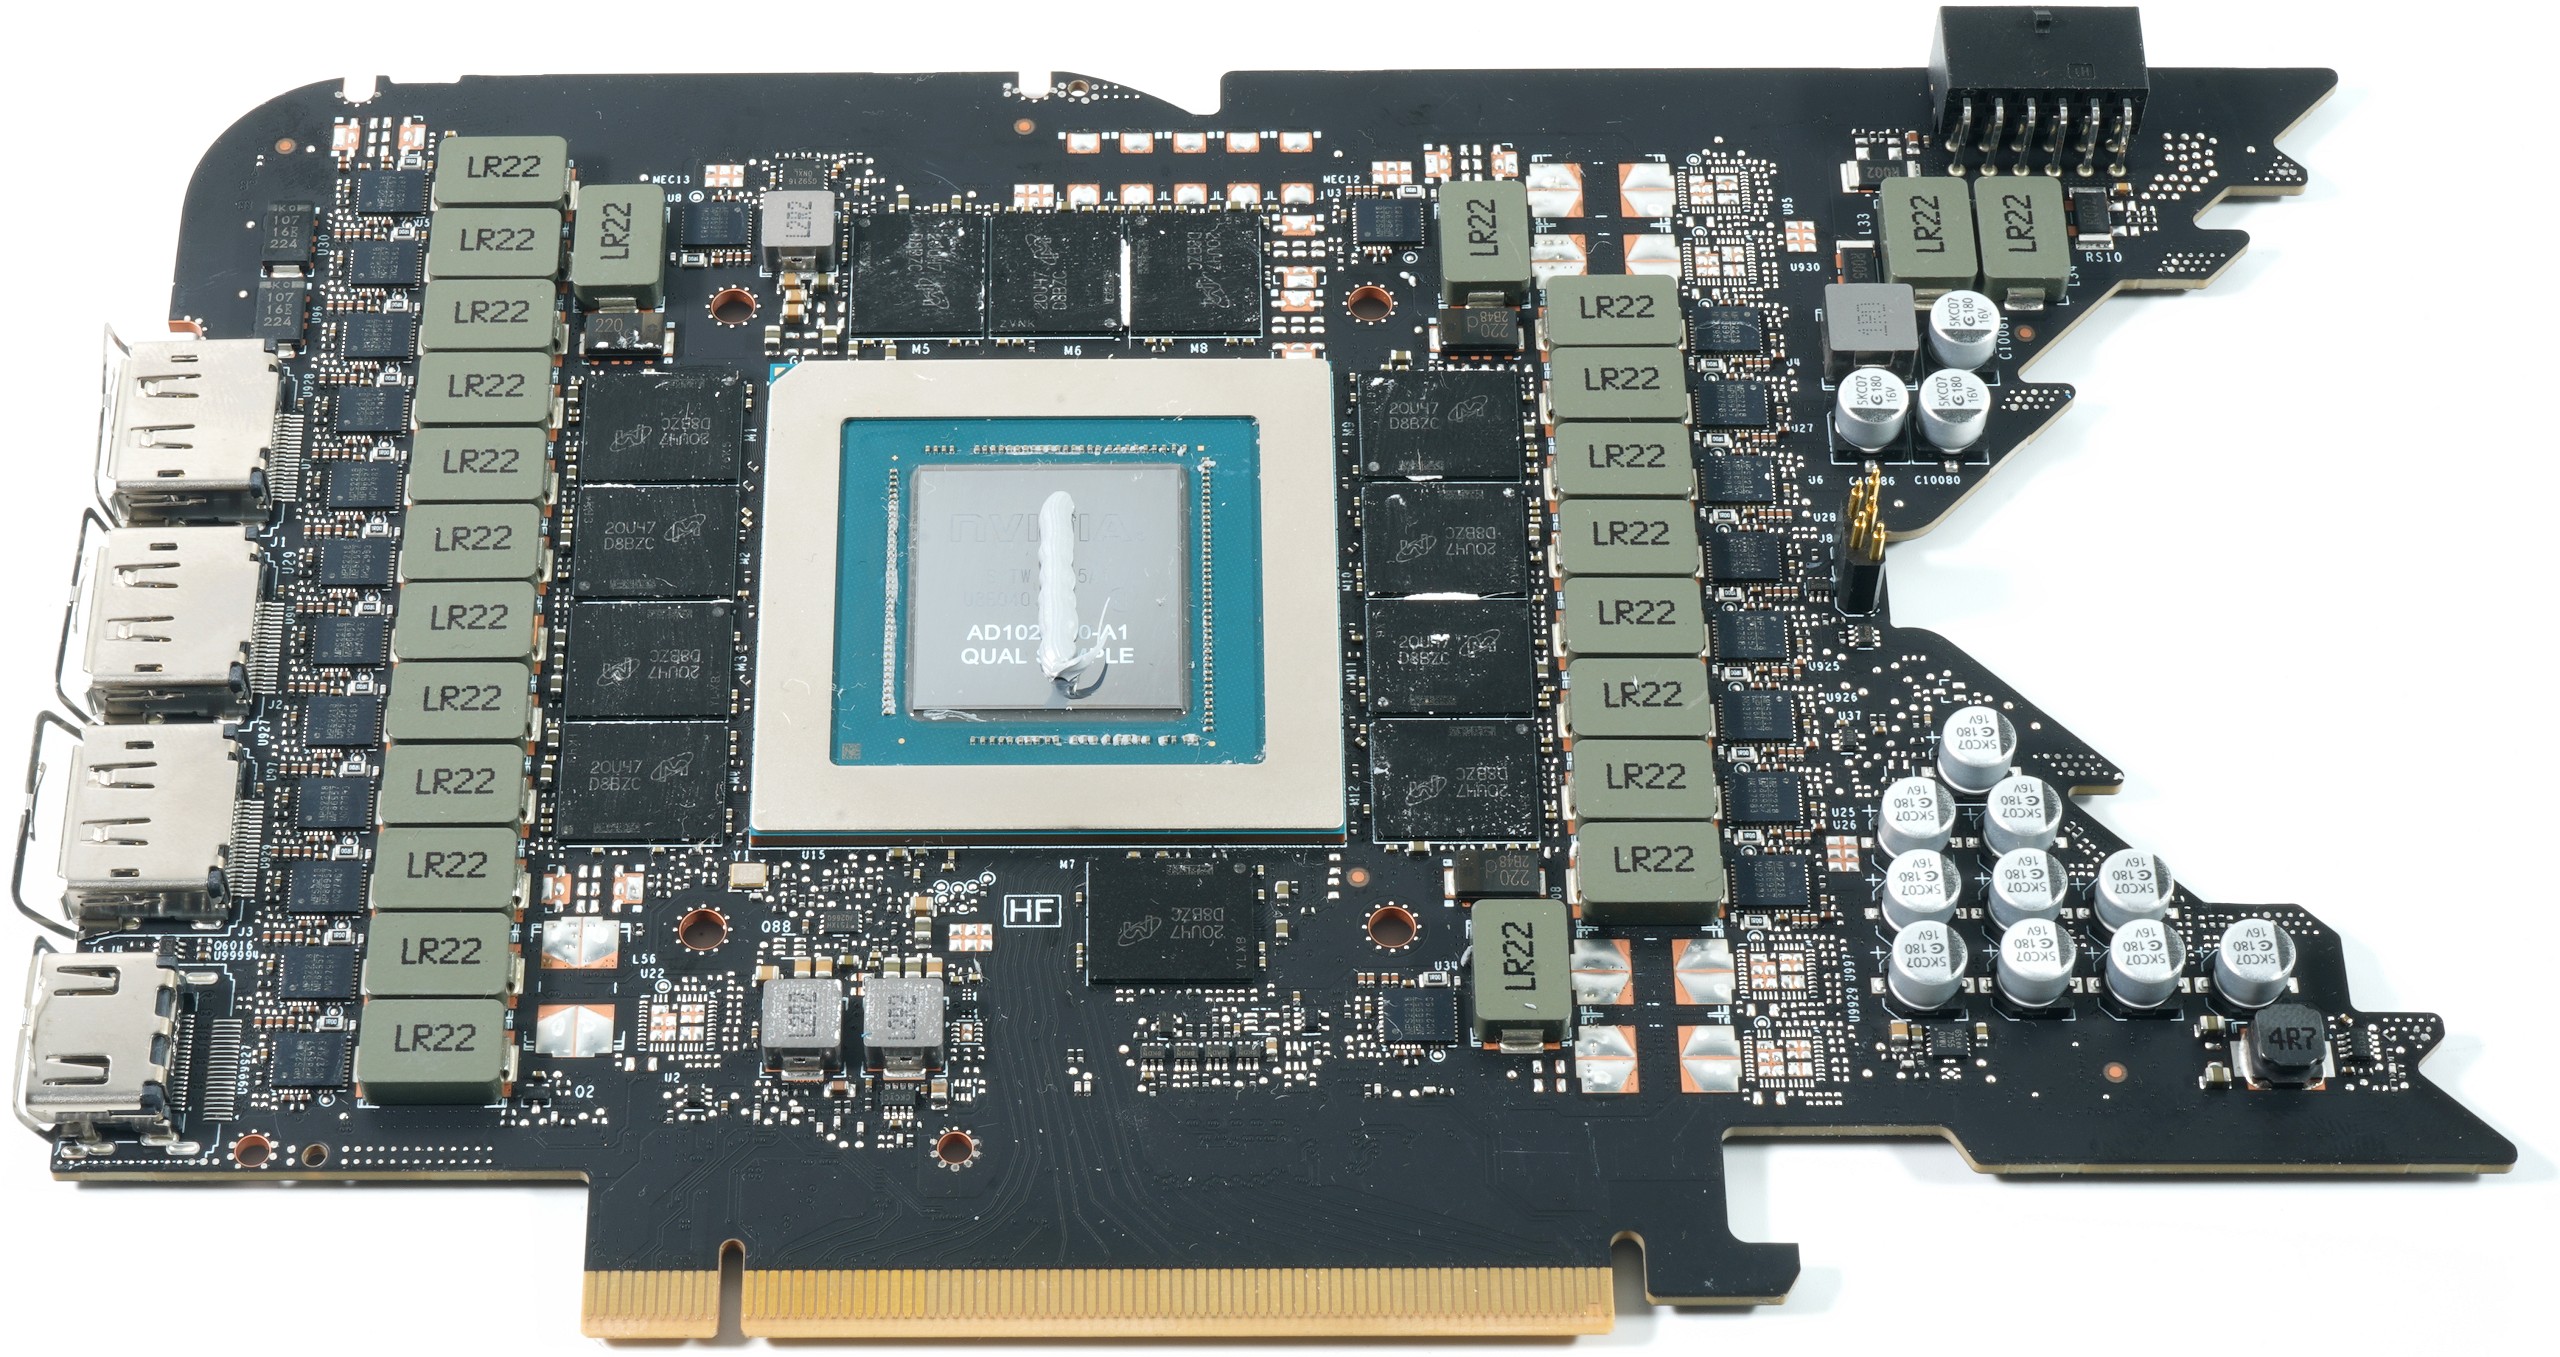
Disassembling and cleaning the board
You can find out more about the correct order of disassembly in the article linked below. I’m assuming you’ve also read my videos and articles on the RTX 3080 and RTX 3090, so you already know the procedure. For all others: The two ribbon cables for the fans can be released by tilting the black levers at the end of the lock upwards. Please remove or lift off the thermal paste dry first and only later use some isopropanol sparingly for fine cleaning.
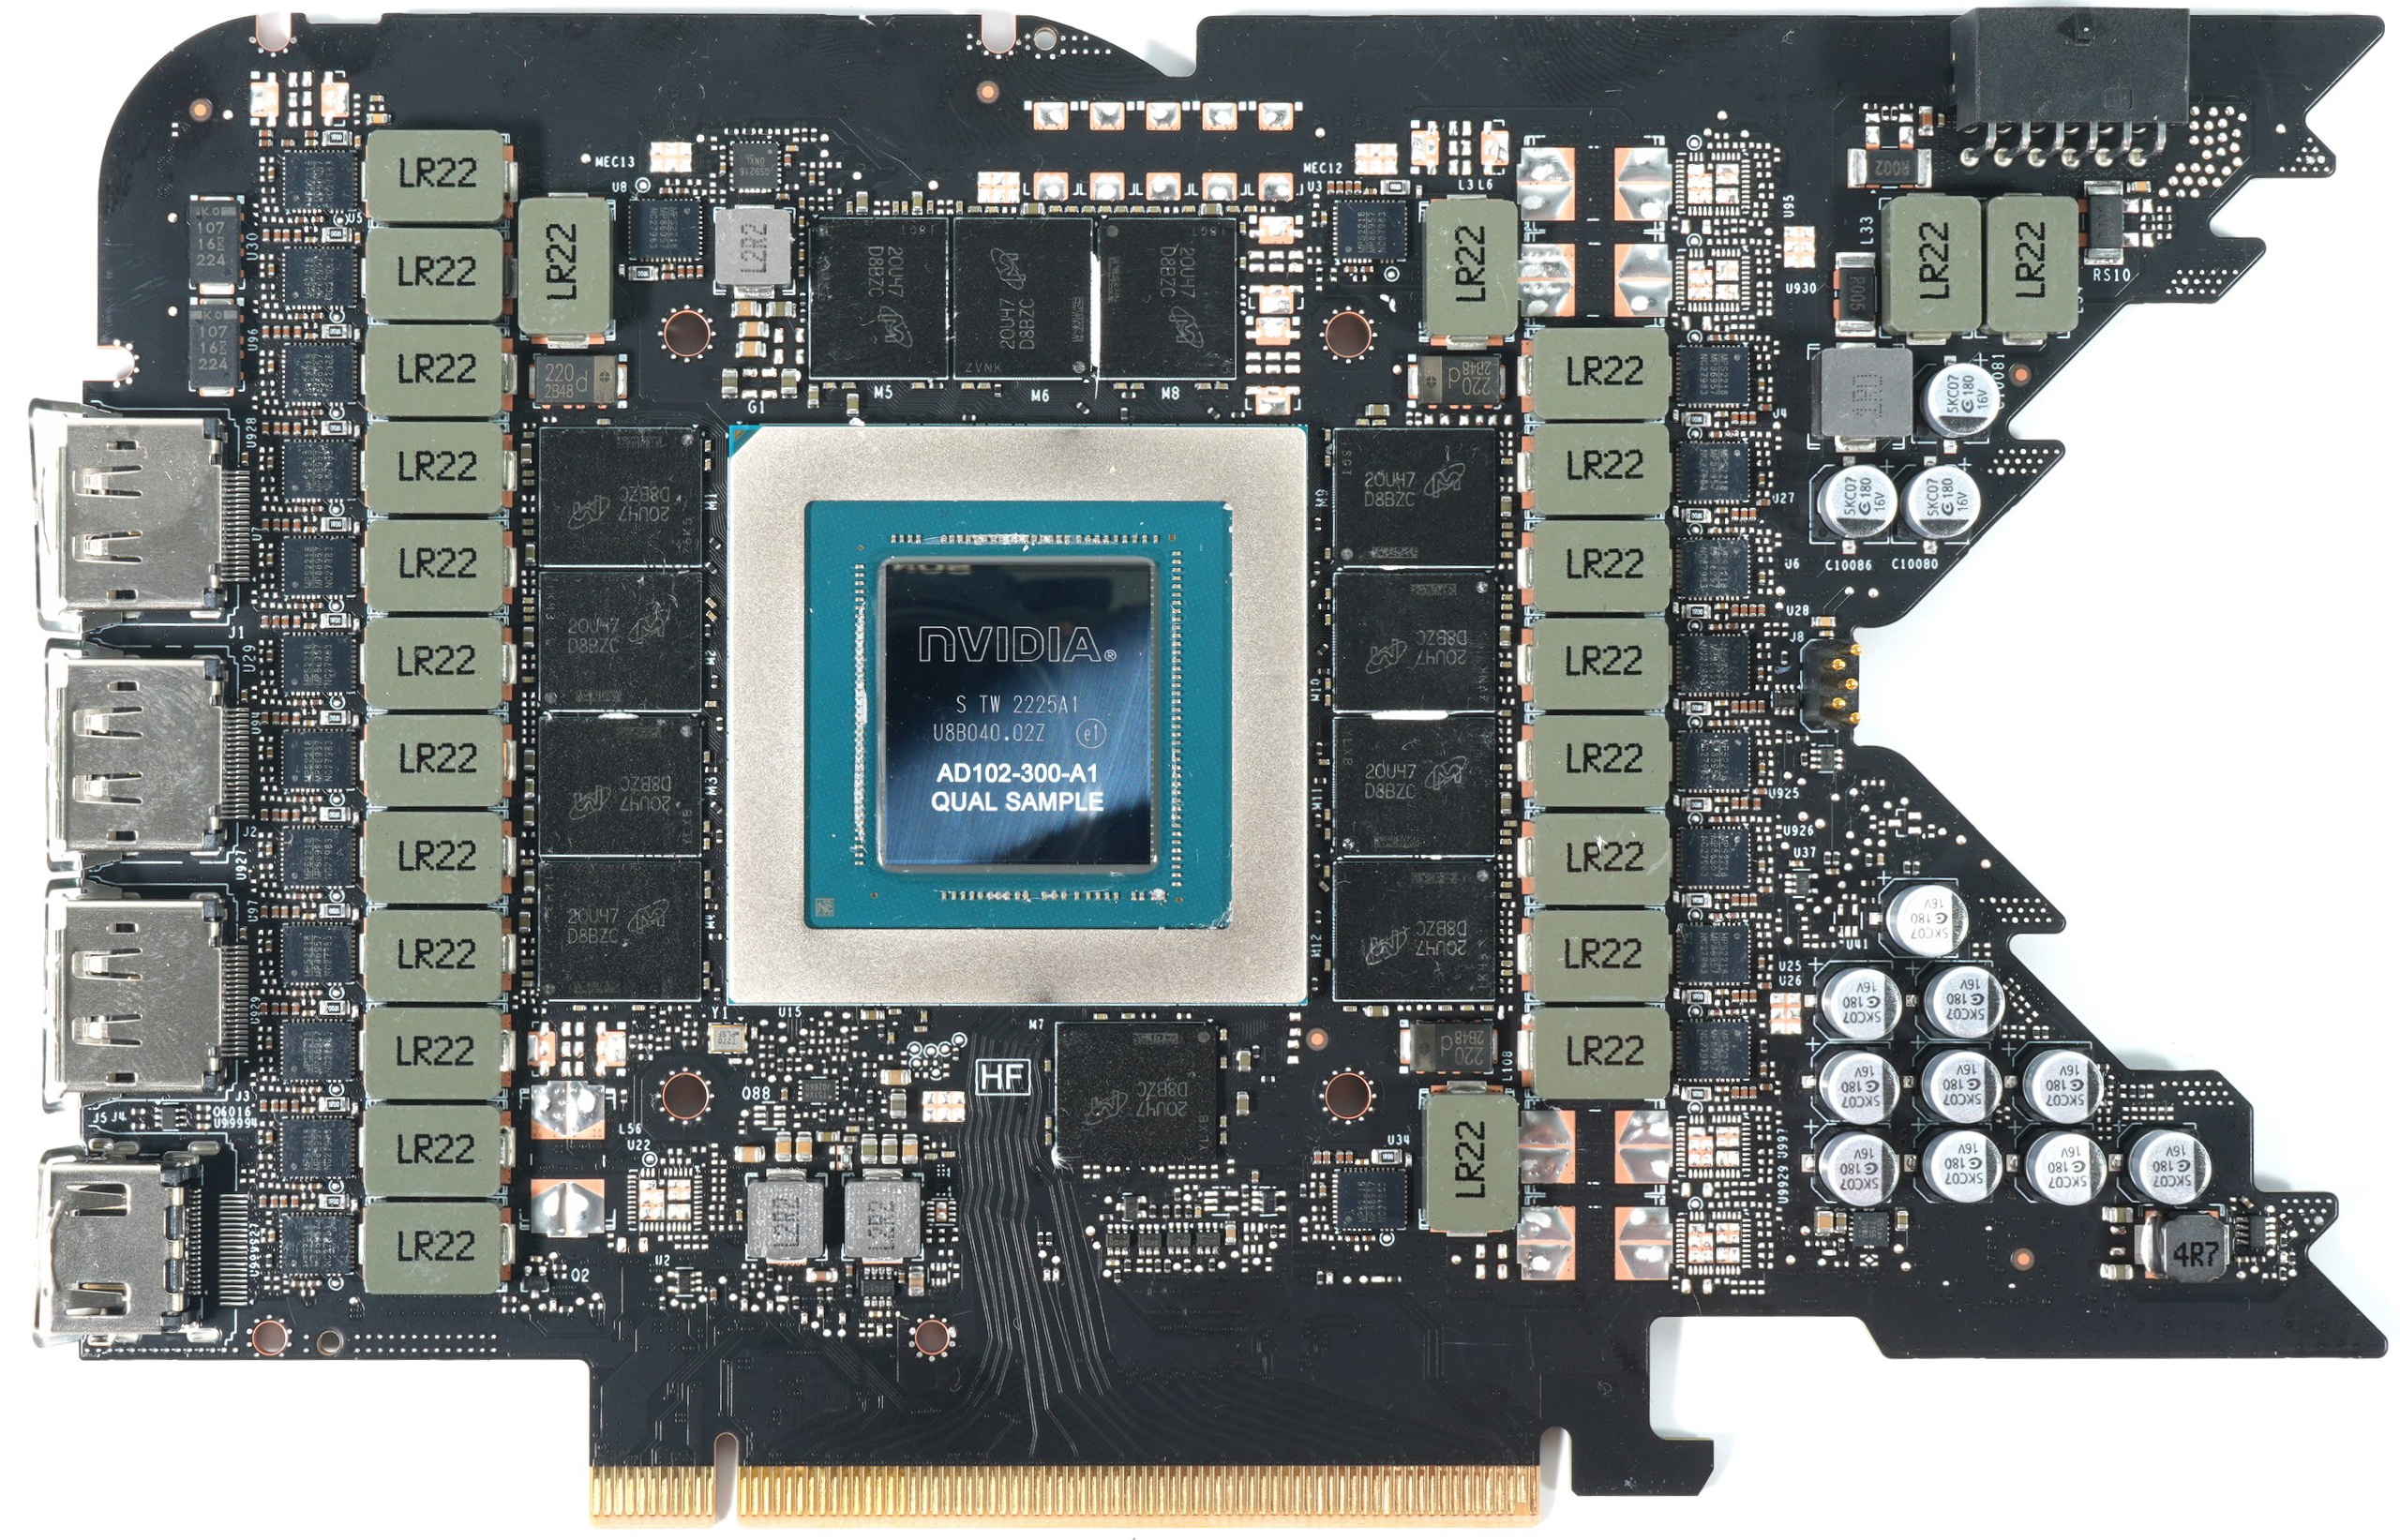
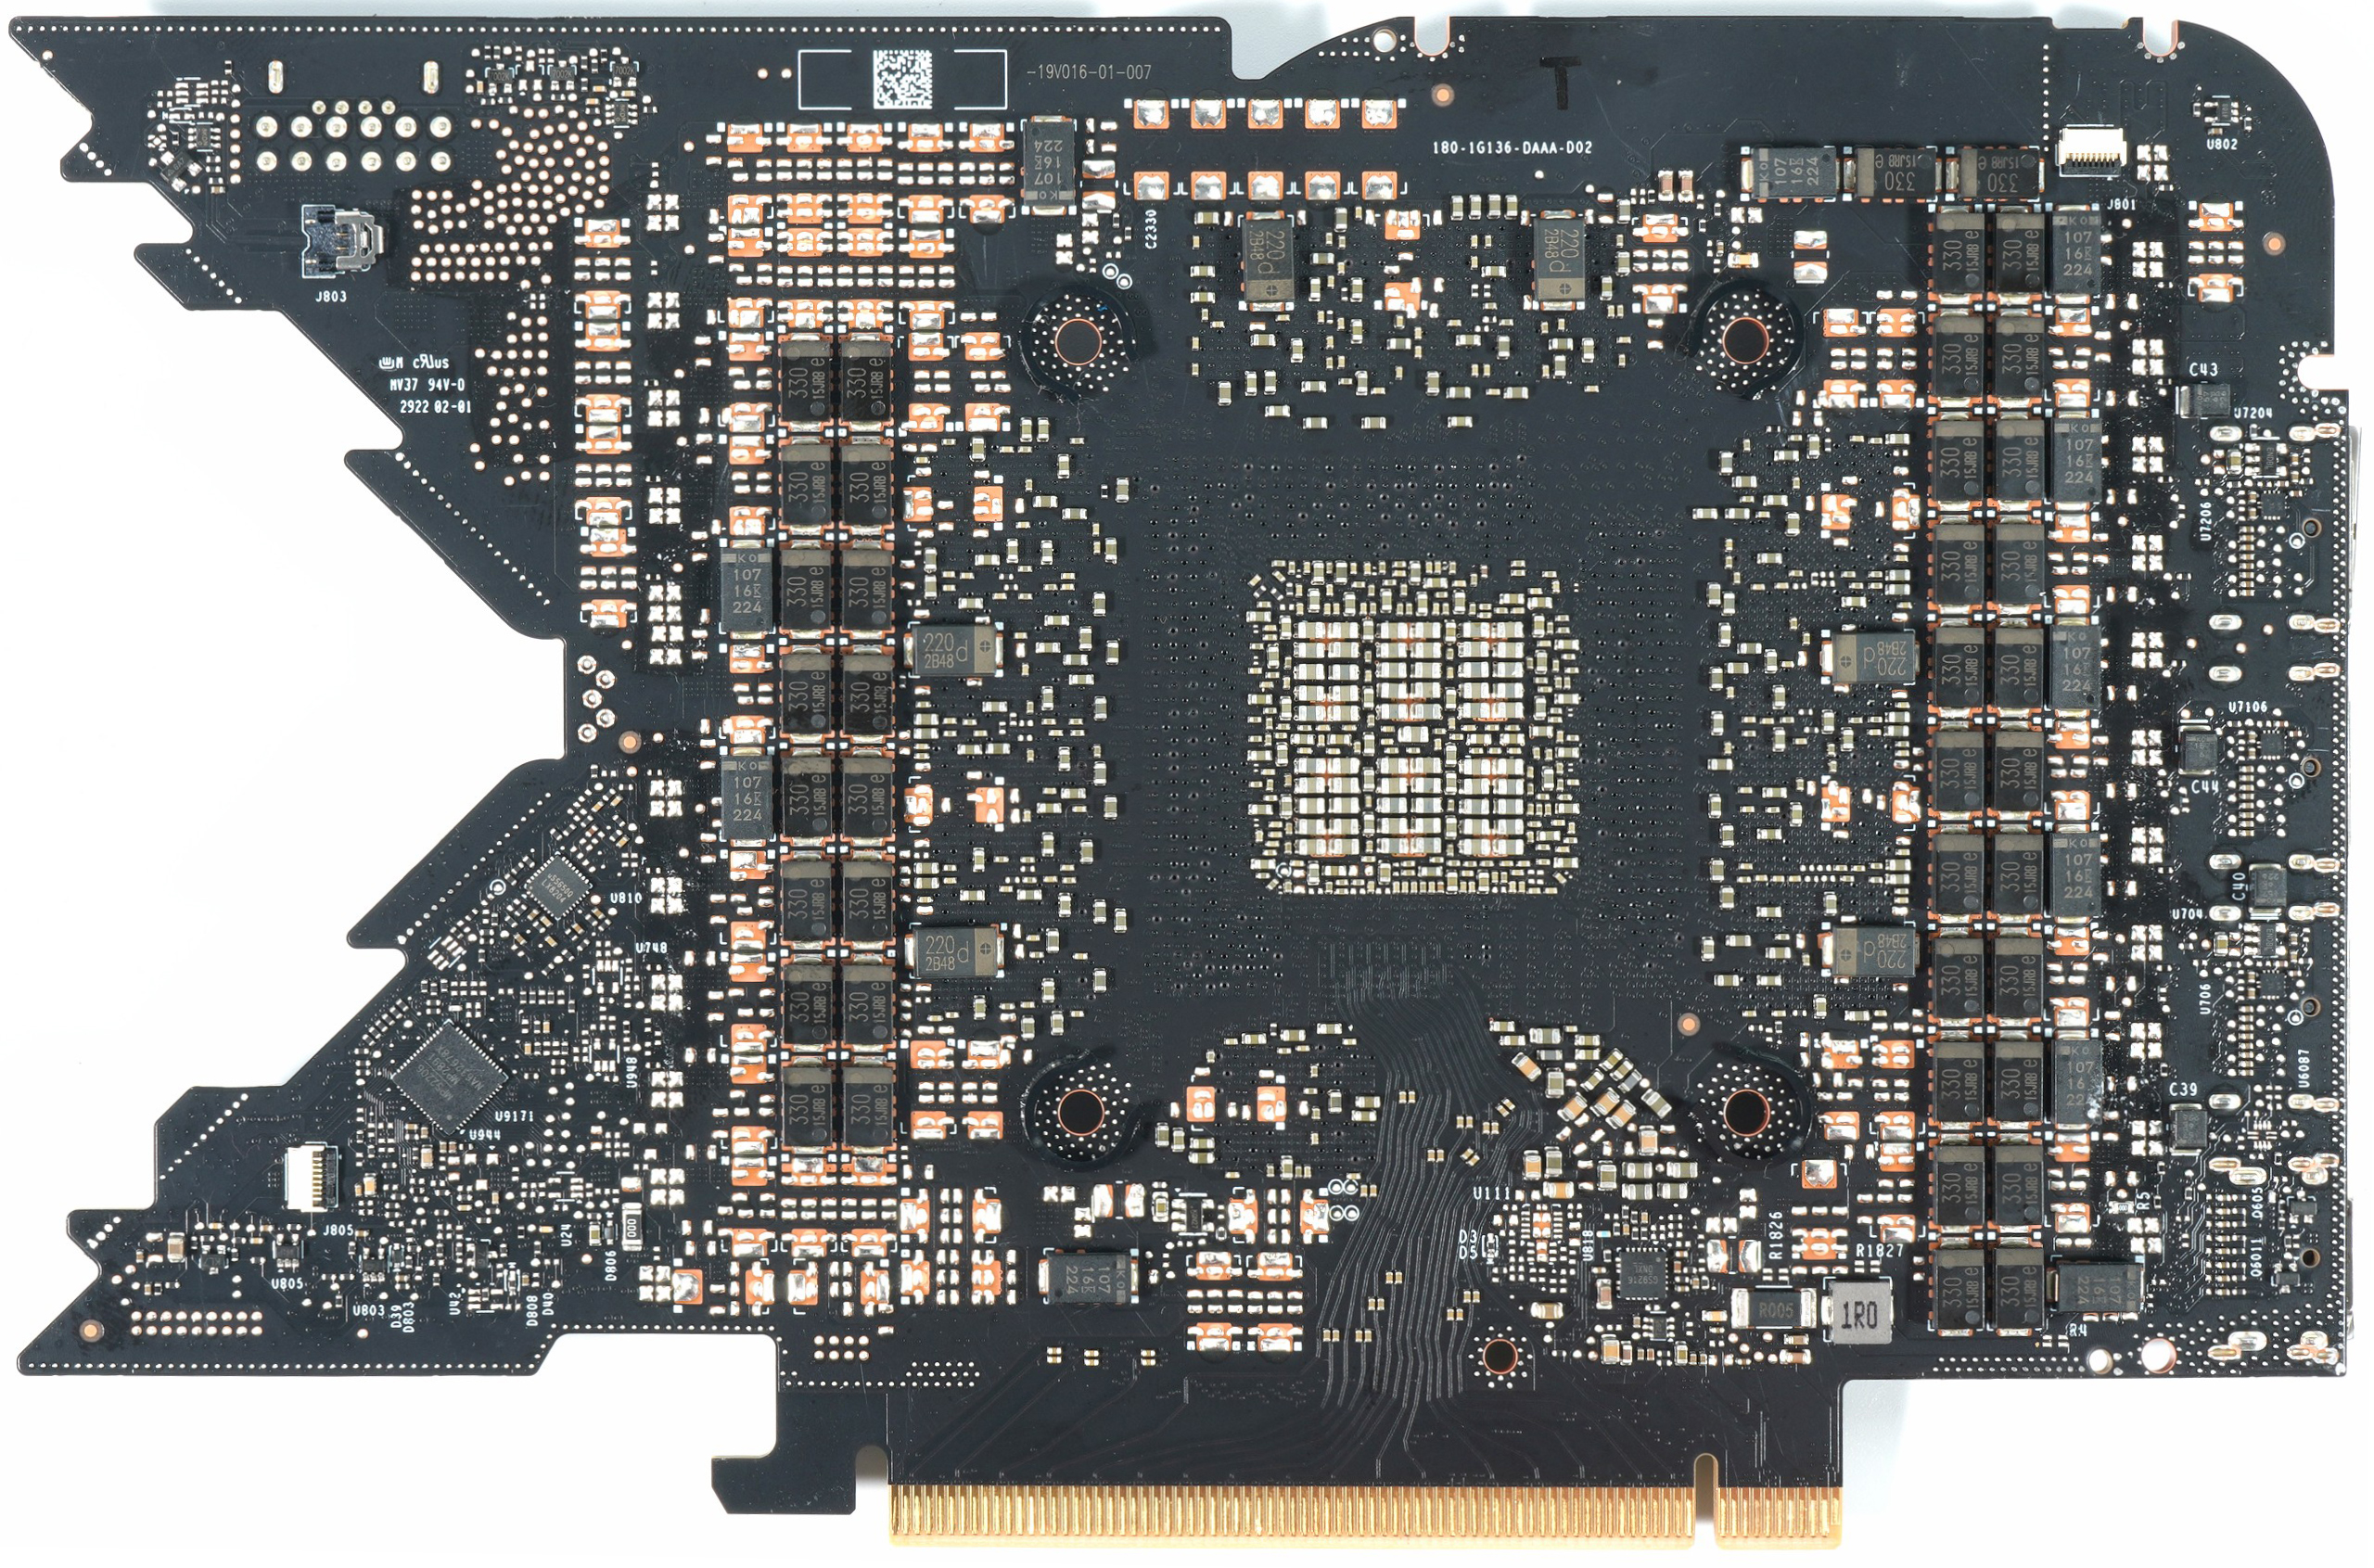
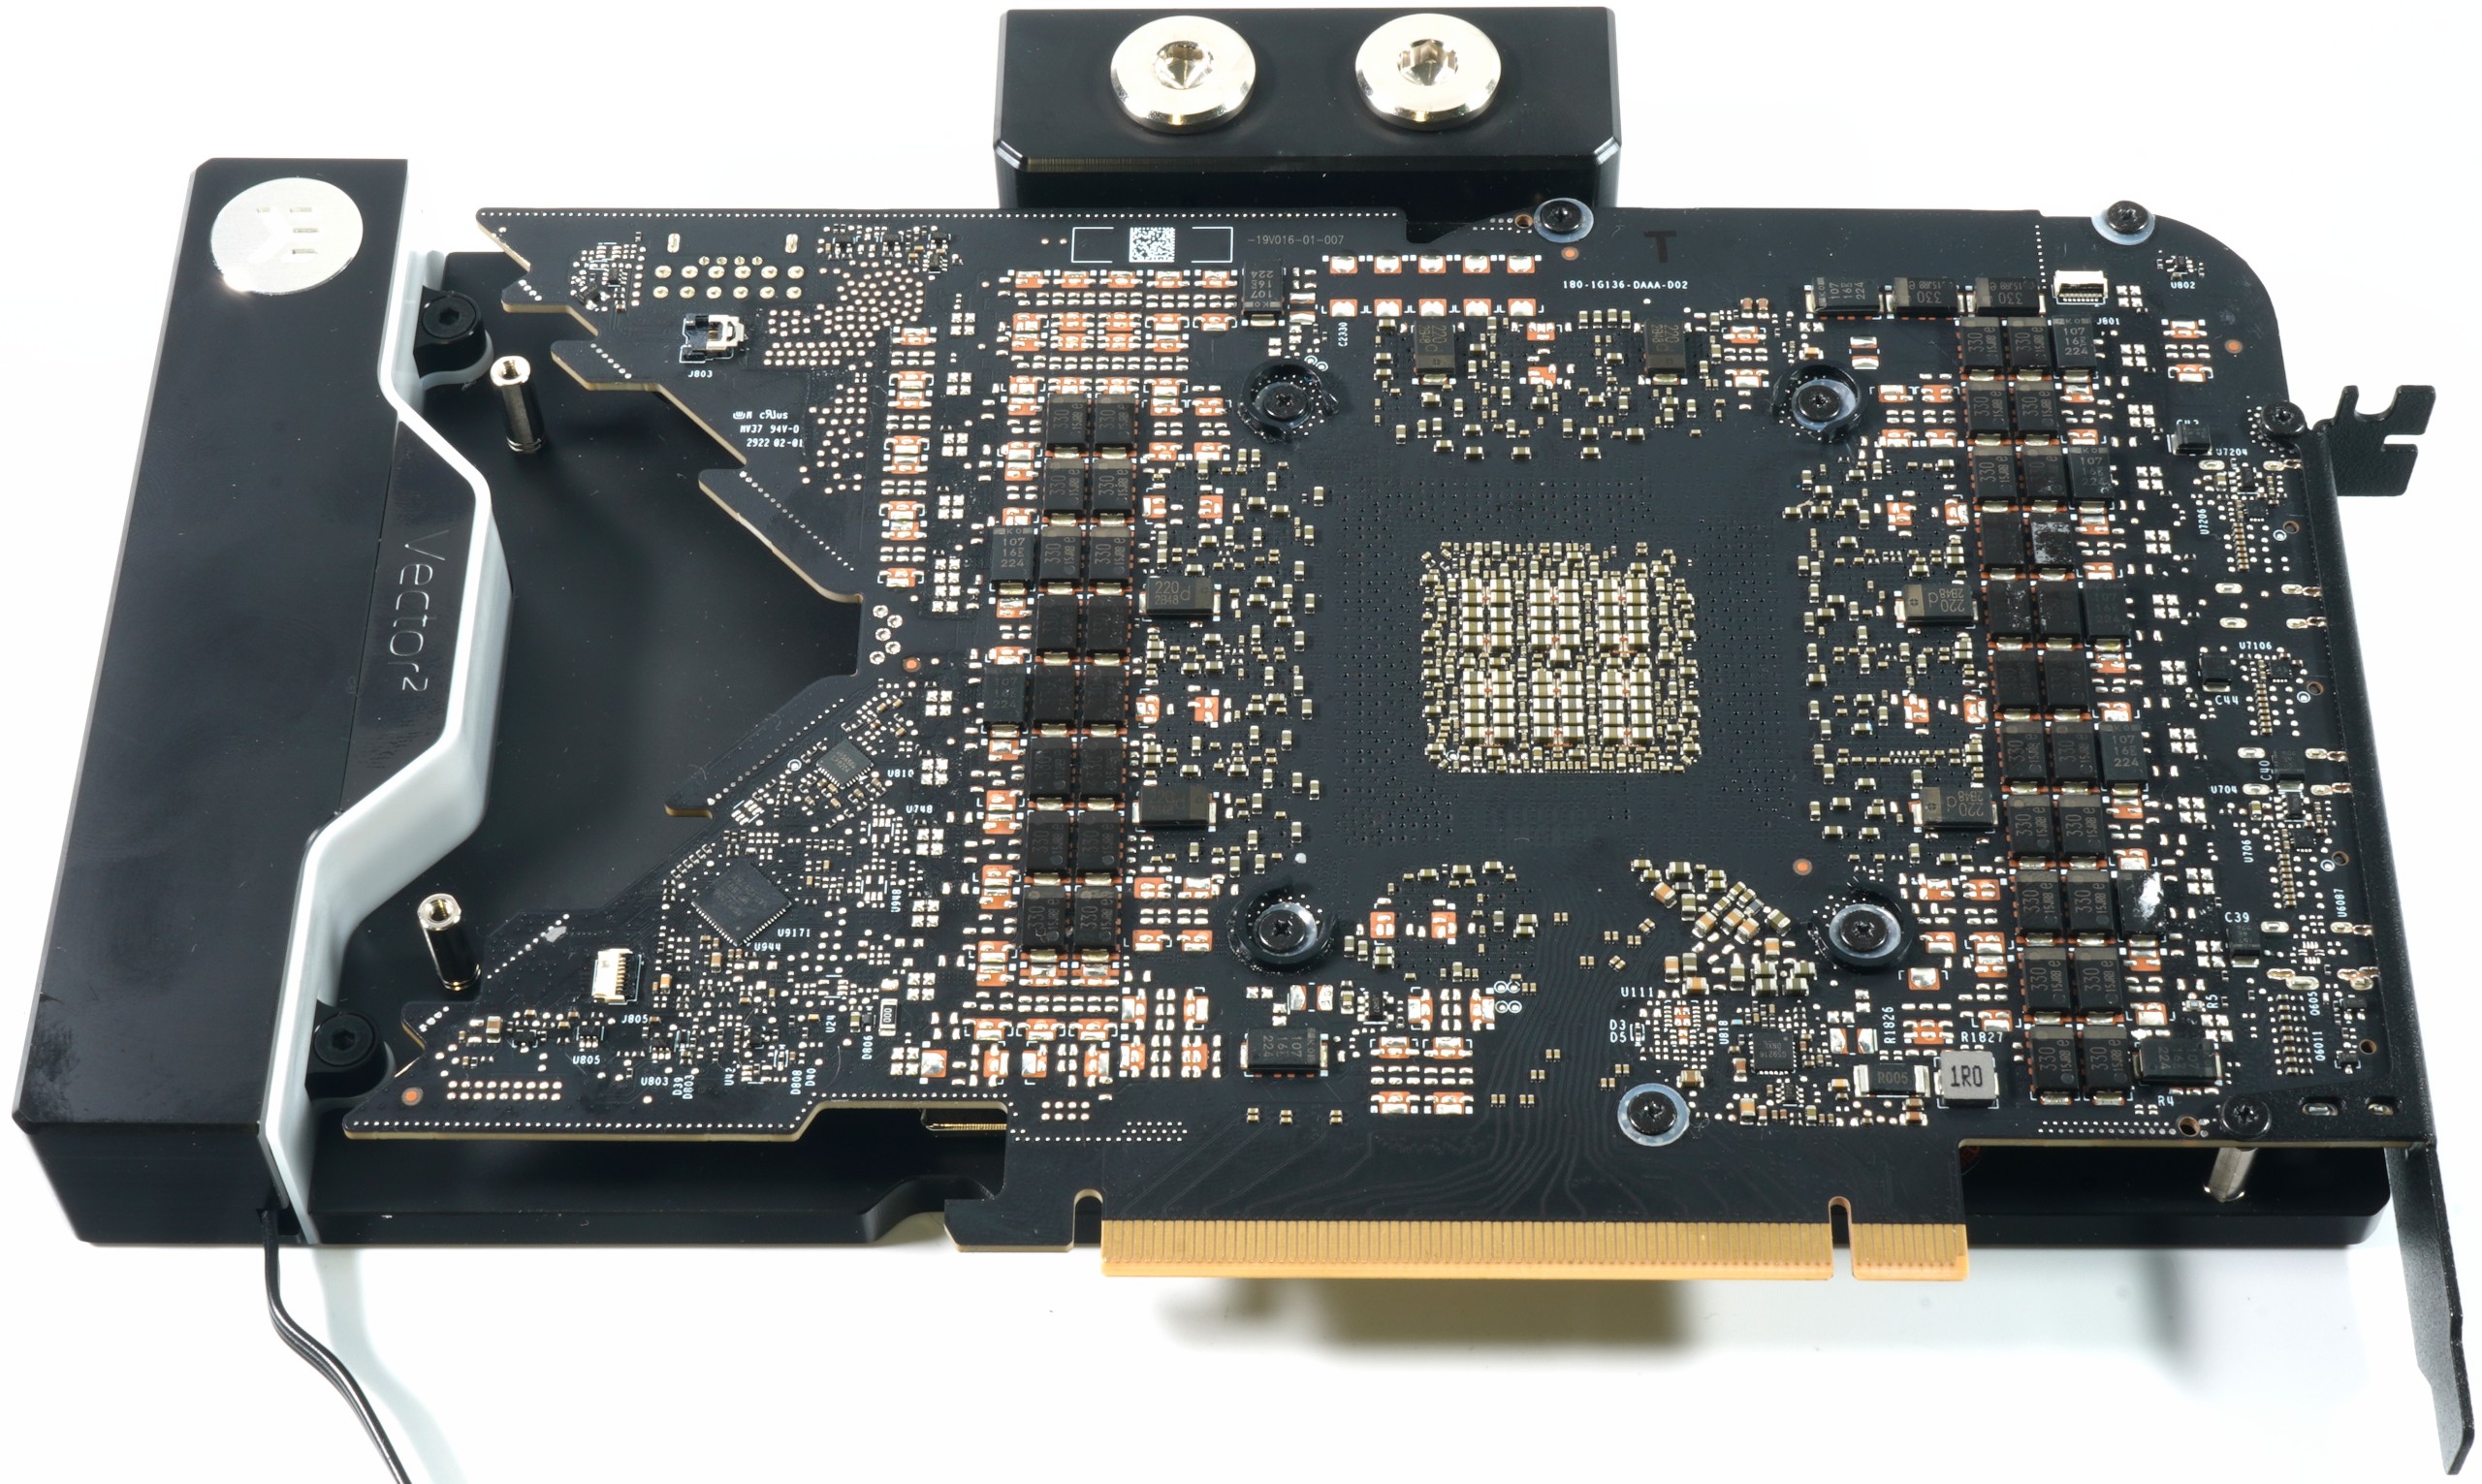
We can neglect the back, it does not need to be cleaned either.
Here again the procedure with description:
NVIDIA GeForce RTX 4090 Founders Edition richtig zerlegen – Anleitung für Wasserkühlungs-Umbauer
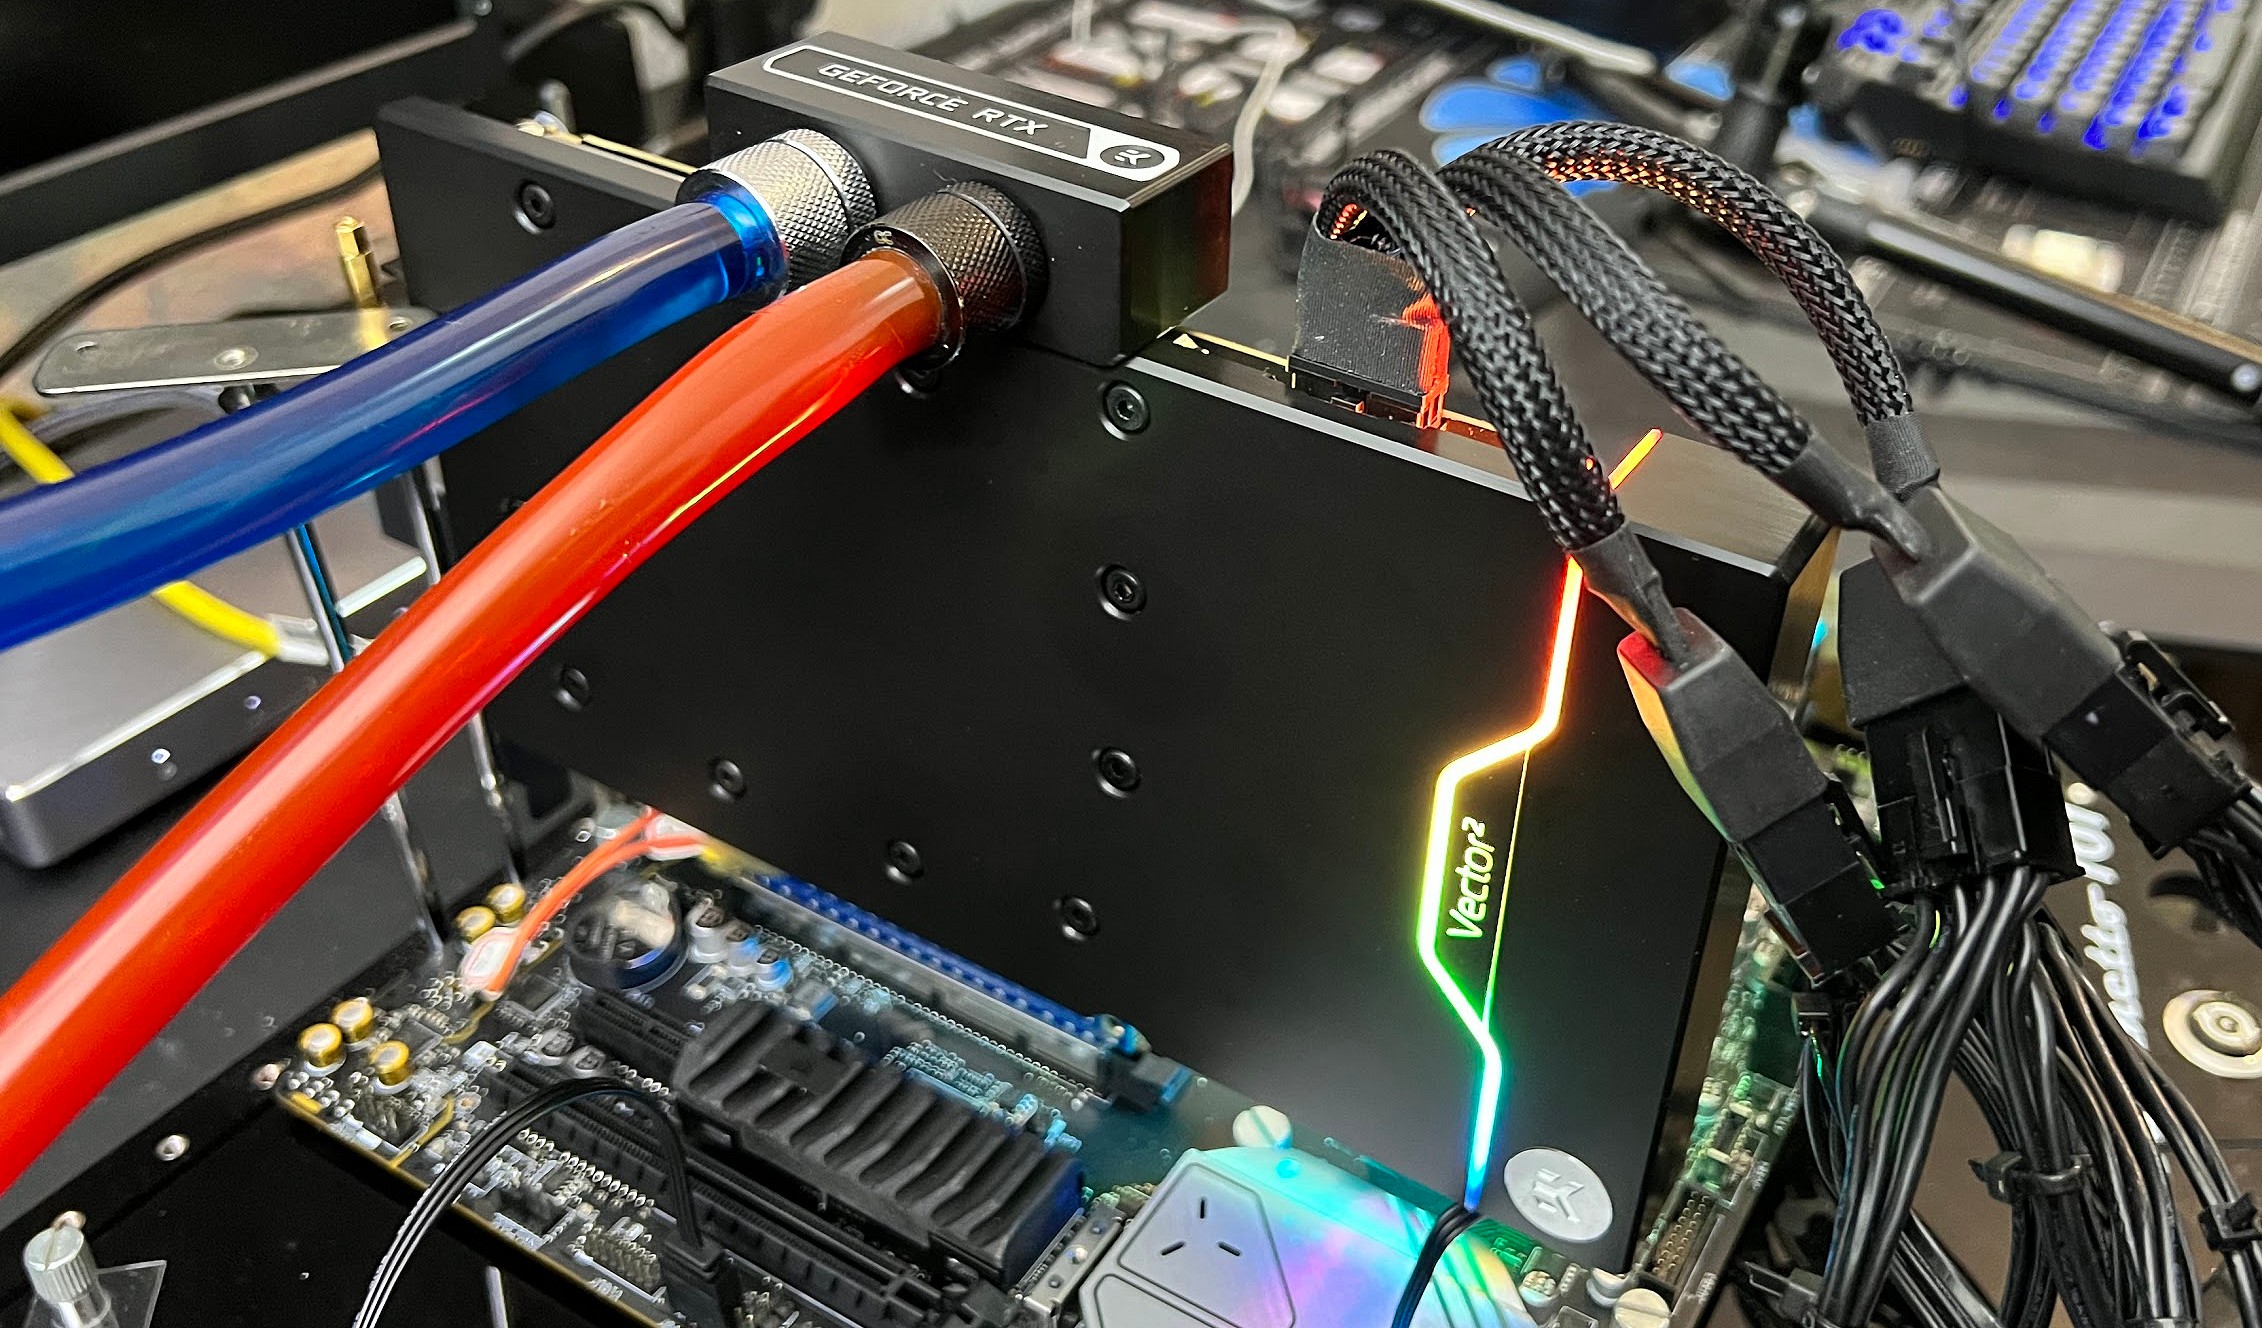
Mounting
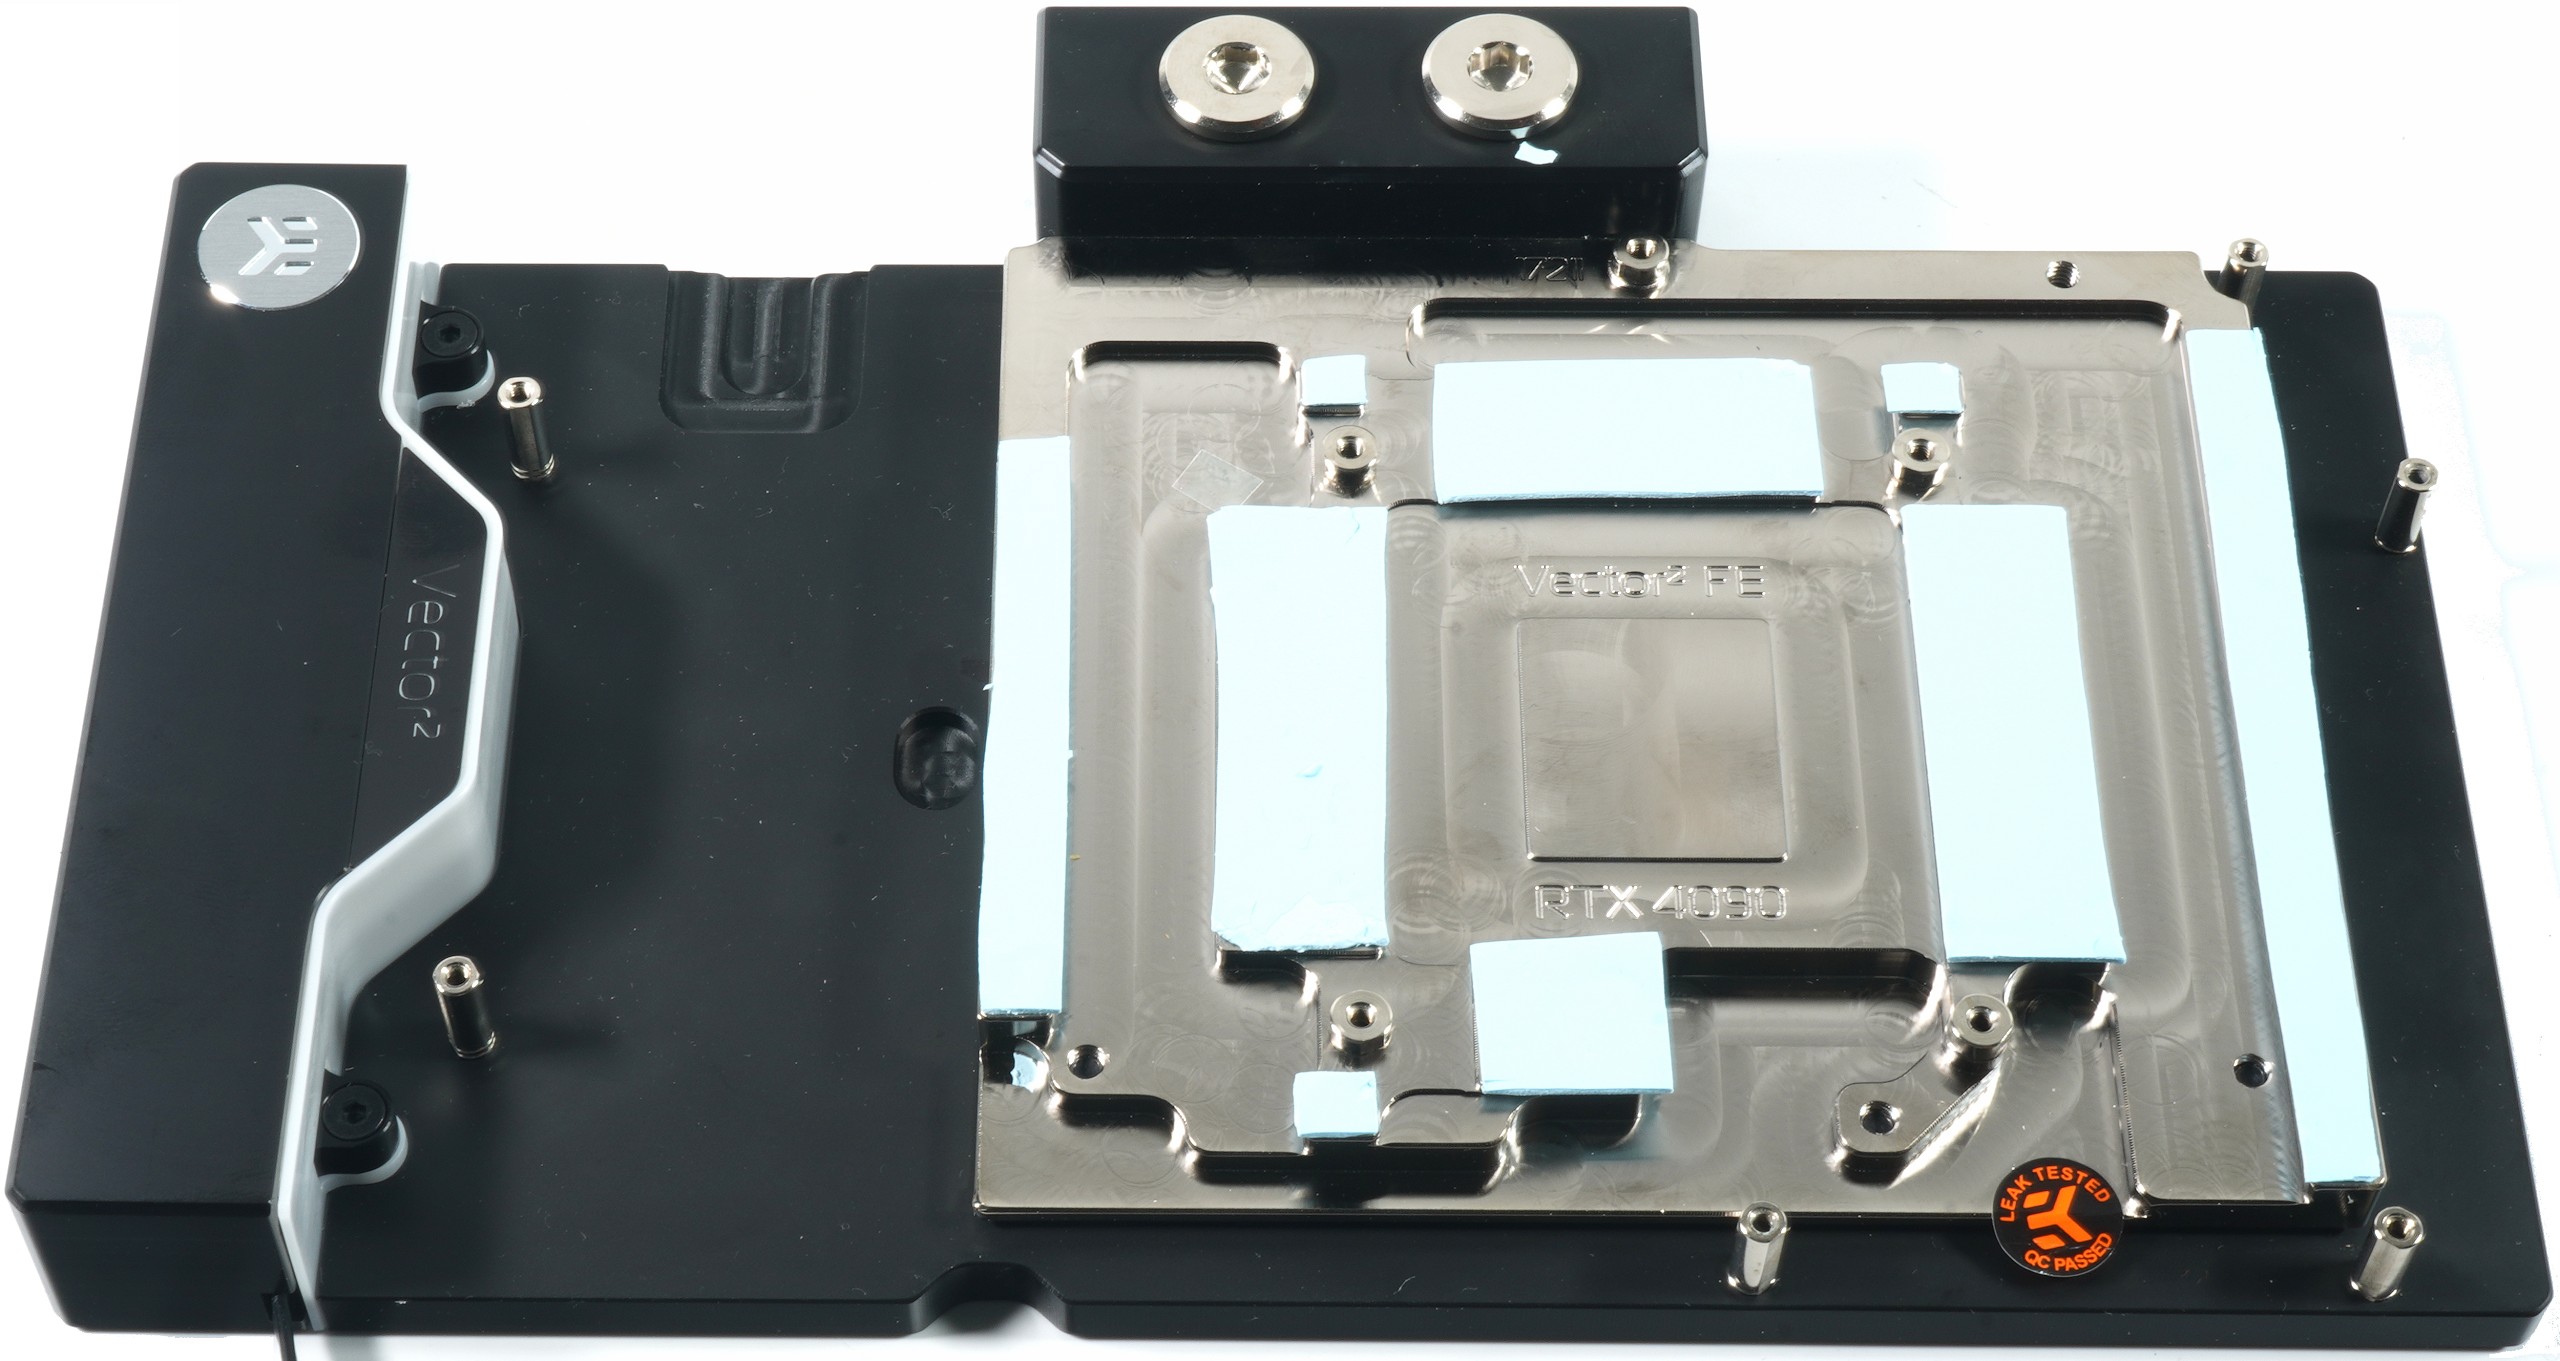
This step is also done relatively quickly, but some preliminary work is then still necessary. Please do not forget to lead the cable out of the cover beforehand! The heat conduction pads, on the other hand, are a time-consuming matter, because the rather mediocre pads are not preassembled, but have to be cut by hand. In addition, there are pad strips with 1 mm, 1.5 mm and 2 mm thickness, which are not labeled, but lie jumbled in a bag. Ergo, you first have to sort the right thicknesses by means of visual inspection.
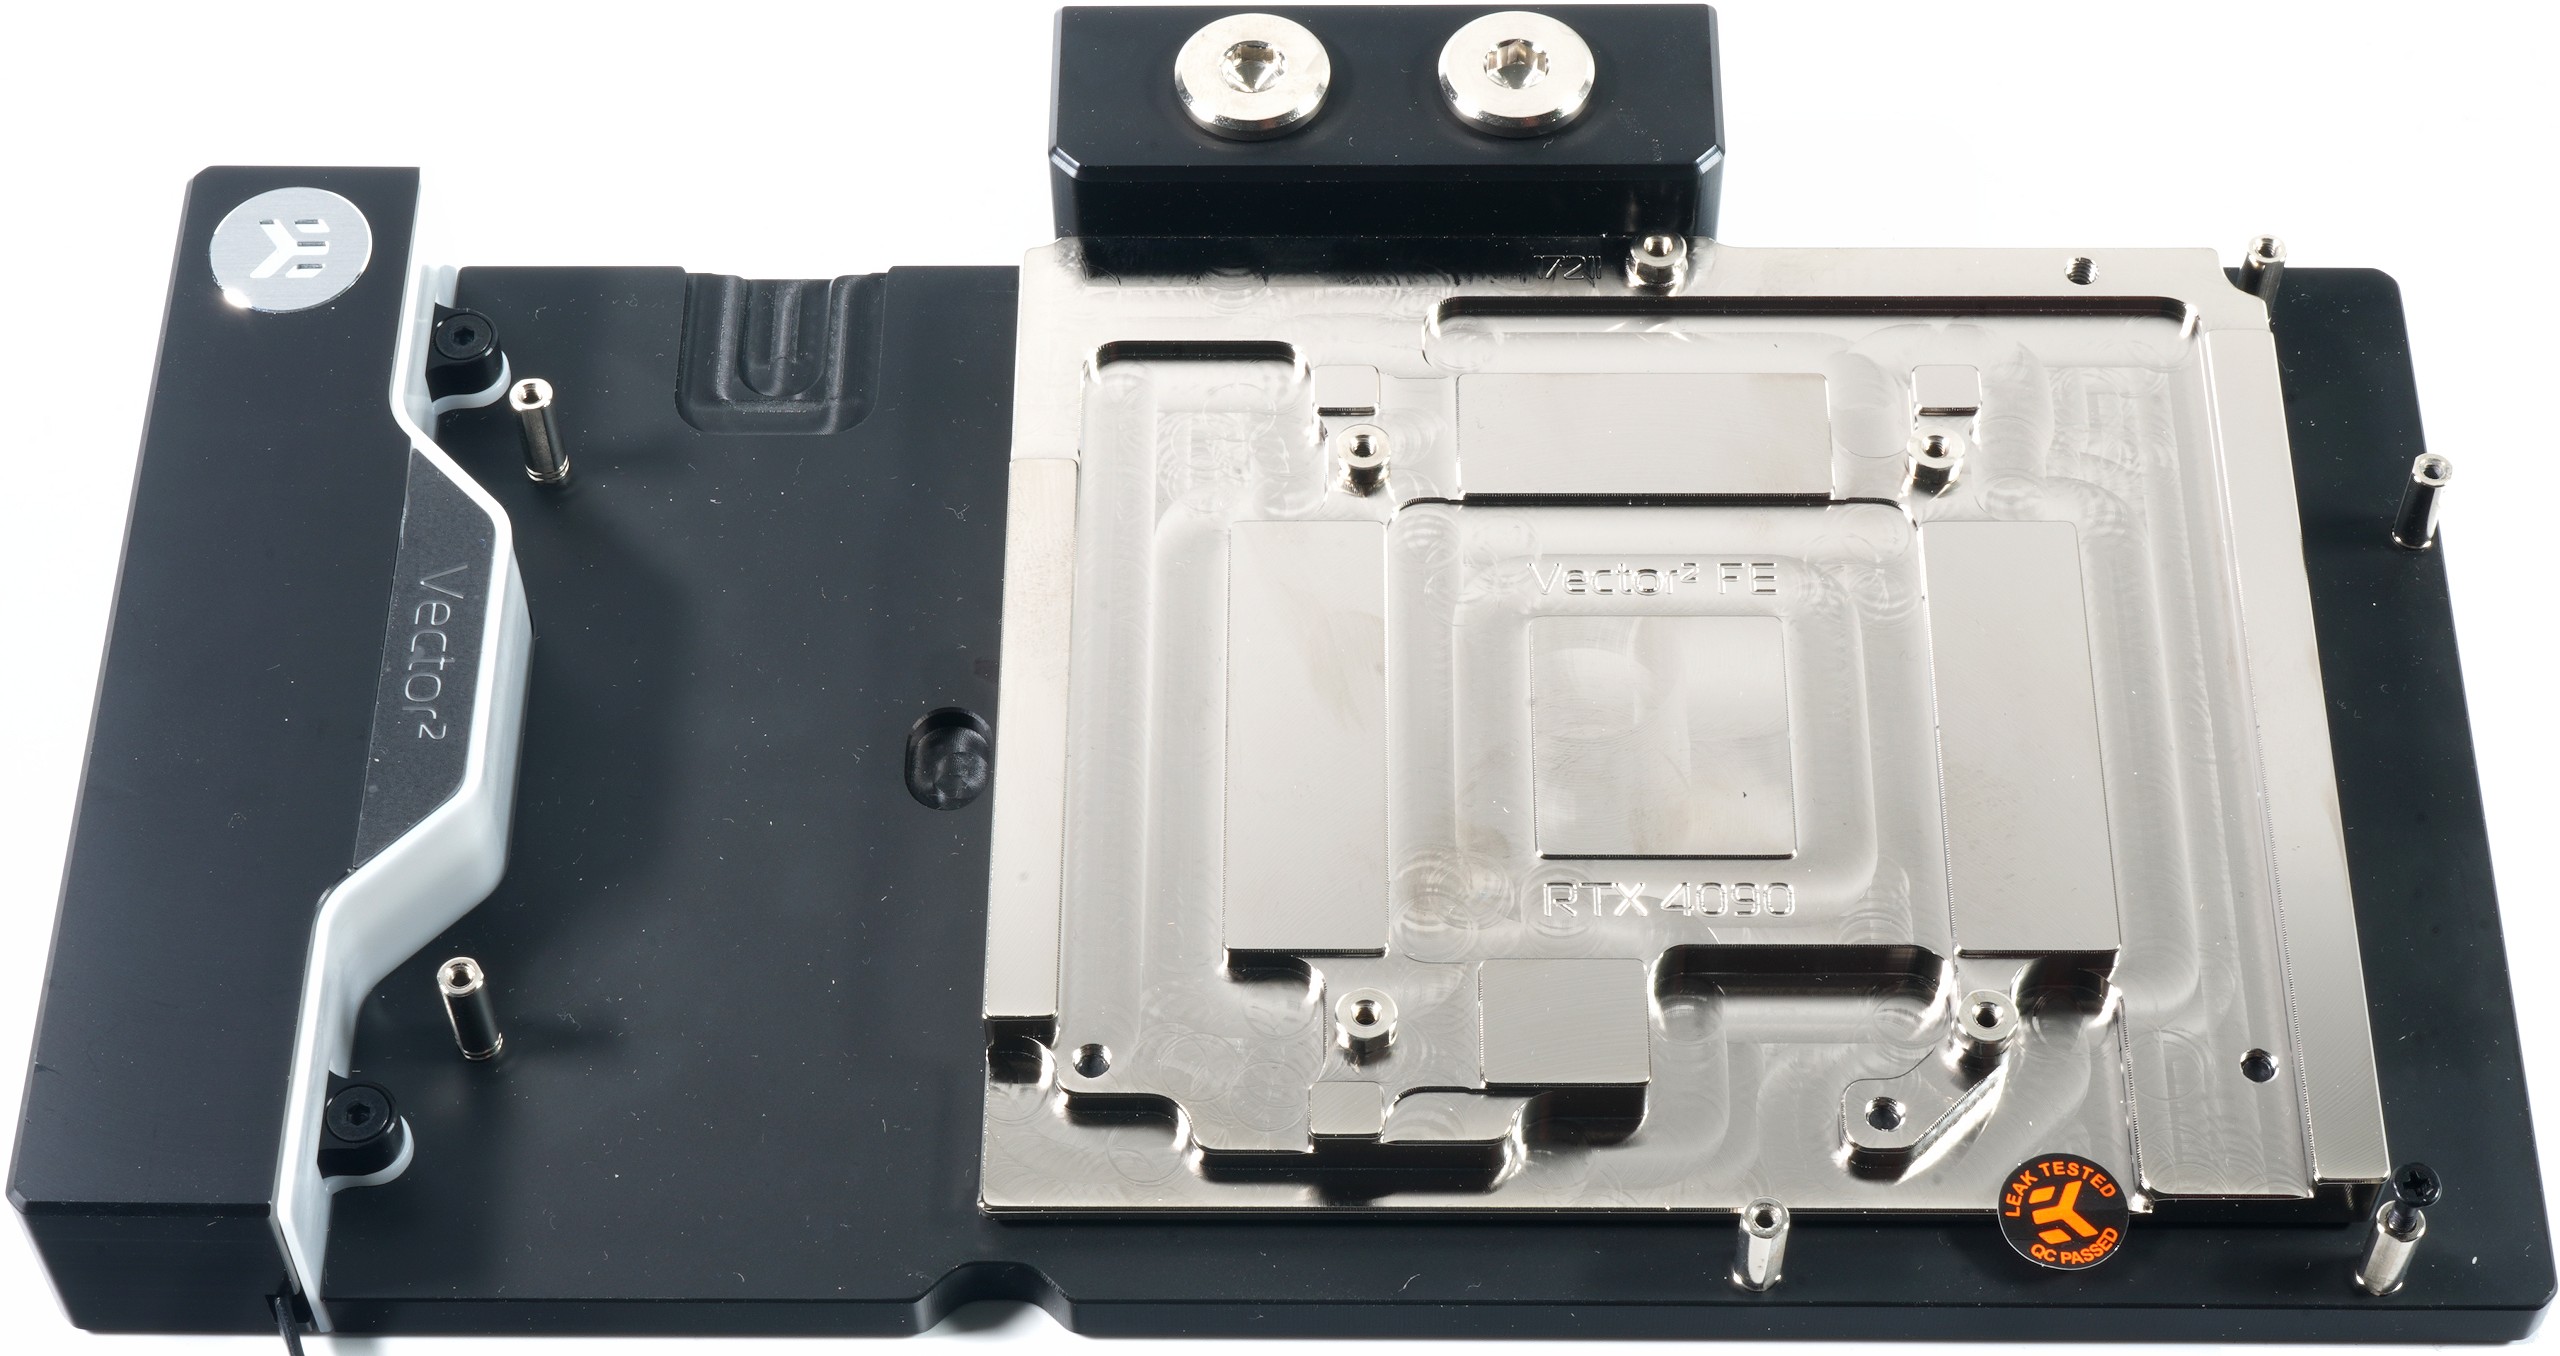
This might explain why some users complain about bad temperatures. Because if you use the pads with 1.5 mm for the RAM and the voltage converters, the heatsink of the GPU does not get enough contact pressure anymore. by the way, I stick the pads with the adhesive side (where the thick foil is) on the block and not on the board. The advantage becomes apparent at the latest during subsequent disassembly, when nothing sticks annoyingly to the components.
For paste, EK supplies a small OEM tube of Thermal Grizzly Kryonaut. This is more than enough for one-time application. I use the sausage method here again, this has already proven itself with the Ampere cards and also works excellently with the large Ada chip.
At this point, at the latest, the unused openings should be tightly sealed with the two supplied blanking plugs. Hand-tight and with the hexagon socket tool. Just not with really sturdy tools, because then it crunches faster than you would like. Hand-tight does not mean brutally tight.
It didn’t take me 15 minutes for the complete assembly, even a layman could easily do it in less than 30 minutes including the pads and paste. Let’s call it solvable even for newcomers. Then comes the density test on let’s go!


21 Antworten
Kommentar
Lade neue Kommentare
Urgestein
Urgestein
Veteran
Urgestein
Mitglied
Mitglied
1
Neuling
Veteran
1
Veteran
Veteran
1
Neuling
1
Urgestein
Mitglied
1
Veteran
Alle Kommentare lesen unter igor´sLAB Community →