


Installation report
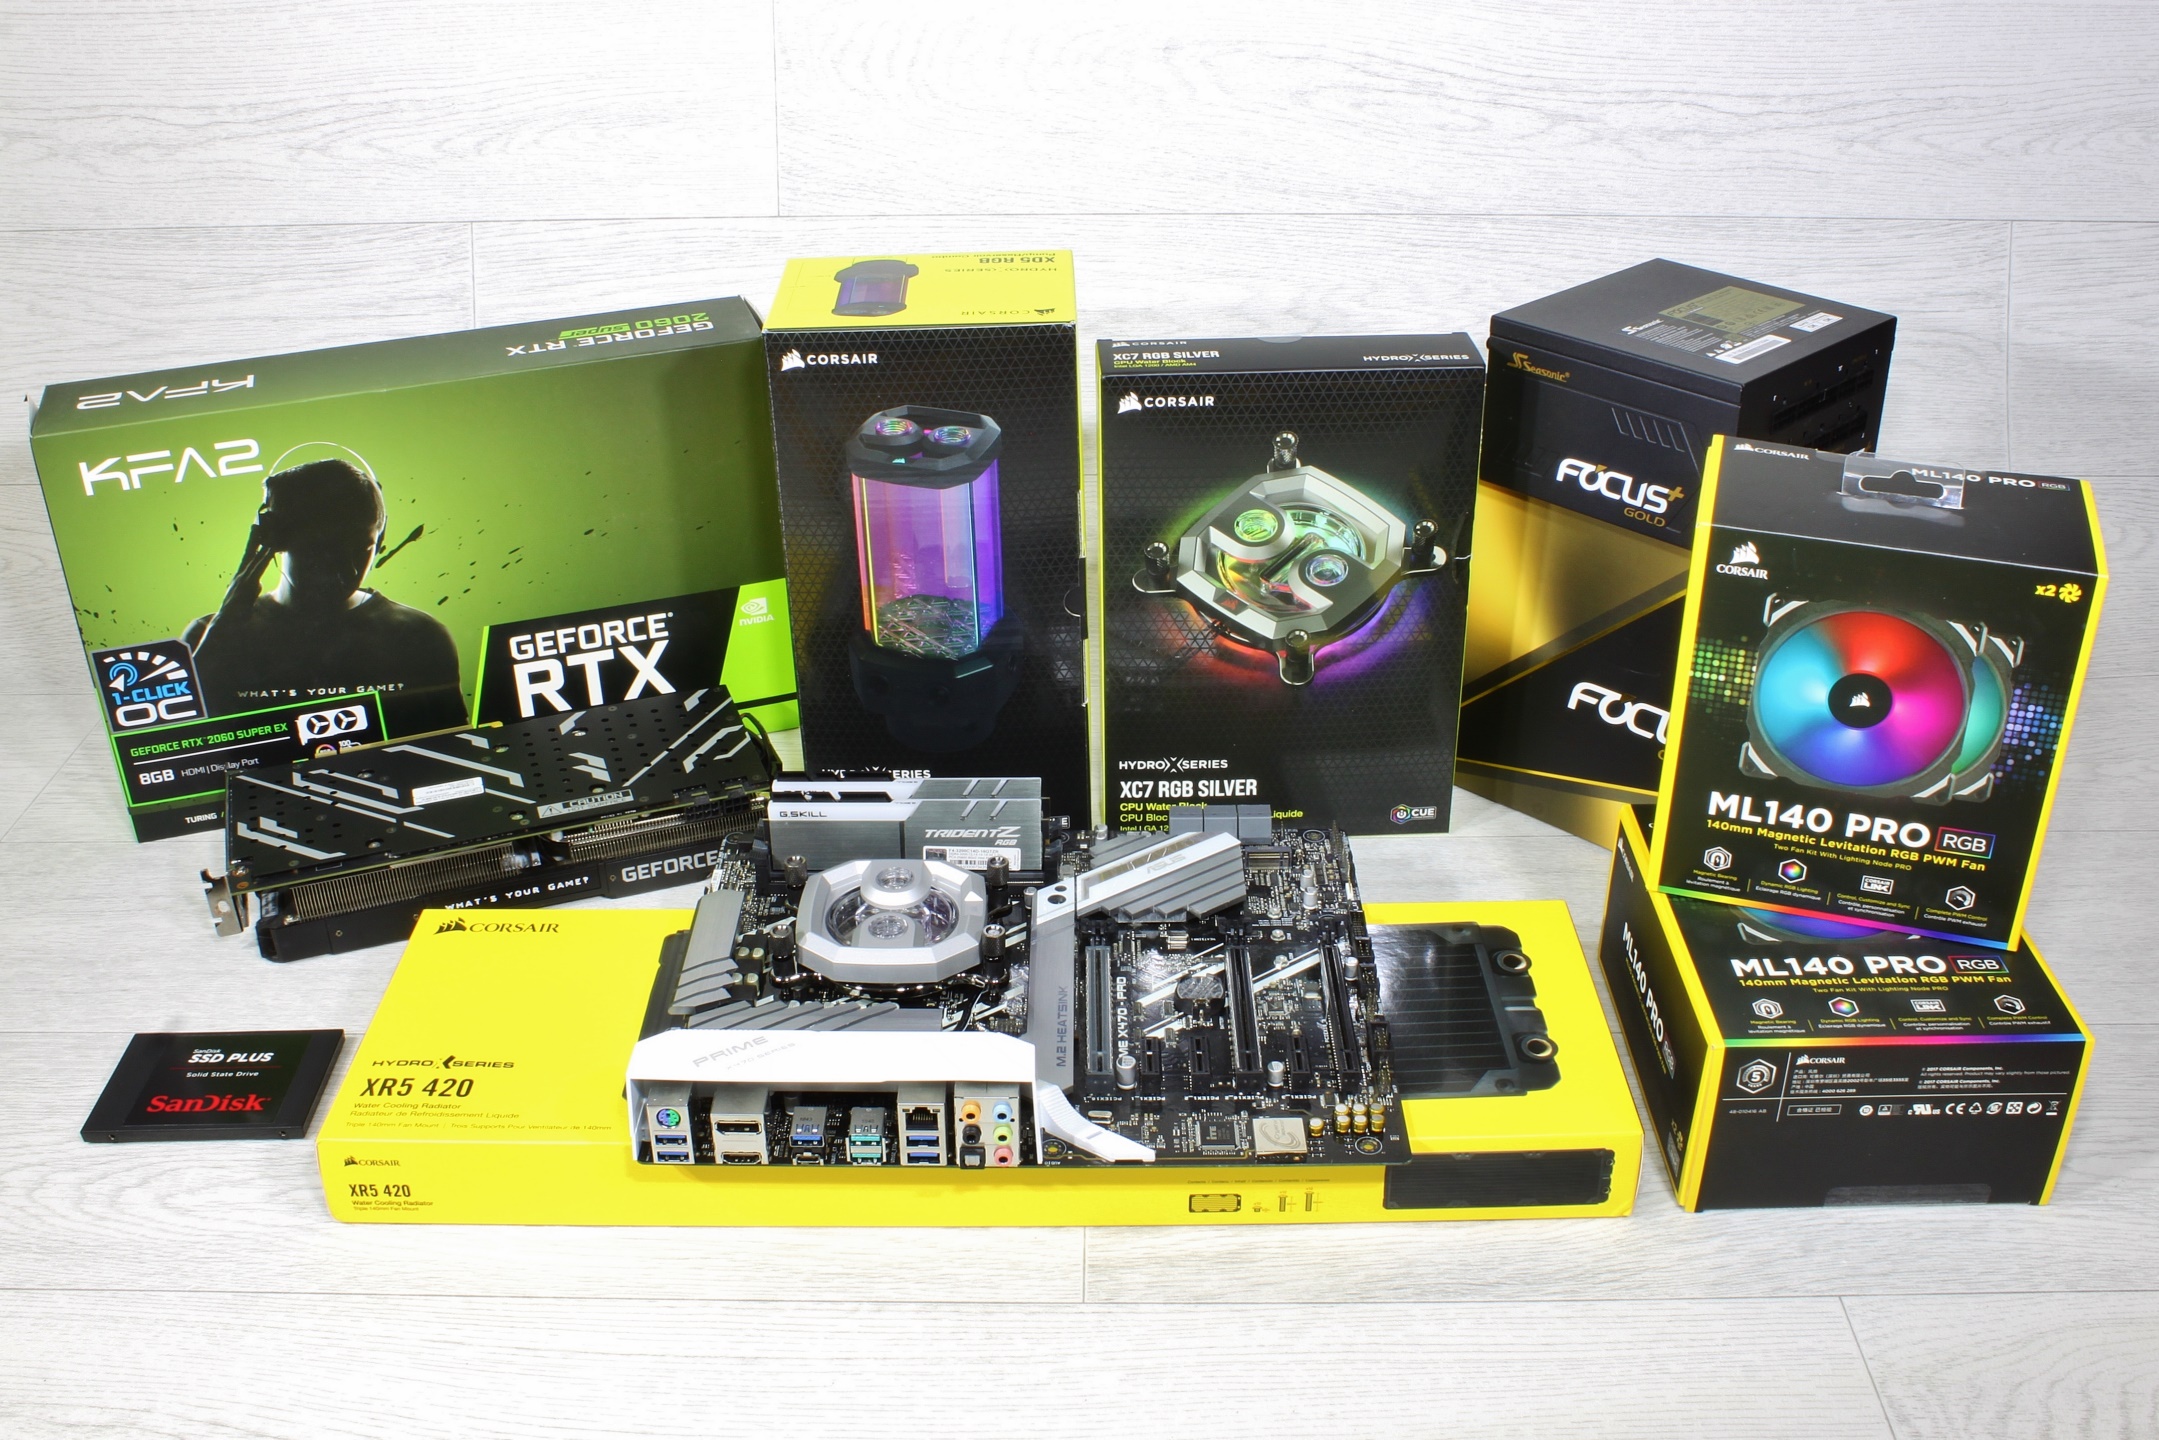
The ultimate test is and remains the practical test and for this the following components found their way in. To spice up the system optically, some RGB components were mounted.
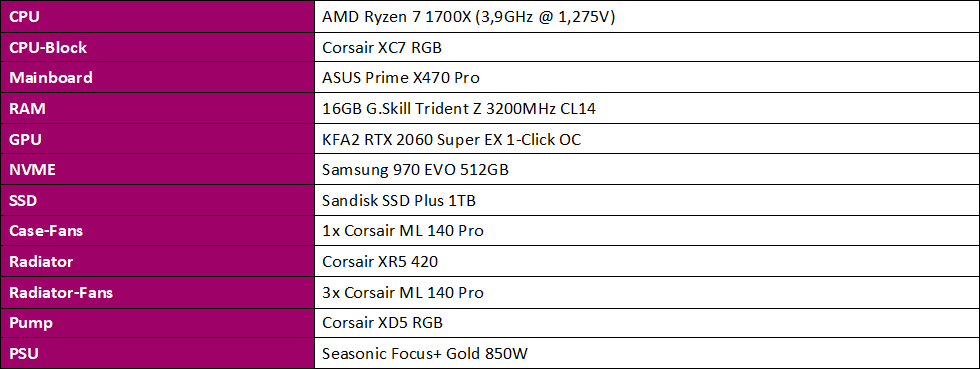
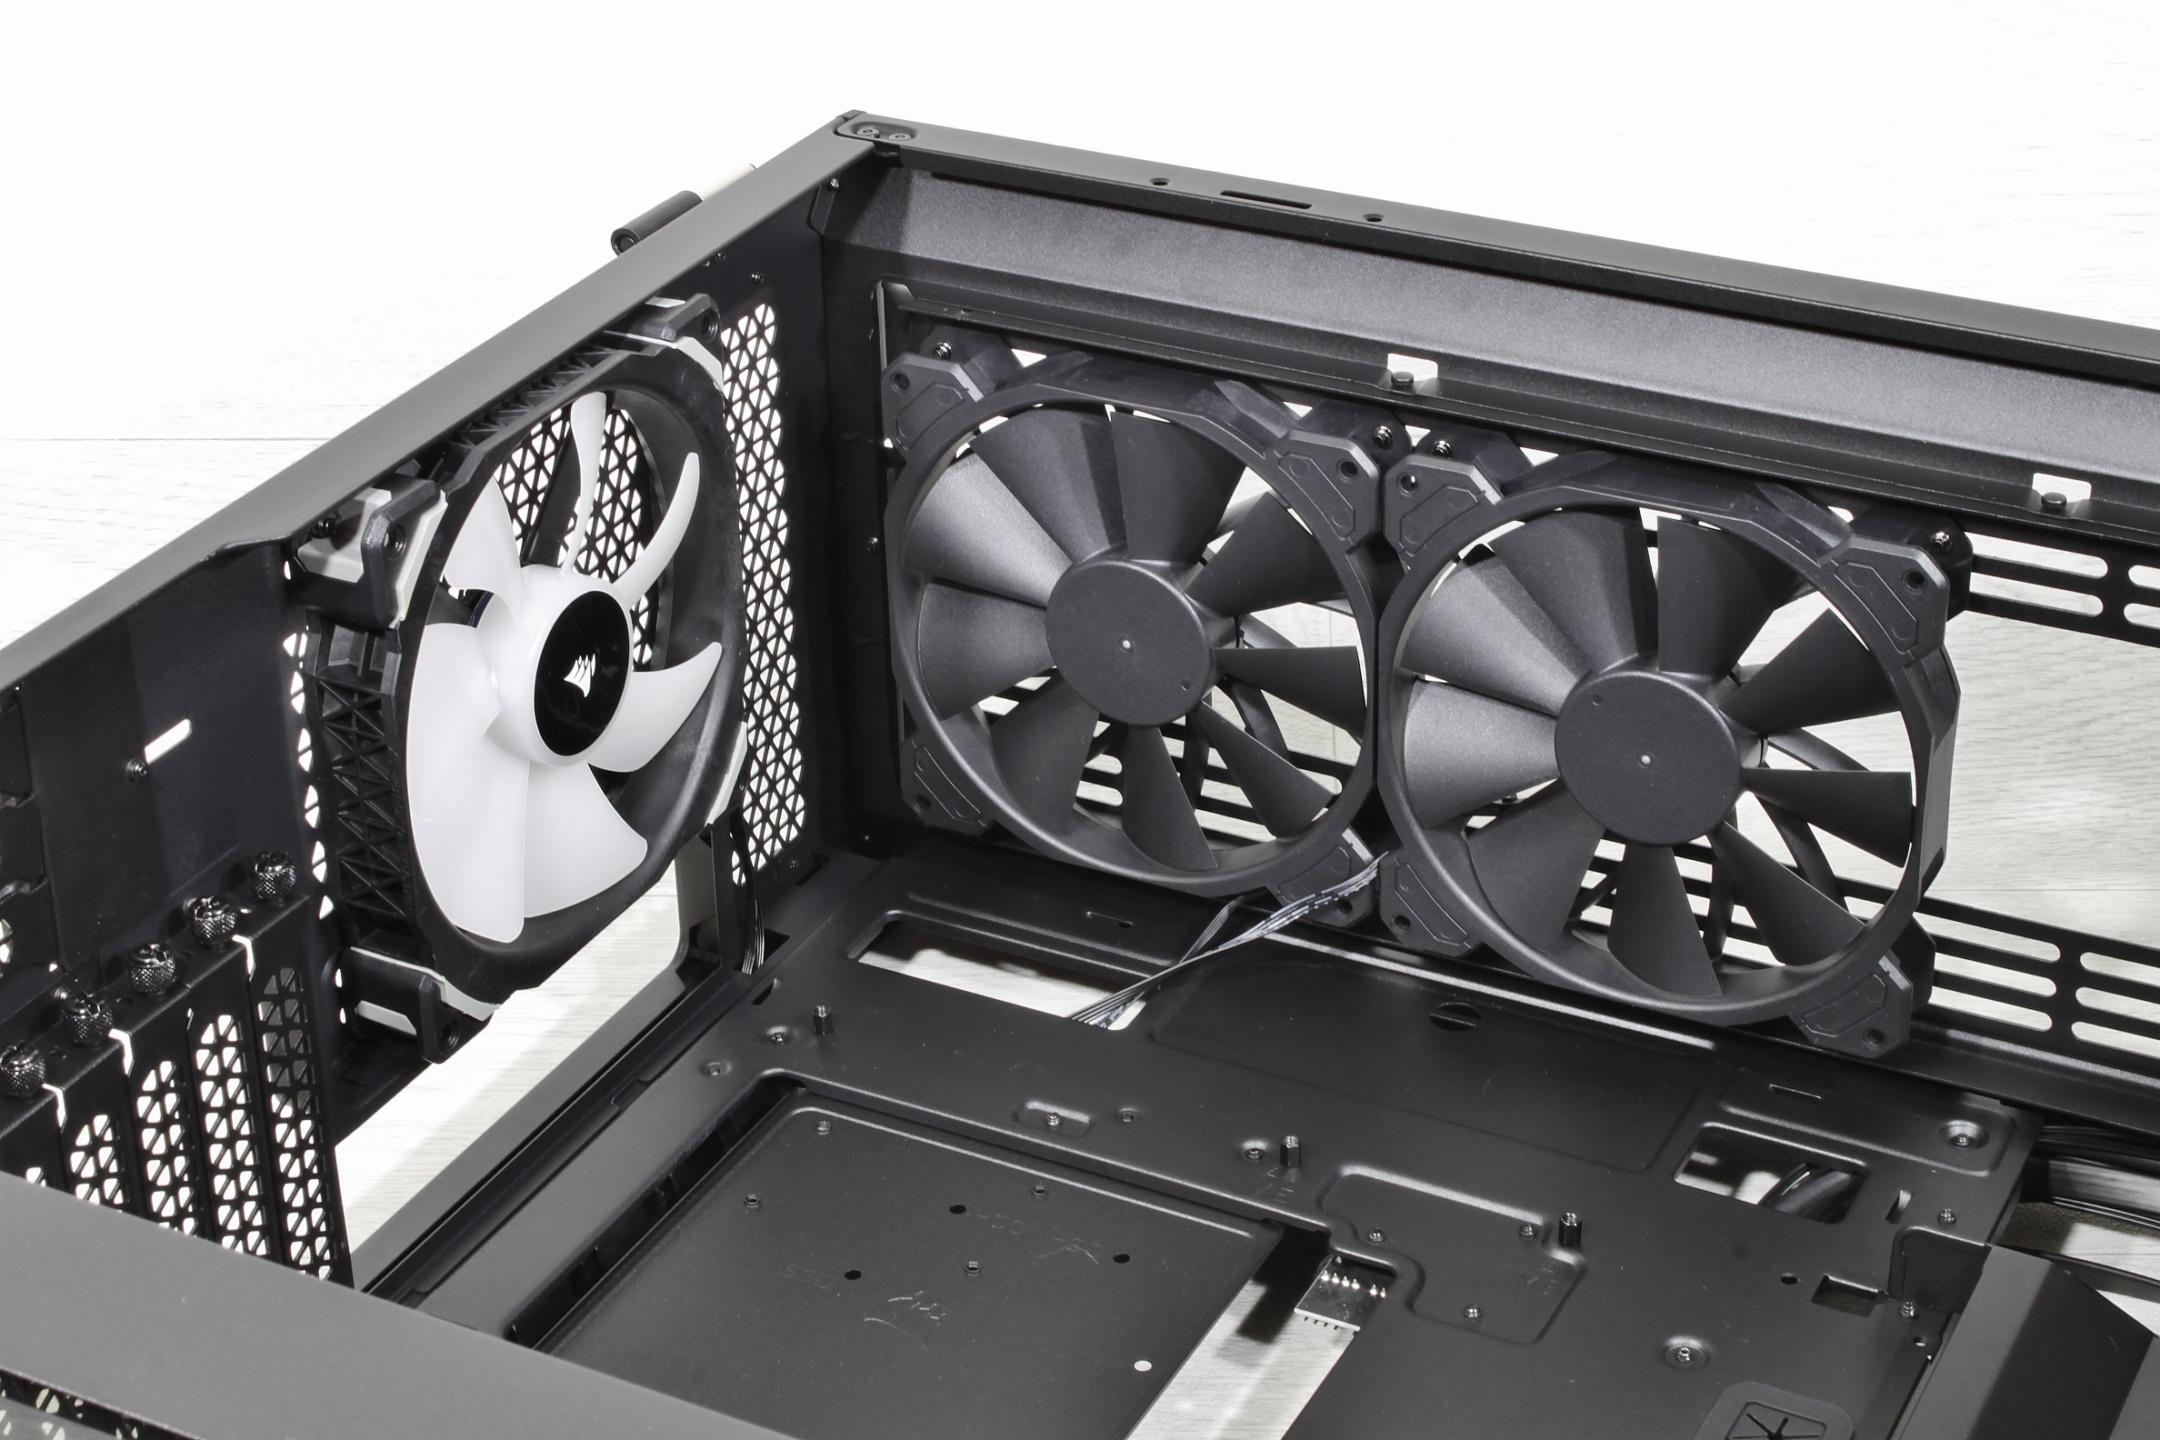
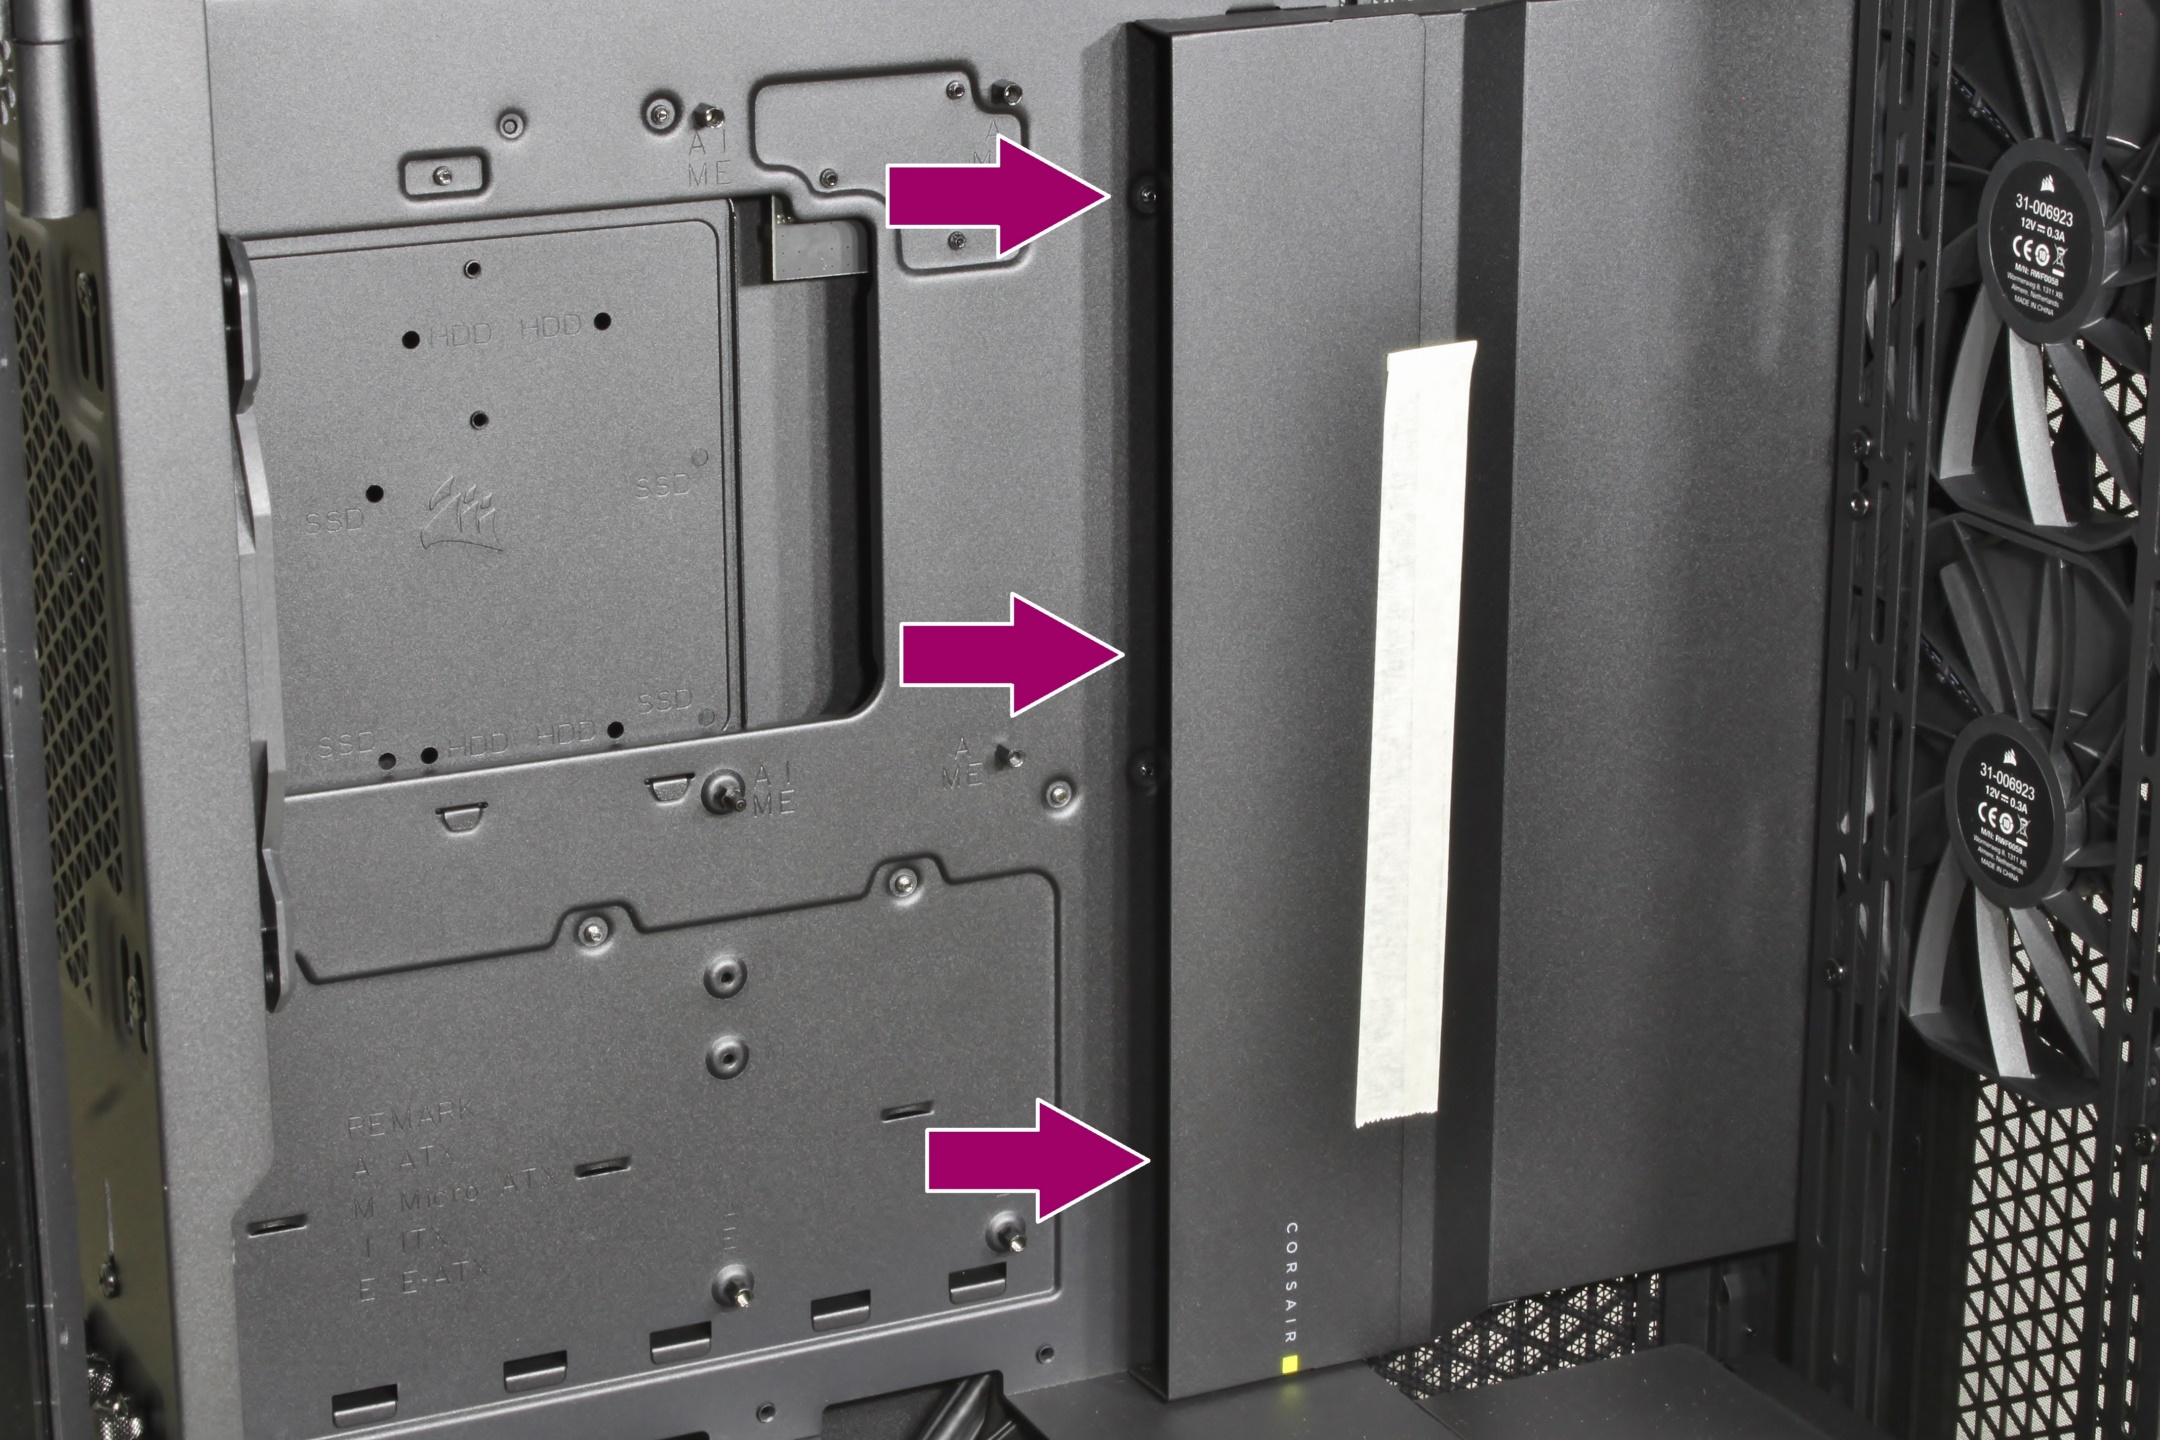
The installation of the components was of course very comfortable in this very generously sized case. Many bezels can be removed and the radiators can be conveniently mounted outside the case and pushed back into the case as a finished unit. But let’s start from the beginning. First, the radiator supports, cable covers, bezels and fans were removed, which would have interfered with the installation.
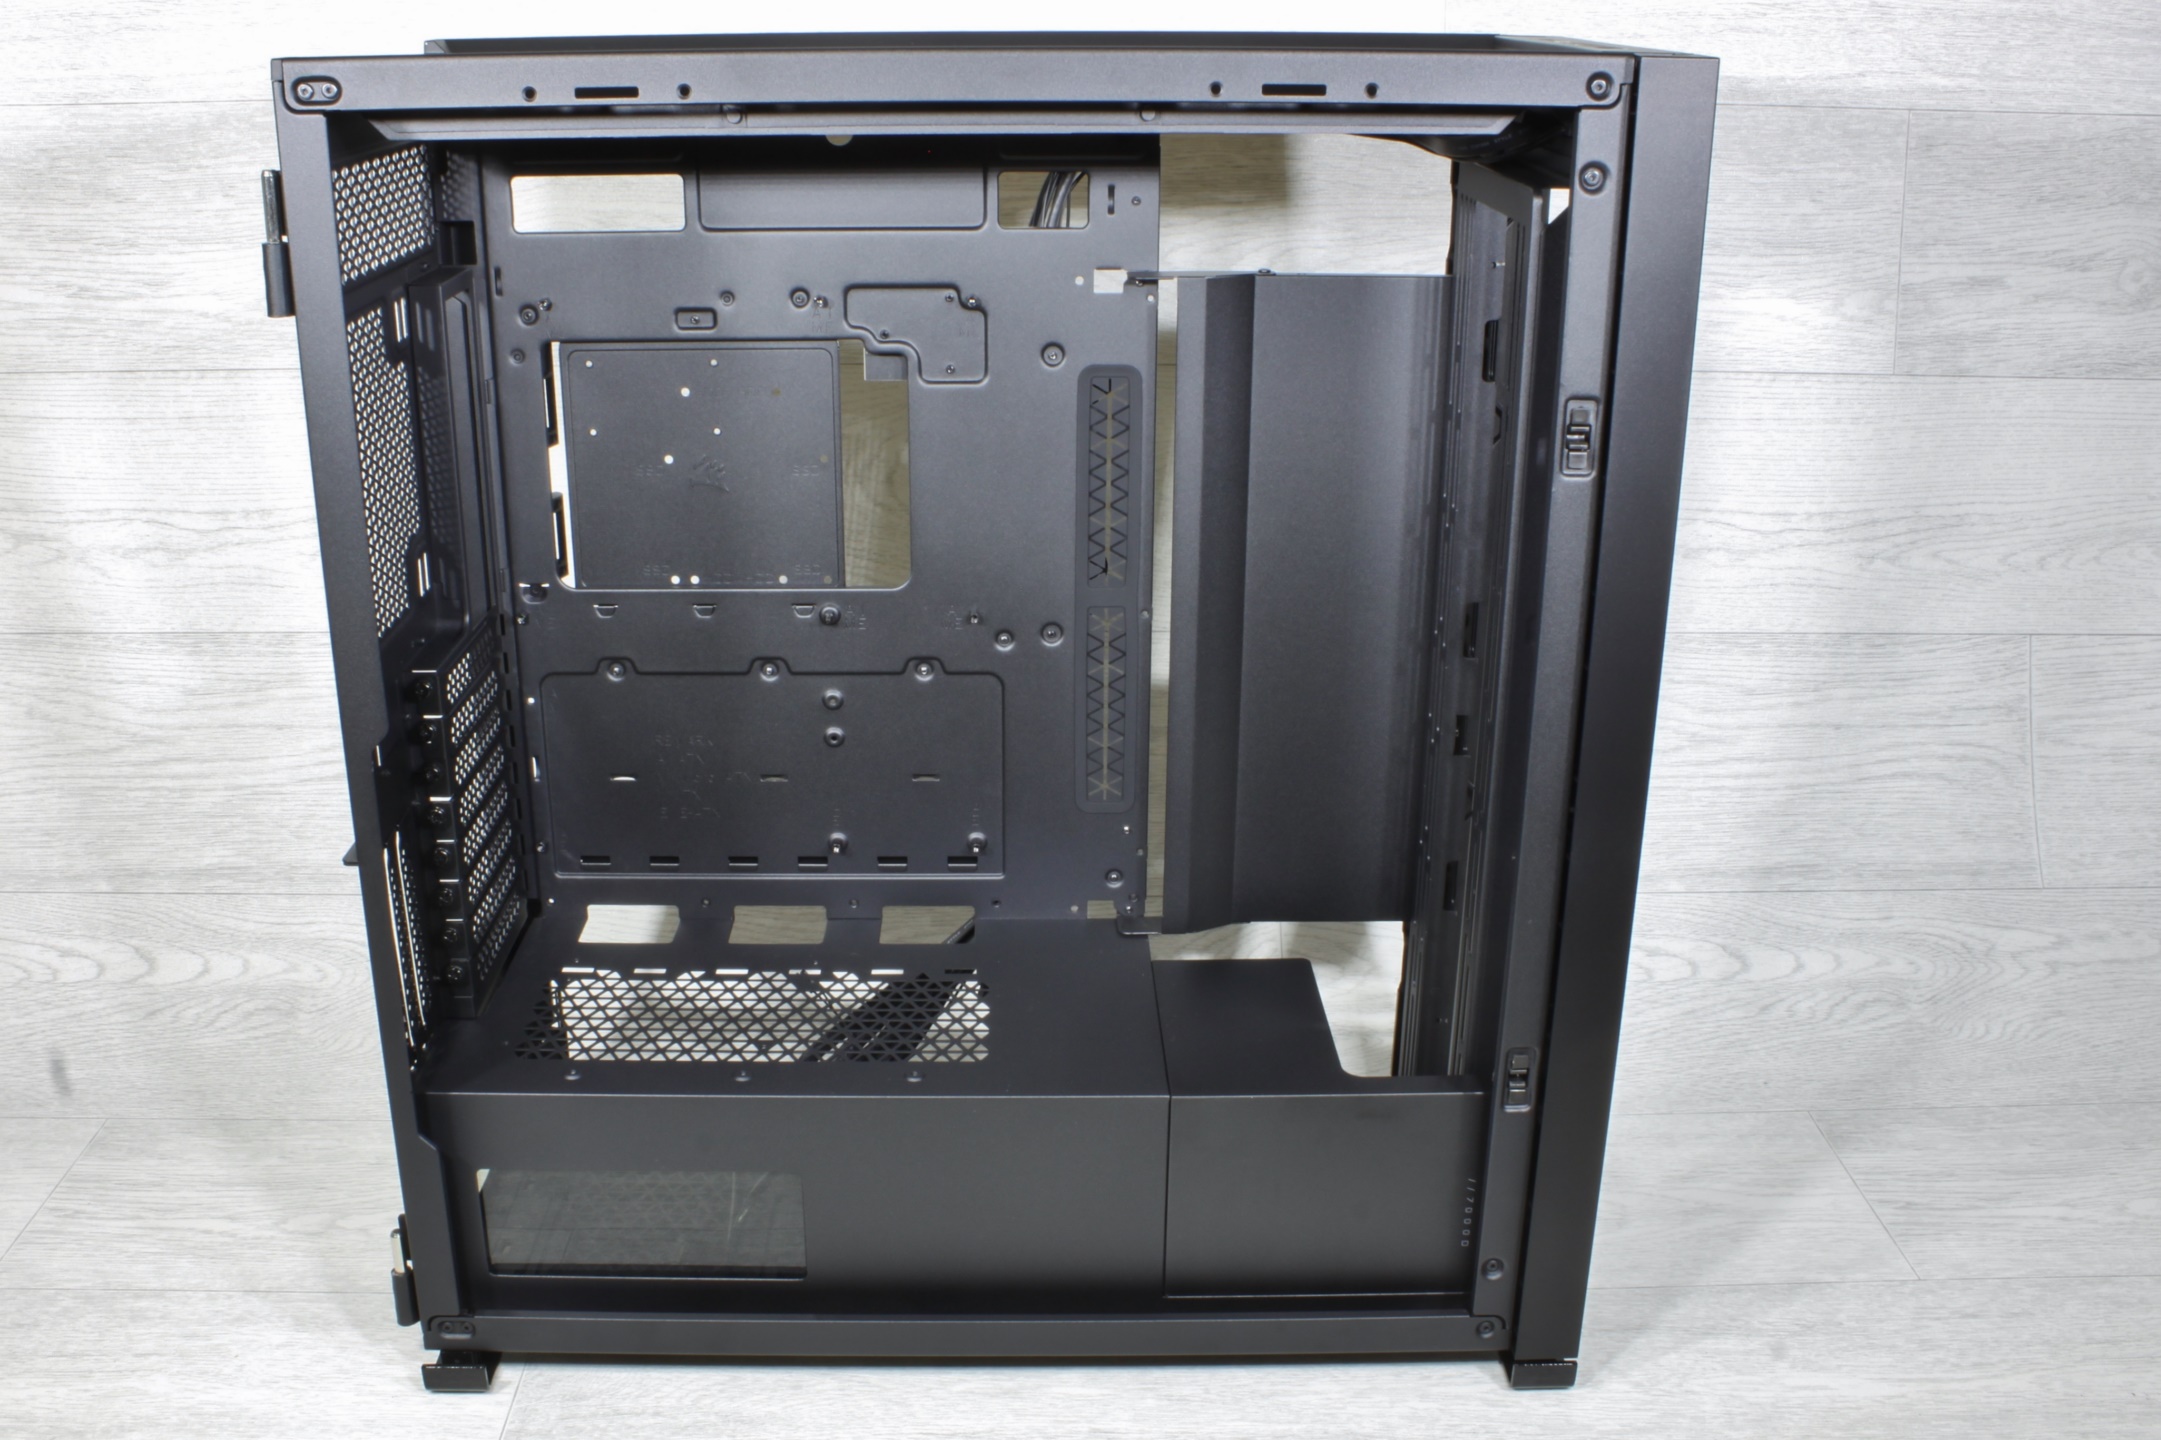
On the back you will find the cable channels of the RapidRoute system and the pre-installed PWM distributor.
Of the three pre-installed fans I screwed two into the lid as “Exhaust”, the other occupied places were equipped in favor of the optics with ML RGB fans.
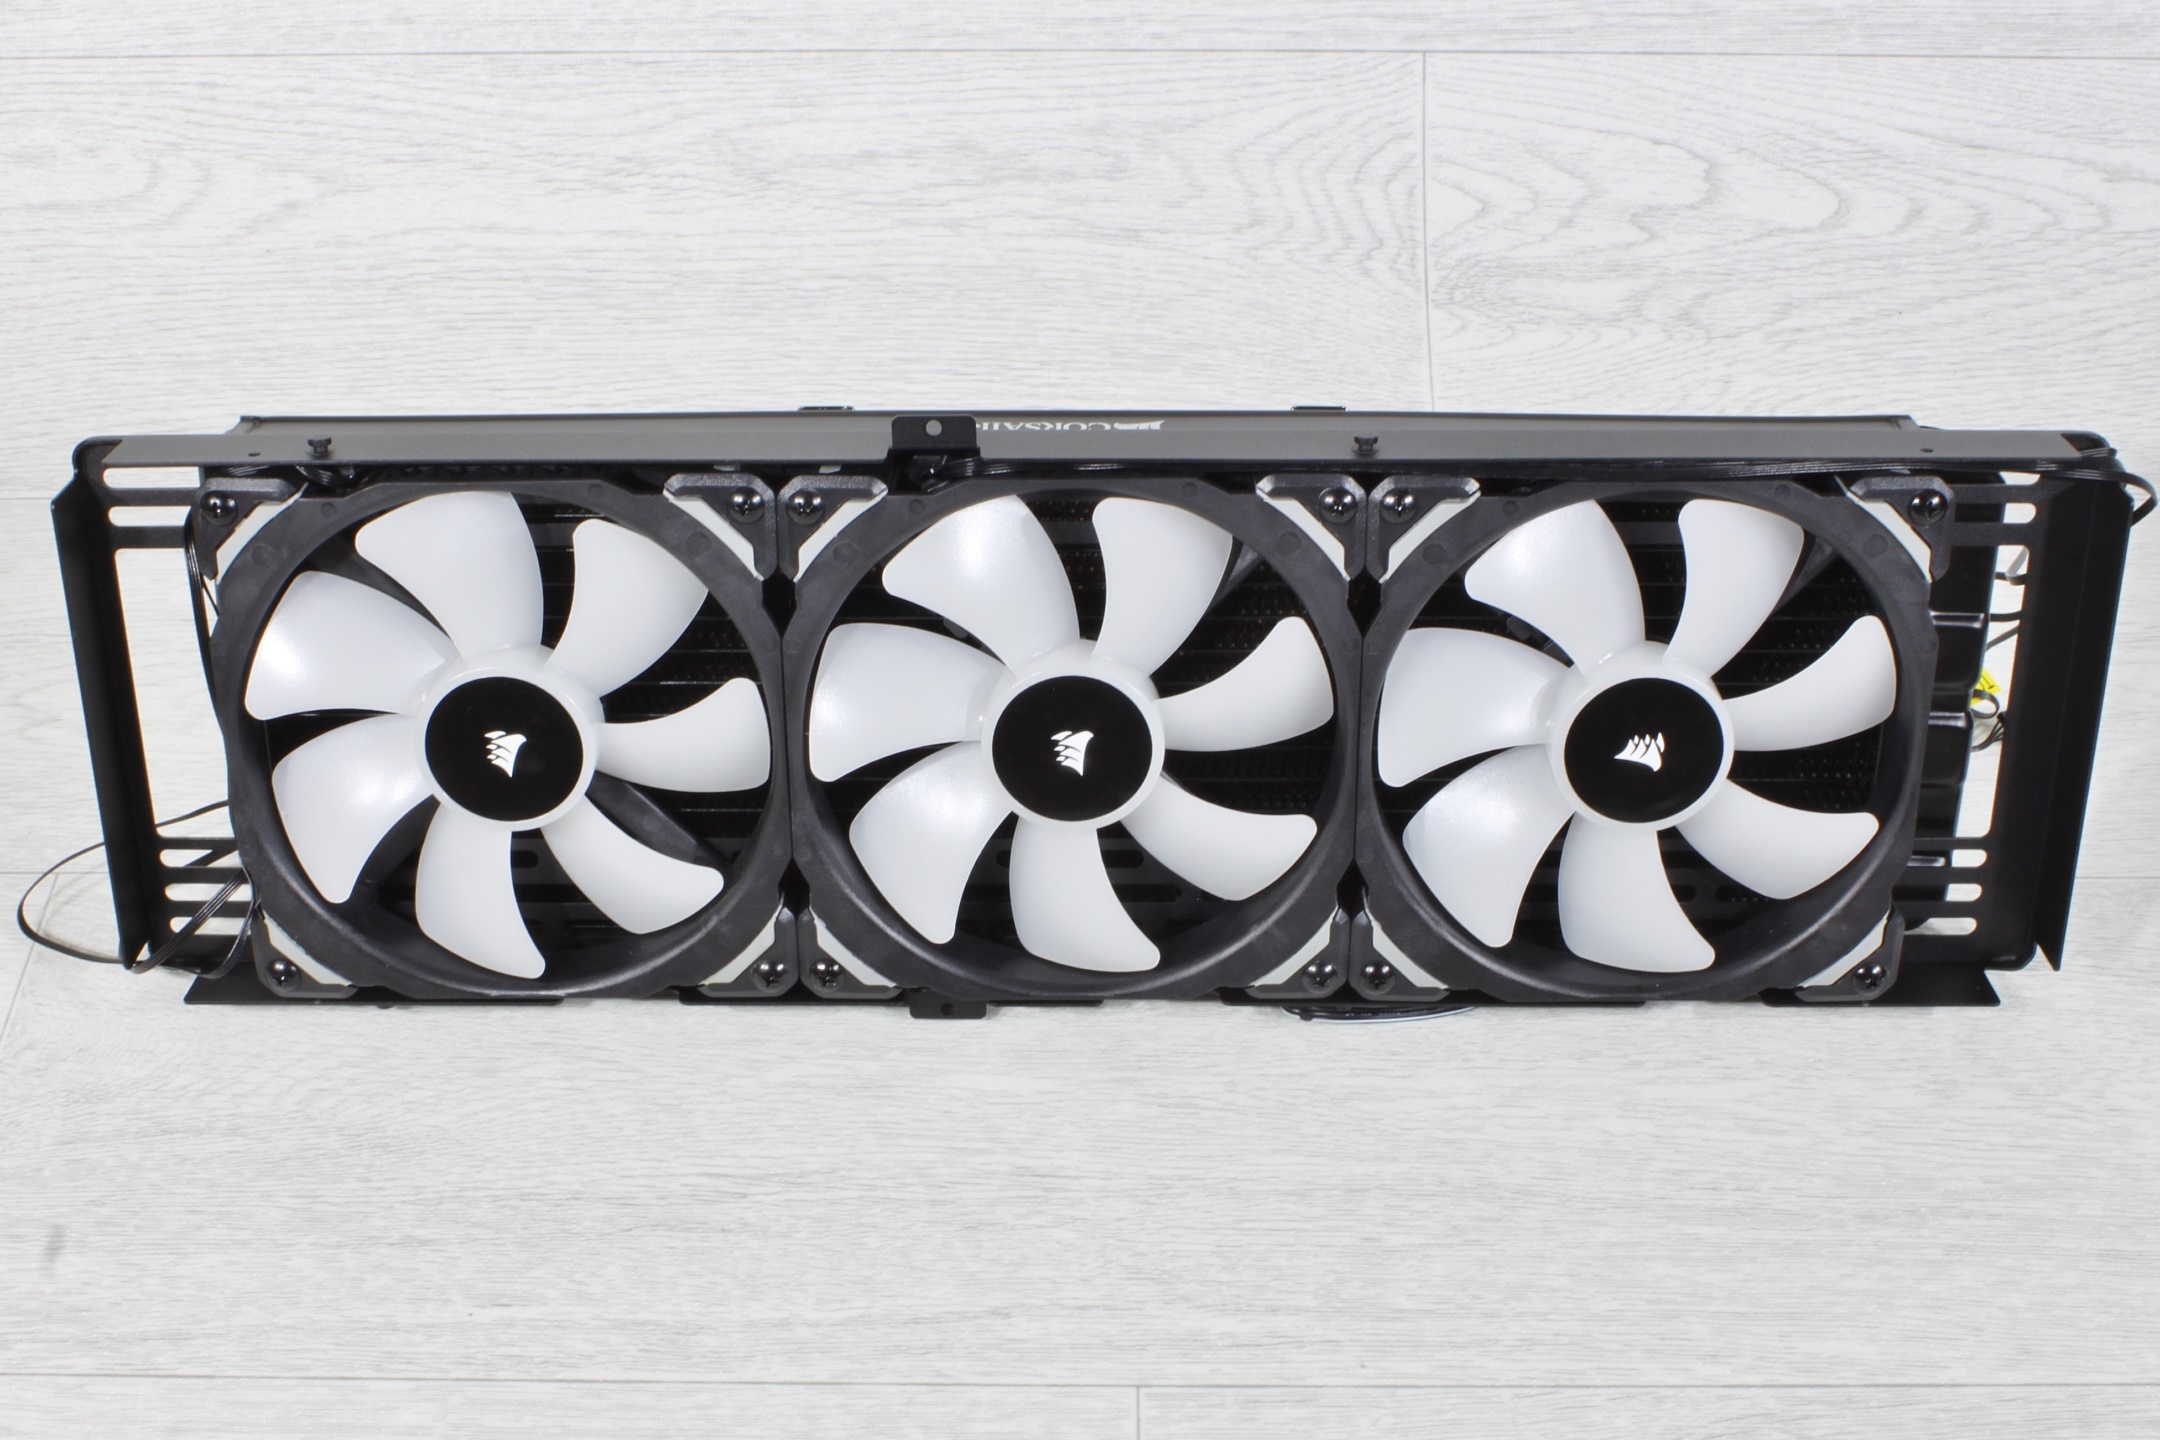
Practical: Thanks to the removable radiator carrier, everything can be conveniently mounted outside the case.
Any questions? So it almost assembles itself.
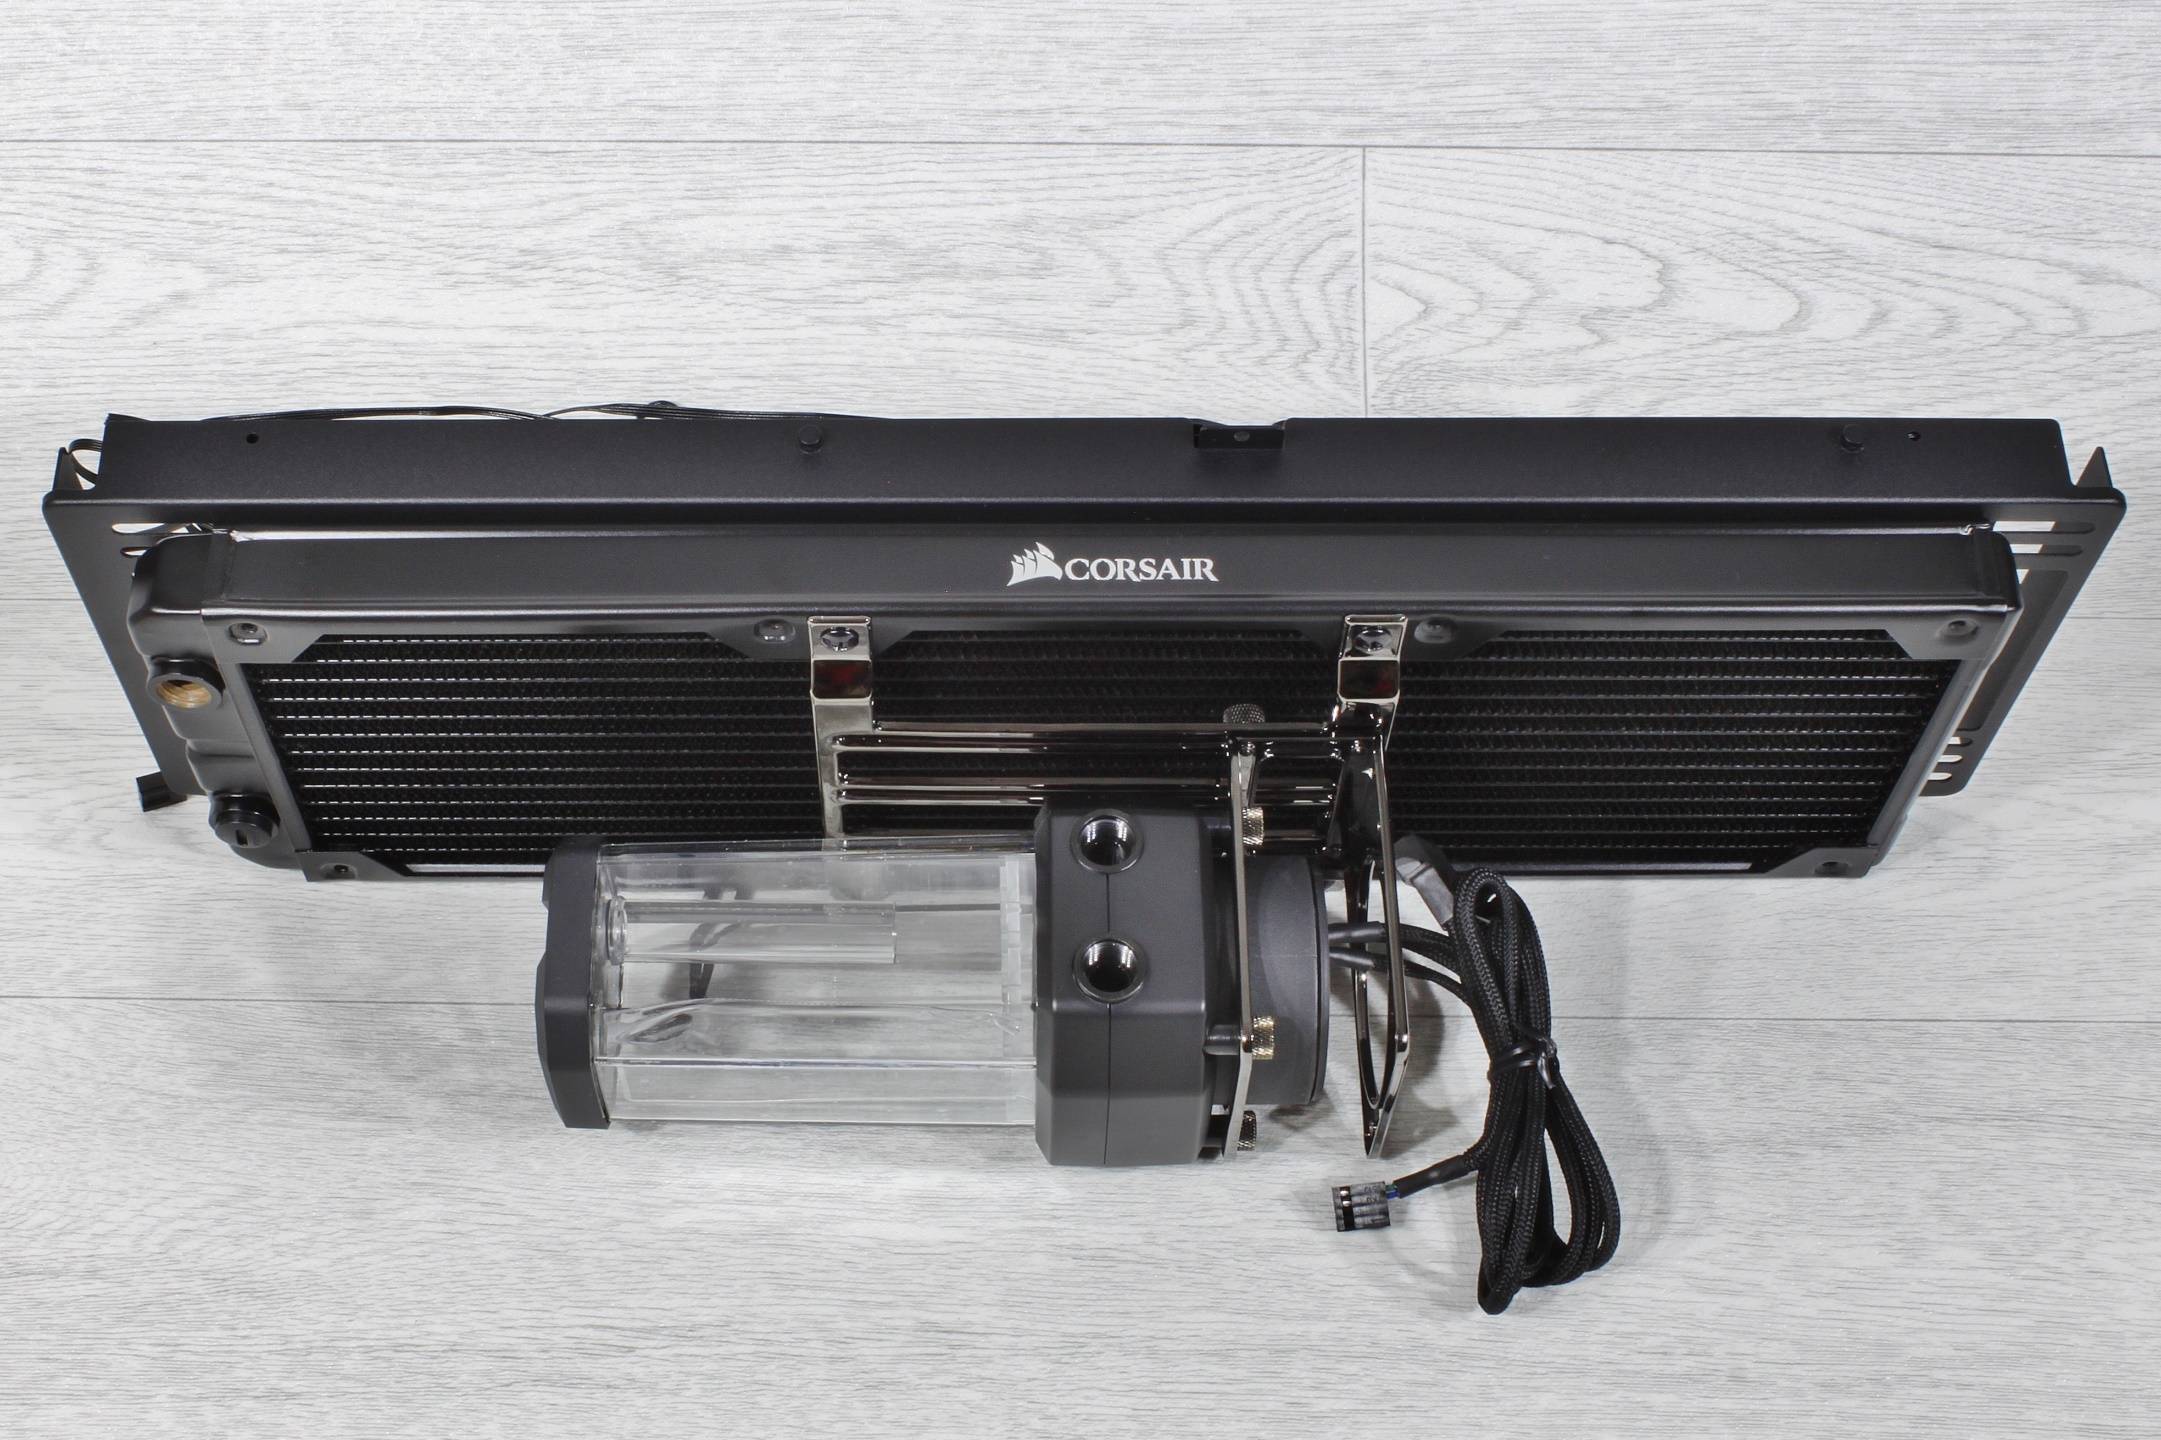
And then slide into the housing as a compact unit in one piece.
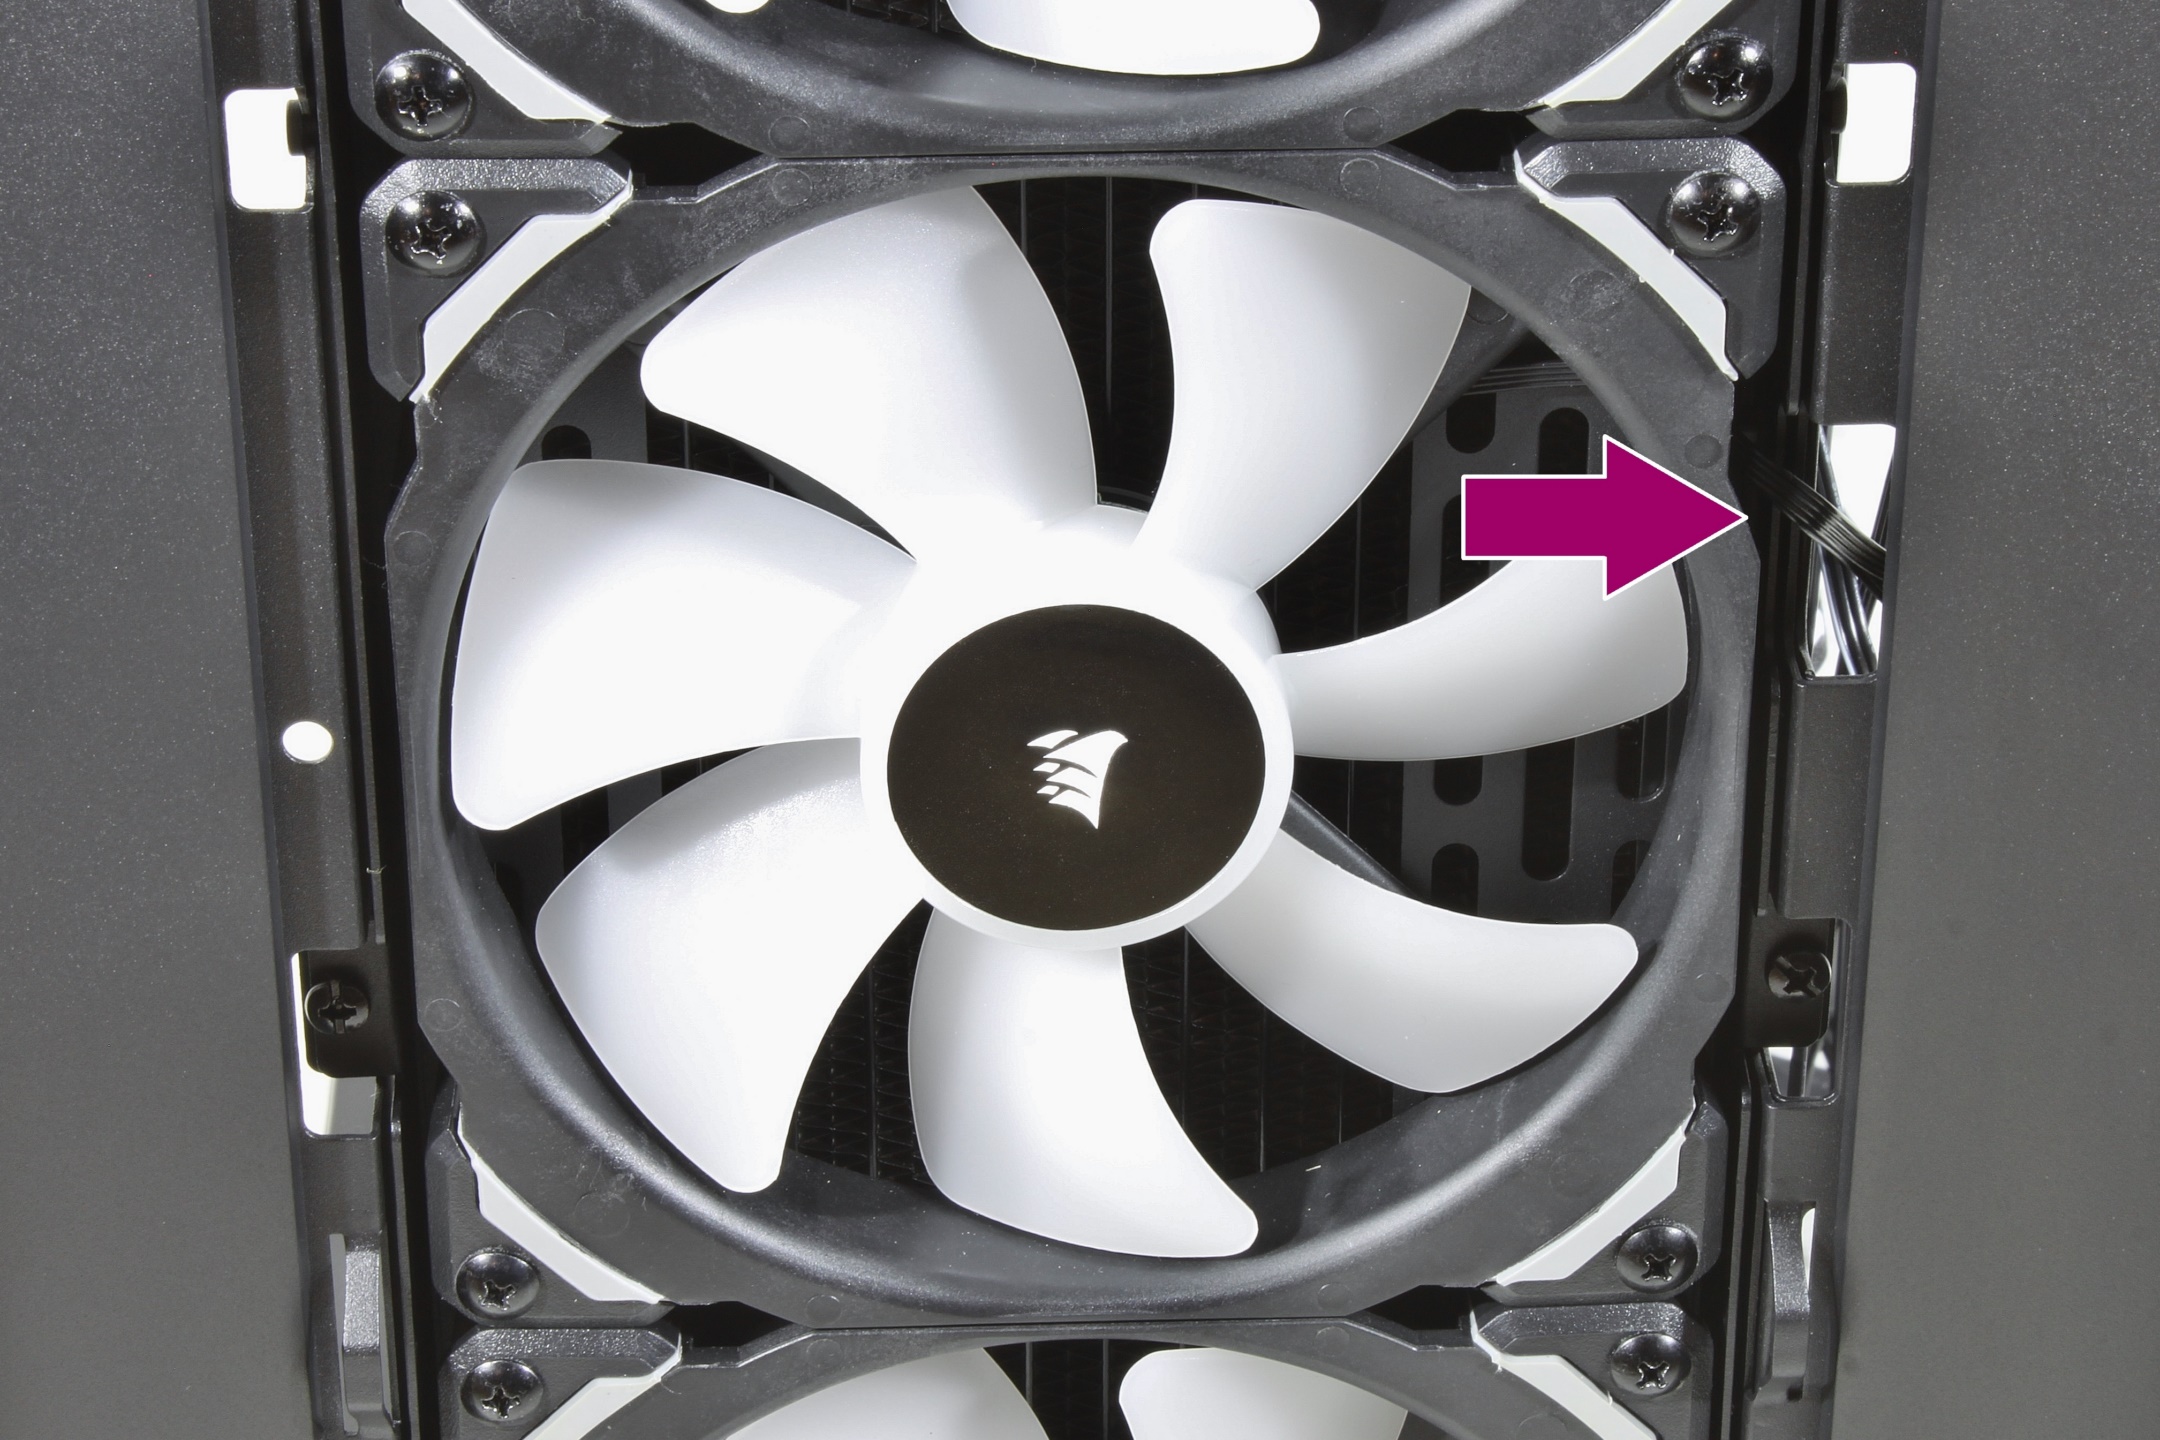
Corsair has also paid attention to cable management here, leaving openings in the carrier in the perfect places.
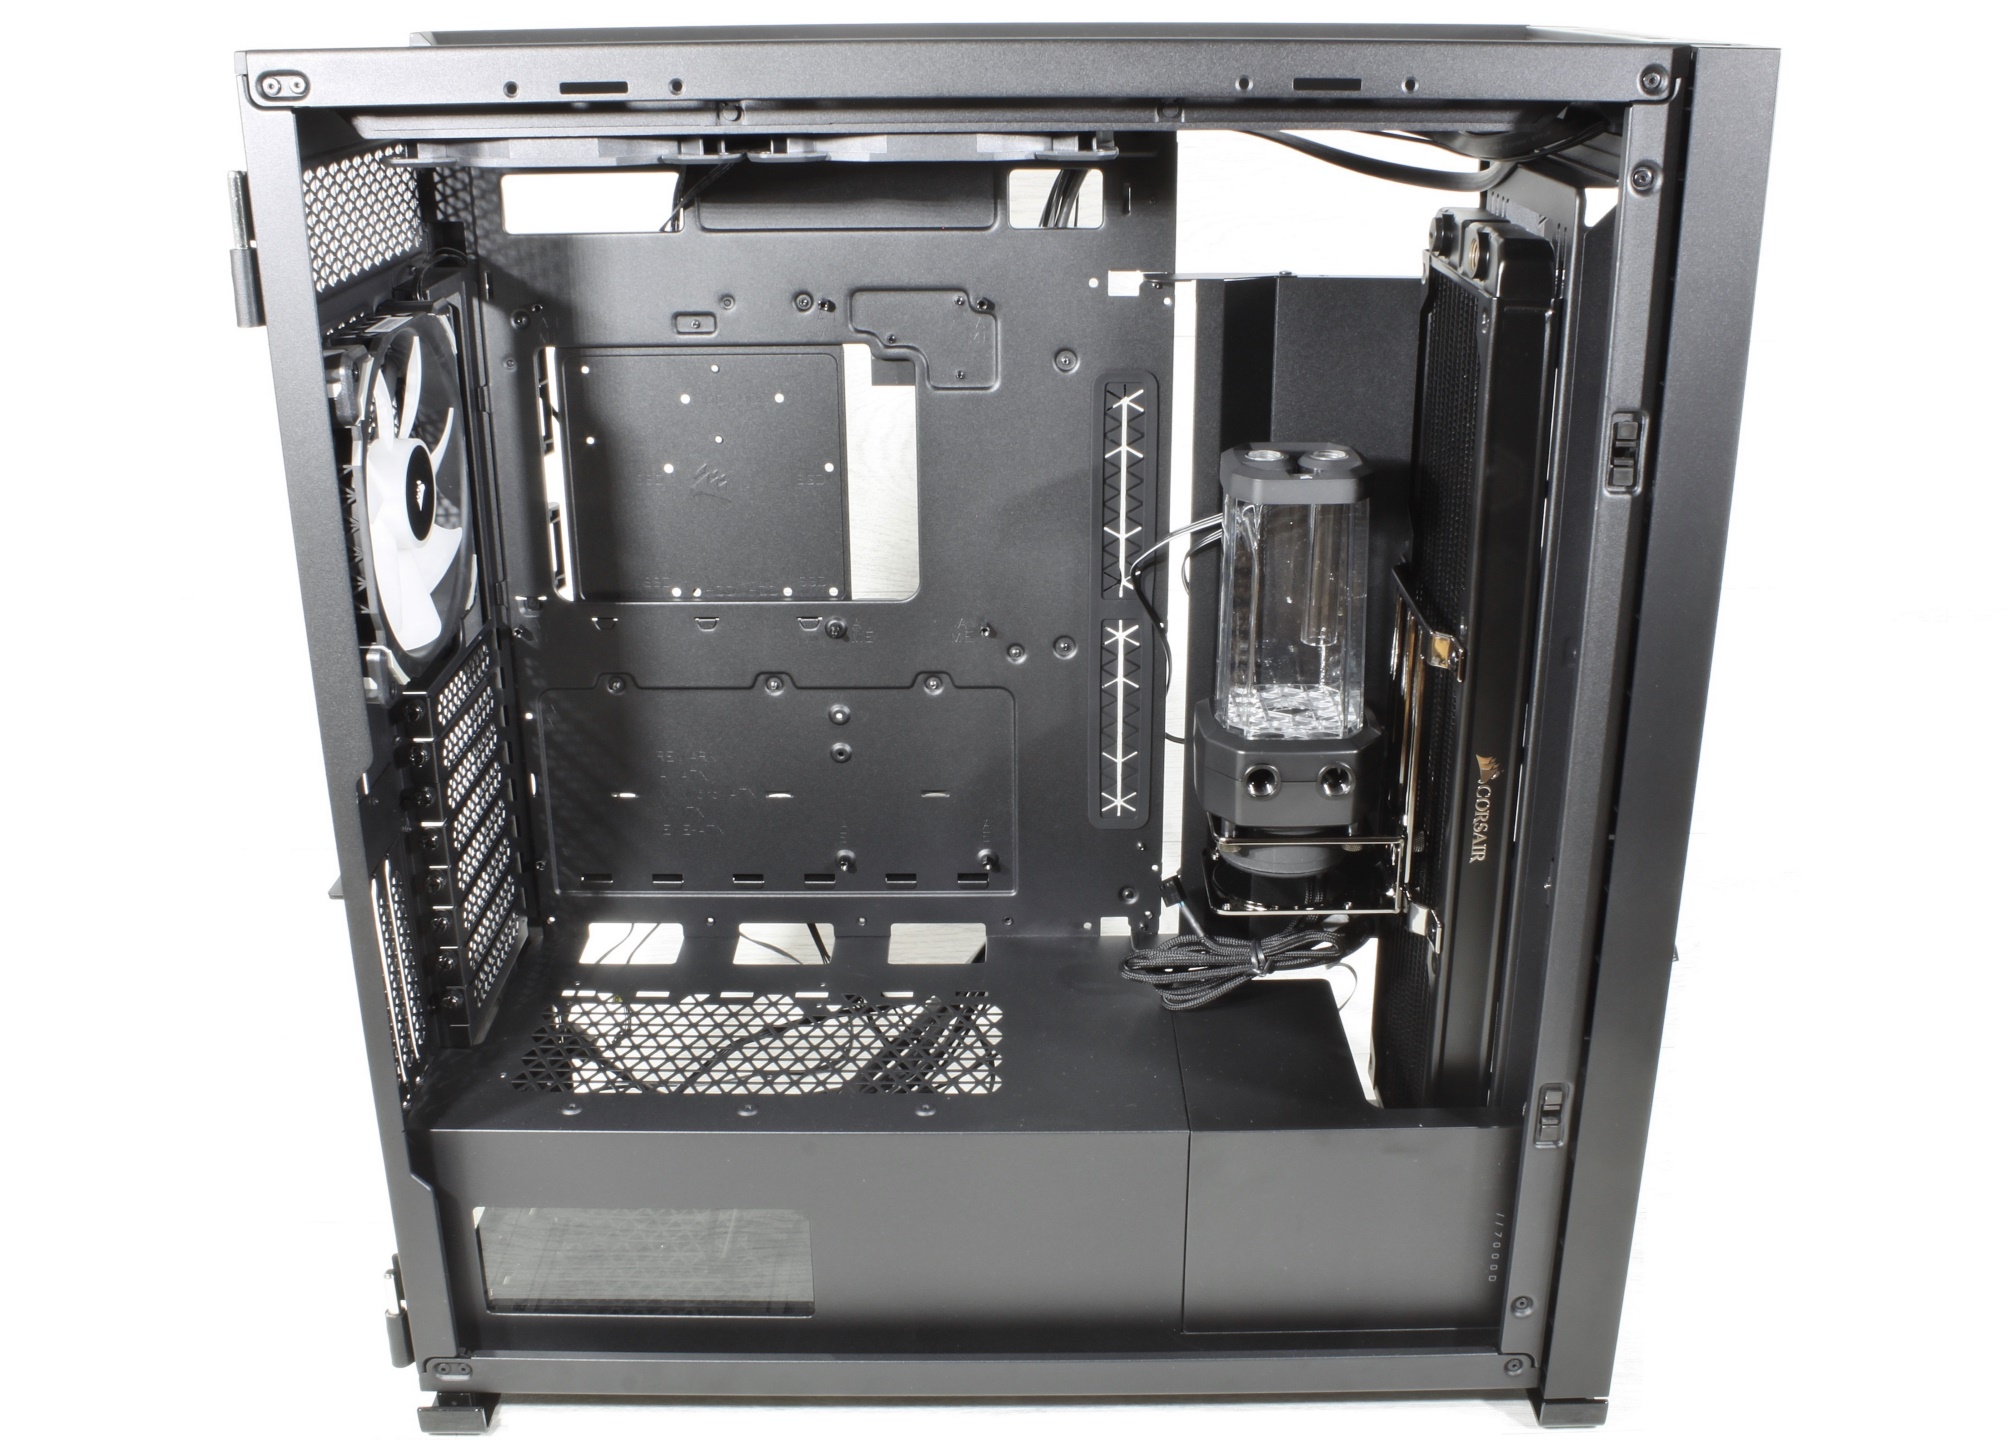
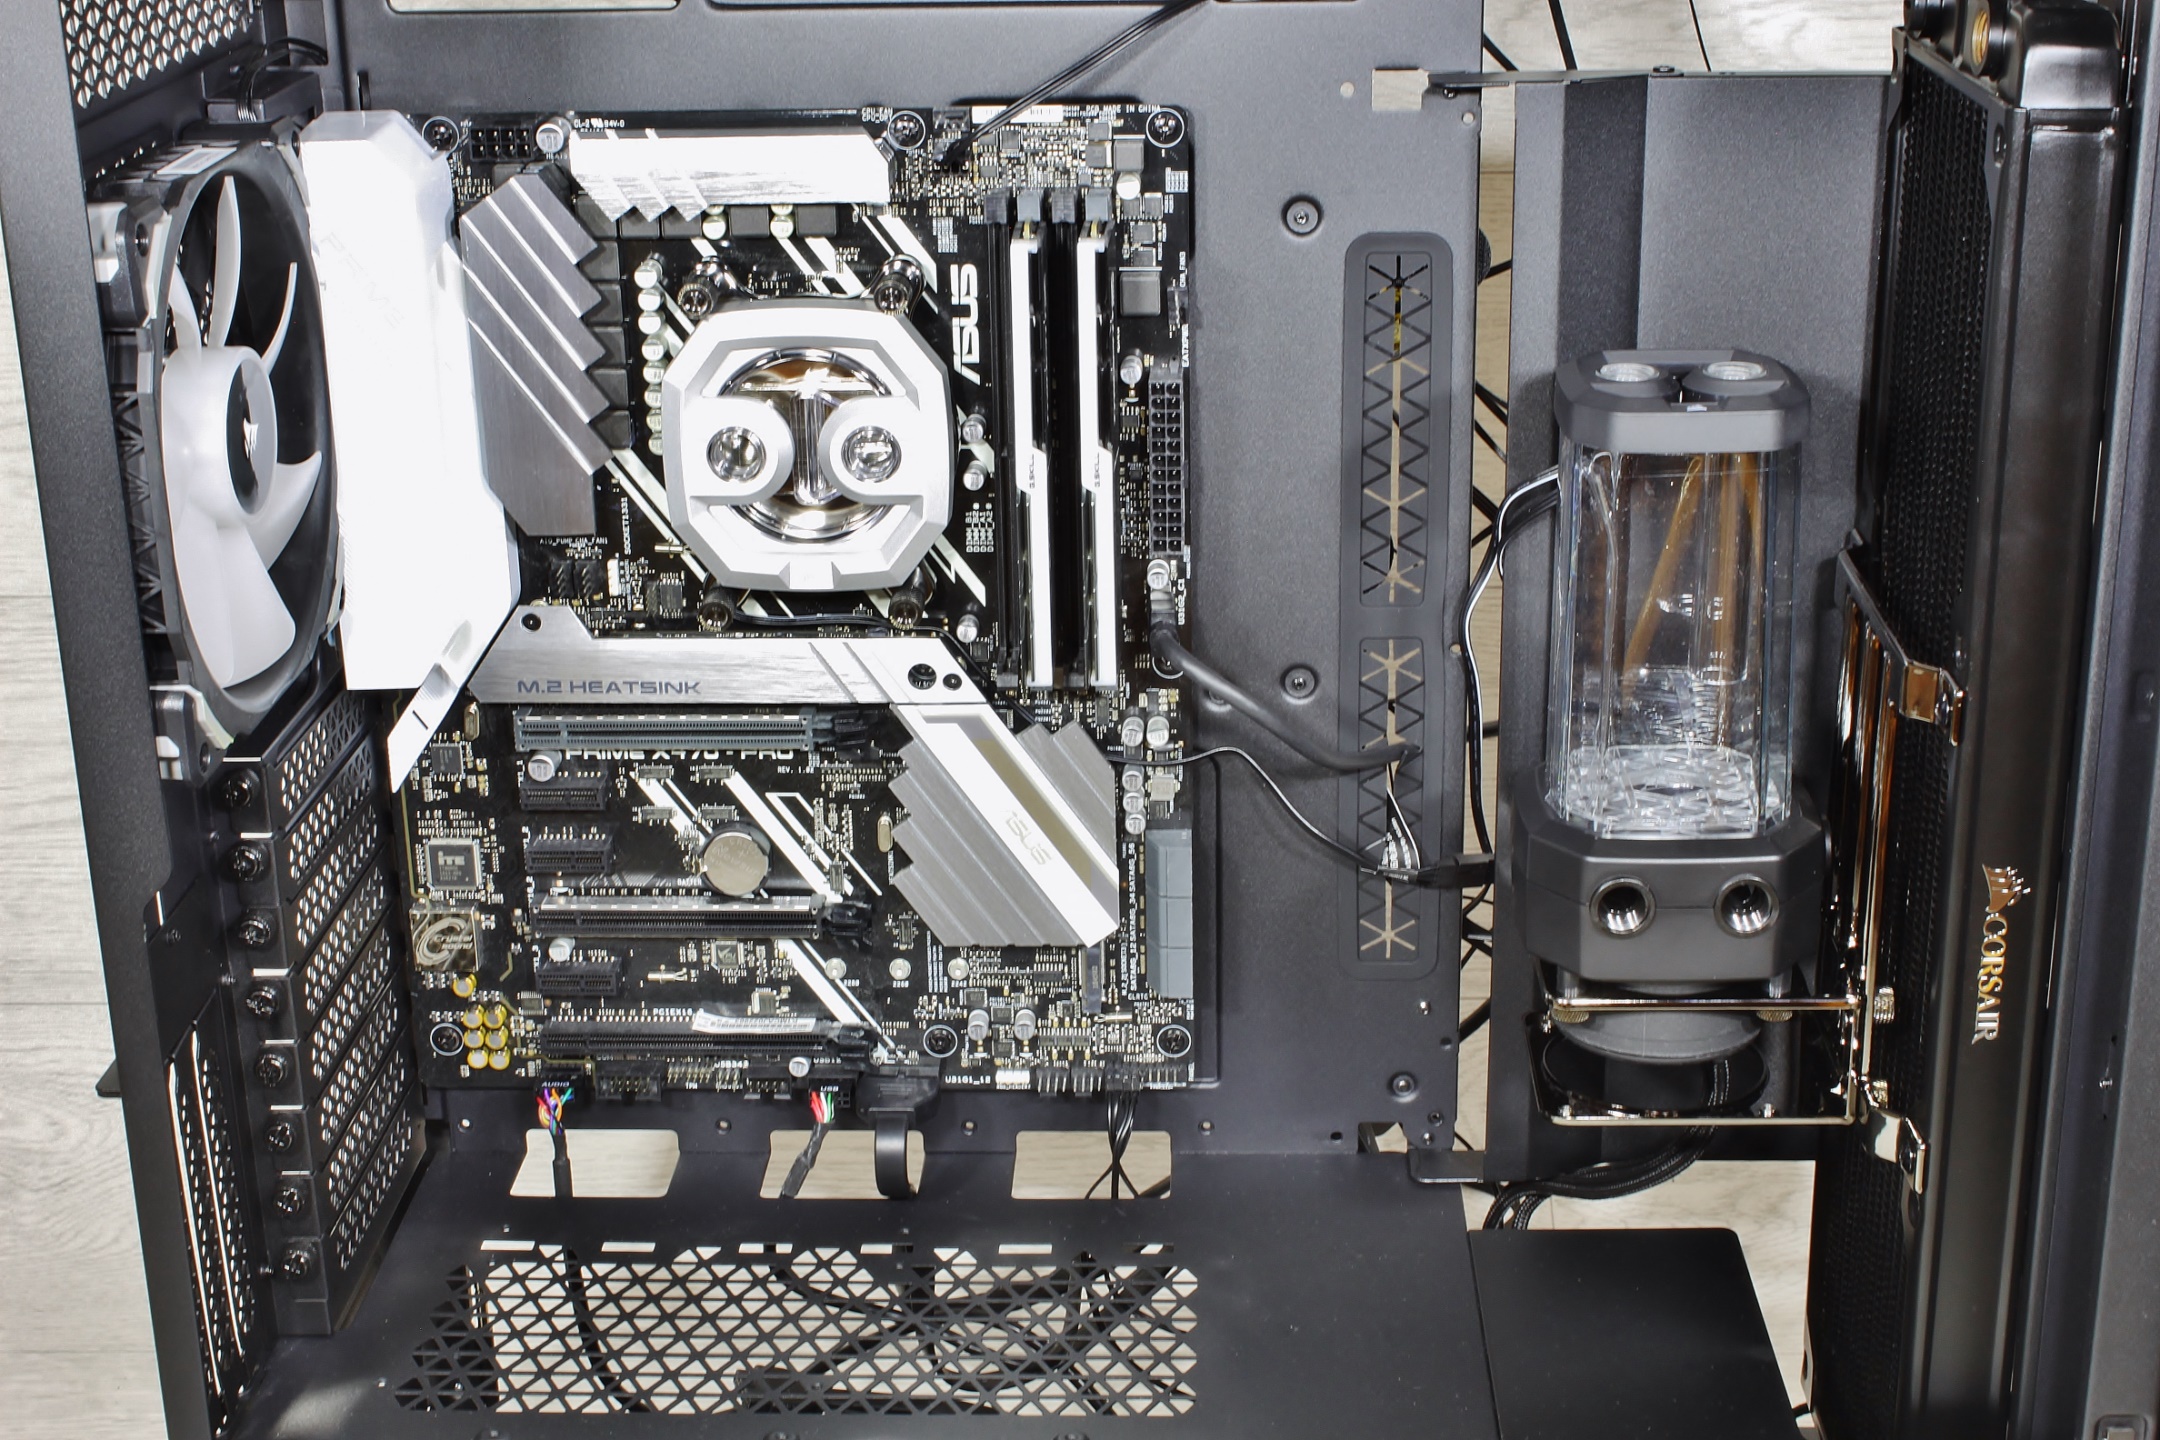
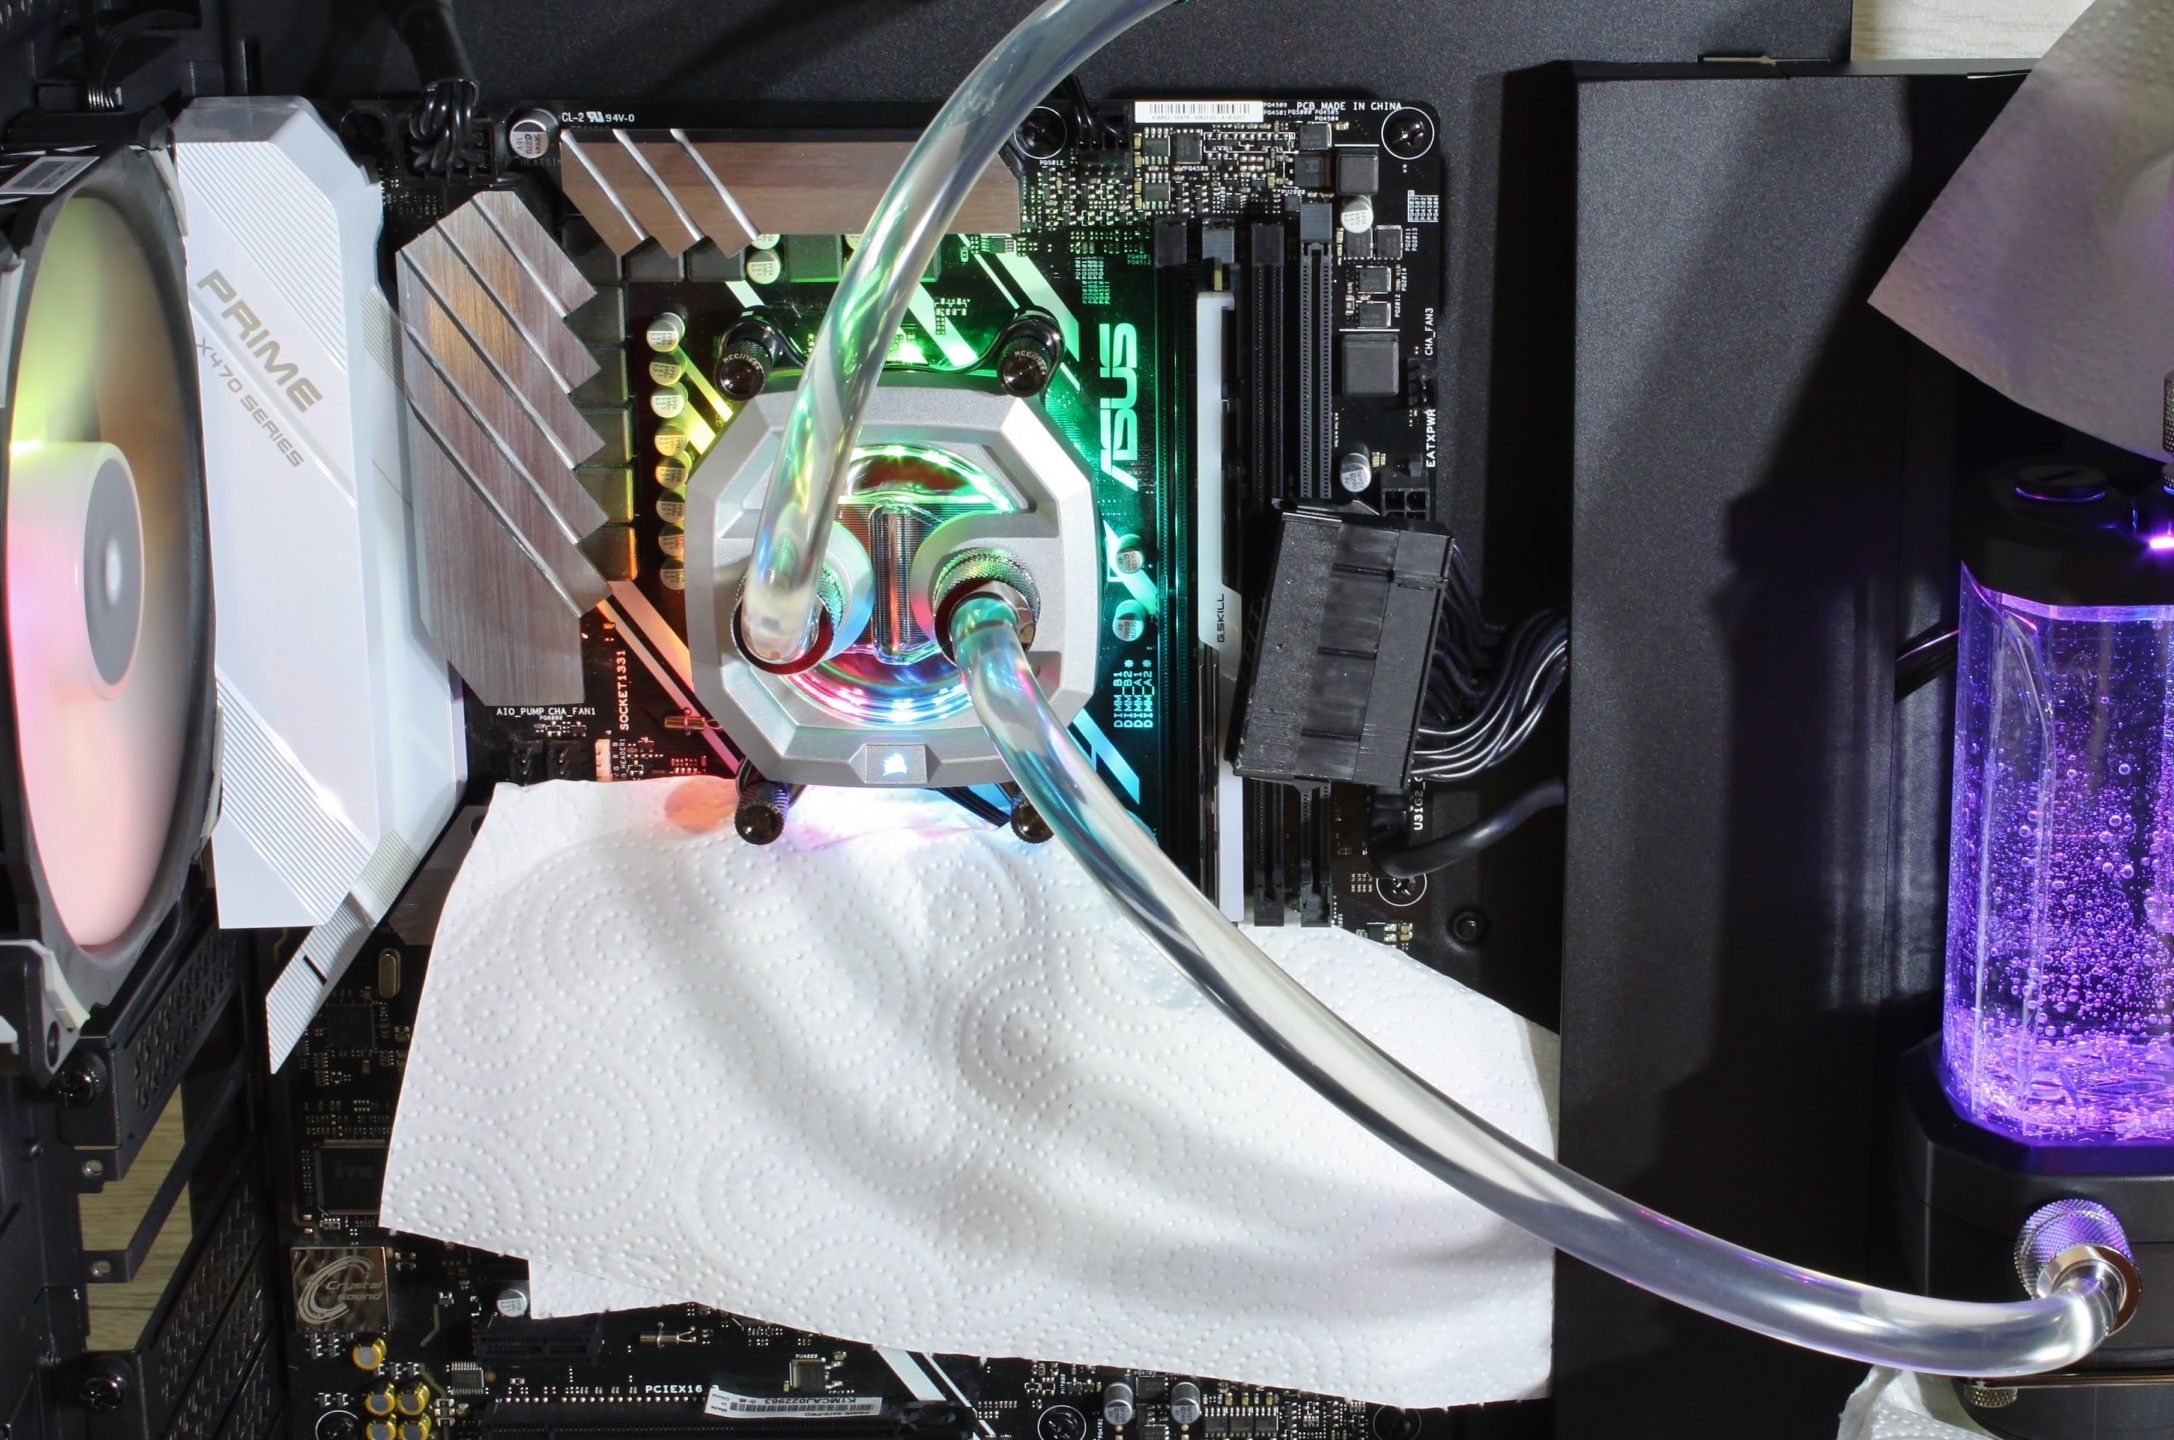
The next step was to install the mainboard. CPU, water cooler and RAM I had already pre-assembled.
RGB Hub and Lighting Node Pro are equipped with double-sided adhesive tape and could therefore be conveniently attached to the most favorable locations of the motherboard carrier. The RapidRoute system also works very well.
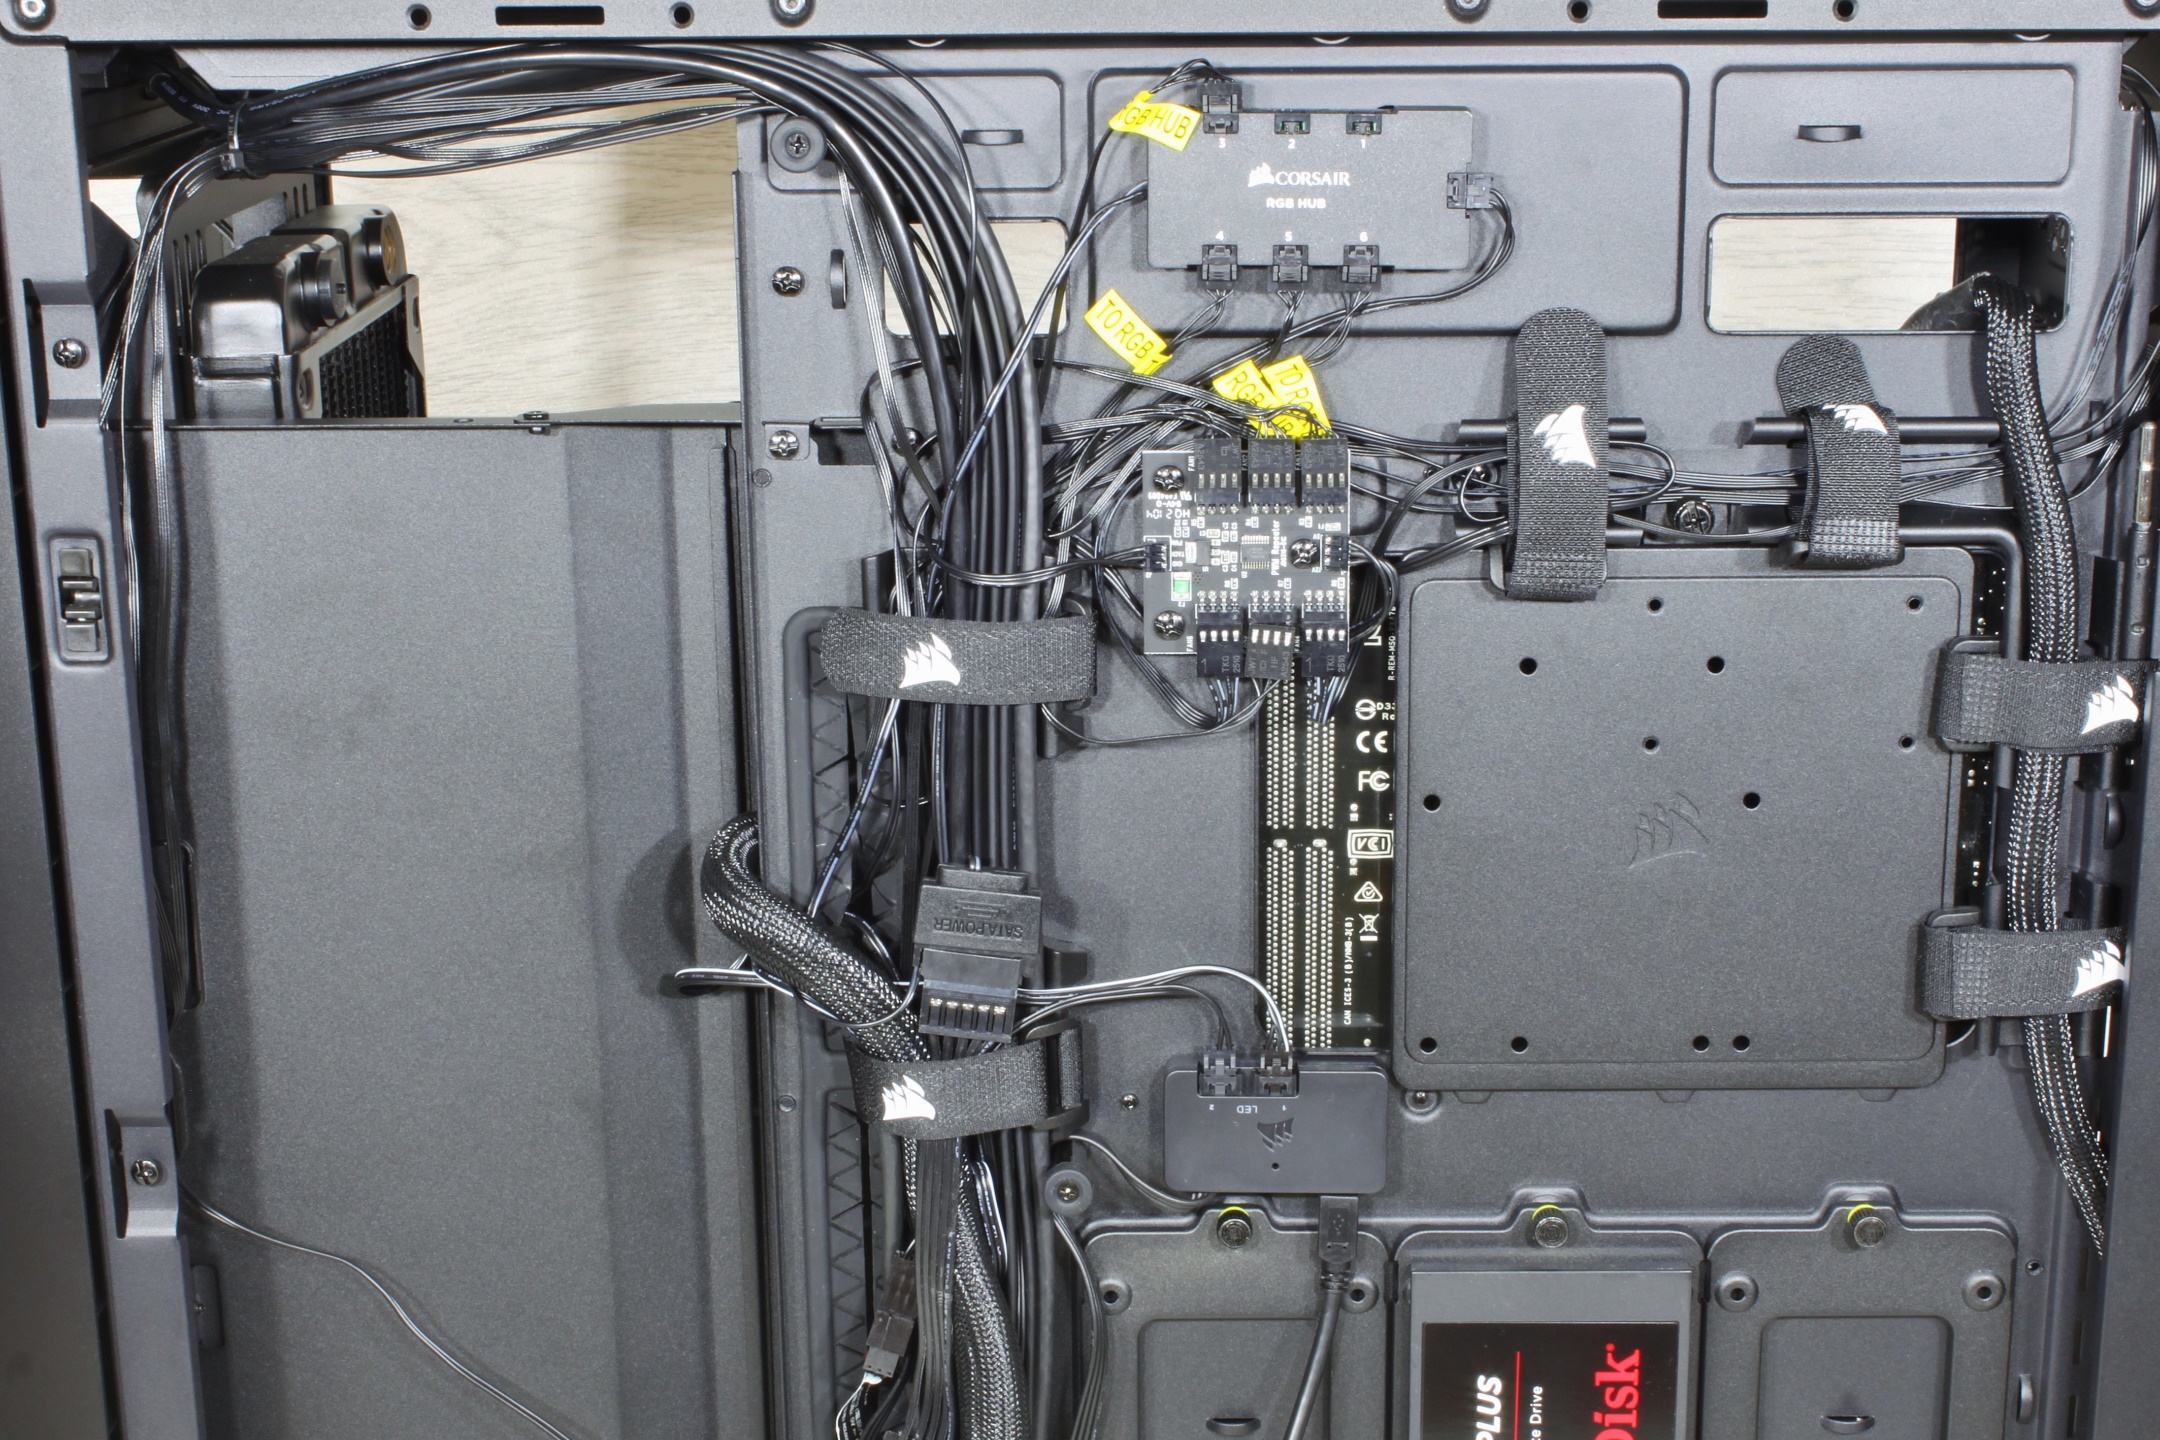
The somewhat chaotic cable routing of the many fan cables is not a problem, because the whole story disappears behind a large panel anyway.
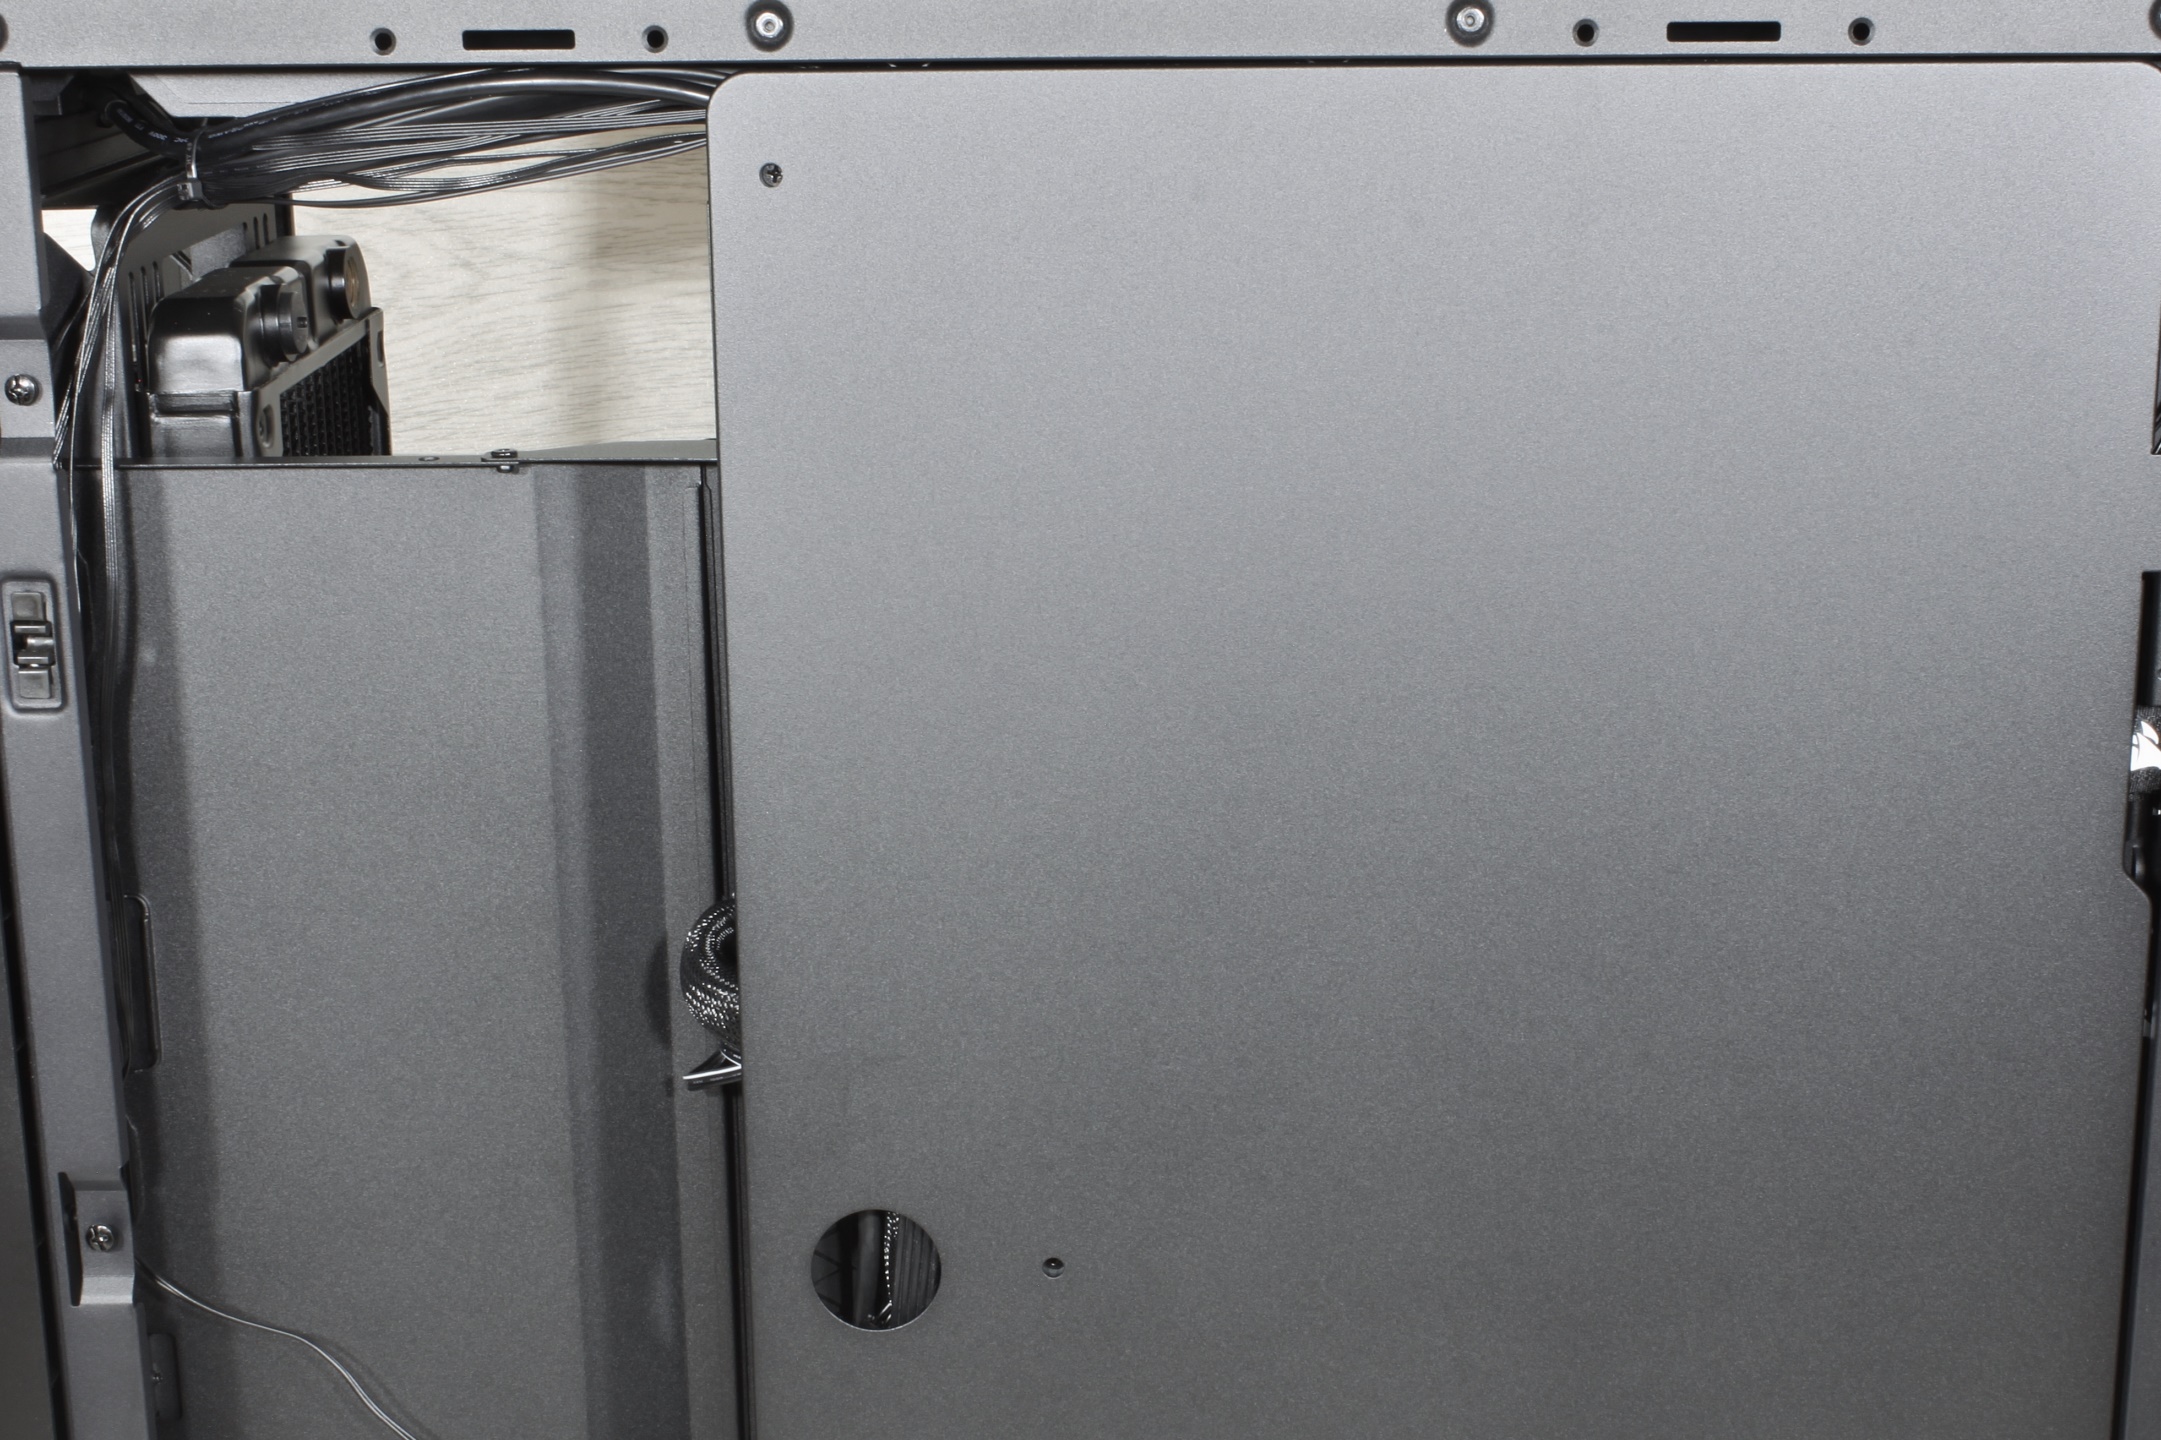
However, I actually ran into a bit of a design flaw at this point. The cable cover has turned out to be very flat, which means that cables that have been sleeved or tied as strands, which are somewhat thicker and more rigid due to their construction, literally bend the whole cover outwards. I couldn’t get the 24-pin cable of my power supply with the cover installed through the rubberized opening, which is why the large cover flap (last picture) won’t close snugly either.
After the cabling was roughly threaded and hidden, it was time for the hosing. Since only the CPU is to be water-cooled, a very simple circuit was chosen. The XF compression fittings from Corsair and the matching PVC hose are easy and comfortable to handle and were quickly installed. The two-hour leak test was passed on the first try.
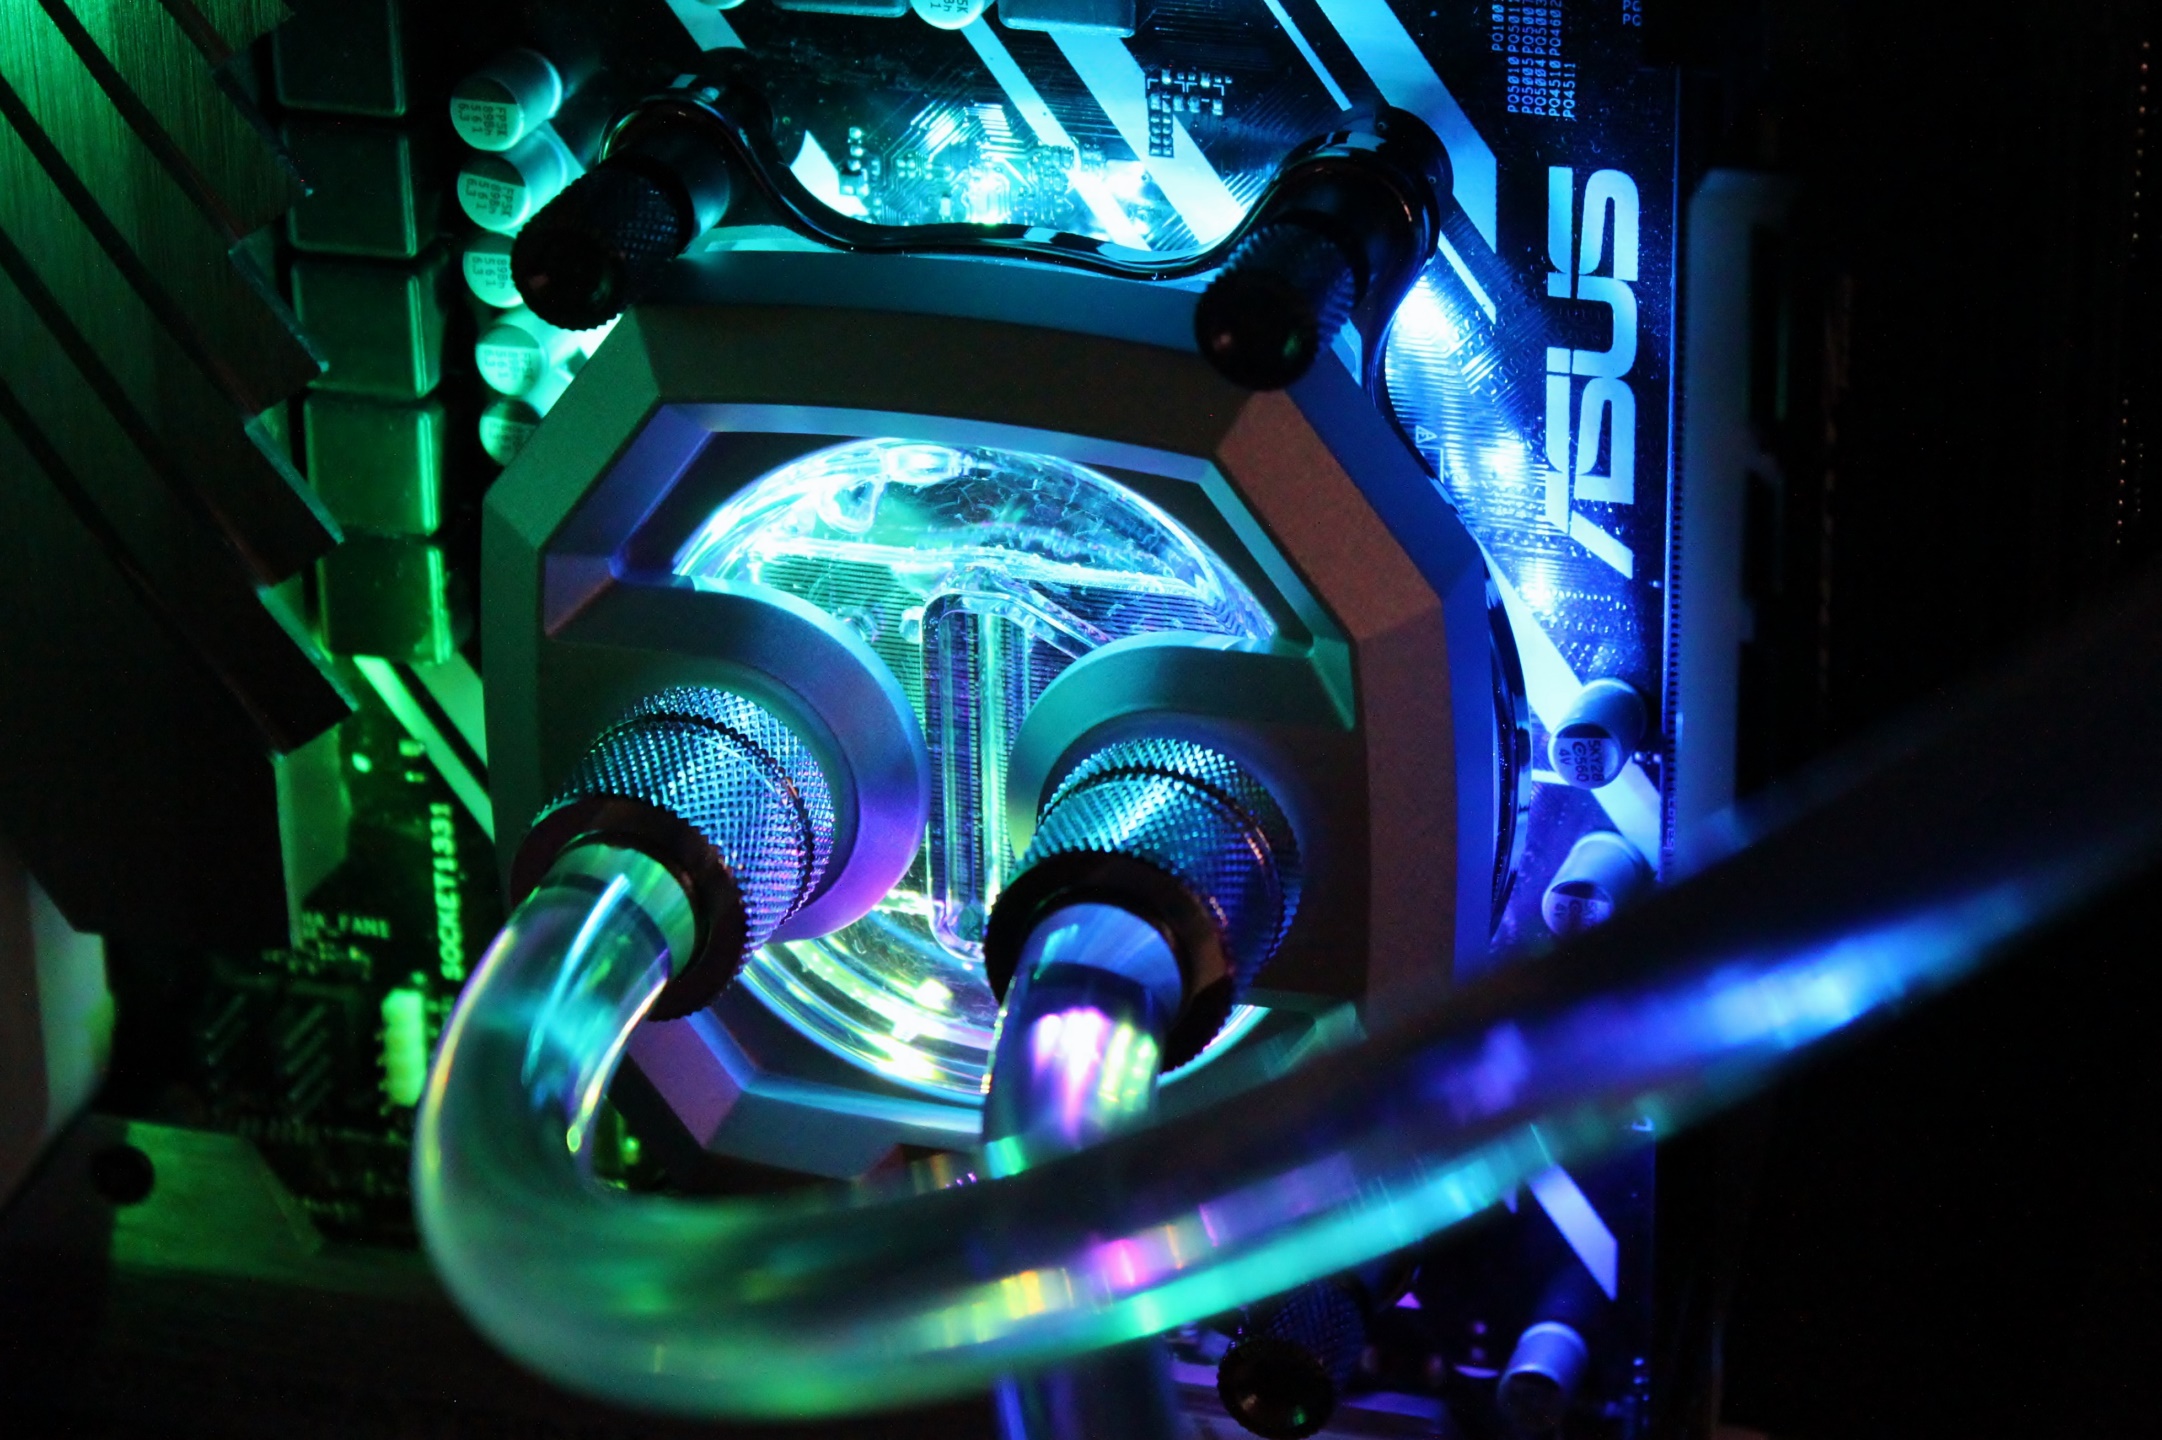
During the leak test, the pump ran constantly at 100% and the casing was repeatedly tilted in all directions to vent the circuit. Here you can see the air bubbles in the CPU block.
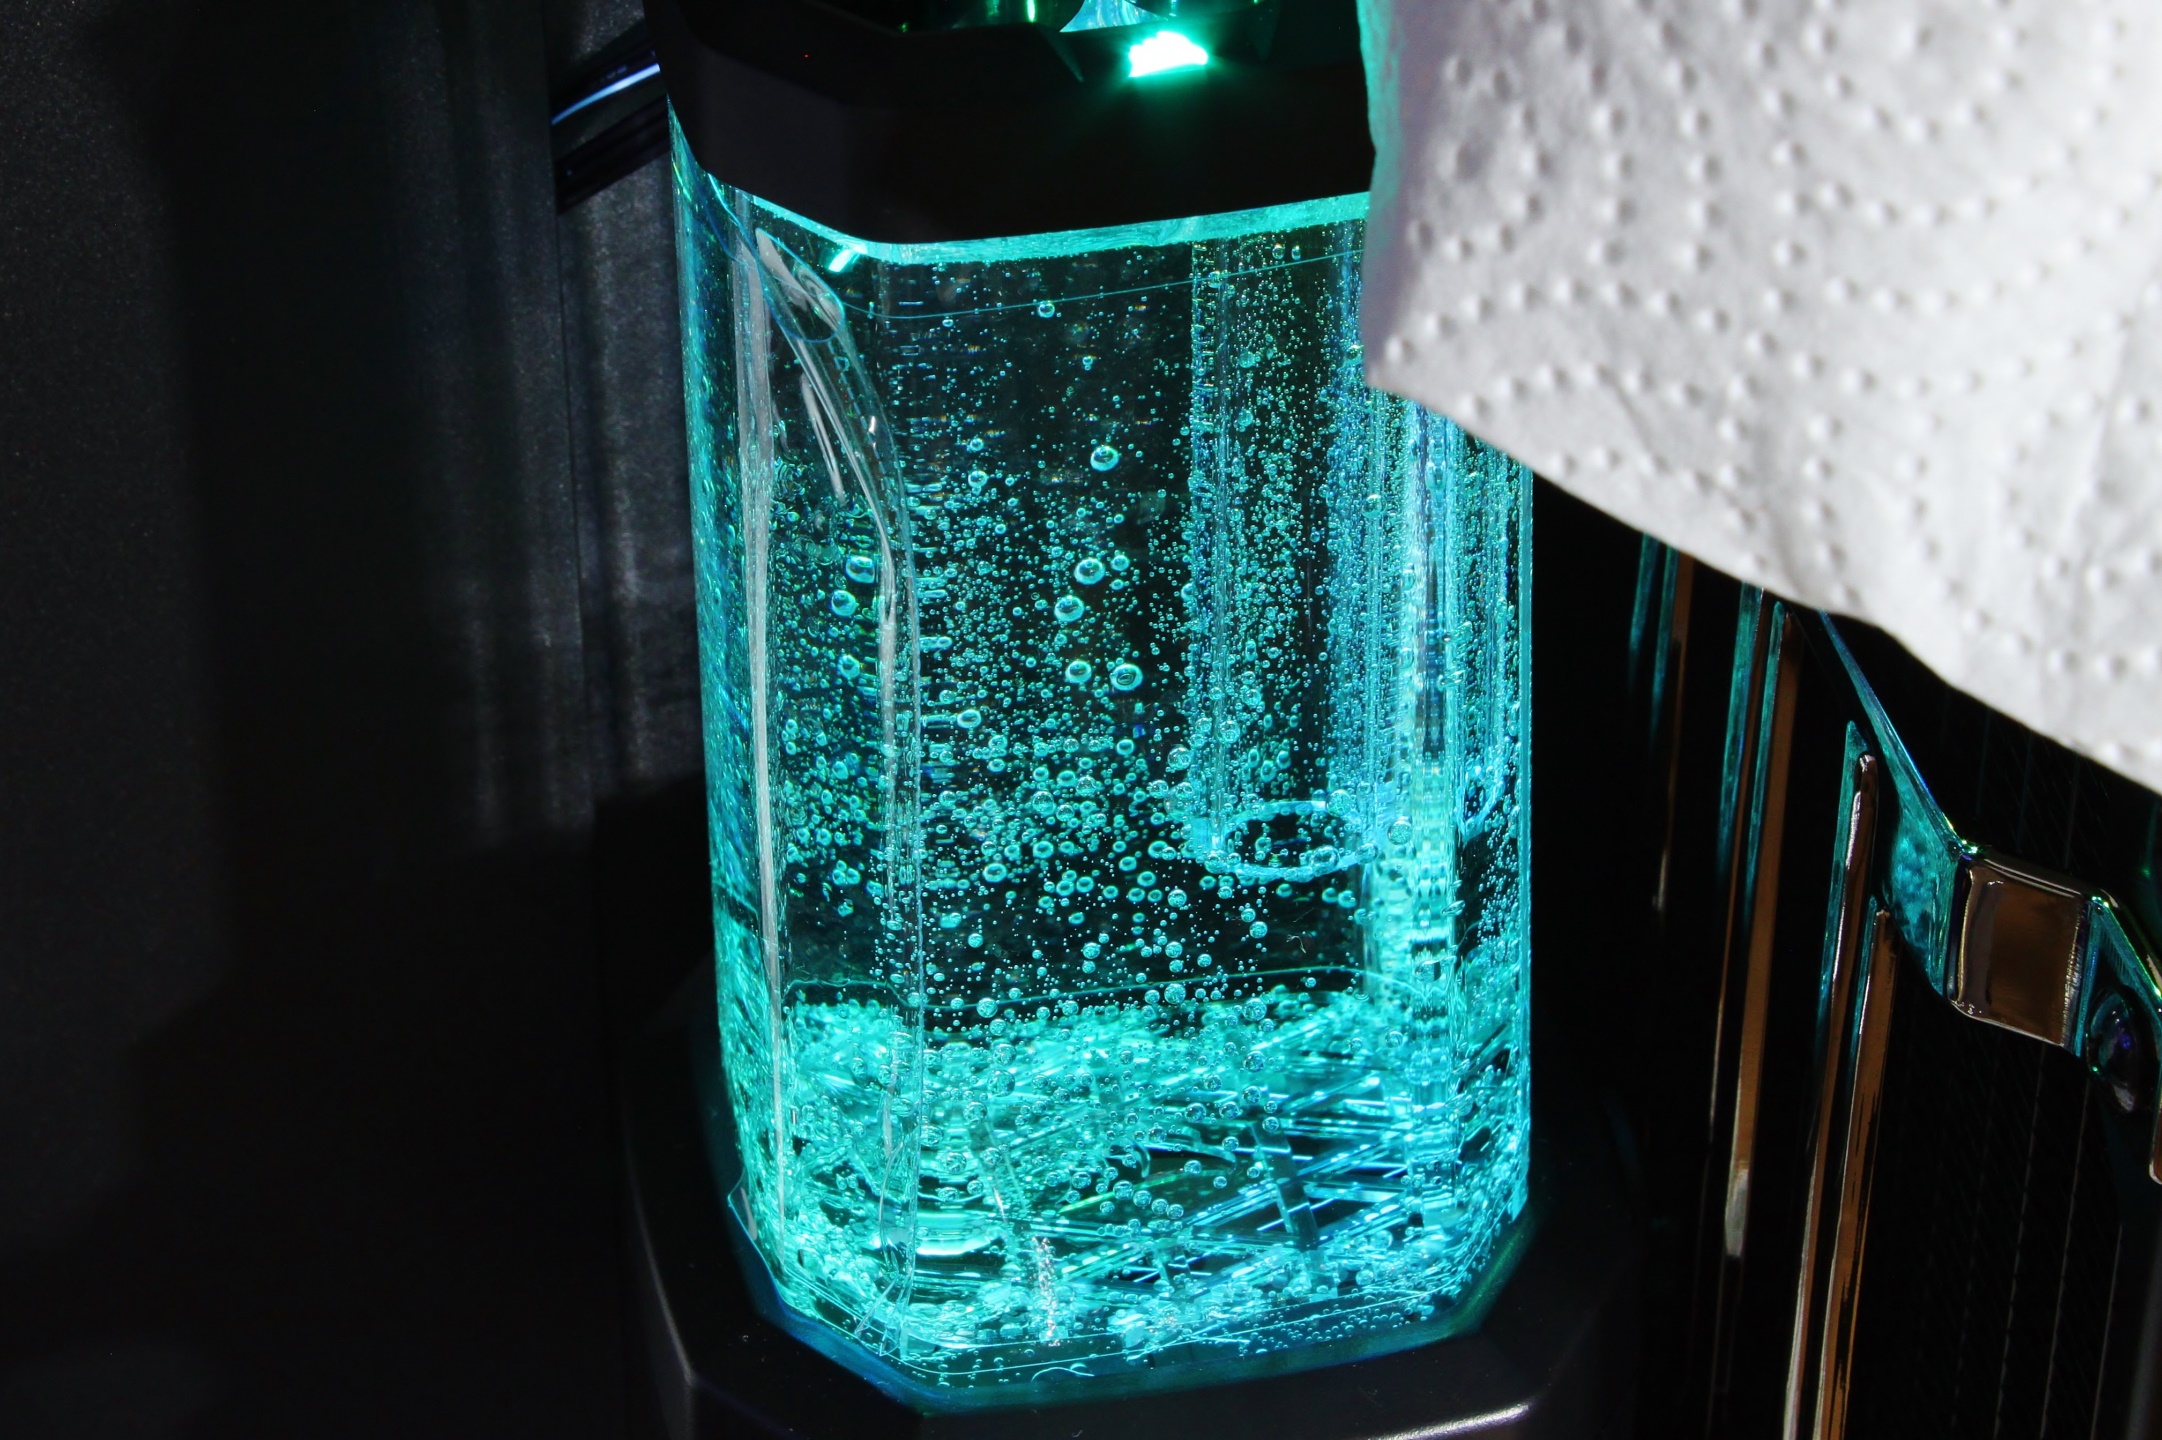
The air bubbles on the cylinder and filler tube of the expansion tank are not a problem and take a few days to disappear.
I attach photos of the finished system in a small gallery at the end of the article.


Kommentieren