


Construction diary
I had been looking forward to this installation, as the Dark Base Pro 901 impressed me so much in the test that it has since been used as the home of my main system. So it was very exciting for me to see what compromises you have to accept with the €100 cheaper, more compact version.
The following hardware should be installed:

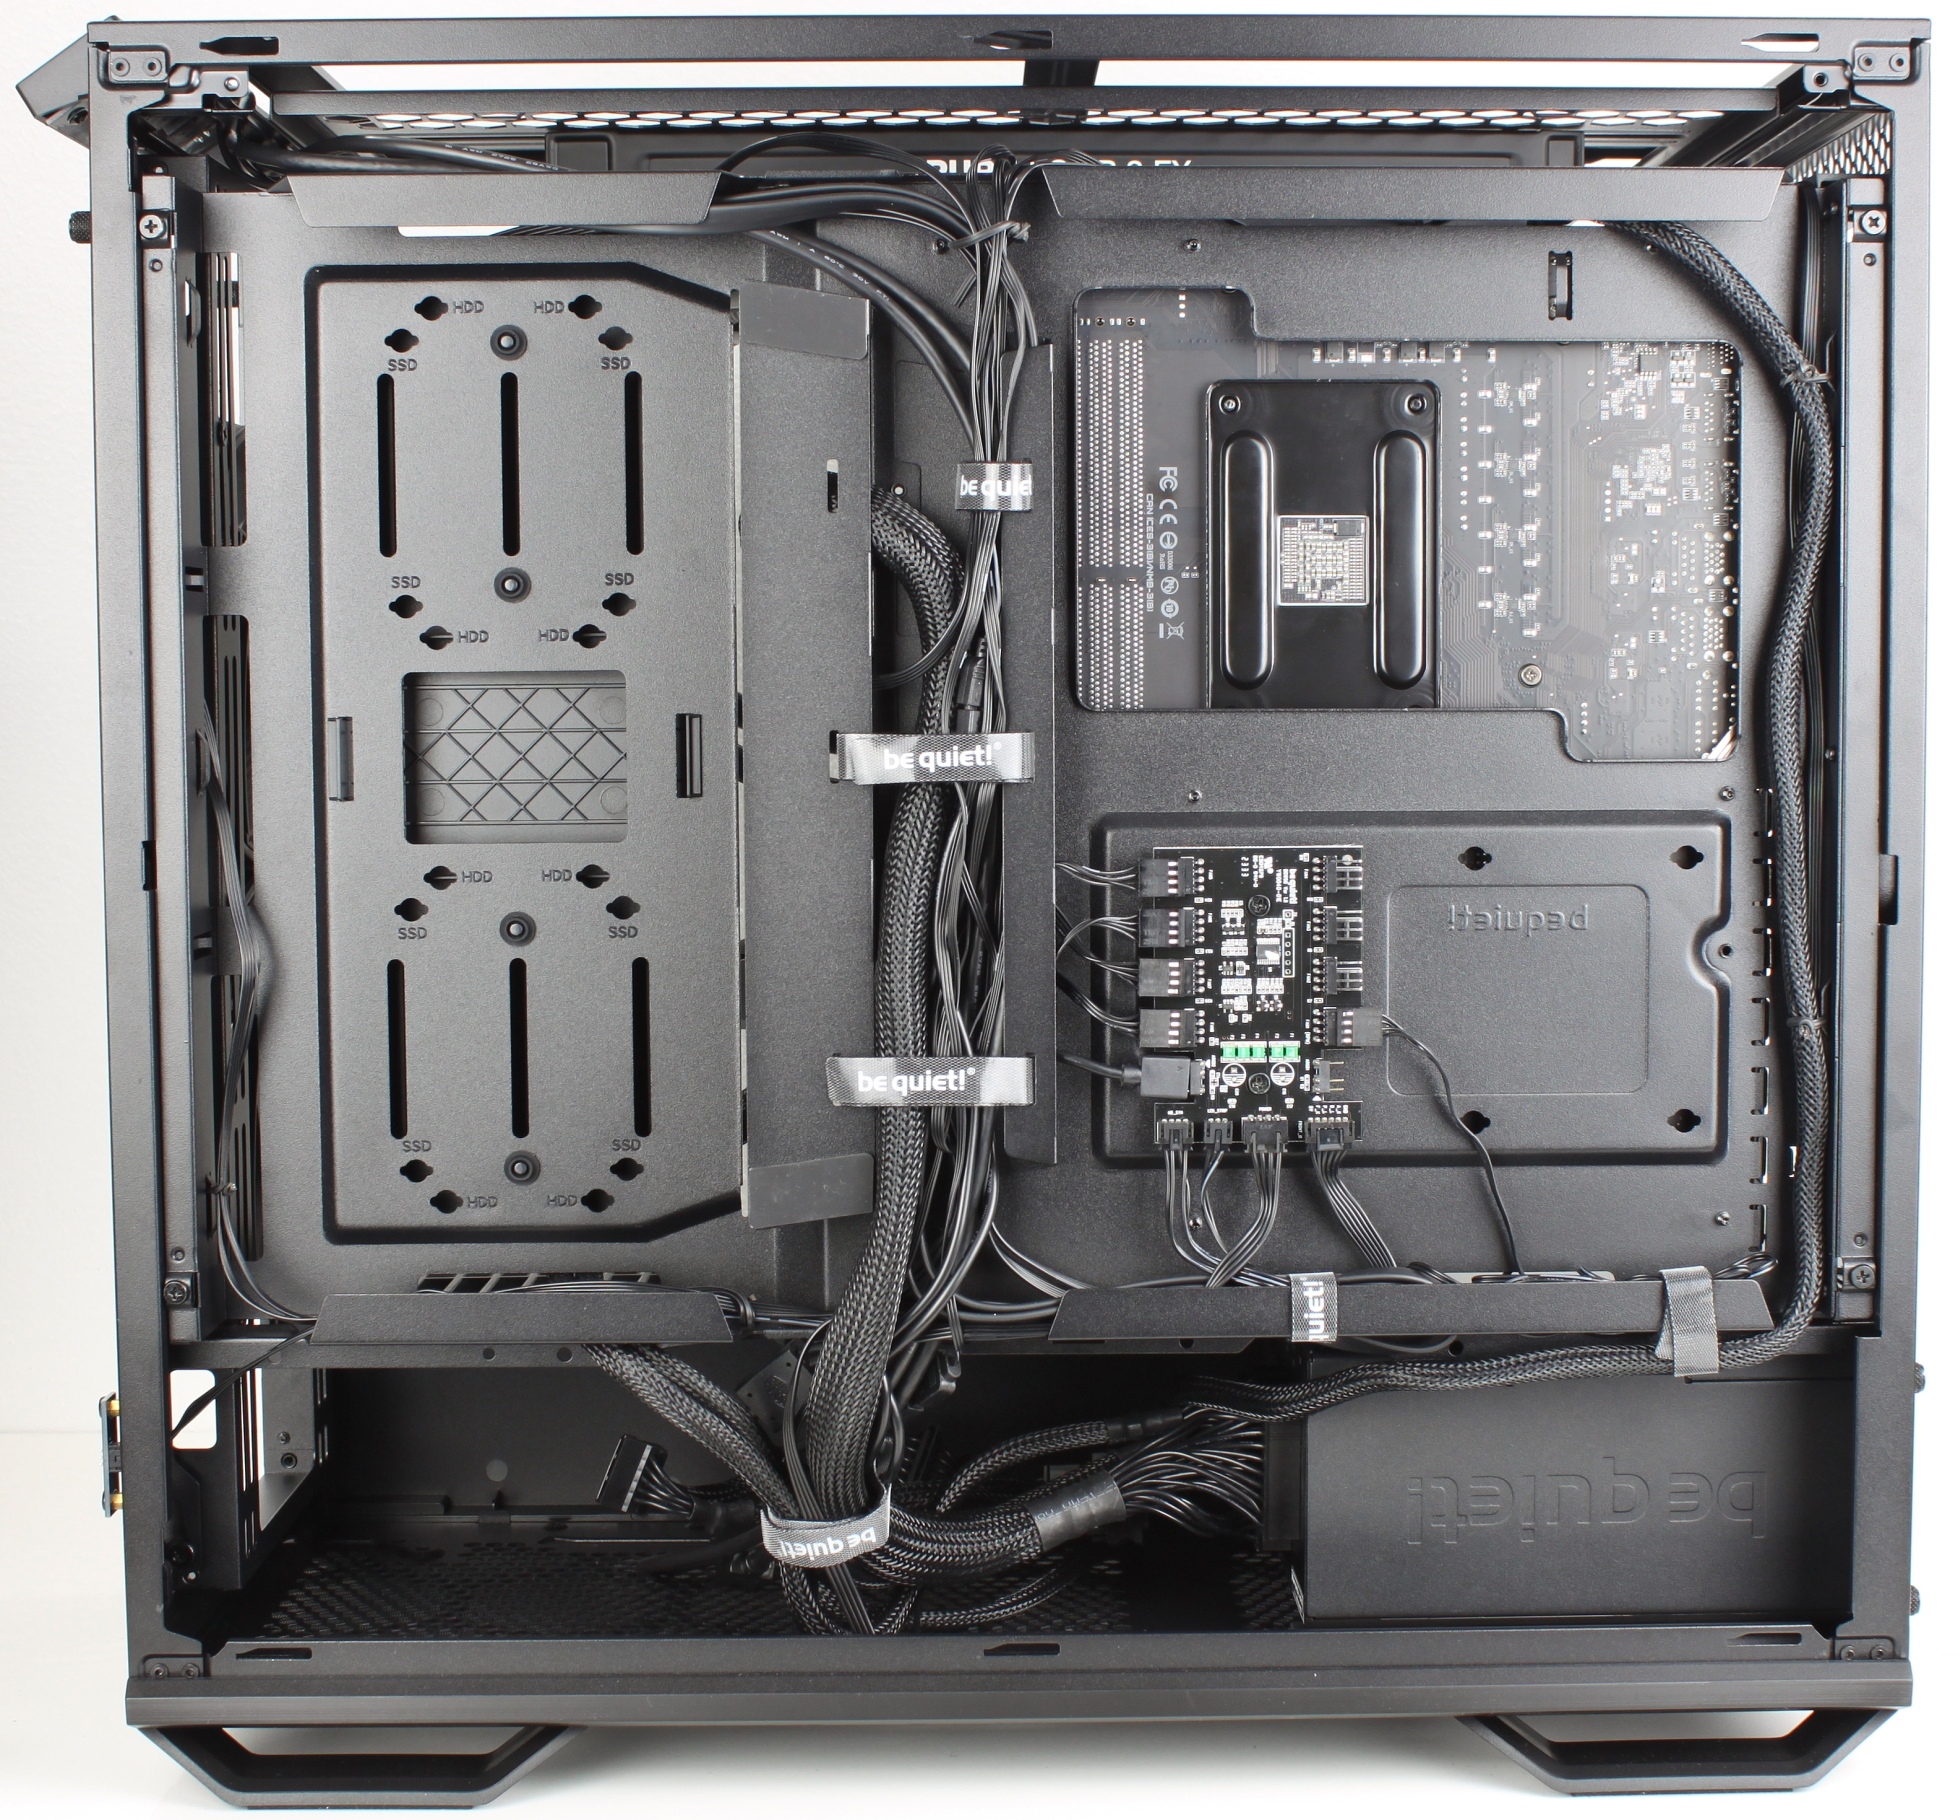
It is of course very convenient to mount the main components outside the housing, which is made possible by the removable (and also inverted mountable) mainboard slide.

In view of the ample space available and thanks to the centering spacer, however, installation without removing the mainboard tray would also be possible without further ado.

I always mounted the CPU, RAM and NVME on the board of the test system so that the assembled mainboard could be screwed on directly.

As the complete insert including slot bezels is removed, the graphics card can also be mounted directly. This is just an example, because I wanted to check the space conditions later with a vertically installed graphics card.

When everything is ready, the empty skeleton becomes an empty frame:

Then a fully assembled case in no time at all. For me, then as now, an absolute highlight when a case has a removable mainboard slide.

Now briefly to the space available for the graphics card. When installed as standard, the Dark Base 701 offers plenty of space! Even extra-wide graphics cards can be easily accommodated here without having to worry about kinking the cables. I have the fragile 12VHPWR in all its expansion stages in mind.

But what about the space available for vertical mounting? The Dark Base 701 does not offer any rotating slot bezels, but relies on separate slot brackets installed in front of the regular bezels. This naturally brings the vertically mounted graphics card much closer to the glass panel, which looks quite tight with the 2.5 slot card used.

With a distance of just over 3 cm between the rotor blades and the pane, this will still be possible, but with a thicker graphics card I would get a stomach ache here.

The next step was to install the power supply unit. Here again with the “annoying” mounting frame, but BeQuiet! has made up for this by adding a foam decoupling. I simply love details like this and with this low financial outlay you can offer a much more valuable feel.

The power supply doesn’t hang in the air or rest on any metal brackets, but on thick rubber buffers, which not only minimize the risk of scratches, but also minimize the transmission of vibrations.

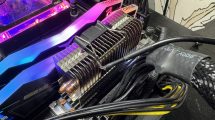
Once all the cables had been laid and connected, I had to think about the positioning of the radiator. I didn’t bother installing an air cooler at this point, because with 185 mm of space, pretty much any standard CPU cooler should fit without any problems.

As in most previous tests, I again decided to mount the fans in the lid, with the fans mounted as exhausts. This is not ideal for the CPU temperature, as the warm exhaust air from the graphics card and other components is forced through the radiator instead of cool fresh air from outside, but it keeps the comparison fair.

Cable management in the 701 is also a dream. Large cable ducts, plenty of lashing points – wonderful.
Finally, the graphics card, which looks rather lost despite its 32 cm long and 2.5 slot thick cooler.

Close the flap(s)!

Test run..


22 Antworten
Kommentar
Lade neue Kommentare
Veteran
Urgestein
Urgestein
Urgestein
Urgestein
Veteran
Neuling
Moderator
Urgestein
Urgestein
Urgestein
Mitglied
Urgestein
Veteran
Urgestein
Urgestein
Neuling
Urgestein
Urgestein
Alle Kommentare lesen unter igor´sLAB Community →