Audio/Peripherals Editor's Desk Furniture Monitors Reviews

Heavy boys and their stands – Monitor arms from Rockstable for 1 and 2 monitors in practice test

Disclaimer: The following article is machine translated from the original German, and has not been edited or checked for errors. Thank you for understanding!

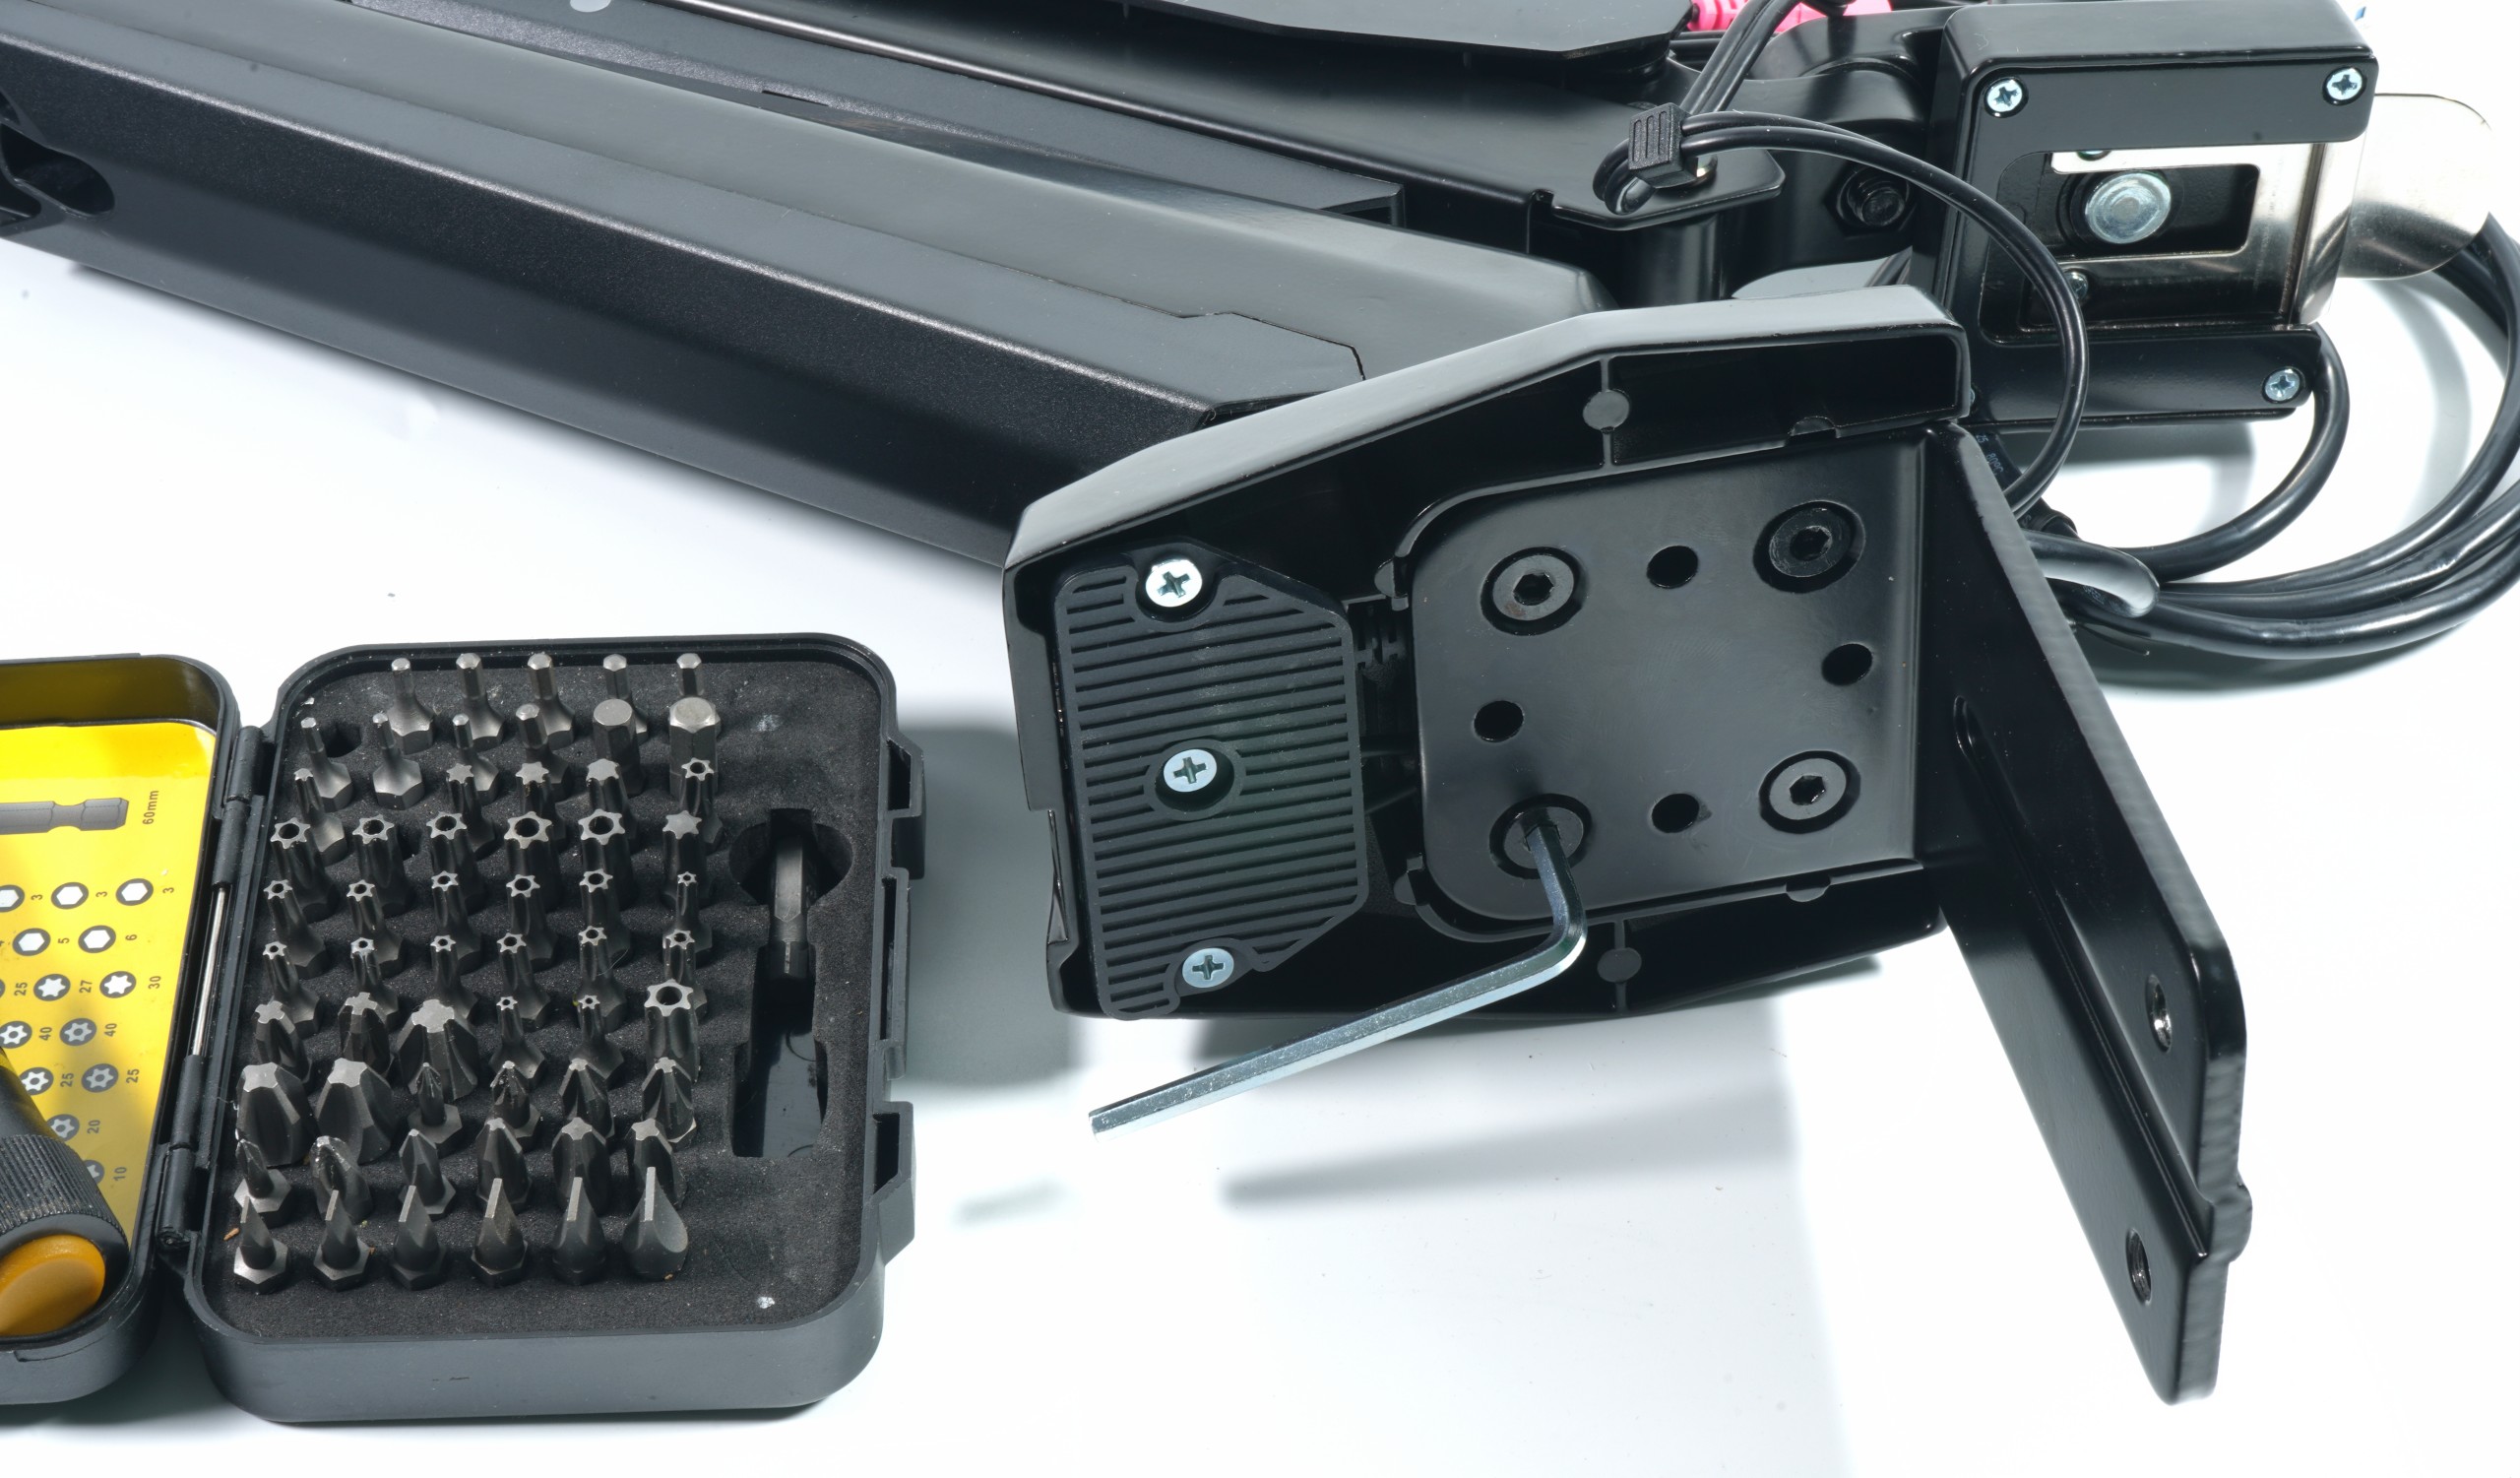
Now let’s move on to the assembly. The qualified screwdriver crew either uses the supplied Allen key or a set of proper bits together with the screwdriver. It goes both ways, of course. And so the massive angle of the table mount first finds its way to the base of the monitor arm. The powder coating is thick and durable, plus point. However, this is precisely why you have to check the threaded holes to make sure that no residue has settled in the beginnings. This makes screwing in much easier if you scrape it off beforehand.

After about 5 minutes, the four screws are countersunk and properly seated. However, since you can’t just put this on the table without leaving deeper traces of devastation….

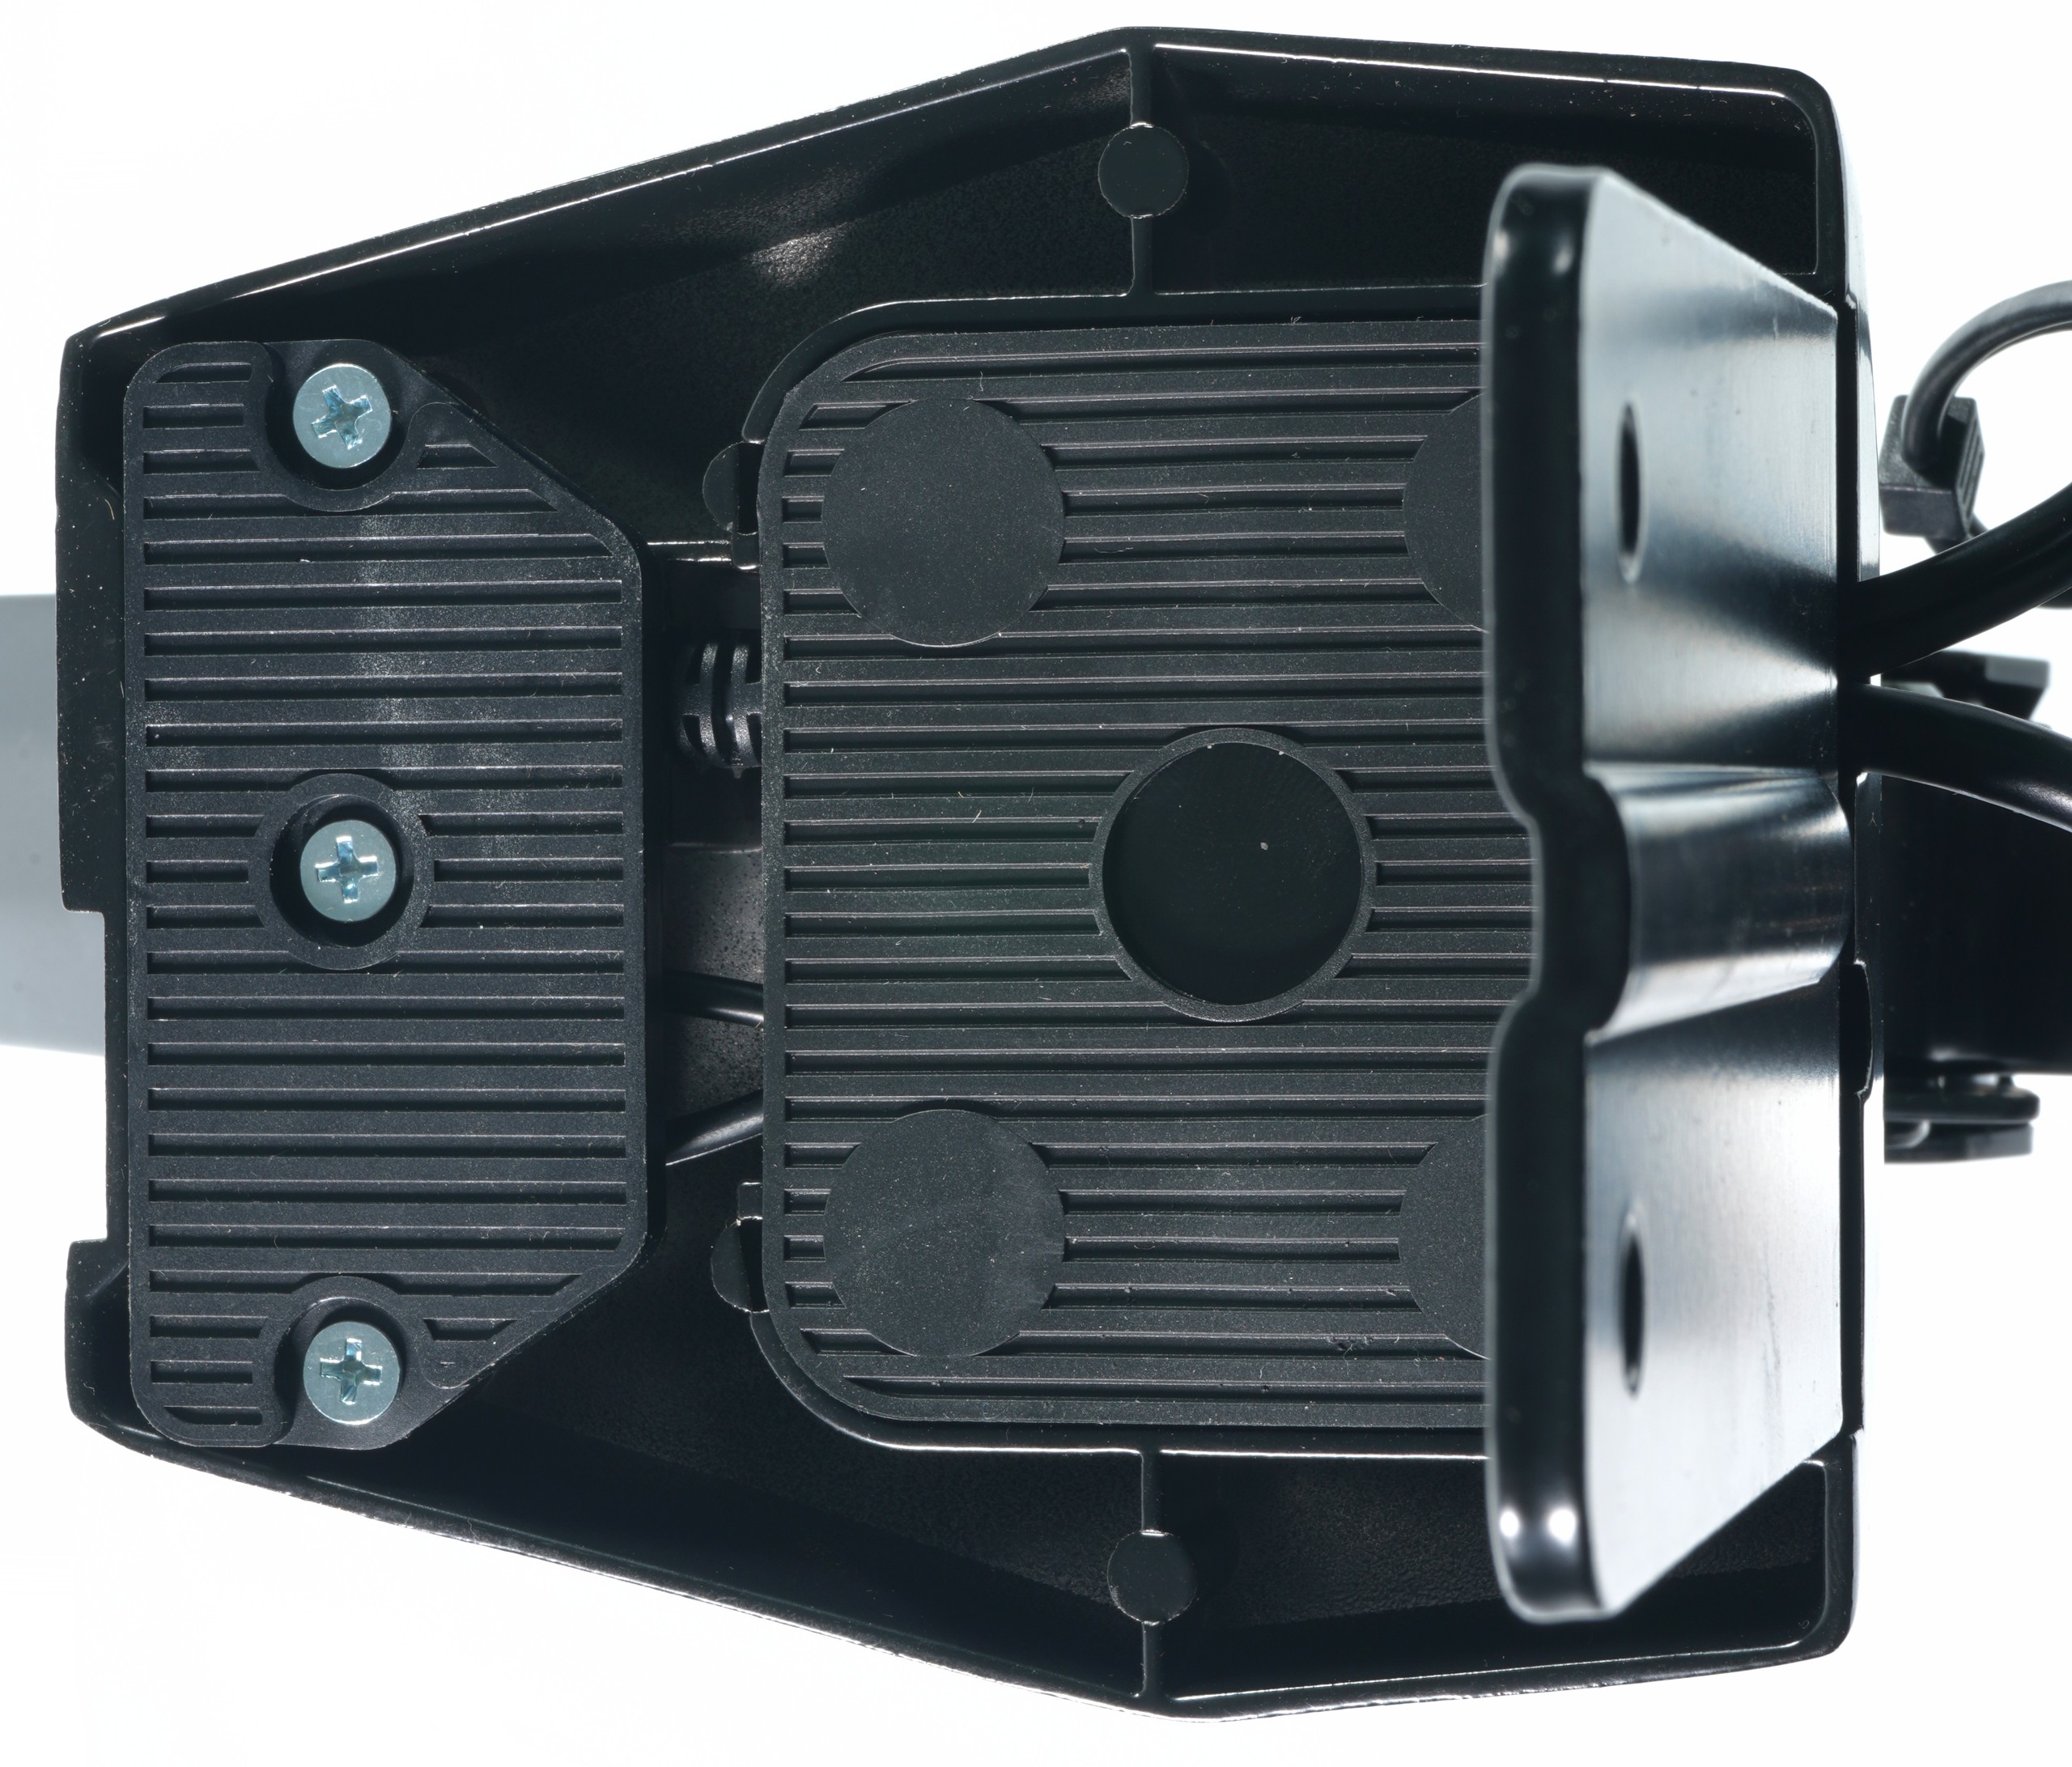
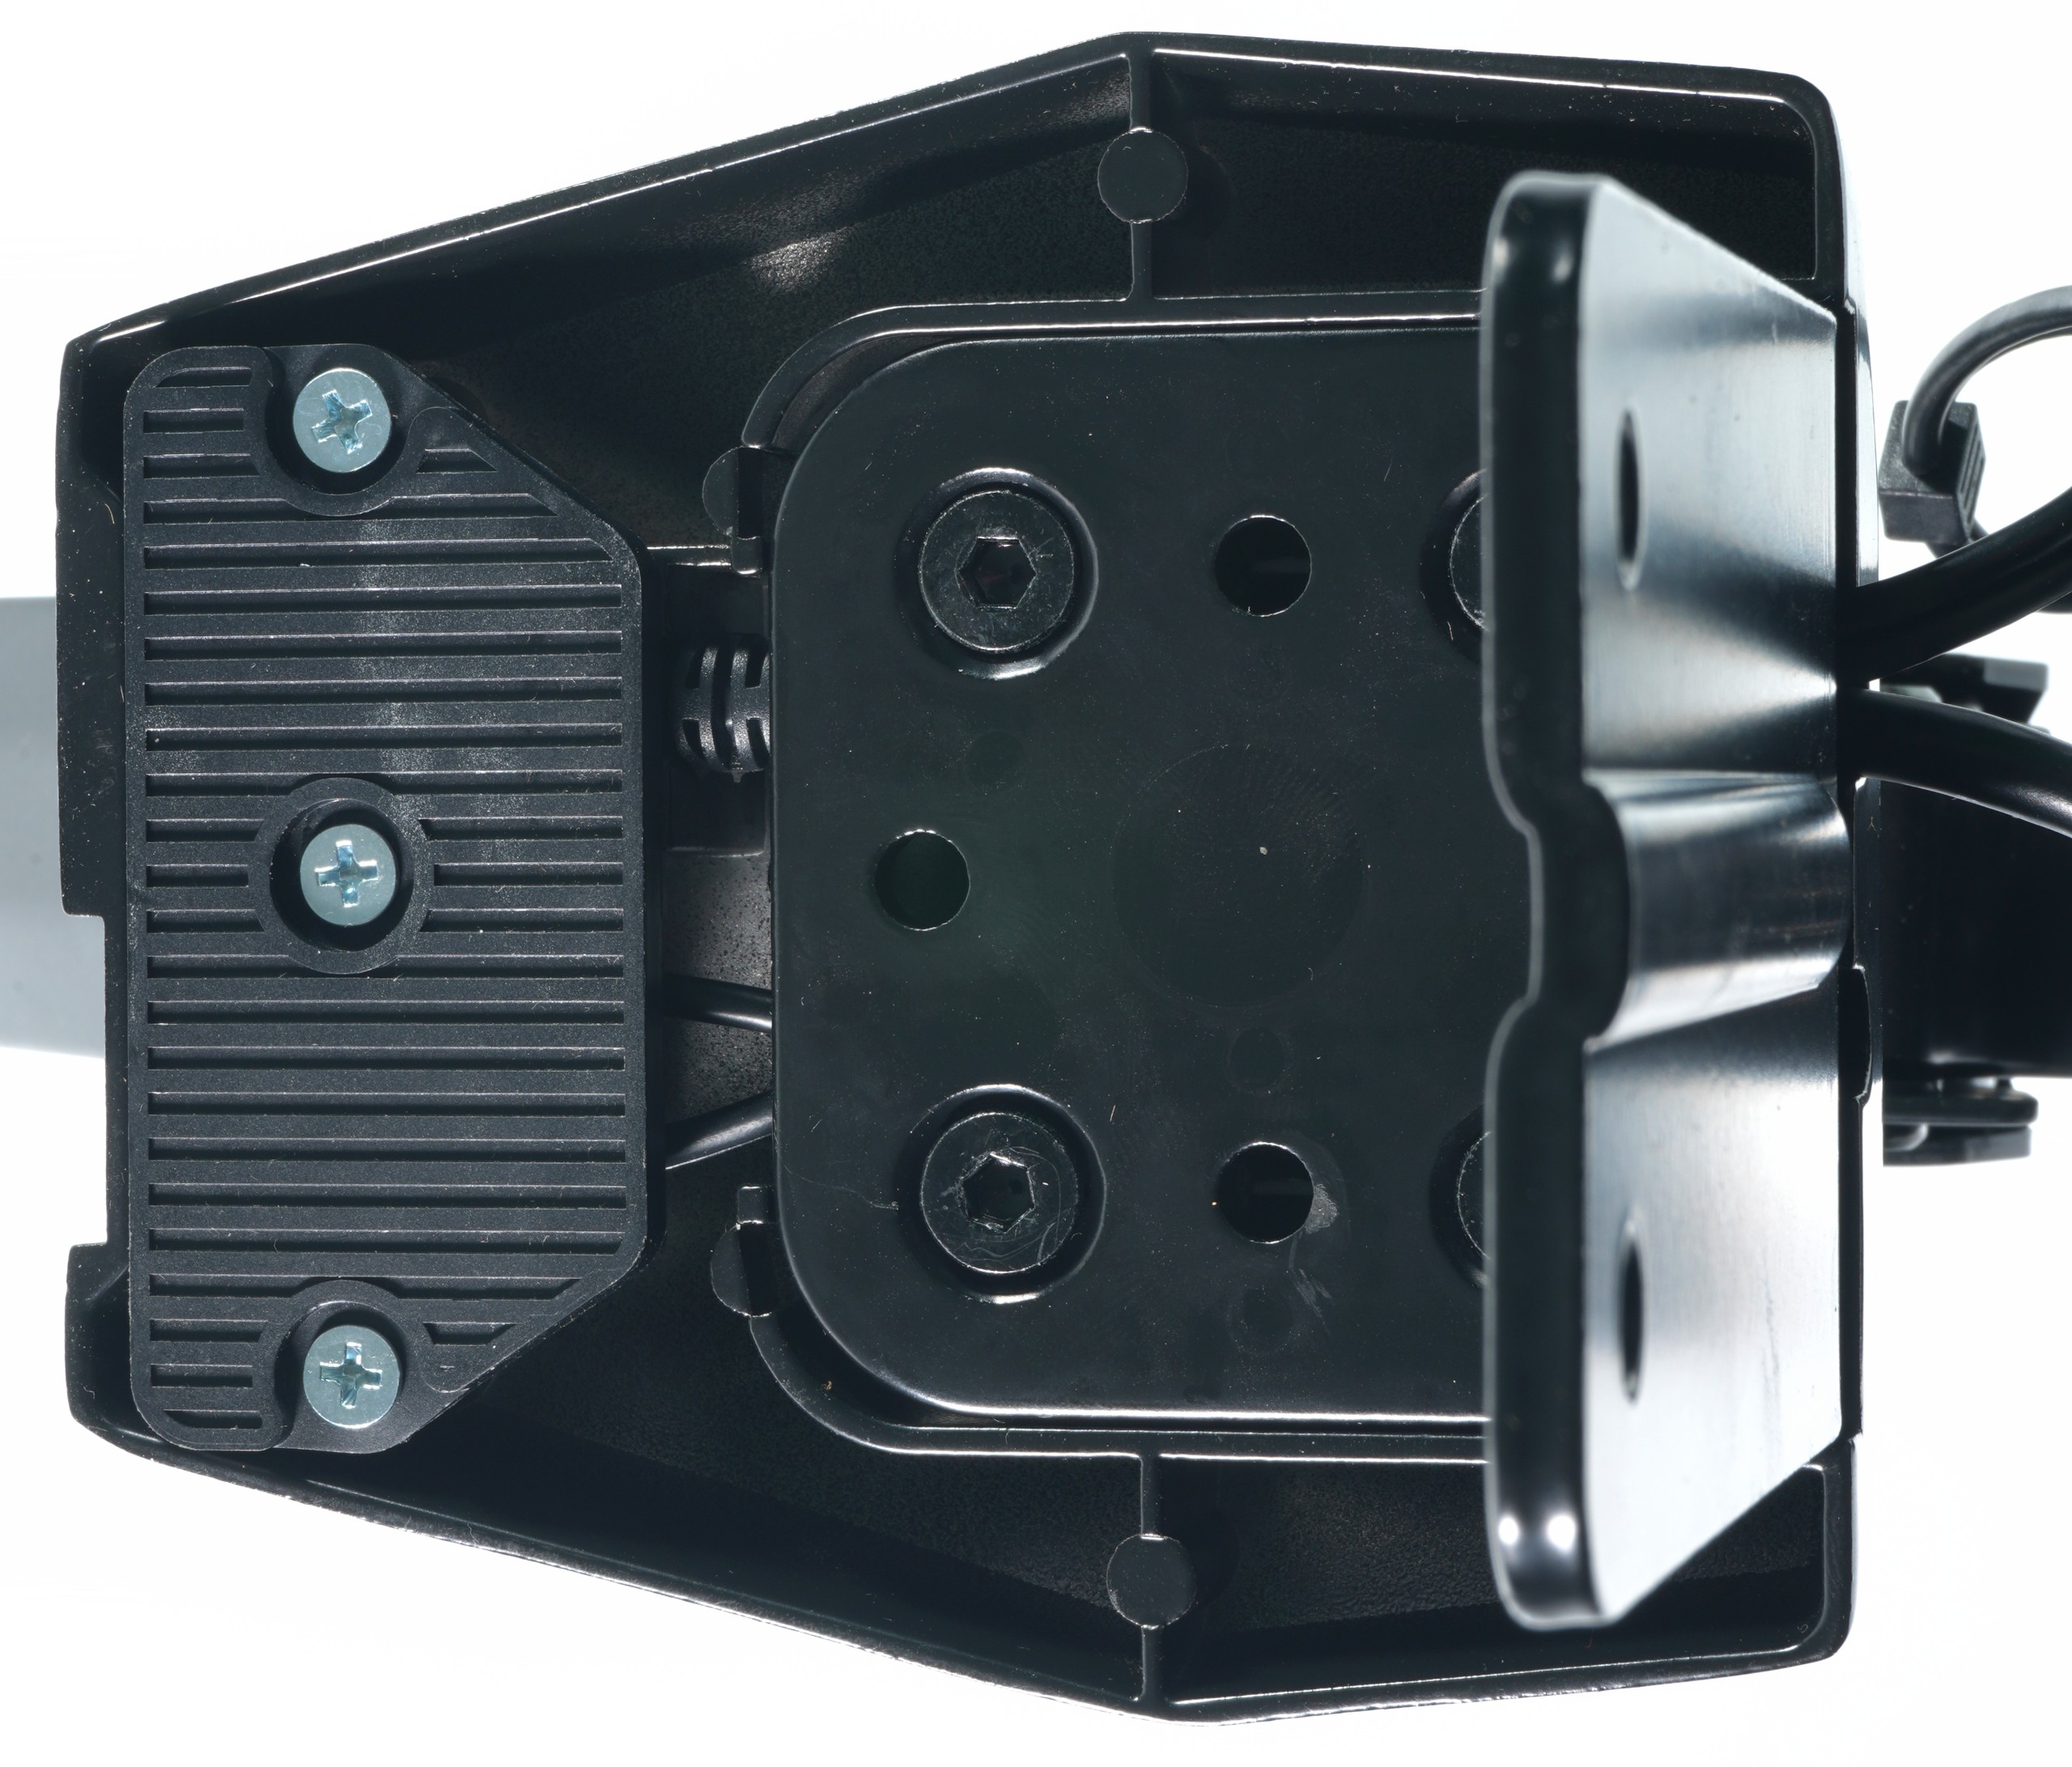
… there are the nice rubber pads, which can be easily attached by means of four knobs. I also did a pressure and abrasion test here on a piece of white film. This is not a long-term statement (keyword: plasticizer migration), but nothing stains there for a start. The rest of the contact surface is already rubberized ex works.

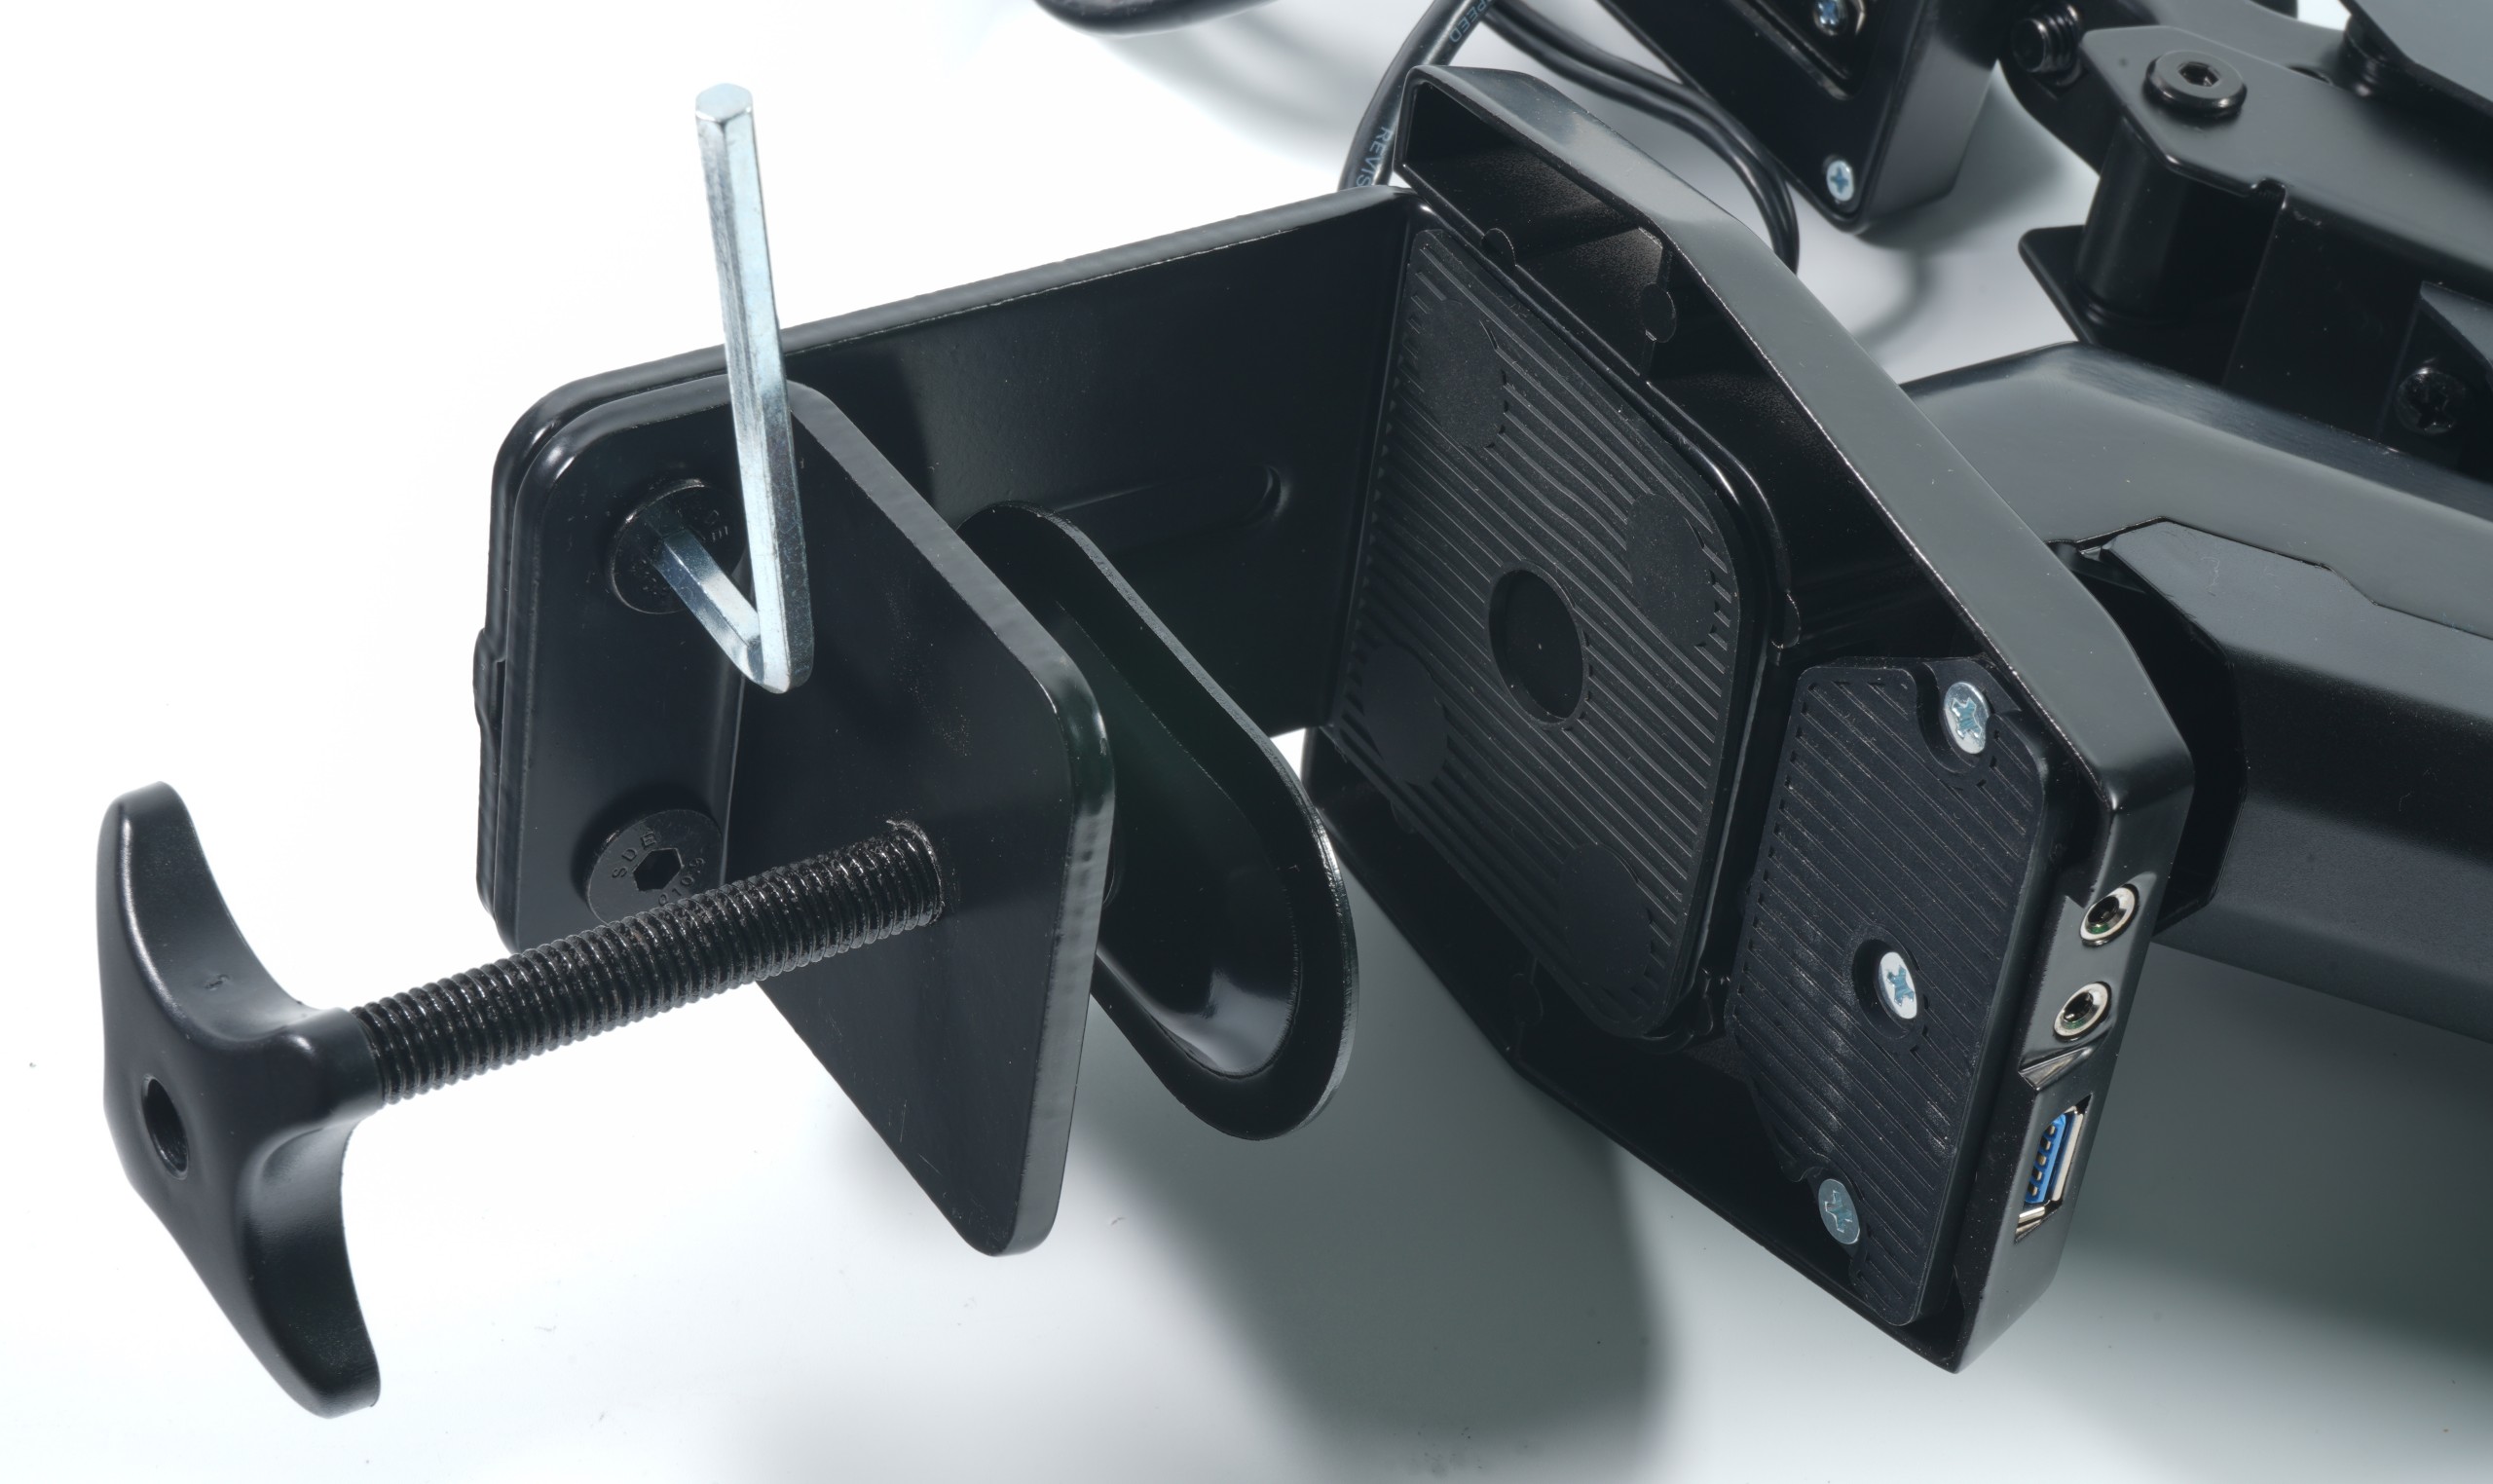
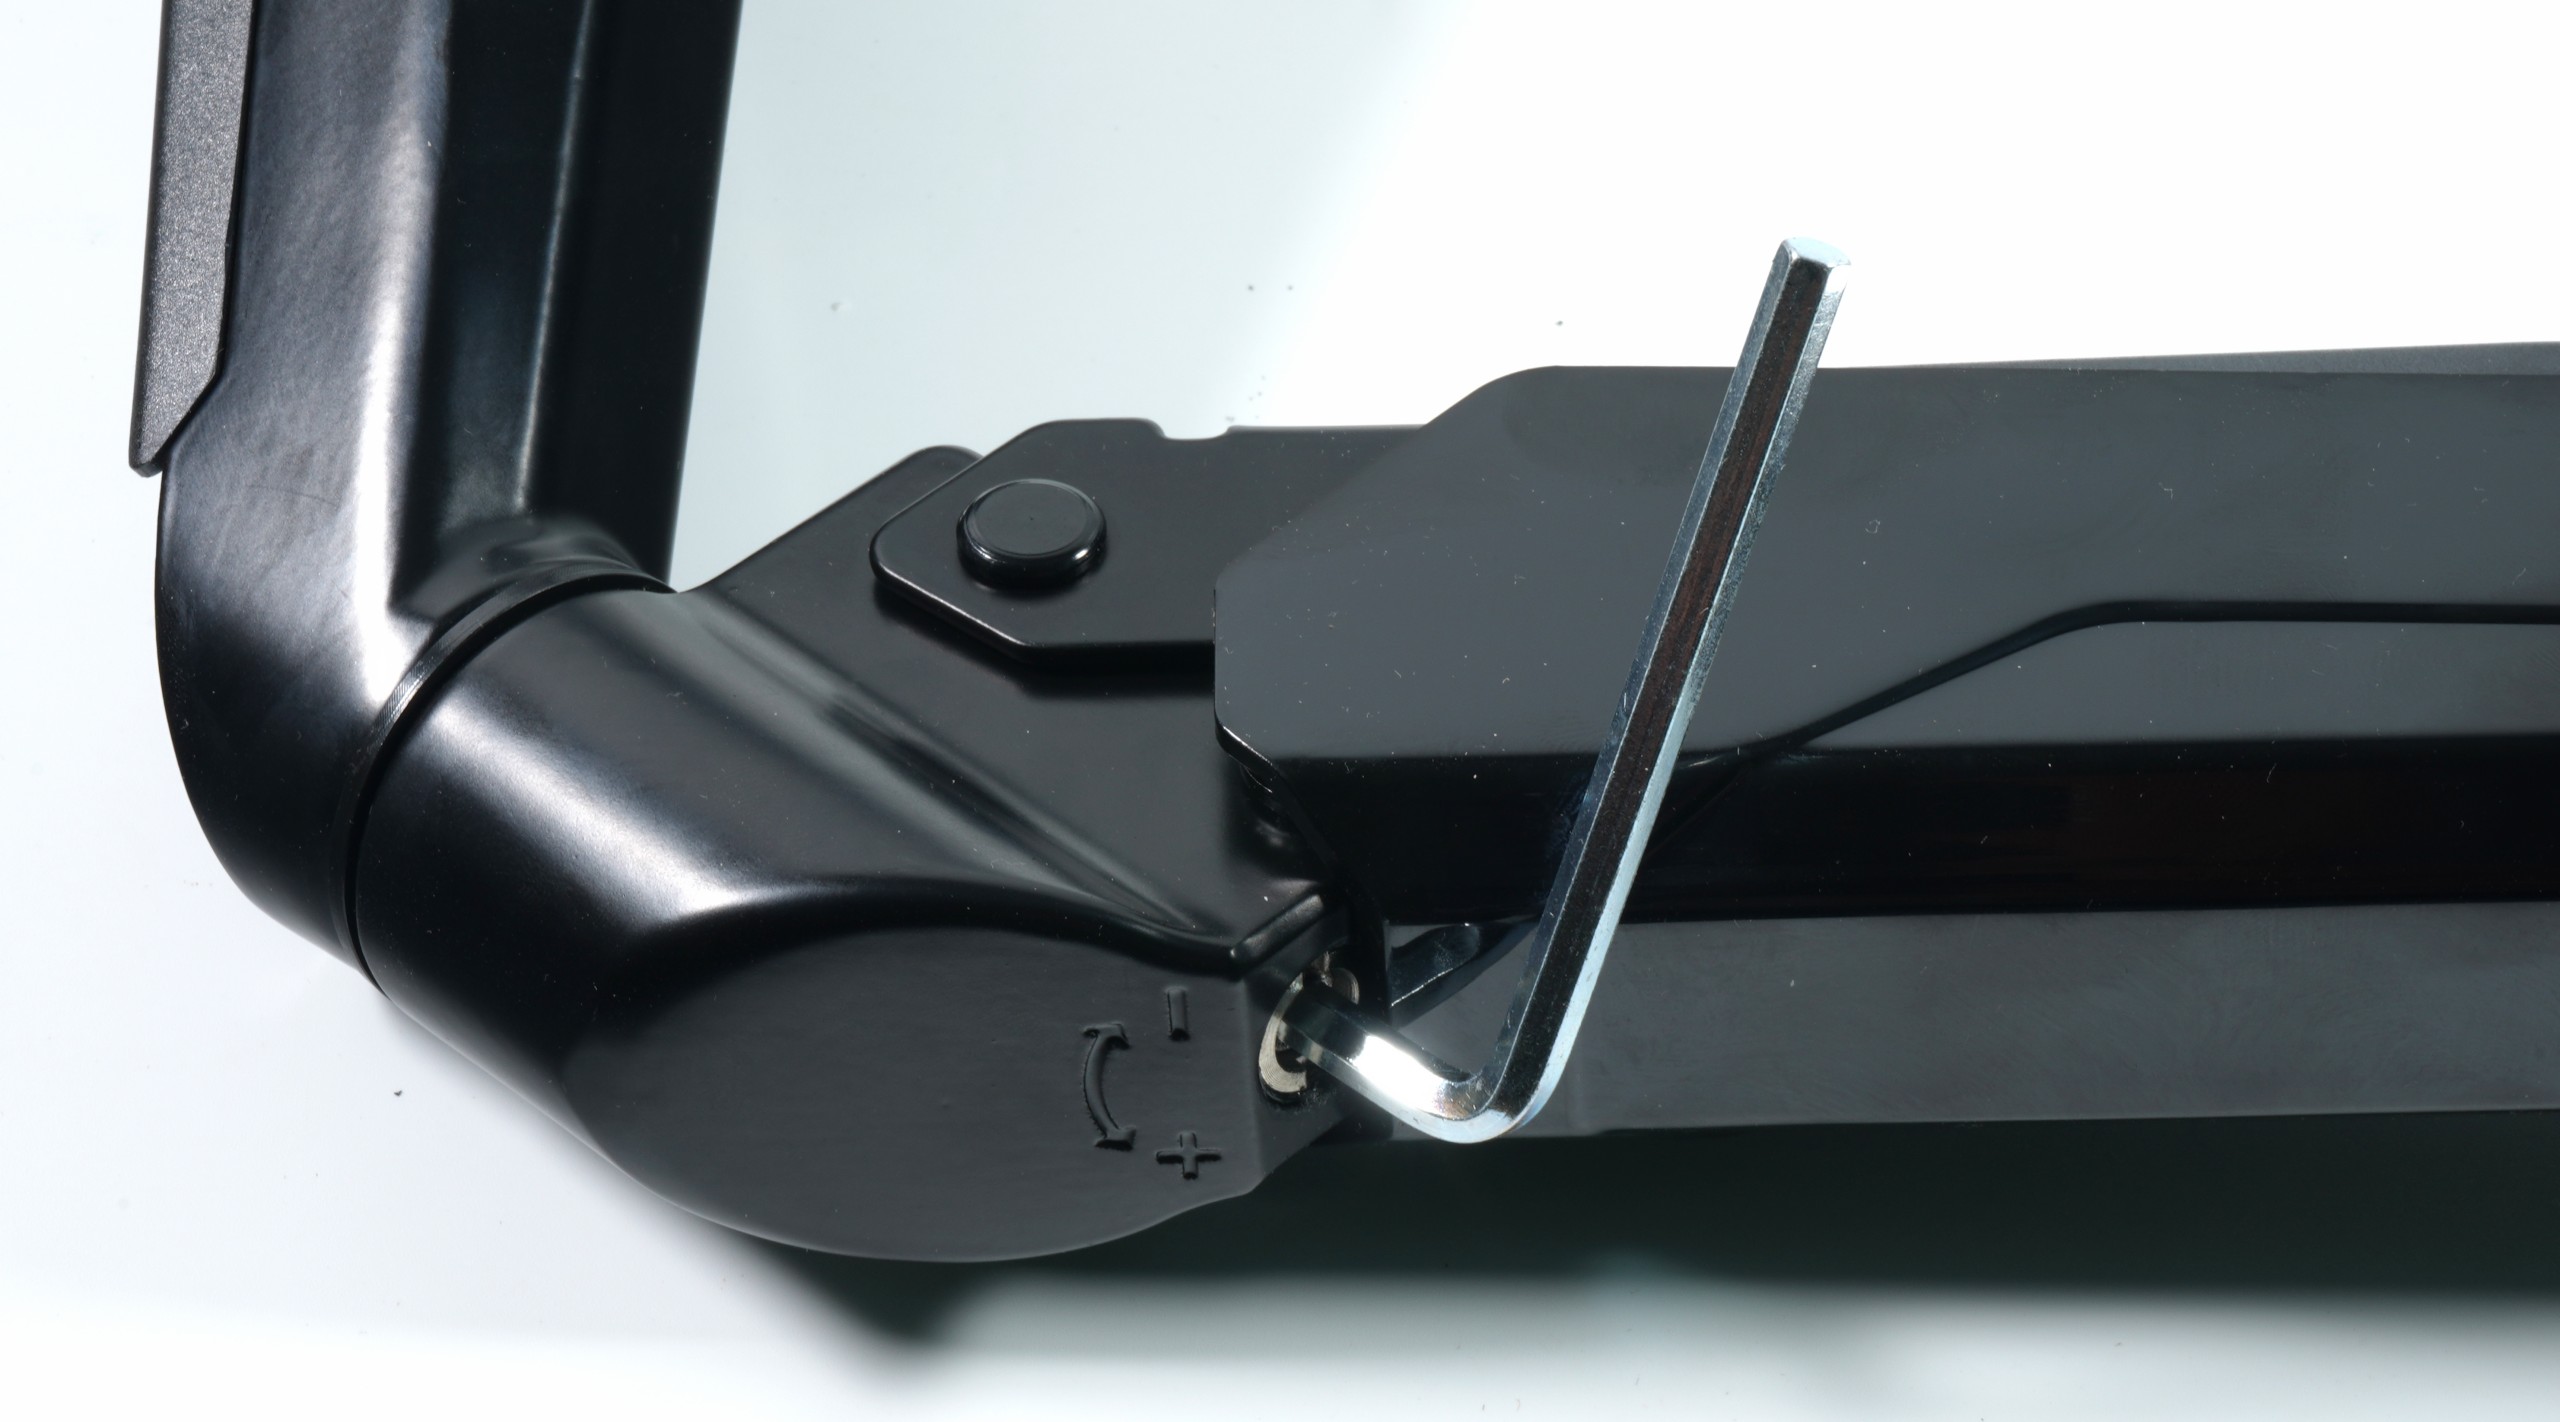
The two screws for the tensioner are quickly done and here, too, the first thing to look at is the free threads. Then you should measure the thickness of the tabletop and screw in the really extremely long screw until the distance between the rubber and the holding surface is approximately the same and the monitor arm can be attached to the table reasonably firmly. This makes it much easier to tighten the screws if, like me, you have full or massive tables where it is difficult to reach the screws. The clock does not show 10 minutes from the start.

An important remark I must insert at this point, because otherwise one falls fast on it: all joints are set by a RIGHT turn of the respective screws harder or more firmly, only the gas pressure spring requires a LEFT turn! I therefore recommend turning the screw all the way to the left stop even before mounting, because even if the monitor only weighs 5 to 6 kilos, you should leave it as tight as possible. It will give a little later anyway. This costs about 2 minutes.


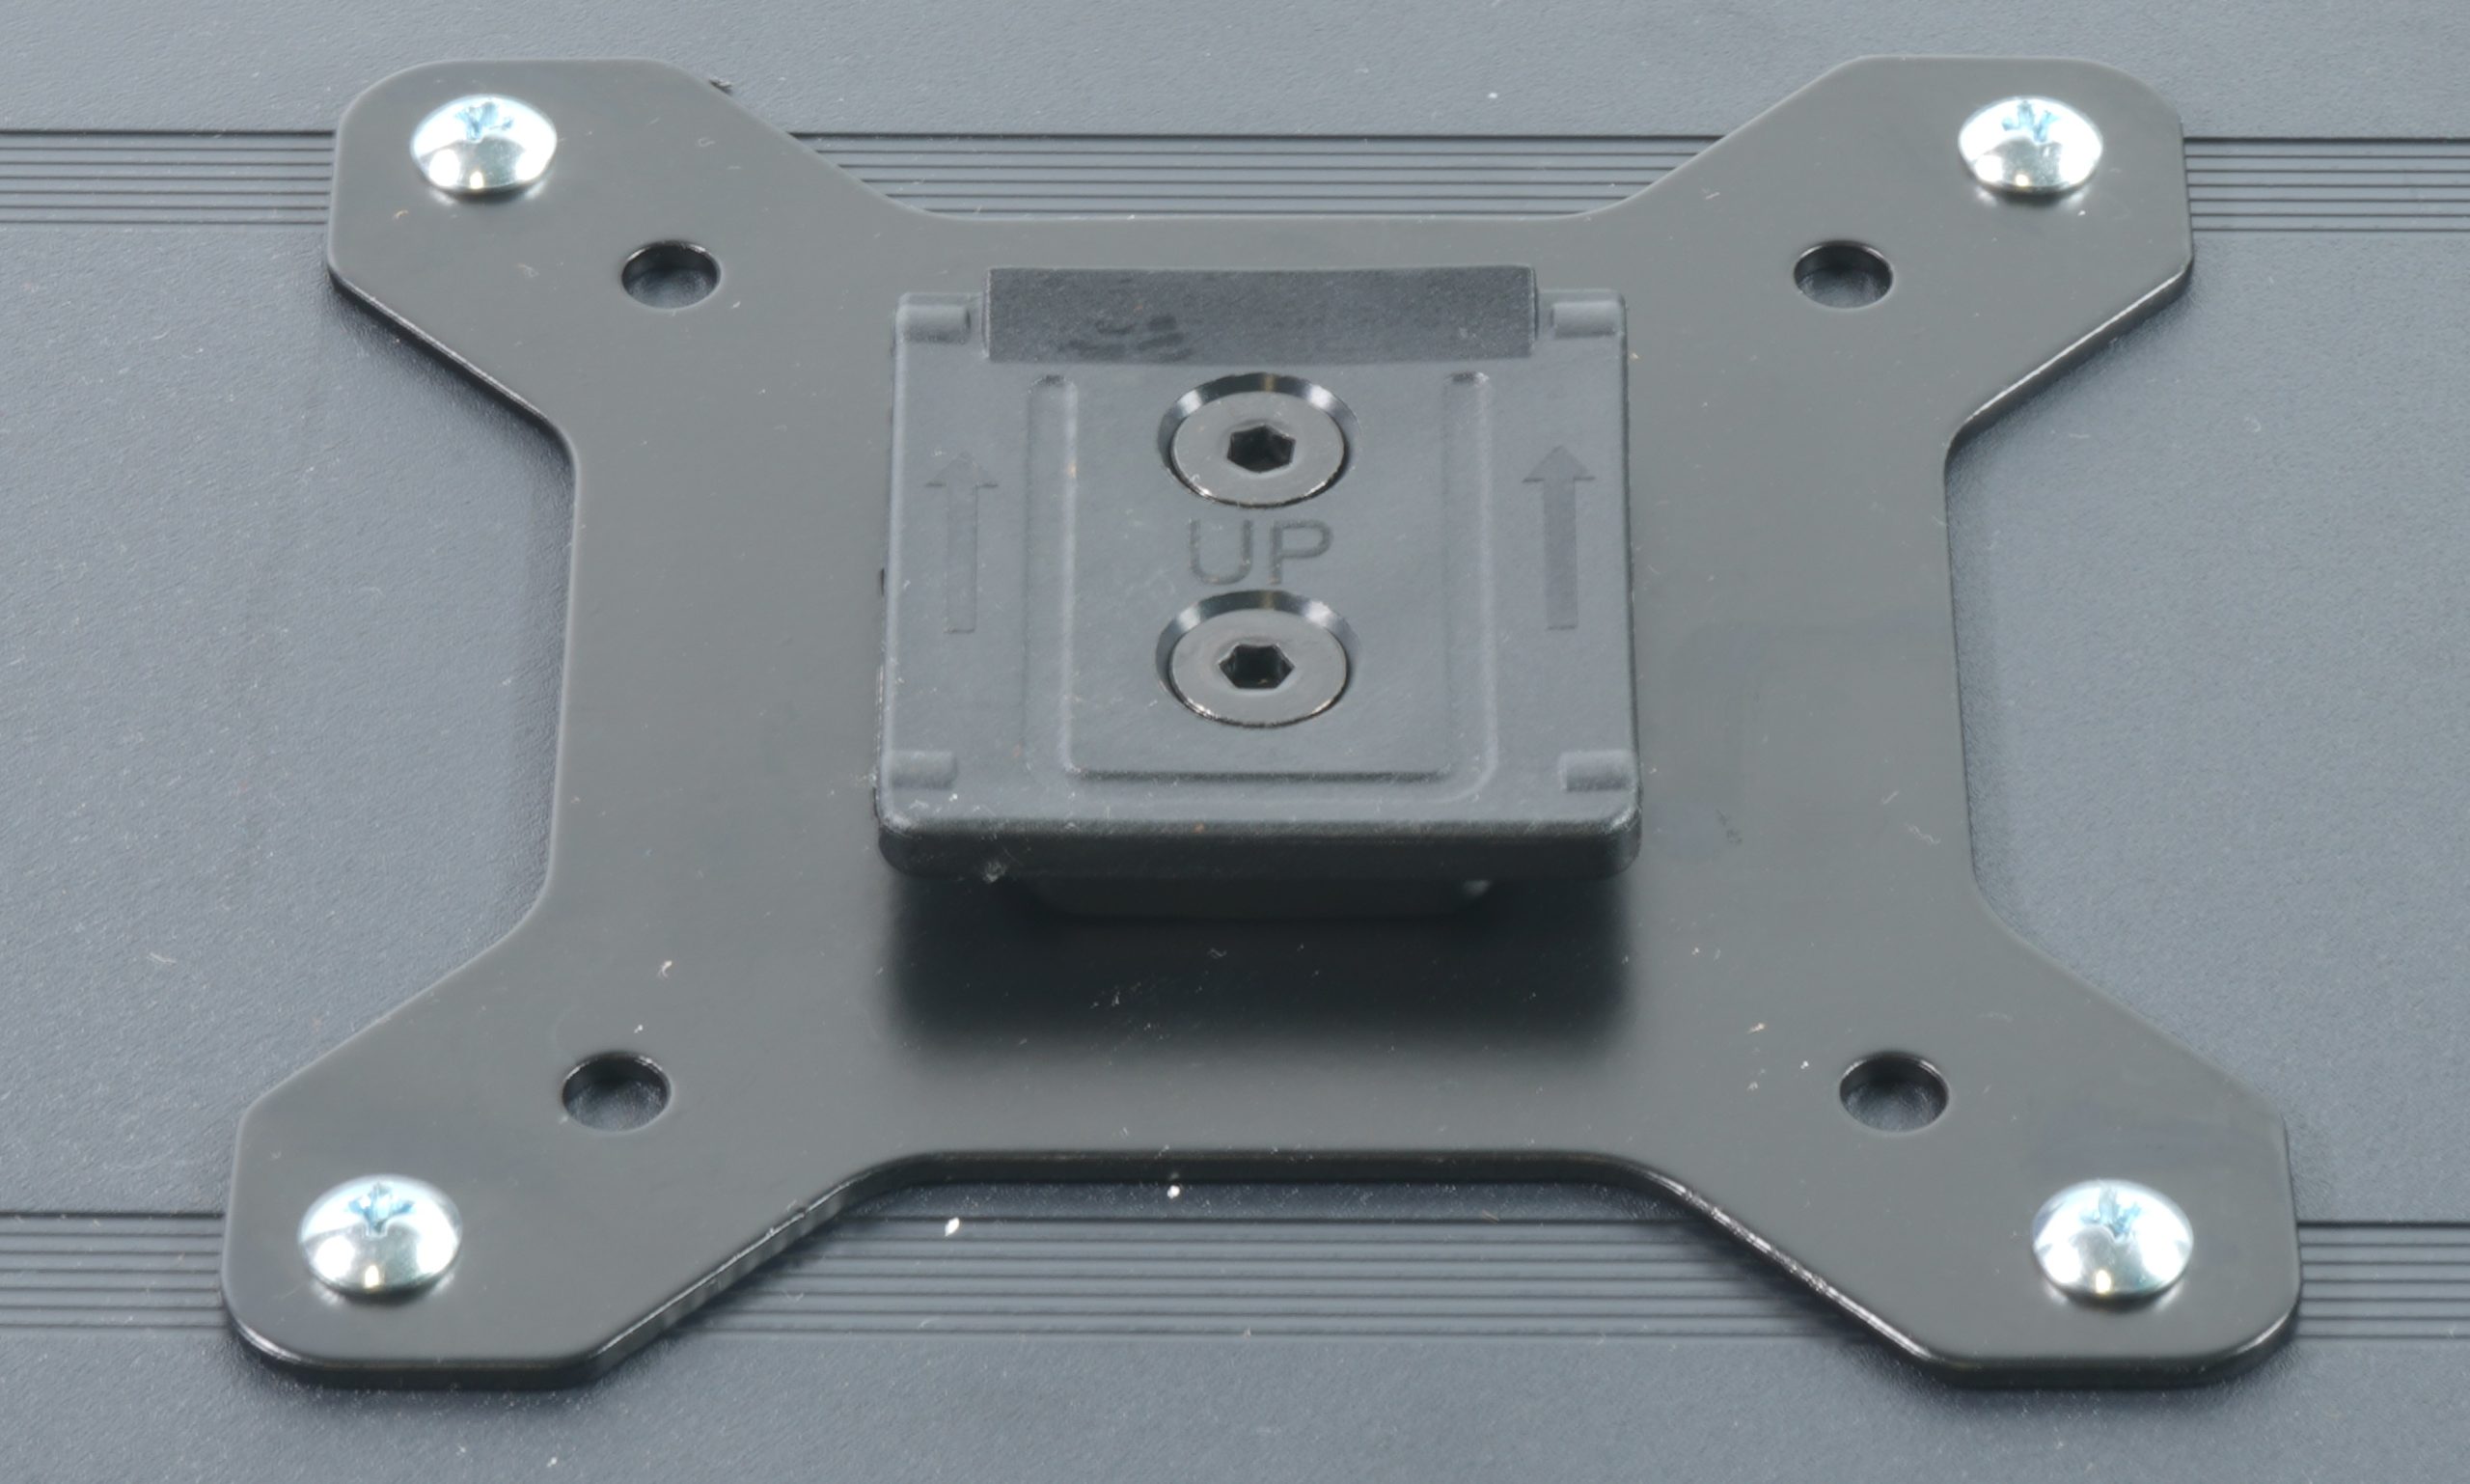
The pickup for the VESA mount has a lock via a spring leaf, so you already know that the VESA plate is directional when mounted on the monitor.

This is exactly what you can and must consider when screwing the VESA pickup to the monitor. There are two kits for this purpose. If the back of the monitor is flat and the four holes for the VESA mounting (75 or 100 mm grid) are not in a lowered area, take the short screws and screw the mounting plate directly onto the back. Again, it’s barely 5 minutes to the finished result, unless something doesn’t work out.

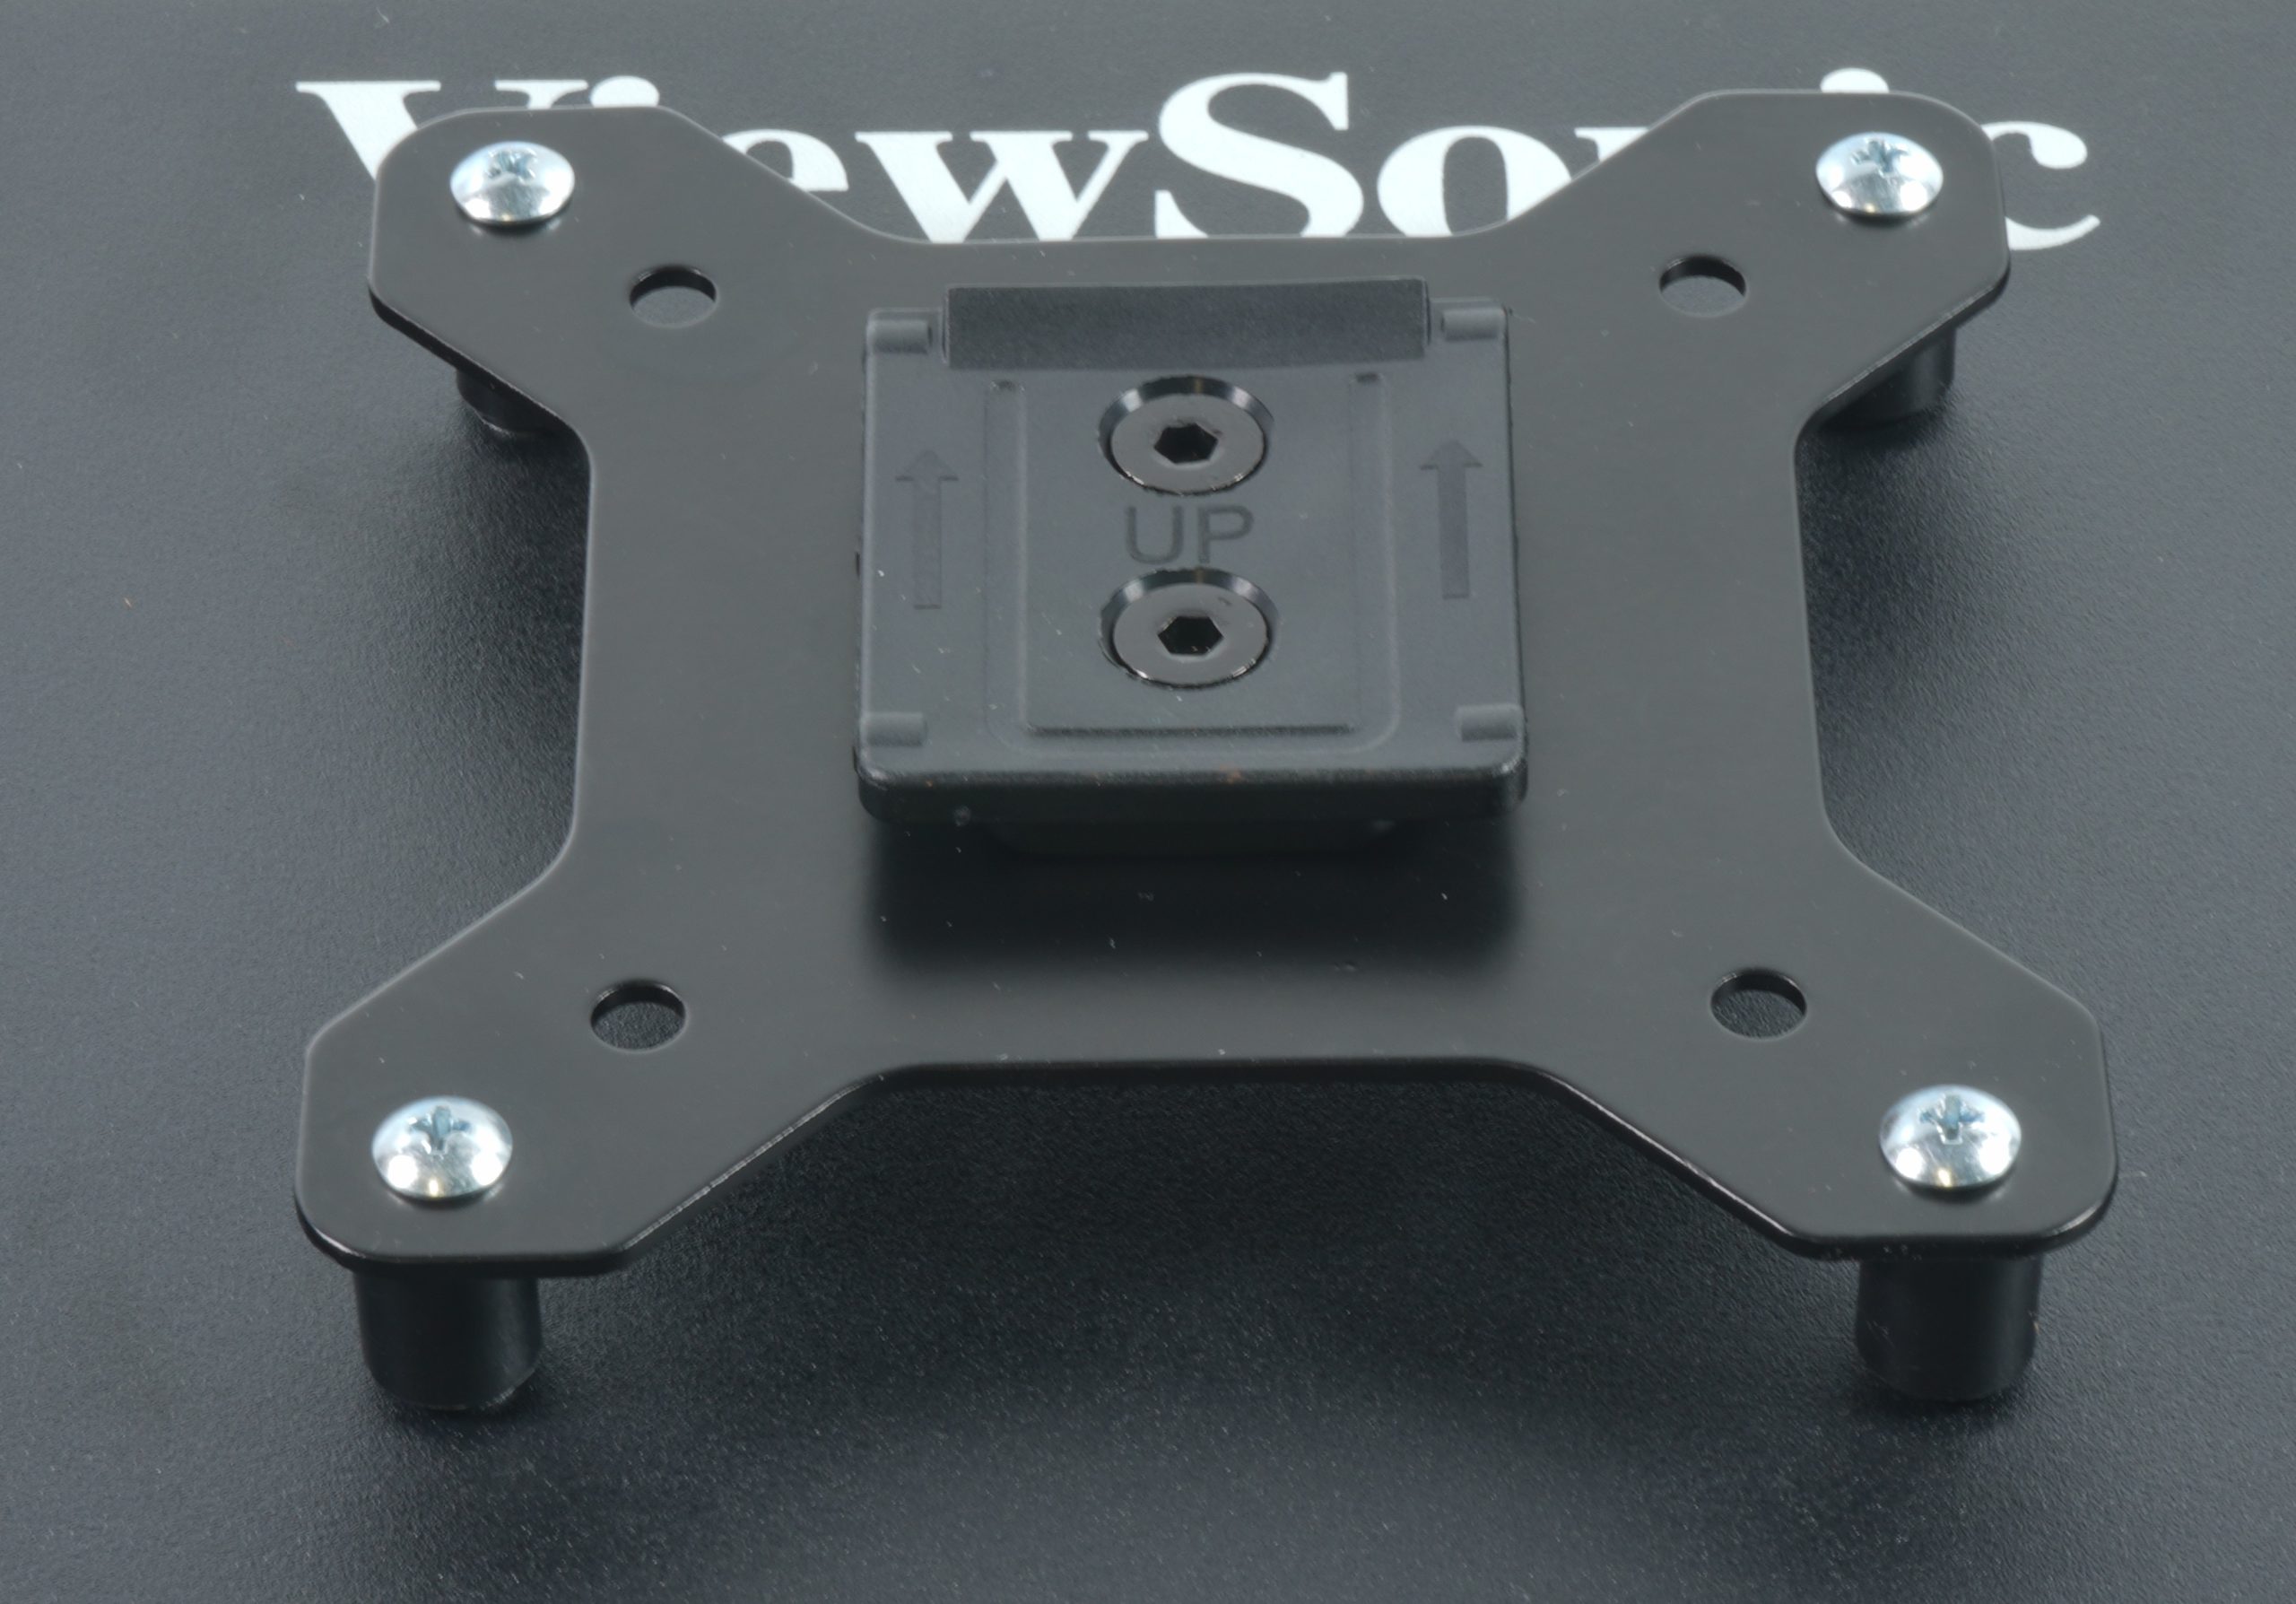
But beware! On my ultra-flat 32″ ViewSonsic, I reach the end of the receiving thread even before it is fully screwed down! If I would continue to turn here with force, I would end up with the screw on or already in the panel! However, the monitor’s design is also rarely stupid in terms of the VESA mount. But I wanted to mention it. I just shortened the screws a bit for my own safety. This is very easy to solve: screw on a suitable nut and simply nip off the interfering millimeters with a suitable pair of pliers. Then you just turn the nut down and the thread is nice again.

In addition, the second kit with the long screws is used here, which are also supported by the spacers. With the ViewSonic, you almost get the holding plate back to the level of the thickest part of the back panel.  And always pay attention to the specified installation direction!

Once all this is assembled, you can screw the monitor arm to the table. I have here equal still used the XXXL pad with as a support: perfect!

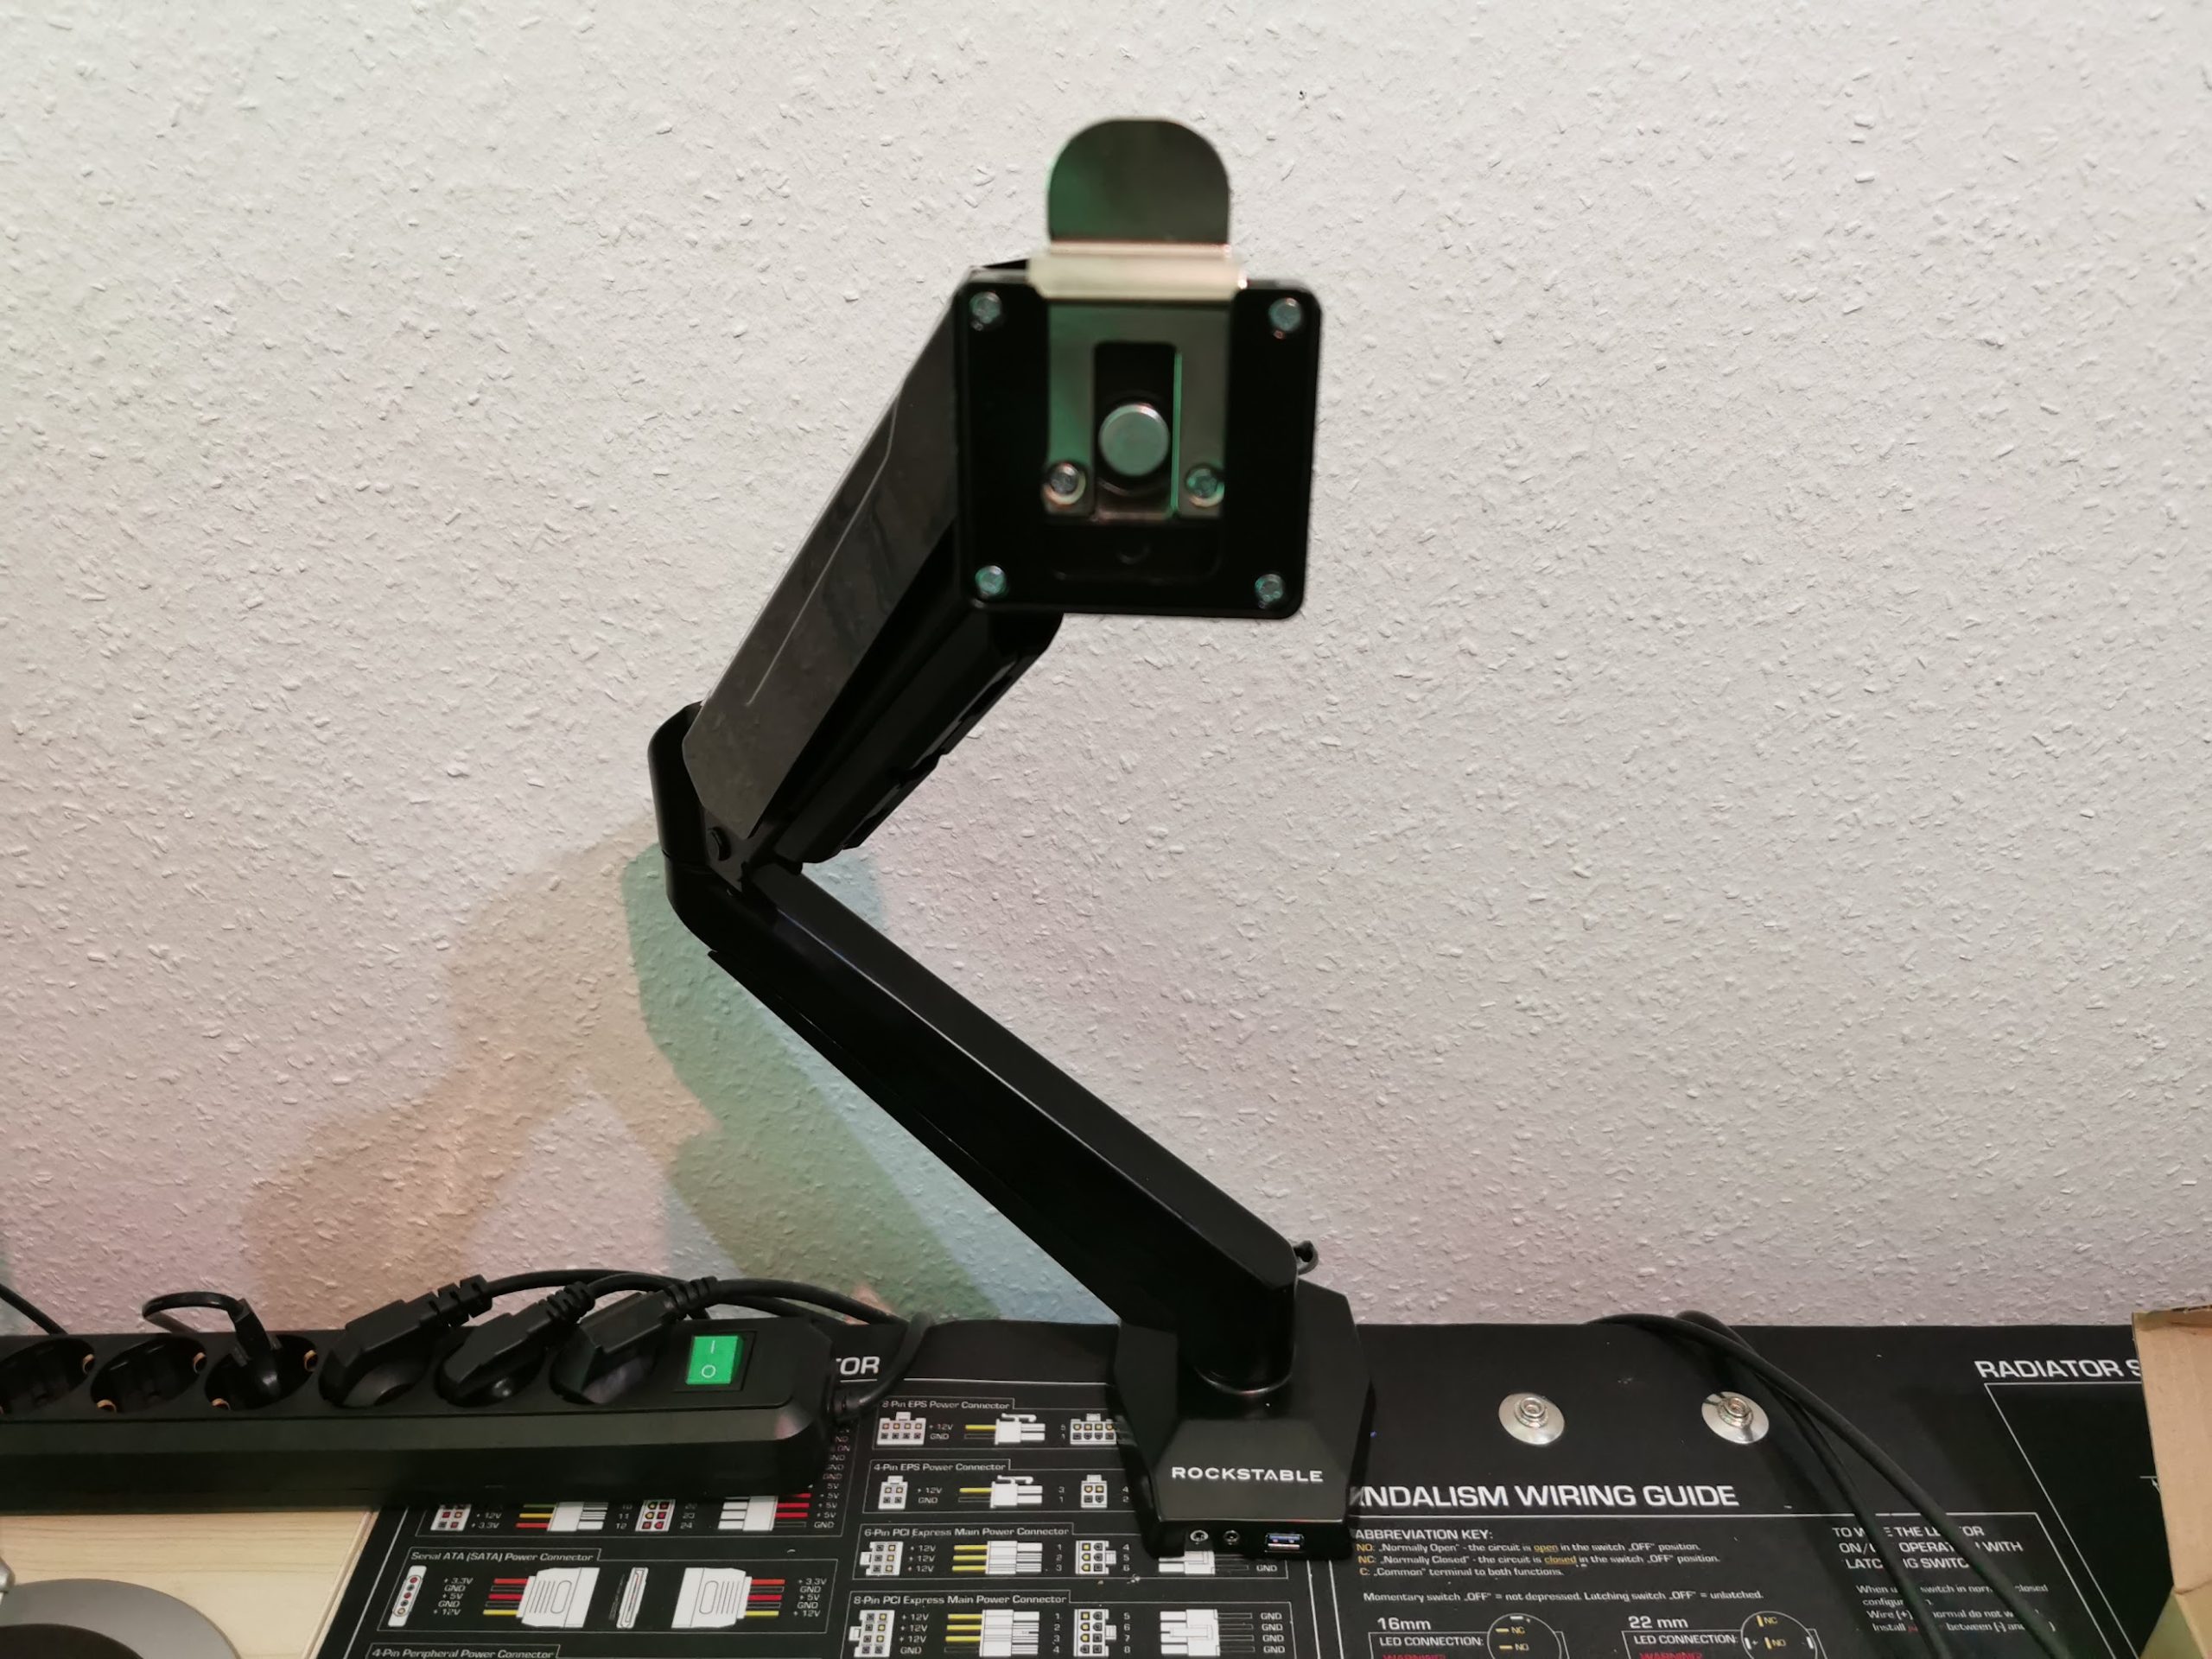
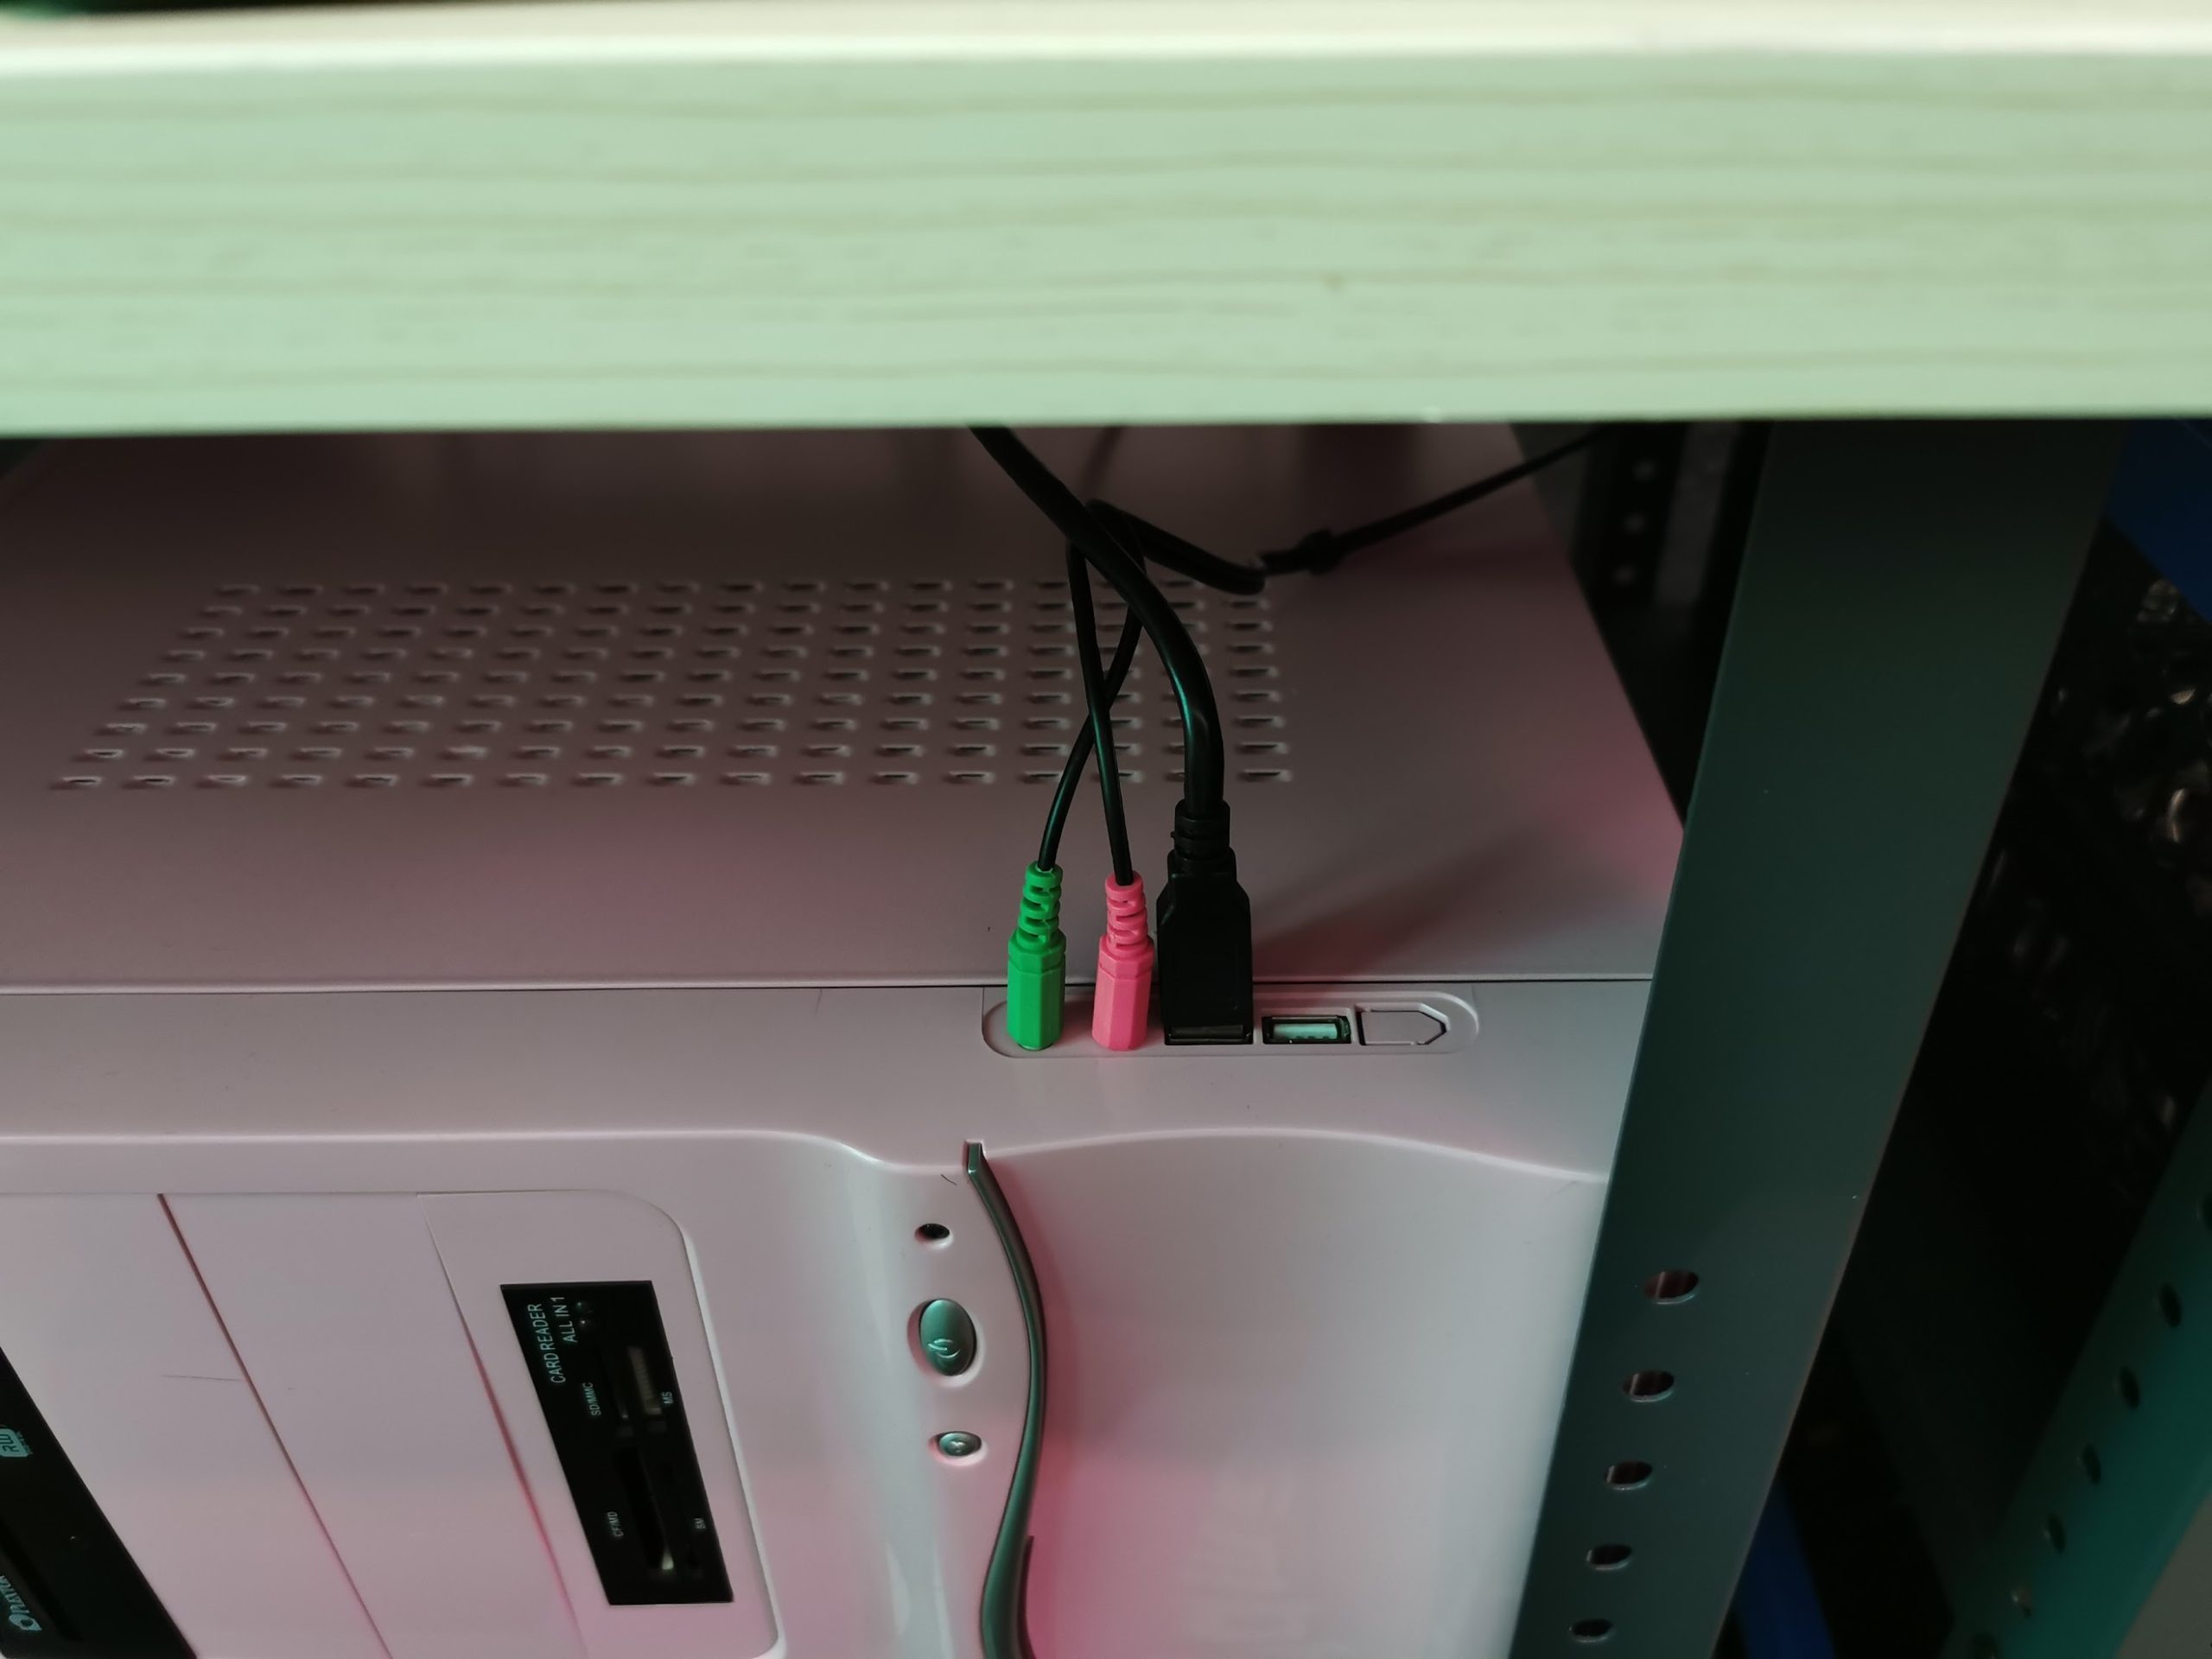
The USB cable can now be connected to the PC without any problems, the two audio cables as well. When you think you need it.


Kommentar

Lade neue Kommentare

XXL

Mitglied

74 Kommentare 16 Likes

ach ich finde solche Nischen Reviews immer interessant und da ich vor noch nicht so langer Zeit vor dem selben Problem stand (Platzmangel) hätte ich mir gewünscht du hättest es eher gemacht. ;) Meine Lösung war diese Halterung , aber deine gefällt mir optisch besser.

Antwort Gefällt mir

MrMarler

Neuling

3 Kommentare 1 Likes

Schönes Review! Ich hatte seinerzeit auch einen Arm für einen sehr schweren 49Zöller von Samsung gesucht und hatte mich schon über dein letztes Review gefreut. Leider war der Arm da schon nicht mehr verfügbar. Es gibt ihn inzwischen aber wieder:
HALTERUNGSPROFI OFFICE-GS512A https://www.amazon.de/dp/B086MTJ5DQ...t_i_ZF3HX5XA50YBY4VF0NGB?_encoding=UTF8&psc=1
Bei mir ist es ein Ergotron HX geworden. Leider unverschämt teuer.

Antwort 1 Like

G
Guest

Habe aufgrund des damaligen Tests eine Doppelhalterung geholt, da mich die 2 Ständer der Displays immer eingeschränkt haben.
Mittlerweile habe ich noch 2x 27-Zöller (LG Ultragear), ebenfalls mit einer solchen, ähnlichen befestigen wollen. Da musste ich dann aber sehr "kreativ" werden, incl. Flex und Bohrmaschine, um das am Tisch zu befestigen. Somit habe ich die Halterungsprofi von damals für die LG´s genommen.
Aber trotz allem Ungemach möchte ich solche Halterungen echt nicht mehr missen. Und mir reicht das so, obwohl die hier jetzt neu getesteten sicher auch noch praktischer gewesen wären.
Danke für diesen, aber vor allem für den ersten Test, hat mir echt das Leben am PC extrem erleichtert!

Antwort Gefällt mir

Atze Wellblech

Veteran

105 Kommentare 18 Likes

Interessant. Ich denke das es kein Nischenprodukt mehr ist.
Ich selbst bevorzuge Wandhalterungen, das dann möglichst in 4D.

Antwort Gefällt mir

Igor Wallossek

1

10,216 Kommentare 18,914 Likes

Ja, aber auch der Office ist mittlerweile sauteuer. Das ist der Rockstable ja noch günstger und lässt sich einfacher am Tisch verschrauben.

Antwort Gefällt mir

Igor Wallossek

1

10,216 Kommentare 18,914 Likes

Eine Wand hier ist 500er Beton. Viel Spaß beim Bohren. Die andere ist Trockenbau, da braucht man Schwerlastdübel. Und dann hängen die Kabel dumm rum :D

Antwort 1 Like

Atze Wellblech

Veteran

105 Kommentare 18 Likes

Für dich lieber Igor ist das dann gegessen ;)
Ich hatte in der letzten Butze Ziegelstein, in der jetzigen Gipsstein.
Von "daderweechen" bin ich glücklich :cool:

Stift von Edit sagt: Die Kabel stören mich nicht, ich finde freihängende Kabel, wenn sie ein wenig optisch gut verlegt sind nicht schlimm.

Antwort Gefällt mir

jo-82

Mitglied

54 Kommentare 21 Likes

Sehr schön. Für meinen Schreibtisch wären die Arme etwas zu kurz, hab mich vor über 10 Jahren für ein Modell von Lindy entschieden bei dem man die einzelnen Elemente verlängern kann. War dann zum Schluss bei knapp 200€ für die Stange, Doppelarm und einige Verlängerungen. Lediglich Höhenverstellung geht nicht on the fly, aber das kann ich verschmerzen.

Antwort Gefällt mir

Igor Wallossek

1

10,216 Kommentare 18,914 Likes

Mein Möbeldealer war über 350 Euro für beide, bissl arg viel, aber am Ende sicher auch gerechtfertigt.
Nur waren die fürs Labor mit den ganzen Features einfach too much :D

Antwort Gefällt mir

O
Ozzy

Veteran

225 Kommentare 137 Likes

Warum keine Unterlegsscheiben statt abknipsen?
War es so viel zu lang?
Kann man die Kabel nicht im Arm entlang führen?
Hab gerade gesehen, laut Anleitung kann man die Kabel unten am Arm einklicken.
Ansonsten mal ein anderes Thema, das aber auch interessant ist. Überlegung wert.

Antwort Gefällt mir

Igor Wallossek

1

10,216 Kommentare 18,914 Likes

Die Kabel sind im Arm, das bezog sich auf die offene Wandmonatge.

Antwort 2 Likes

Alexander Brose

Moderator

824 Kommentare 576 Likes

Bei meiner nur 60cm tiefen Arbeitsplatte ist so ein Arm quasi unverzichtbar. Auch wenn der serienmäßige Fuß des Monitors noch so toll und flexibel ist, nimmt er doch immer viel Platz auf dem Tisch weg. Die Dinger von Rockstable machen einen guten Eindruck.

Grüße!

Antwort Gefällt mir

r
rossi94

Mitglied

12 Kommentare 3 Likes

Schau dir mal die SpaceCo Space Arms an (heißen in Deutschland Adapt Europe).

Antwort Gefällt mir

Igor Wallossek

1

10,216 Kommentare 18,914 Likes

Da sind wir beim Single-Arm bei ca. 300 Euro, das ist schlicht zu teuer. Apple-Style :D

Antwort Gefällt mir

B
BirdofPrey

Mitglied

14 Kommentare 1 Likes

Interessanter Test und wohl relevant für mein Officesetup demnächst mit zwei Monitoren.
Den Ergotron habe ich mit dem Schwerlastgelenk für dann 300€ gesamt für einen Samsung C49 im Einsatz auf meinem LeetDesk.
Das Standardgelenk hat den Monitor nicht halten können in der gewünschten Position. Die 1000R erzeugen eine hohe Kopflastigkeit.

Antwort Gefällt mir

r
rossi94

Mitglied

12 Kommentare 3 Likes

Ich habe grade einen gebrauchten aus England für ca 50€ bestellt. Der Händler hat noch ein paar.

meiner (3x hat damals neu um die 900€ gekostet) …
Das System ist übrigens modular - das passt überhaupt nicht zu Apple 😂

Antwort Gefällt mir

Oryzen

Veteran

307 Kommentare 181 Likes

Das ist interessant, ich habe mir den da gekauft "Invision MX400, Monitor Halterung 2 Monitore für 19 bis 32-Zoll-Bildschirm", geeignet für zwei 28 Zoll Monitore auf einem kleinen Hubtisch. Bisher finde ich es klasse.

Antwort Gefällt mir

e
exi78

Veteran

161 Kommentare 89 Likes

Danke für den Test, finde unter anderem die RS-MM004 und RS-MM005 interessant.

Antwort Gefällt mir

A
Art

Mitglied

47 Kommentare 8 Likes

Ich habe mir in 2020 etwas entsprechendes für 2x 15kg für ~90 € besorgt: nennt sich "Dual Tischhalterung Office-GS524A" von der avertis GmbH (vermutl. nur Importeur)
43'' 4k + 34'' WQHD hängen seitdem erfolgreich dran + würde ich immer wieder kaufen

Antwort Gefällt mir

Danke für die Spende


Du fandest, der Beitrag war interessant und möchtest uns unterstützen? Klasse!

Hier erfährst Du, wie: Hier spenden.

Hier kannst Du per PayPal spenden.

About the author

Igor Wallossek

Editor-in-chief and name-giver of igor'sLAB as the content successor of Tom's Hardware Germany, whose license was returned in June 2019 in order to better meet the qualitative demands of web content and challenges of new media such as YouTube with its own channel.

Computer nerd since 1983, audio freak since 1979 and pretty much open to anything with a plug or battery for over 50 years.

Follow Igor:
YouTube Facebook Instagram Twitter

Werbung

Werbung