


Summary and conclusion
The following is my list of additional issues and hints, the order is not meant to be a rating of importance:
- The implementation of Klipper Adaptive Meshing & Purging saves time by scanning only the part of the surface that is relevant for the current print job
- The Z-axis runs very stable on four linear shafts and two spindles, but is driven by only one motor
- The preview images take 1-2 seconds before they are loaded onto the touchscreen
- Both installed power supplies are high quality and slightly oversized
- Temperatures are read out to two decimal places in the web interface
- In this revised version, the carbon rods have been replaced with hollow steel rods
- The frame and the holder of the Z-ball bearings have been massively reinforced with metal in contrast to its predecessor
- No chamber temperature is set in the predefined filament profiles
- The very rough printing surface could become a problem for parts that require high precision in size
- Since 2000 until February 2021, the Stratasys company held patent rights to actively heatable 3D printers, which has prevented affordable machines for individuals
- The front door can only be hinged on the left side
- No physical end stops needed, use from sensorless homing
- Small end caps protect the ball bearings of the Z-axis on the top from dust
- There is no hinge for the lid, it just rests. So when you open it, you have to put it aside somewhere afterwards
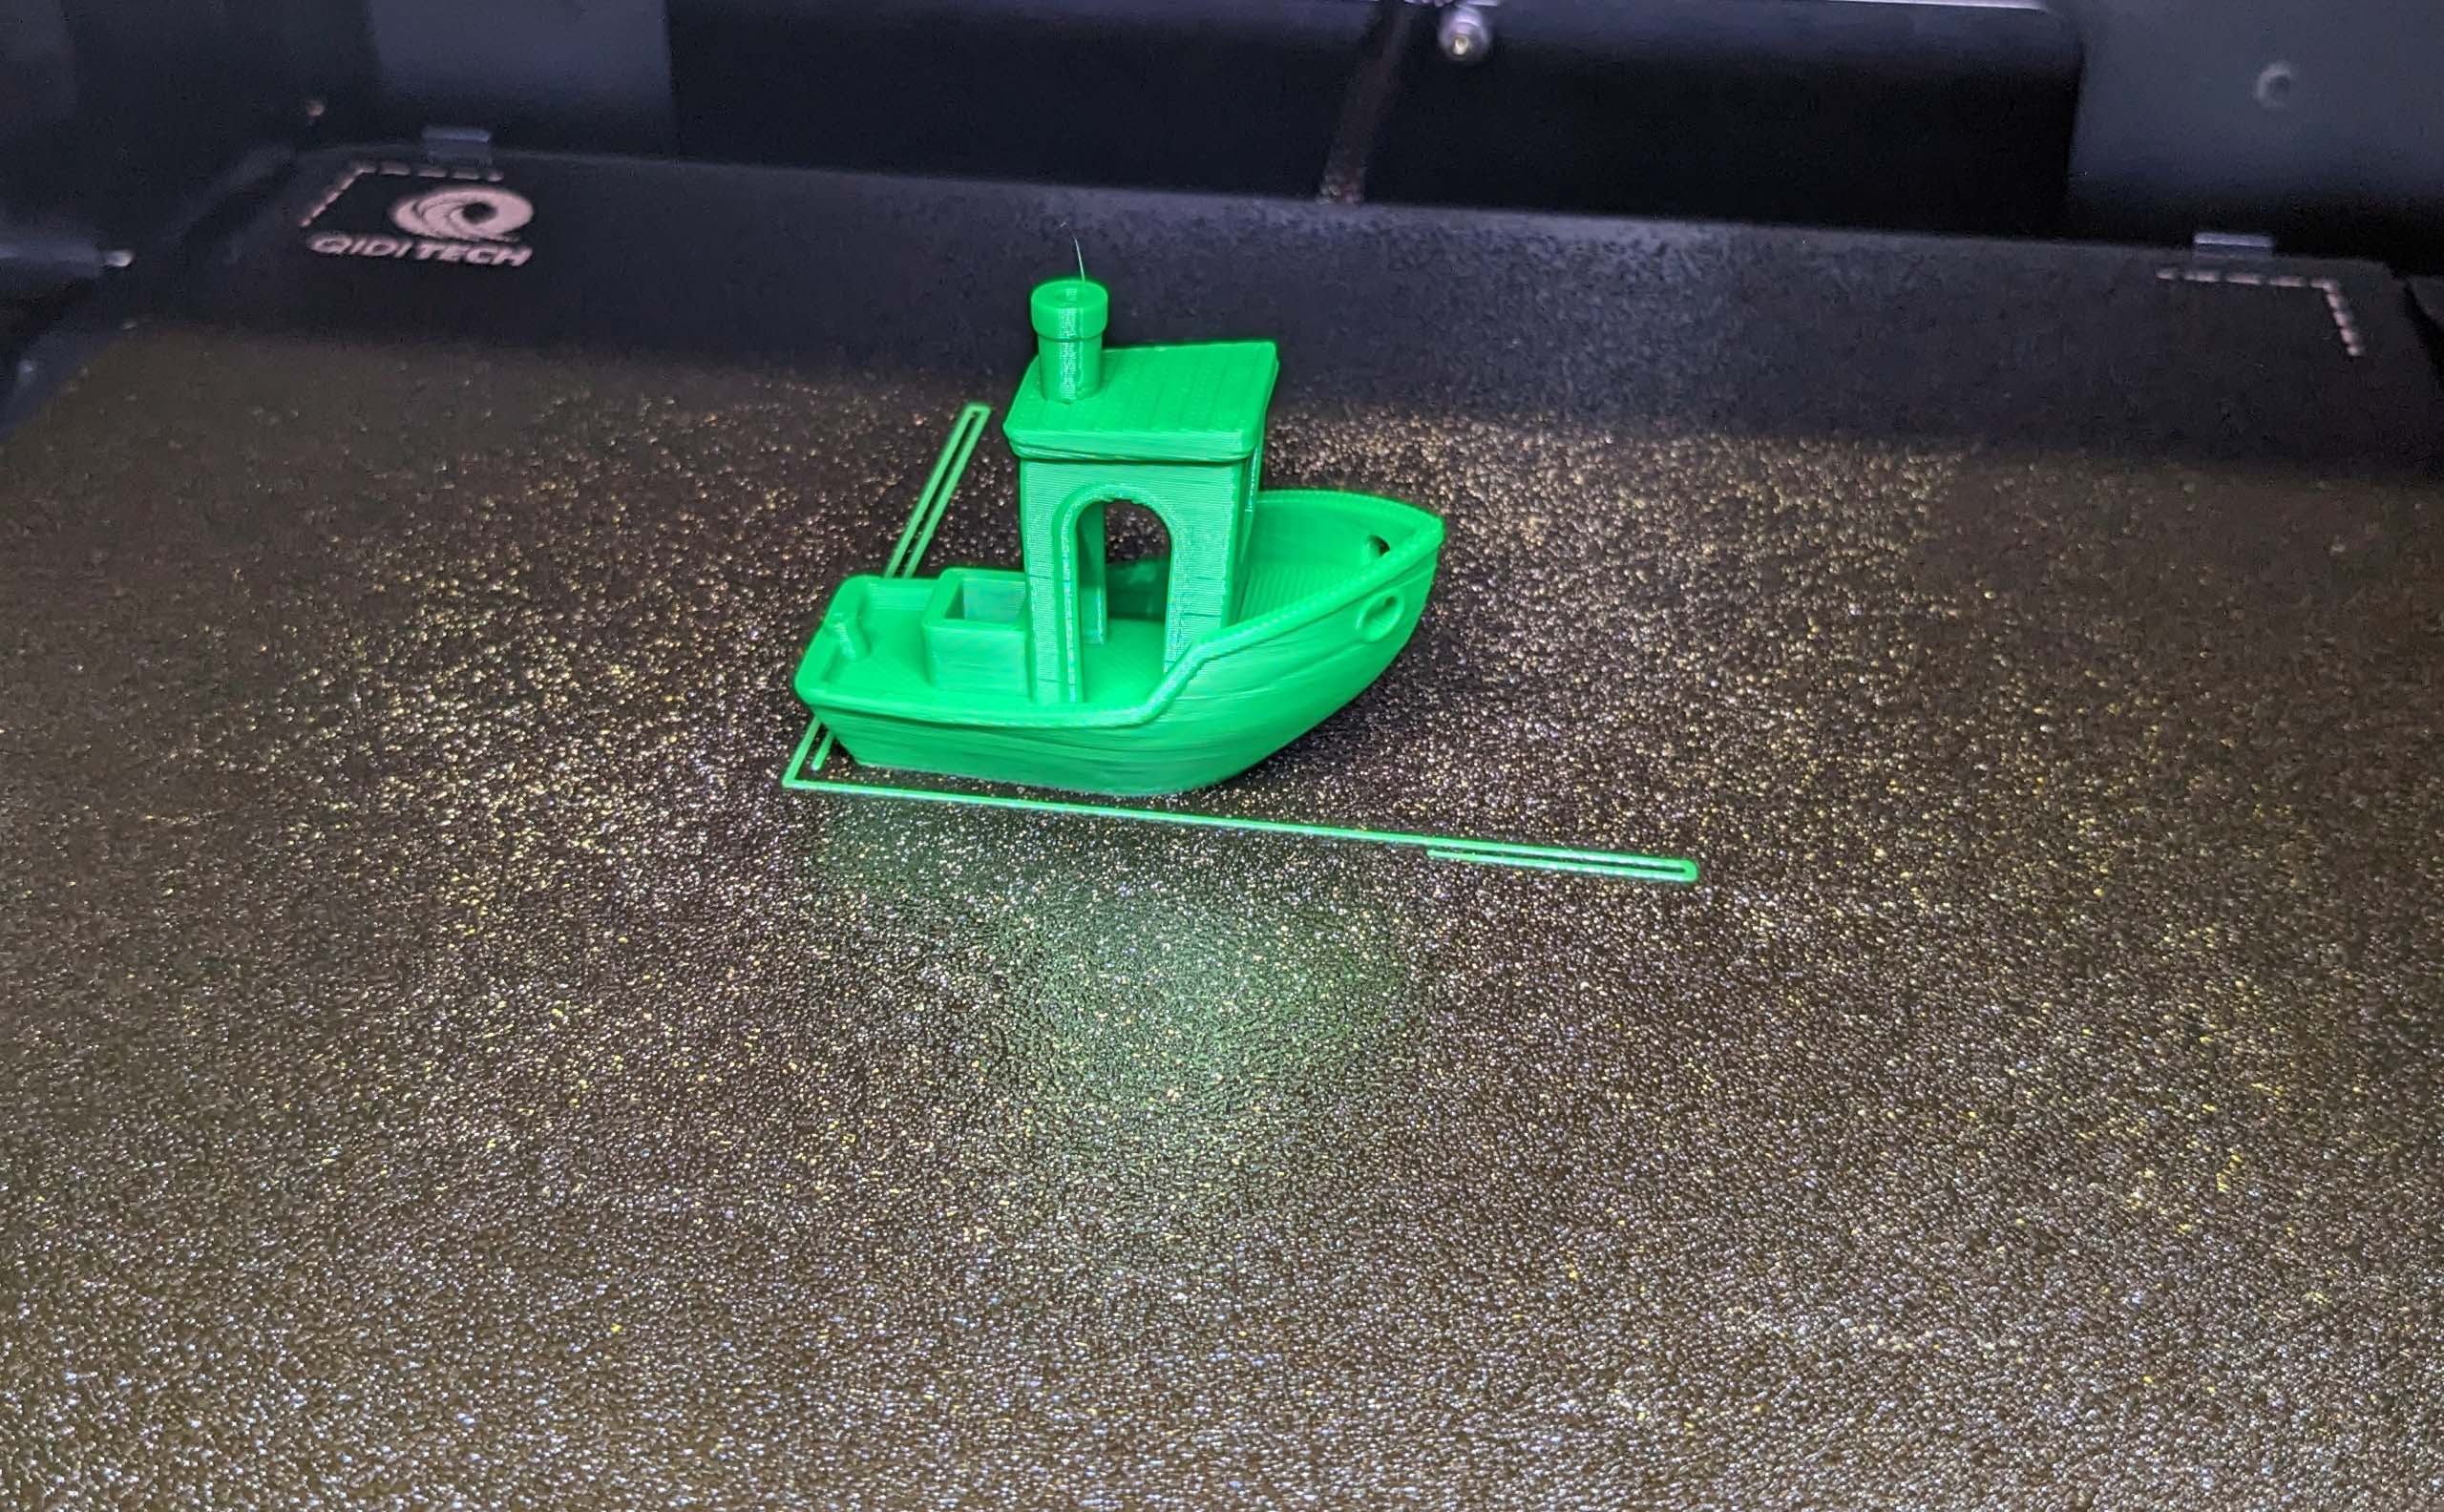
- Time estimates from the QIDI slicer are very close to the actual printing time
I also only noticed towards the end of all my testing that the blowing fan in the center back wasn’t spinning at all. I didn’t miss it, but it was worth further investigation.

And lo and behold, one of the pins was not seated properly in the connector. Since I noticed it before rebuilding the motherboard fan, it wasn’t me who accidentally disconnected something here, but quality control who overlooked it. I think it’s unlikely that it came loose during transport. That’s also a good keyword, because the surface of the enclosed printing plate doesn’t seem to be that durable to me. Especially when printing the case parts, it seems to have detached a lot of small particles. So far, however, this flaw is purely cosmetic; I couldn’t notice any poorer adhesion in these areas.
When printing PLA (220°C/60°C), you’re looking at about 210 watts with the motors moving. In the switched on idle state, the printer draws 18.5 watts, if the stepper motors are energized e.g. after bedleveling but before printing, the consumption is 36.9 watts. At a distance of about 40cm from the closed front, 56.2 dB(A) of noise are measurable during active operation after my fan conversion. It takes 62 seconds for the nozzle to heat up to 220°C, the print bed is at 60°C temperature after 166 seconds. At peak, 423 watts were needed for simultaneous heating of both parts. If one wants to heat up the chamber to 45°C for ABS, for example, the 300 watt heating element needs about 7 minutes and 11 seconds at an initial room temperature of 22°C.

I’d like to mention the side-mounted “Auxiliary Part Cooling Fan” again at this point, because its power surprised me positively. At a moderate volume, it really does move quite a bit of air, which is also beneficial for even heating when used simultaneously with the heater.
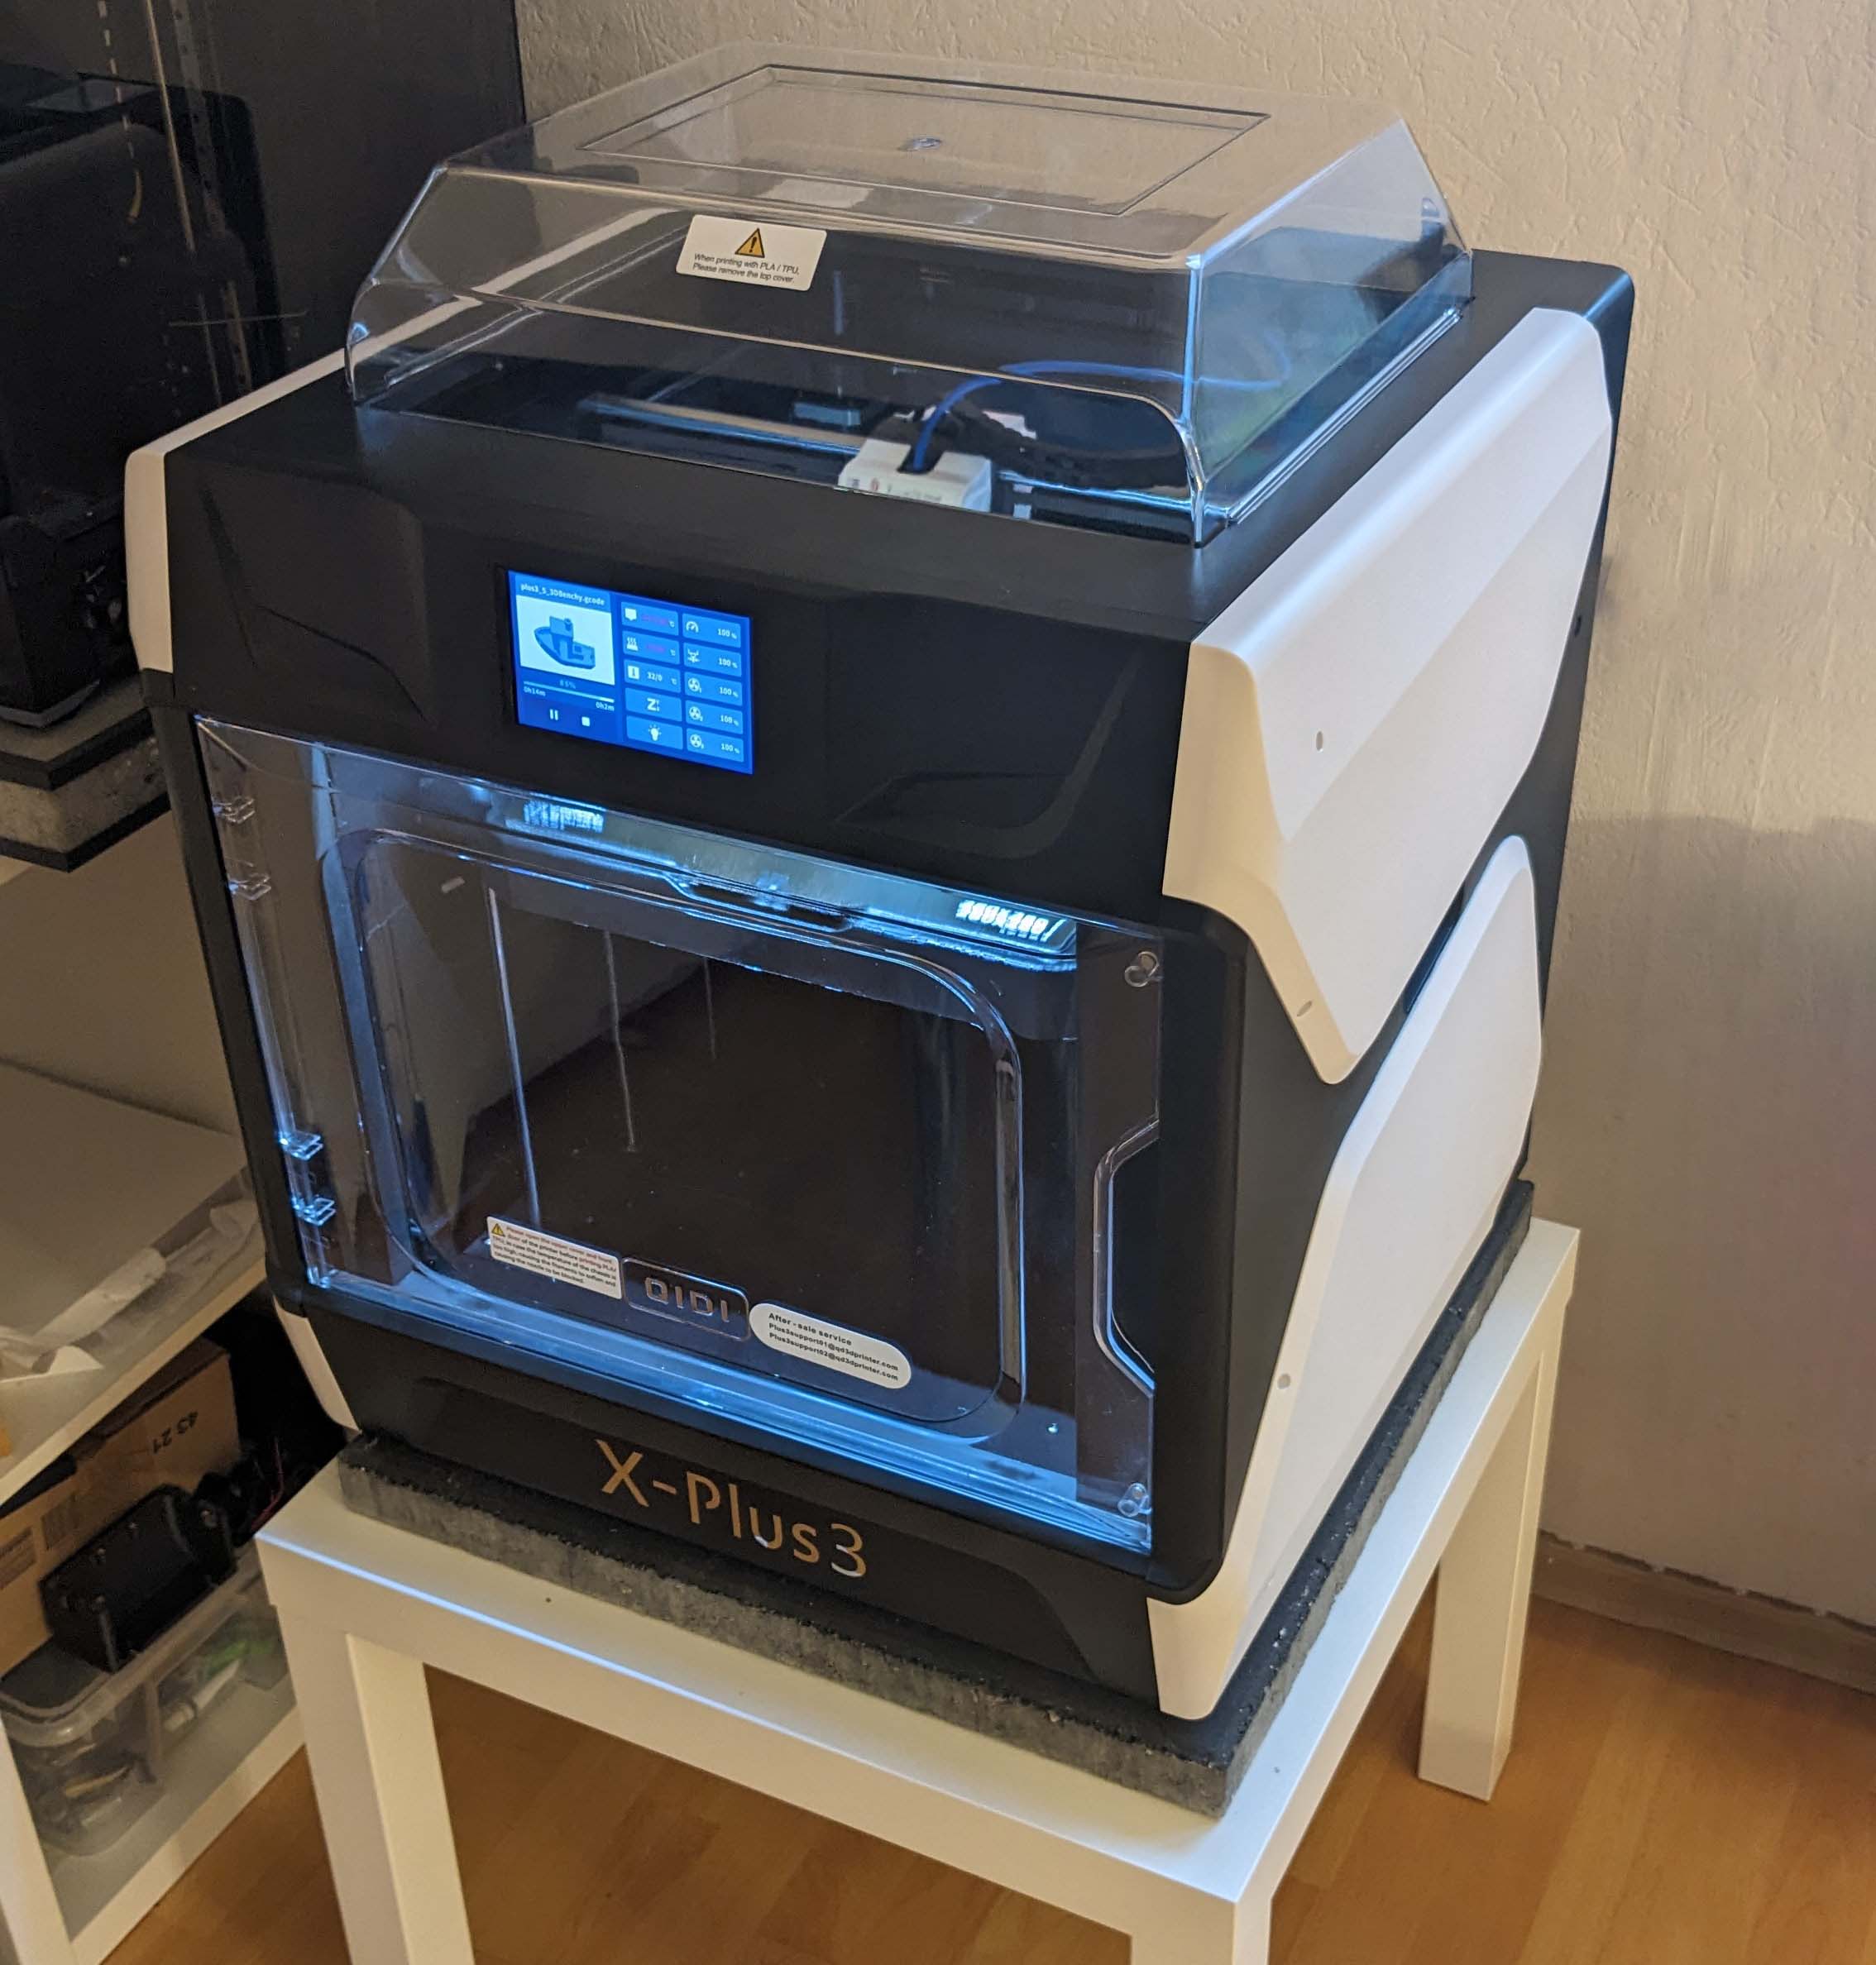
In the official specifications, the printer is stated with quite chunky 511*527*529mm external dimensions, but in practice, that’s still not enough. The really somewhat unfavorable placement of the filament holder on the back requires rather about 70cm in depth to get the roll off the holder as well. It’s all the more incomprehensible to me that they didn’t shape the handles in the side of the printer, which are there anyway, so that the holder can simply be attached there.

Fortunately, the community around the current QIDI printers is quite active and resourceful, because there are several printable solutions where the filament box is moved to a more comfortable position. Pictured here is the Side Spool Holder by @Kettek_1151390.

At the time of testing, the improved version of the X-Plus 3 costs 669€ including shipping from the EU warehouse, after several price reductions. In my opinion, this model thus hovers somewhere between the cheap entry-level offers and the automated high-gloss machines in the premium segment. Nevertheless, it bothers me a bit that there is no camera integrated at this price. Well, you can easily upgrade it yourself if necessary and print the suitable holder yourself. But offering it now as a 44€ add-on doesn’t quite appeal to me. Apart from that, this is a rock-solid 3D printer with high speed, good printing results and a unique selling point in terms of build space heating, which has its own peculiarities here and there.

=> QIDI X-Plus 3 3D printer at Geekbuying
With the code NNNDEXPLUS3 and purchase via the link provided to us by the retailer, the price is currently reduced to 669€. This is a referral link, but I have specifically declined any commission offered. I or IgorsLab do not earn any money on a purchase.
A 280x280x270mm print volume is a really practical thing, but the “normalo” with rare ambitions for requesting materials will probably save a bit longer and reach for the Bambu Lab P1S. However, if you prefer to stay away from cloud servers, are easy on the wallet, or are part of the exotic filament niche, this printer could also be interesting. Advanced features like KAMP, toolhead PCB with CAN bus, second hotend for abrasive filaments, sensorless homing and free access to Klipper is music to the ears of enthusiasts. And they are not afraid to replace the loud fans if necessary. If these terms are currently foreign words, but should become “native language”, a lot of information can be found in the QIDI Tech Wiki. The X-Plus 3 certainly has the potential to grow.
By the way:
With the code EXTR_IGORSLAB you get a community discount of 20% on your order at the filament manufacturer Extrudr! Thanks for the provided filament and coupon! Again, no commission for me or IgorsLab on any purchase.
The test sample was provided by Geekbuying without obligation. There was and is no influence on the tests and results. There was also no compensation for expenses and no obligation to publish.


1 Antwort
Kommentar
Lade neue Kommentare
Moderator
Alle Kommentare lesen unter igor´sLAB Community →