Audio/Peripherals Case Reviews

NZXT H6 Flow RGB PC Case Review review – Chic mid-tower case with two chambers and five corners

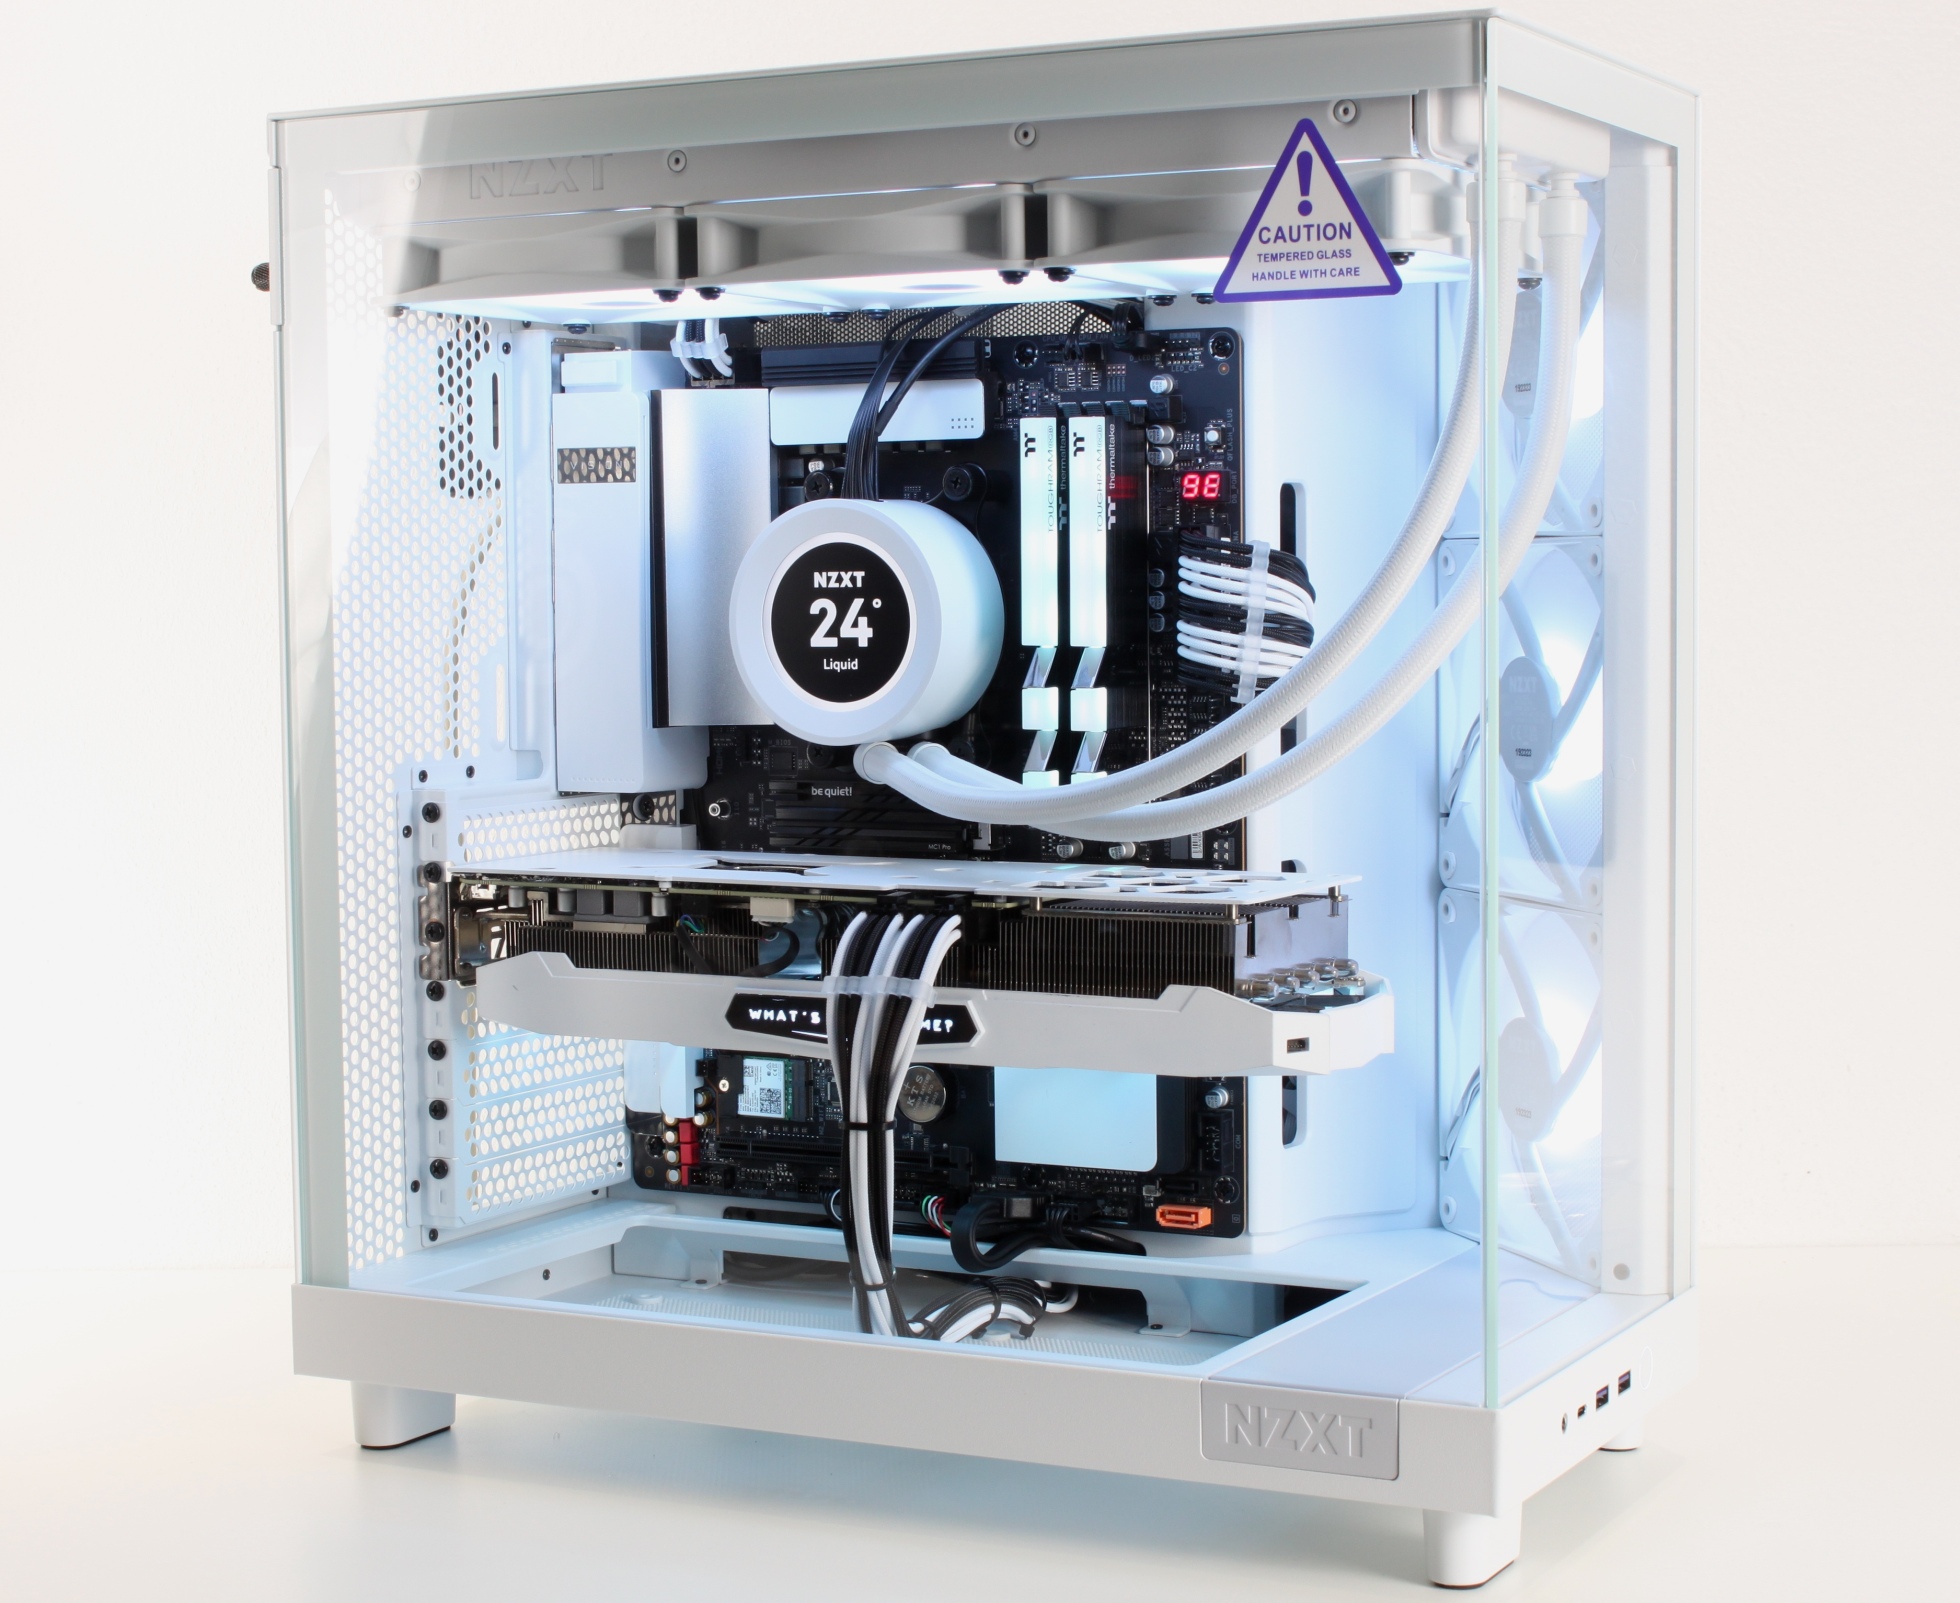
“Yet, just another O11 clone!”, evil tongues will probably claim, and they are really not completely wrong with the claim. The 2-chamber design with glass panel at the front is extremely popular and NZXT sets an interesting accent with the angled fans. Whether the “Show-and-Shine” case can also shine in practice, you can read in the review.

You can’t blame the manufacturers for bringing many cases to the market that are based on the aforementioned O11. While 2-chamber cases with ample space and good airflow existed much earlier, it wasn’t until the use of high-quality materials and a full glass front that this design really established itself.

Computer cases are always all about compromise and depending on how well balanced the form, function, space and price ends up being, the better or worse it sells. The 2-chamber design is a good compromise in that it requires a much smaller height and depth with slight widening of the case to get an equivalent volume. The smaller depth allows such cases to be positioned quite flexibly on more compact desktops, and the smaller height means they still don’t look as huge as a large tower case – ideal for “show and shine”.

I used the Corsair Carbide Air 540 for a long time because it was very flexible and offered a lot of space without having gigantic dimensions. In the end, I only replaced the case because it simply looked “cheap” compared to later models with real glass, RGB lighting and higher quality materials. And at this point, I’d like to finally introduce the H6 Flow, because that’s what this article is all about. I can already anticipate that this model does not look “cheap” at all! Neat materials, high-quality tooling, stable coating – it was my first encounter with NZXT cases and I was quite positively surprised. To see if our readers share my enthusiasm, let’s unpack the case first.


Unboxing

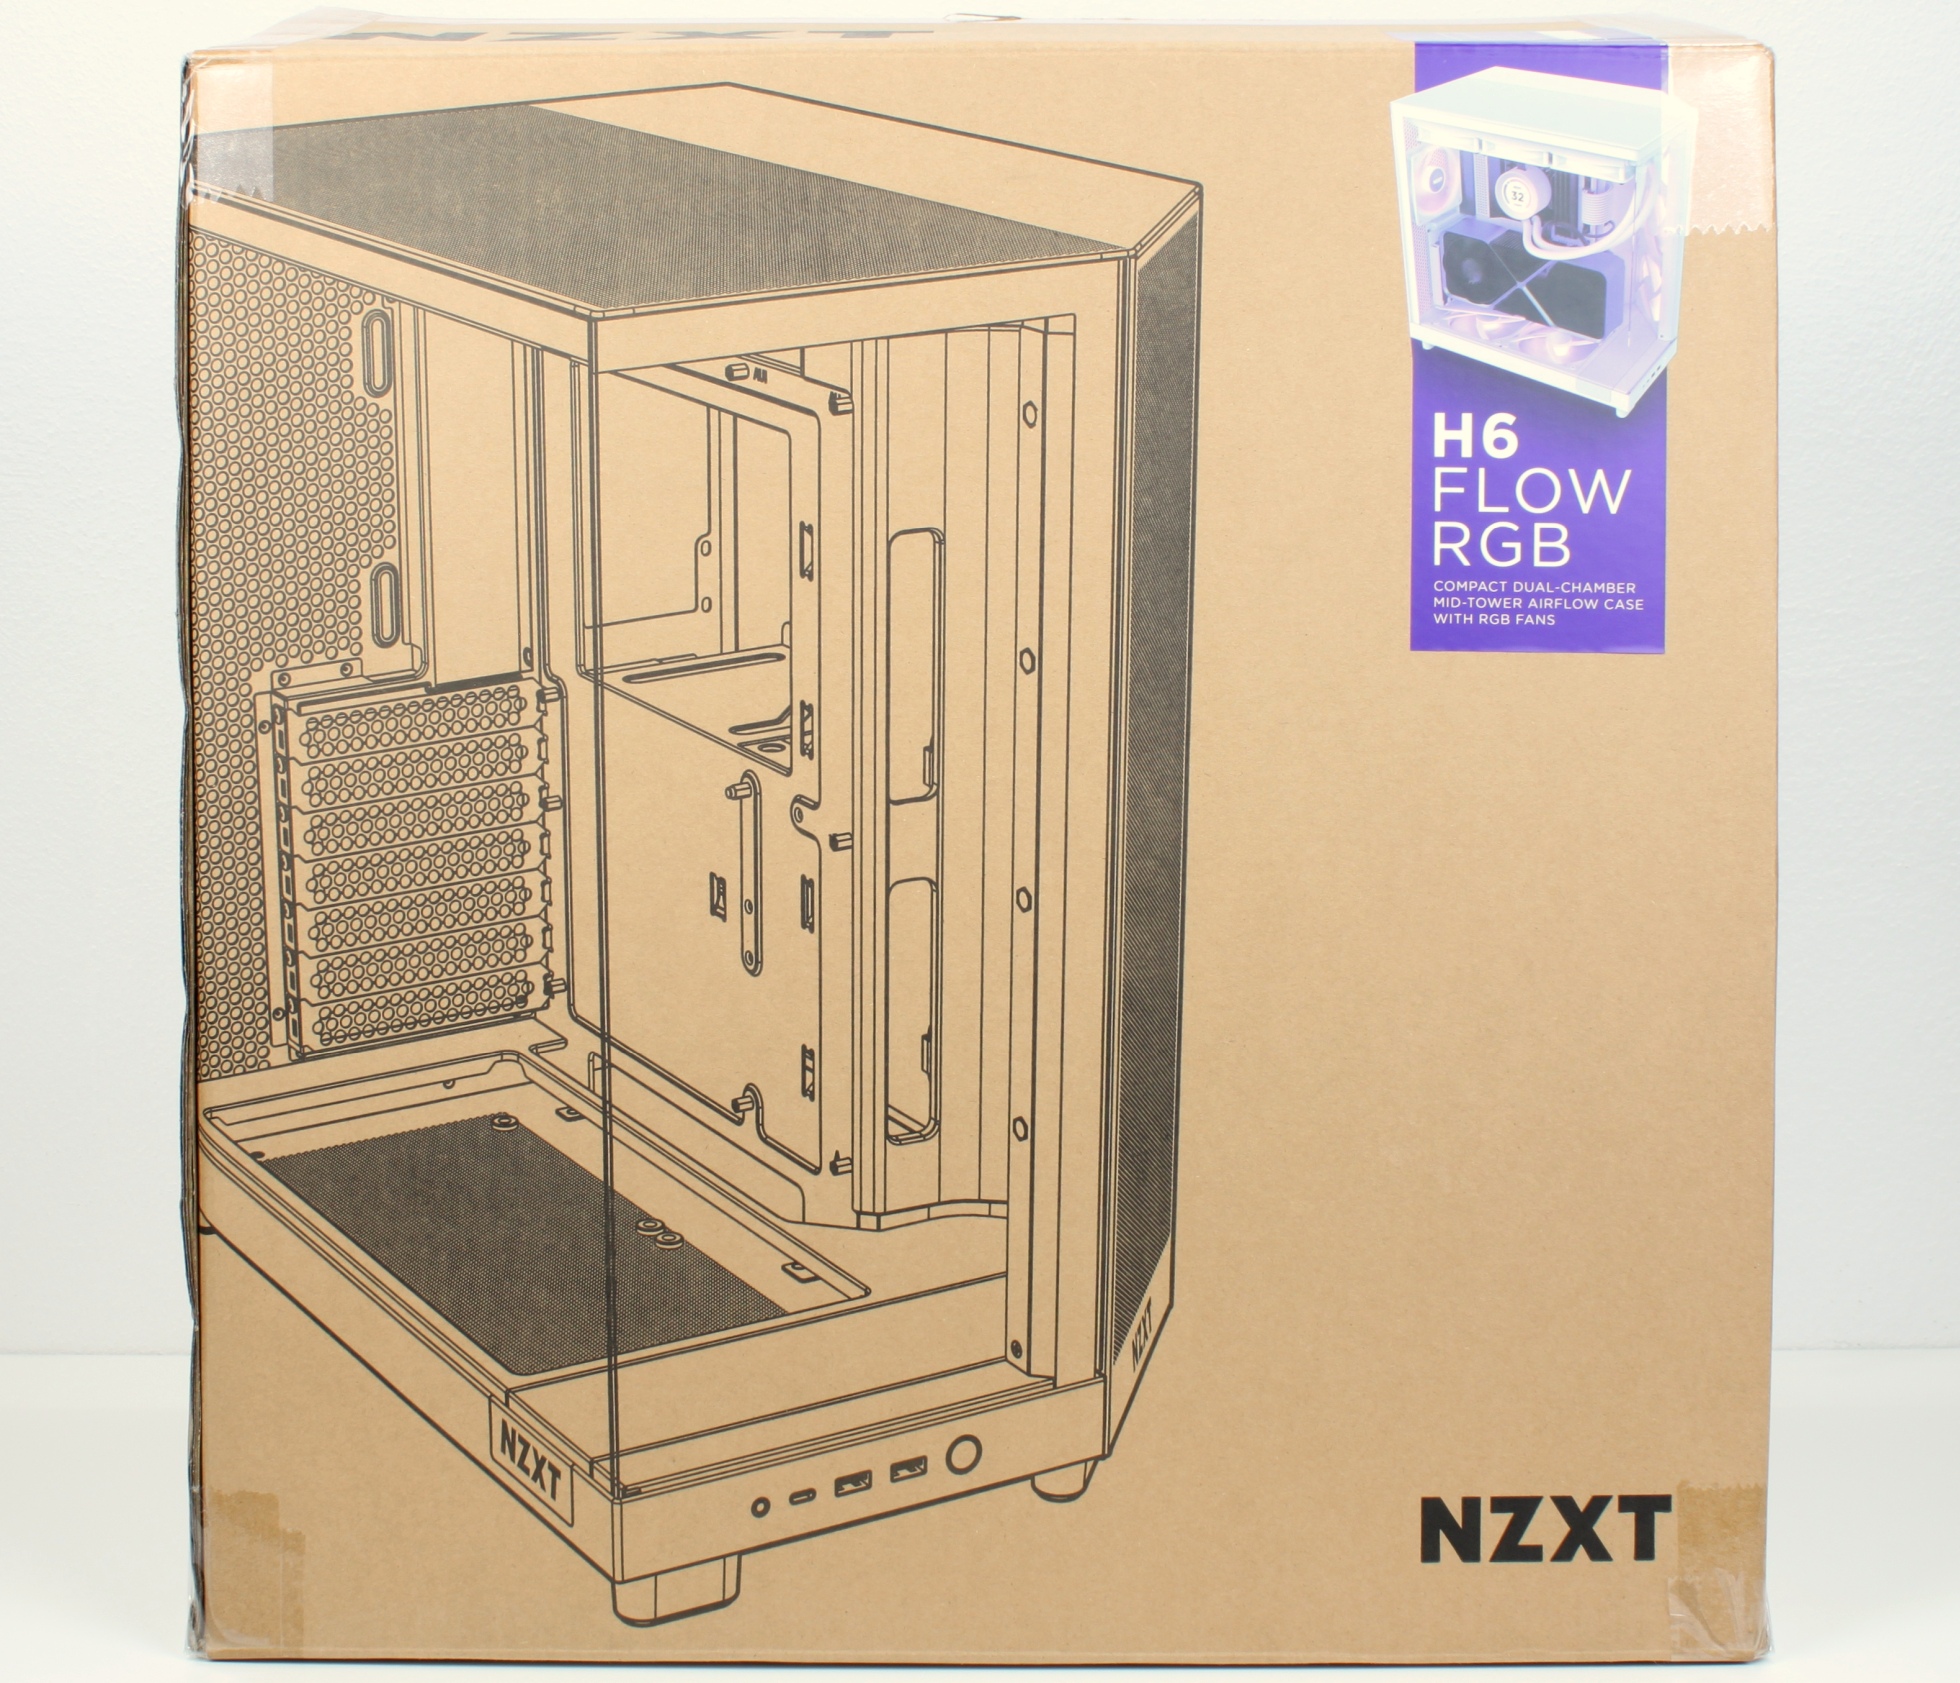
After opening the neutral outer carton, the manufacturer’s logo smiles at us.

The box is adorned with a picture of the case in question, along with a small label indicating the exact model.

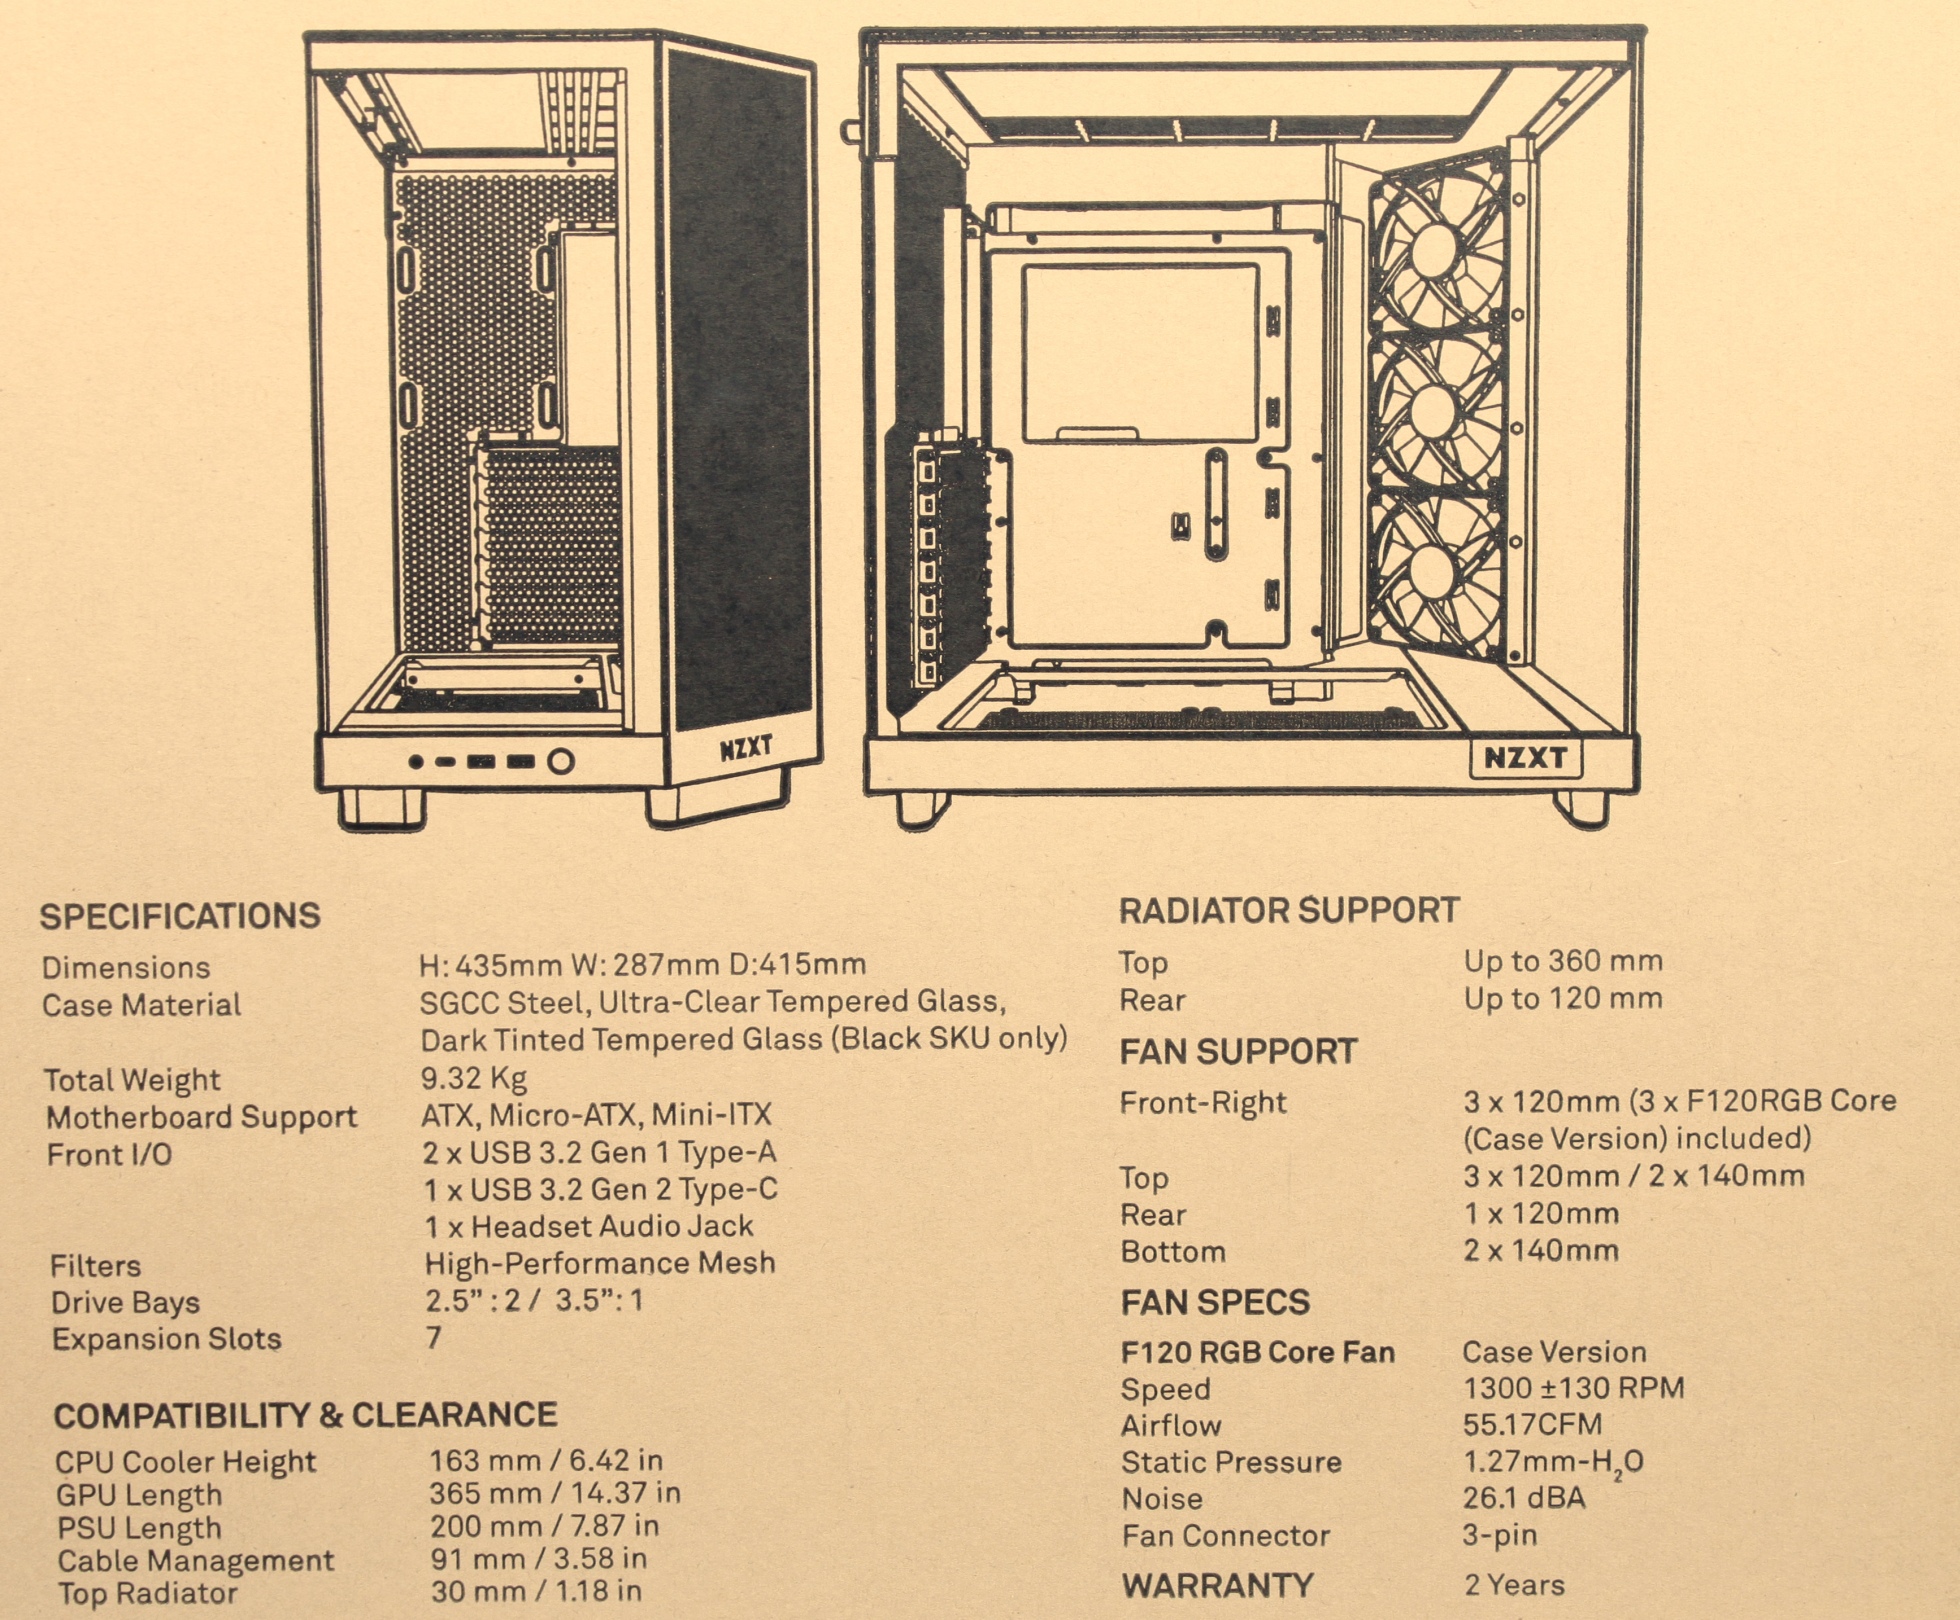
The technical specifications and dimensions of the case are printed on the back, but I have also prepared them for you in digital table form on the next page.

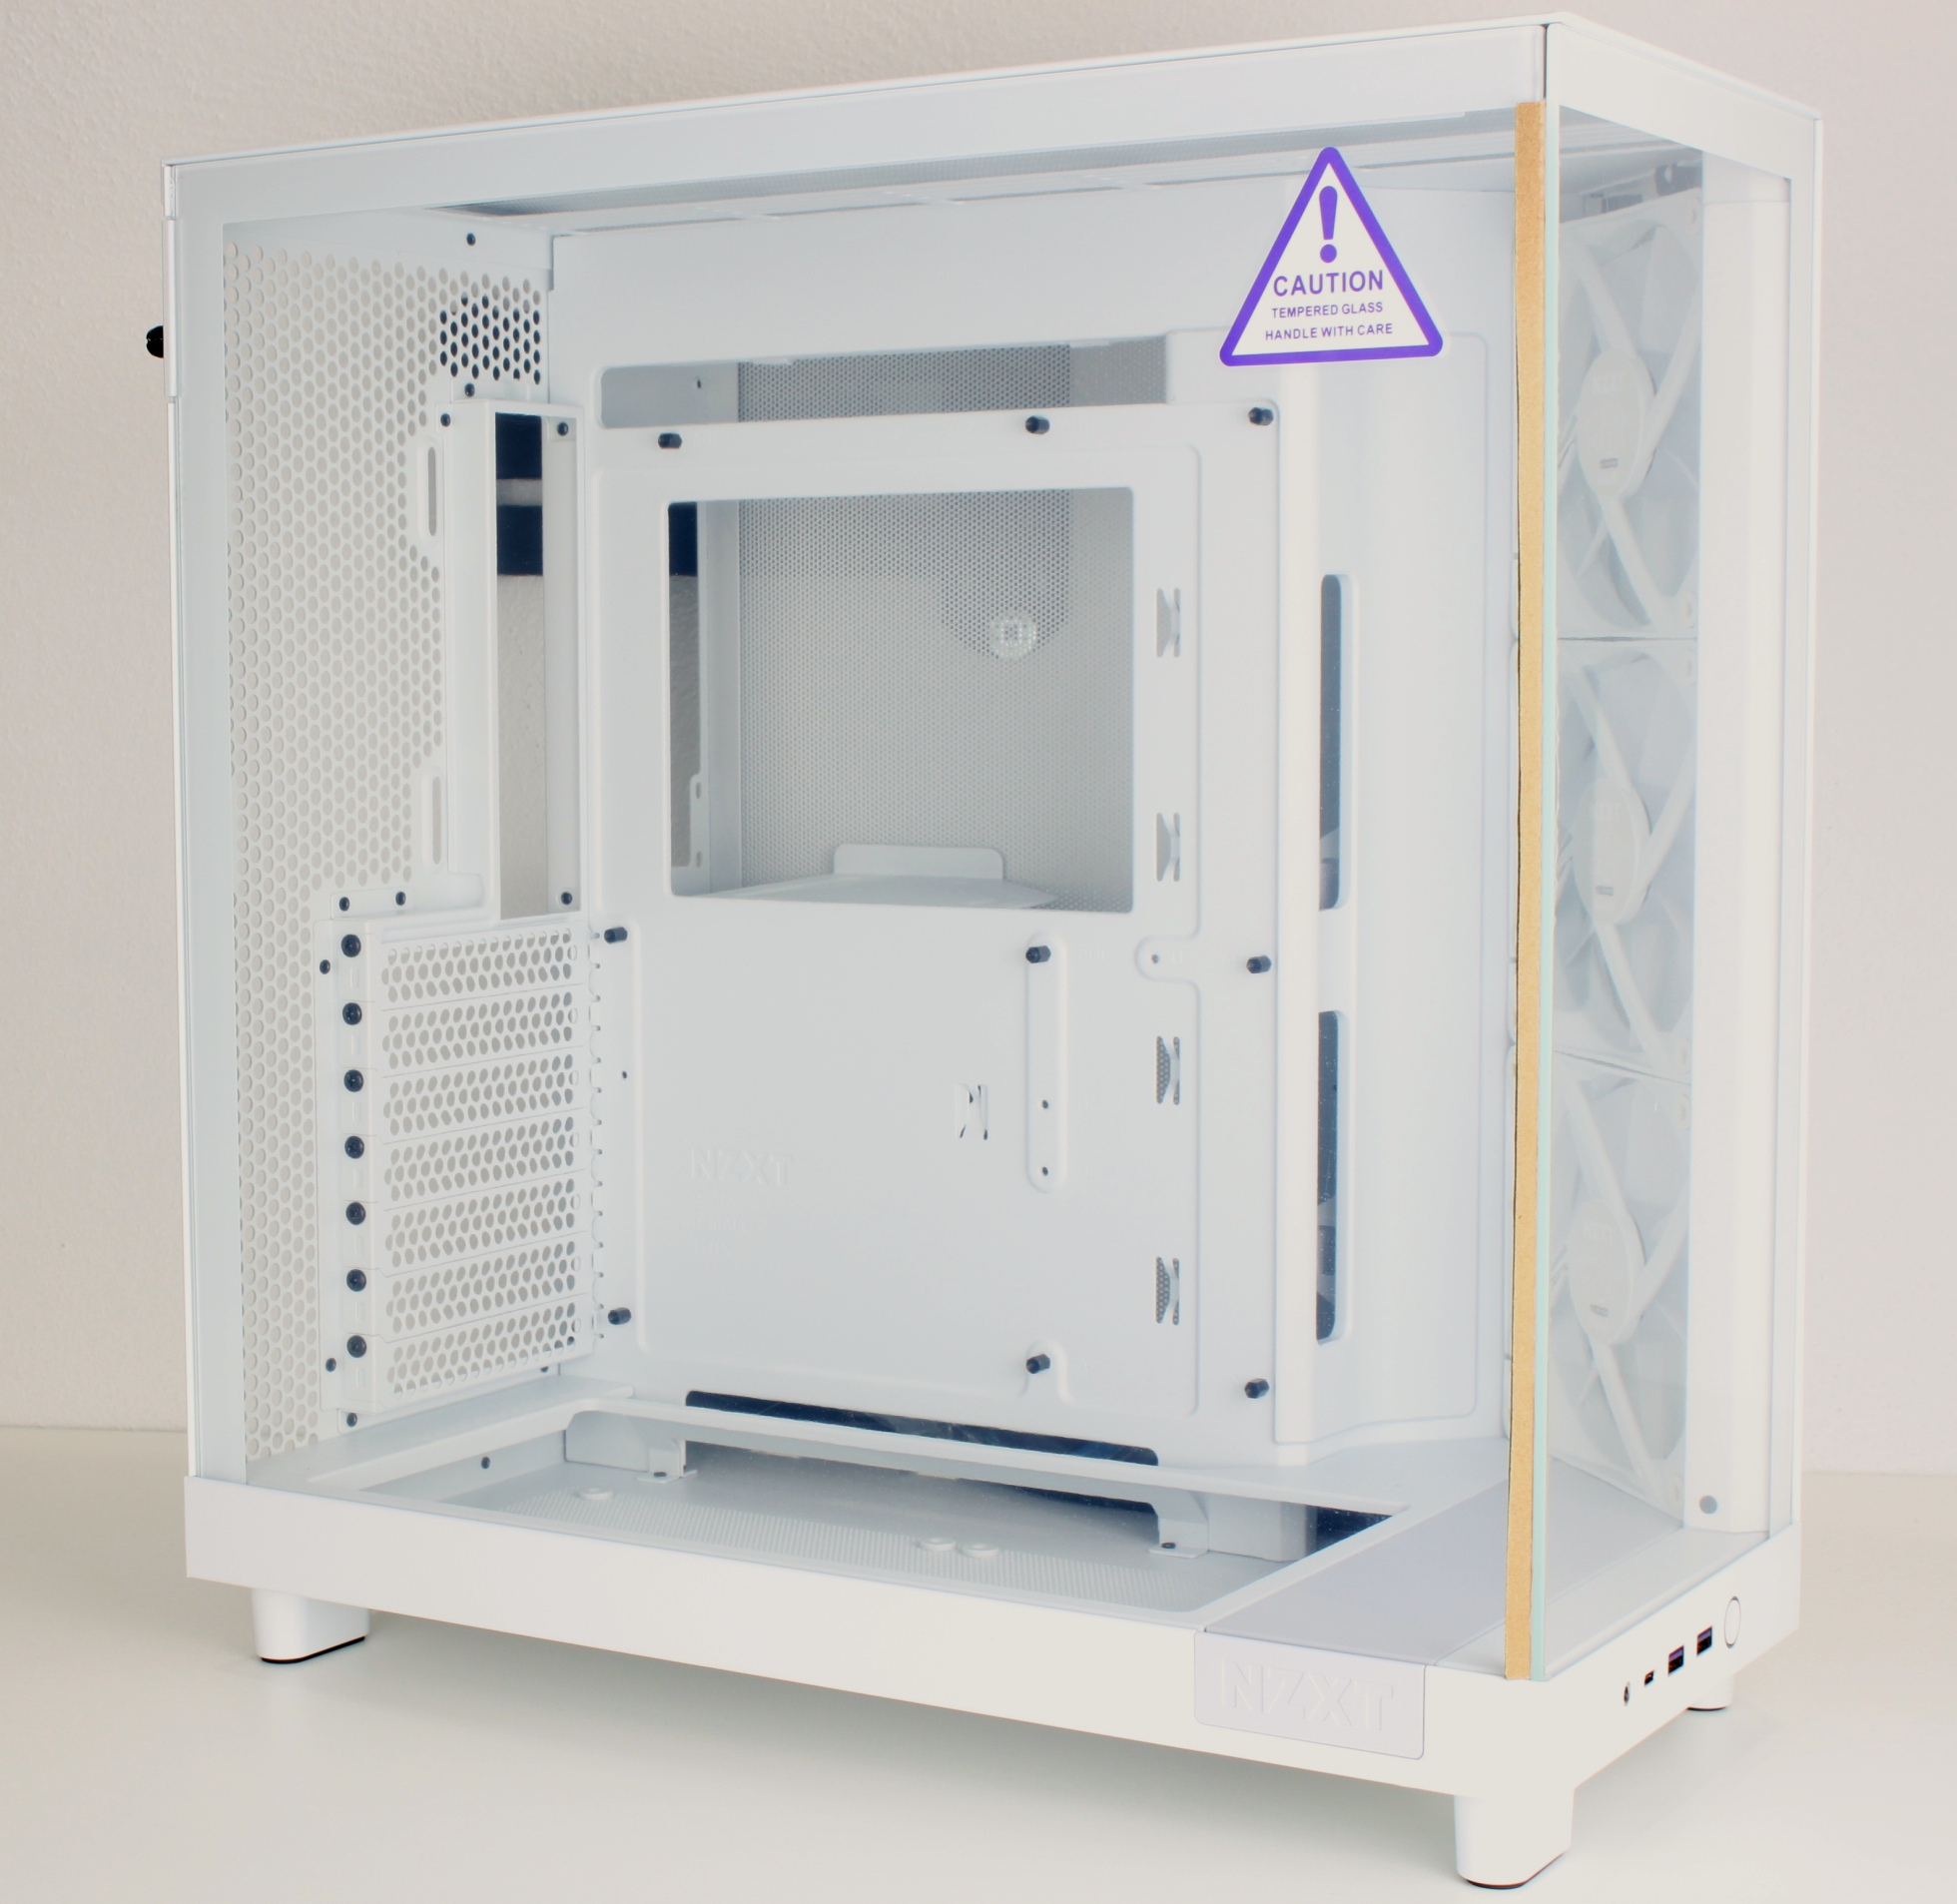
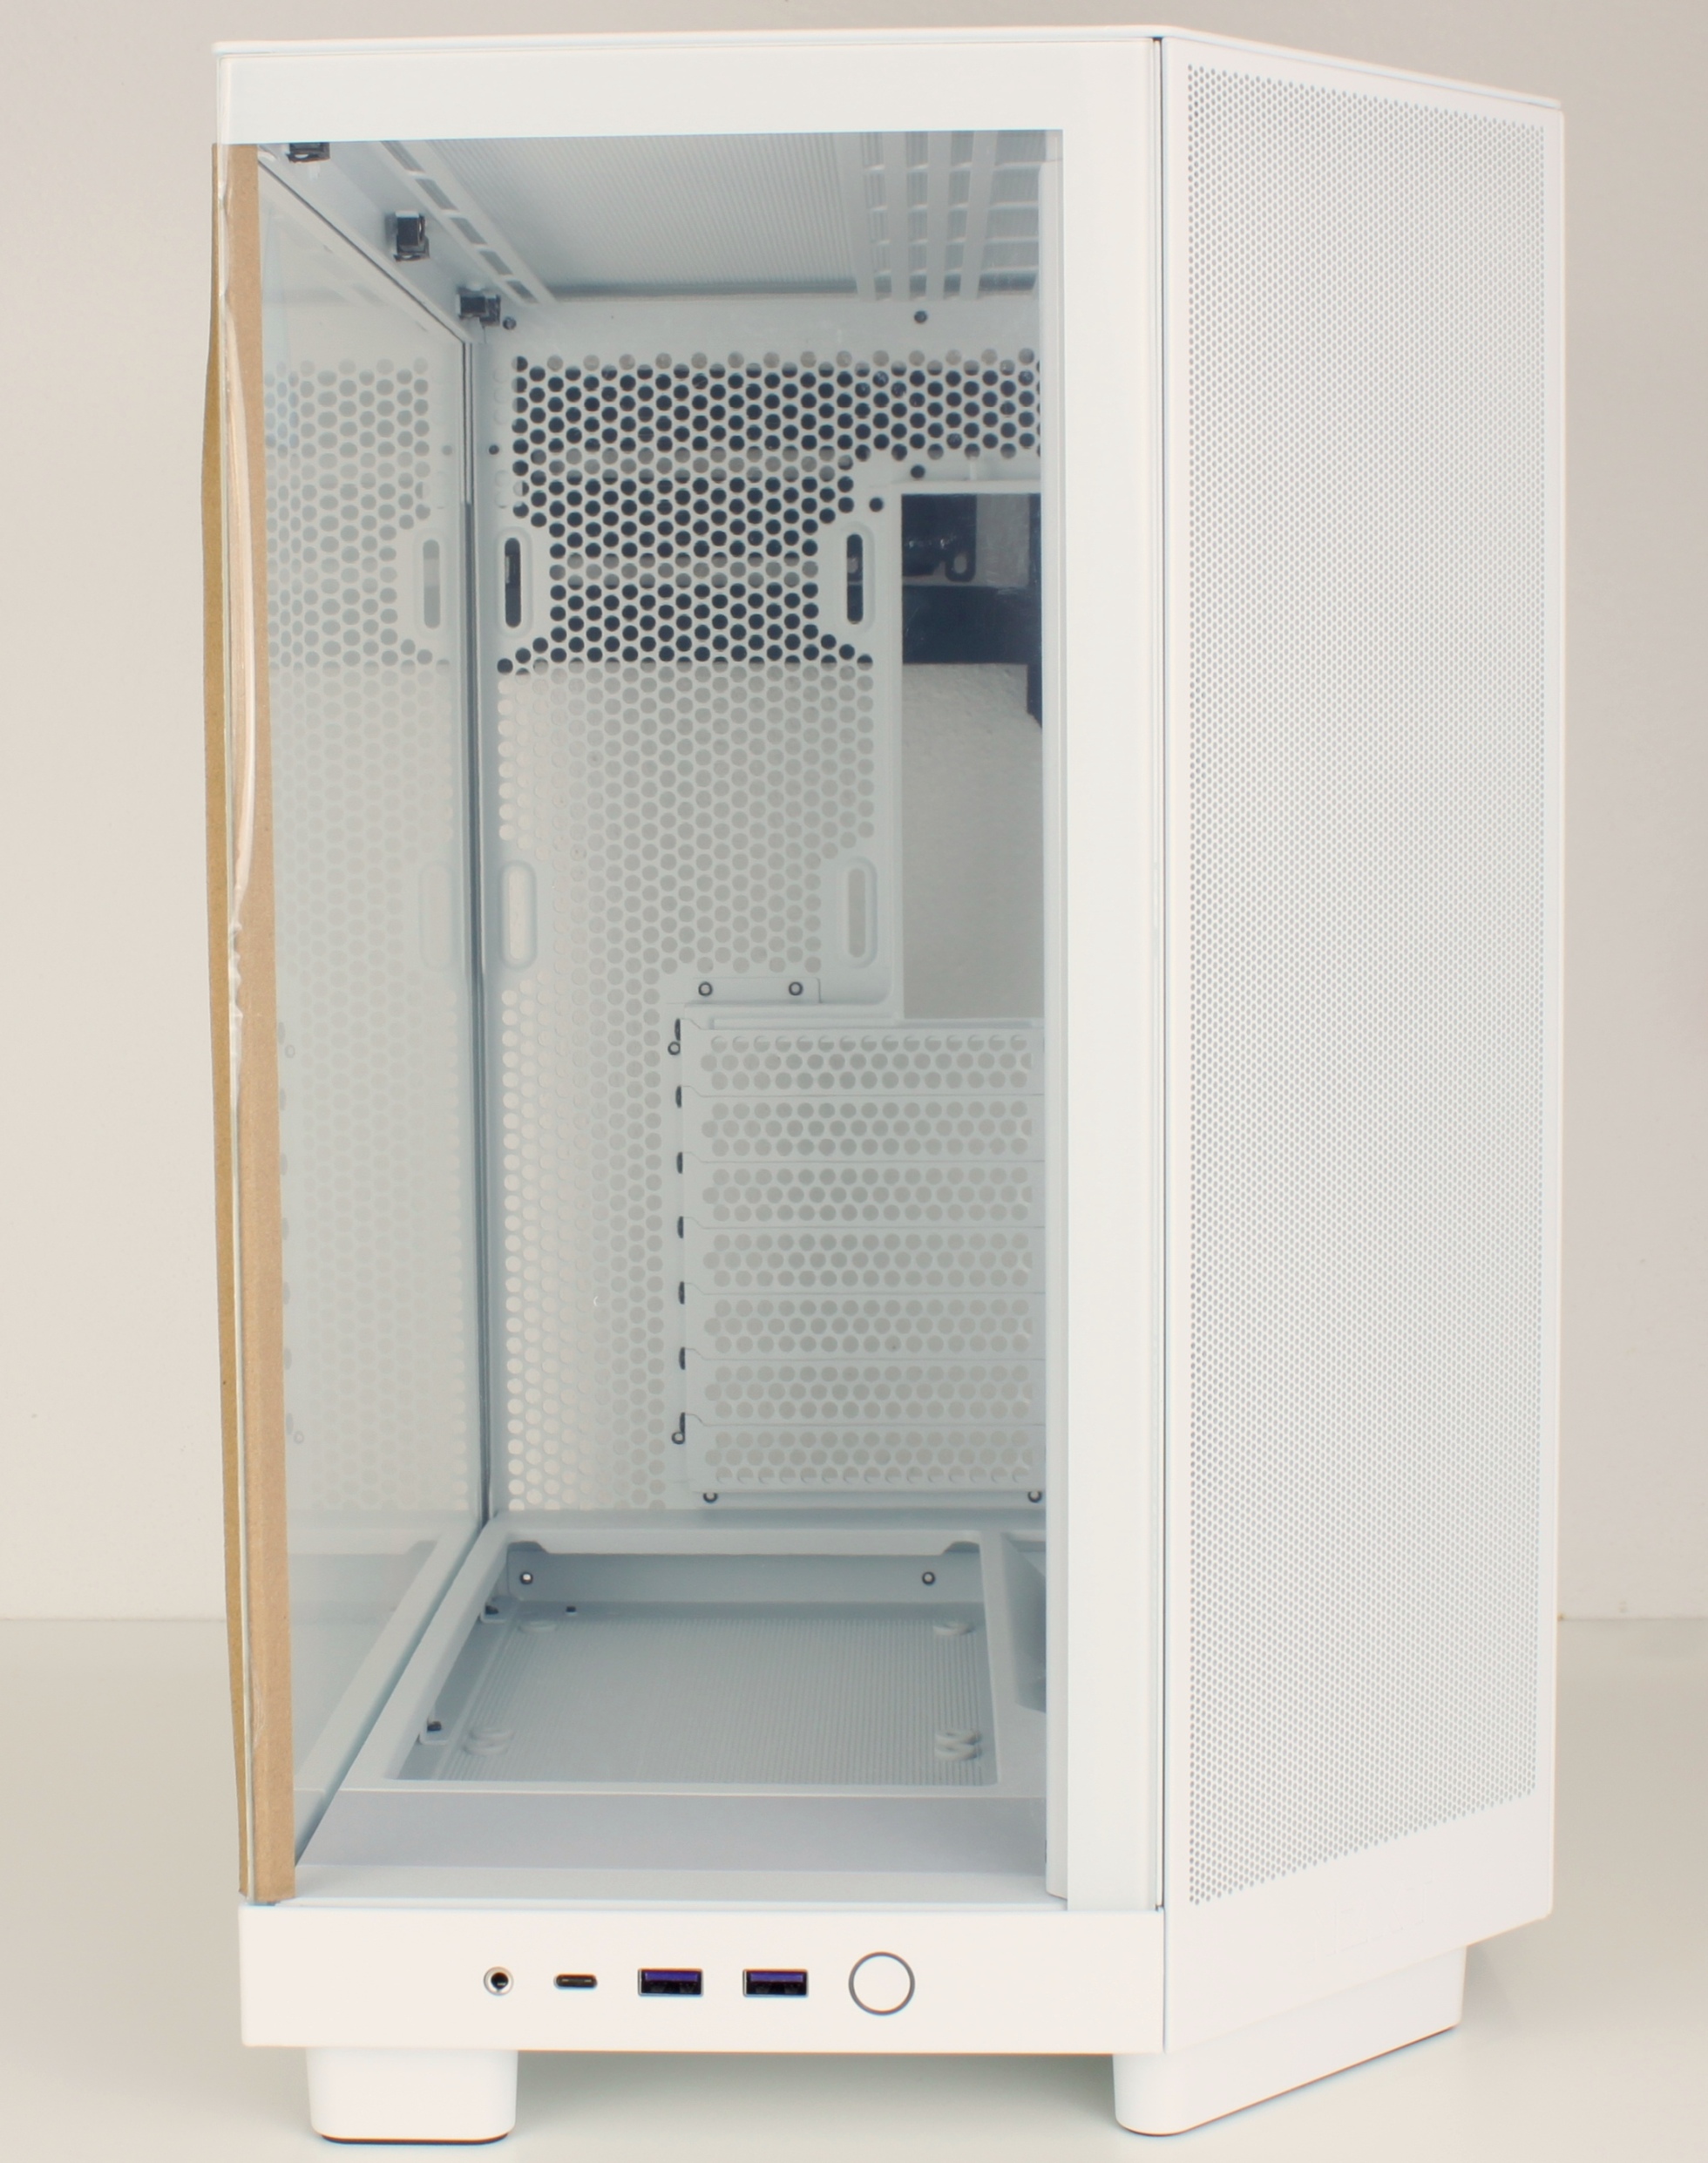
Freed from plastic foil and polystyrene pads, we immediately get a deep insight into the H6 Flow.

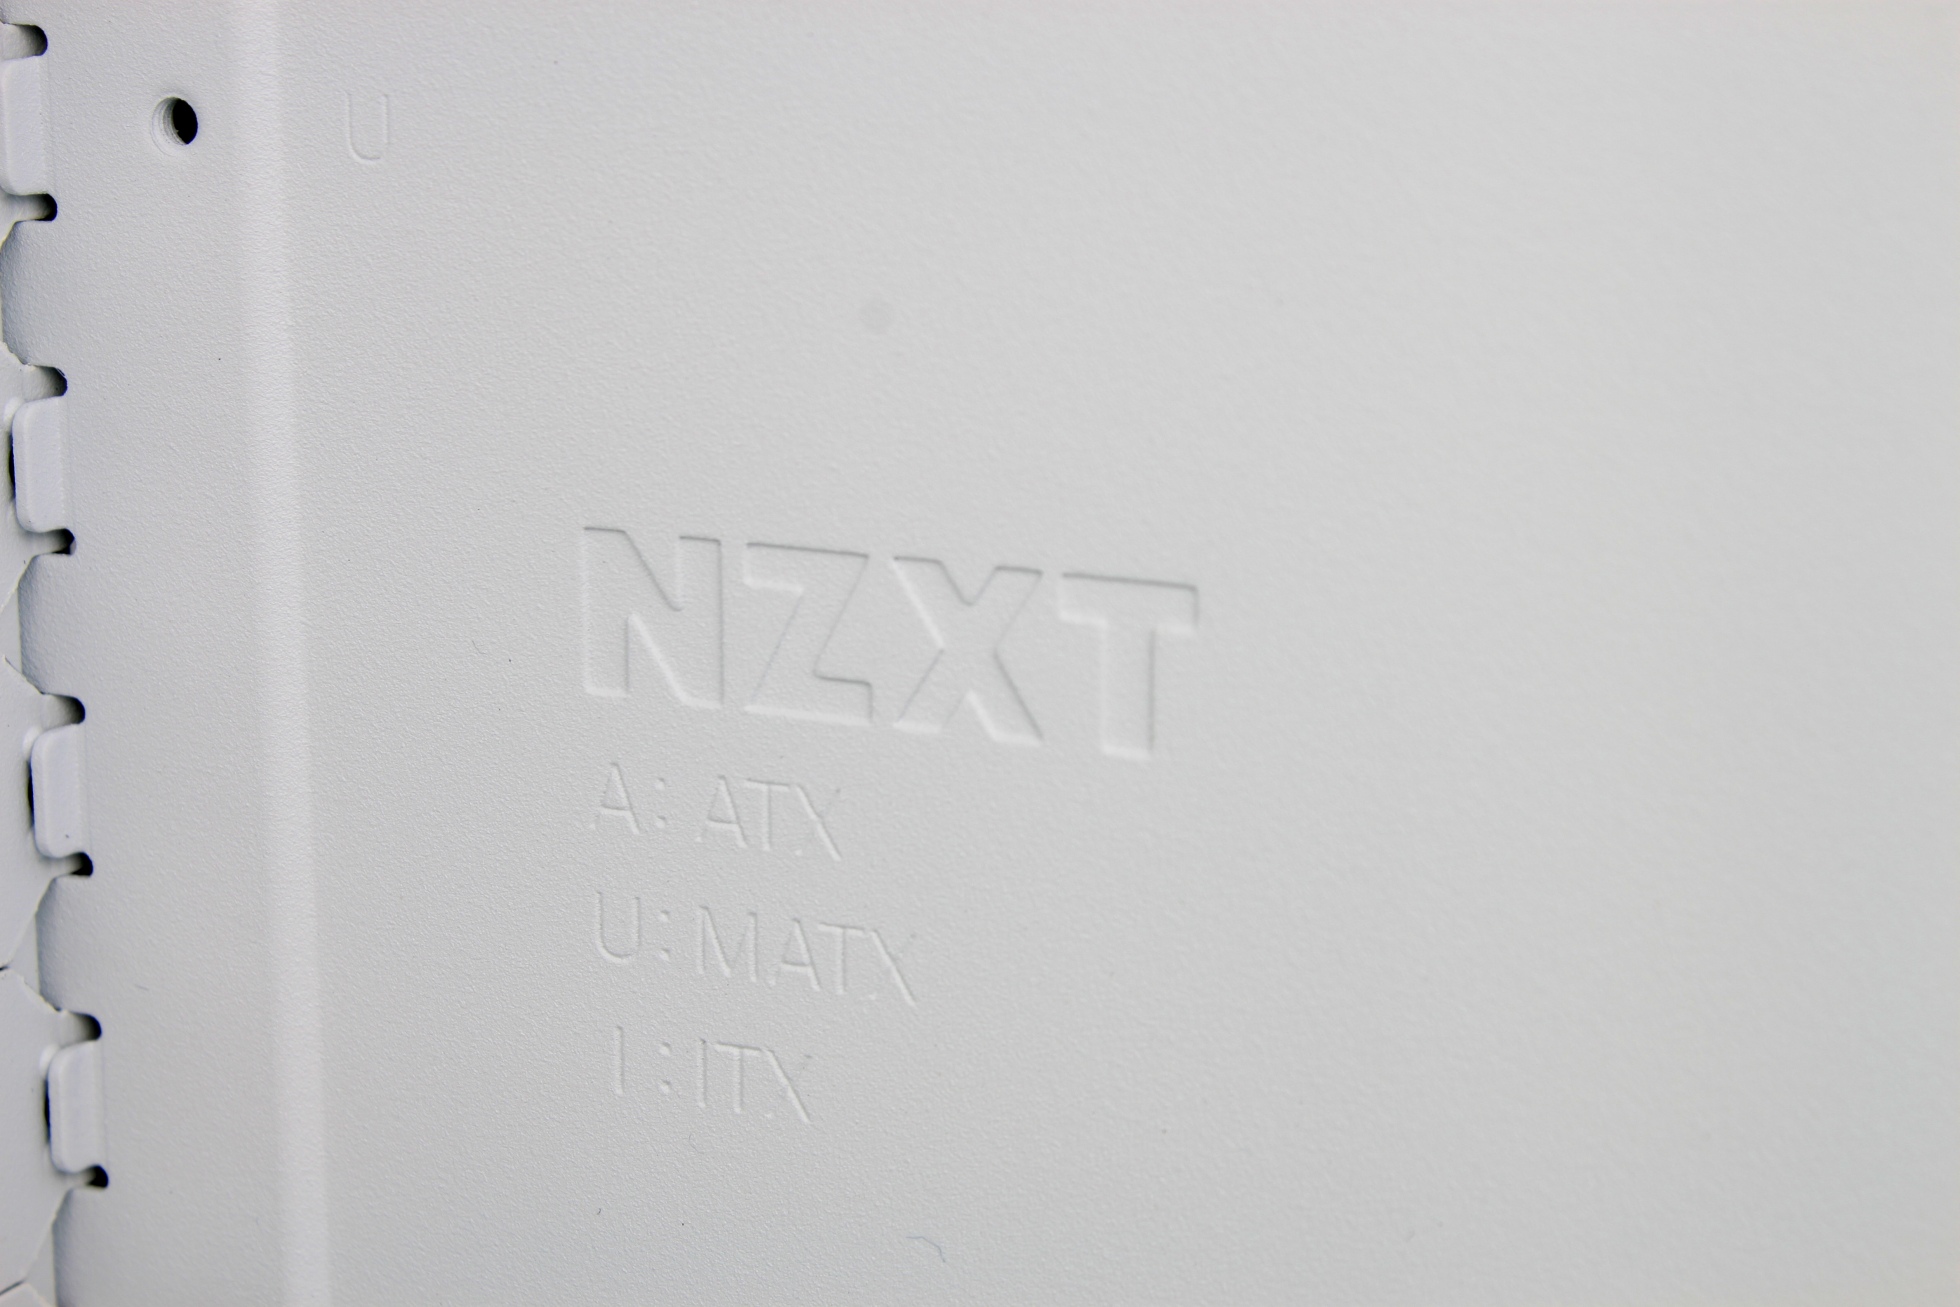
Apparently, I’m not the only one who likes such details, because these embossings have been used more and more lately – I like it, especially with this subtle color accent!

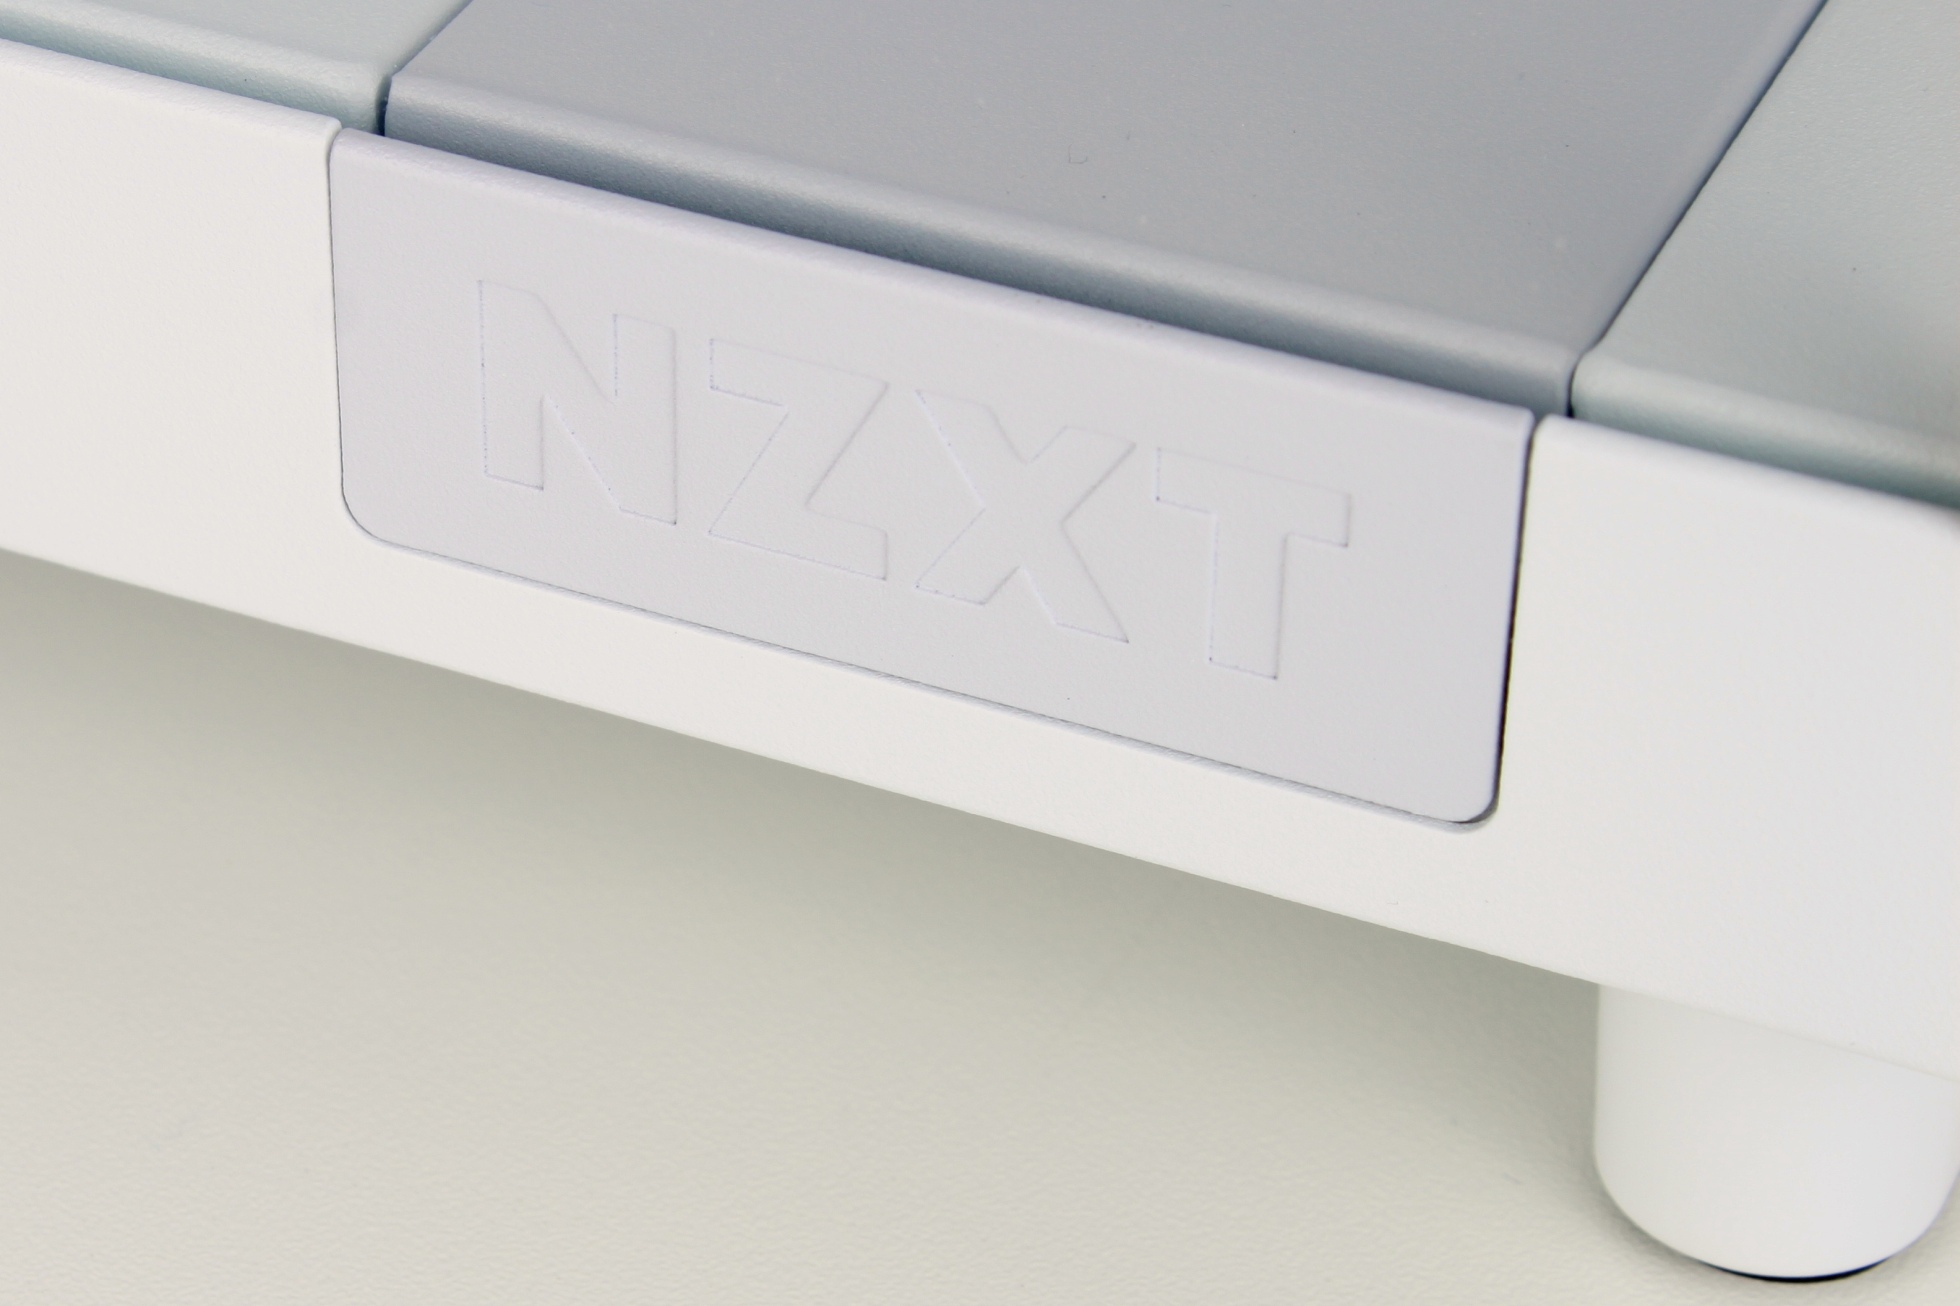
On the H6 Flow, the “showcase” goes right around the corner, so you can also look at the expensive components from the front.

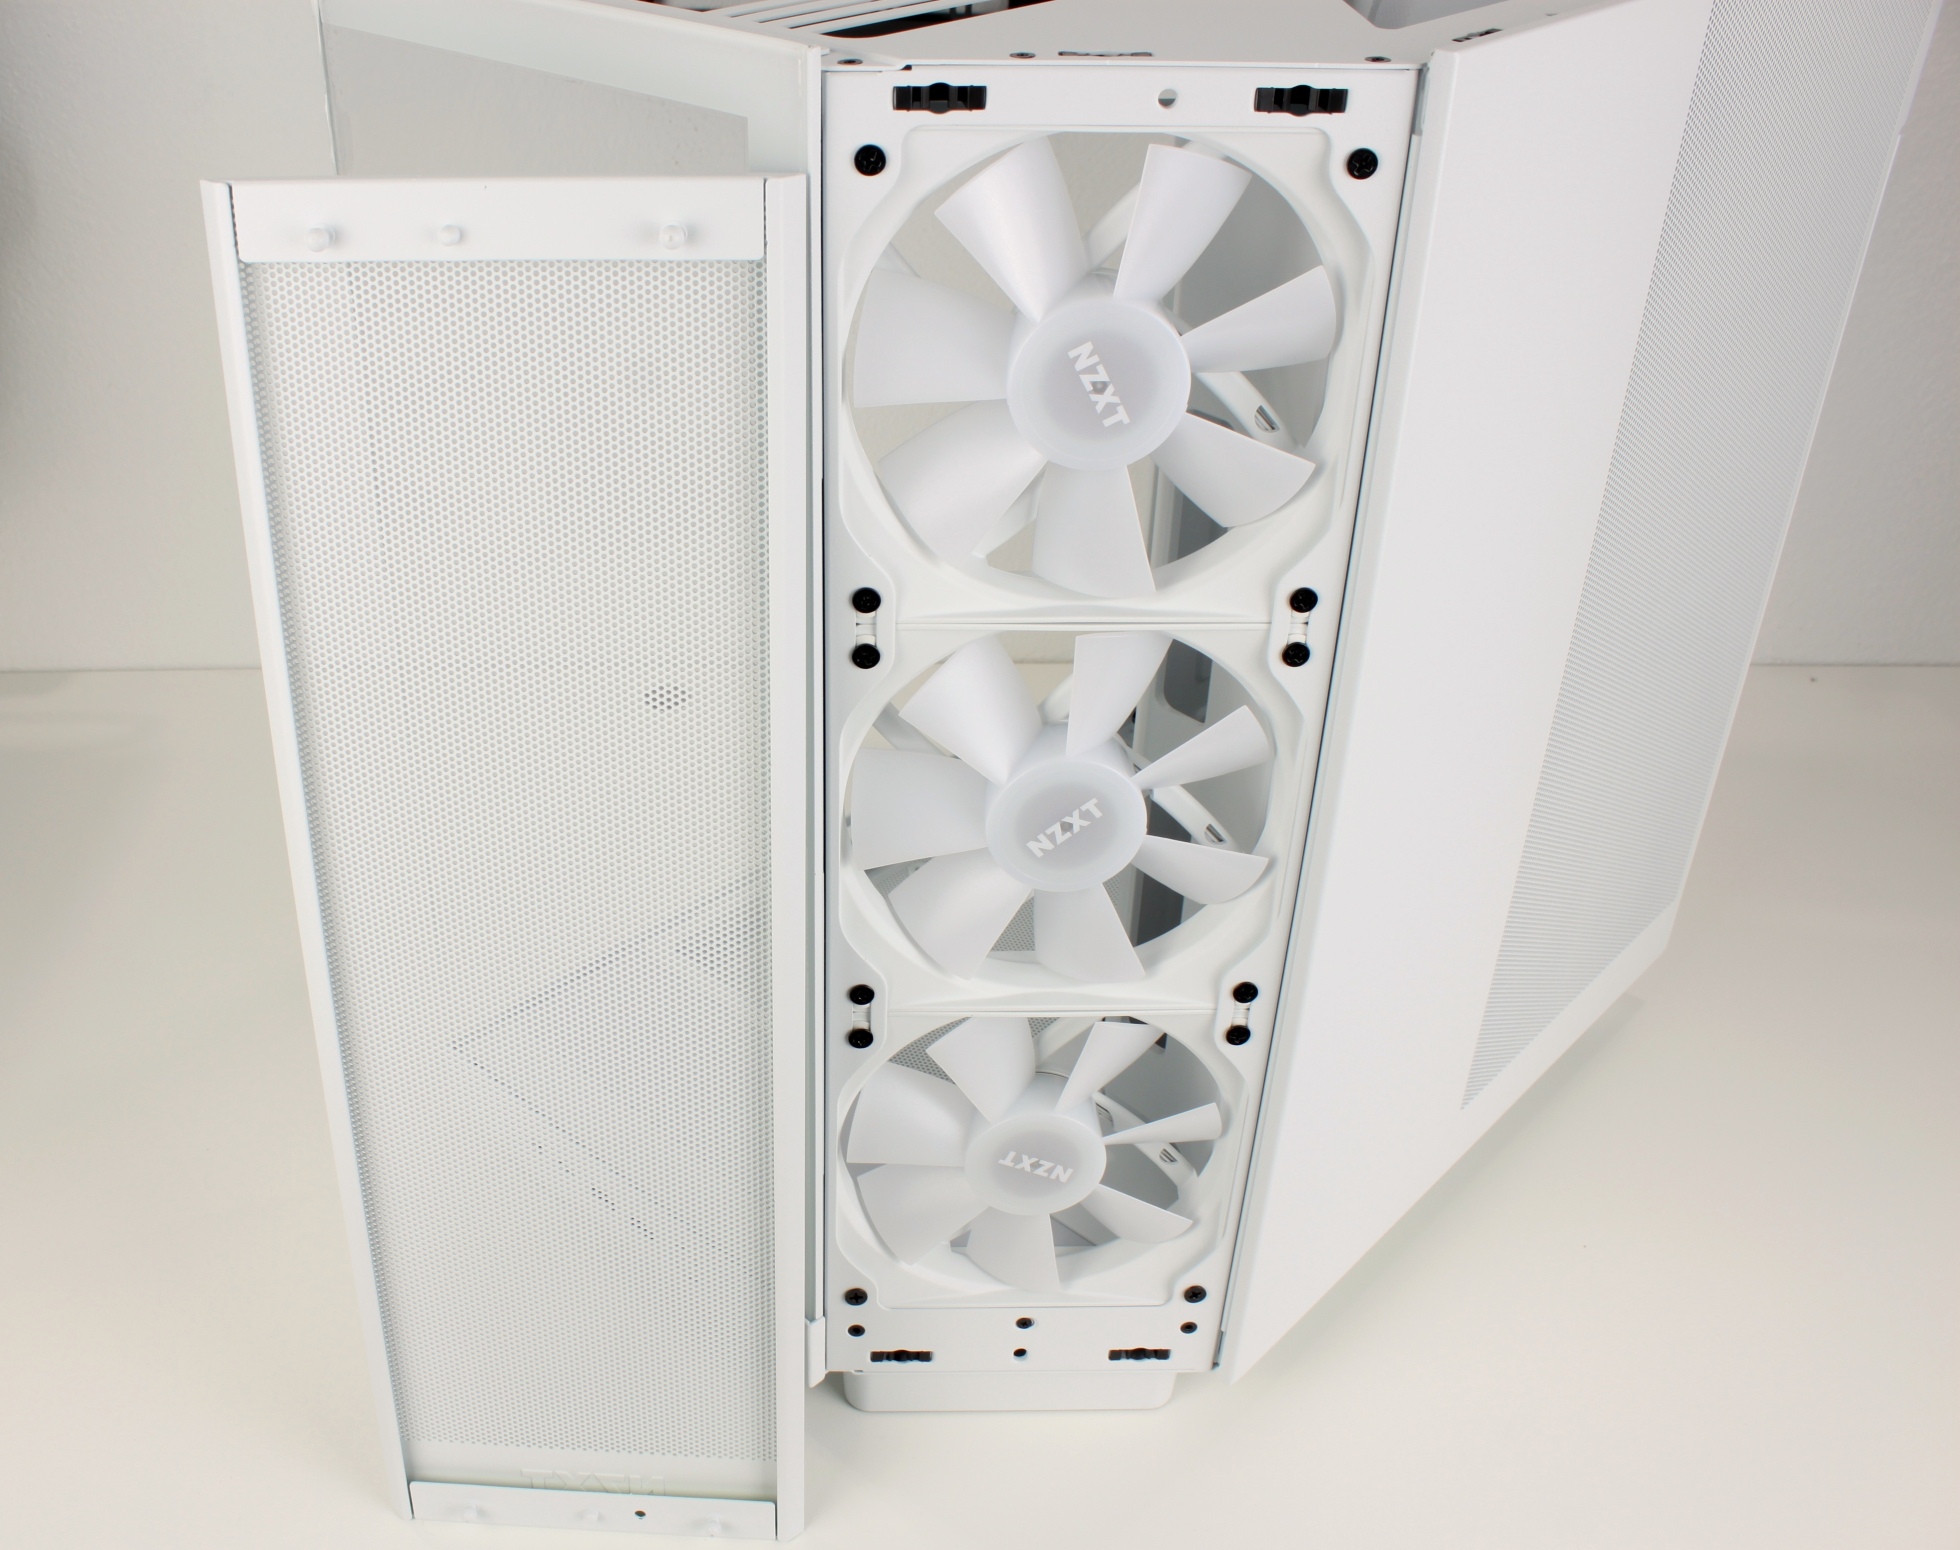
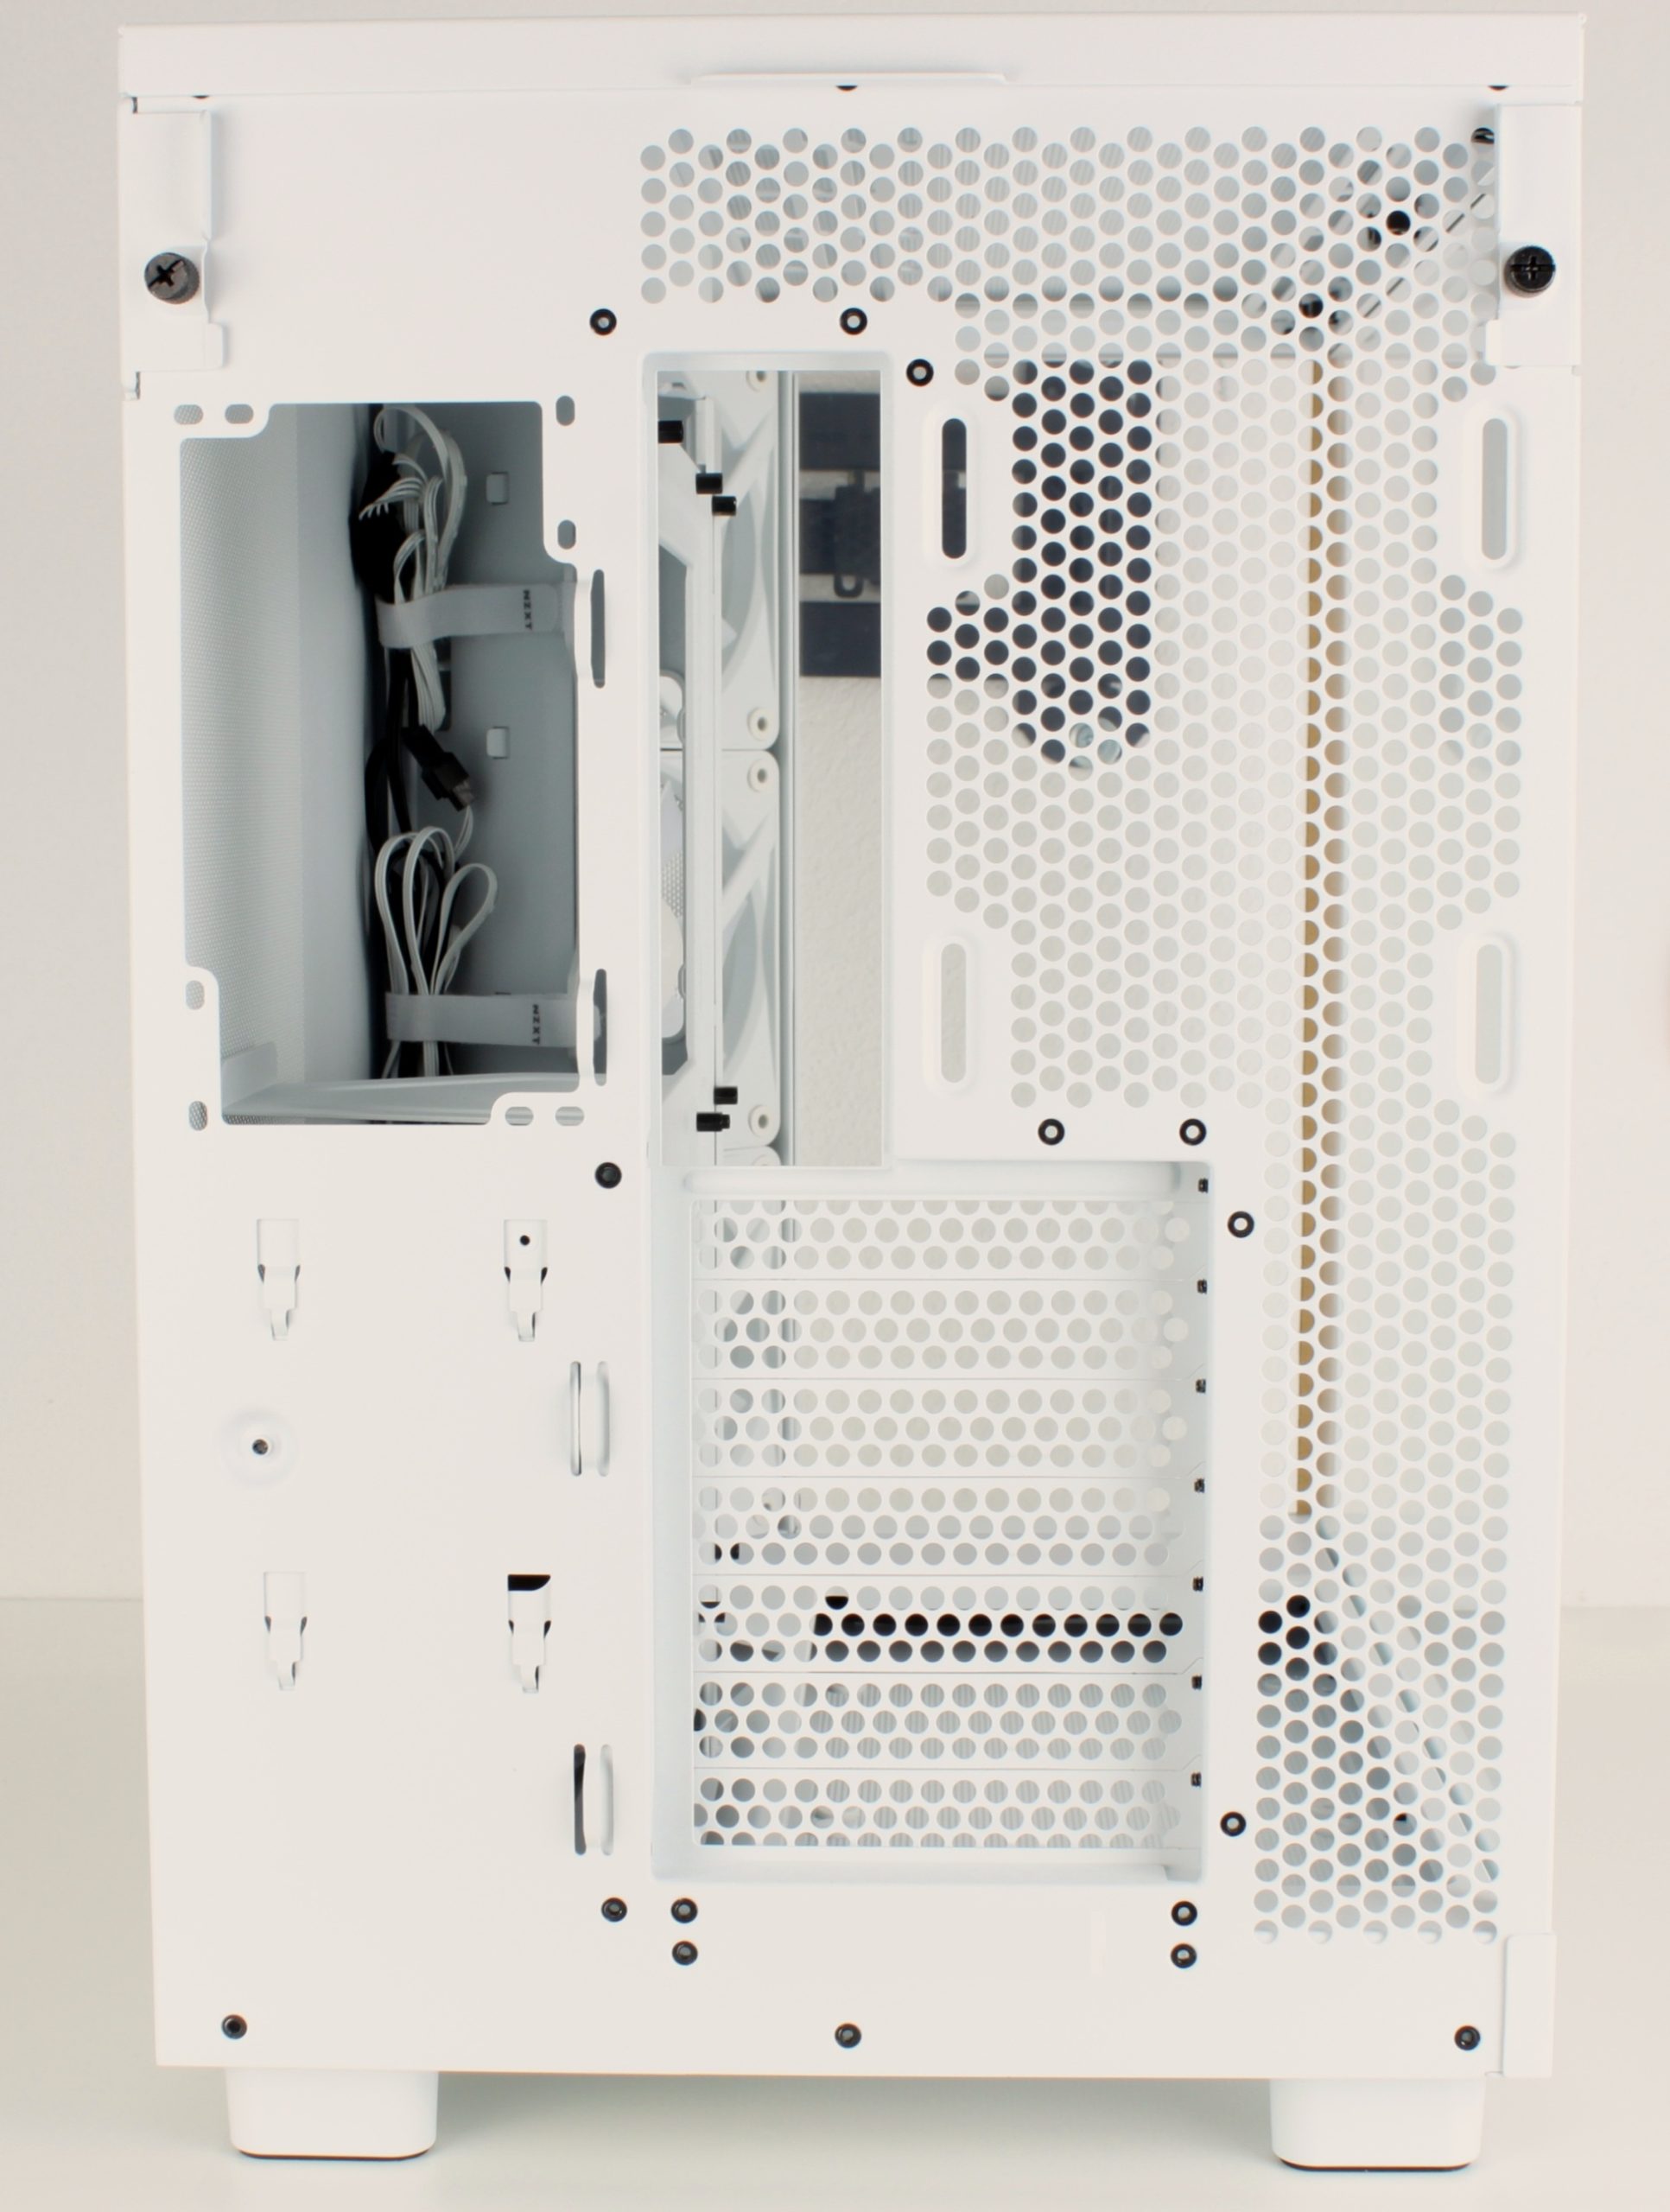
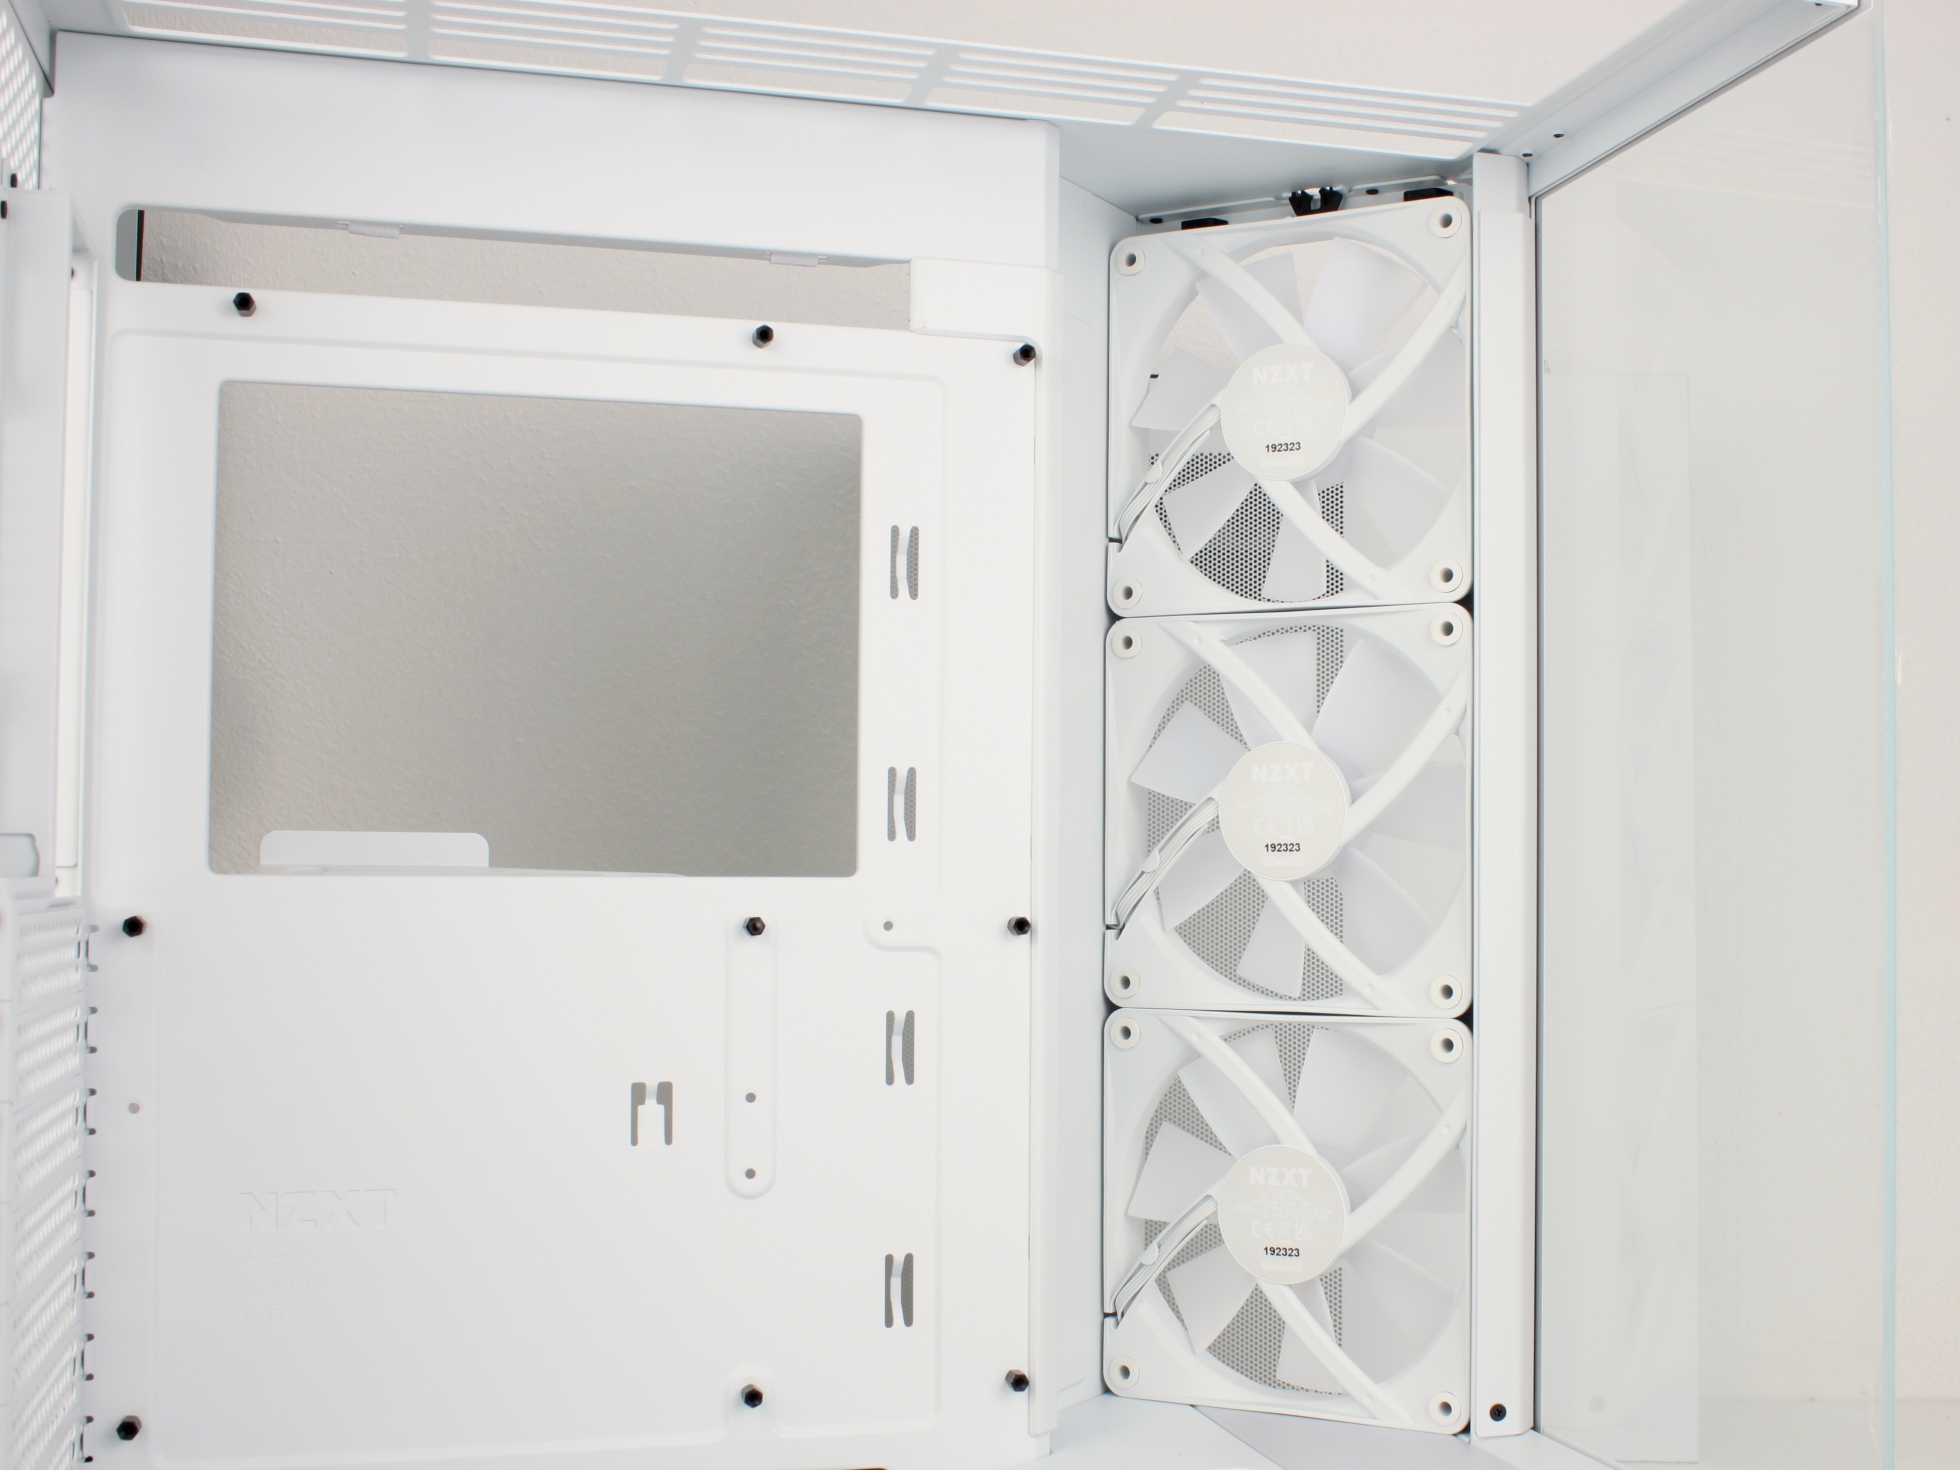
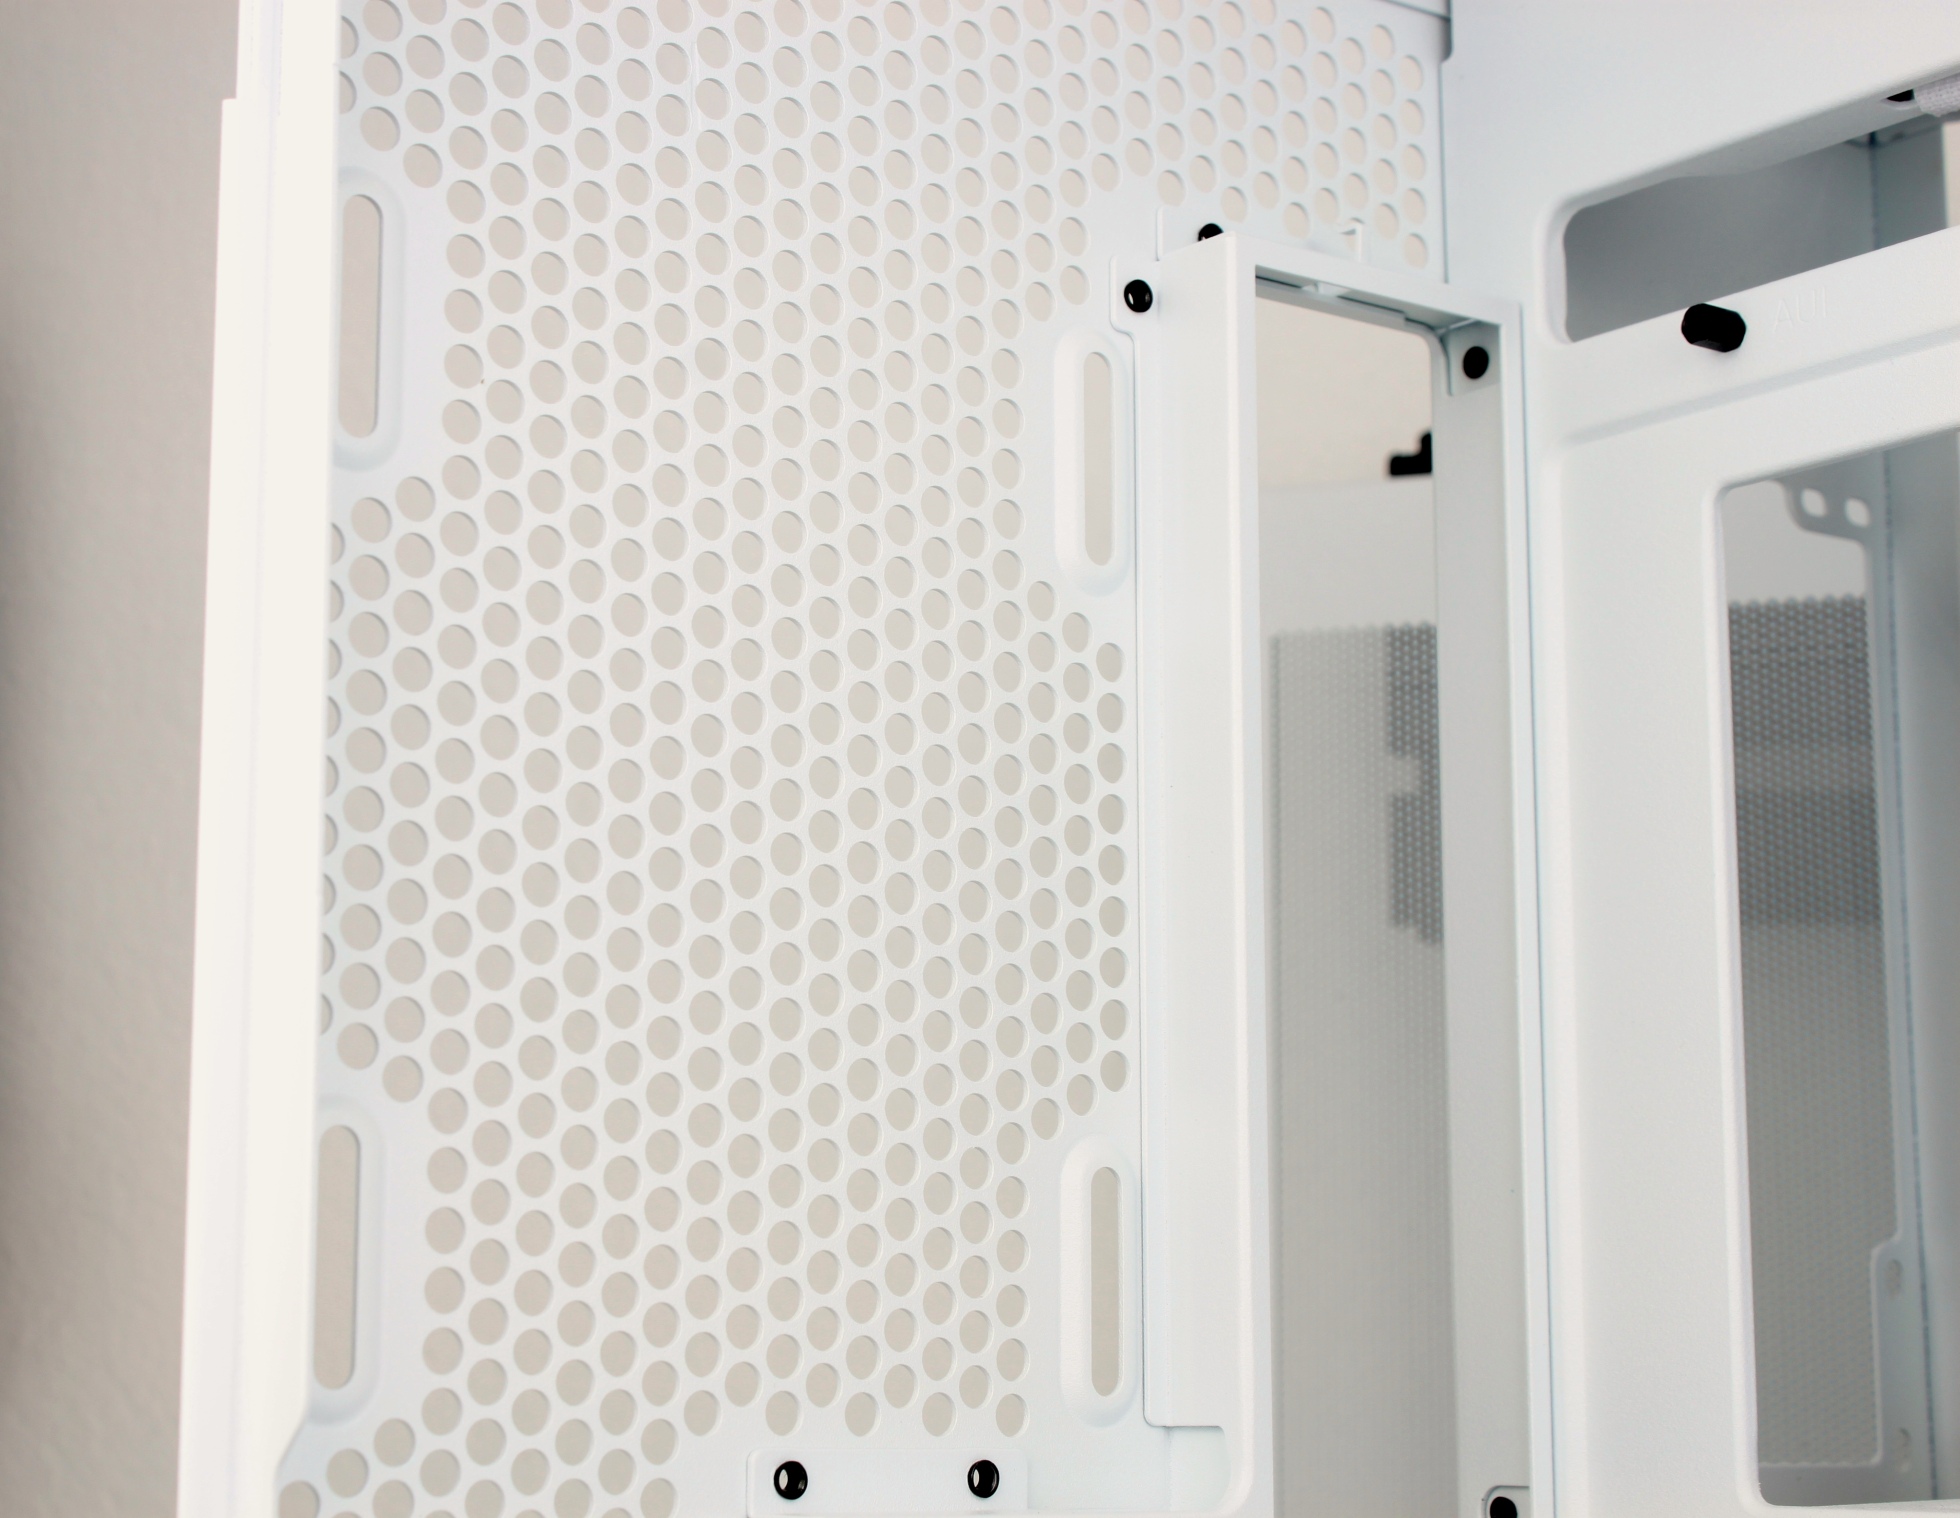
The right side is divided into two parts: the cover for the angled case fans and the actual side panel. Both parts have large holes and, to my surprise, are not equipped with a dust filter.

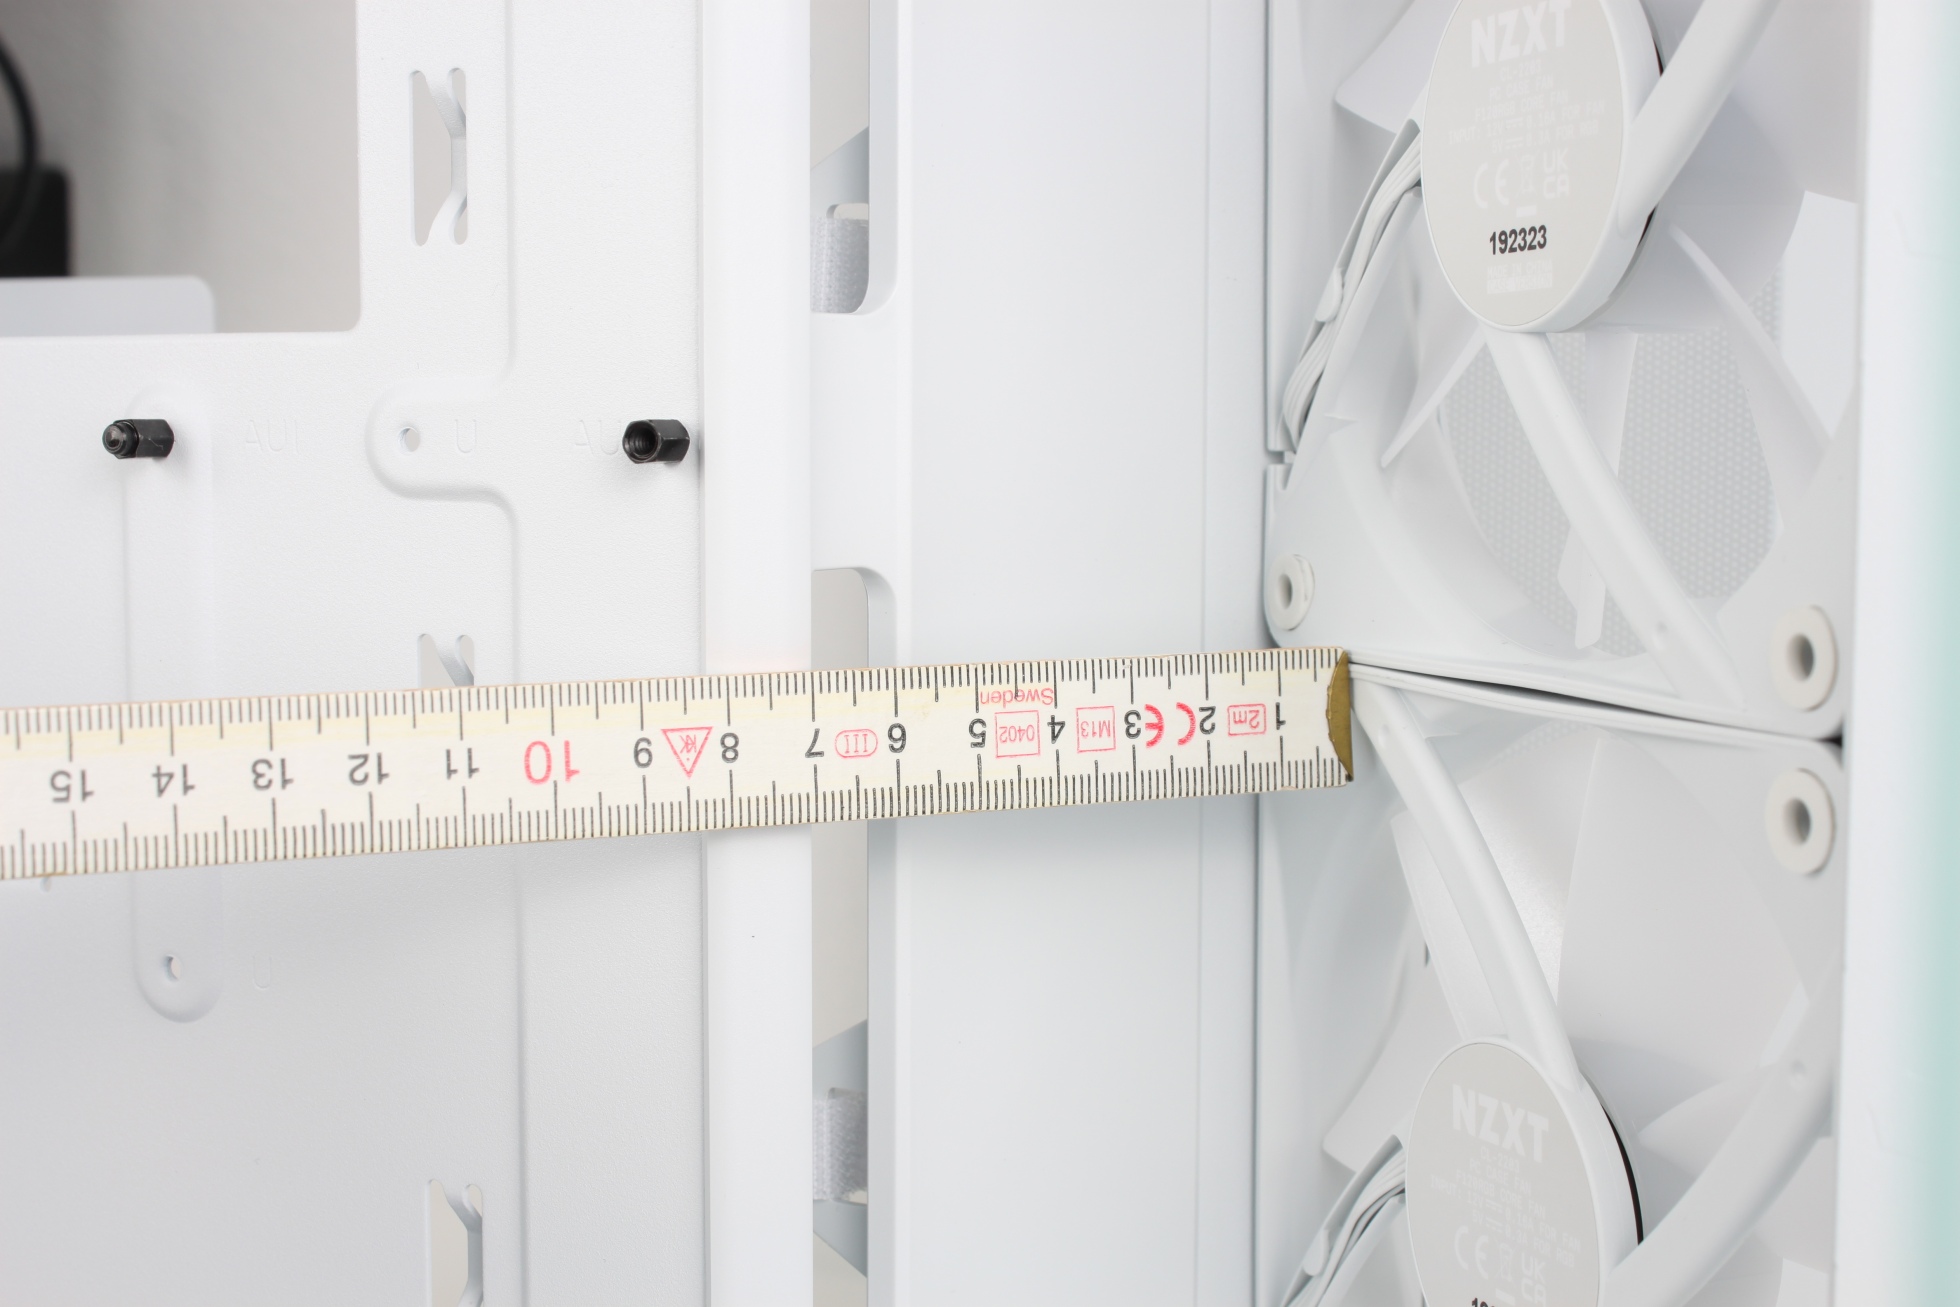
Behind the narrow cover for the fans, three F120 RGB Core fans are waiting for their use.

Behind the large cover is the spacious PSU compartment.

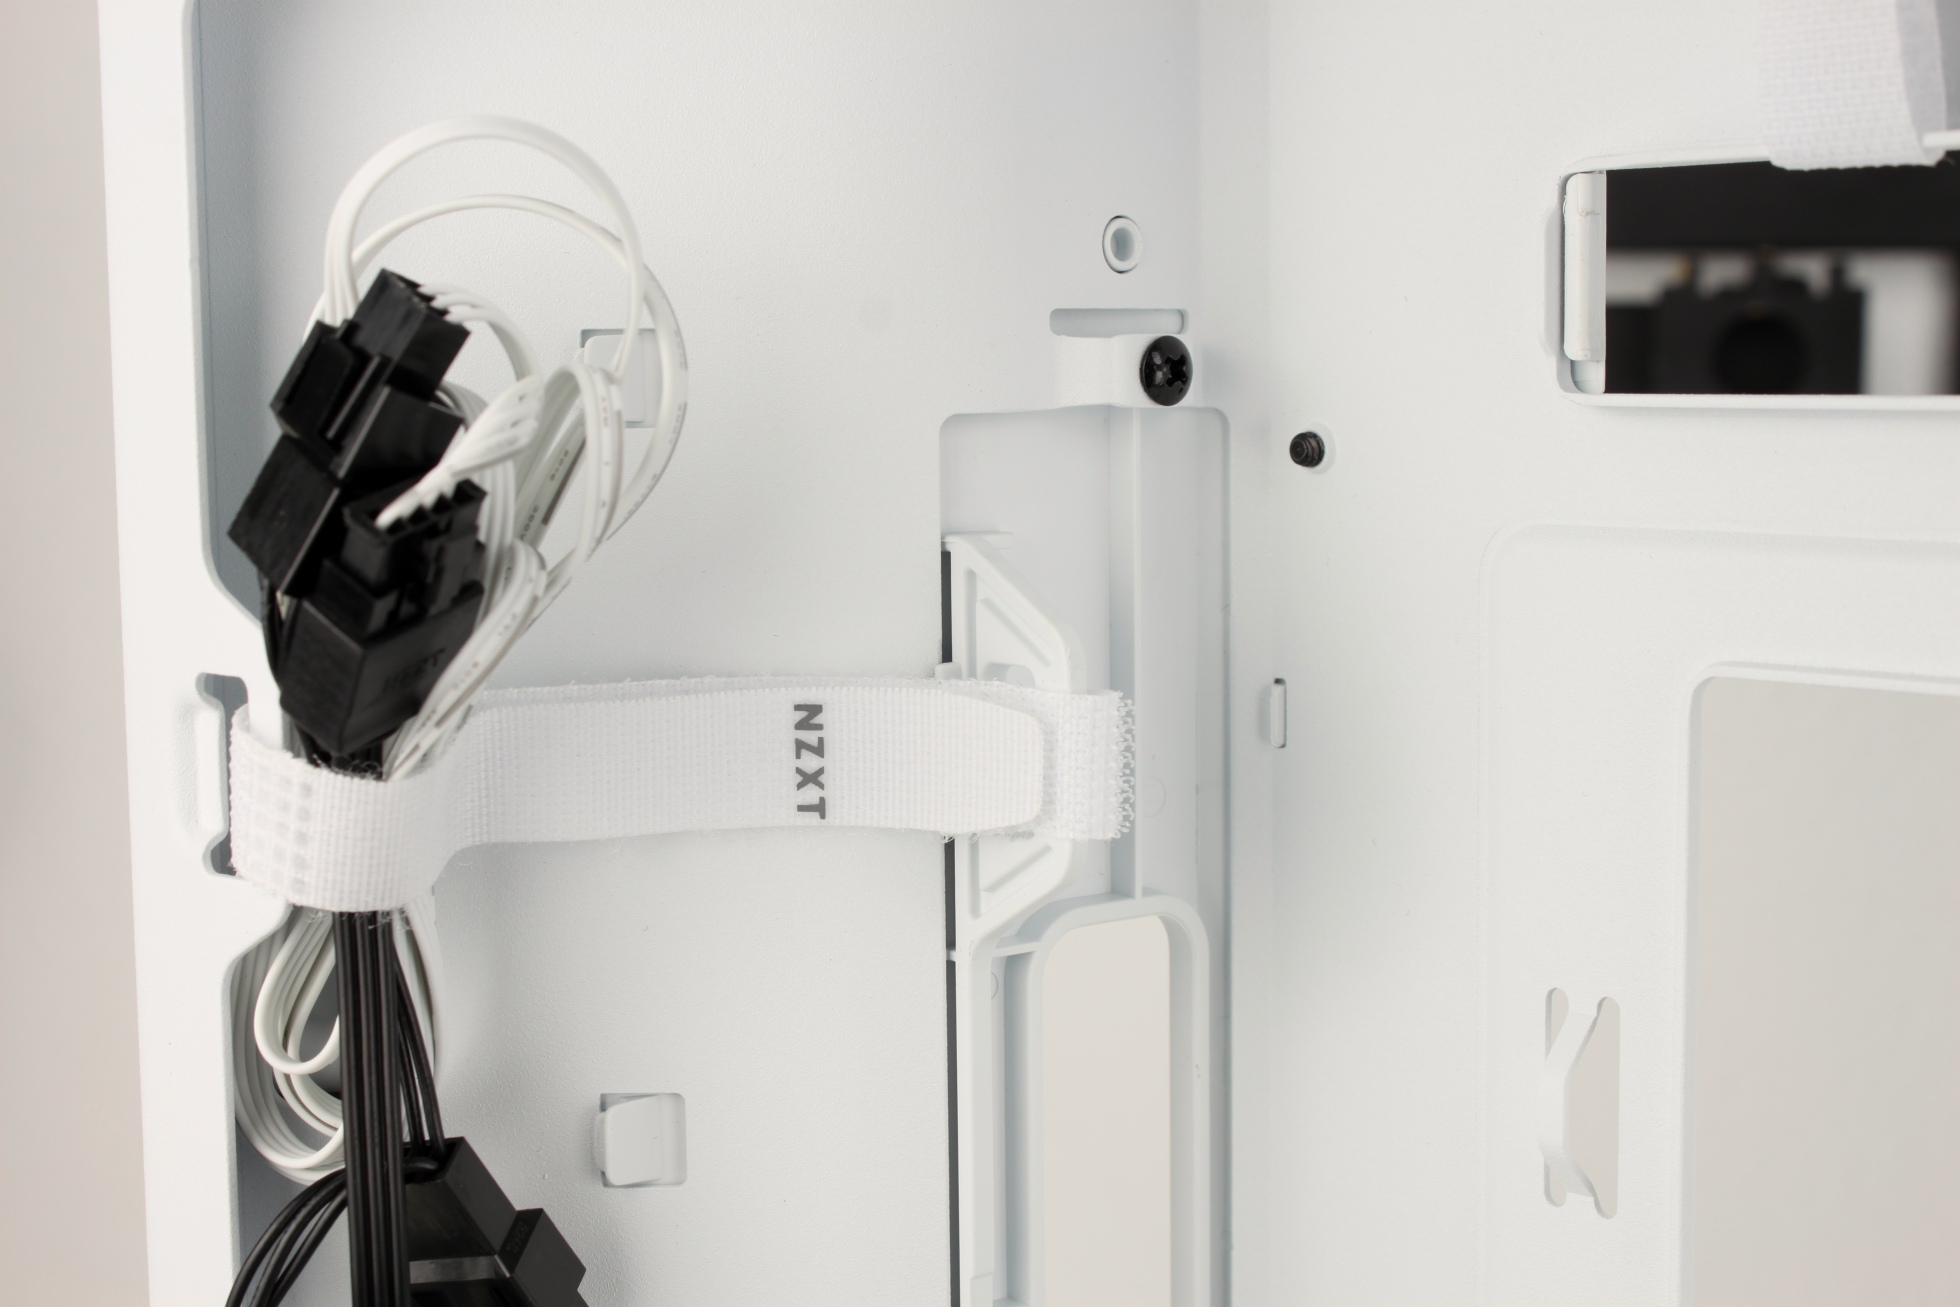
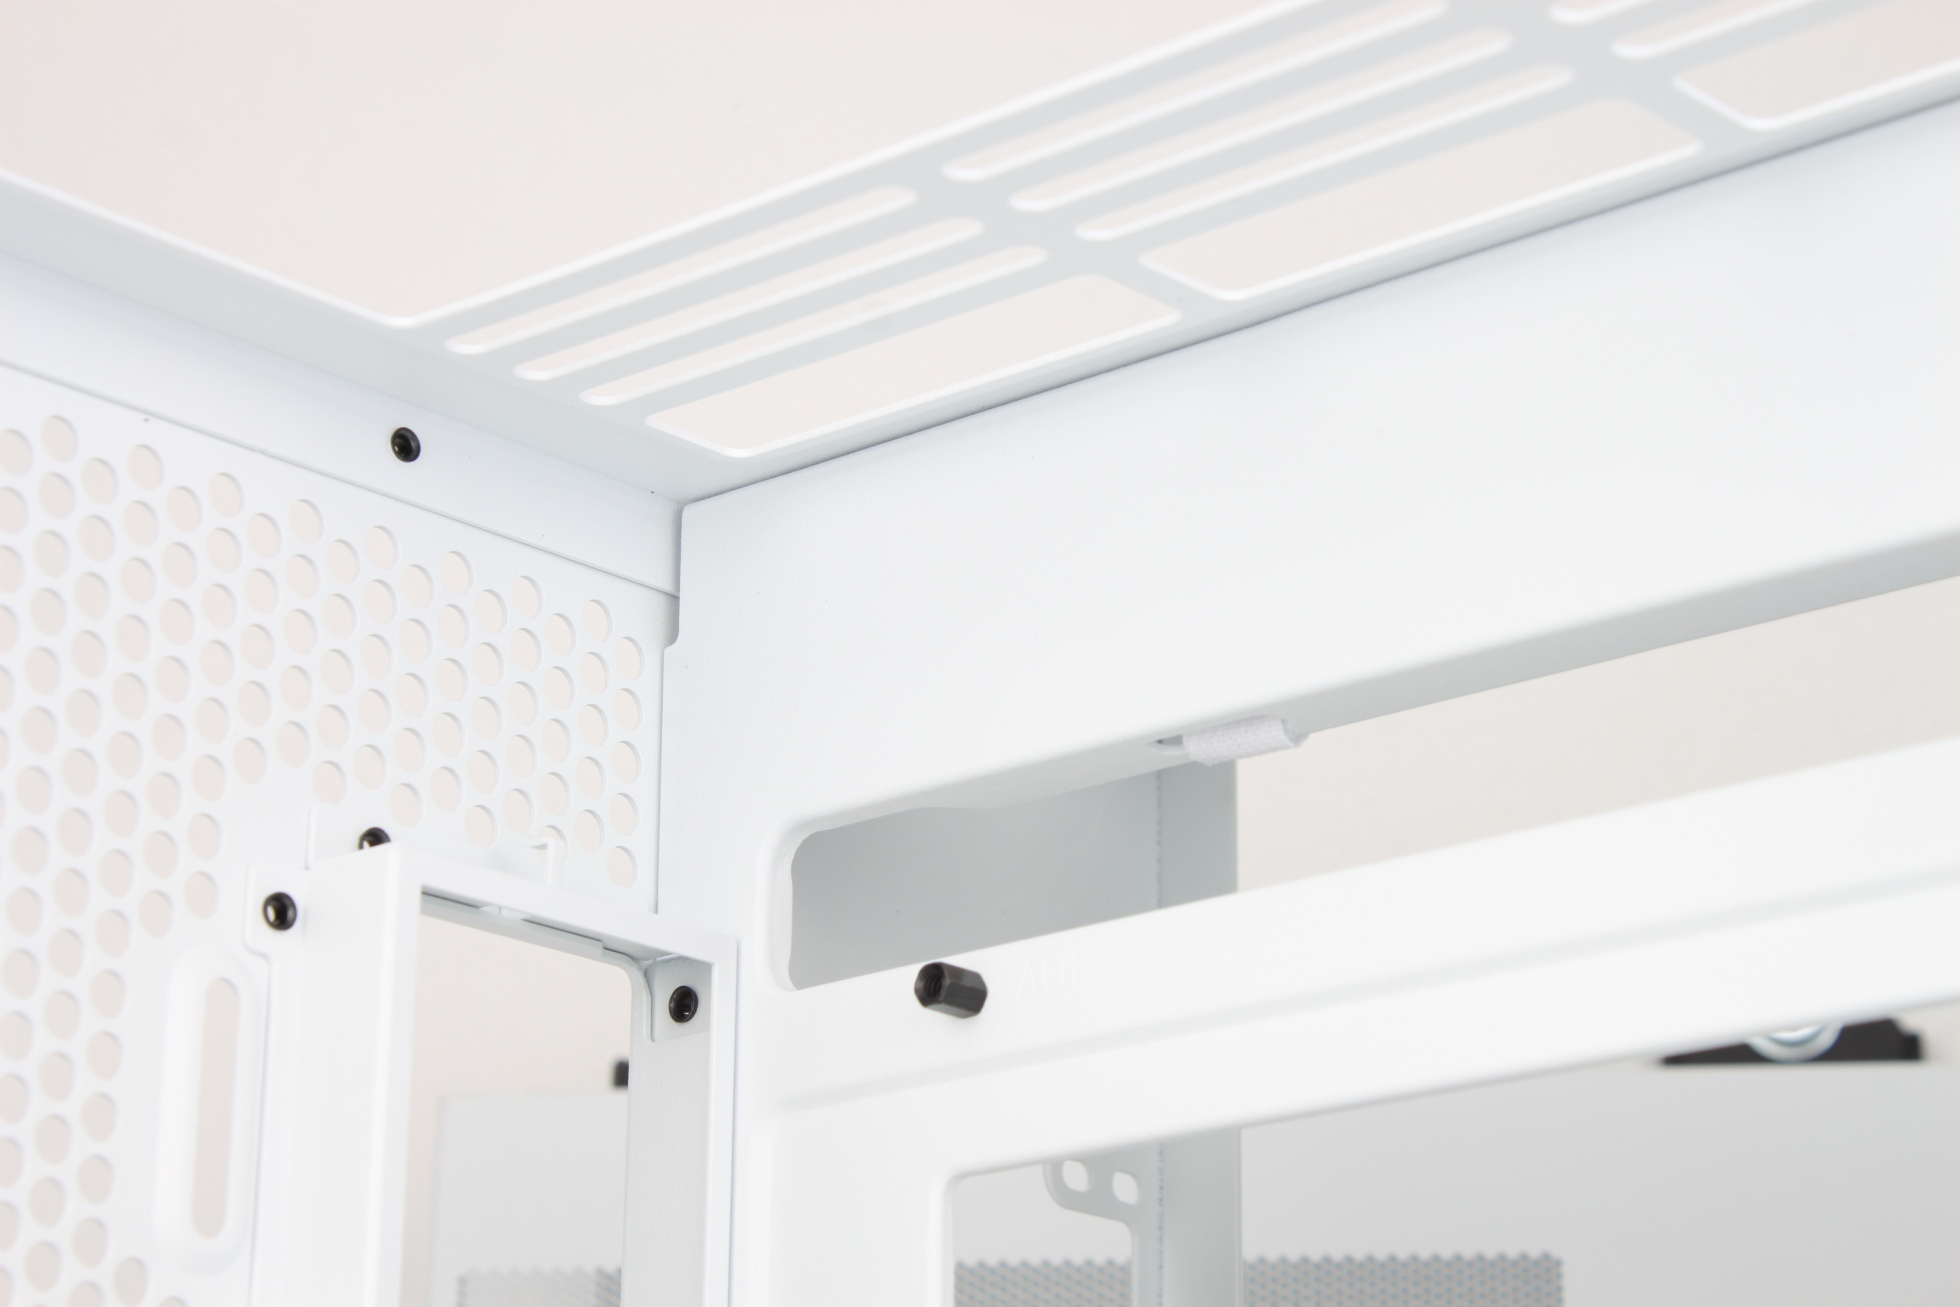
Practically everywhere there are cable grommets and tie-down points!

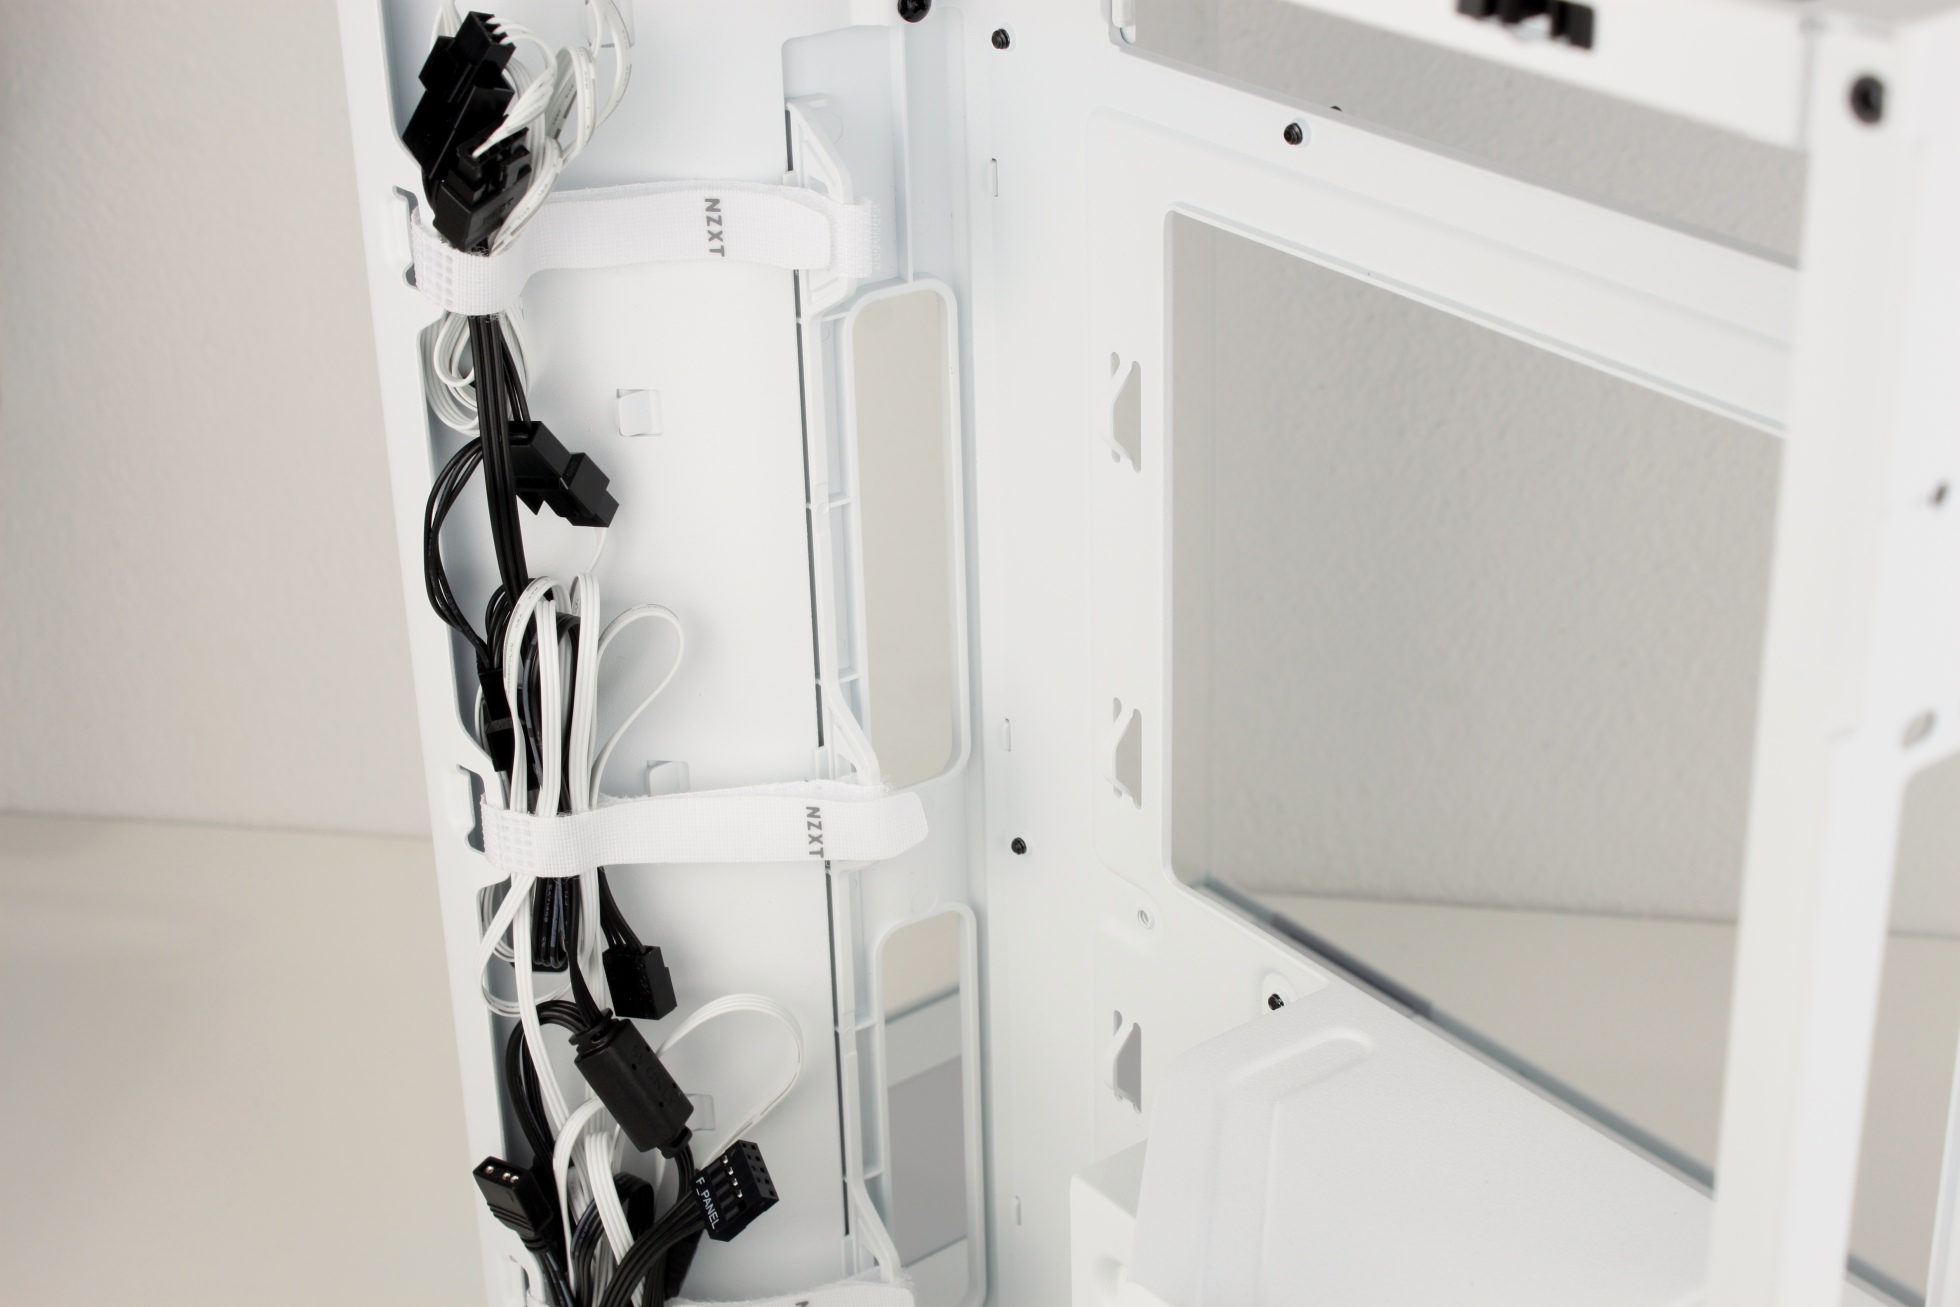
If the bushings are still too small, the plastic insert can also be removed, which then results in a completely continuous opening.

RGB controllers or even a compact water pump could easily be placed above the power supply.

With a depth of 91mm you can store quite a few accessories and cables!

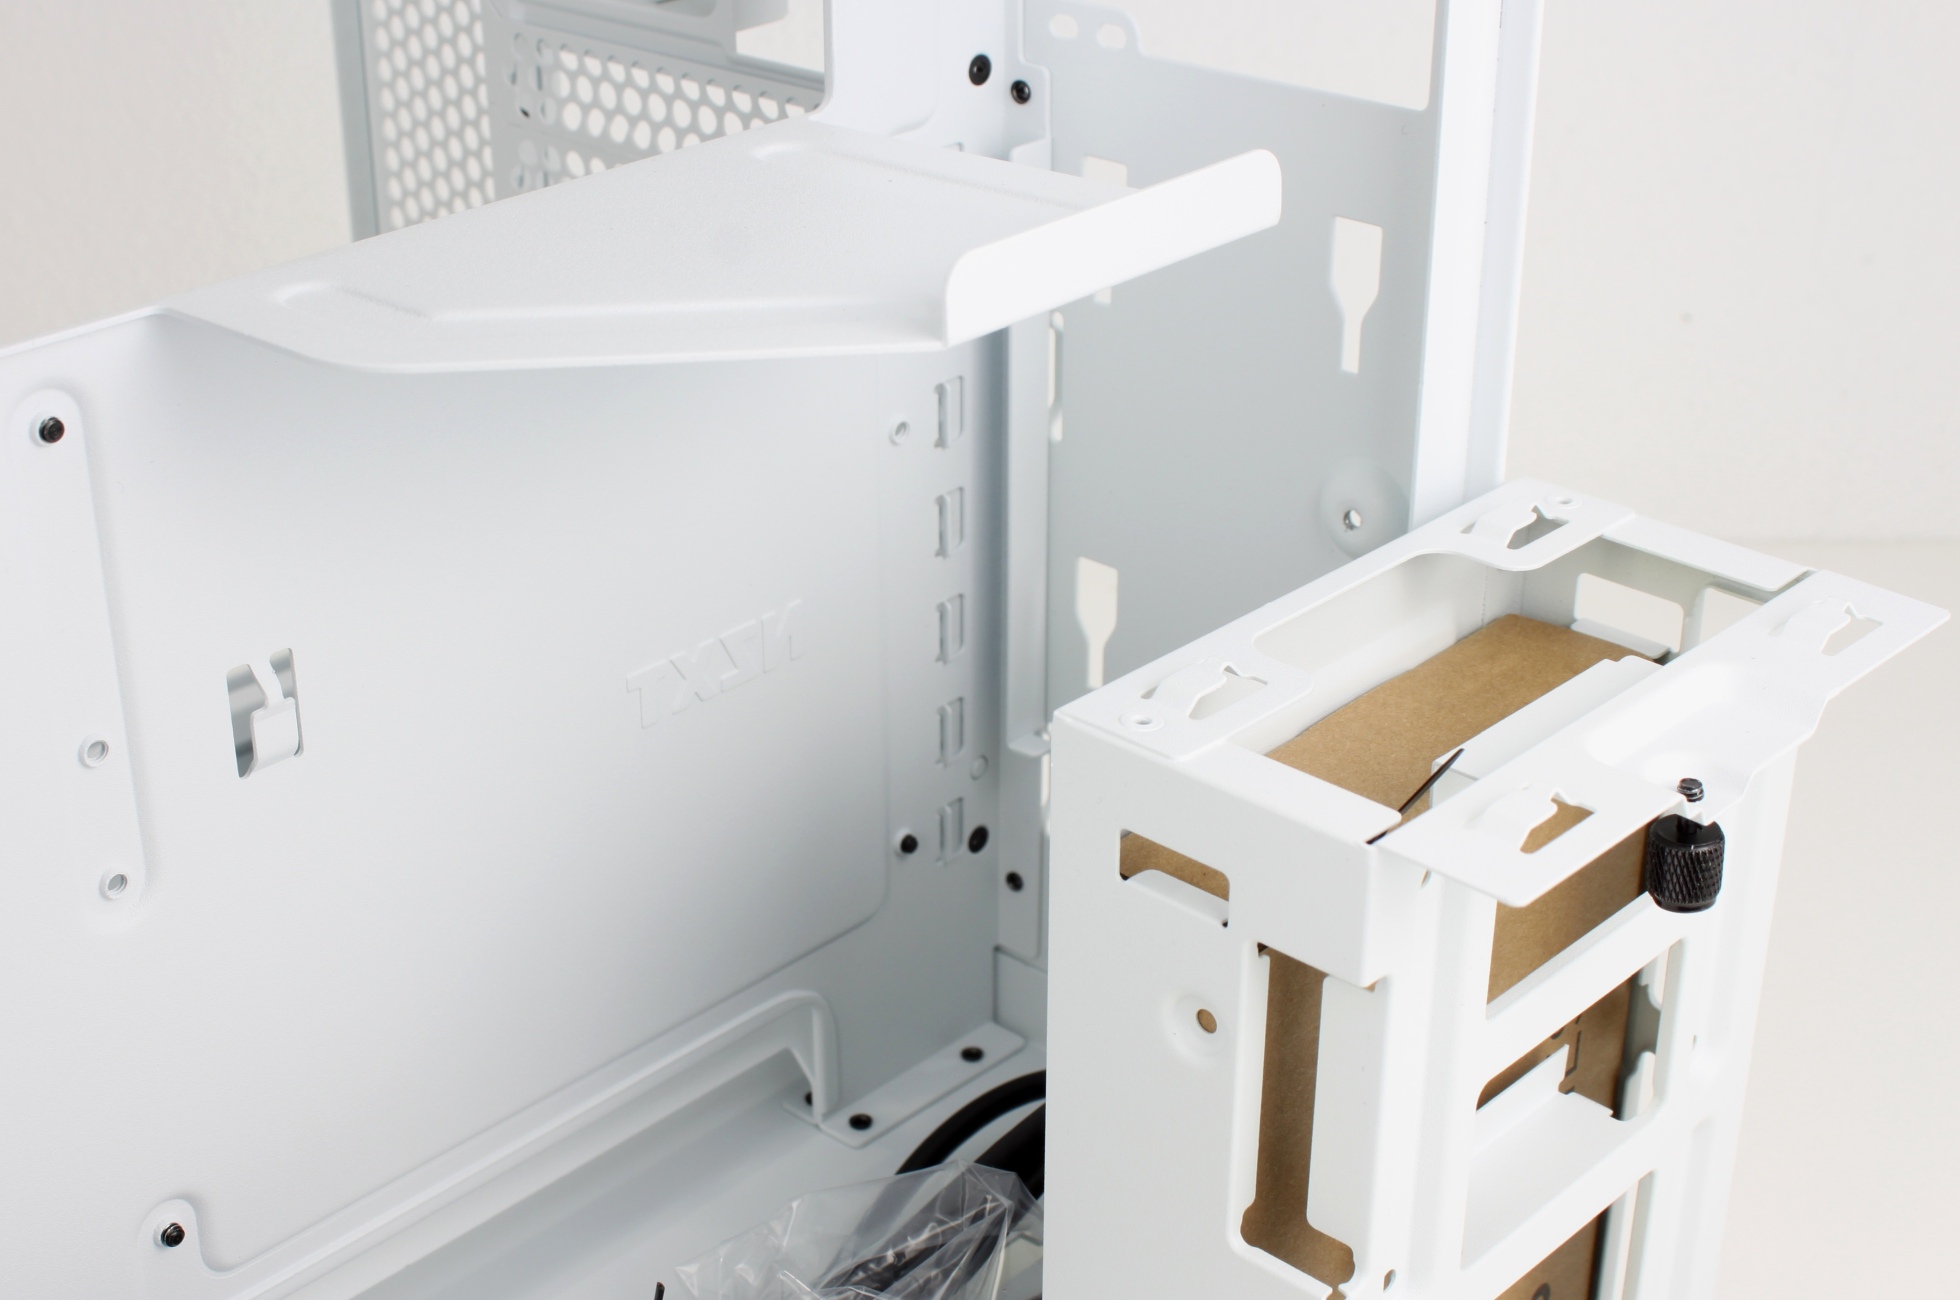
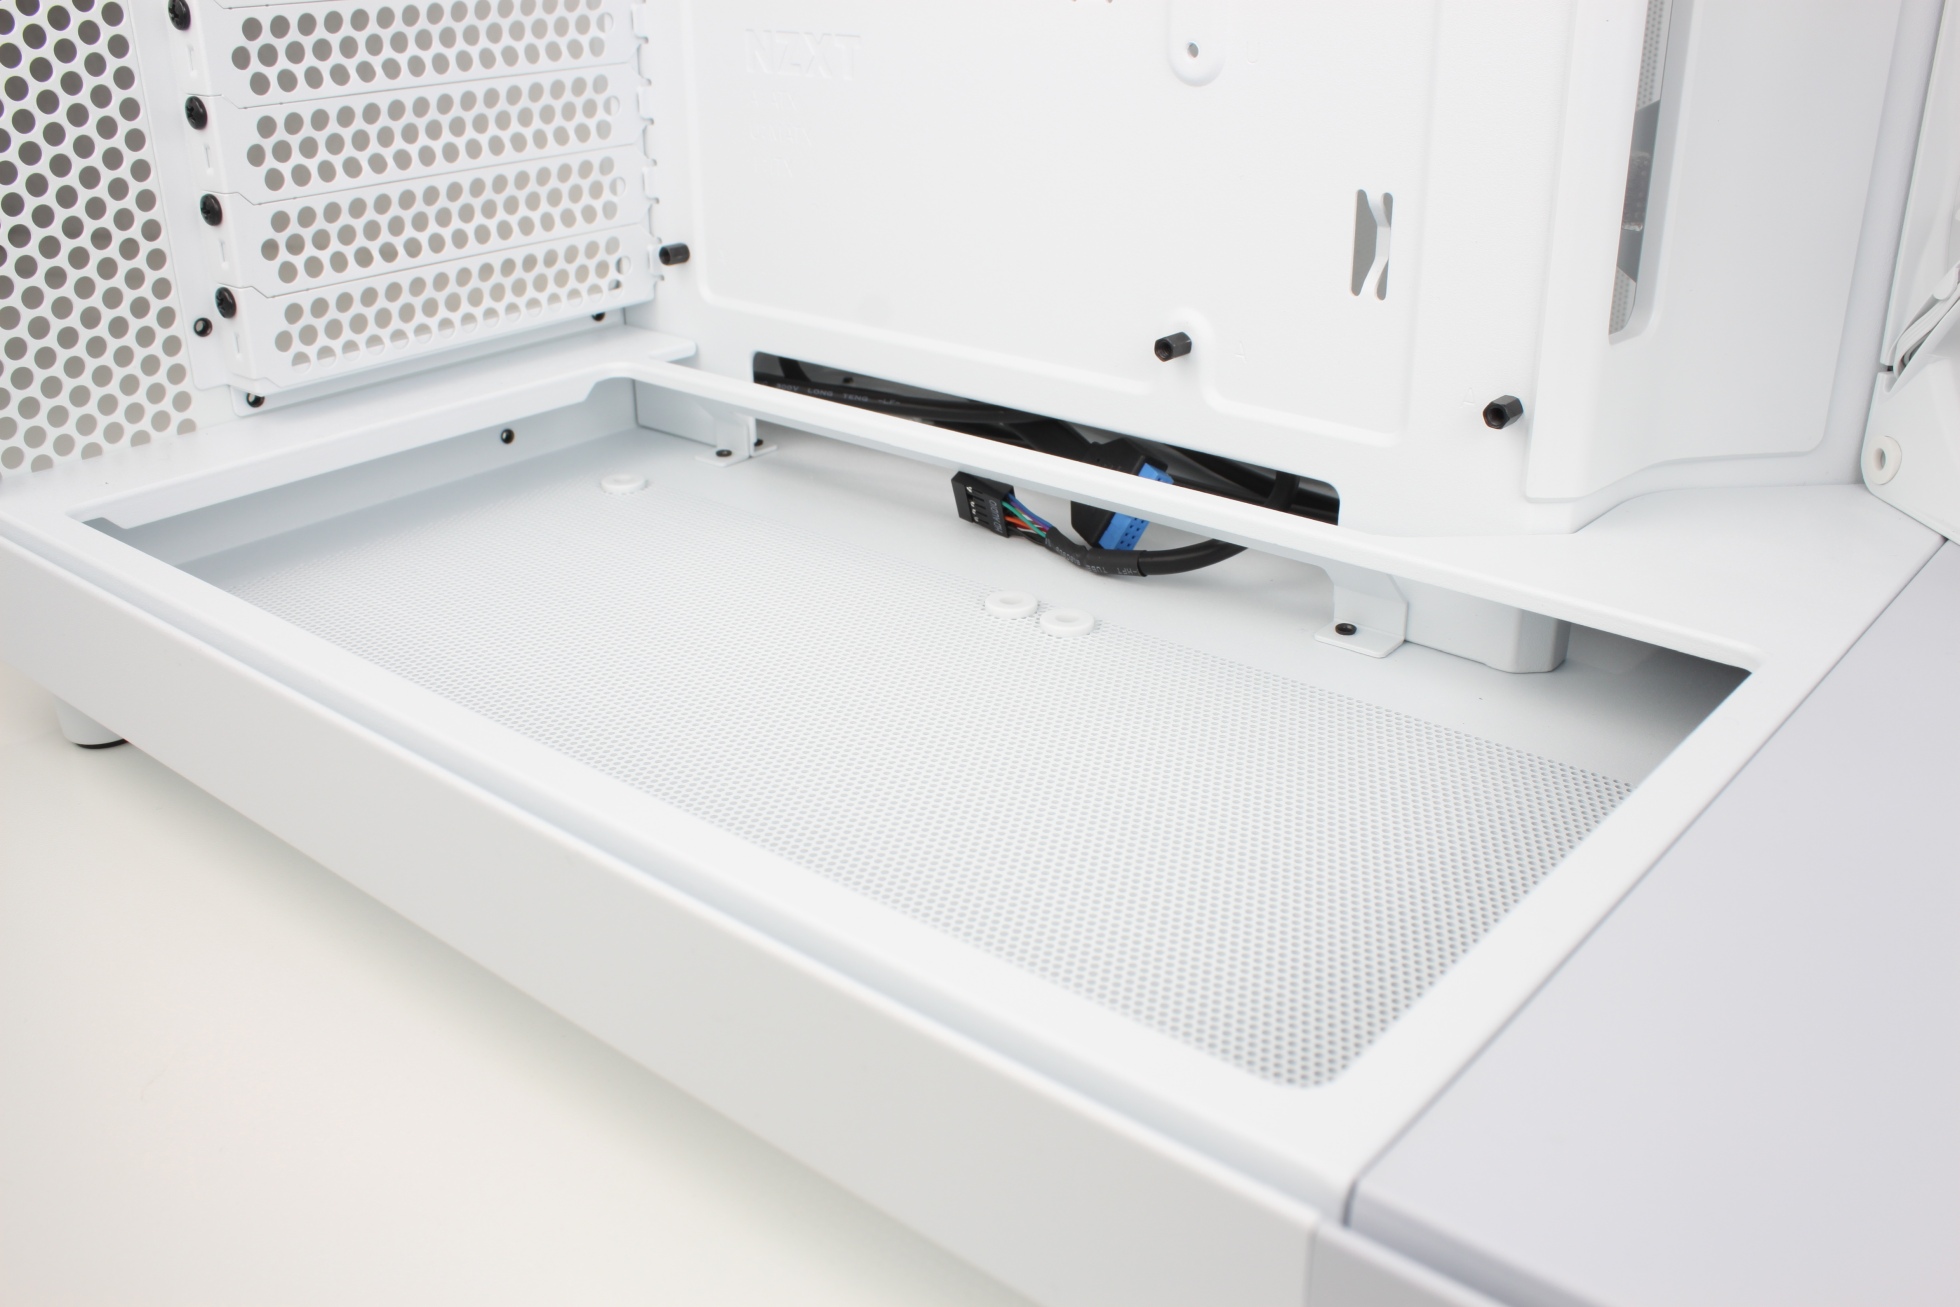
Underneath the power supply is the easily removable drive bay for 2.5″ and 3.5″ drives.

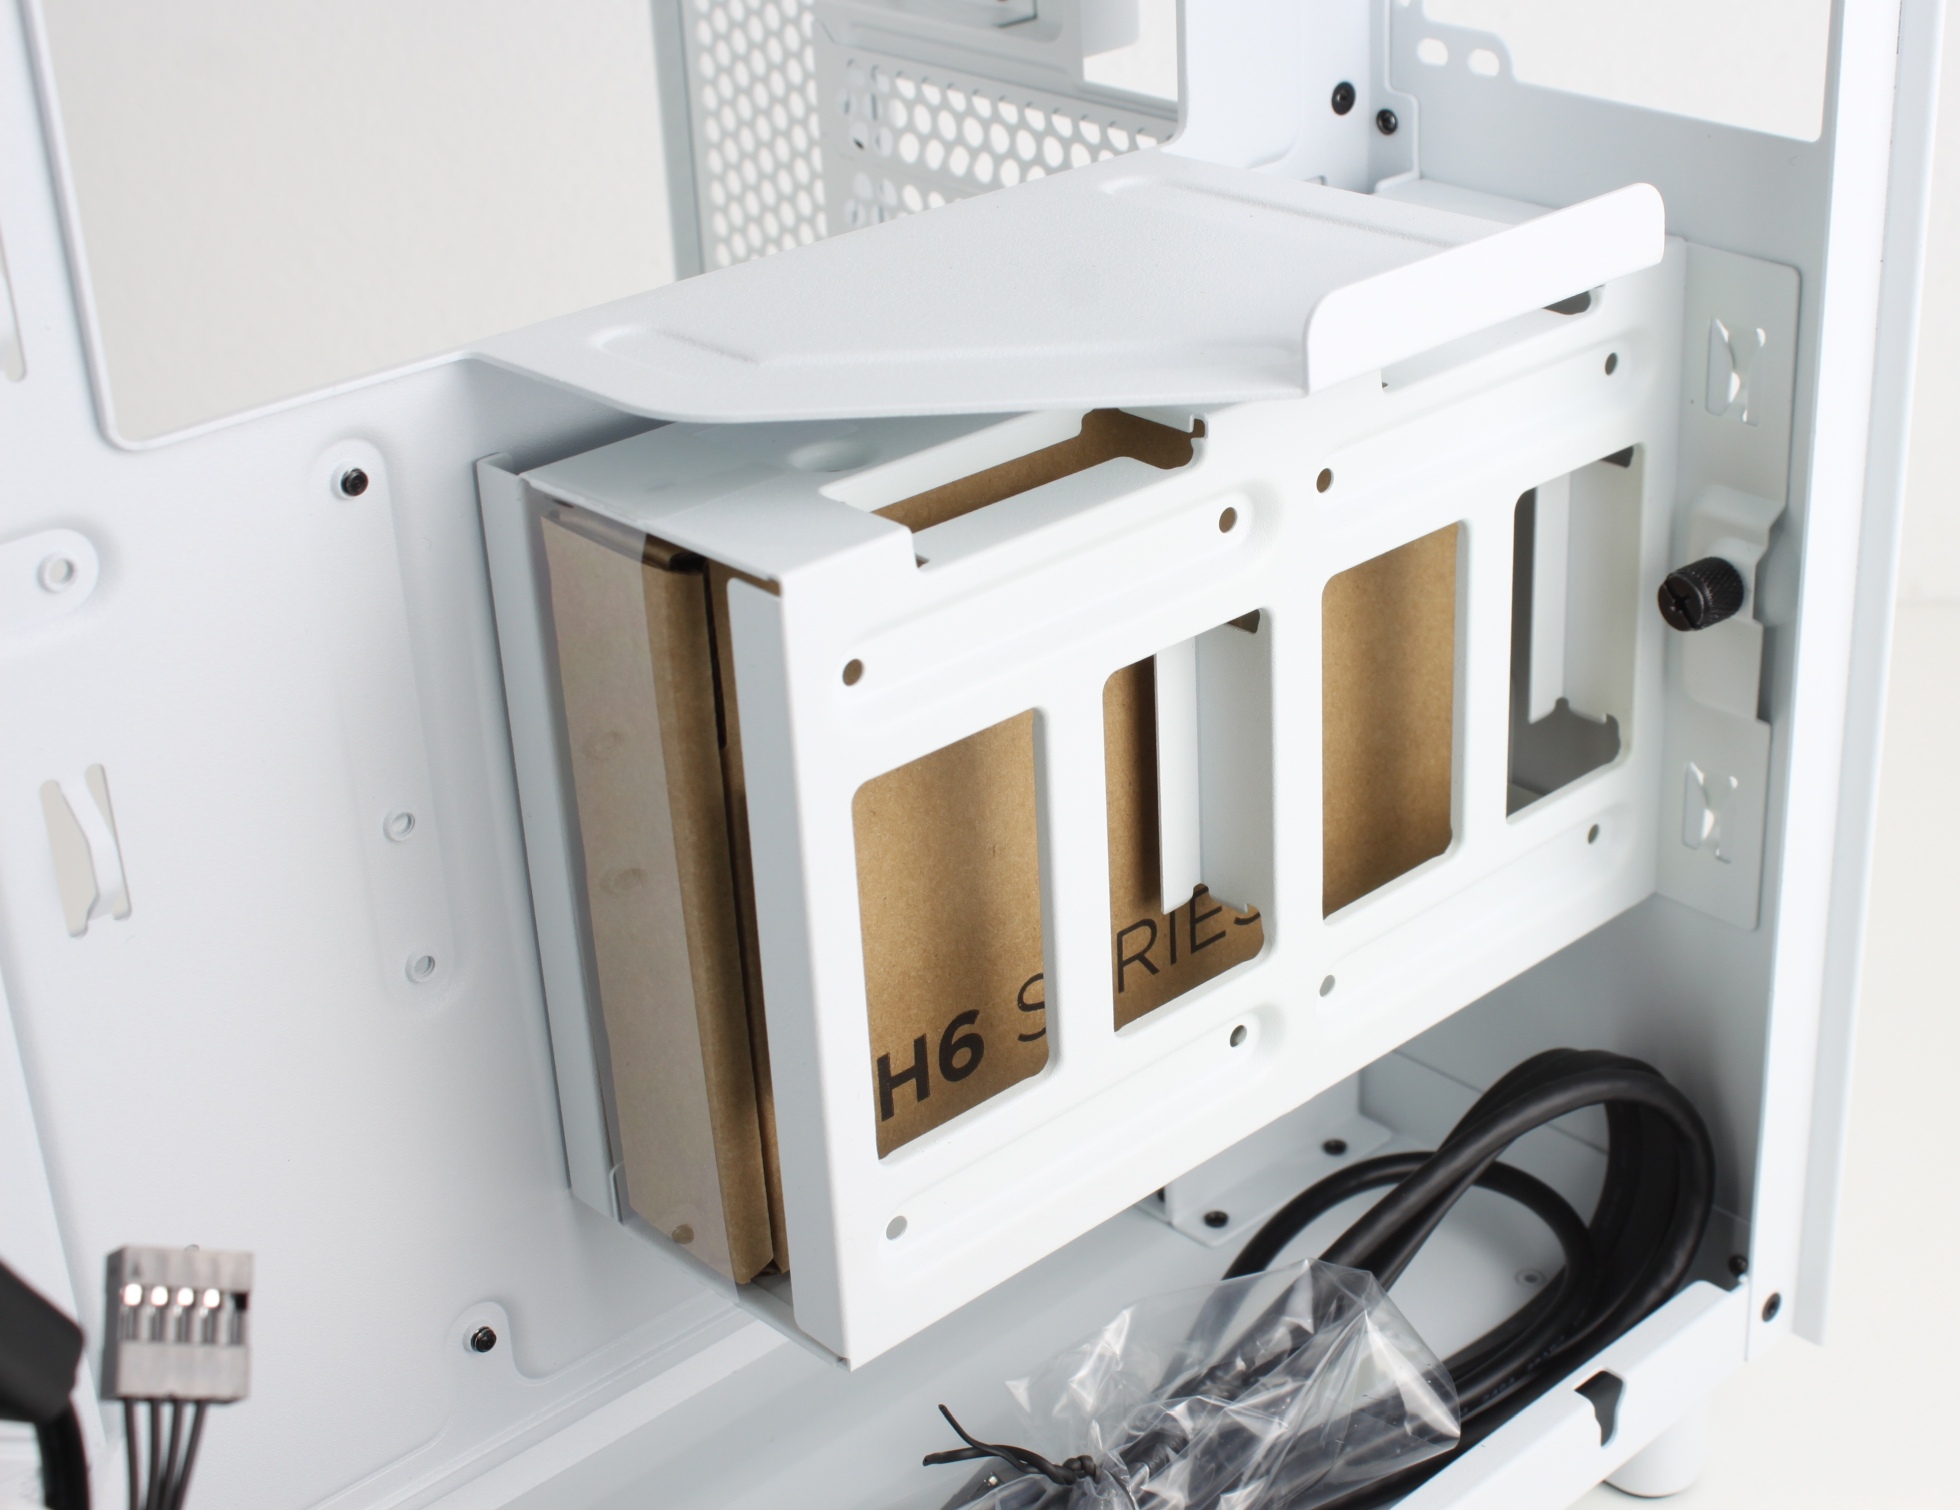
If this is not needed (as in my case), there is even more space.

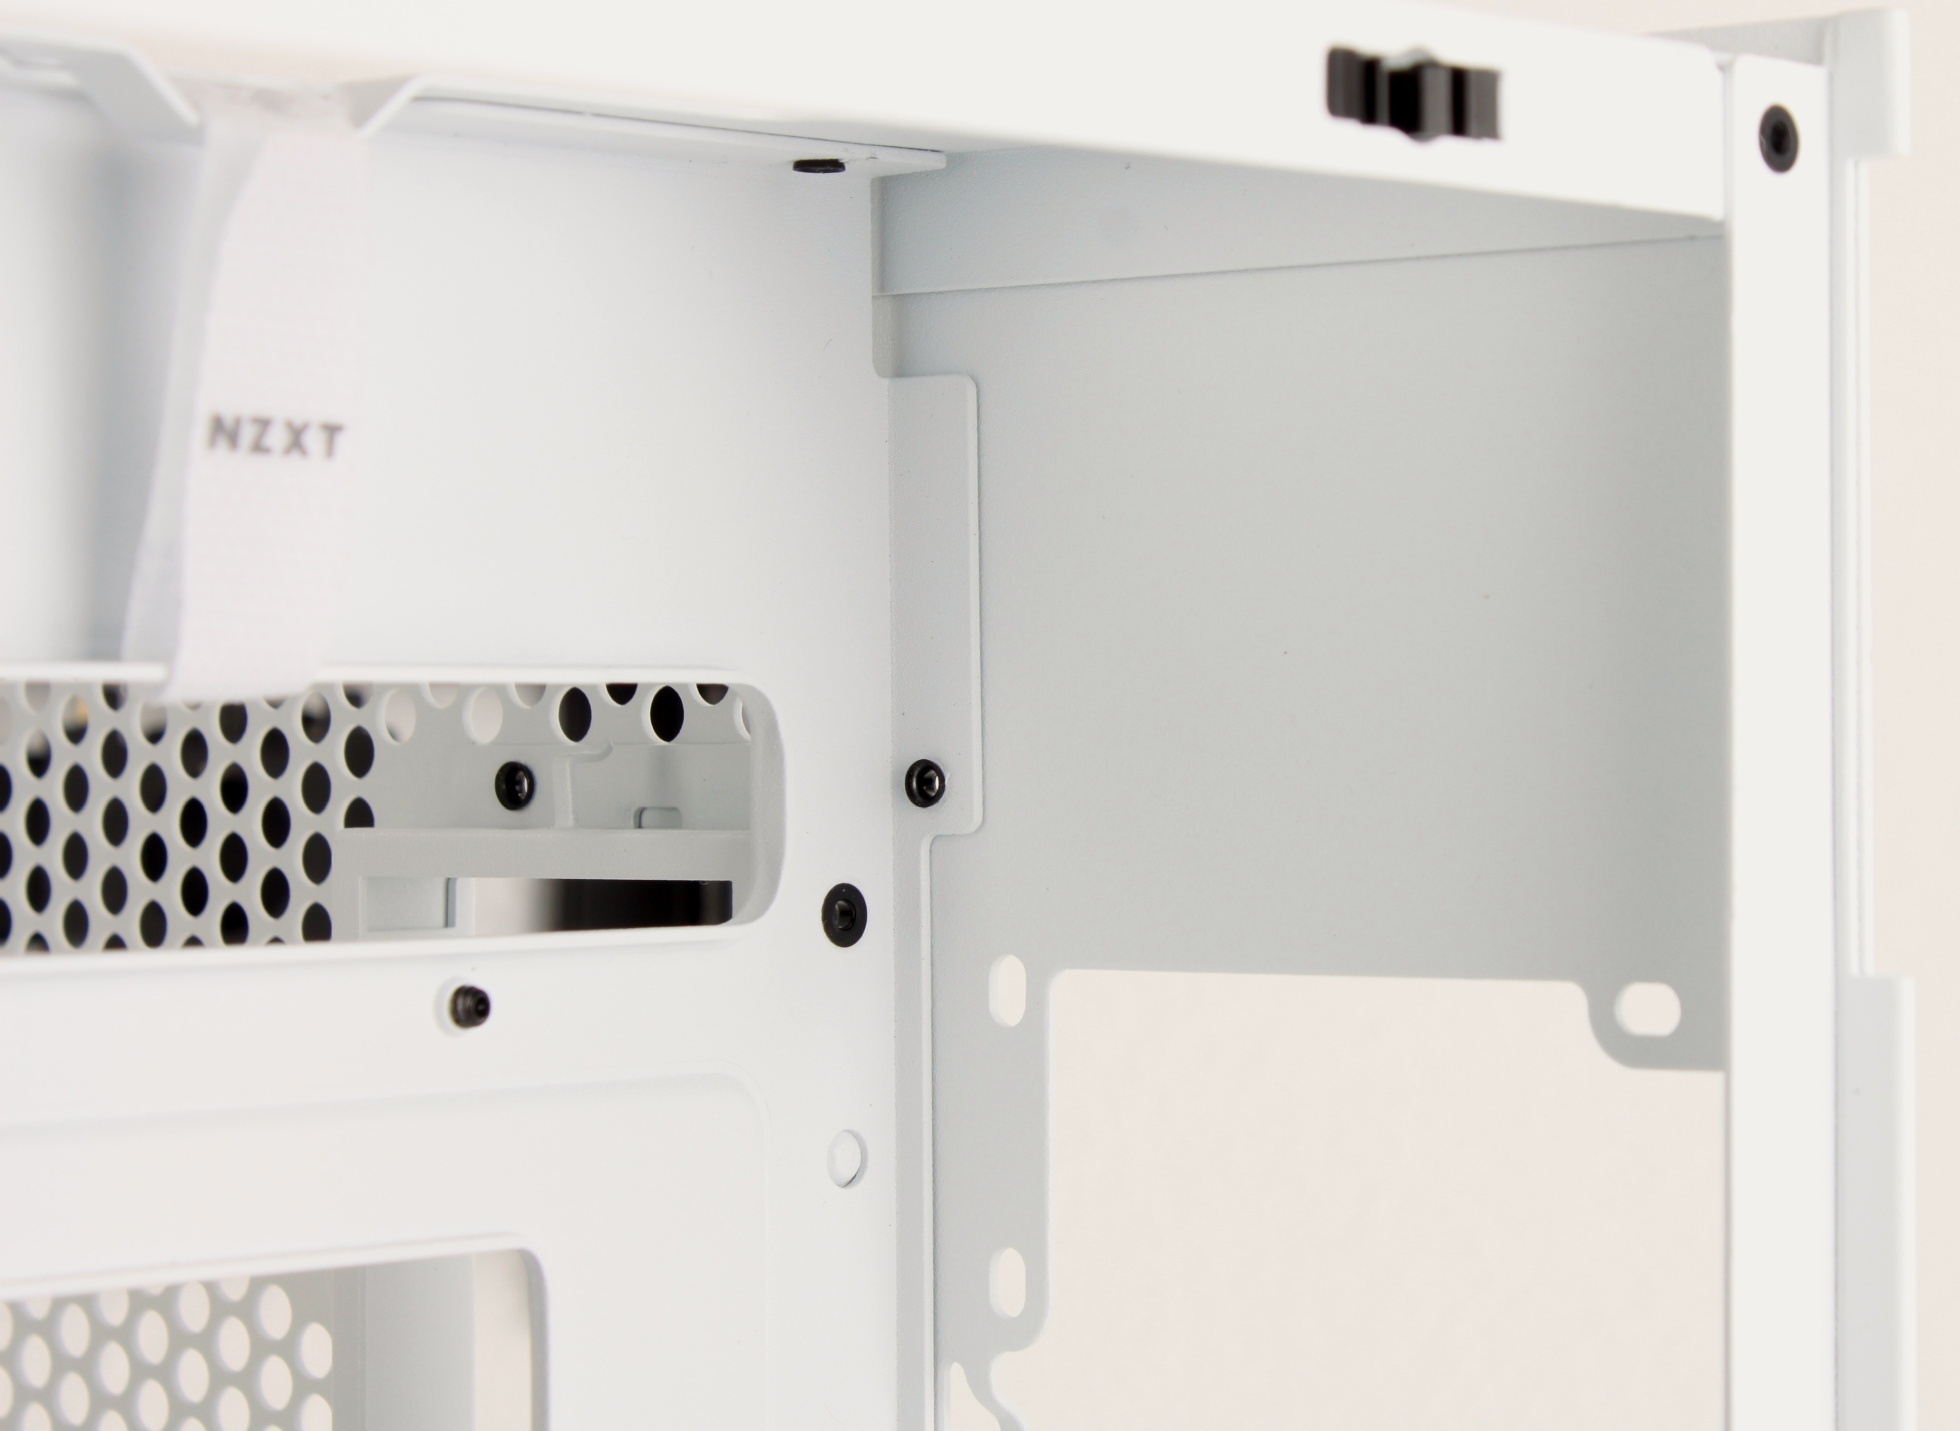
The case also has large perforations at the back so that the warm air can be transported out almost without resistance.

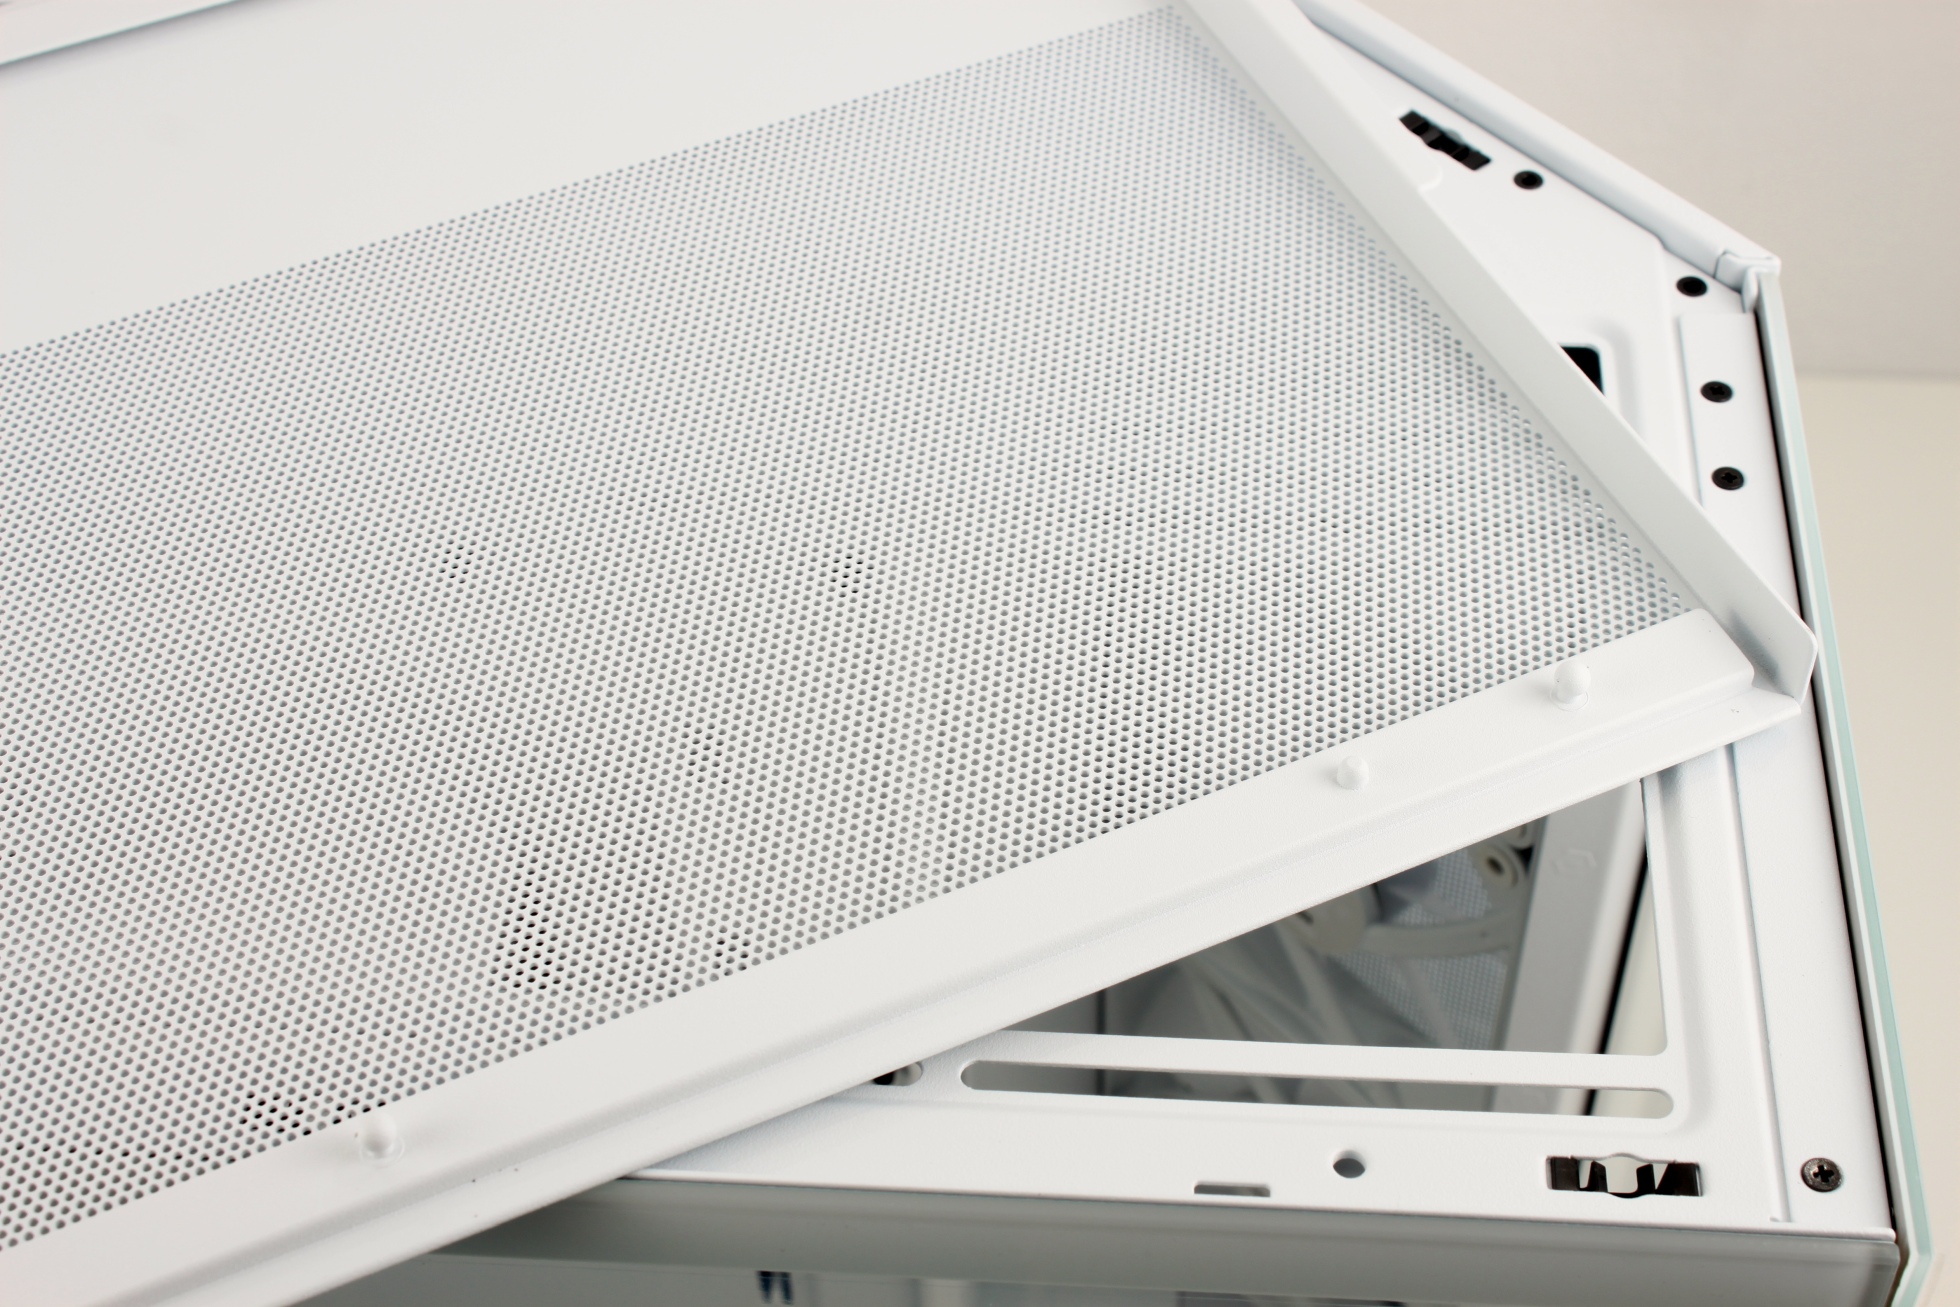
The lid is made of one piece and can be removed with a hearty pull.

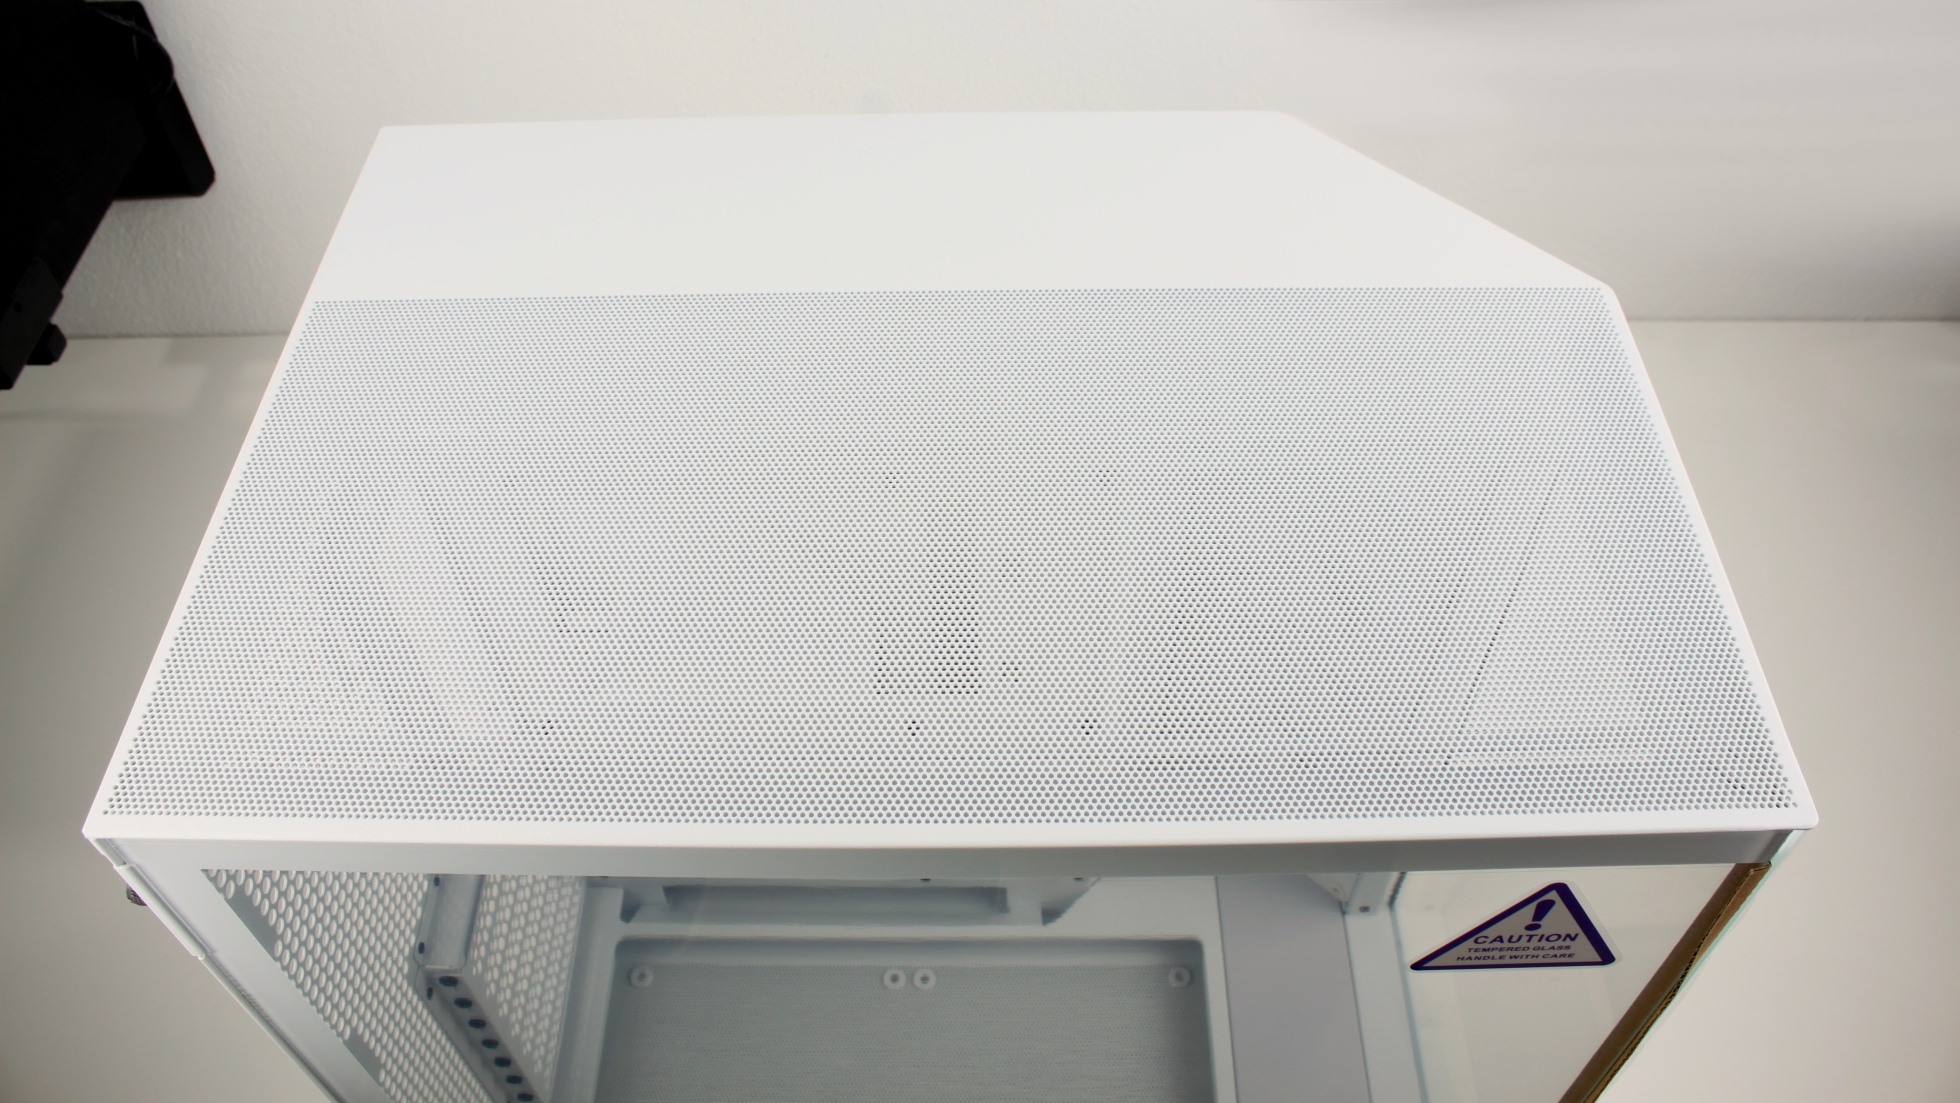
Again, no additional dust filter.

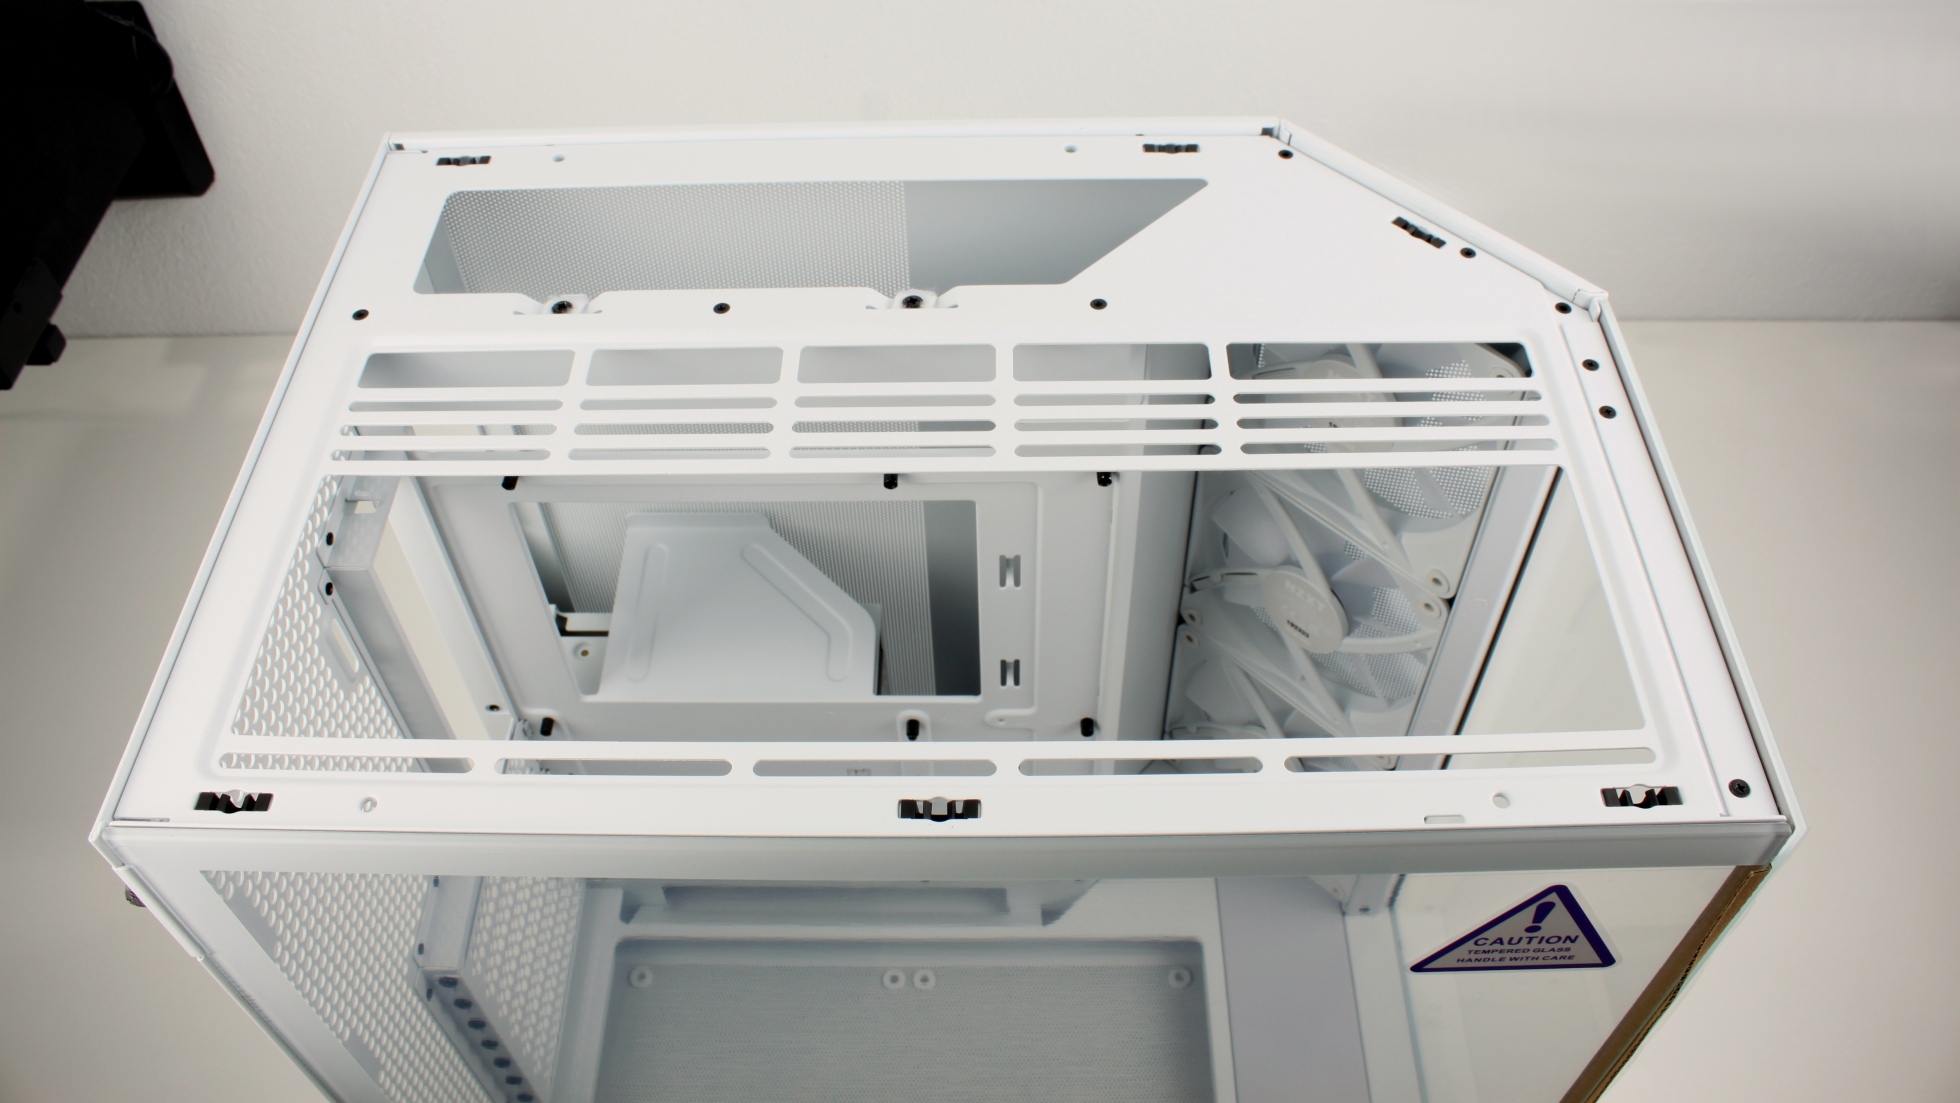
Thought along! The brackets for the top fans (or radiators) are designed as flexible slotted holes, allowing smaller radiators to be placed virtually freely on the X-axis.

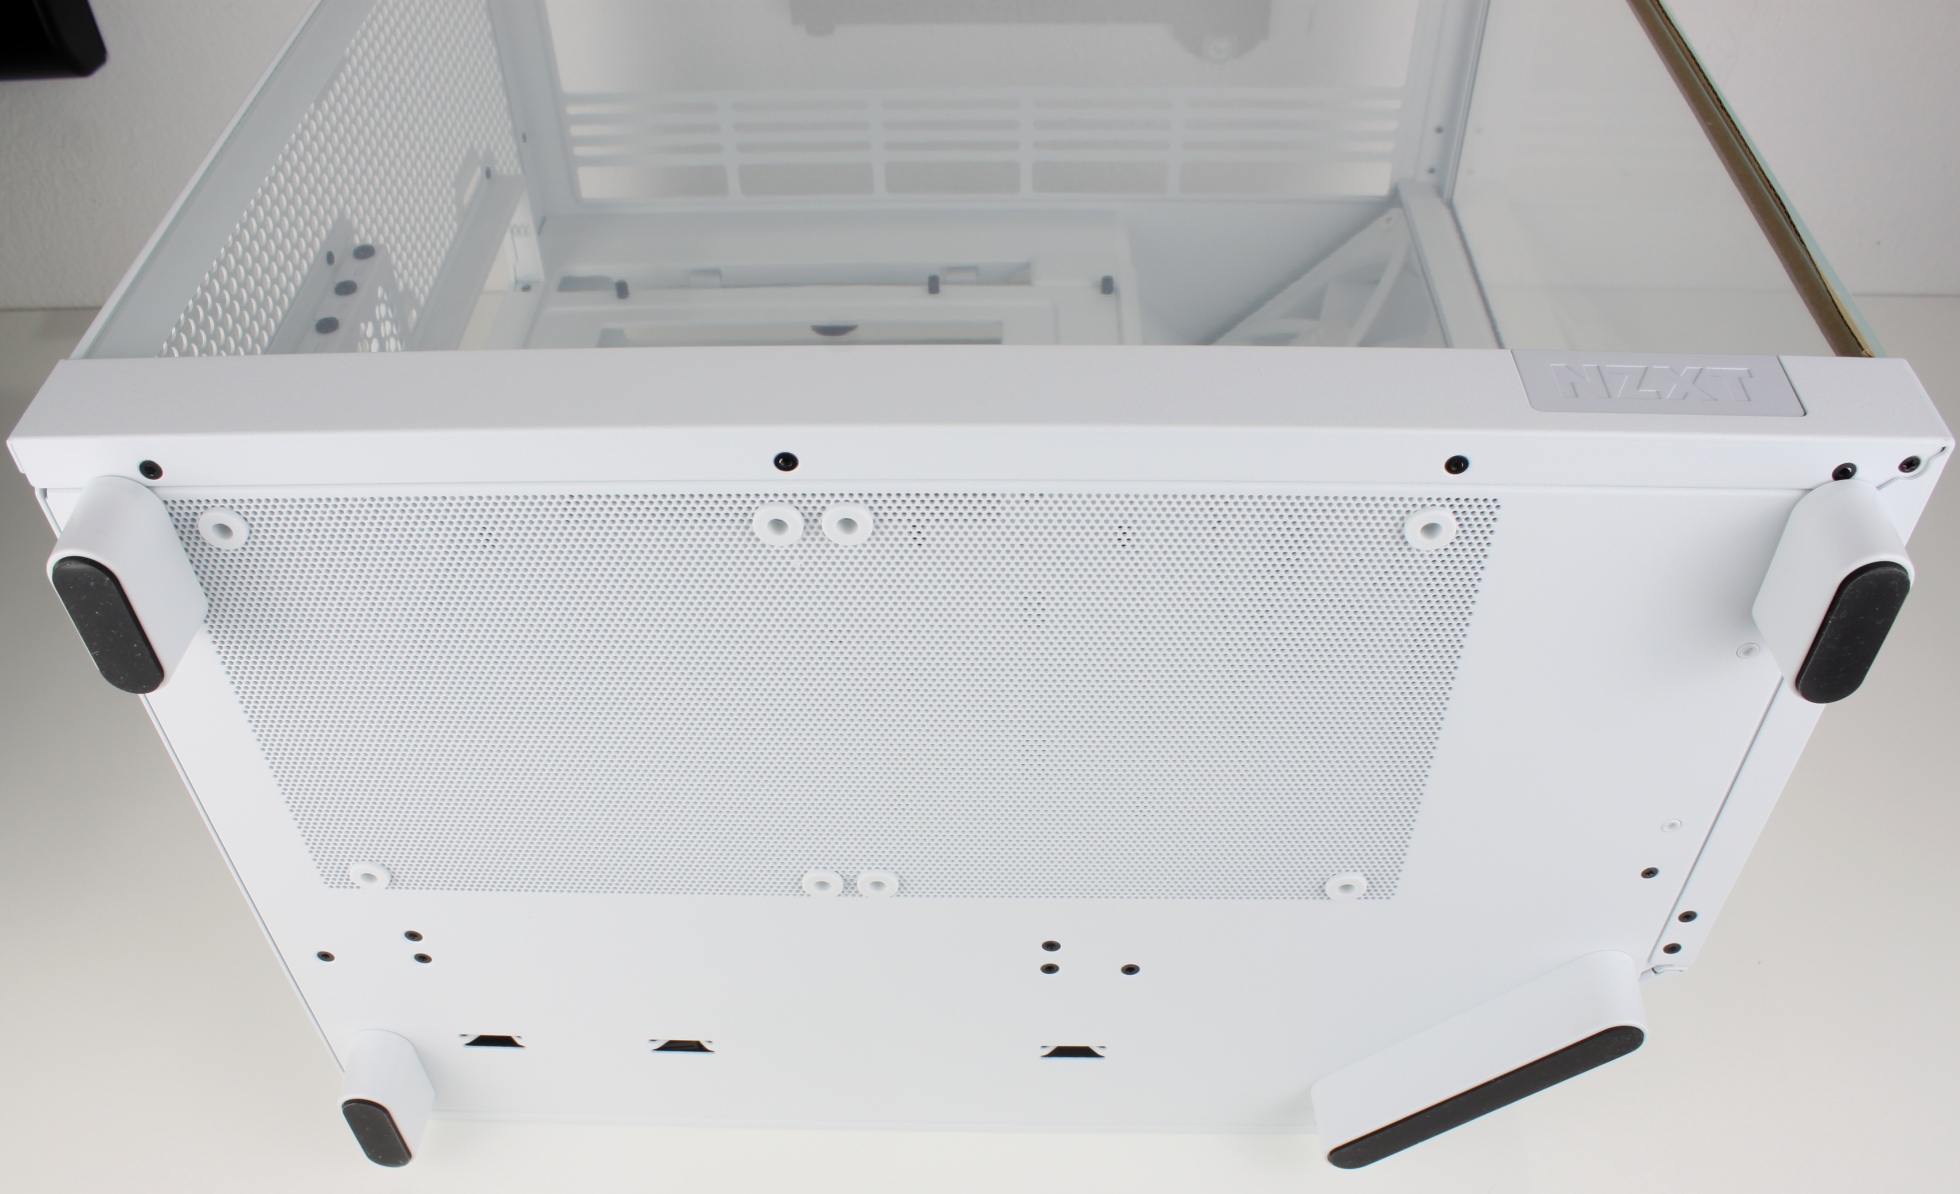
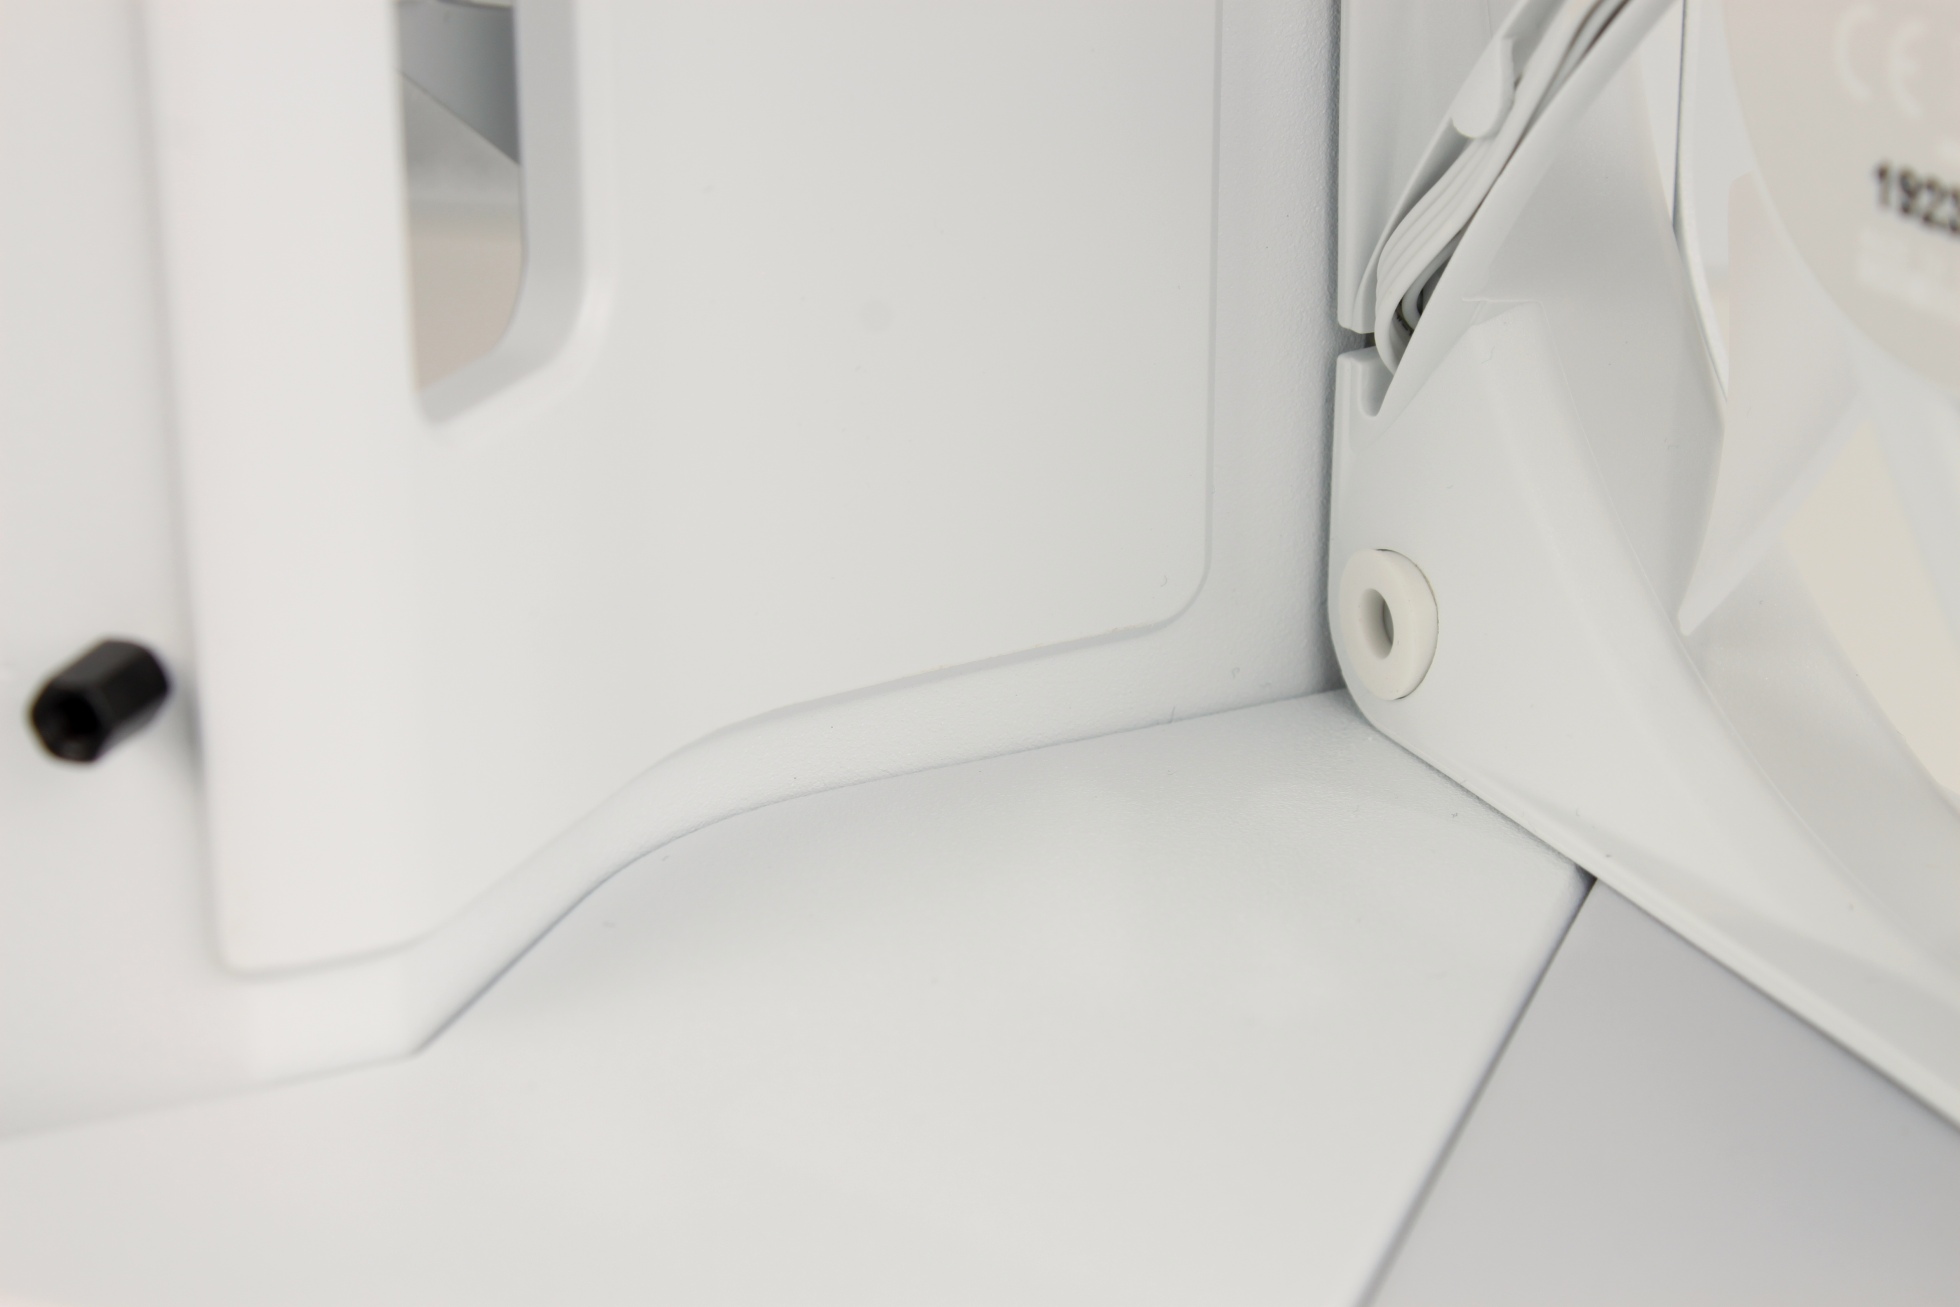
The bottom is less flexible. Only 140mm fans can be mounted here, but even with decoupling.

The side panels are also clicked, but additionally secured with a knurled screw so that you do not accidentally pull off a side panel during transport.

The glass side panel is 3mm thick and has a thin foam border to protect the glass from damage.

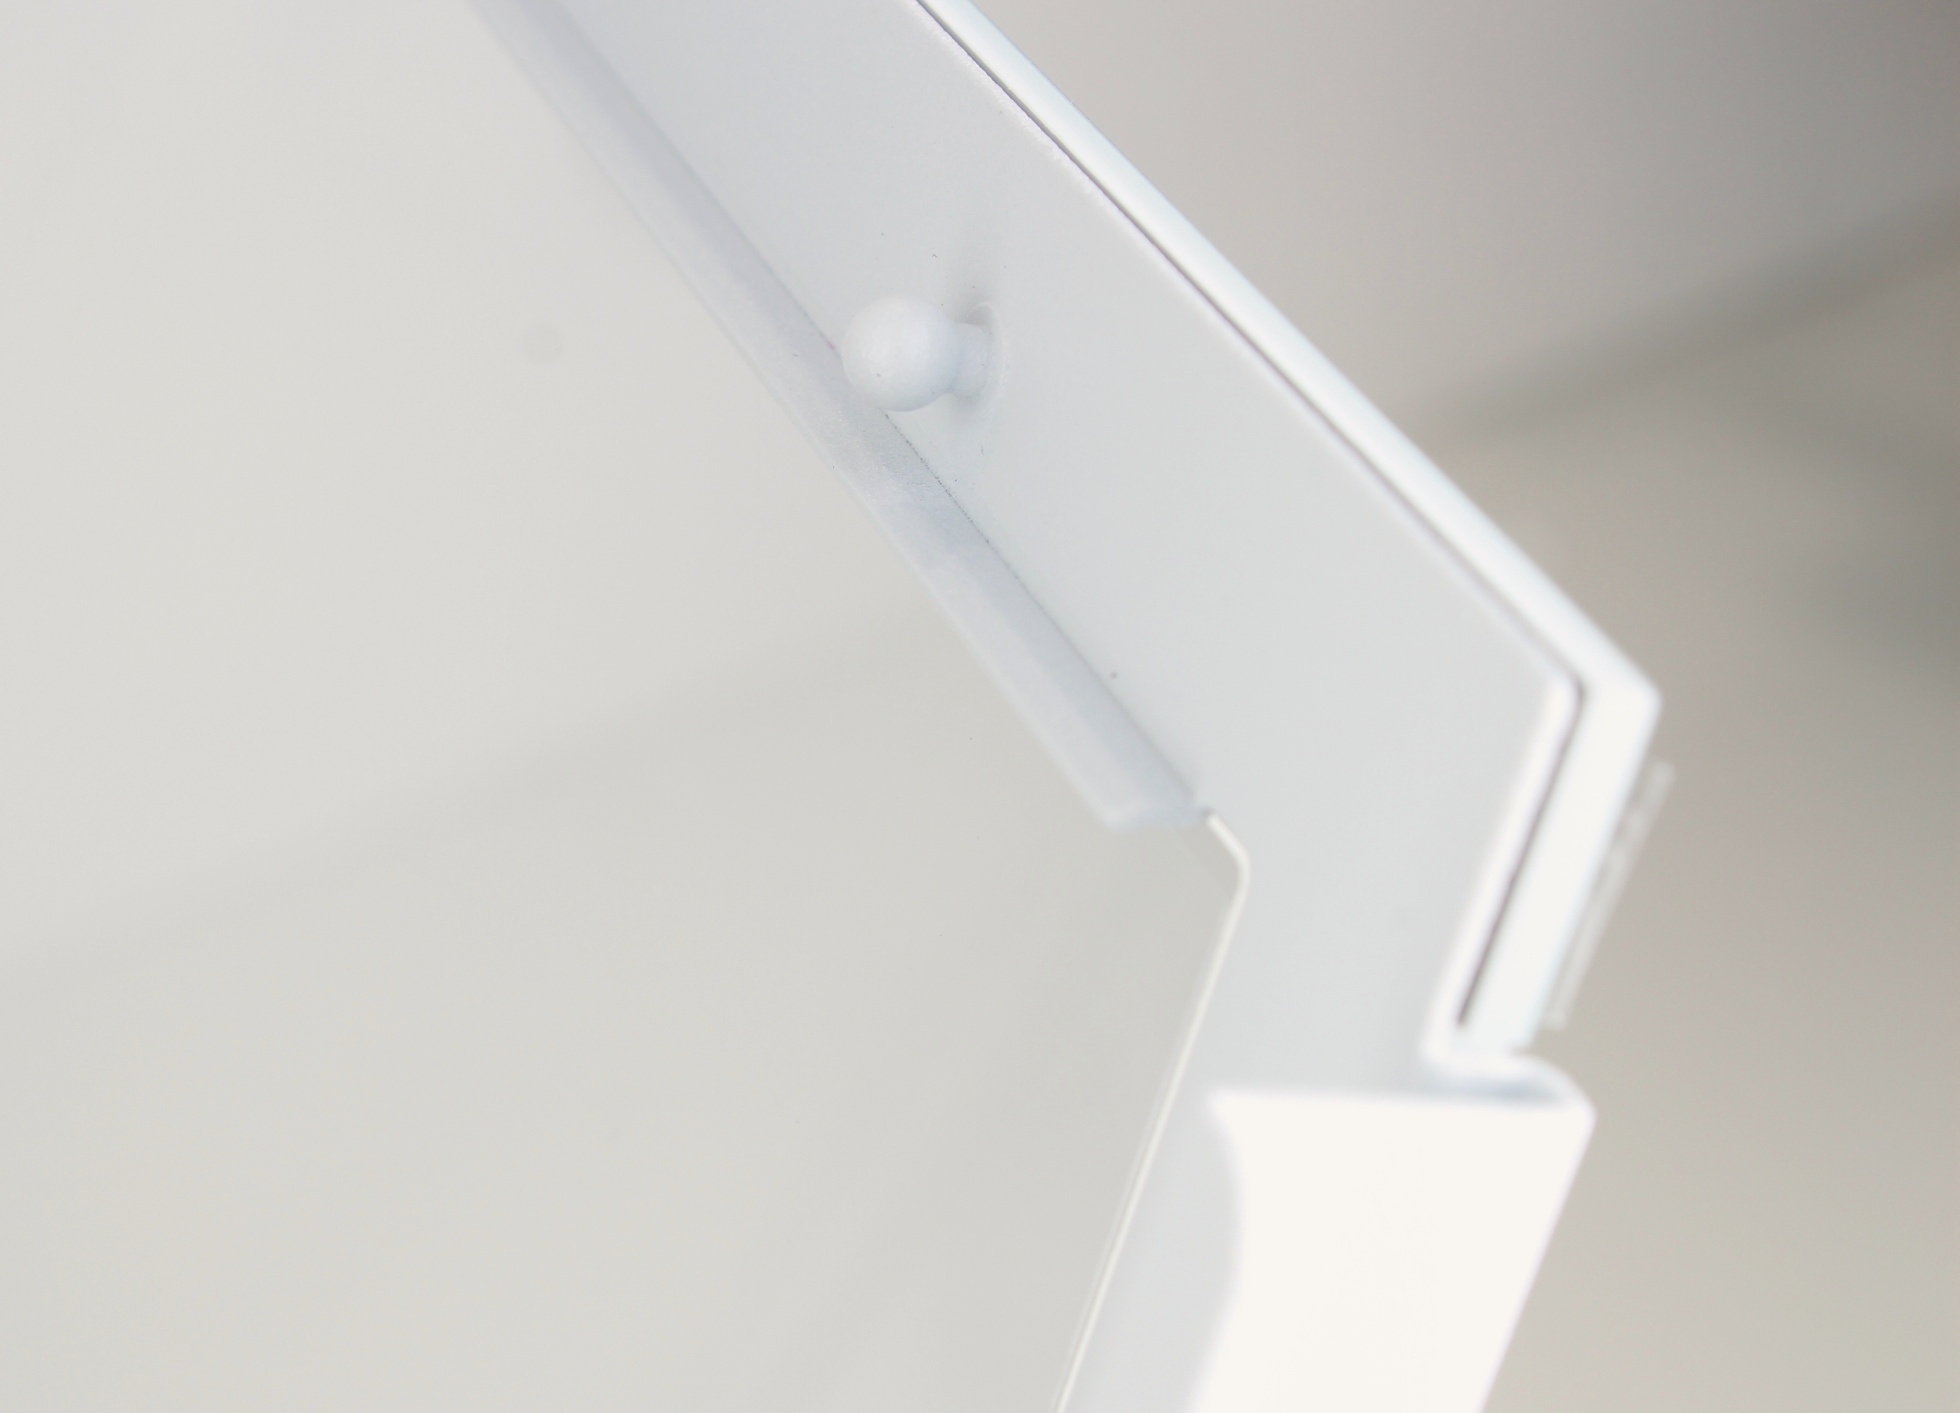
At the bottom, the glass plate is only inserted into a groove and then clicked into place at the top.

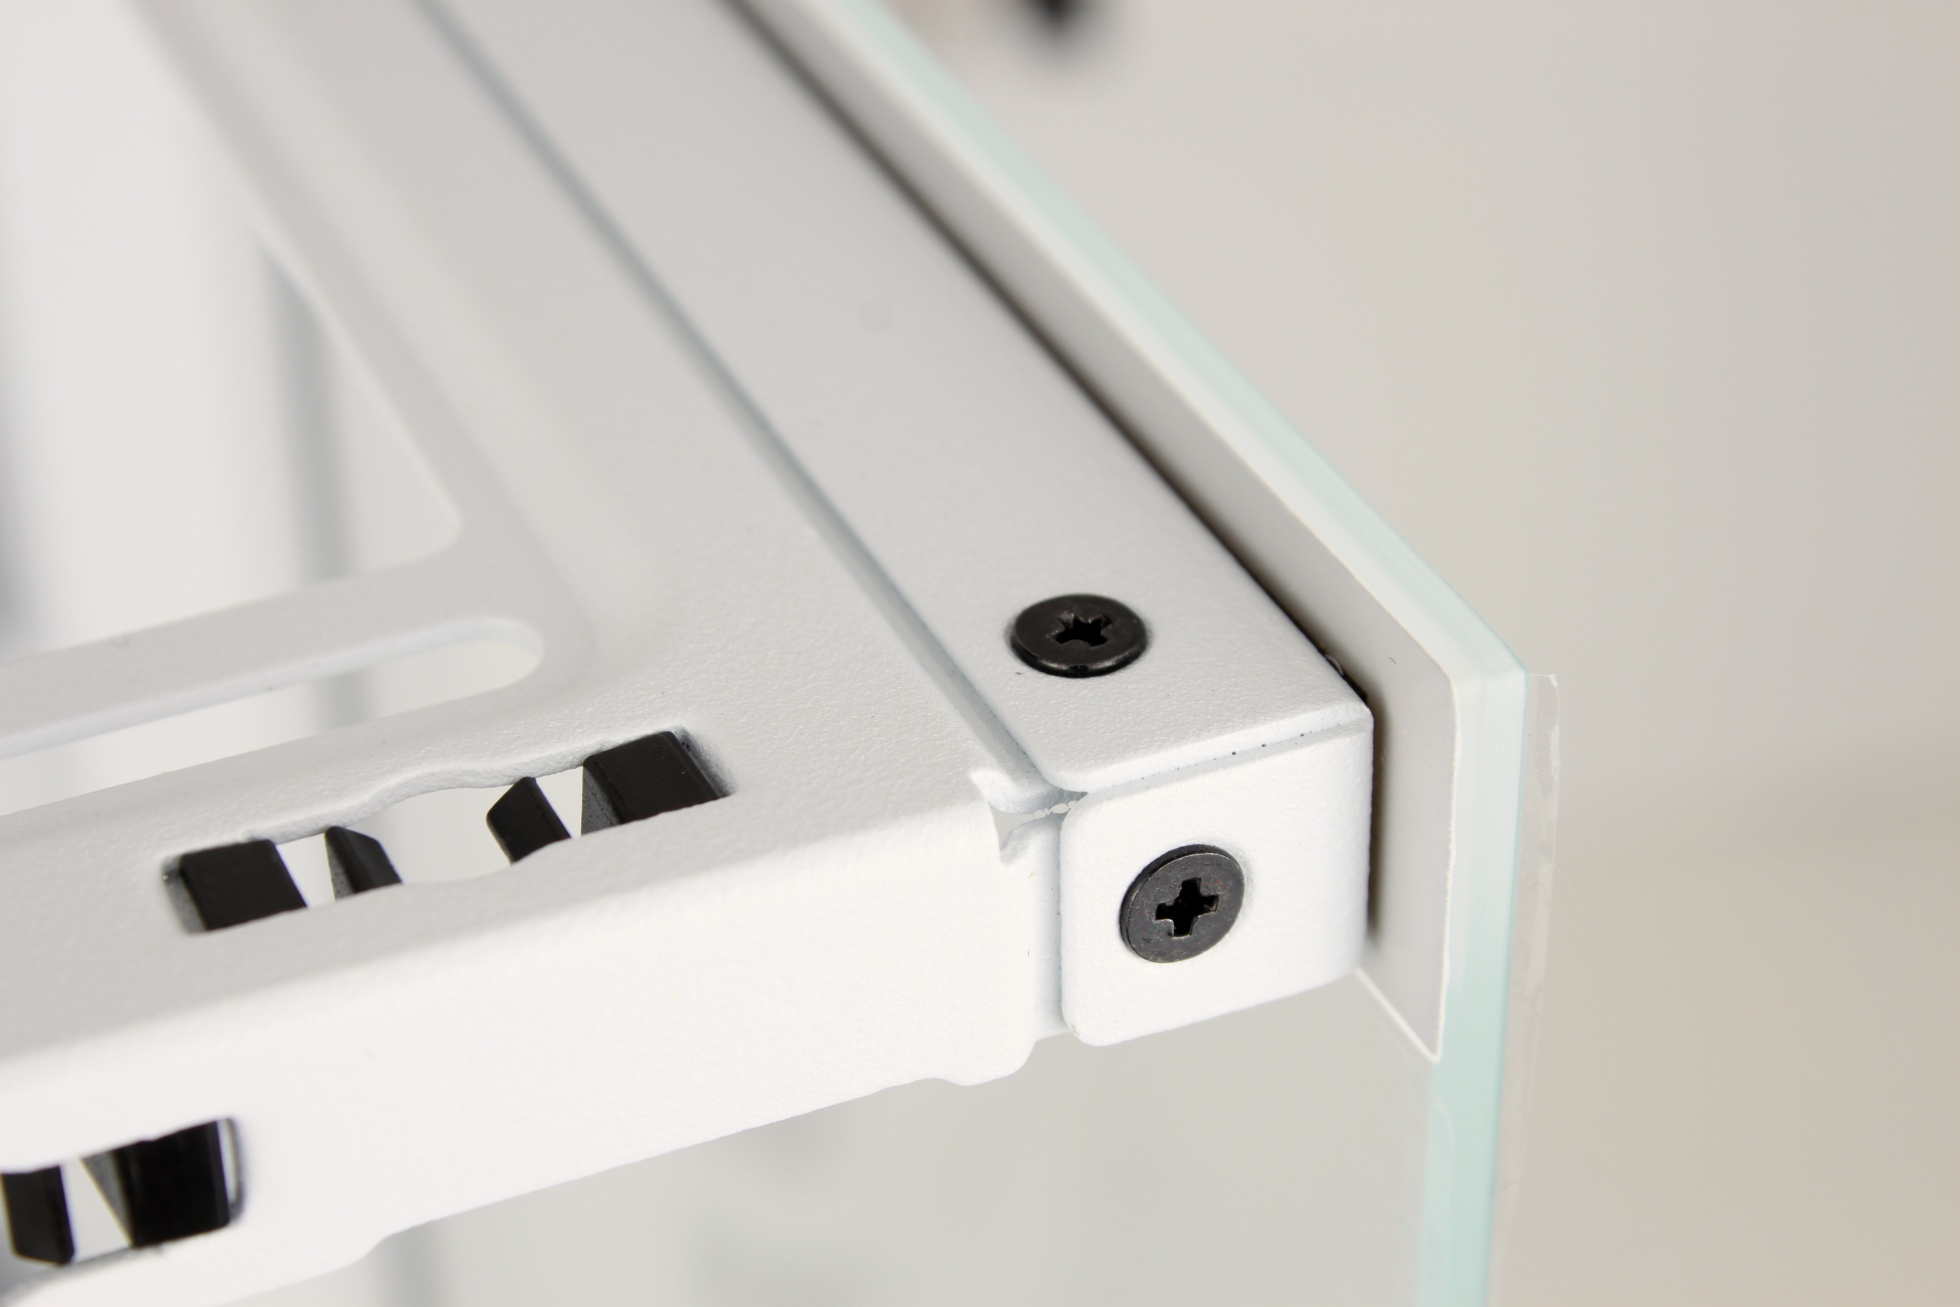
The front can also be removed. However, since removing this part leads to a considerable loss of stability, it is screwed down for safety’s sake – so it is probably better to think twice about whether you should remove the part or not.

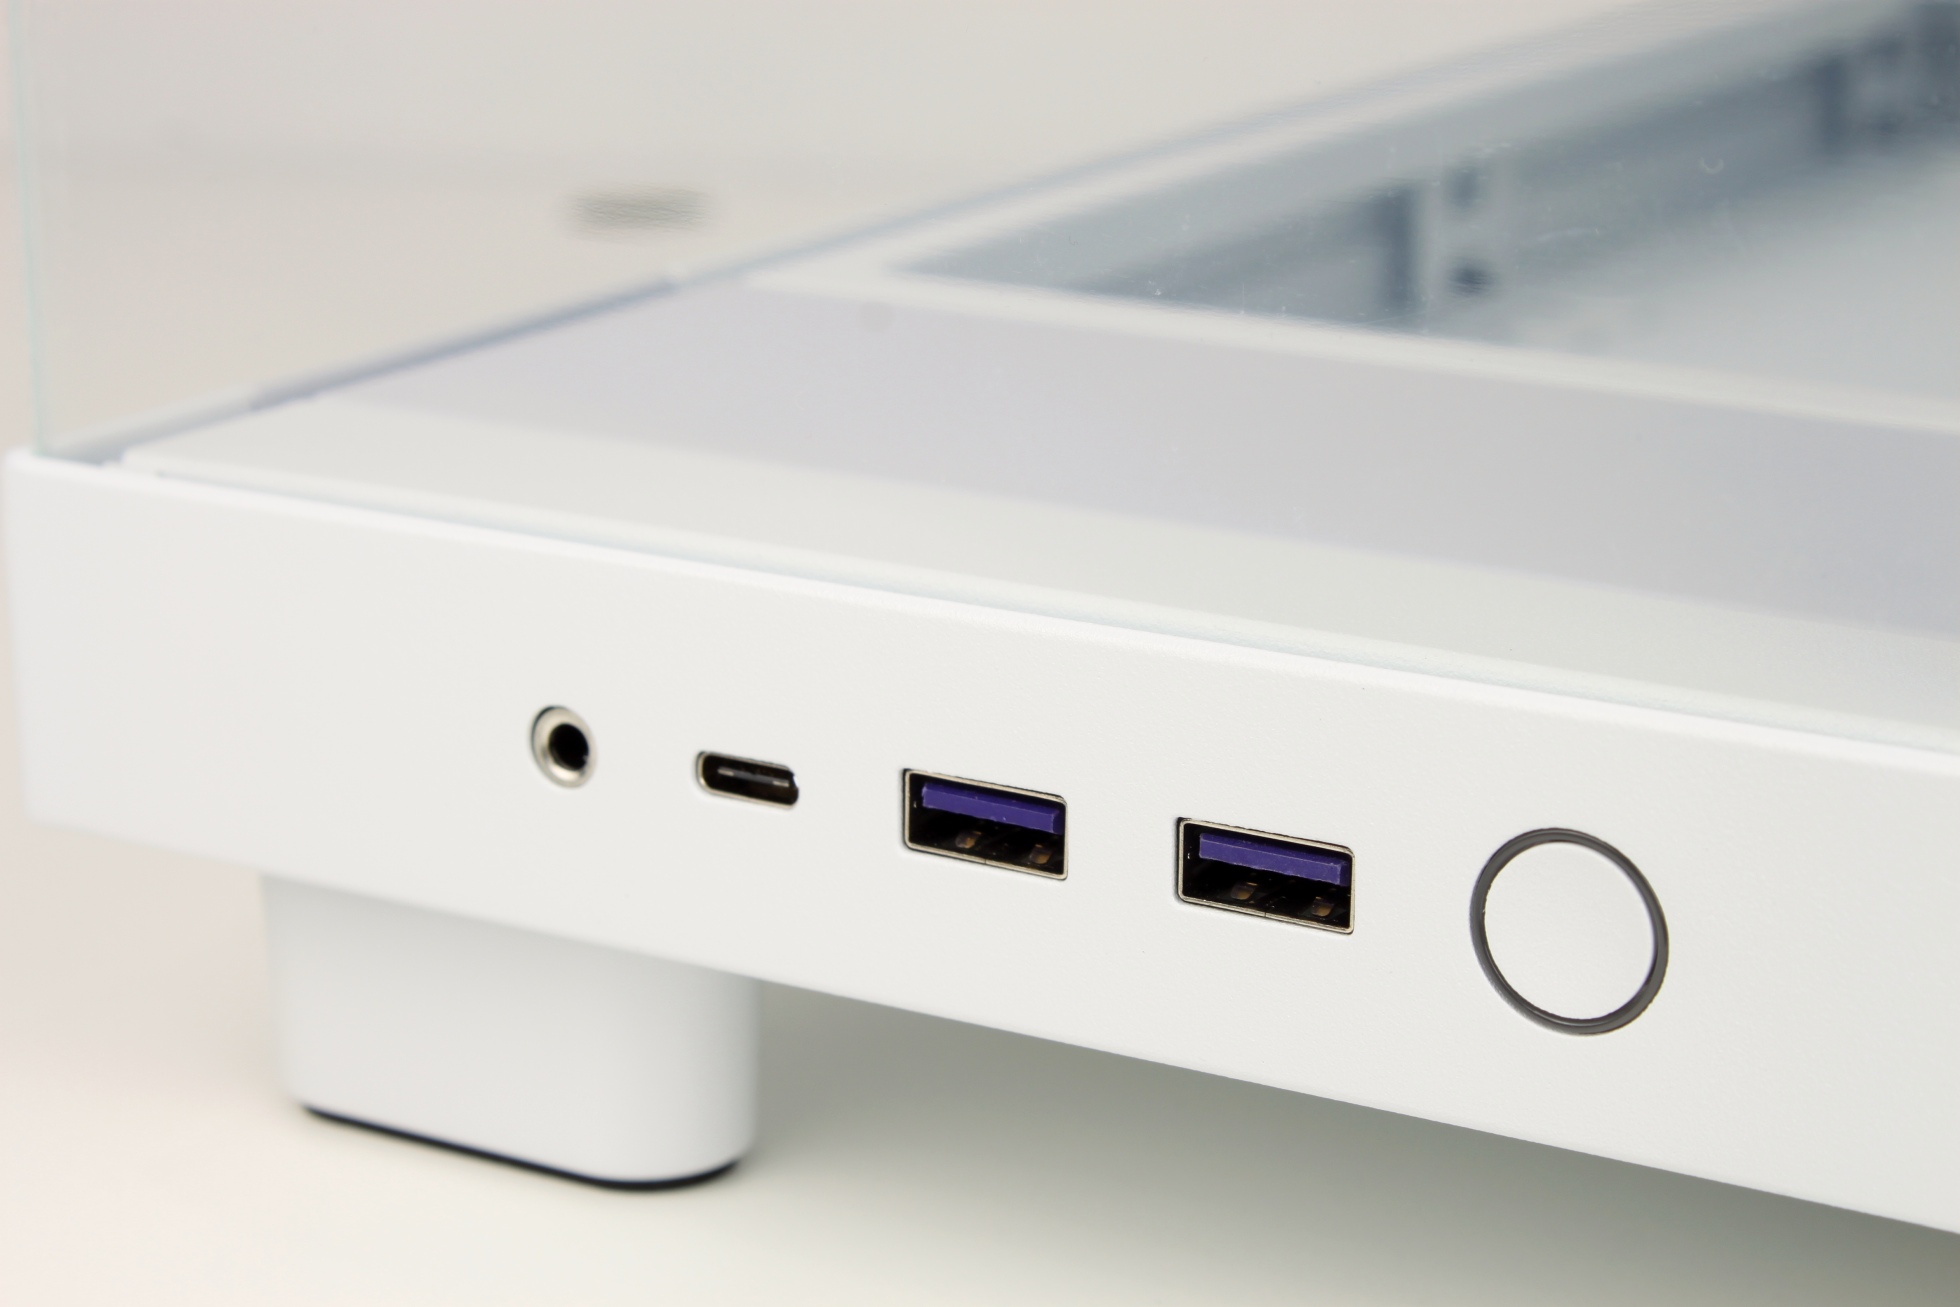
At the bottom is the front I/O with all of today’s important connections. Unfortunately, the rest button was omitted.

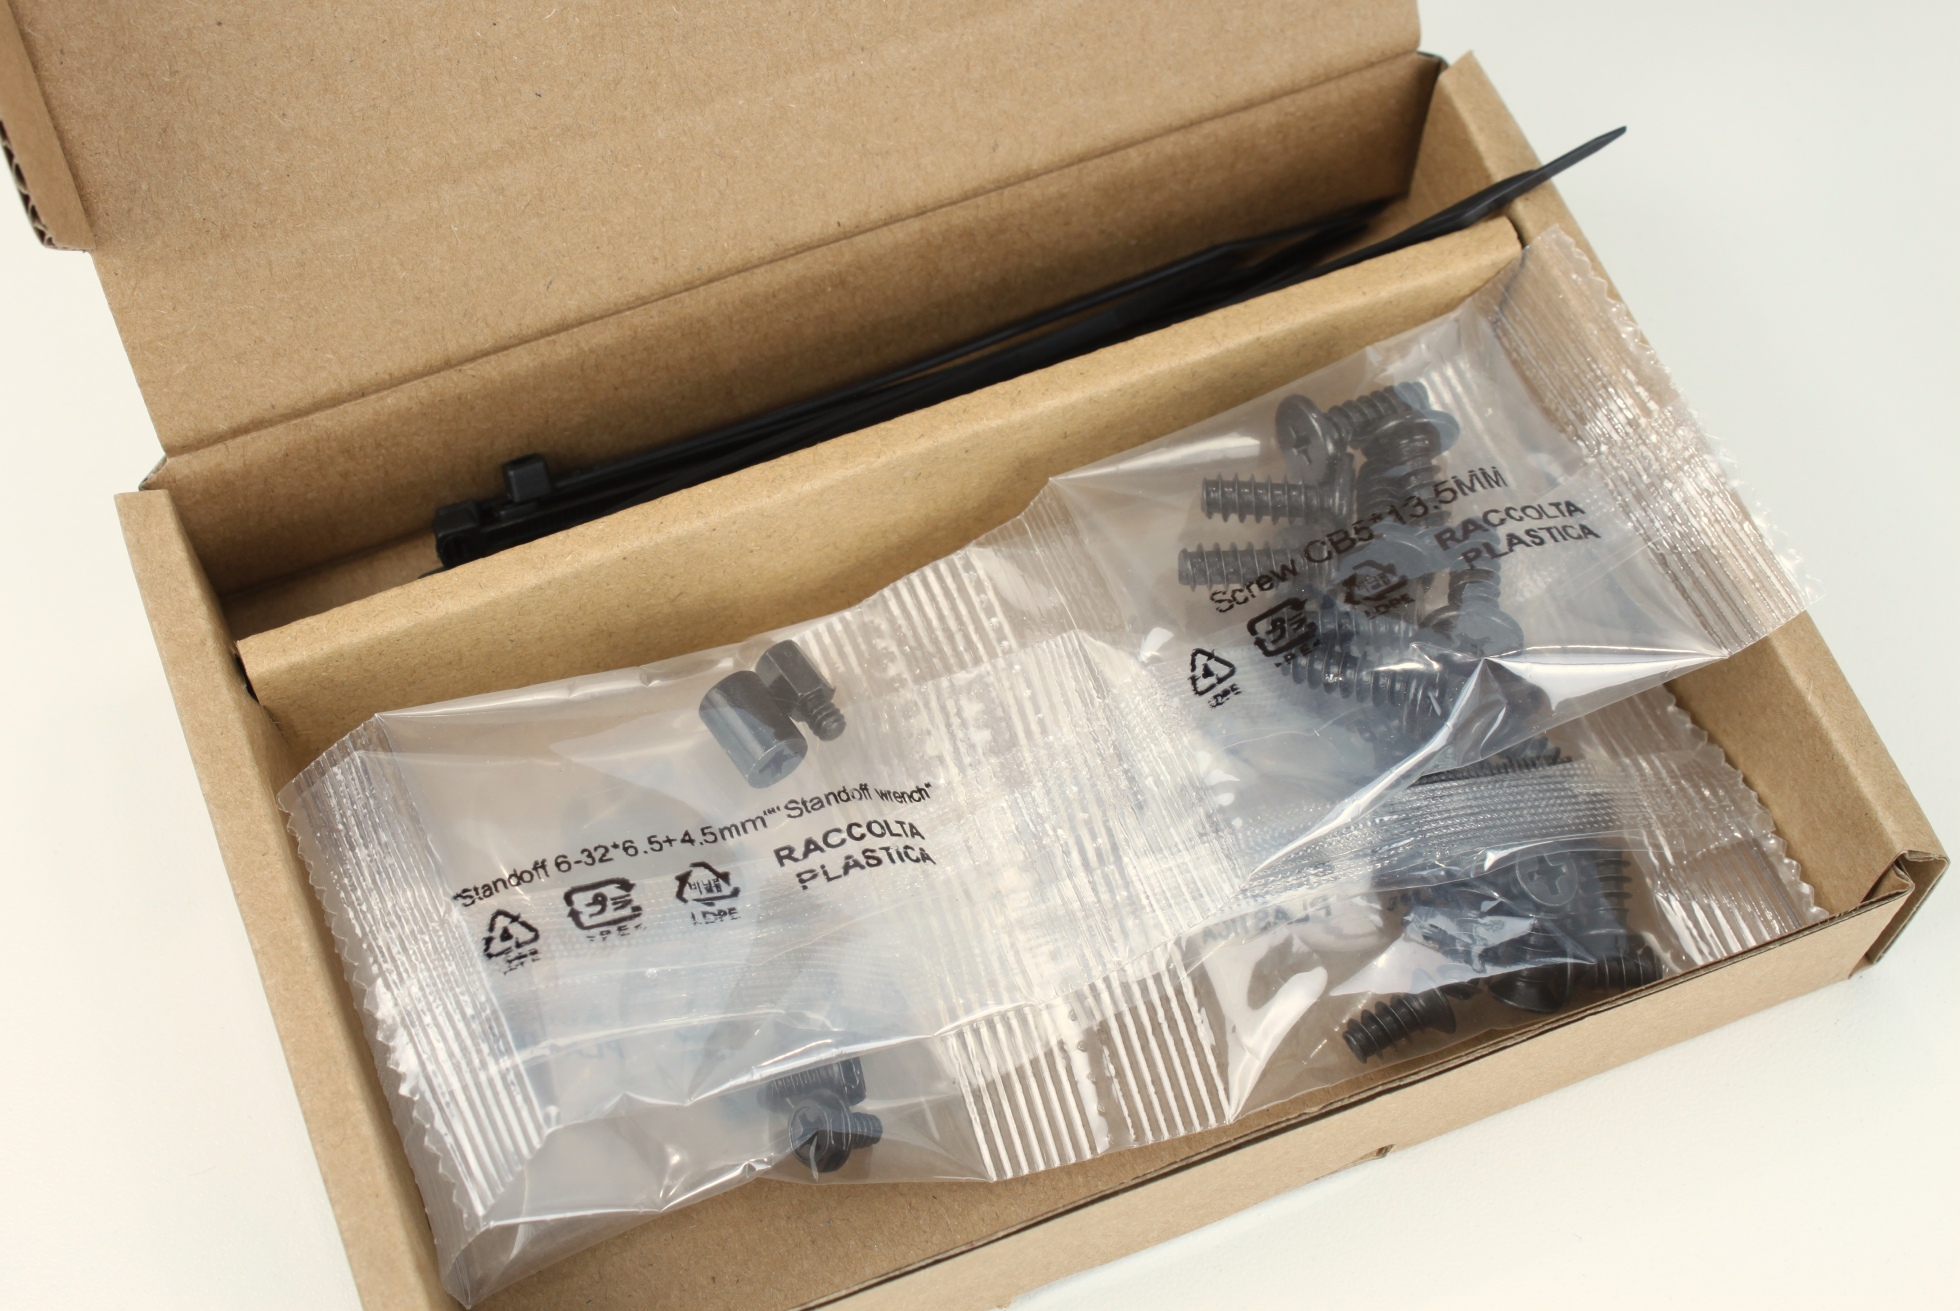
The accessories include reasonable screws with straight heads and clean threads, neatly divided by application.

Finally, let’s turn to the main chamber.

The H6 Flow can accommodate Mini-ITX, µ-ATX and regular ATX motherboards.

There is room for two 140mm fans in the bottom. Unused, this looks a bit strange, but with the fans installed, it results in a very clean look.

There is enough space between the lid and the rear I/O for an AIO cooling solution, but a thicker radiator or push-pull combinations will probably not fit here.

A 120mm fan could be accommodated in the rear, which would have been welcome as a standard exhaust.

No radiator can be mounted at the front due to the limited height, although there would actually be enough space in the depth.

The side panel directs the air towards the GPU, perhaps a 240mm radiator could be accommodated here.

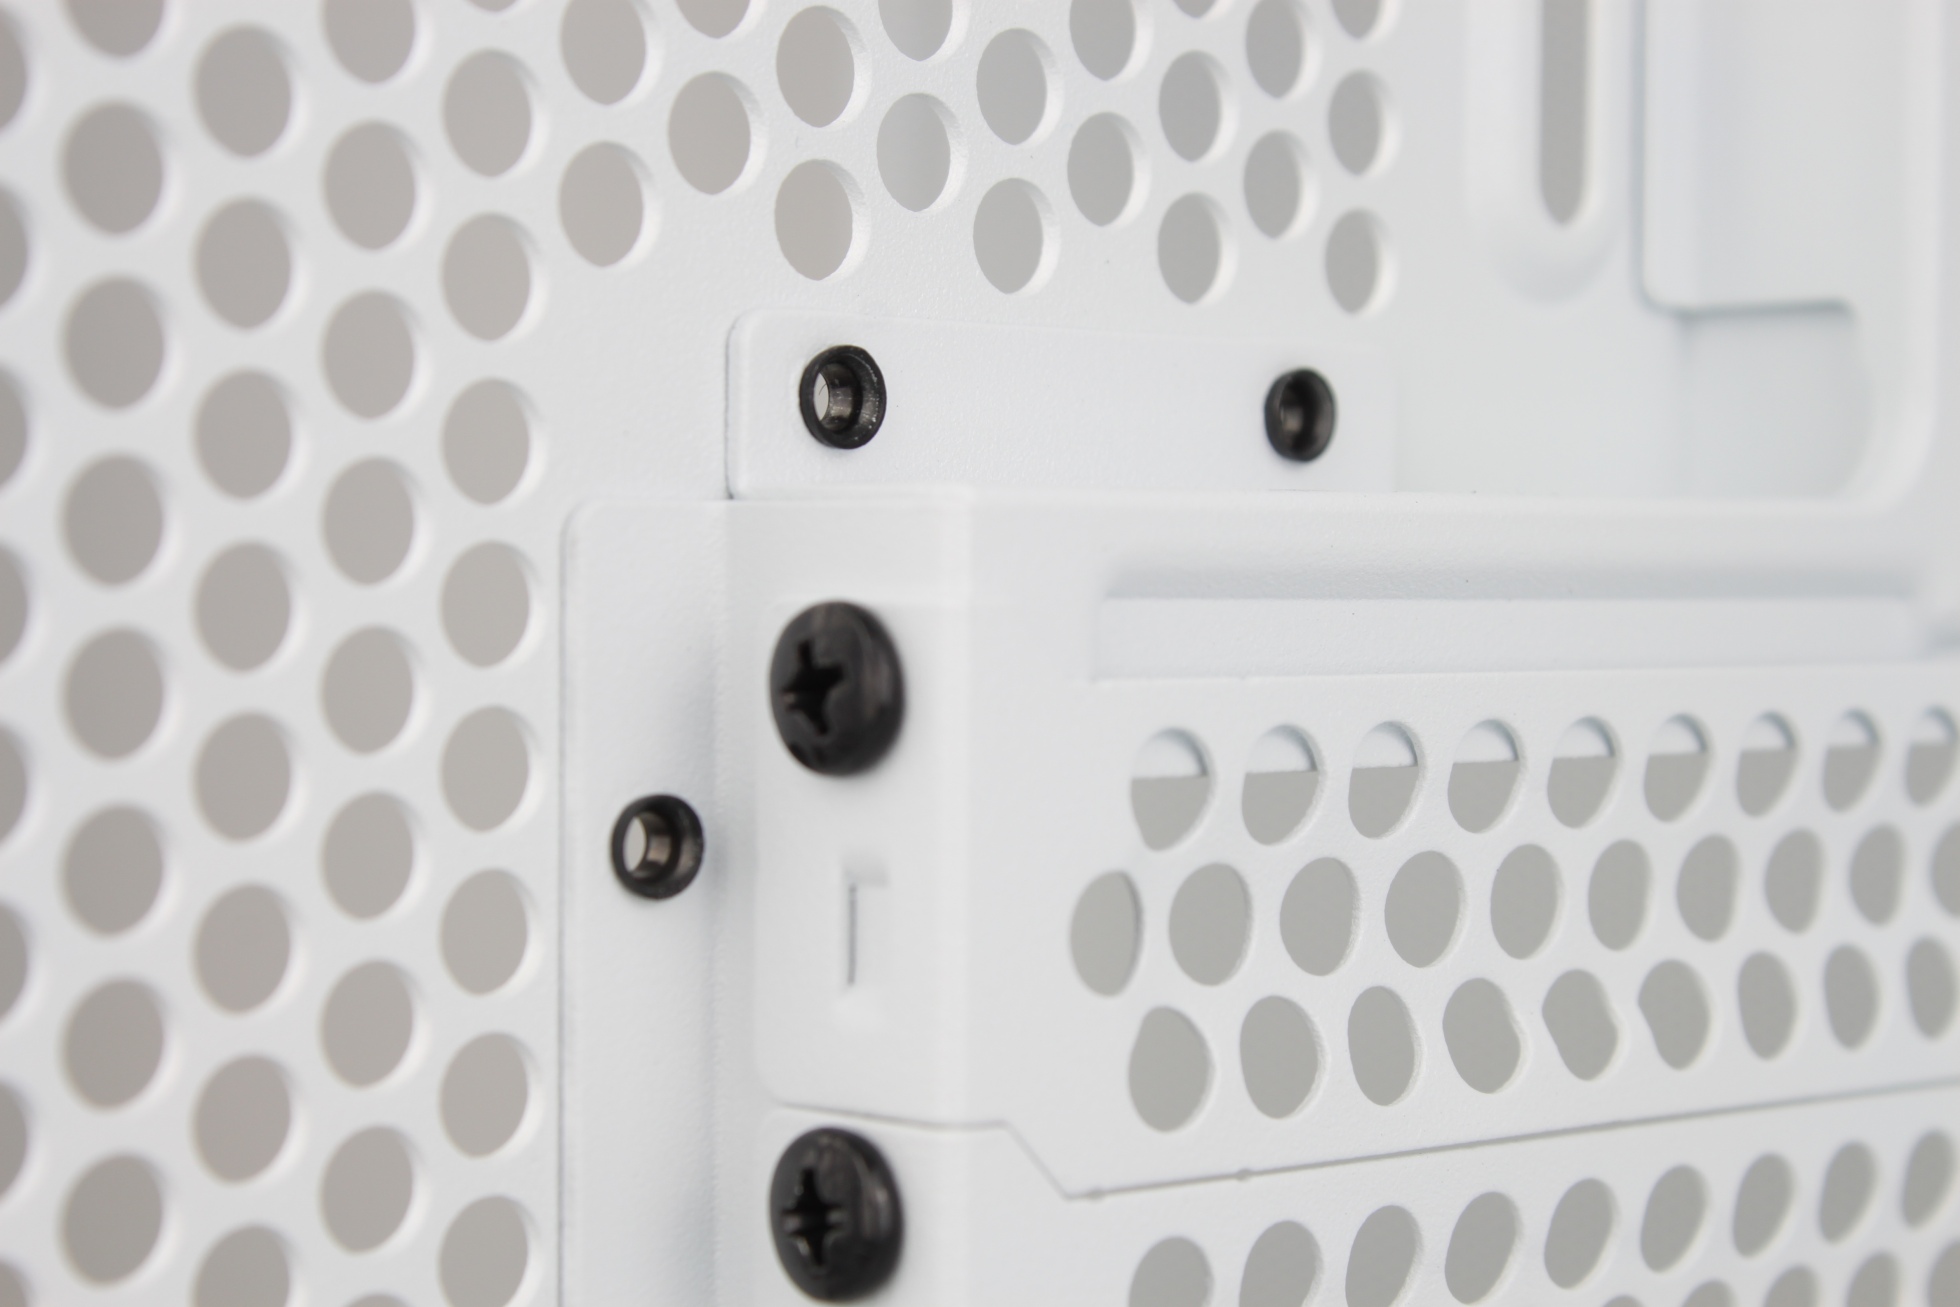
The stable and cleanly executed rivets also speak for the build quality of the case.


Kommentar

Lade neue Kommentare

RedF

Urgestein

4,665 Kommentare 2,553 Likes

Nich schlecht, hat mit einem Knick das Airflow Problem des O11 gelöst.

Antwort 5 Likes

Arnonymious

Veteran

191 Kommentare 72 Likes

Vielen Dank für die Eindrücke zum Gehäuse. Mir war bis jetzt nicht klar, dass das Gehäuse bei den Lüftern abgewinkelt ist. Durch die bisher nur kurz angesehenen Werbebilder sah es für mich so aus als würden die Lüfter einfach schräg im Gehäuse stehen. Nun weiß ich besser Bescheid.

Antwort 2 Likes

Tim Kutzner

Moderator

818 Kommentare 662 Likes

Hat auf jeden Fall was. Umso länger ich mir die Ecke anschaue, umso besser finde ich sie :D

Antwort 2 Likes

Arnonymious

Veteran

191 Kommentare 72 Likes

Ja, hat auf jeden Fall was für sich, das Eck.

Antwort 1 Like

grimm

Urgestein

3,084 Kommentare 2,040 Likes

Sieht ziemlich durchdacht aus und kommt auf jeden Fall auf meine Liste brauchbarer Alternativen zu meinem Define R6. Was mich irritiert: Sind das nur Lochbleche oder ist da Mesh verbaut? Denn bei uns würde das unter dem Schreibtisch stehen und - trotz regelmäßiger Reinigung - mit Staub konfrontiert werden. Und ich wäre dir noch dankbar, wenn du die verwendeten CableMod-Teile listest (vor allem die Länge der Kabel).

Antwort 4 Likes

Dragon of Luck

Mitglied

59 Kommentare 17 Likes

gefällt mir sehr gut..allerdings müsste ich leider Staubfilter nachrüsten, was das Gehäuse dann deutlich teurer macht...

Antwort 1 Like

big-maec

Urgestein

835 Kommentare 481 Likes

Ich hoffe mal, die haben sich nicht zu sehr an dem O11 XL orientiert, das Gehäuse hat kleine Designfehler. Man kann die Teile nicht so verbauen, wie es die Anleitung aufzeigt. Bei diesem Gehäuse wird das wohl nicht passieren, da es nicht die Einbauflexibilität bietet wie das O11 XL.

Antwort Gefällt mir

ApolloX

Urgestein

1,668 Kommentare 933 Likes

"An Zubehör liegen vernünftige Schrauben mit geraden Köpfen und sauberen Gewinden bei, feinsäuberlich nach Anwendungszweck unterteilt." - ein kritisches Wort über Plastiktütenwahnsinn lese ich in den Headlinern jetzt schon länger nicht mehr. Ist das gewollt?

Aber @Alexander Brose deine Fotos sind handwerklich wieder erste Klasse, ich frag mich oft, ob das Renderings sind, aber bei dir weis ich ja, wie viel Mühe du dir gibst.

Antwort 1 Like

Annatasta(tur)

Veteran

354 Kommentare 128 Likes

Danke für den Test. Ich würde auf die Bodenlüfter ganz bestimmt nicht verzichten und die Stromversorgung für die GPU von rechts verlegen. Den hinteren Lüfter braucht man dann tatsächlich nicht mehr, da der Überdruck die warme Luft alleine rausdrückt. Eine Frage stellt sich mir noch:
Wie bekommt man dann noch ordentliche Staubfilter vor die ansaugenden Lüfter? :rolleyes:

Antwort 1 Like

Tronado

Urgestein

3,724 Kommentare 1,950 Likes

Das ist das Problem. Mein H7 Flow hat mit anderer Lüfterbestückung außerordentlich gute Temperaturen, auch die GPU, zudem aber einen ordentlichen Staubschutz. Nur-Mesh-Fronten konnten mich nicht überzeugen, weder beim P500A noch bei LianLi. Zur Reinigung braucht man nicht mal die Blechdeckel abzunehemen, es reicht absaugen mit der Polsterdüse, echt praktisch. Die gründliche Innenreinigung kann dann auf geplante Umbauten oder jedenfalls alle 2-3 Monate reduziert werden.

Größtes Manko für Dauerbastler wie mich: Das Netzteil verdeckt die Mainboardrückseite auf CPU-Höhe, muss dann beim Kühlerwechsel immer herausgezogen werden.

Antwort Gefällt mir

Steffdeff

Urgestein

727 Kommentare 678 Likes

Guter Test, schönes Gehäuse und ein cleveres Eck.

Aber für Wasserkühlung ist ein möglicher 360er und ein 120er Radiator ein wenig knapp. Aber die Zielgruppe dürften eher die Luftkühler Fans sein.
Ich hatte mal ein NZXT H2 und da war Airflow nur über schnelldrehende Lüfter möglich, was oft unangenehm laut wurde. Die Qualität war damals aber sehr gut und scheint sich nicht verschlechtert zu haben.

Danke für den Test!

Antwort Gefällt mir

IXI_HADES_IXI

Mitglied

36 Kommentare 31 Likes

Sieht gar nicht mal so übel aus. Der Preis ist auch vollkommen in Ordnung.

Wäre interessant gewesen wenn man die vorderen 3 Lüfter und den Hinteren umdreht wie sich da die Temperatur verhält. Sprich Fischluft von hinten und unten kommt und die vorderen 3 Lüfter sowie die oberen 3 der Aio die warme Luft raussaugen.

Denke so zieht man vor allem bei den High End Grakas die heiße Luft eventuell schneller aus dem Gehäuse raus. Sehe ich ja von meiner 7900er wie die bei 400 Watt Verbrauch heizen kann... Da braucht man dann schon ordentlich Durchzug damit die Graka auch leise bleibt.

Antwort 1 Like

M
MSI-MATZE

Neuling

1 Kommentare 1 Likes

Ich hab mir auch gerade vor ca 2 Monaten das H7 Flow gekauft und bin sehr zufrieden, hab es mit sechs Artic P14 argb bestückt.

Drei in die Front, einer hinten und die anderen zwei hab ich auf meine nzxt kraken x63 geschraubt, fande die nzxt orginal Lüfter auf meiner kraken unerträglich was die Geräusch Kulisse angeht.

Einzige Probleme ist meine 6800xt von Saphire ohne undervolten, mit 200Watt und 2450mhz könnte ich sie nicht mal auf Stock laufen lassen.

Auf Stock erreiche ich konstant 110C hot Spot.
Hab mir jetzt mal thermal putty aus China bestellt und werde nach meinen Urlaub den Umbau angehen, mit neuer passte und Thermal putty 🙂

Antwort 1 Like

Dragon of Luck

Mitglied

59 Kommentare 17 Likes

Mal ne Frage falls das Gehäuse noch in greifweite wäre:
Könnte man an der Front sowas montieren?:

Mich spricht das Gehäuse an, aber die fehlenden Staubfilter sind echt ein Deal-Killer für mich :D

Sonst geh ich beim nächsten Gehäuse doch mit dem Jonsplus i400....^^

Antwort 1 Like

Tronado

Urgestein

3,724 Kommentare 1,950 Likes

Die Demciflex sind eine echte viel zu dichte Luftbremse, vor allem so direkt an den Lüftern.

Antwort 2 Likes

Alexander Brose

Moderator

819 Kommentare 574 Likes

Moin!

Ob so ein Teil dazwischen passen würde kann ich nicht sagen, aber im Anhang nochmal im Detail die Form der Abdeckung für die angewinkelten Lüfter.

View image at the forums

View image at the forums

Da wird man wohl schon einen Filter zwischen bekommen, muss aber evtl. etwas basteln.

Grüße!

Antwort 1 Like

Dragon of Luck

Mitglied

59 Kommentare 17 Likes

Danke :) Ja, das sieht eigentlich ganz gut aus. Passt :>

Antwort Gefällt mir

Tronado

Urgestein

3,724 Kommentare 1,950 Likes

Wie gesagt, Filtermesh in engem Abstand direkt vor den Lüftern bremst die Luft ungemein.
3-4cm Abstand vor den Lüftern und es macht kaum noch etwas aus.

Antwort 2 Likes

ro///M3o

Veteran

345 Kommentare 239 Likes

Hab ich genau so gemacht für nen Kunden PC und funktioniert sehr gut. Mit nochmal 2x140er unten als Inlet für die direkte Anblasung der Graka und Unterstützung des Kamineffekts. Hier mal Bilder. Da ist der hintere 120er noch als Exhaust, was ich aber später noch gedreht habe der bläst so nun auch indirekt über den Kühlblock die SpaWas der MB an. Von vorne ist die Optik aber schöner gewesen :)
Ein 9900K bei max 65°C bei Vollast. Kühlung ist ein Frankenstein aus Alphacool ST30 vom Eisbär 280 und Kühleinheit aus einer Raijintek Triton. 120er bei ca. 800Umin und die 140er bei ca. 650 bei Vollast. Die Graka ist zwar nur eine 2060 aber deren Lüfter langweilen sich :-D Ach ja, sind alle Arctic Lüfter. P12 und P14 PST A-RGB.
Als Filter habe ich noch unten einen 280er und hinten 120er DEMCiFlex. Mit deren Magnetstreifen einfach hinklatschen und fertig. Einmal die Woche saugen da sehr feinmaschig. Halten aber auch feinen Staub gut ab.

Hab die non RGB Variante gekauft. Die NZXT Lüfter direkt raus. Was für Turbinen!
Für den Preis finde ich das Gehäuse als Allrounder, gerade wegen Kabelmanagemt und Materialqualität wirklich Klasse. Massiv und robust. Da waren Leute dran, die selbst PCs bauen. Für Wasserkühlung Fans wohl aber zu knappe Radiator einbau Möglichkeiten. Da dann lieber den DeepCool MORPHEUS

View image at the forums

View image at the forums

View image at the forums

Antwort Gefällt mir

Klicke zum Ausklappem

Danke für die Spende


Du fandest, der Beitrag war interessant und möchtest uns unterstützen? Klasse!

Hier erfährst Du, wie: Hier spenden.

Hier kannst Du per PayPal spenden.

About the author

Alexander Brose

Werbung

Werbung