Electronics and features
Let’s take another look at the printer’s technology. On the bottom, two large, black painted metal sheets hide most of the cables.
Once you’ve removed the 17 screws, the Z-belt and cabling are revealed.
I was definitely pleased to see that reasonably sized power supplies from Meanwell are used here. Specifically, these are the A-350FGF-24 and LRS-450-24 models.
The brain of the machine is an mkspi motherboard, which has a Rockchip RK3328 (Cortex-A53) processor, 1GB DDR3 memory and 8GB eMMC.
Modern TMC2209 stepper drivers ensure the quietest possible operation of the motors.
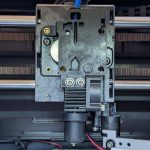
Somehow the design of the hotend reminds me a lot of the ones from Bambu Lab, though they don’t have a ceramic heating element and maximum temperature of 350°C.
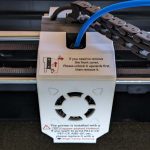
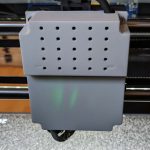
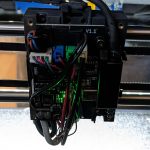
Some more fine tech is still hiding under the cover on the back, thanks to the toolhead PCB only a single USB-C cable is needed. A Raspberry Pi RP2040 microcontroller and ADXL345 accelerometer are also built in here.
In the back left corner hides the electric heater, which is directly powered by the second power supply and switched by a relay. I haven’t seen such a feature in this price range yet, usually something like this appears more in industrial 3D printers.
Directly on the X-Plus 3 itself, the 5″ touchscreen can actually be used to control everything that is needed in normal operation. Recalibrating resonances, interior lighting, fans, build room heating and more.
Even while printing, relevant adjustment screws are immediately available, and a small preview image also facilitates assignment.
Of course, the Fluidd web interface can also be called up directly in the browser after either a LAN cable has been connected or the WLAN has been configured. There, all settings are available down to the last detail. By the way, the website can be accessed under port 10088 of the printer’s IP address, for example 192.168.178.69:10088.
In any case, the auto-mesh leveling has to do a lot on my copy to compensate for this “wave” with quite a high variance. Always worked fine in practice though.
In my tests, the filament sensor is quite snappy with a response time of only 3 seconds, and the “reload” menu was designed to make sense.
Excursus: Mainboard fan replacement
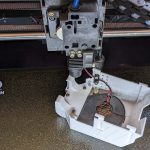
The small 4010 fan, which sits in the removable cover on the back, was really unbearable on my test copy as well as by far the loudest thing on the whole printer.
And when the stepper motors are drowned out by such a small fan during printing, something is not right.
The manufacturer reacted immediately and sent a replacement part, but Noctua was faster.
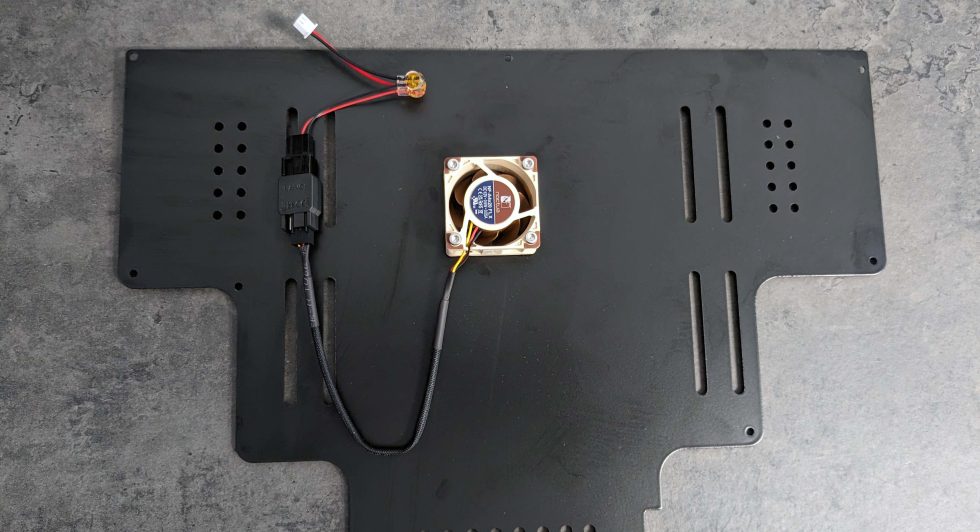
So I have a good excuse to try the new NA-VC1 adapter in combination with a NF-A4x20 FLX.
So fix adapted the original plug with the enclosed accessories, reduced the applied 24 volts to 12V and reinstalled everything.
All very simple, fast and uncomplicated. Price-wise, the NA-VC1 adapter is really steep, if you compare it with the larger, but also more flexible LM2596S step-down converters. Beauty has its price here. Anyway, after the conversion, the volume in standby mode drops from 57.4 dB(A) to only 45.2 dB(A) and actually makes the whole thing bearable. I don’t currently have the replacement fan from QIDI, but will update this passage accordingly should it be much quieter. Possibly the original fan was also defective, we’ll see.










1 Antwort
Kommentar
Lade neue Kommentare
Moderator
Alle Kommentare lesen unter igor´sLAB Community →