Test prints
At the beginning I had some concerns about the adhesion on the very rough PEI printing surface, but during the whole test period I didn’t have a single problem with it.
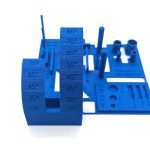
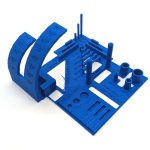
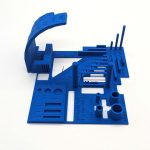
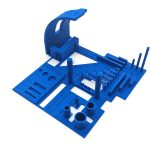
First, the all-in-one print test of Barcode3D from PLA NX2 navy blue from Extrudr. Overall, a passable result for the standard print profile. As you can see on the one corner, I had to adjust on-the-fly again the slightly too high Z-offset. Minimally lower temperatures would then also turn off the slight stringing.
I printed this Clearence fidgetspinner from Sci3D with ever decreasing distances between the moving parts in Bambu Lab Basic PLA. The flow could still be adjusted here for a prettier finish, but purely functional was all. The wheels for 0.5, 0.4 as well as 0.3 were directly free. 0.2 was released with light pressure and 0.15 was released with medium pressure. Very good for an uncalibrated result.
This Z-Wobble test I created from red Geetech PLA shows no artifacts, so at this point a perfect print result.
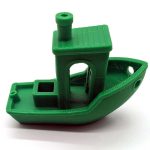
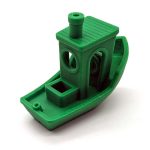
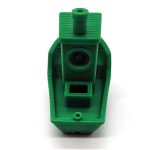
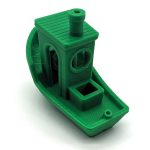
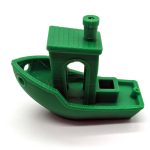
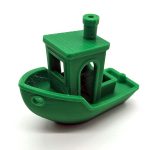
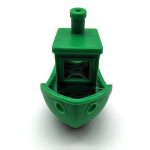
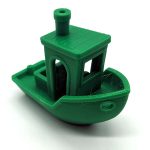
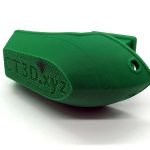
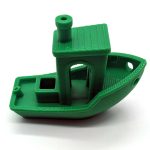
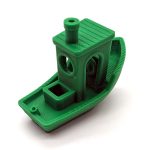
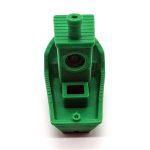
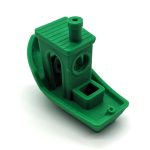
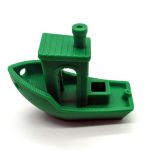
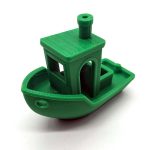
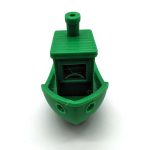
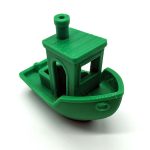
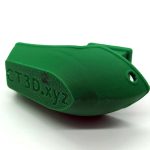
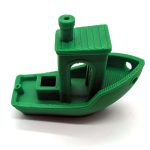
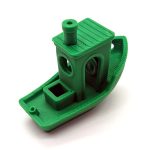
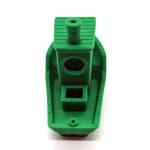
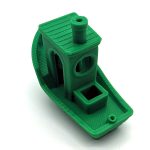
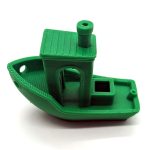
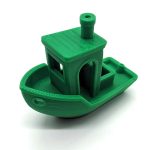
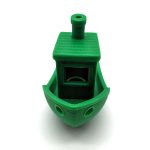
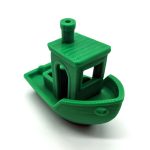
This first Benchy (1) was printed in the “0.20mm Fine” profile with 10% grid infill, which took the X-Plus 3 a total of 34 minutes and 44 seconds.
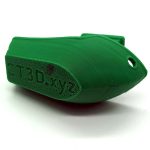
In the next run, I adjusted the settings according to the rules of the #SpeedBoatRace competition. After 26 minutes and 57 seconds, this little boat (2) was also done.
On the provided USB stick there was also a ready Gcode for this third Benchy, again without indication of the concrete settings. Therefore only for the sake of completeness, it was printed in 17 minutes 12 seconds.
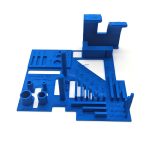
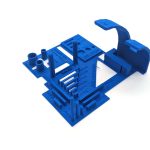
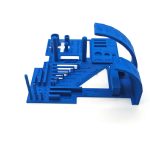
To be able to test the large build space, I printed a modified 2-Bay ITX NAS.
Besides the artifacts caused by the many retracts, you can also see how rough the print surface is.
I also successfully printed a multi-part piggy bank from Area3D as a small gift for a young miner.
Fit is also good, the CPU provided for it fits exactly in this socket 1155 box from xavita.
Even larger objects made of ABS were easily doable without warping.
My first attempts with Extrudr ASA DuraPro were also crowned with success, even if the color varies somewhat due to different speeds of the layers.
Again, I used the Flow Benchmark website to test the throughput of the hotend. From about 5% reduced extrusion you will see artifacts in the printed image at the latest, but thanks to the extended nozzle a good value can be achieved at higher temperatures. Nevertheless, I could not reach the advertised 35 mm³/s with my filament.
Speaking of filament, directly in the QIDI Slicer there is also a useful overview of how the different filaments are best handled as well as processed.
In addition, the printer tells you to leave the lid and door open for PLA, for example. I intentionally ignored this message a few times, but there were no blockages in the hotend. Still, it can’t hurt to at least leave the front open.













1 Antwort
Kommentar
Lade neue Kommentare
Moderator
Alle Kommentare lesen unter igor´sLAB Community →