


The piping goes off
My brother-in-law, as a virgin custom water cooling builder, set to work on the first section after the initial bending tests. We go from CPU block to the upper radiator. So mount fittings and make a pipe with 90 ° bend. Then bring to the correct length and install.
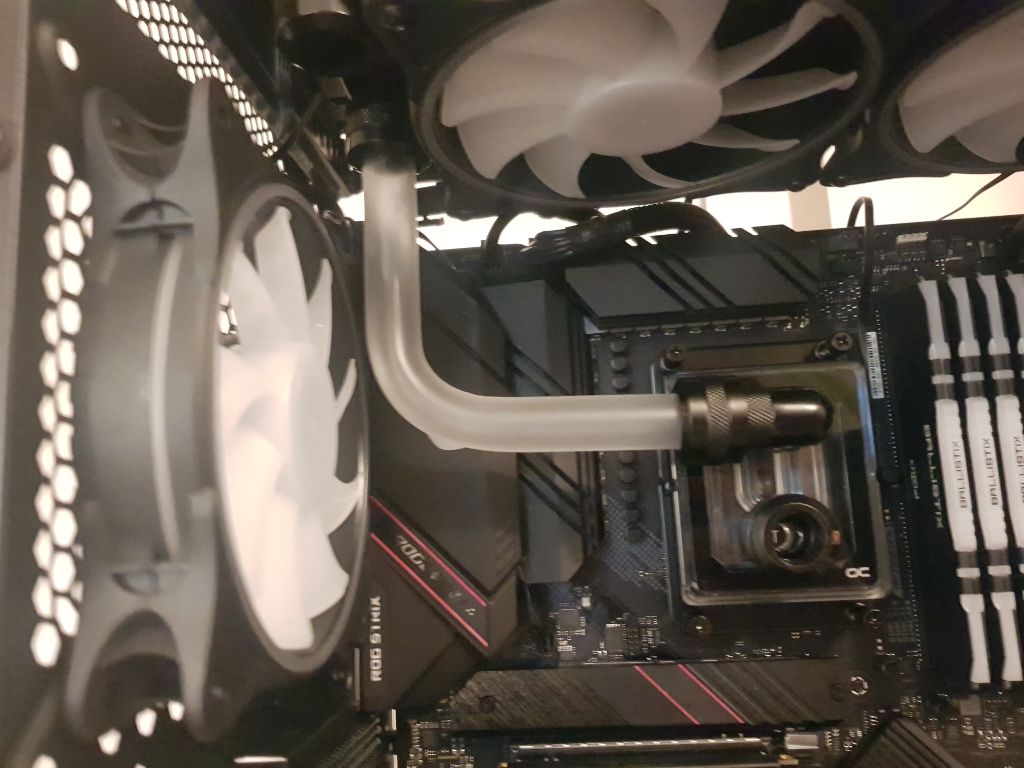
This fits, fits and looks good! Since we are already in the corner, the connection from the GPU (OUT) to the radiator at the top (IN) comes right away. Then the upper corner would be finished. If you remember the plan now, you can see here a pipe with many bends. That is the claim. But what does reality look like?
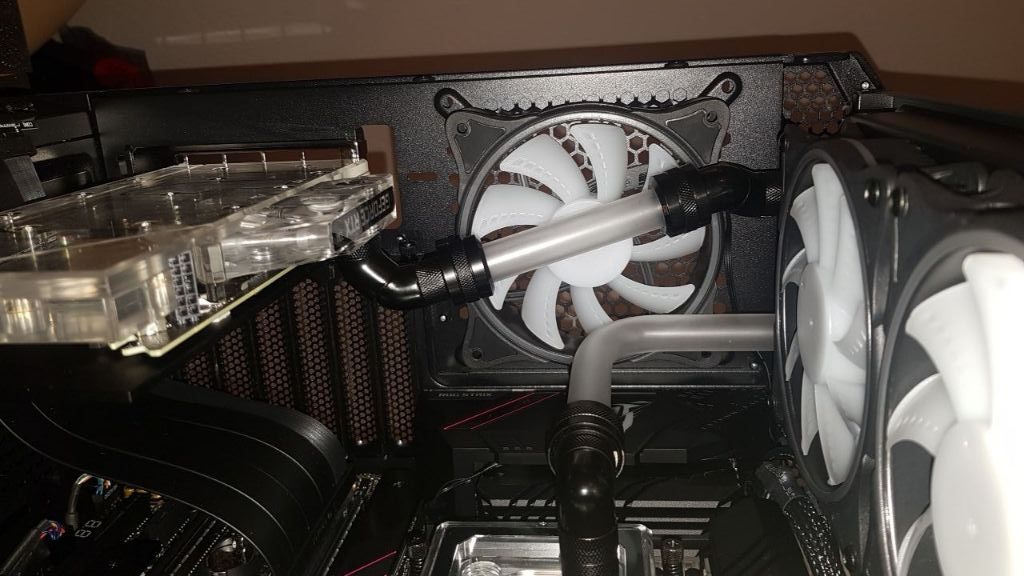
After several attempts to produce a tube with such a complex geometry, various adapters or elbows were used. Looks like a stopgap solution at first. But wait and see, the end result must be right!
From the ice block (OUT) it goes via one or the other corner connector as well as angle pieces to the GPU (IN). Since you can’t see the piping at that point anyway, I would recommend everyone take the easy way out. Of course, you can also try to create a bent tube. Try and Error is all I can say!
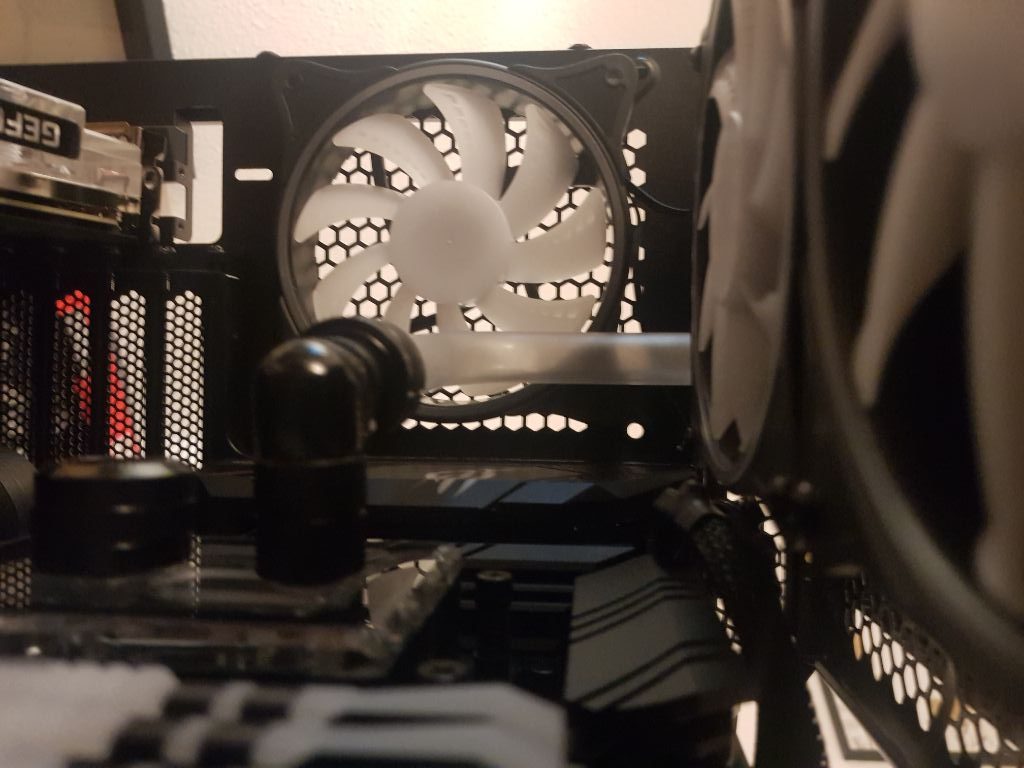
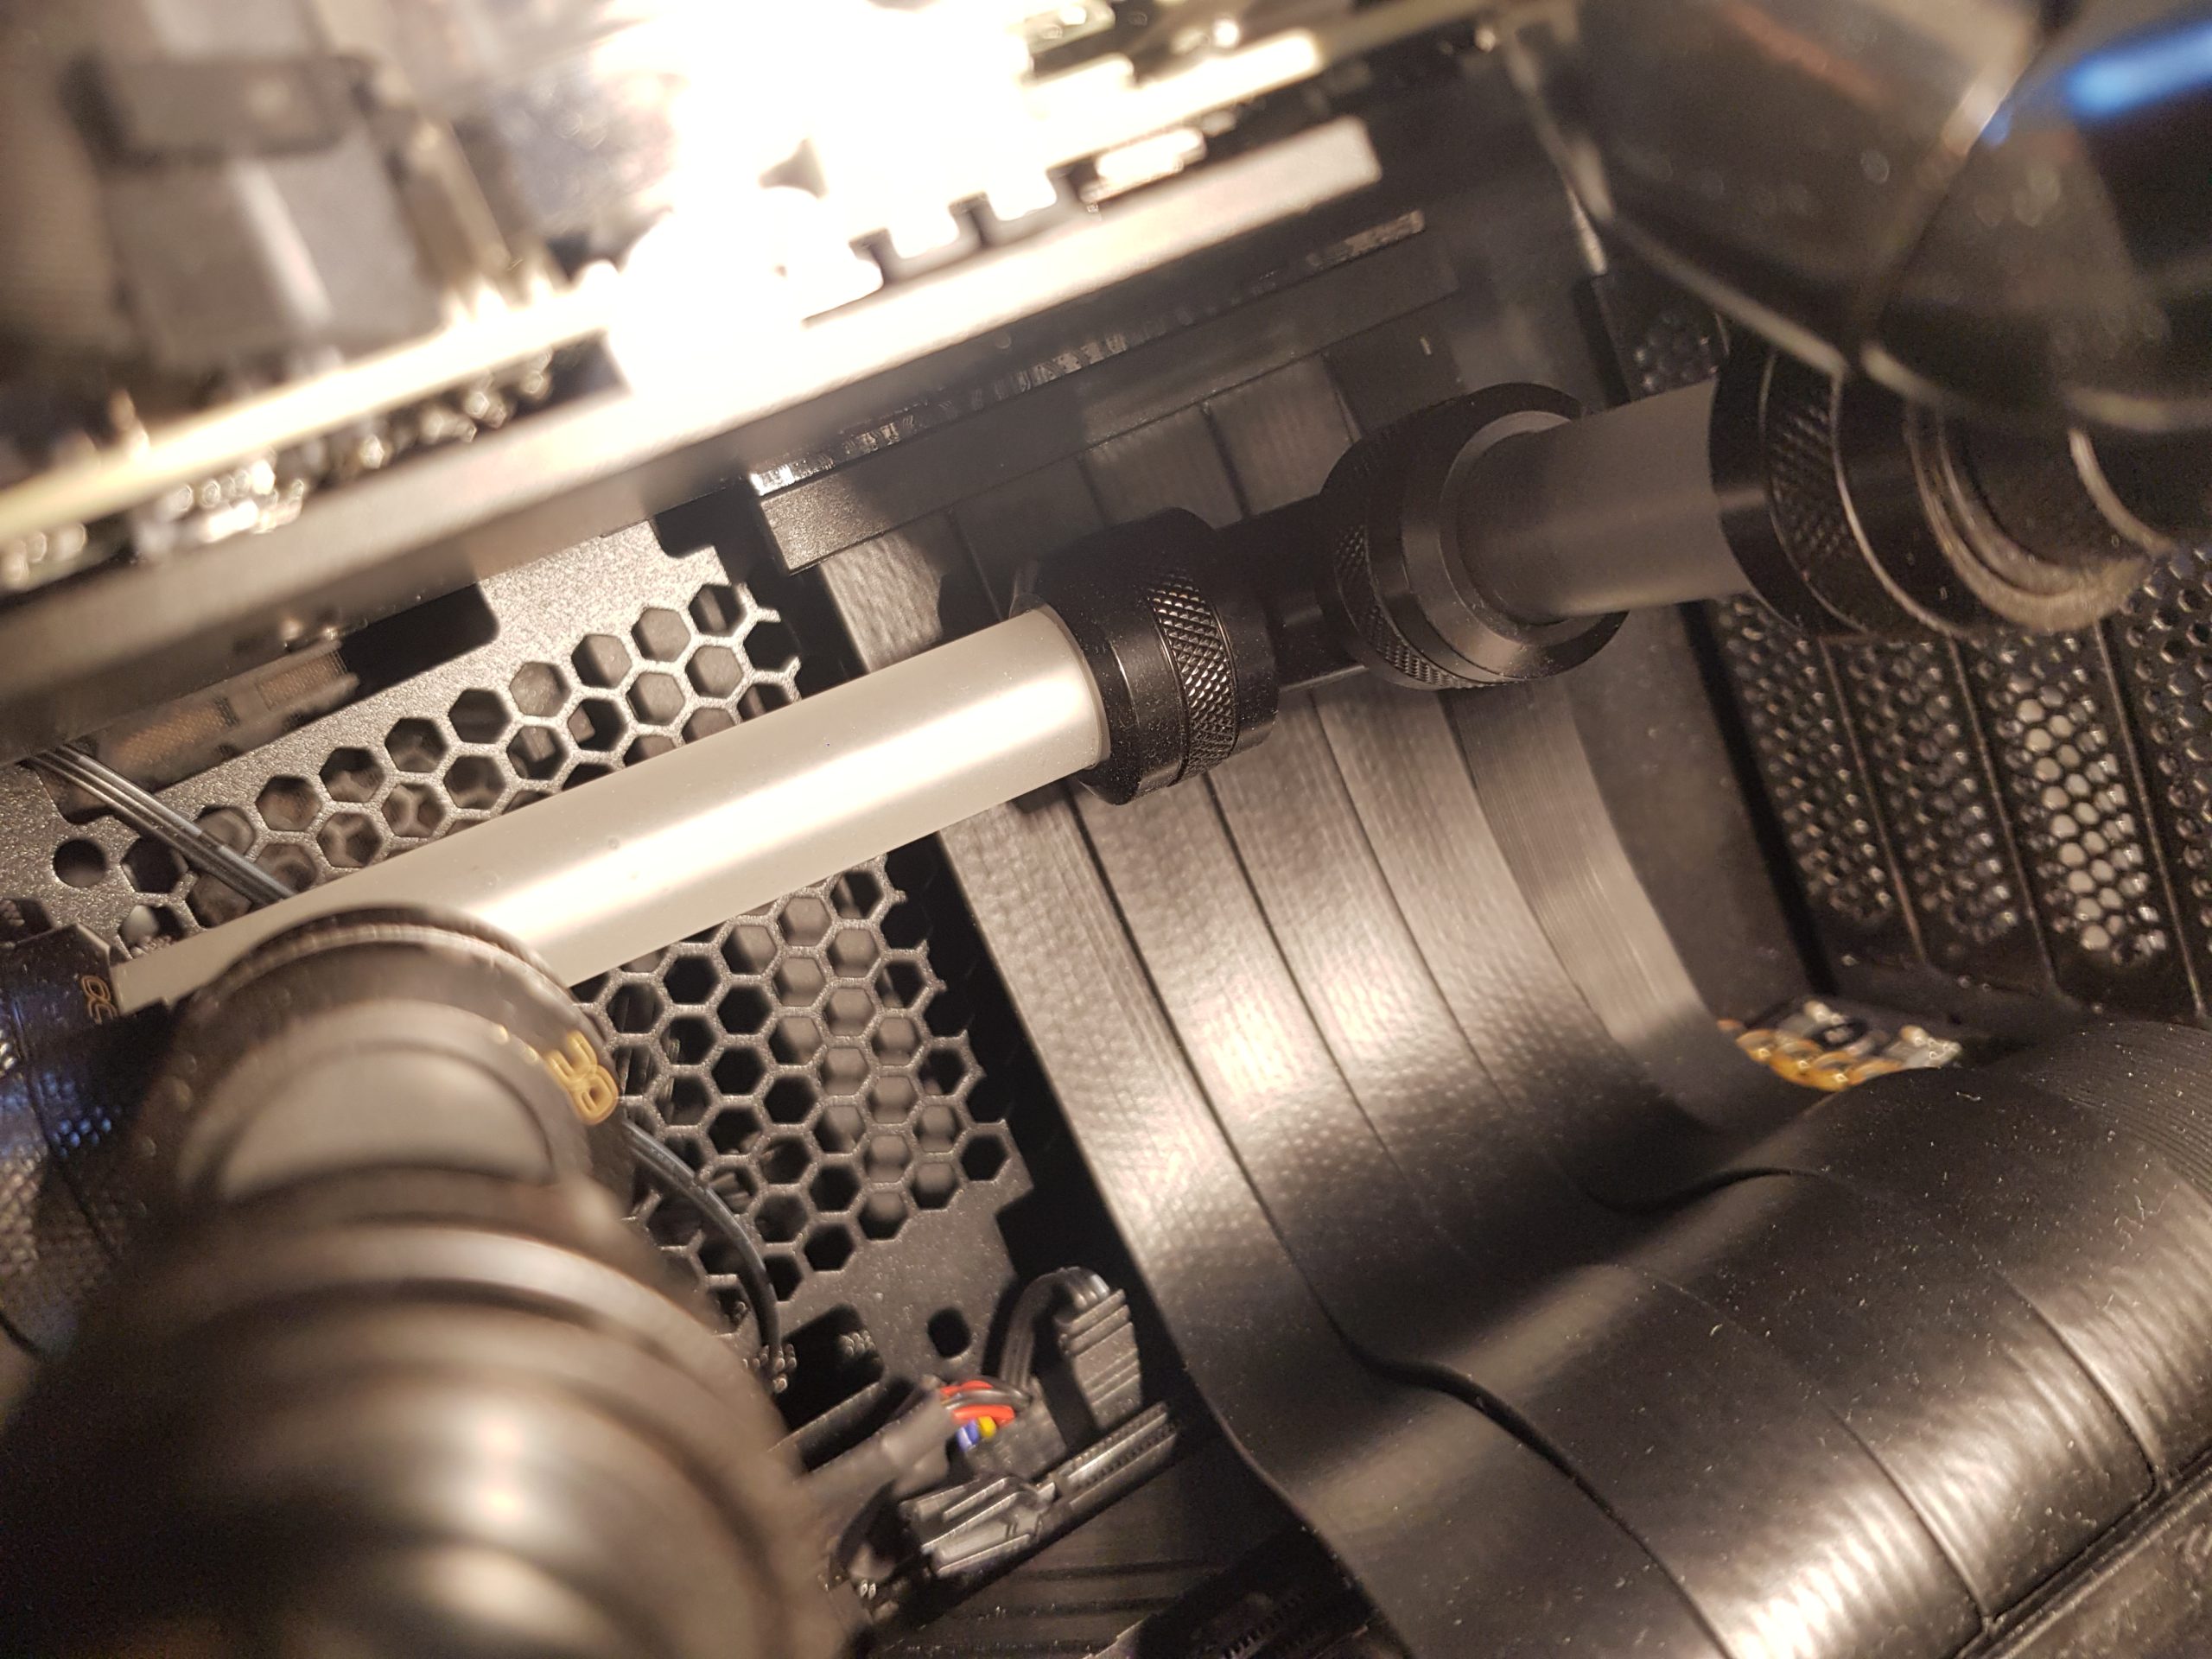
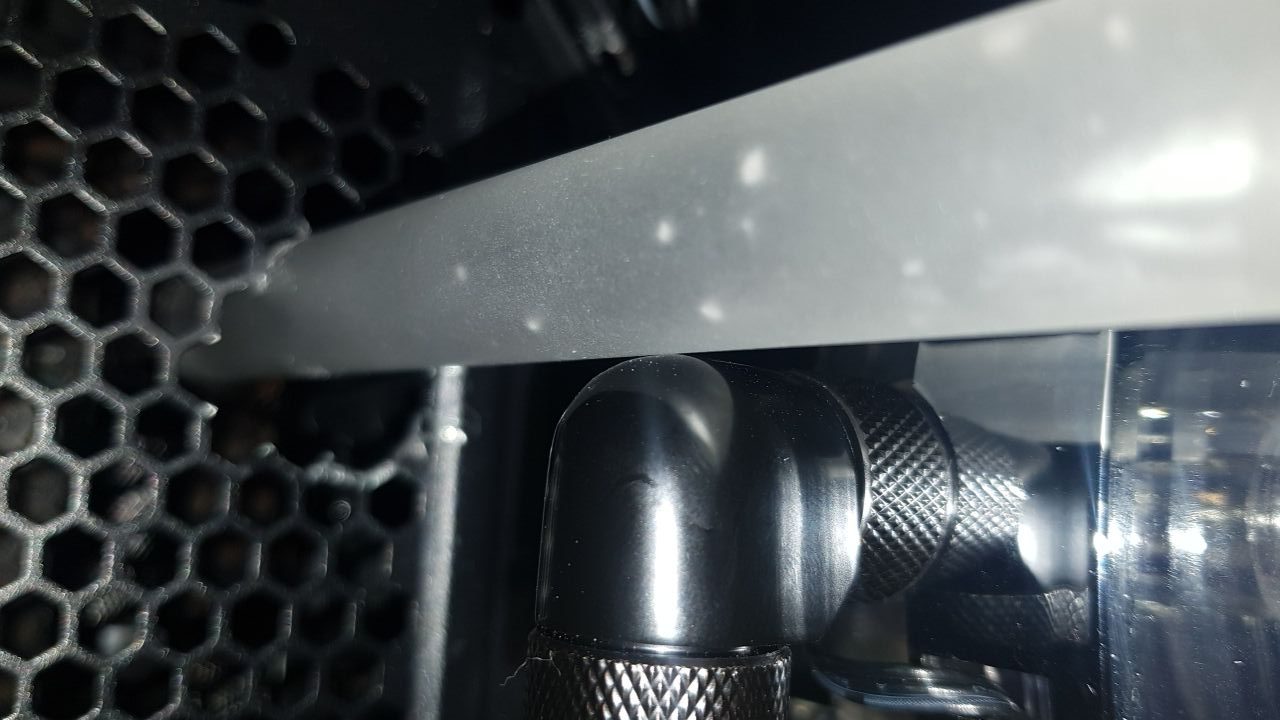
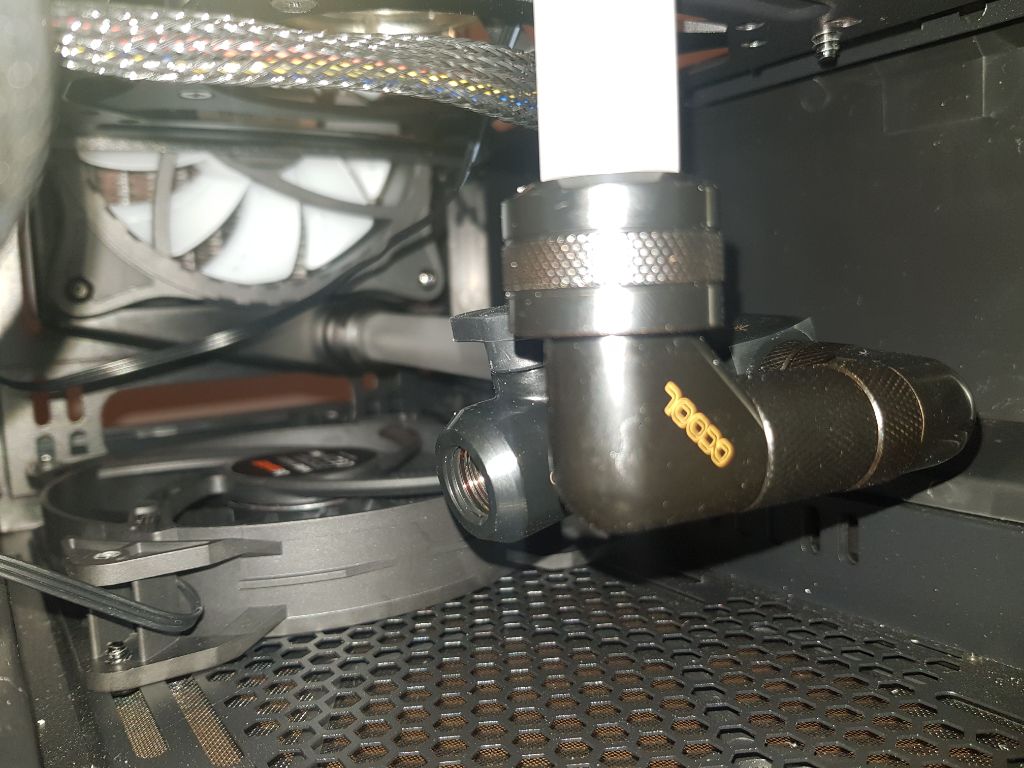
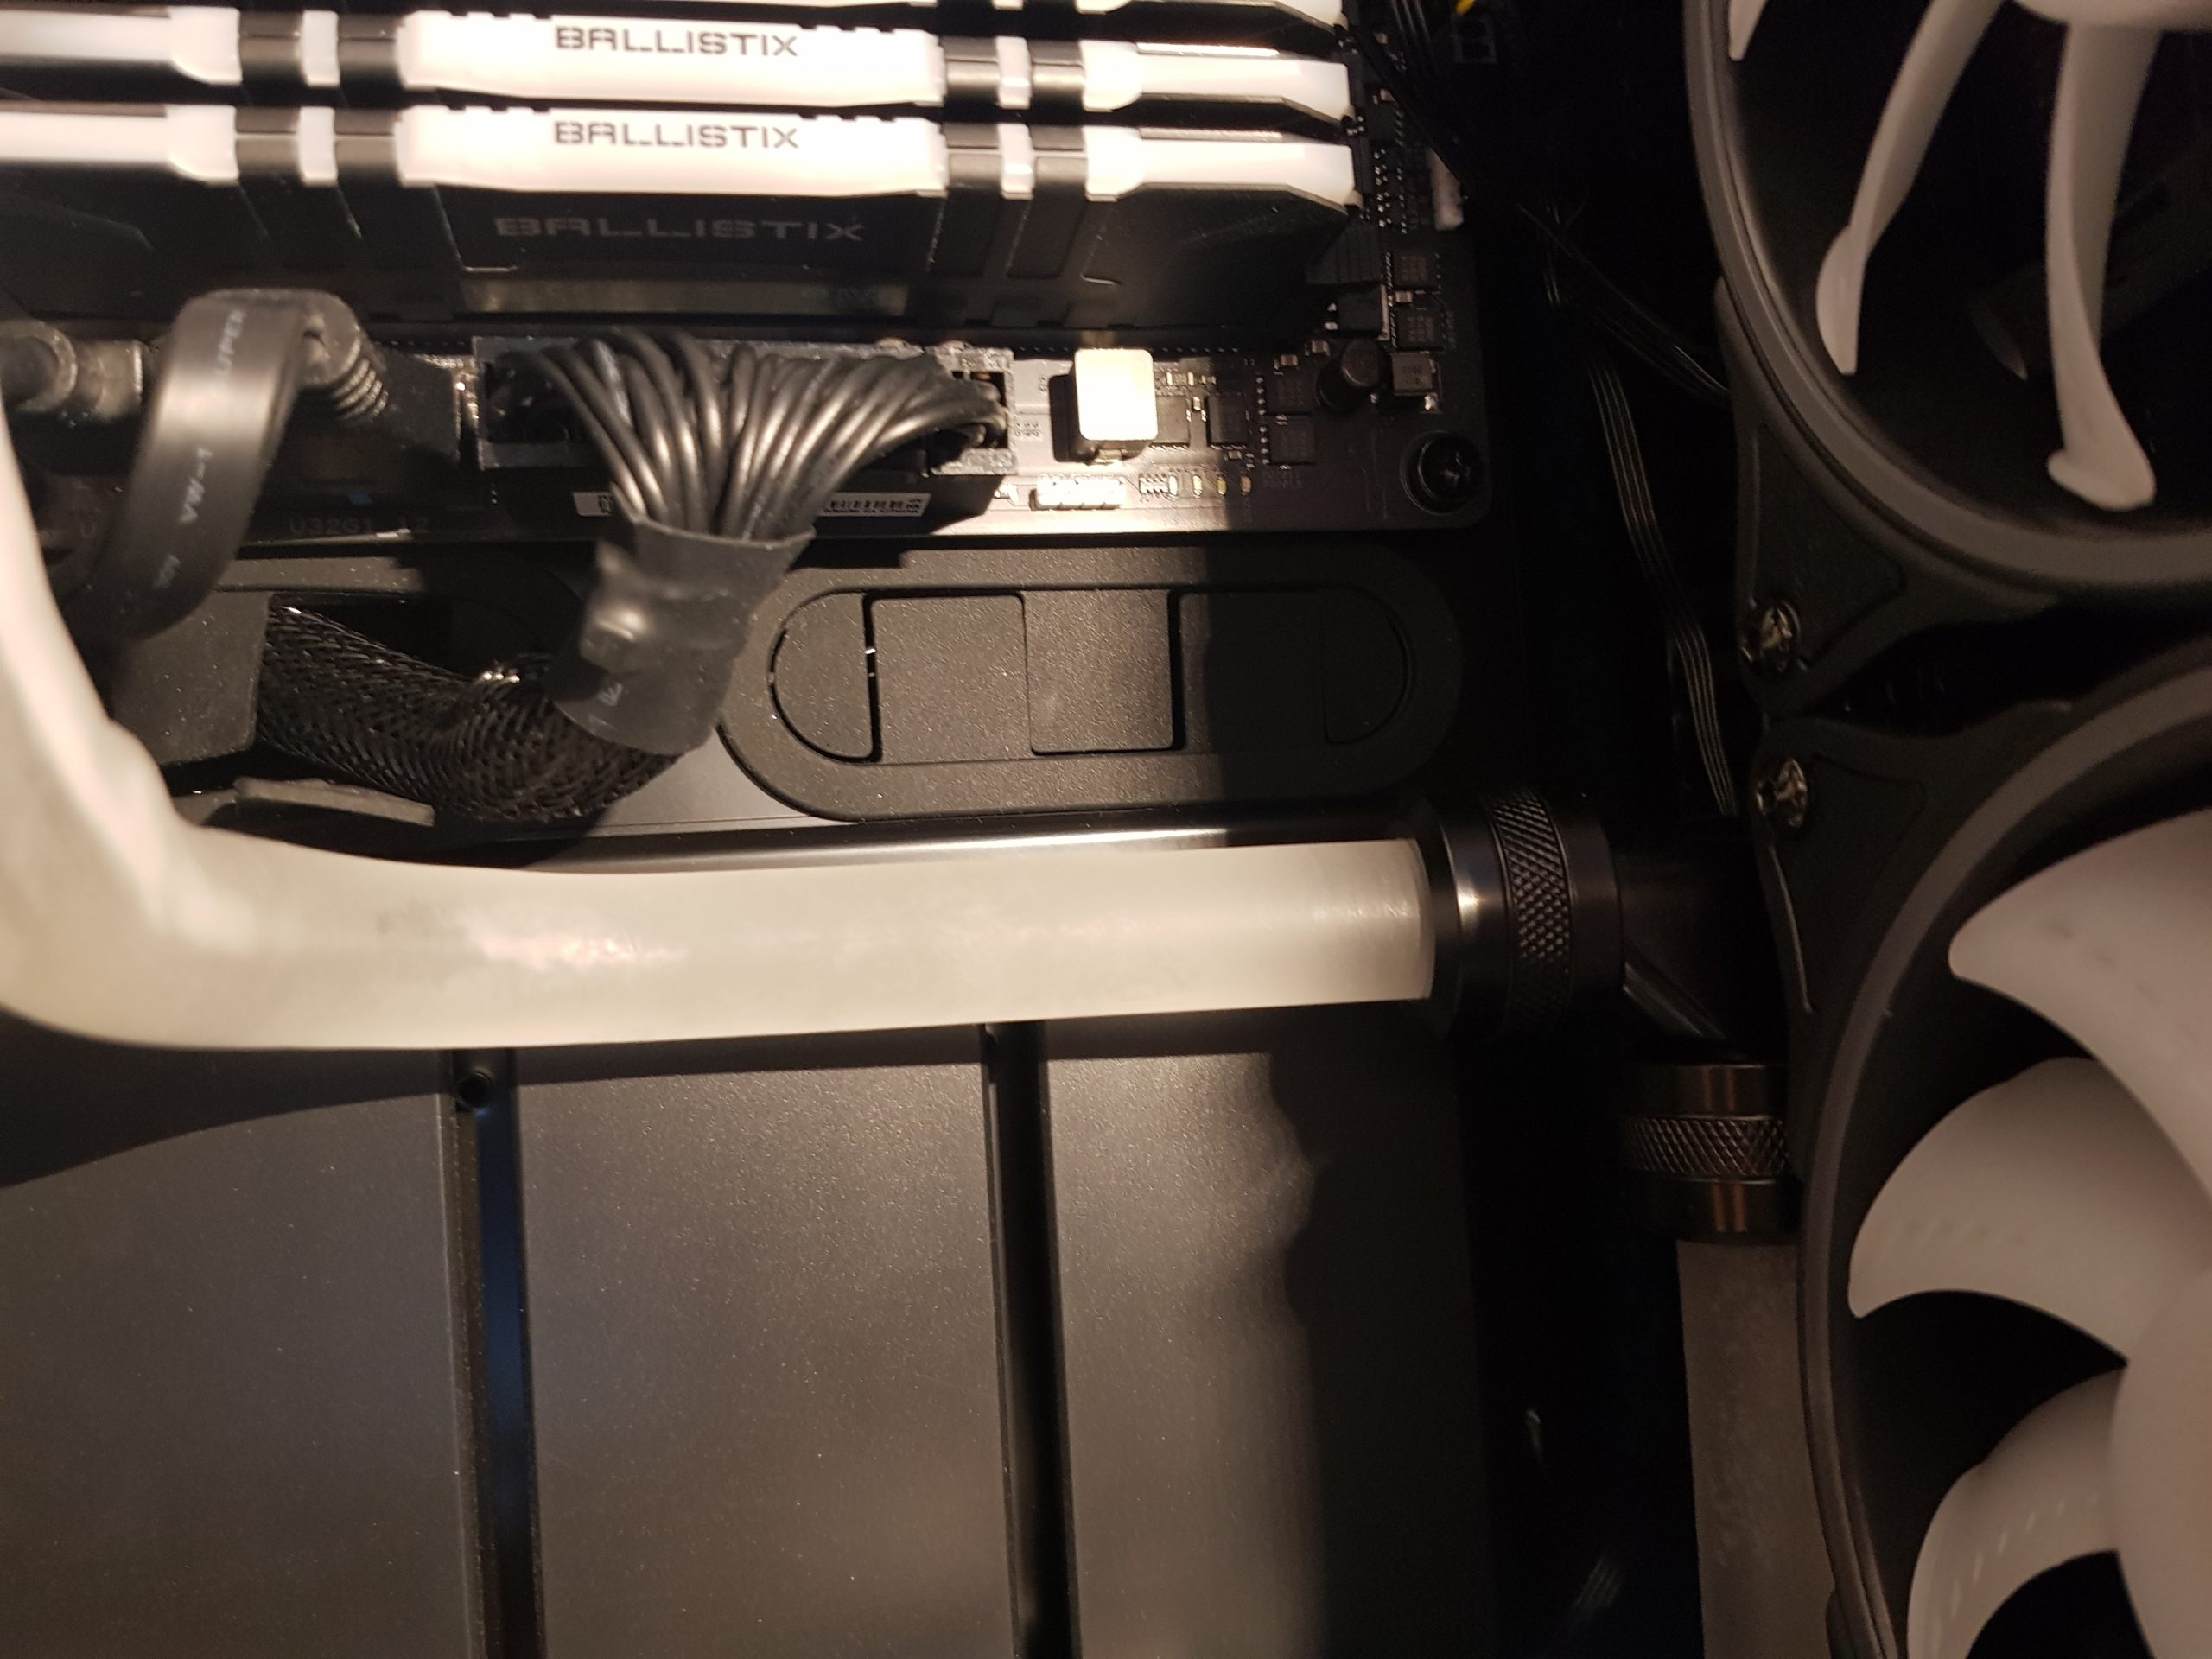
From the CPU block (OUT) it goes with a 90° bend deep down into the case. And came there a little surprise!
Unfortunately, there was no passage in the housing and you can’t remove anything at this point. So a little case modding was in order. Snip-snip and there was a hole where it should be! Now, this could be seen as a criticism of Be Quiet! forward, but if everyone wants to implement their own ideas, then you would have to develop your case specifically on the water cooling plan. In the end, every manufacturer is powerless, because no one can hold everything up!
Hair sharp I would say! There’s not a hair out of place.
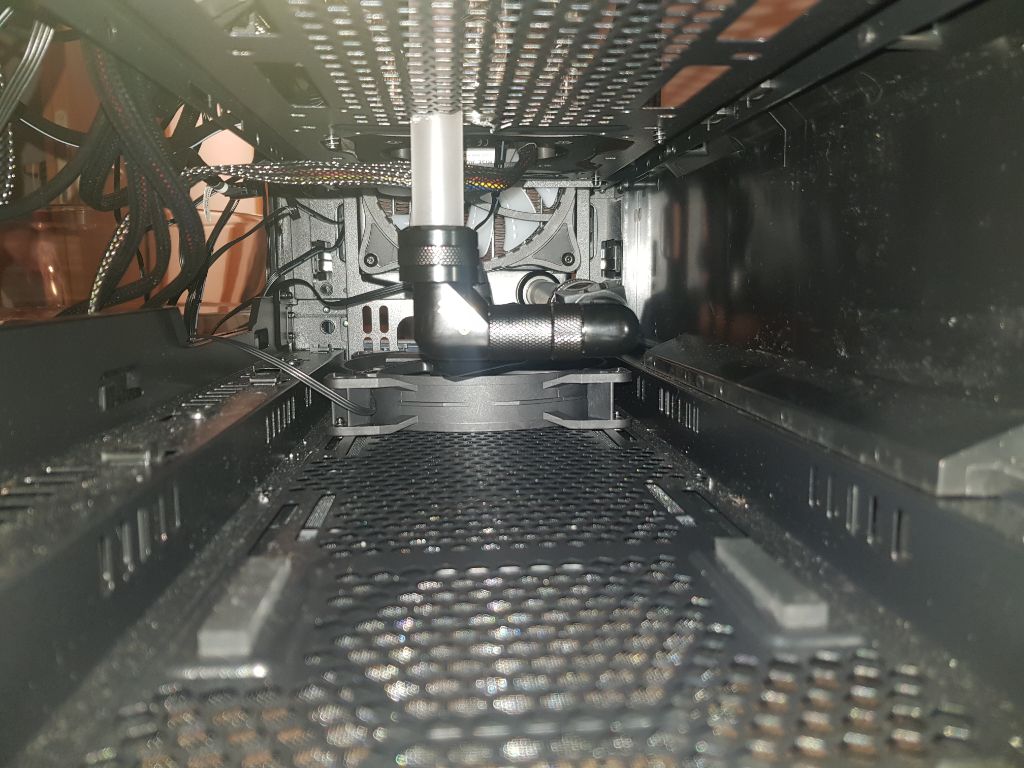
And this is what it looks like below. There is also the drain cock, because somehow the water must get out again! You can’t leave it in there forever. An additional 140 mm fan is installed here, which provides fresh air from below. Even a second 140 mm fan can easily fit there. However, it is mandatory to provide it with a grid. Here are still the cables from the power supply and you do not want to destroy them!
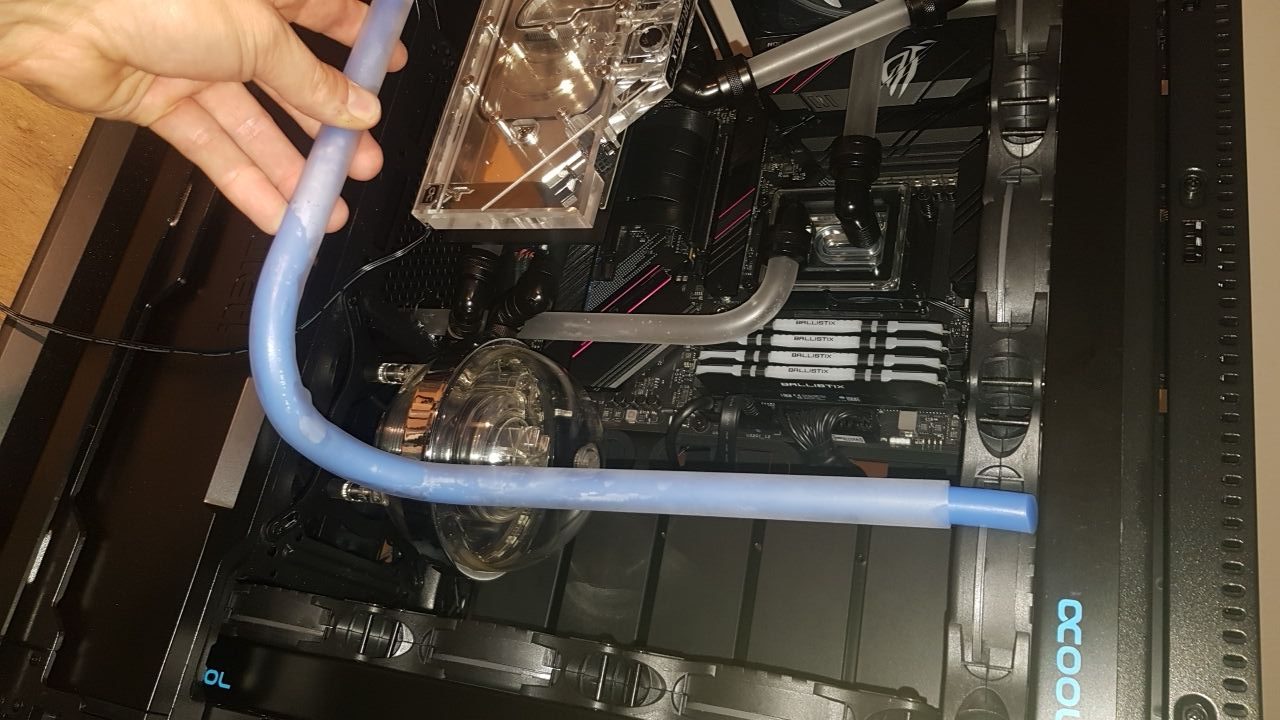
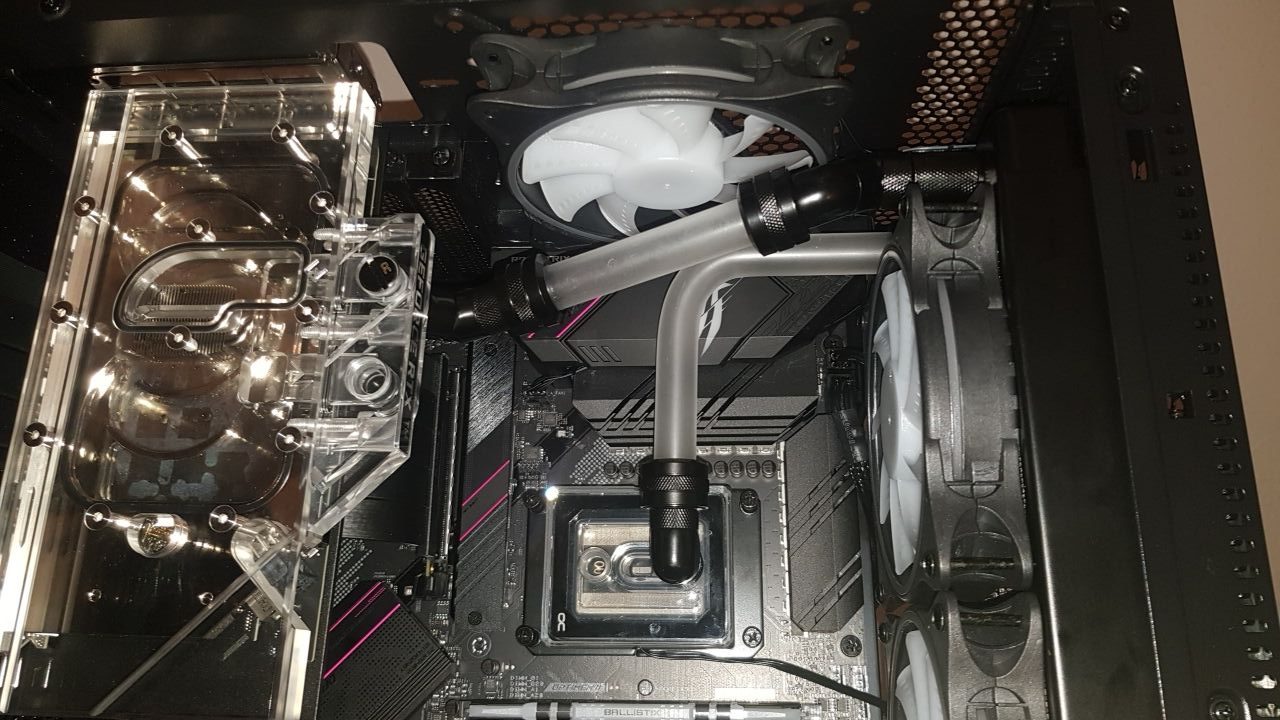
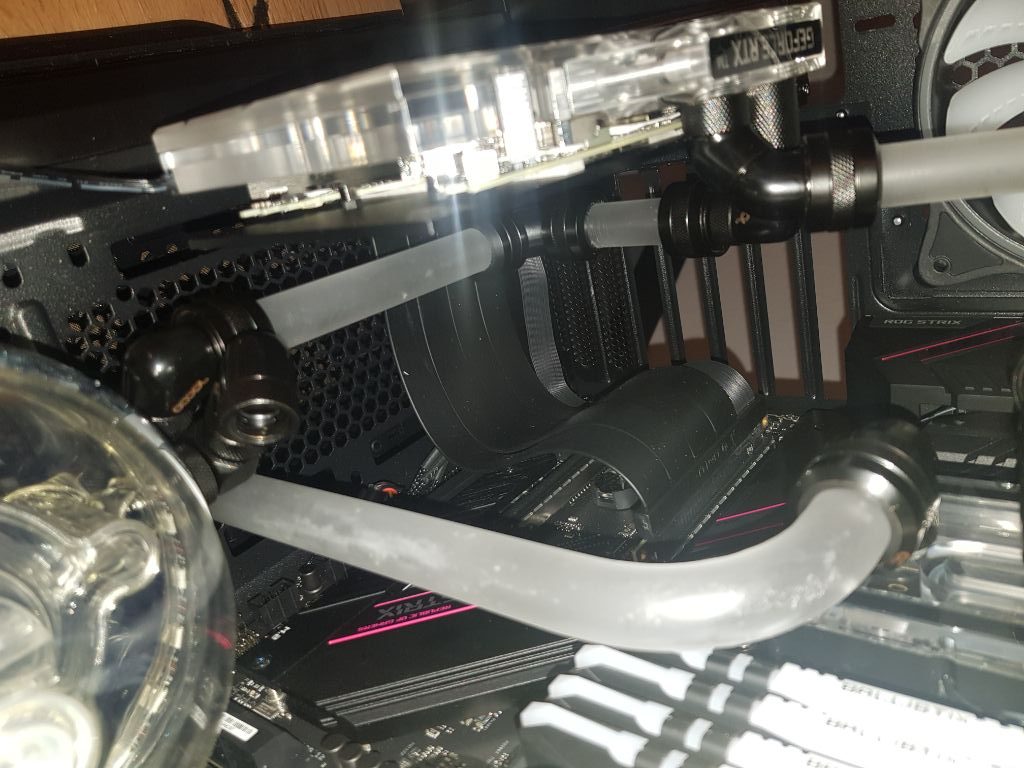
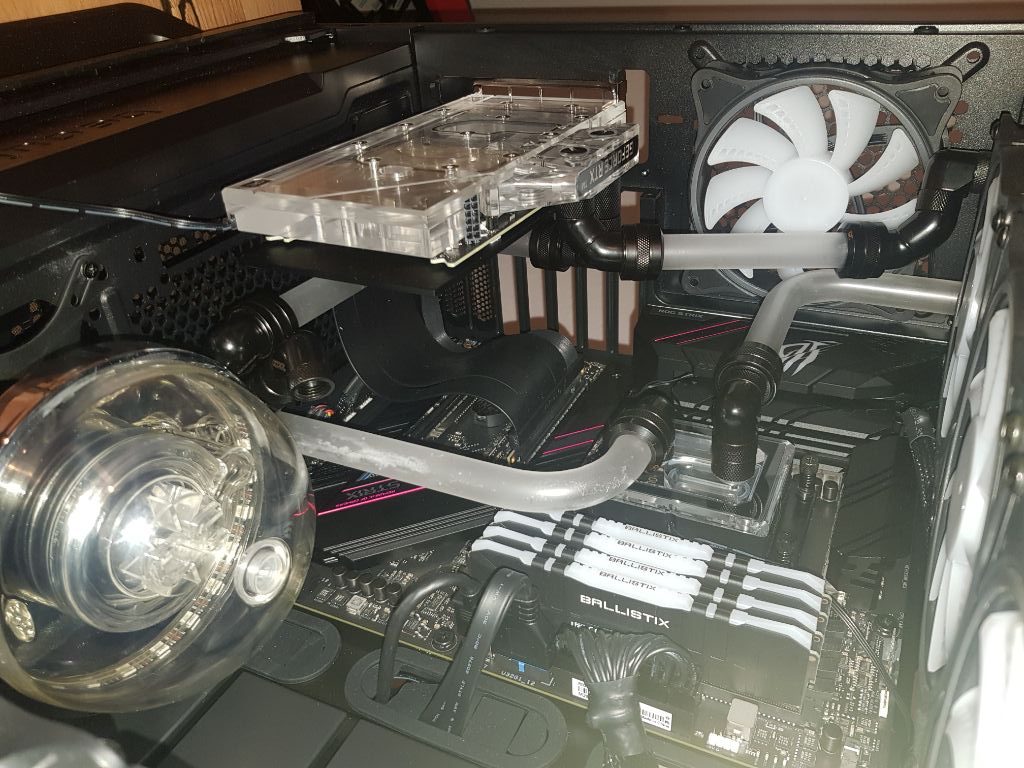
So, since the water also has to return to the pump at the end, the last connection from the front radiator to the ice ball is still missing. Here the requirement was clear, a 3D pipe must be produced, because the brother-in-law did not want any more elbows and corner connectors in the middle of the viewing area. Let’s do it!
From the radiator it first goes straight to the corner connector, then comes the 3D bent pipe.
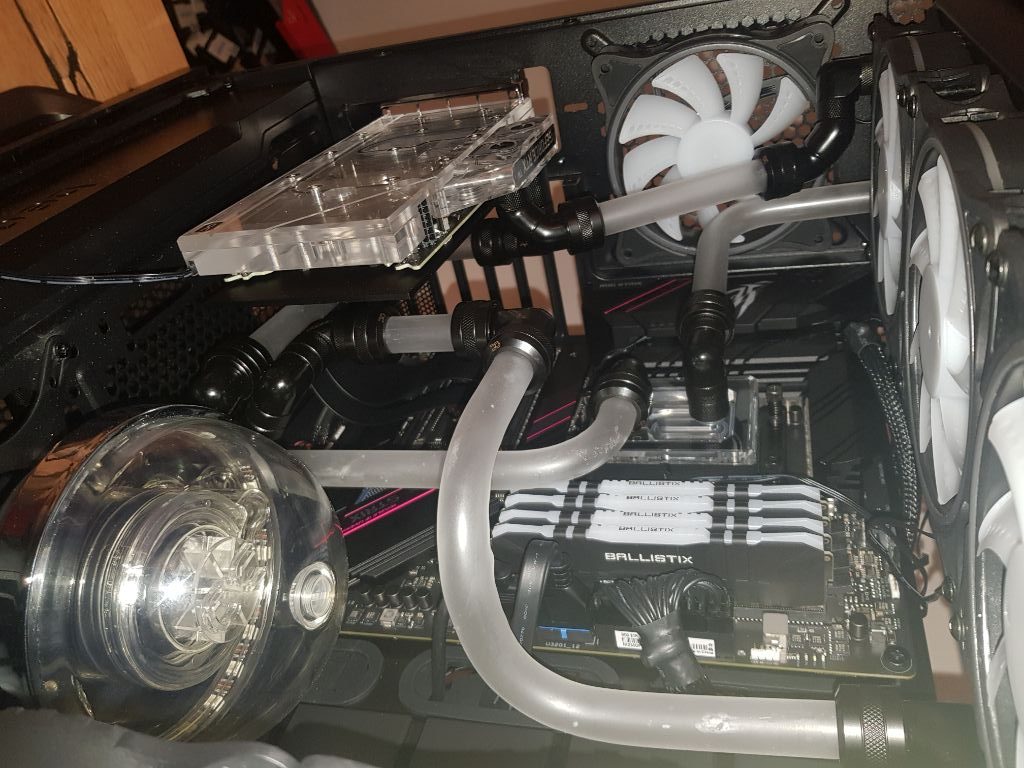
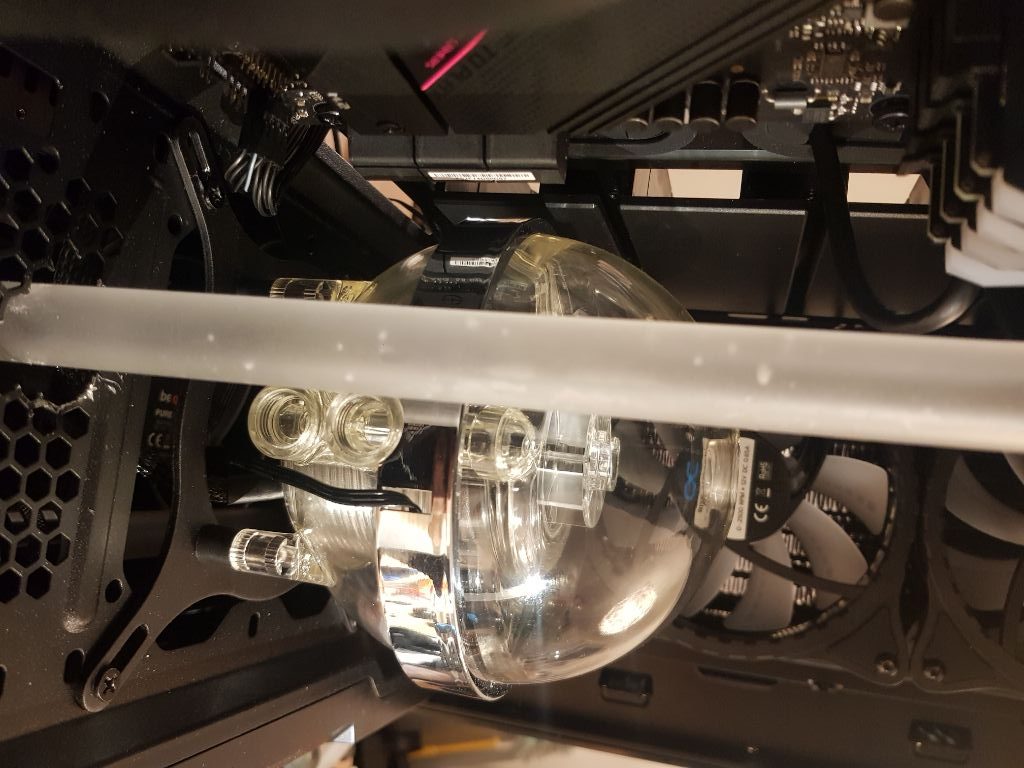
As you can see, there are still quite a few corner connectors and angle pieces until the IN of the ice ball. If you really want to bend a tube here so that it is one piece from the radiator to the ice ball, you will probably have to buy the tube stock from Alphacool empty. Impossible is not at the end of the day, but everything that has more than 2 bends is already really very expensive! I know from reliable sources that even the professionals despair of such a task. Then it’s on to the filling! The ice ball is very convenient because you only need to open from the top and water march!
When filling, the pump must be running, which means you must bypass the power supply. This can be done with a screwdriver or an appropriate adapter. The goal is not to start the whole computer, but to pretend to the power supply that it is the 24 pin on the mainboard. So fill the ice ball once and then start the pump and refill until the circuit is full. At the end, you should leave a few millimeters of air so that the water can still expand under full load of the system. You don’t have to do much more than that. Except, of course, check all the corner connectors, fittings, etc. for leaks. Last page!


81 Antworten
Kommentar
Lade neue Kommentare
Veteran
Veteran
Urgestein
Veteran
Urgestein
Moderator
Moderator
Urgestein
Urgestein
Moderator
Moderator
Urgestein
Urgestein
Urgestein
Moderator
Moderator
Urgestein
Moderator
Urgestein
Alle Kommentare lesen unter igor´sLAB Community →