


First steps in hard tubing
Knowing very well how difficult it is: to try to produce a 3-dimensonal tube processable to a few tenths on a CNC bending machine, I had a hard time imagining how what you see on the sketch would work. So quickly called the good Pascal (our fan tester), who constantly makes such projects. He said to me, “Uh demanding. How many PCs has your brother-in-law done with custom water cooling?” To which I could only say: none at all yet! Then Pascal just said: “Get corner connectors, and lots of them! Oh, and how many pipes did you order?” I said: 3 x 4 pack (à 80 cm), that should be enough or not. Pascal: “You better order at least 2 more packs!” You can already see where this has led.
What am I getting at? If you have installed your components, then there is an output from the expansion tank (in this case the Alphacool ice ball with pump) and that defines the zero point. From now on, everything has a position in 3D space. You can’t measure that exactly with the measuring equipment you have at home – that’s what I call a rough estimate! Or do any of you have a 3D measuring machine at home? I think not. Thus, the probability of a hit from position A to position B goes down with already the second bending angle. If a third angle is added in 3D space, then it is more of a coincidence when the pipe is cut after the 10th angle. Try suddenly fits. See you in a moment! Here is the first 90° angle. Try and Error!
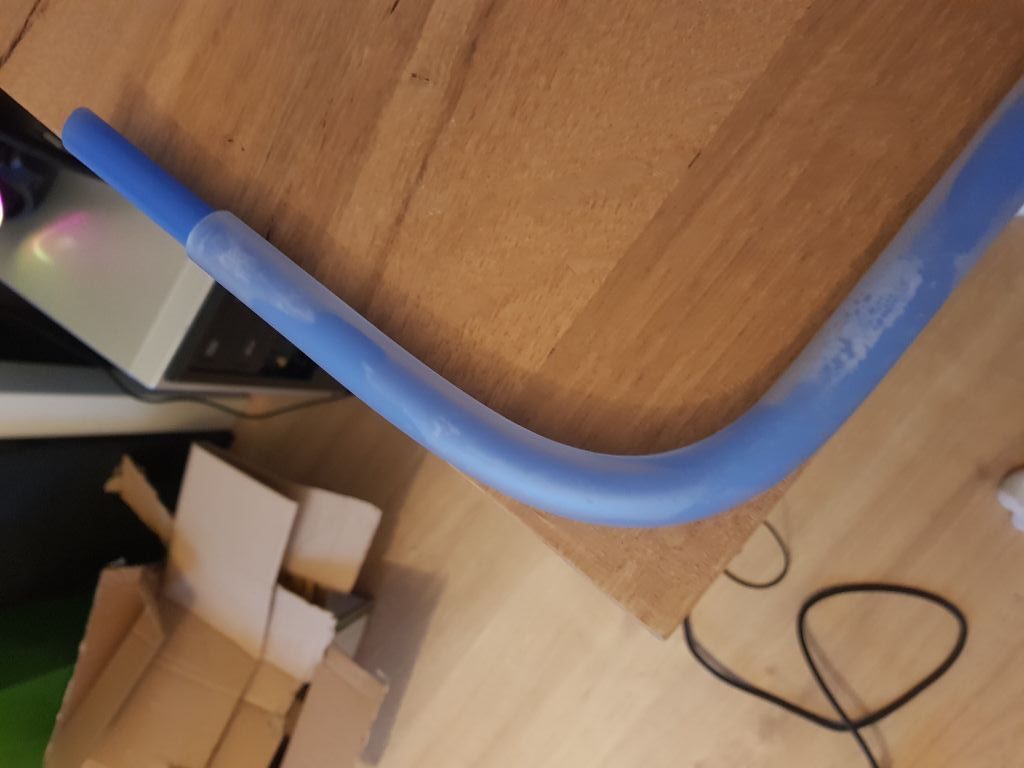
We have used the Alphacool “ice tubes”! These are virtually sandblasted on the outer surface and give a satin or ice look. The tubes are made of acrylic (PMMA) and can be bent quite well from about 80 ° C. It is important to ensure that at least 10 cm to the left and right of the desired bending point are properly warmed up with the hot air dryer. Better is 15 cm! Why? The material must be able to flow when bending! And to prevent it from collapsing, it is essential to insert the bending hose into the still stretched tube. The hose should be made really wet, otherwise you will not get it out of the tube!
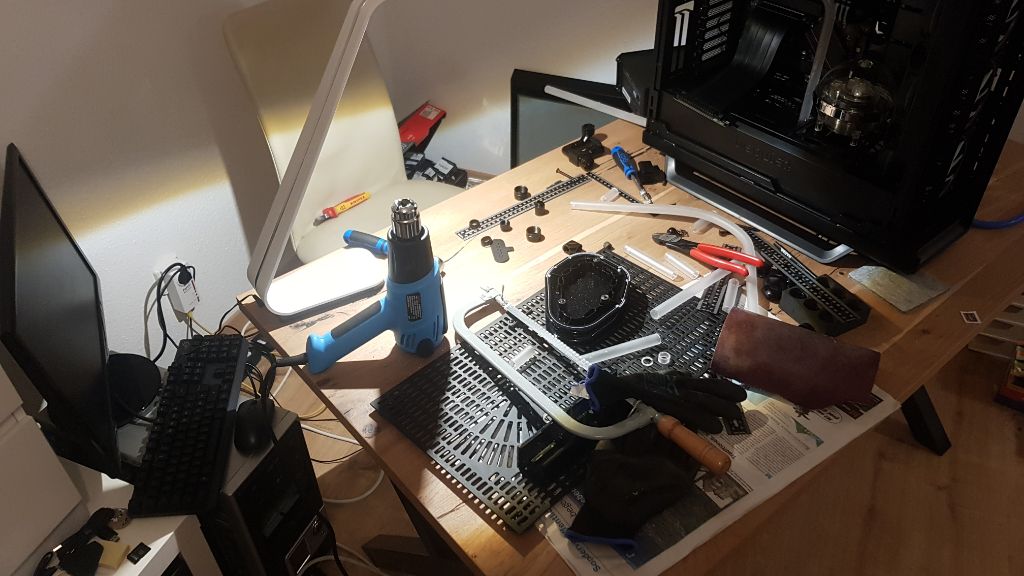
On the one hand, you can use the edge of the table as a guide, or you can get an ice case from Alphacool, for example. There are various angles as bending aids and tools, etc. already included! My brother-in-law borrowed it from Pascal and was able to try out everything. My brother-in-law ended up using a bit of the ice chest and still did a lot with the table edge. It was imperative to make an attempt – to bend a 3-dimensioonal tube. Was not so bad for now, but so not in the plan! Would that have been tight in the end?
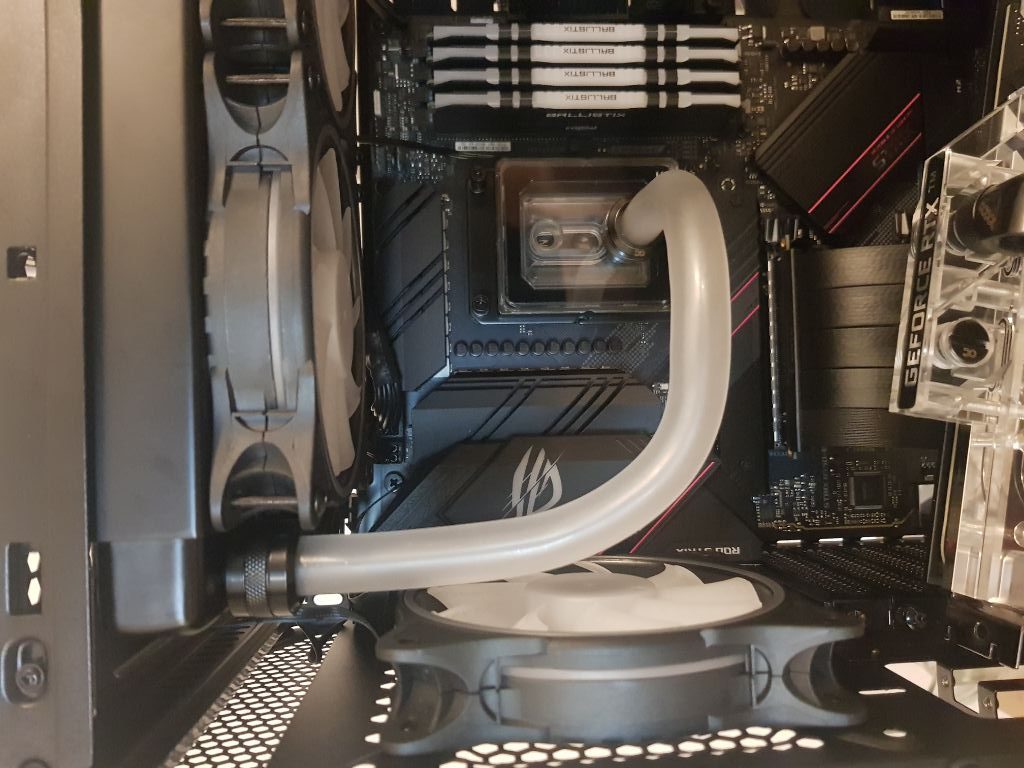
Positional accuracy looks different! Visually, as always, it’s a matter of taste, but I wouldn’t like it. What you really have to pay attention to here is that you still have enough straight portion when inserting into the fittings on the one hand (do not try to force the radius area into the fittings – that will most certainly end up leaking) and on the other hand the pipe to the fitting should not be too strained, that can also lead to leaks. Likewise, it is essential to deburr cleanly after sawing off, if necessary even with emery paper, to ensure that there is no more burr. You can feel that quite well! You must also flush all pipes or you will have chips in the system – a NO GO! So let’s forget about the 3D bending test and really get started now.


81 Antworten
Kommentar
Lade neue Kommentare
Veteran
Veteran
Urgestein
Veteran
Urgestein
Moderator
Moderator
Urgestein
Urgestein
Moderator
Moderator
Urgestein
Urgestein
Urgestein
Moderator
Moderator
Urgestein
Moderator
Urgestein
Alle Kommentare lesen unter igor´sLAB Community →