


Mounting
The assembly is for the most part already done at the factory, the whole thing is really easy and in the end you only have to mount the fans, apply pads and thermal paste and screw it together with the PCB as cleanly as possible. The disassembly of the original card and the removal of the air cooler I assume as known. The fans can be installed quickly anyway, if you have the right tools. Since I’m lazy, I use a small cordless screwdriver with slip clutch and matching bit.

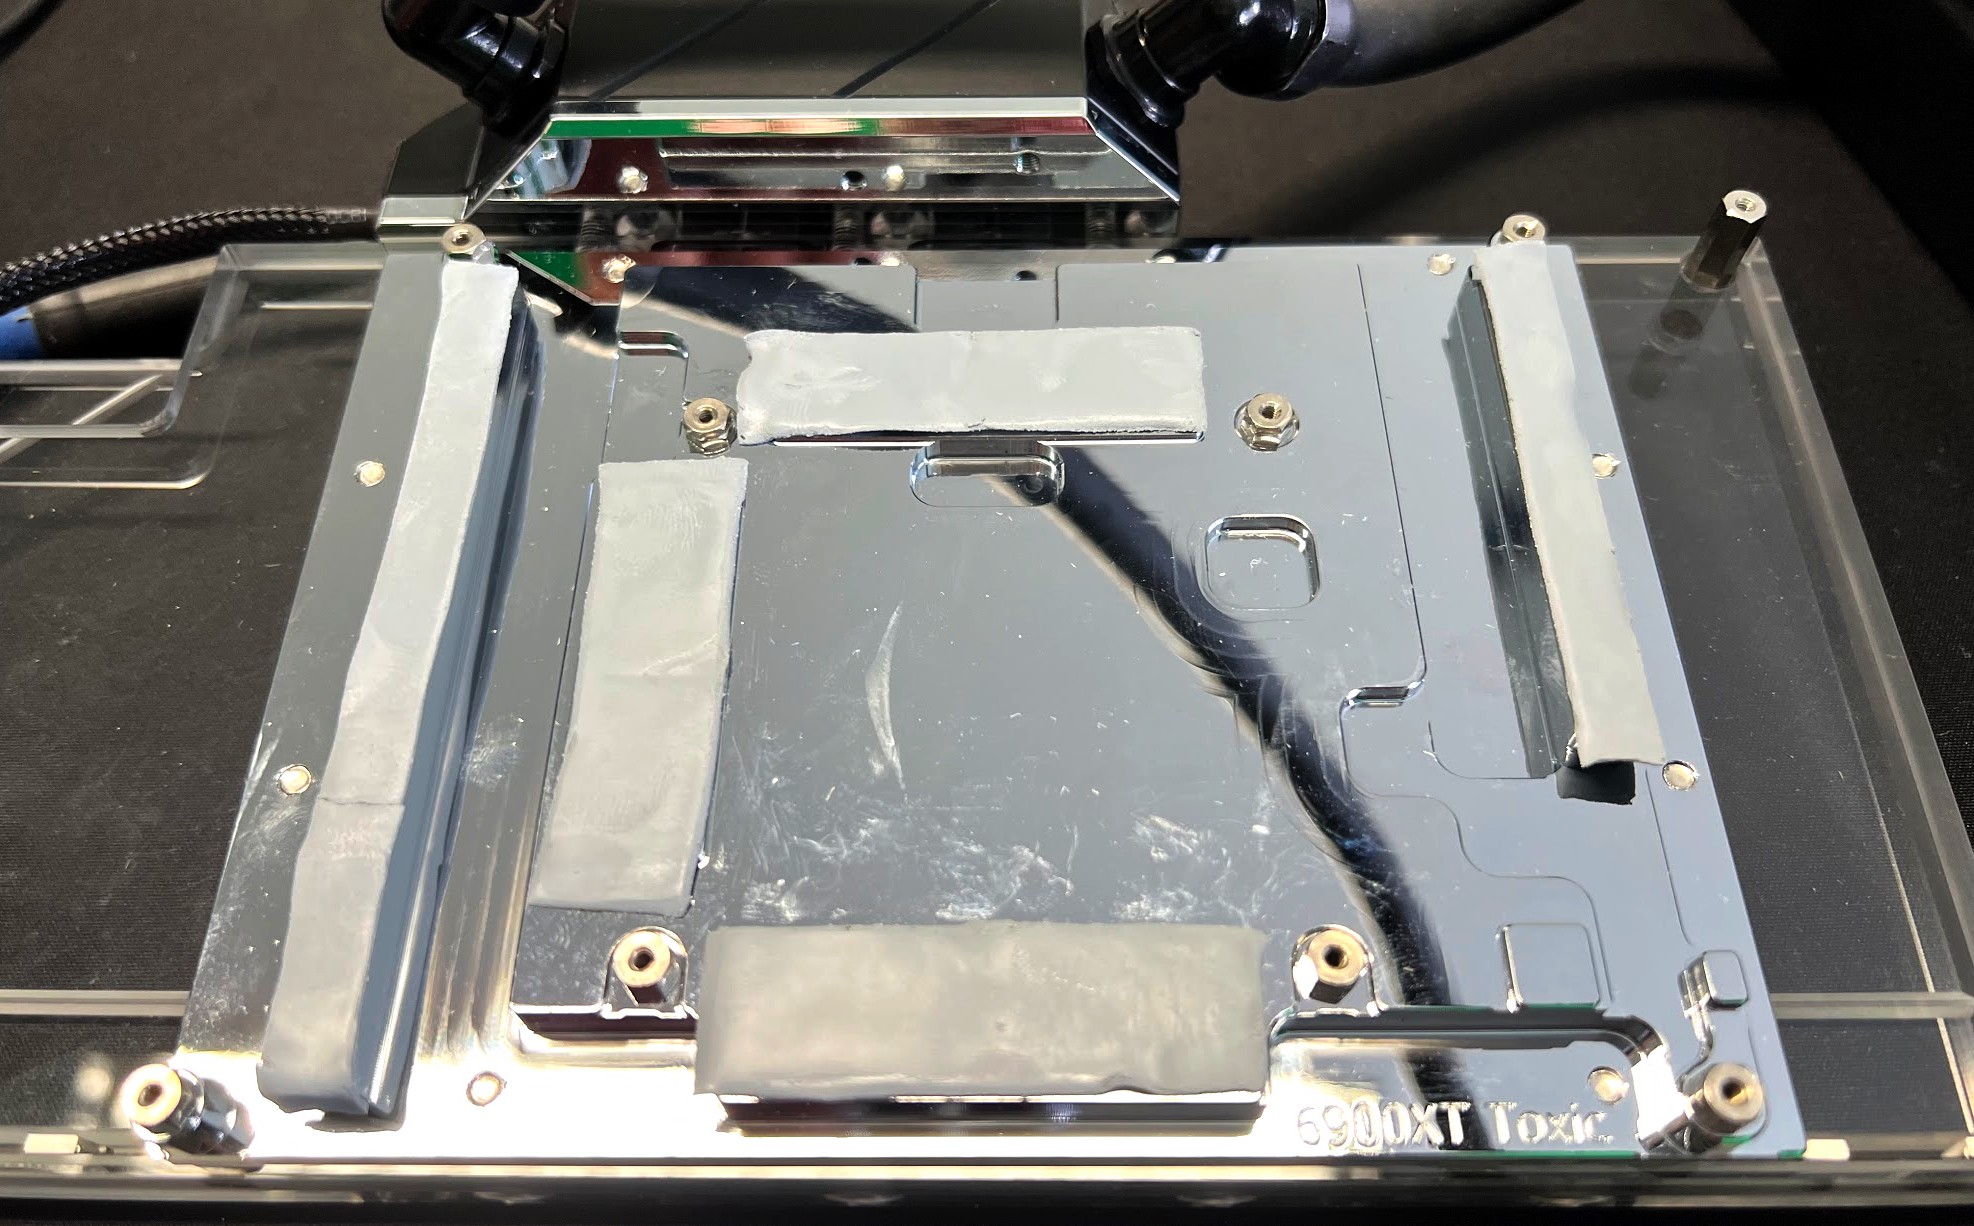
The included thermal pads have a real 7 W/mK and adhere quite well. It is advisable to stick them on the cooler and not on the PCB, because if you have to put it upside down on the cooler later, parts of the pads could come off again due to its own weight. Better safe than sorry.
I also have to say a word about the thermal paste, because the chip is quite large. Ideally, you should use a slightly more viscous paste that doesn’t contain as much silicone and will stay where you put it and not bleed out over time. For this reason, Alphacool relies on the rock-solid Subzero here in the accessories. If you want something fluffier and even better performance, you should take a look at Alphacool’s new Apex. But even so, the result is perfectly fine.
In principle, the best as a paste is just good enough, only this time the focus is really on the consistency of the paste. It must not be too viscous, so that it still spreads well when the cooler is tightened, but it must also not be too liquid, so that it does not simply run out. Things like an ARCTIC MX-4 or even MX-5 have no place on graphics cards. Too fluffy and also not heat conductive enough. The Alphacool Apex offers everything that is so urgently needed (not only for) graphics cards: a reasonably high viscosity without being too solid, a very good thermal conductivity and a useful long-term consistency, which was also convincing here in the test lab during long runs. So is the enclosed Subzero, but it is much more viscous.
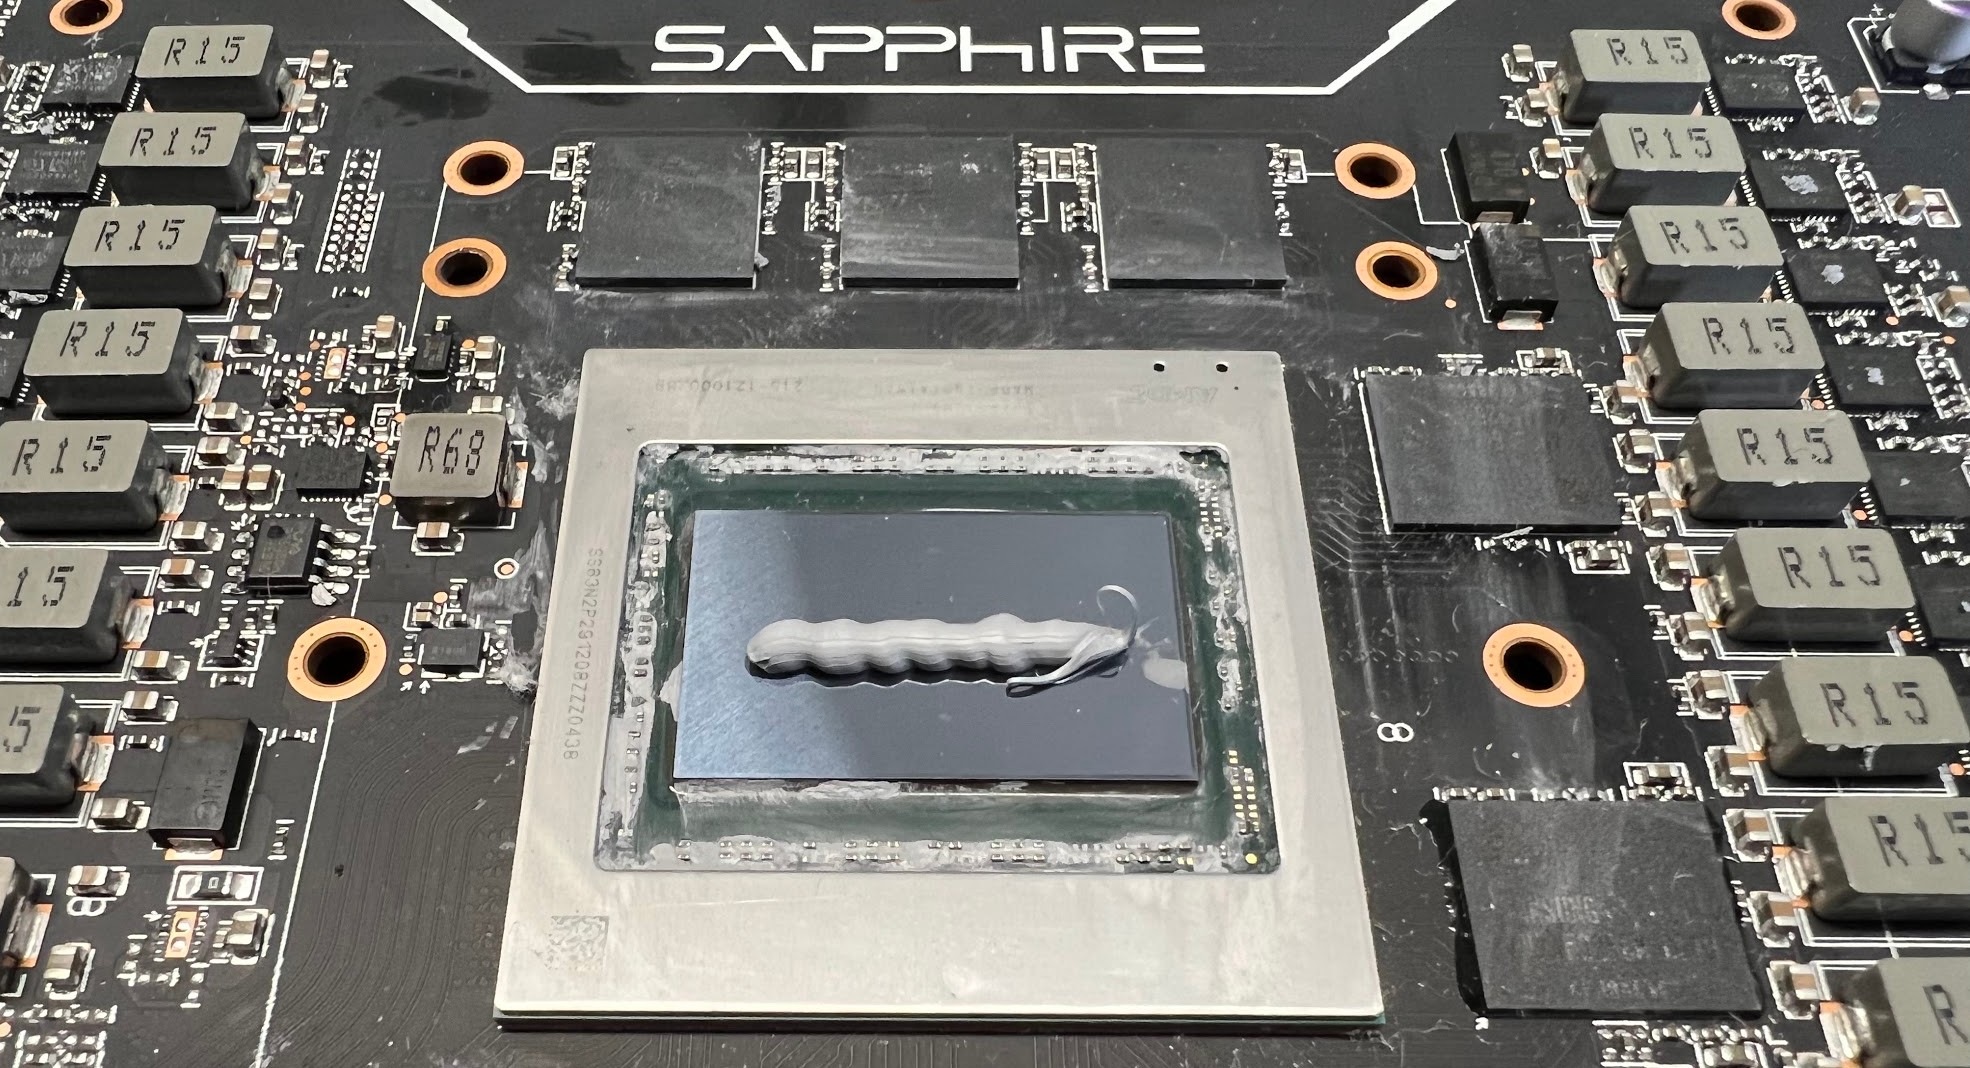
The paste is applied as shown in the picture and the cooler is then placed as horizontally as possible. After countless attempts with dots, lines or a thin spread, I came back to the sausage. With a cloth in between, you then press lightly and carefully (!) from the back onto the center of the GPU in order to press the paste a bit evenly to the sides even before screwing. Then you first carefully screw in the two screws of one of the long sides (i.e. horizontally viewed on the PCB) until they grip really well and then stop that.
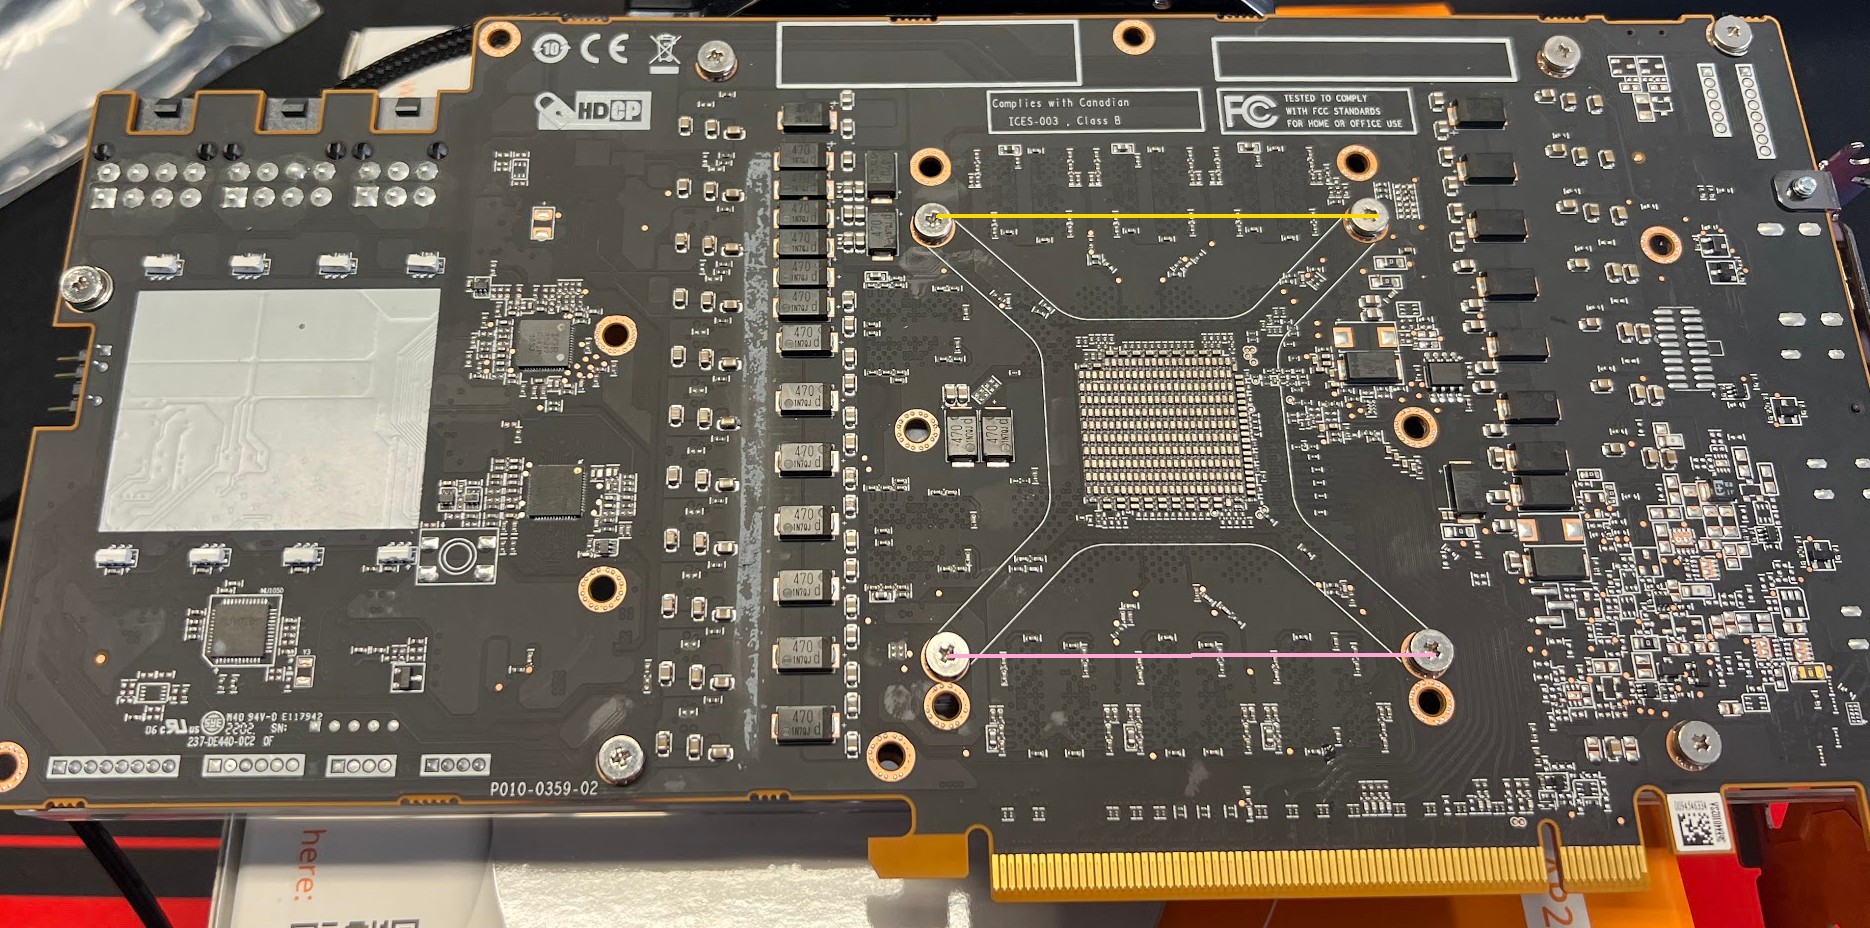
This is then repeated on the opposite side. Then, alternating between the sides, tighten the respective screws of this side step by step until everything is really final and tight. Screwing diagonally brings nothing but a much too high hotspot temperature! With this method, you can safely achieve the 10 to 11 degree difference between GPU edge and hotspot. More is not possible anyway, not even with brute force when screwing.
Then screw the whole thing together, connect the pump to the pump header and the fans to one of the system fan headers. RGB to RGB and that’s it. However, it is imperative to check in the BIOS before all load tests whether the pump really gets real 12 volts and 100% speeds. Some boards (especially those without pump headers) control the speeds by default via the CPU temperature. However, the small DC pump needs full thrust, otherwise the temperatures will explode. She also doesn’t like having to start up throttled. There must be approx. 2900 rpm, then the pump is in its element.
The fans, which we will see in a moment, should run at a maximum of 1500 rpm, which can also be set permanently. Anything above that hardly adds any gain and also gets plenty noisy.
For those who are interested, I have simply attached the manual for the assembly of the ice block with the graphics card as a PDF, where the rest for the successful water battle is also described.
13057_Alphacool_Eisblock_Aurora_Acryl_GPX-A_Radeon_RX_6900XT_Toxic_with_Backplate_Manual


50 Antworten
Kommentar
Lade neue Kommentare
Urgestein
1
Urgestein
1
Veteran
Urgestein
1
Urgestein
Urgestein
Veteran
Urgestein
Mitglied
Urgestein
Veteran
Urgestein
1
Urgestein
Neuling
Urgestein
Alle Kommentare lesen unter igor´sLAB Community →