


Installation report
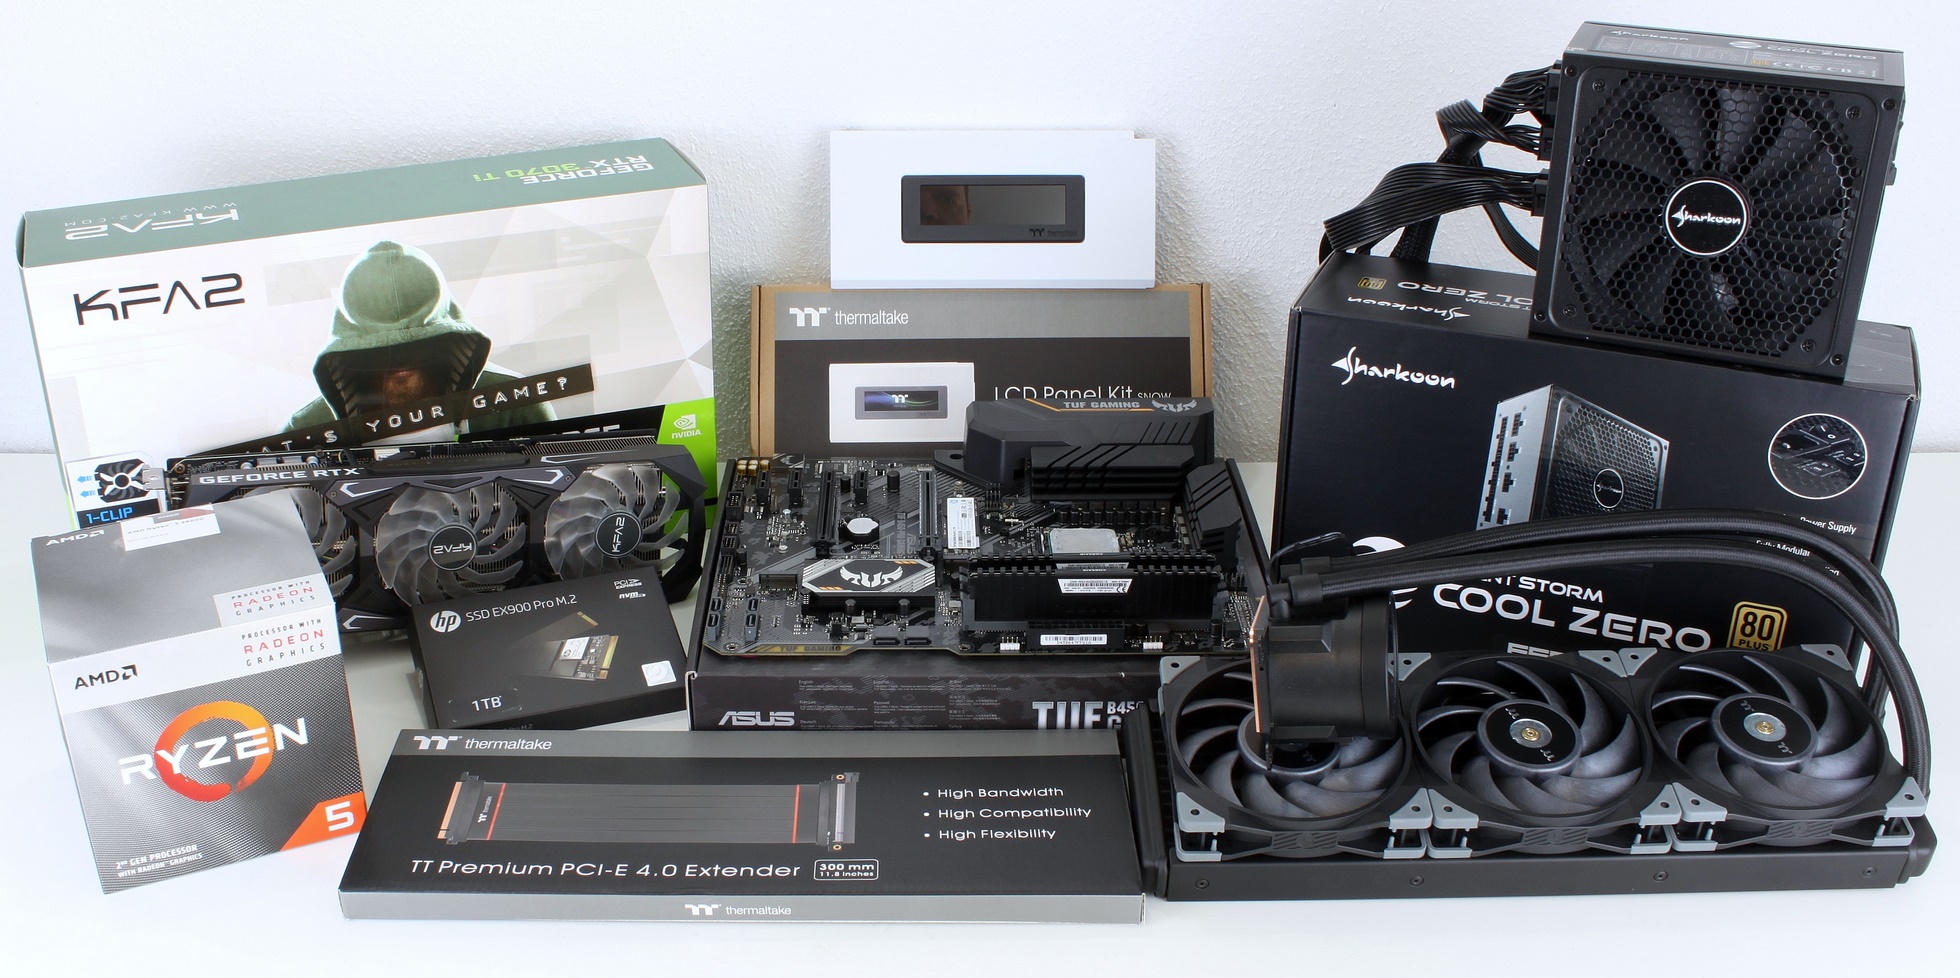
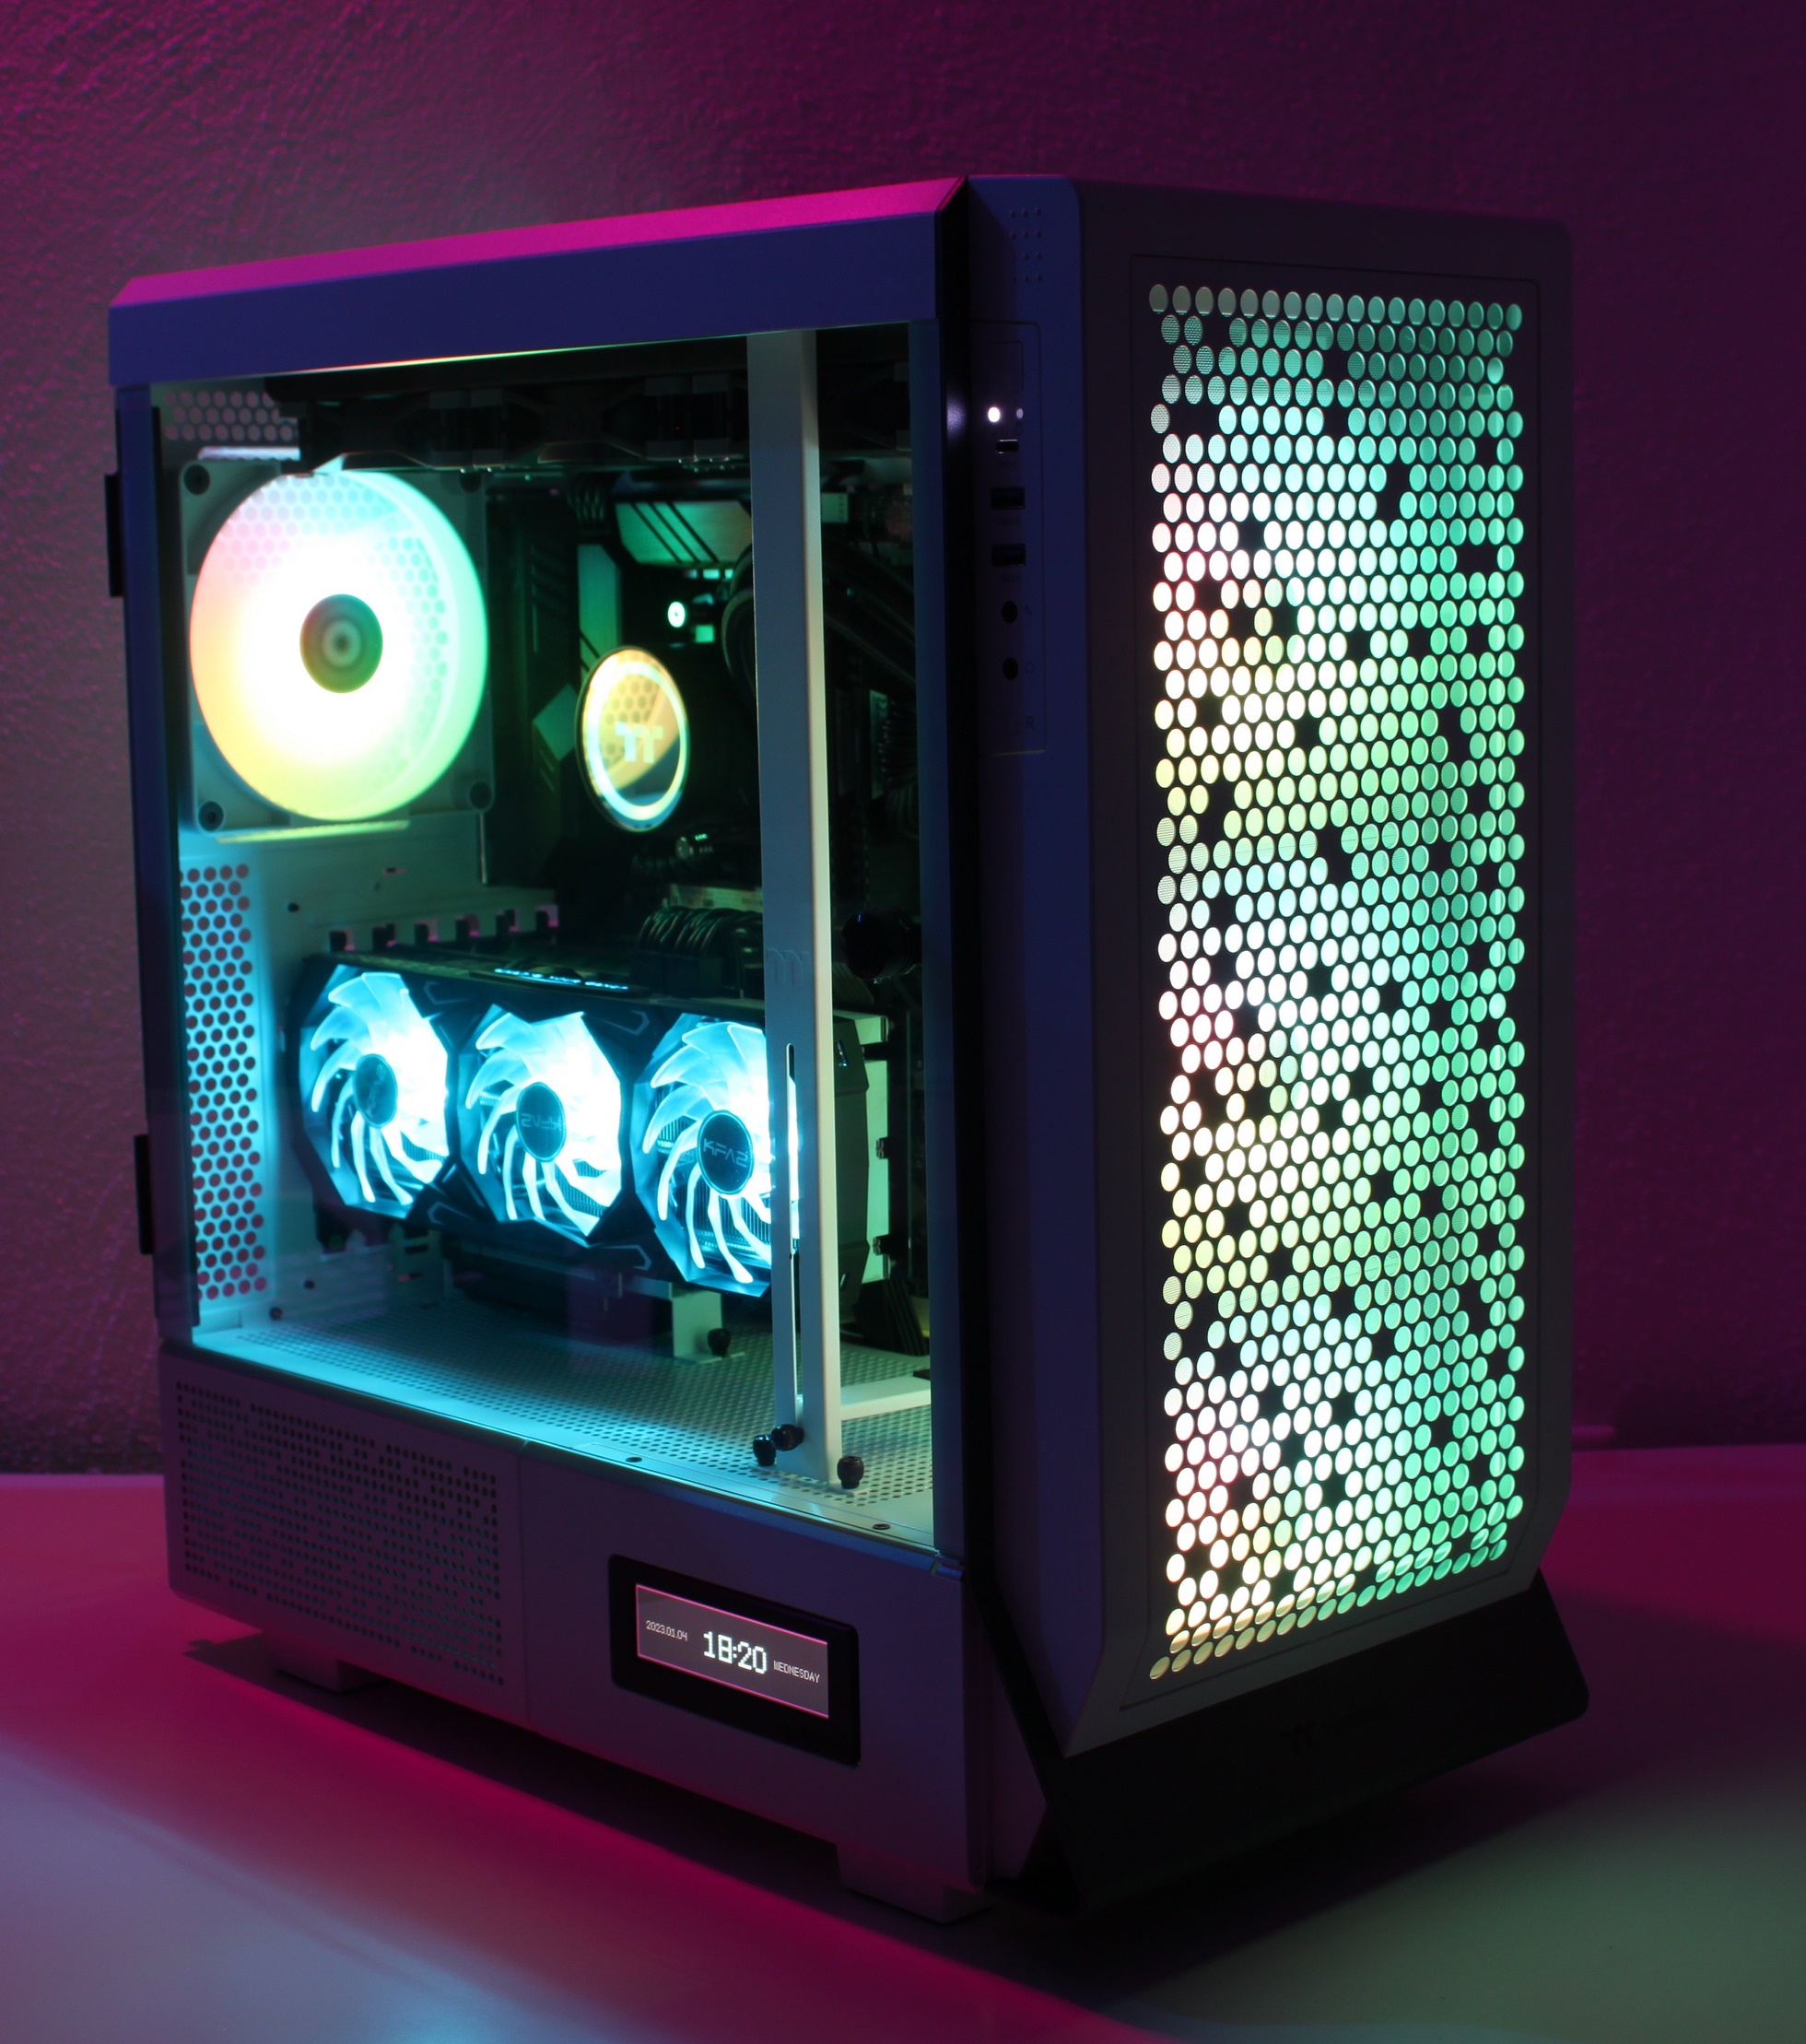
First of all, I must say that I have not had so much fun building in a long time! After the recently reviewed and very good Fractal Design North, the Ceres 500 takes a completely different direction. Instead of discreet understatement, a full pound of show and shine is the order of the day here. The repertoire of available hardware is slowly but steadily growing and considering the target group, I once again went for an AIO and also went all out in terms of lighting, including a vertically mounted GPU. The following components should be mounted:
After the optional display was already mounted, as shown on the previous page, we started with the actual routine: First with the power supply, which is also mounted in the Ceres 500 with a small frame.
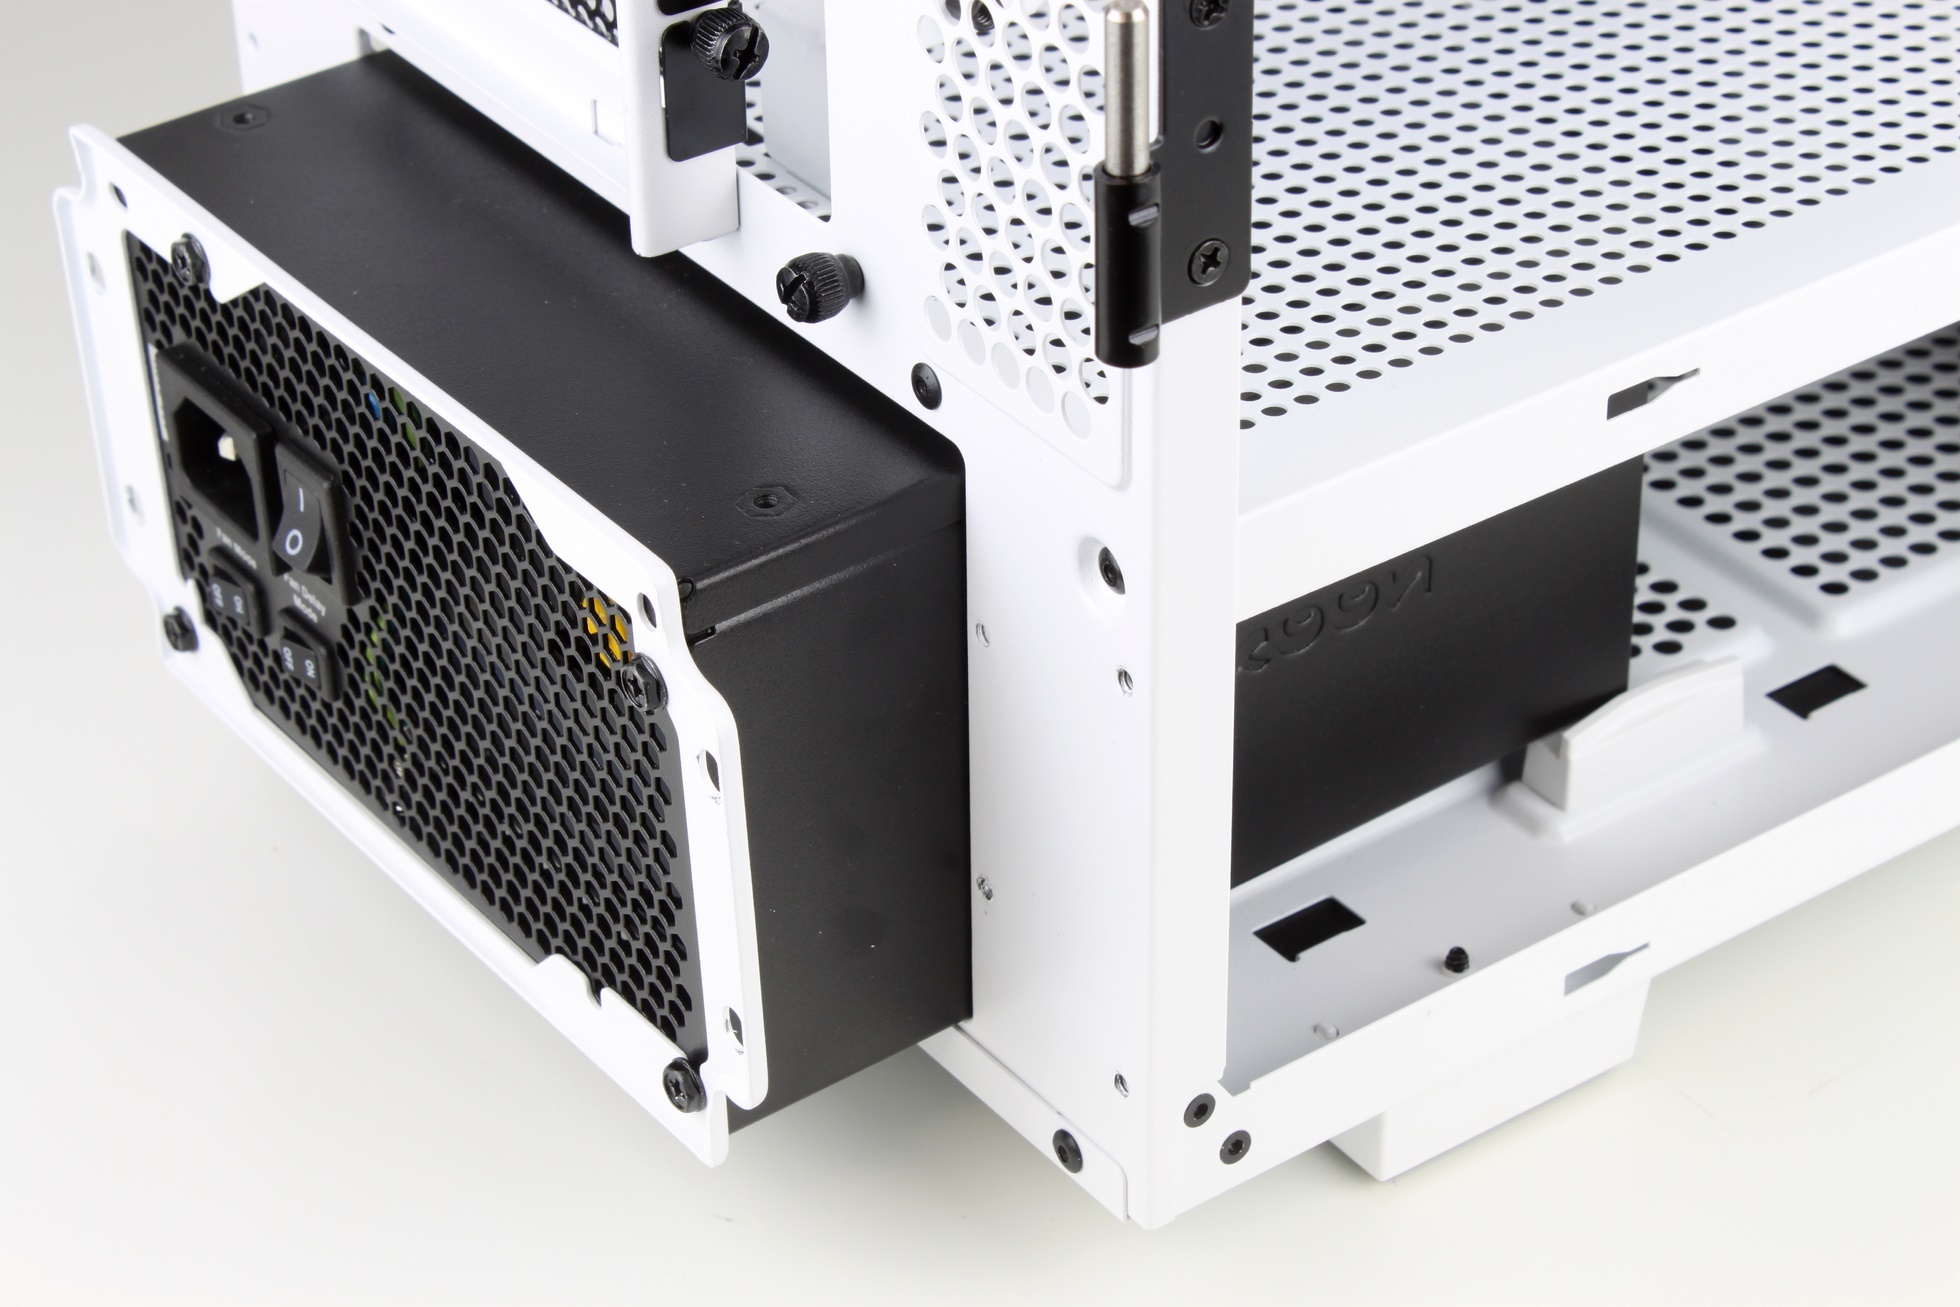
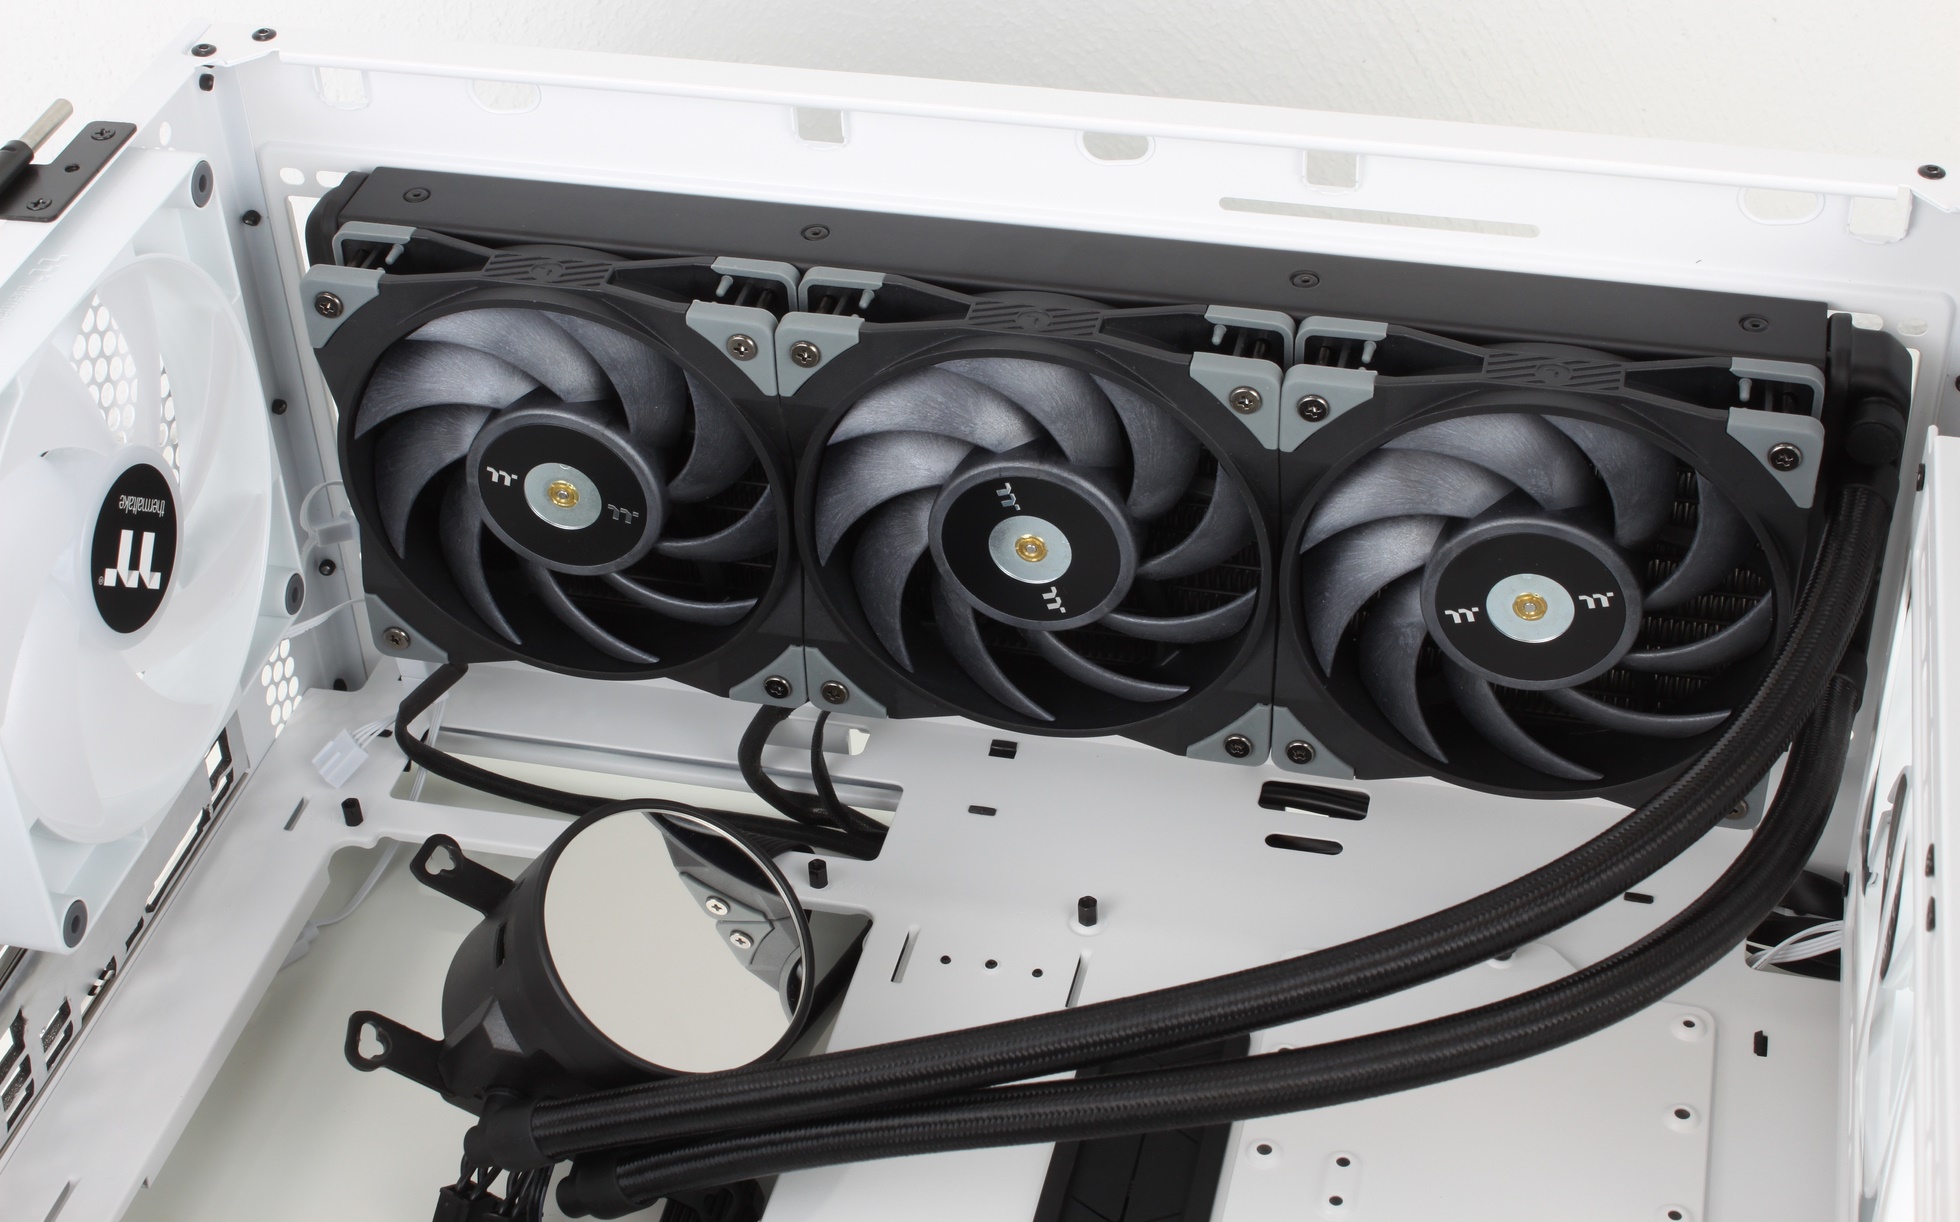
I always start with the power supply and then put the cable for the CPU supply directly on top. There’s nothing worse than in narrow cases and already mounted large CPU coolers this cable subsequently reinzufriemeln! In order to check the space conditions, the 360mm AIO was first allowed to test fit. Yes, the fans are not vented, but it just fits the case and between you and me, the Tough fans are superior to most RGB fans from a pure performance standpoint anyway. Result: Fits!
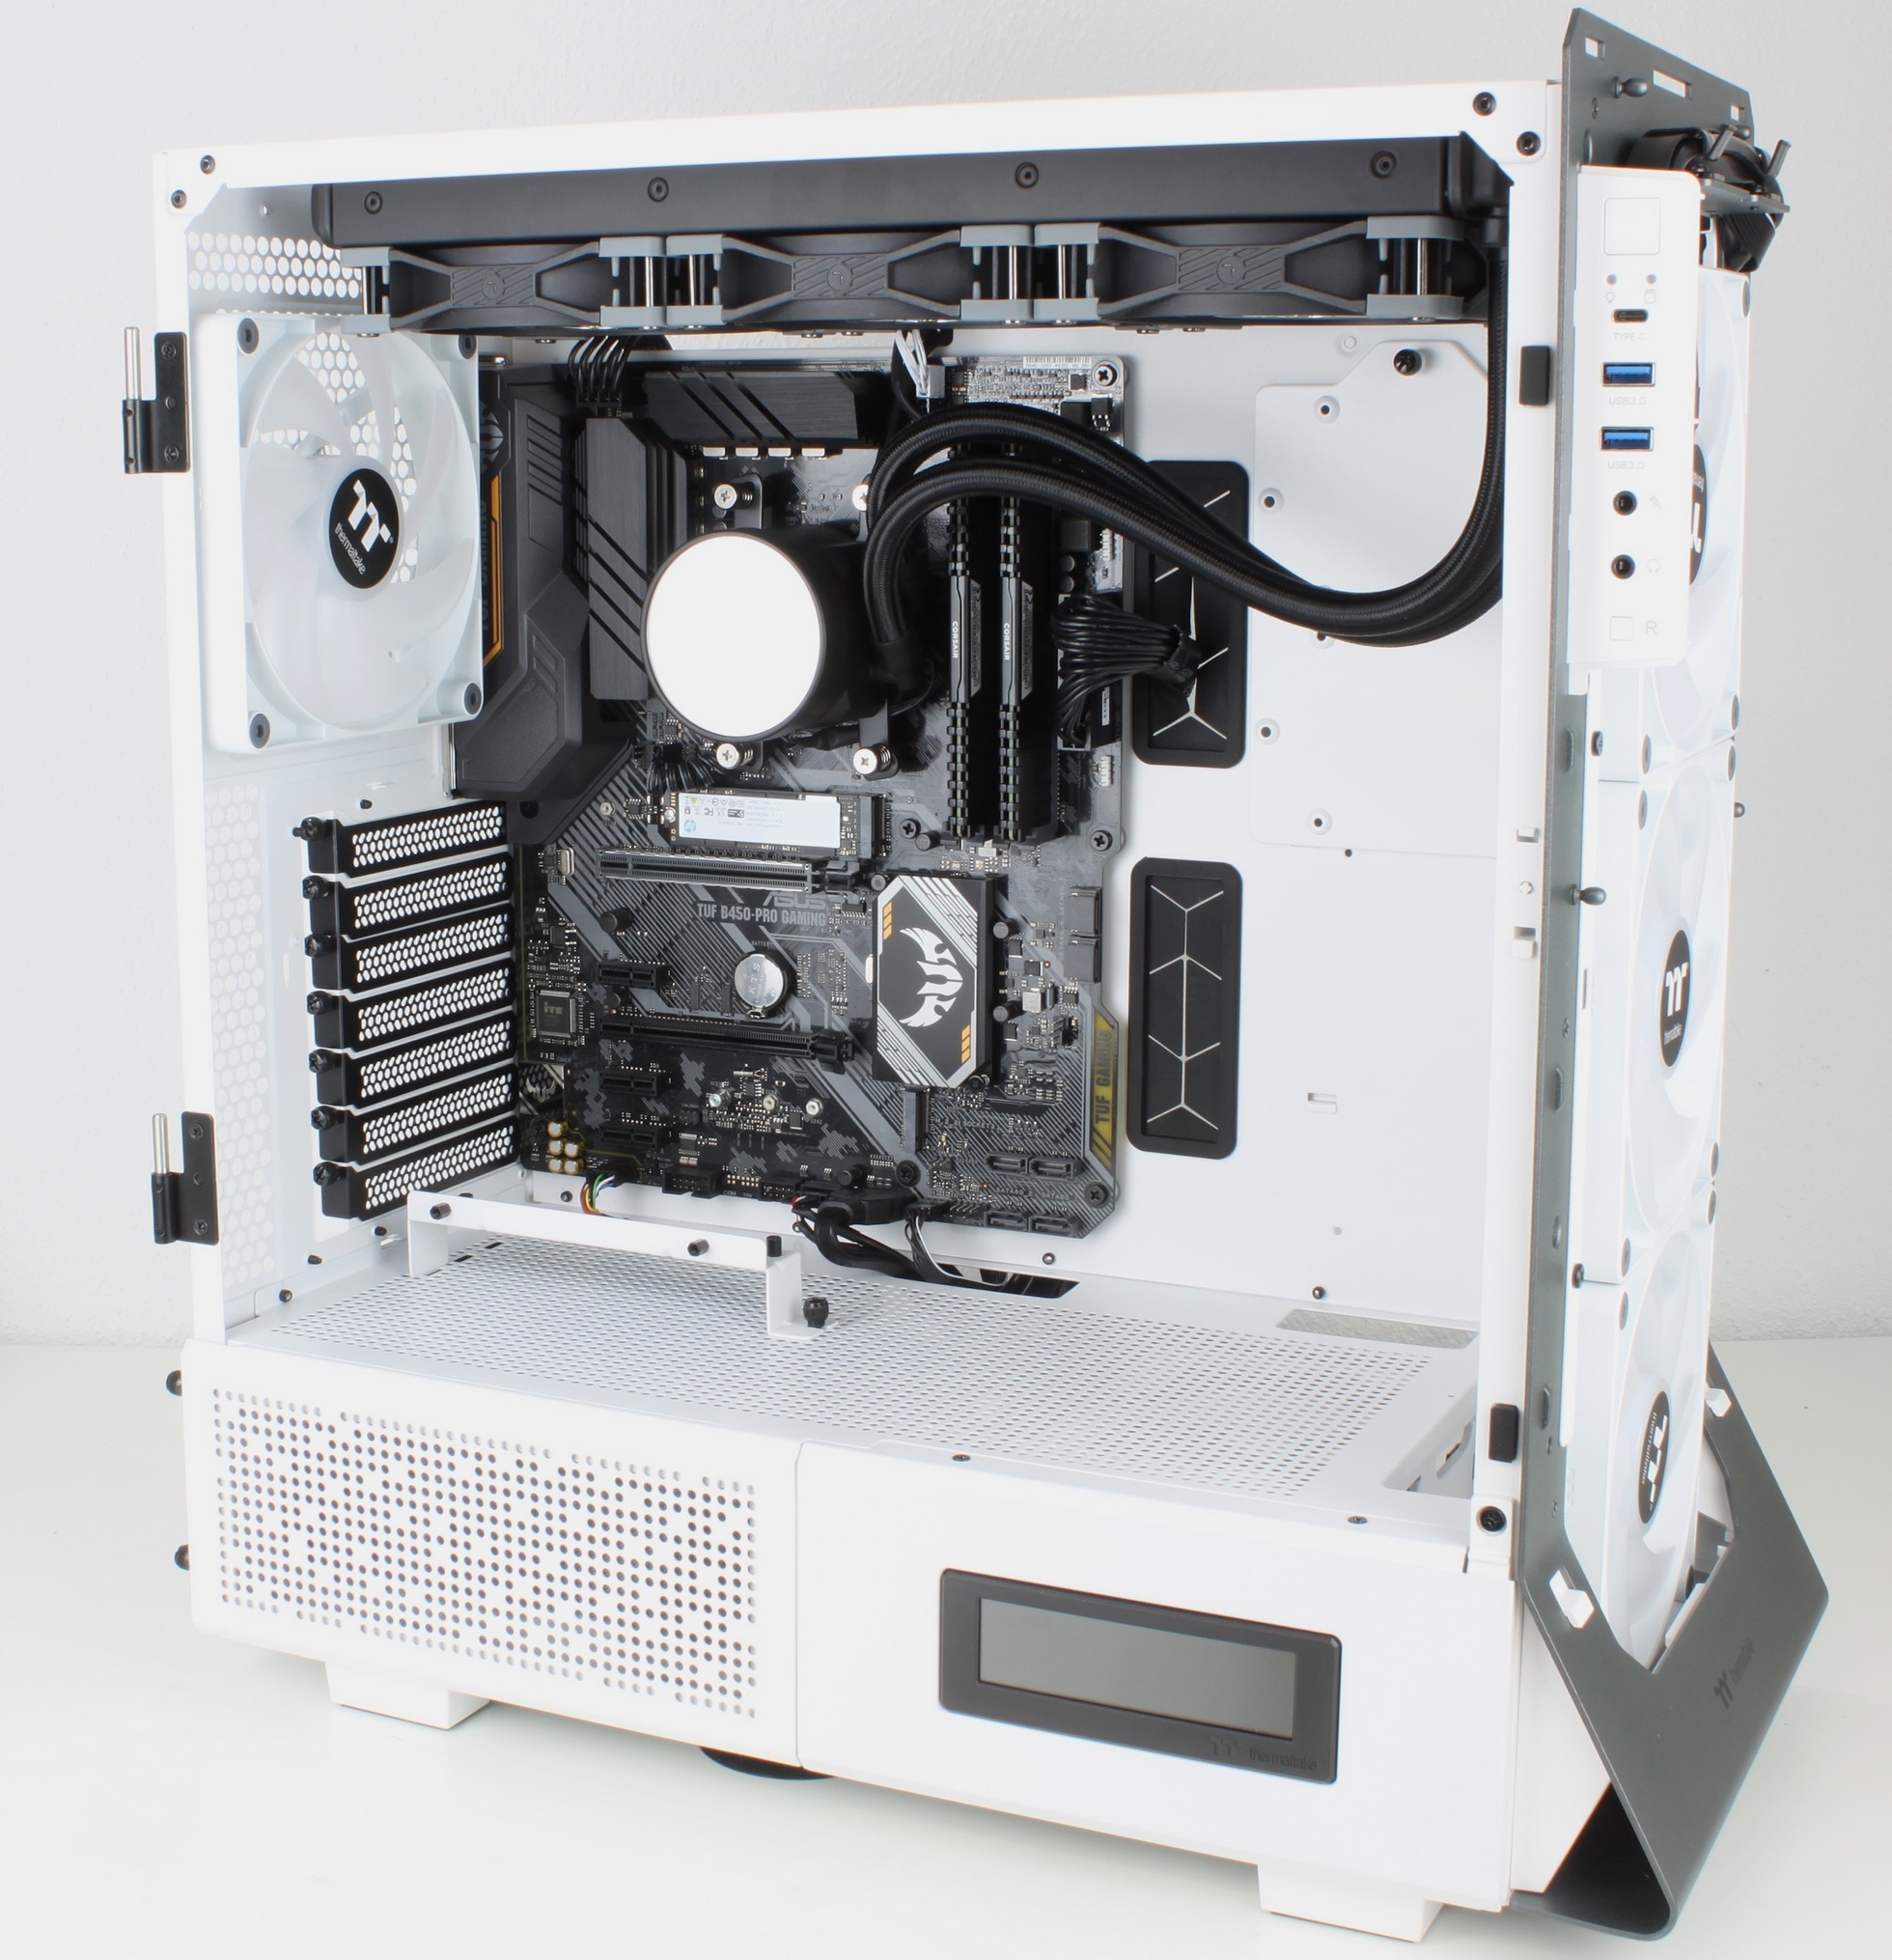
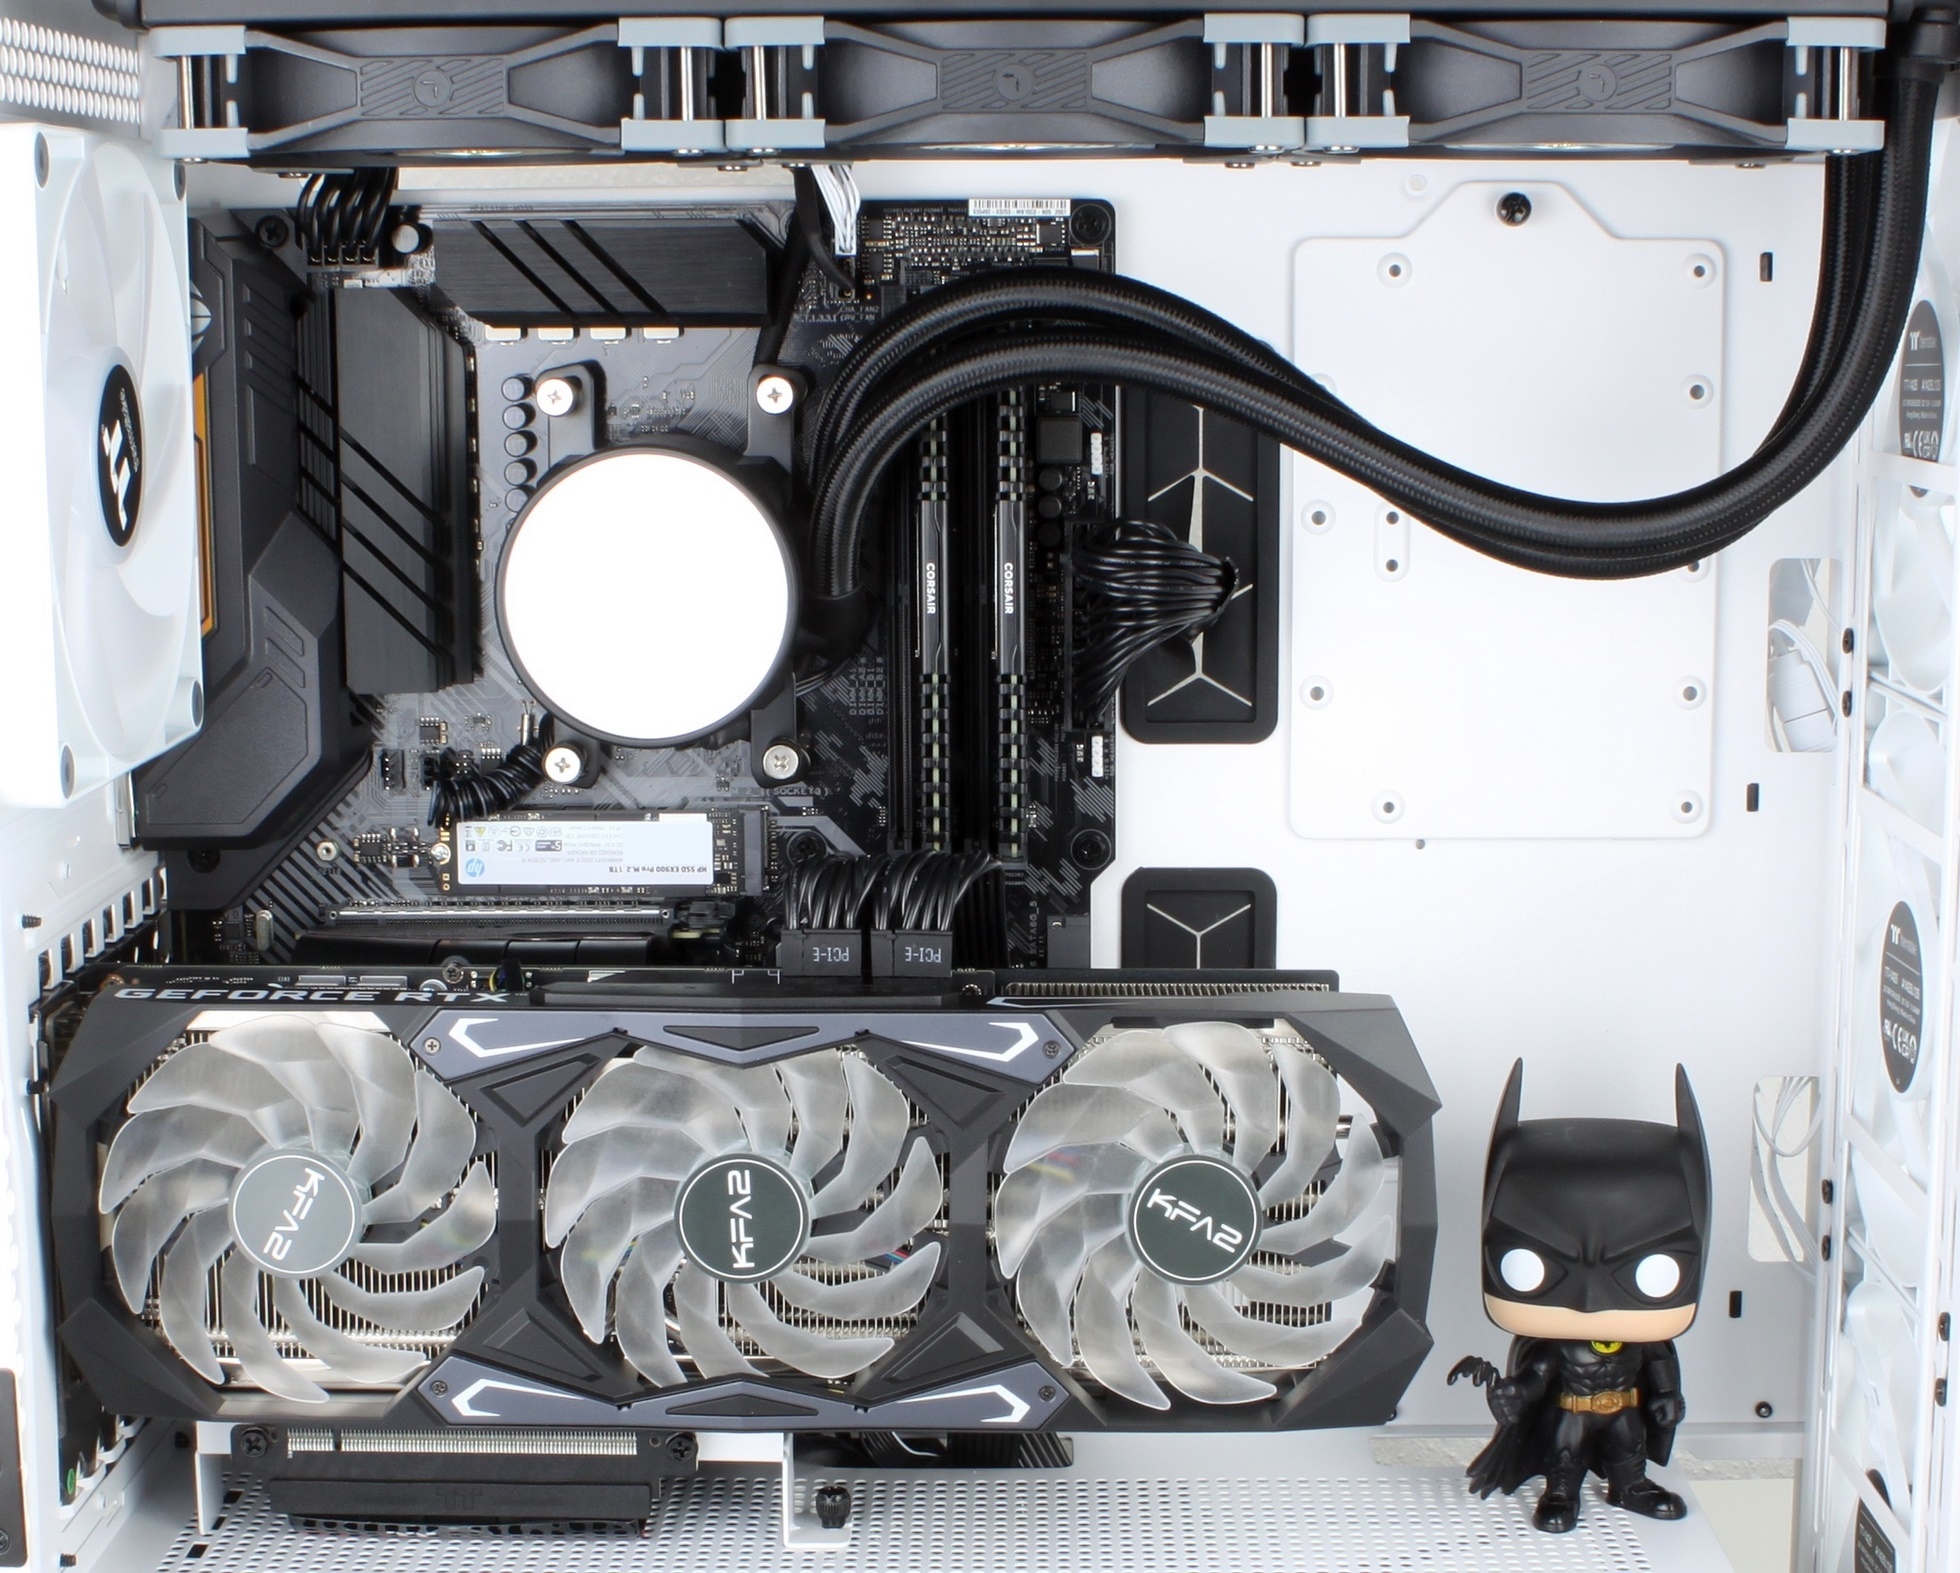
The next step is the mainboard. CPU, RAM and SSD were already pre-assembled. Unfortunately, the next picture is destroyed at this point, so I can only serve with the cooler already mounted.
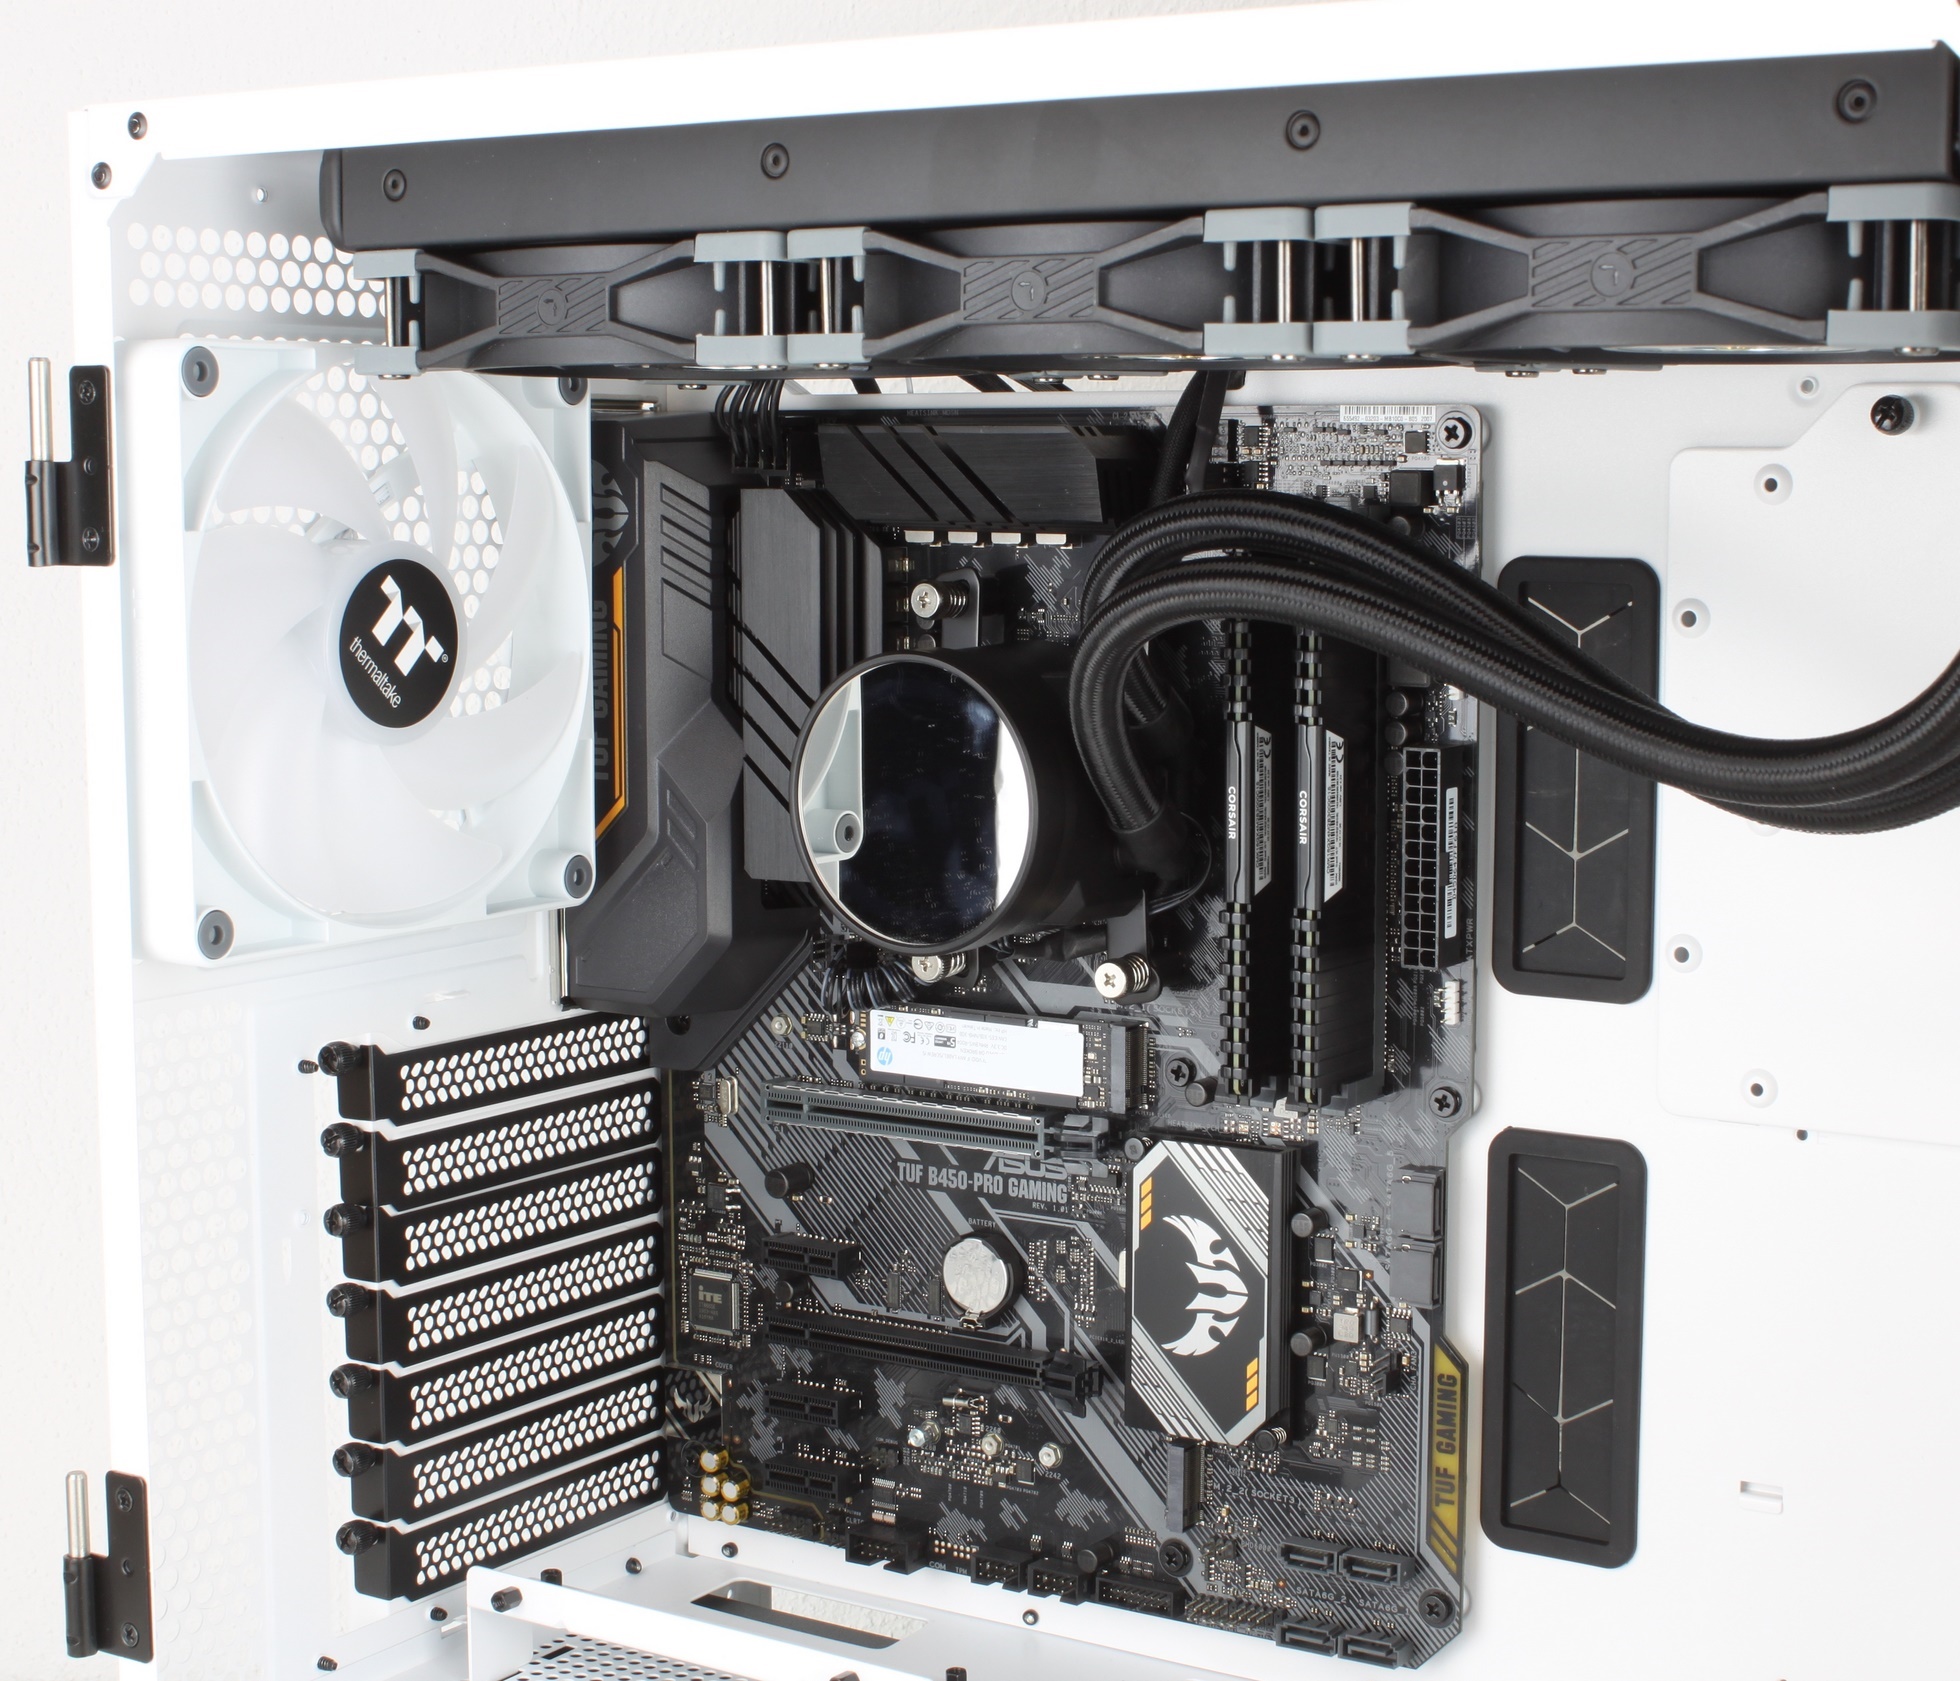
Again, a quick word about the CPU cable: In this case, it would have made more sense to install and connect the board first and only then mount the AIO. Afterwards you are always smarter.
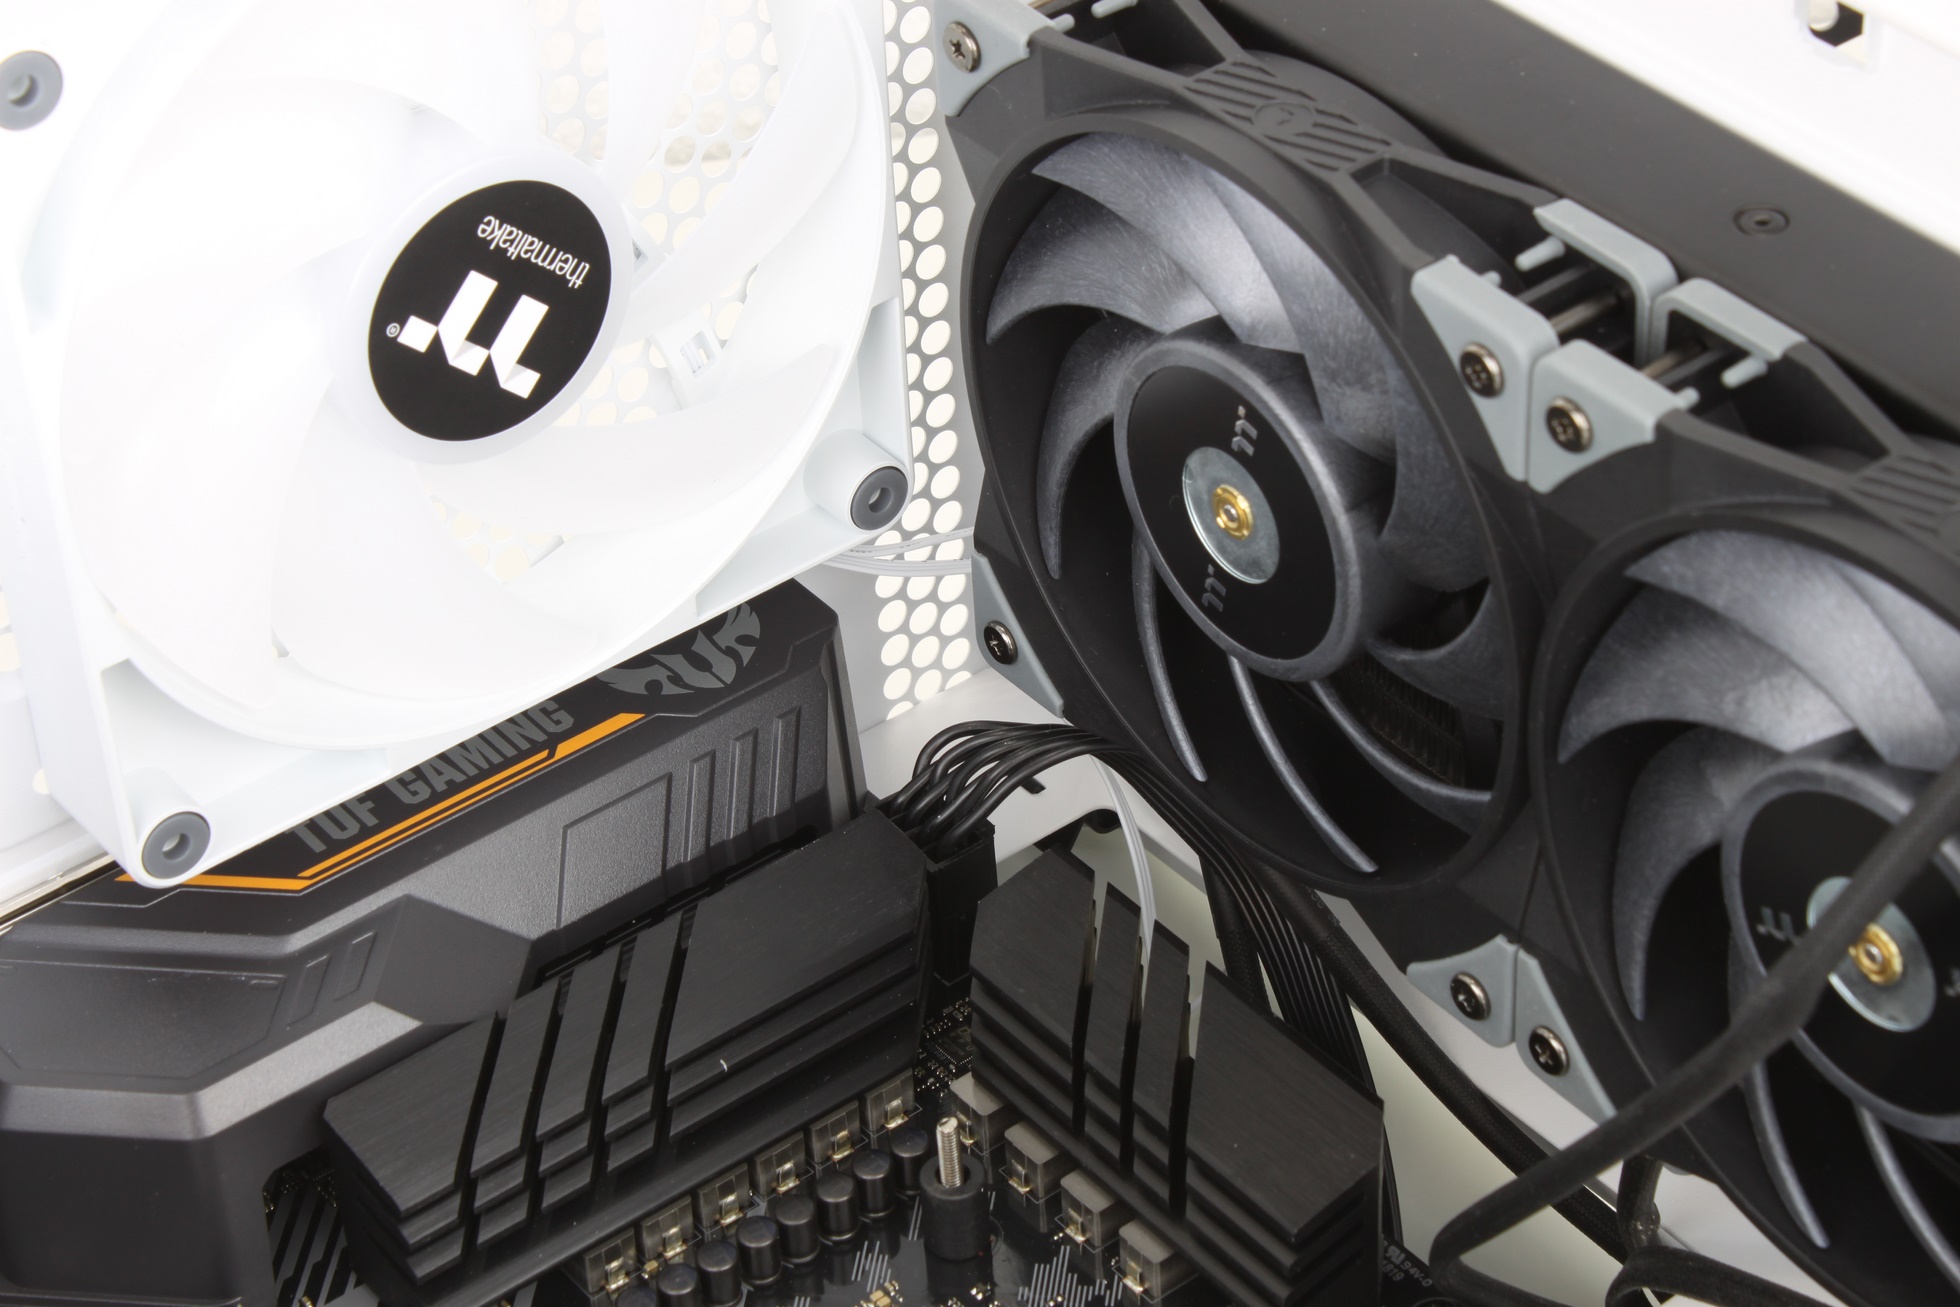
Thanks to sensibly placed diffusers, the connected cables are almost invisible. That’s the way I like it.
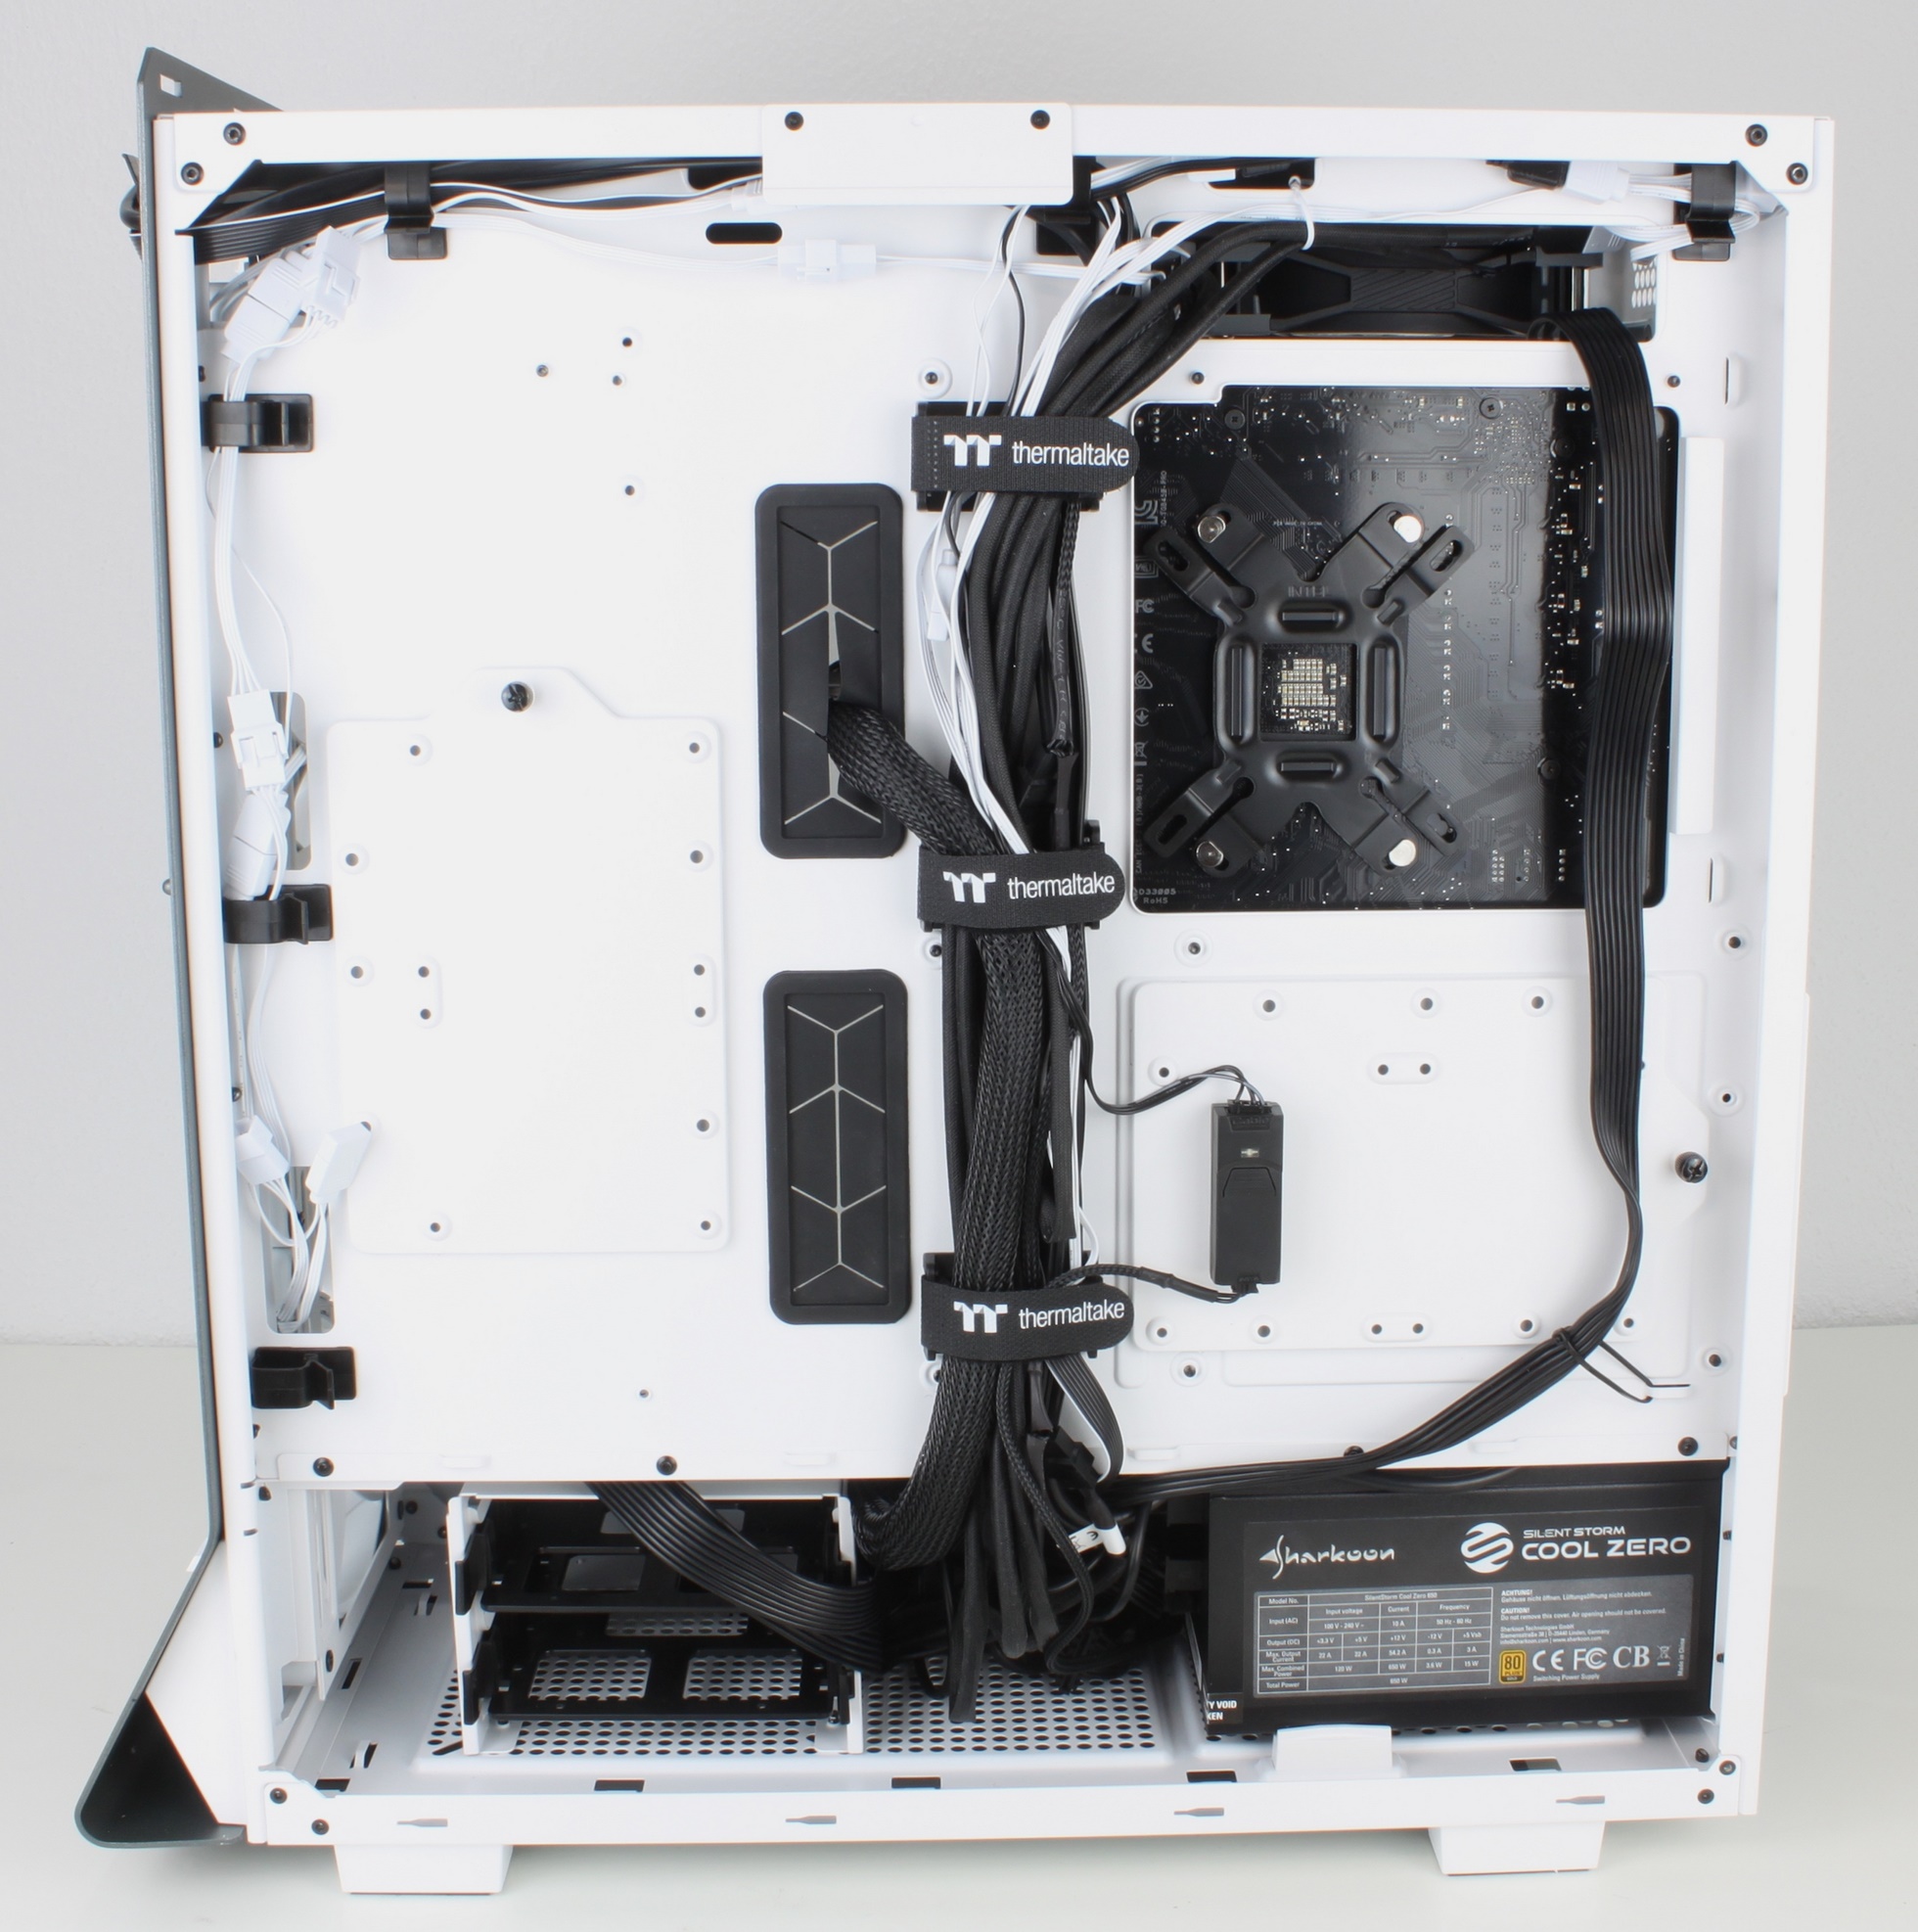
The Ceres 500 is also a great place to work behind the scenes. In the middle of the main strand neatly laid with Velcro, all around everywhere receptacles and clips for attaching fan or RGB cables. Despite four ARGB fans, an illuminated AIO, a display, and an optional ARGB controller (neither the case nor the B450 board have an ARGB controller), it’s all still pretty neat and tidy.
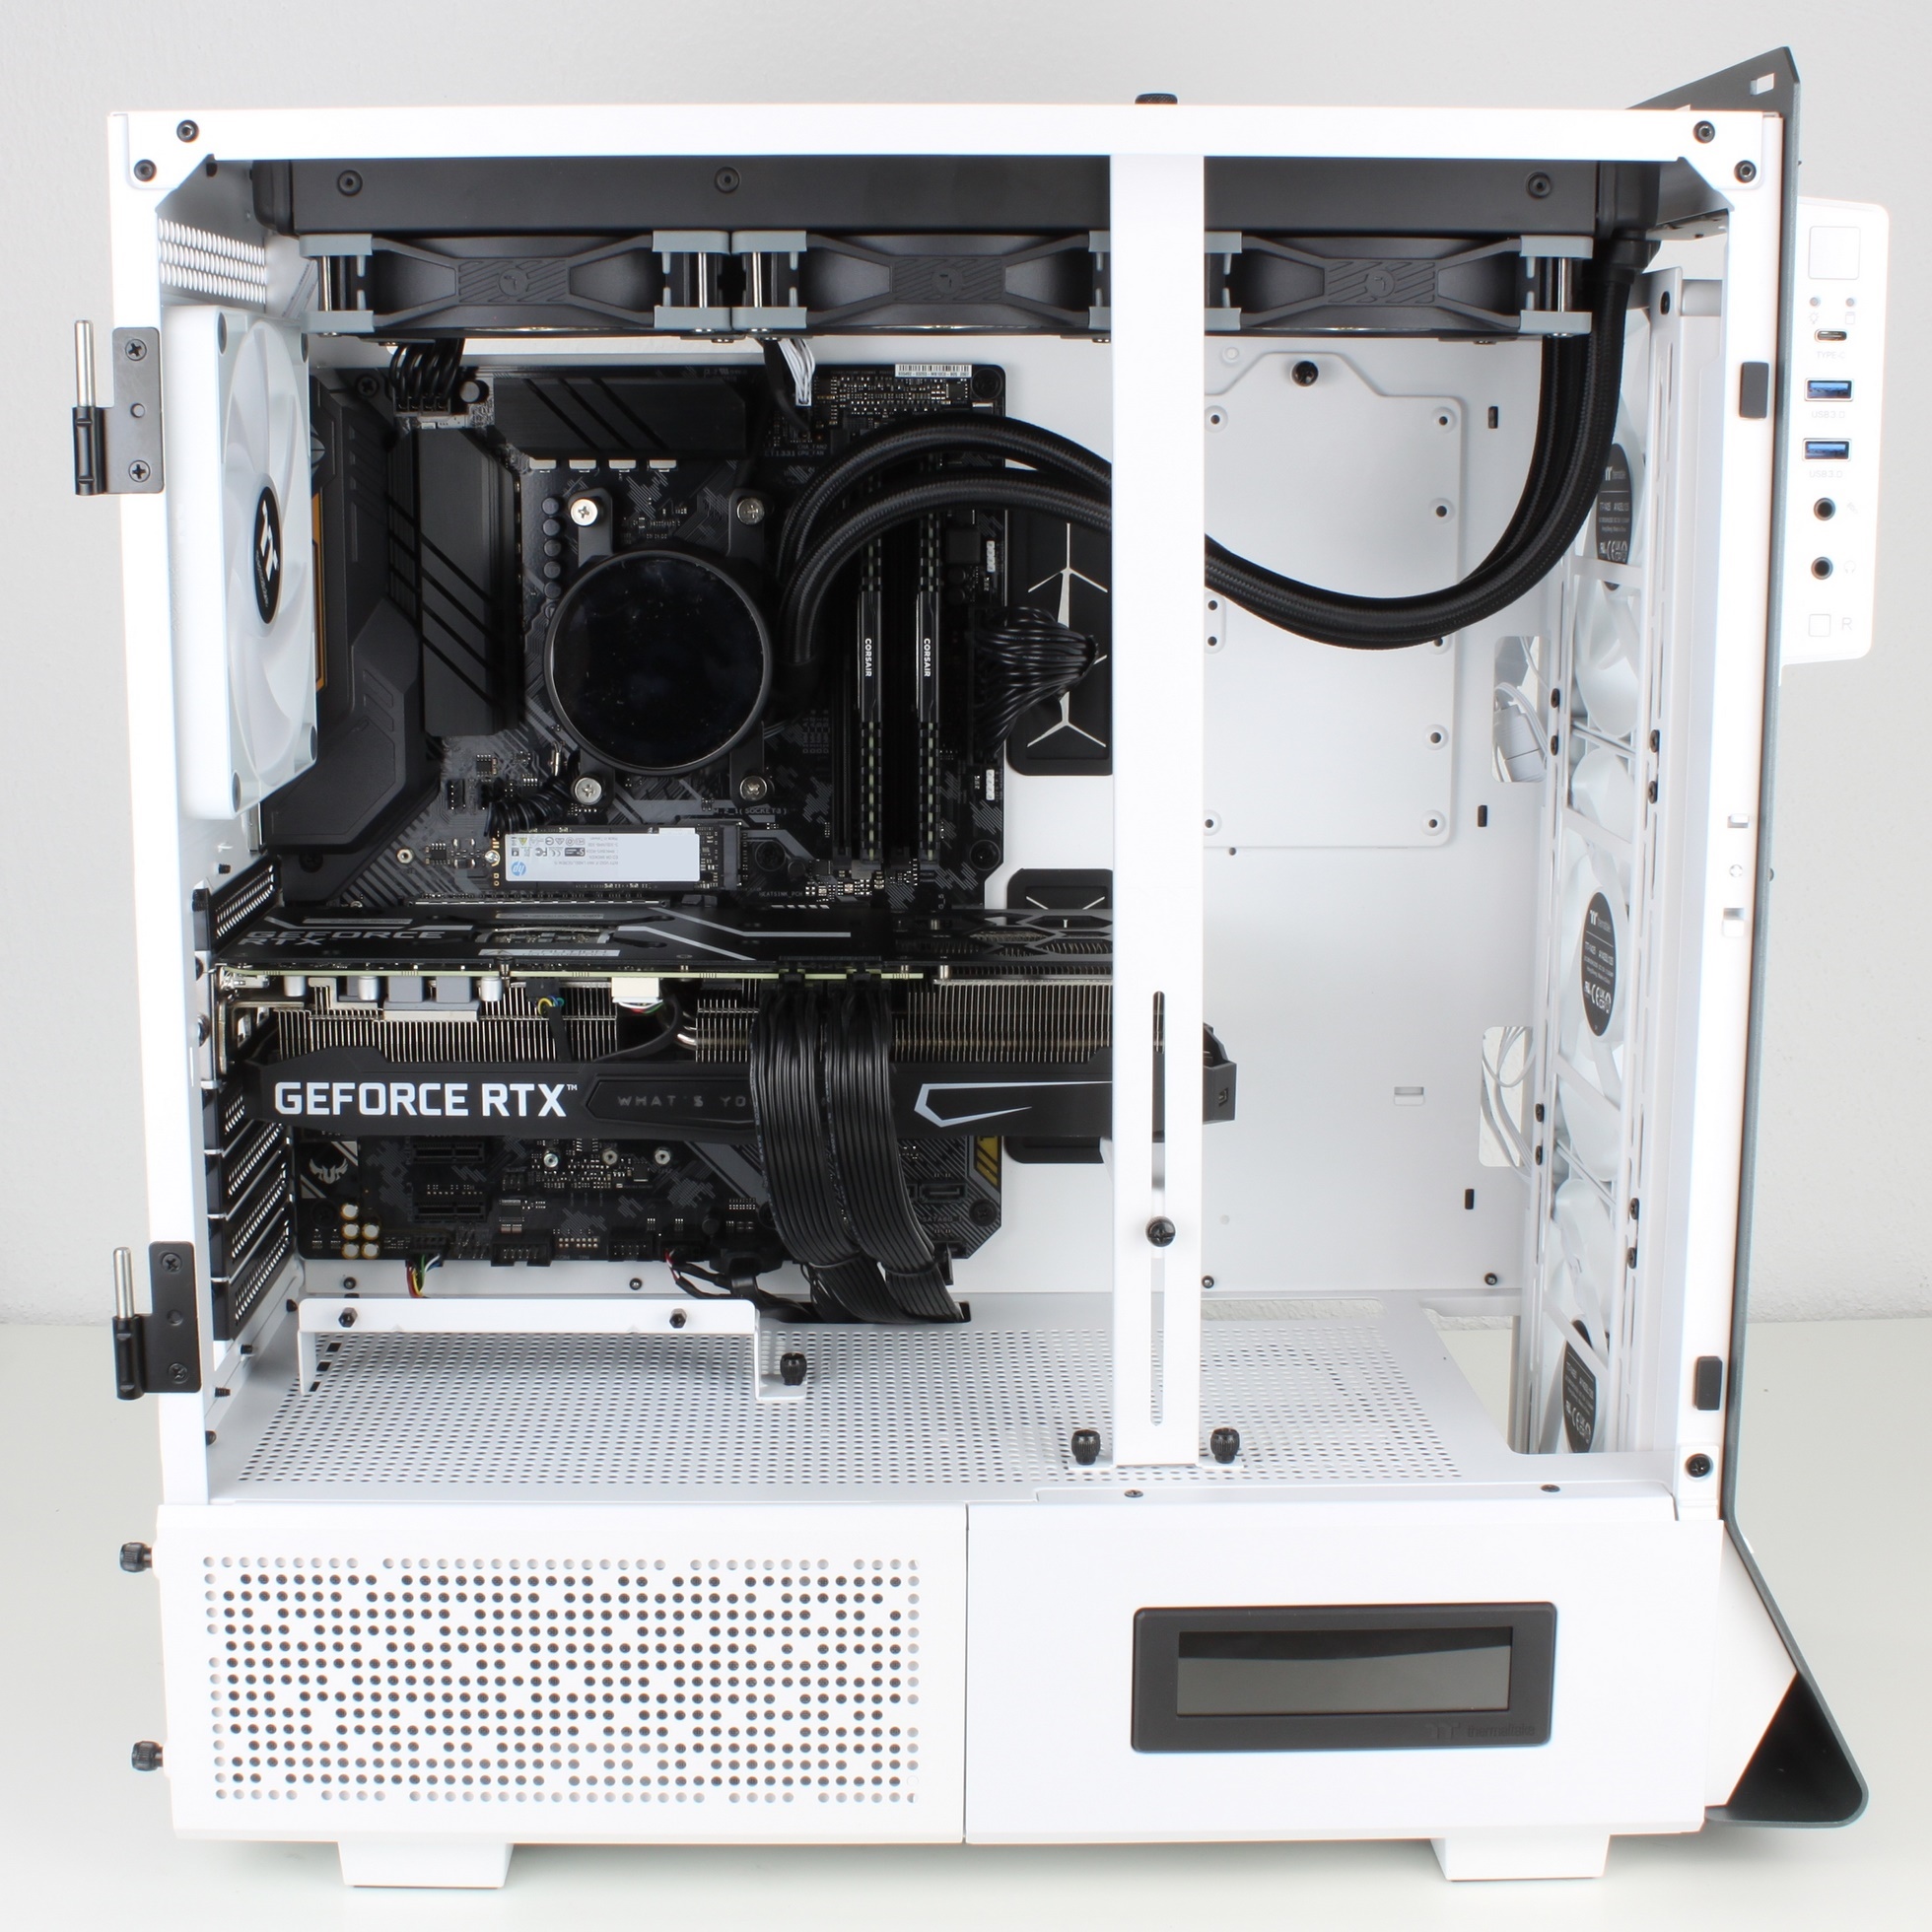
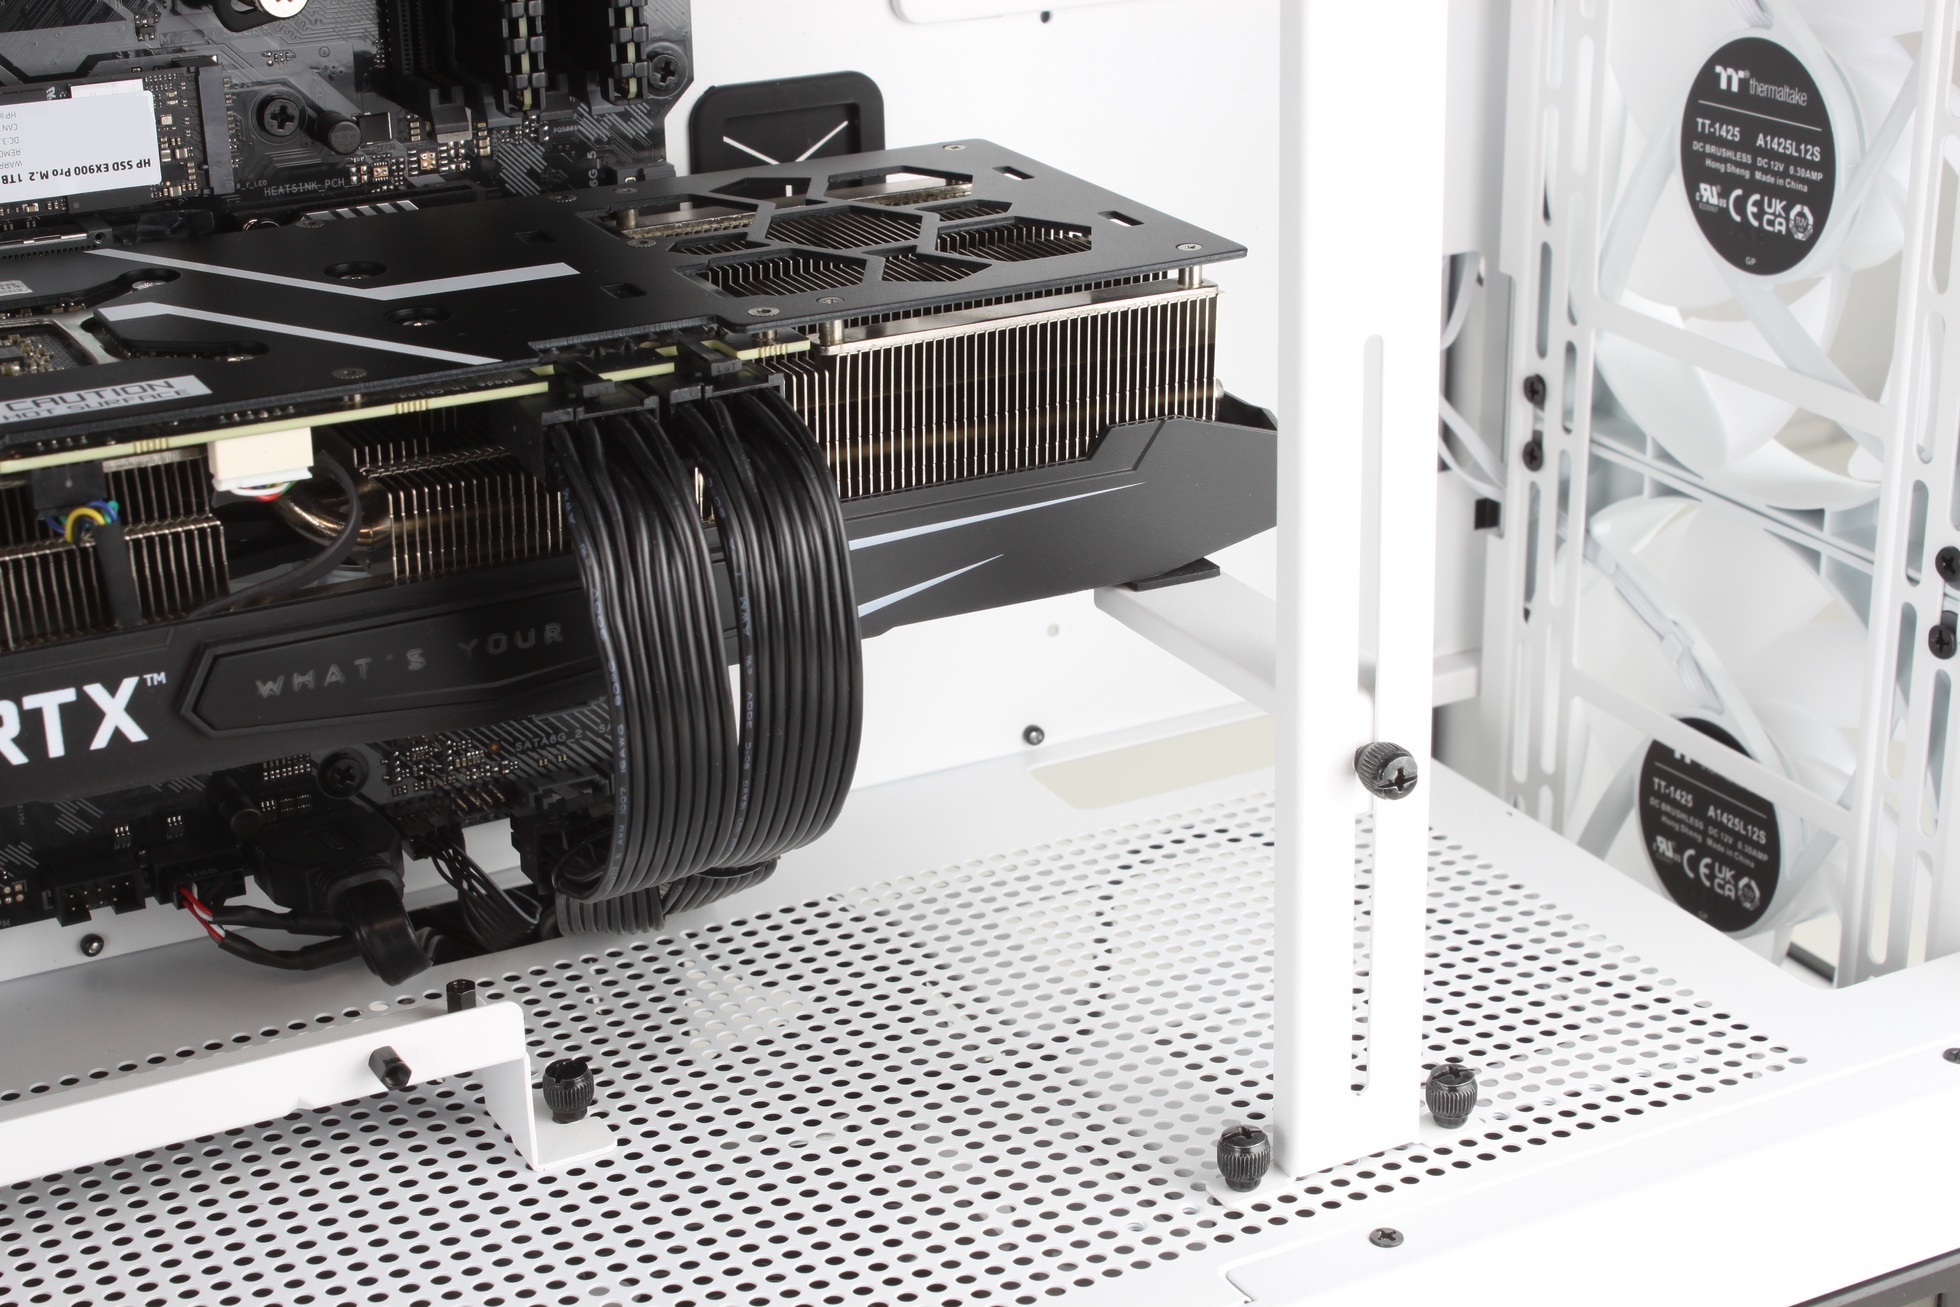
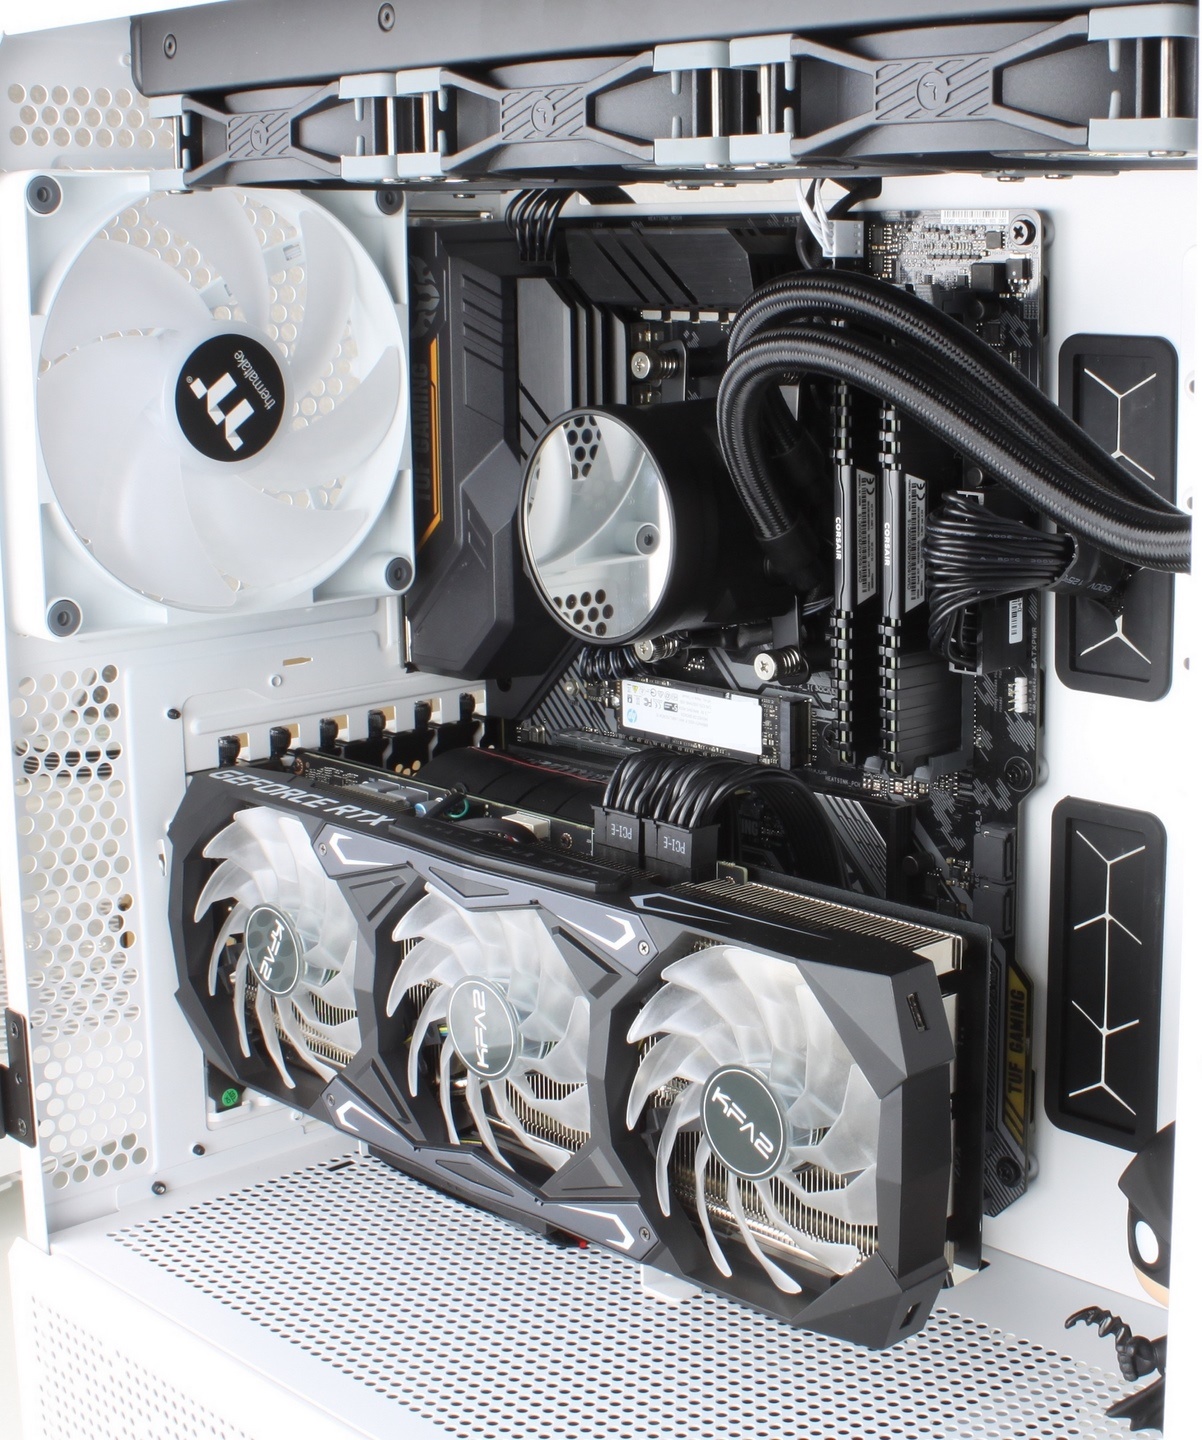
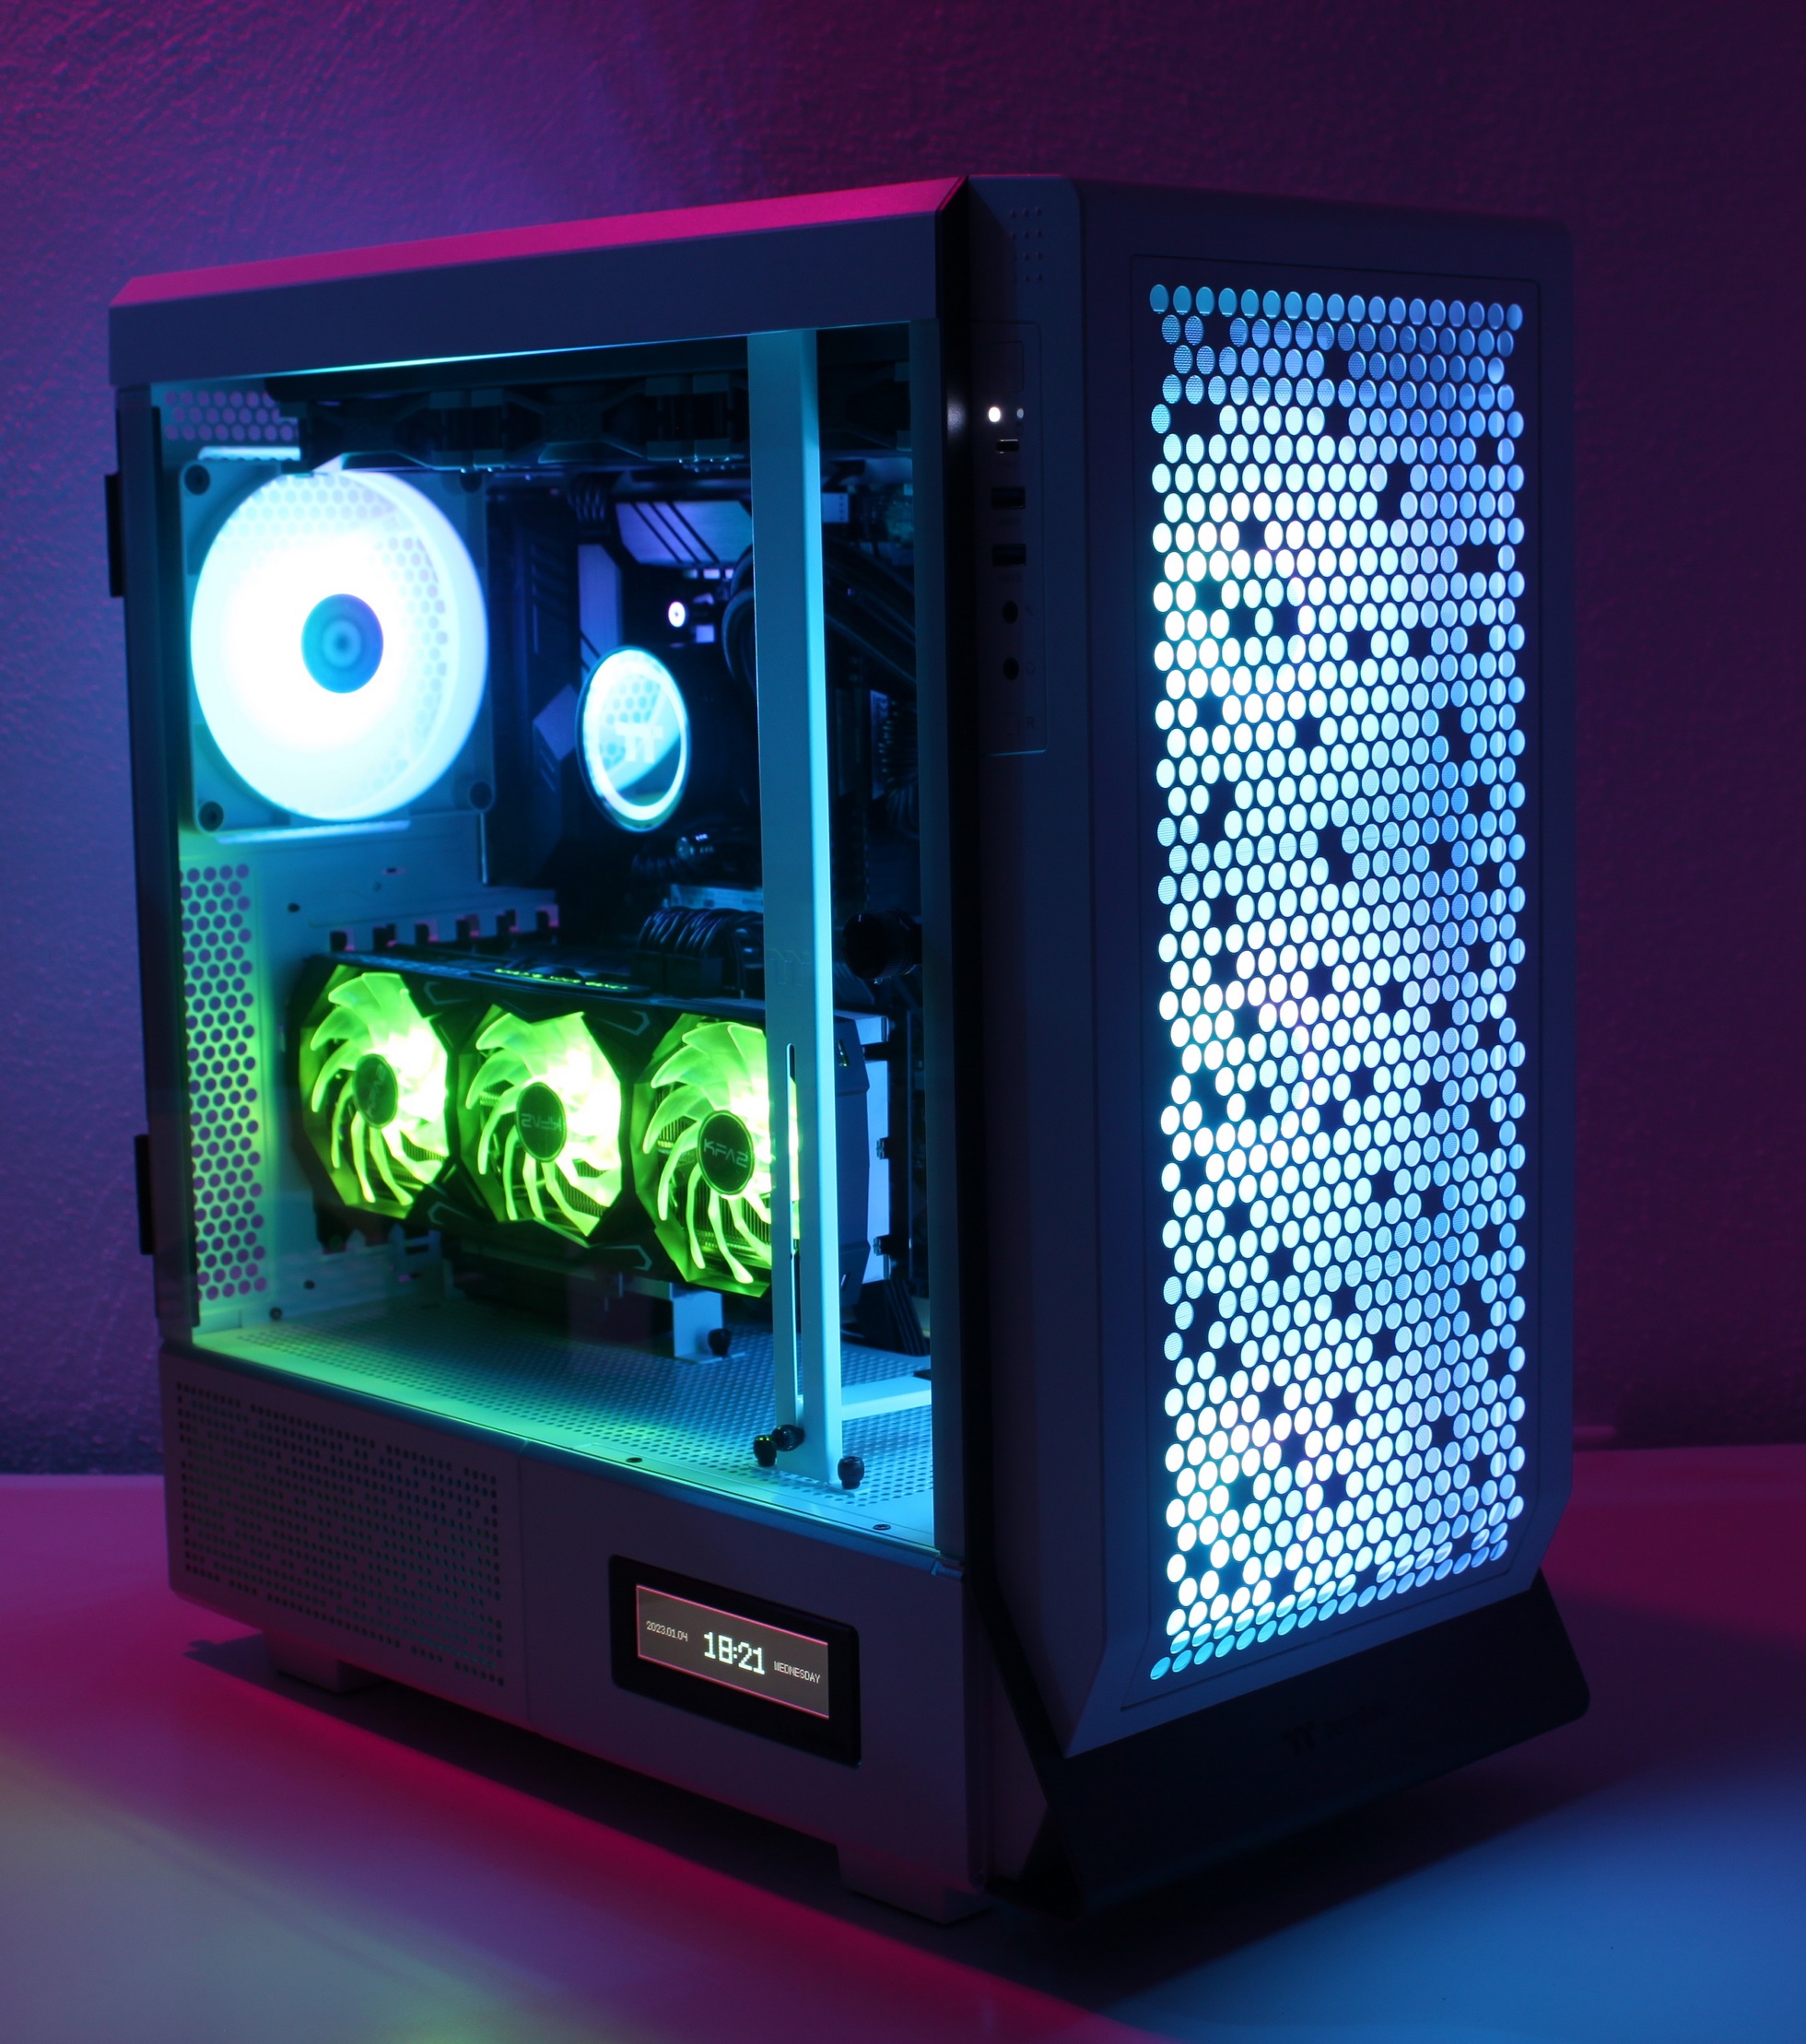
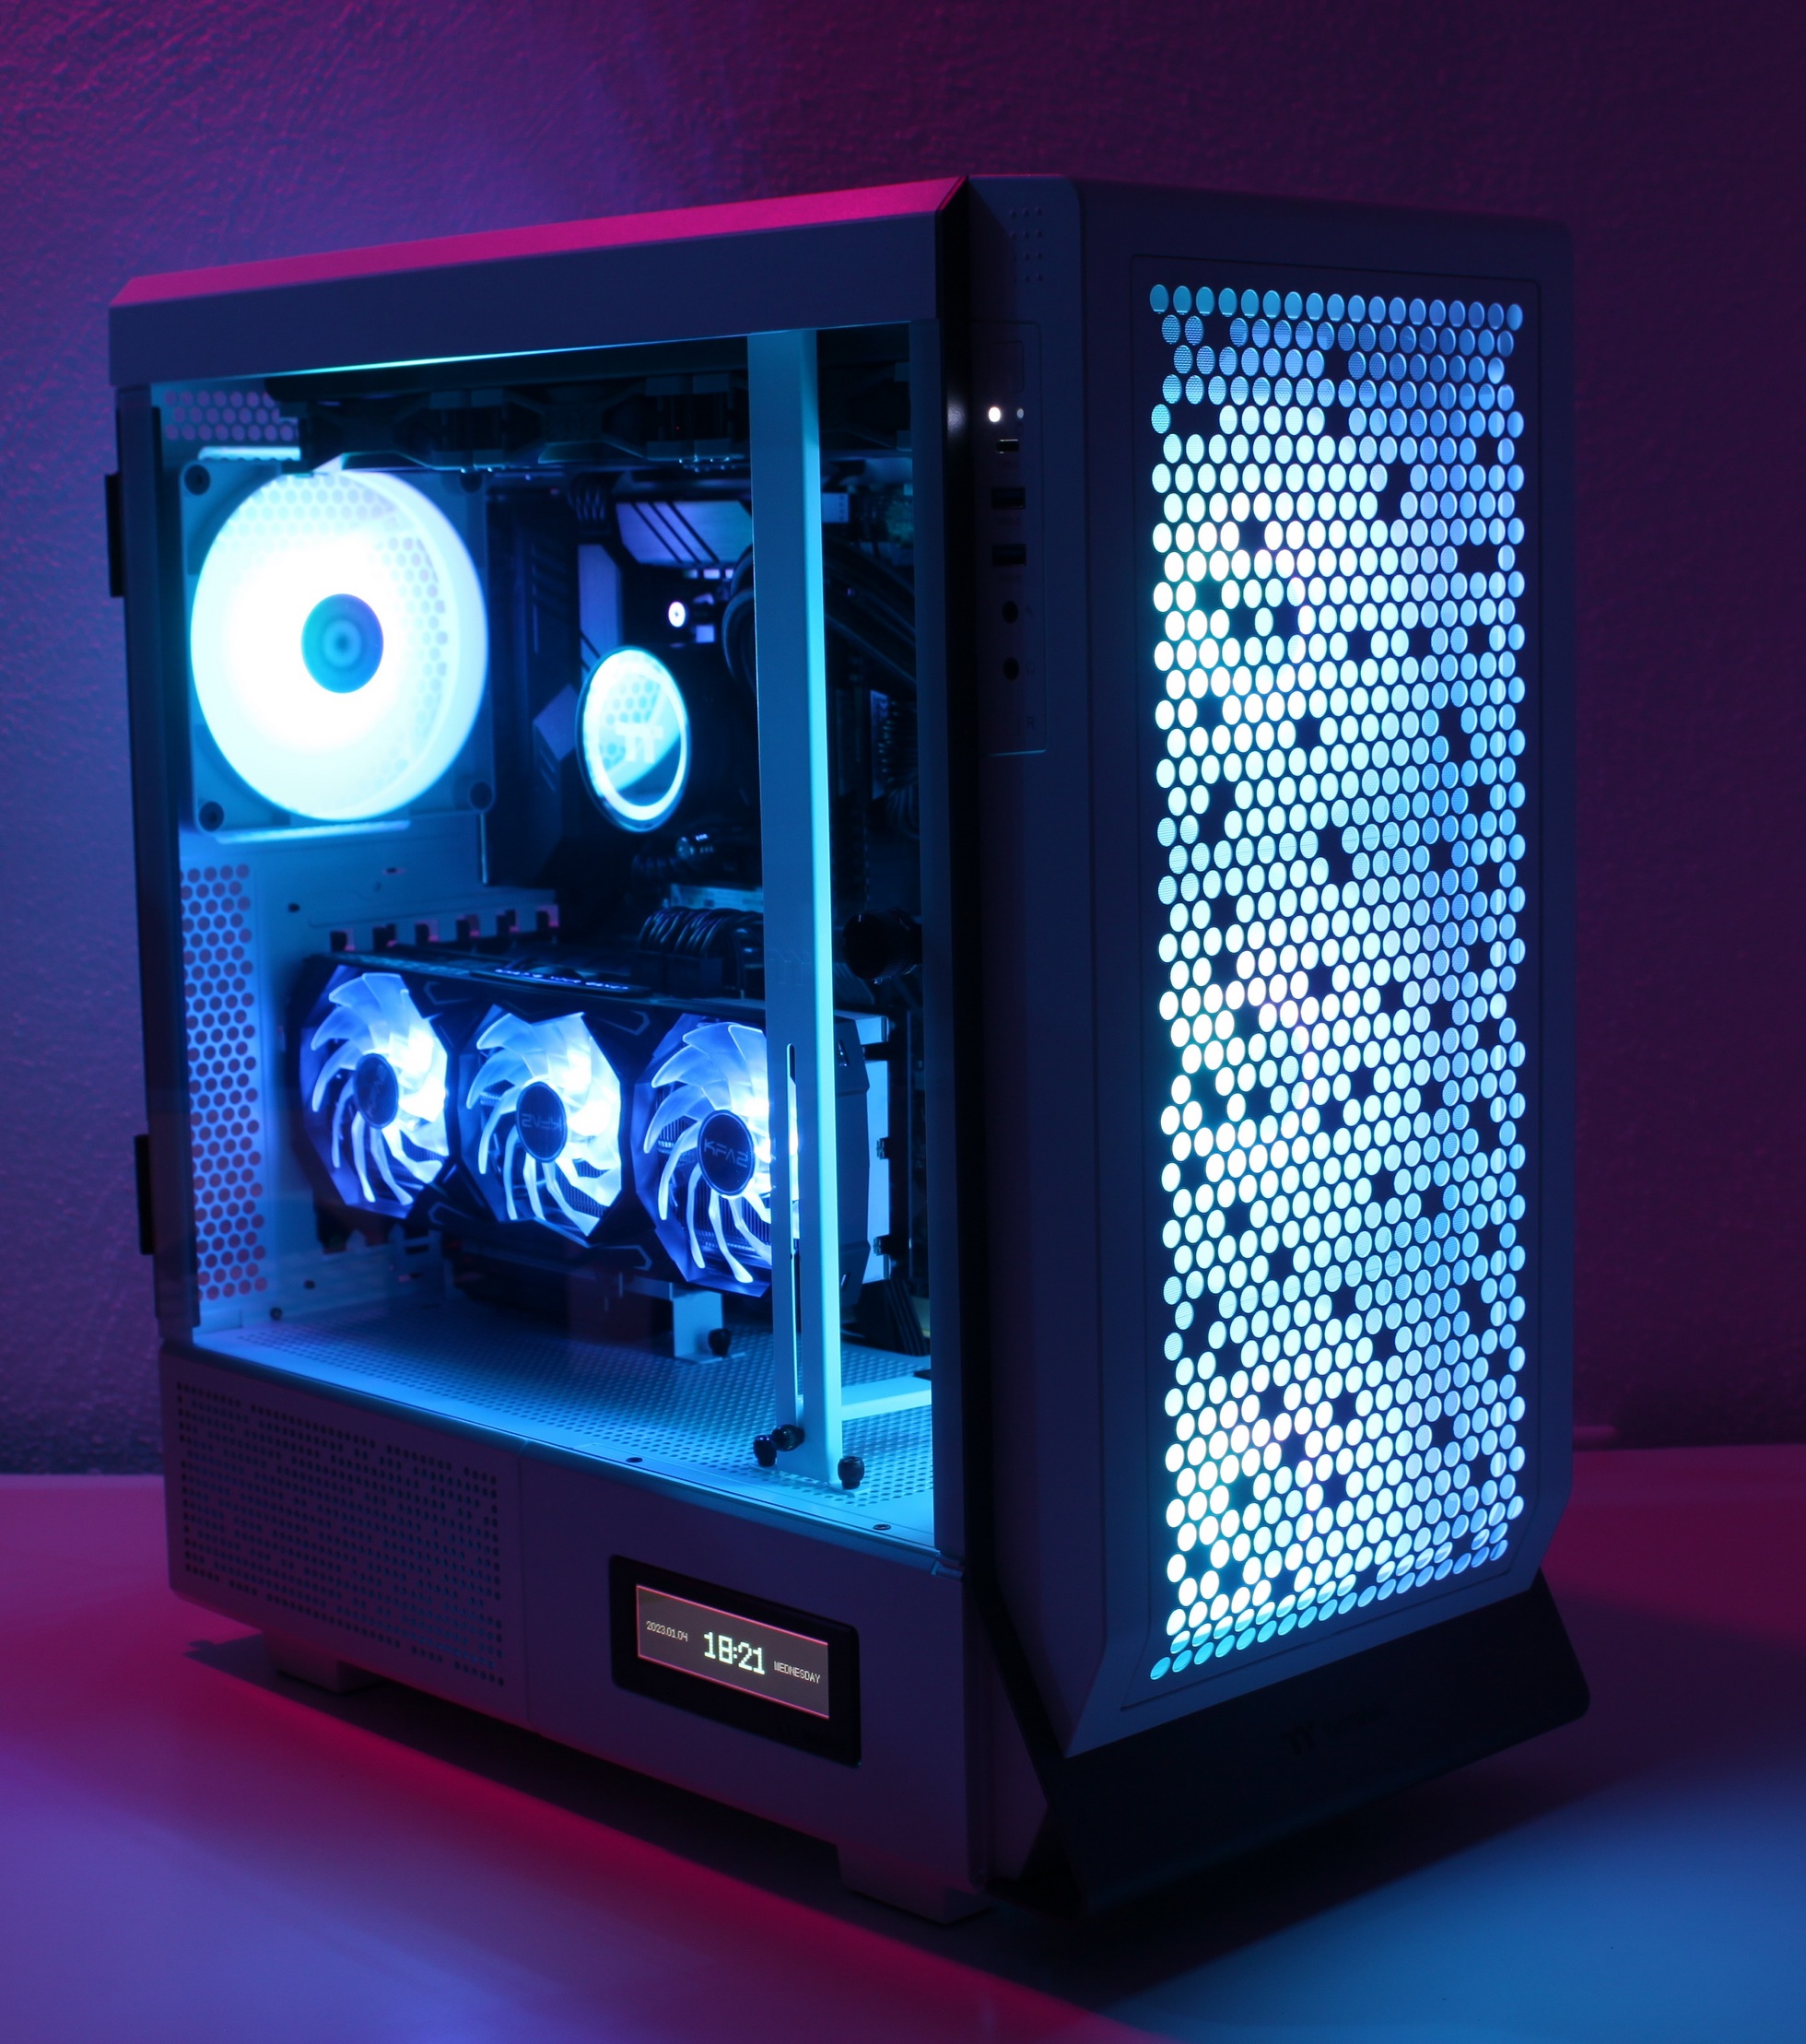
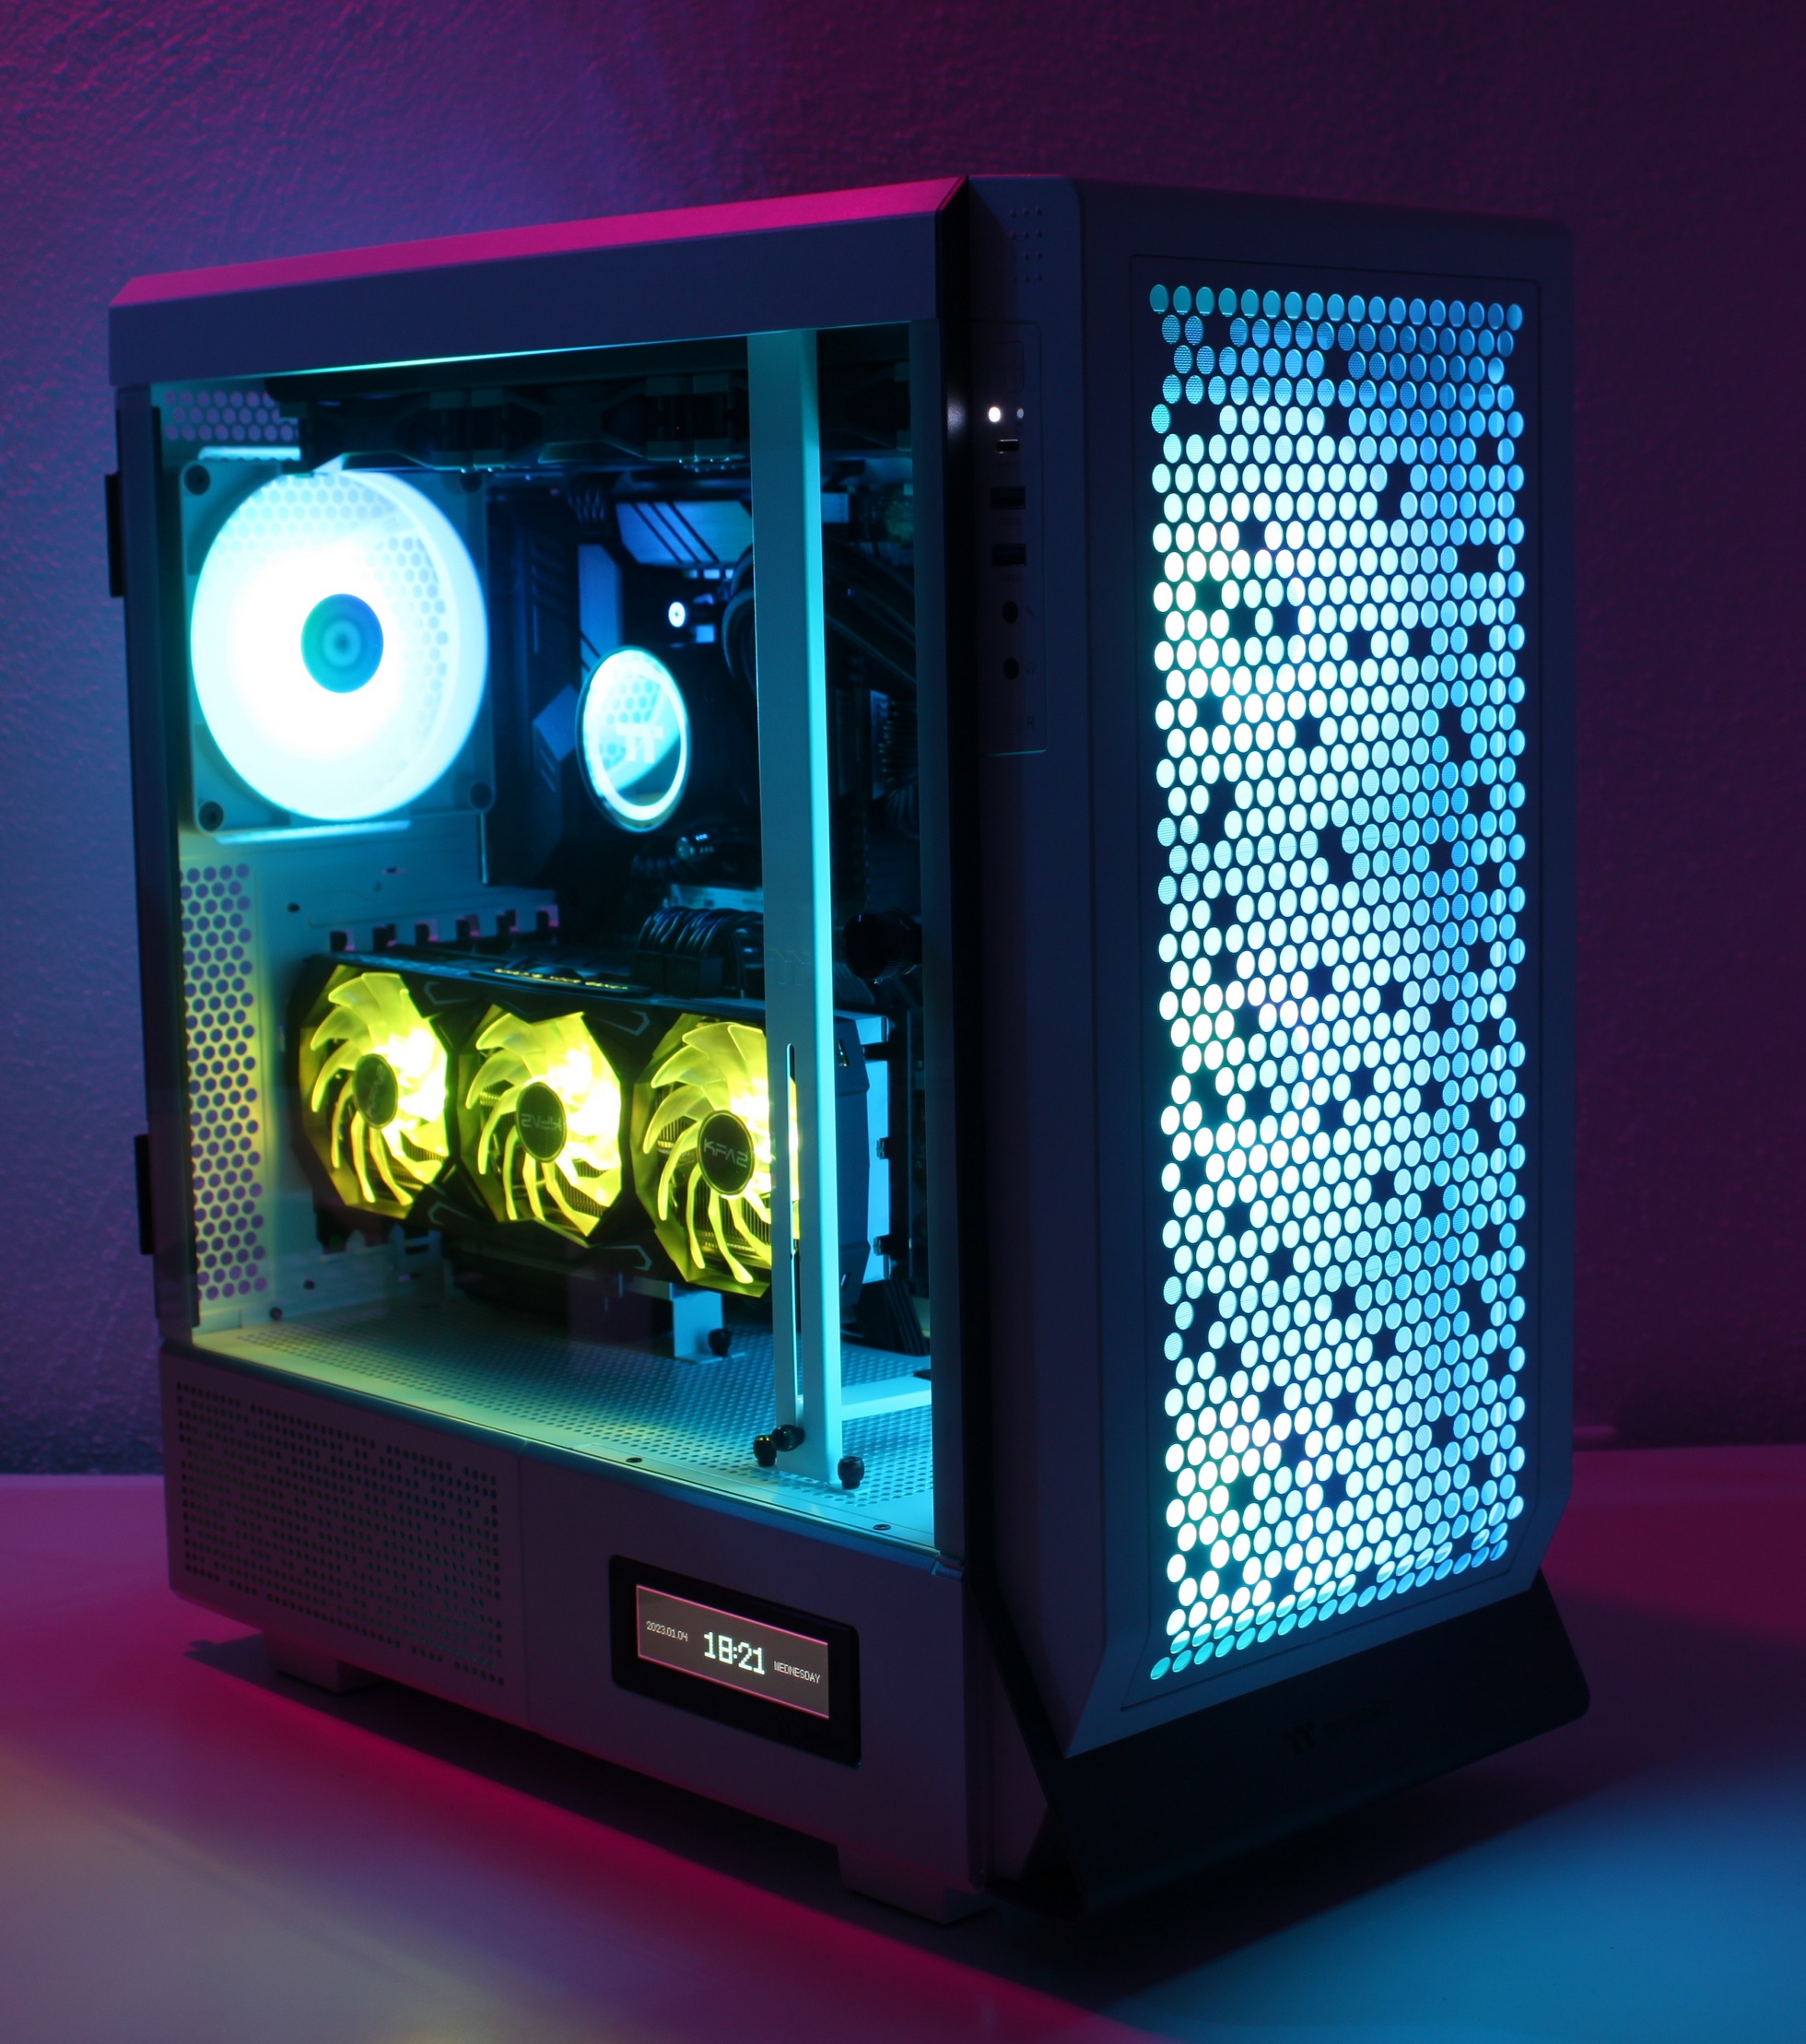
At the end still the graphics card purely.
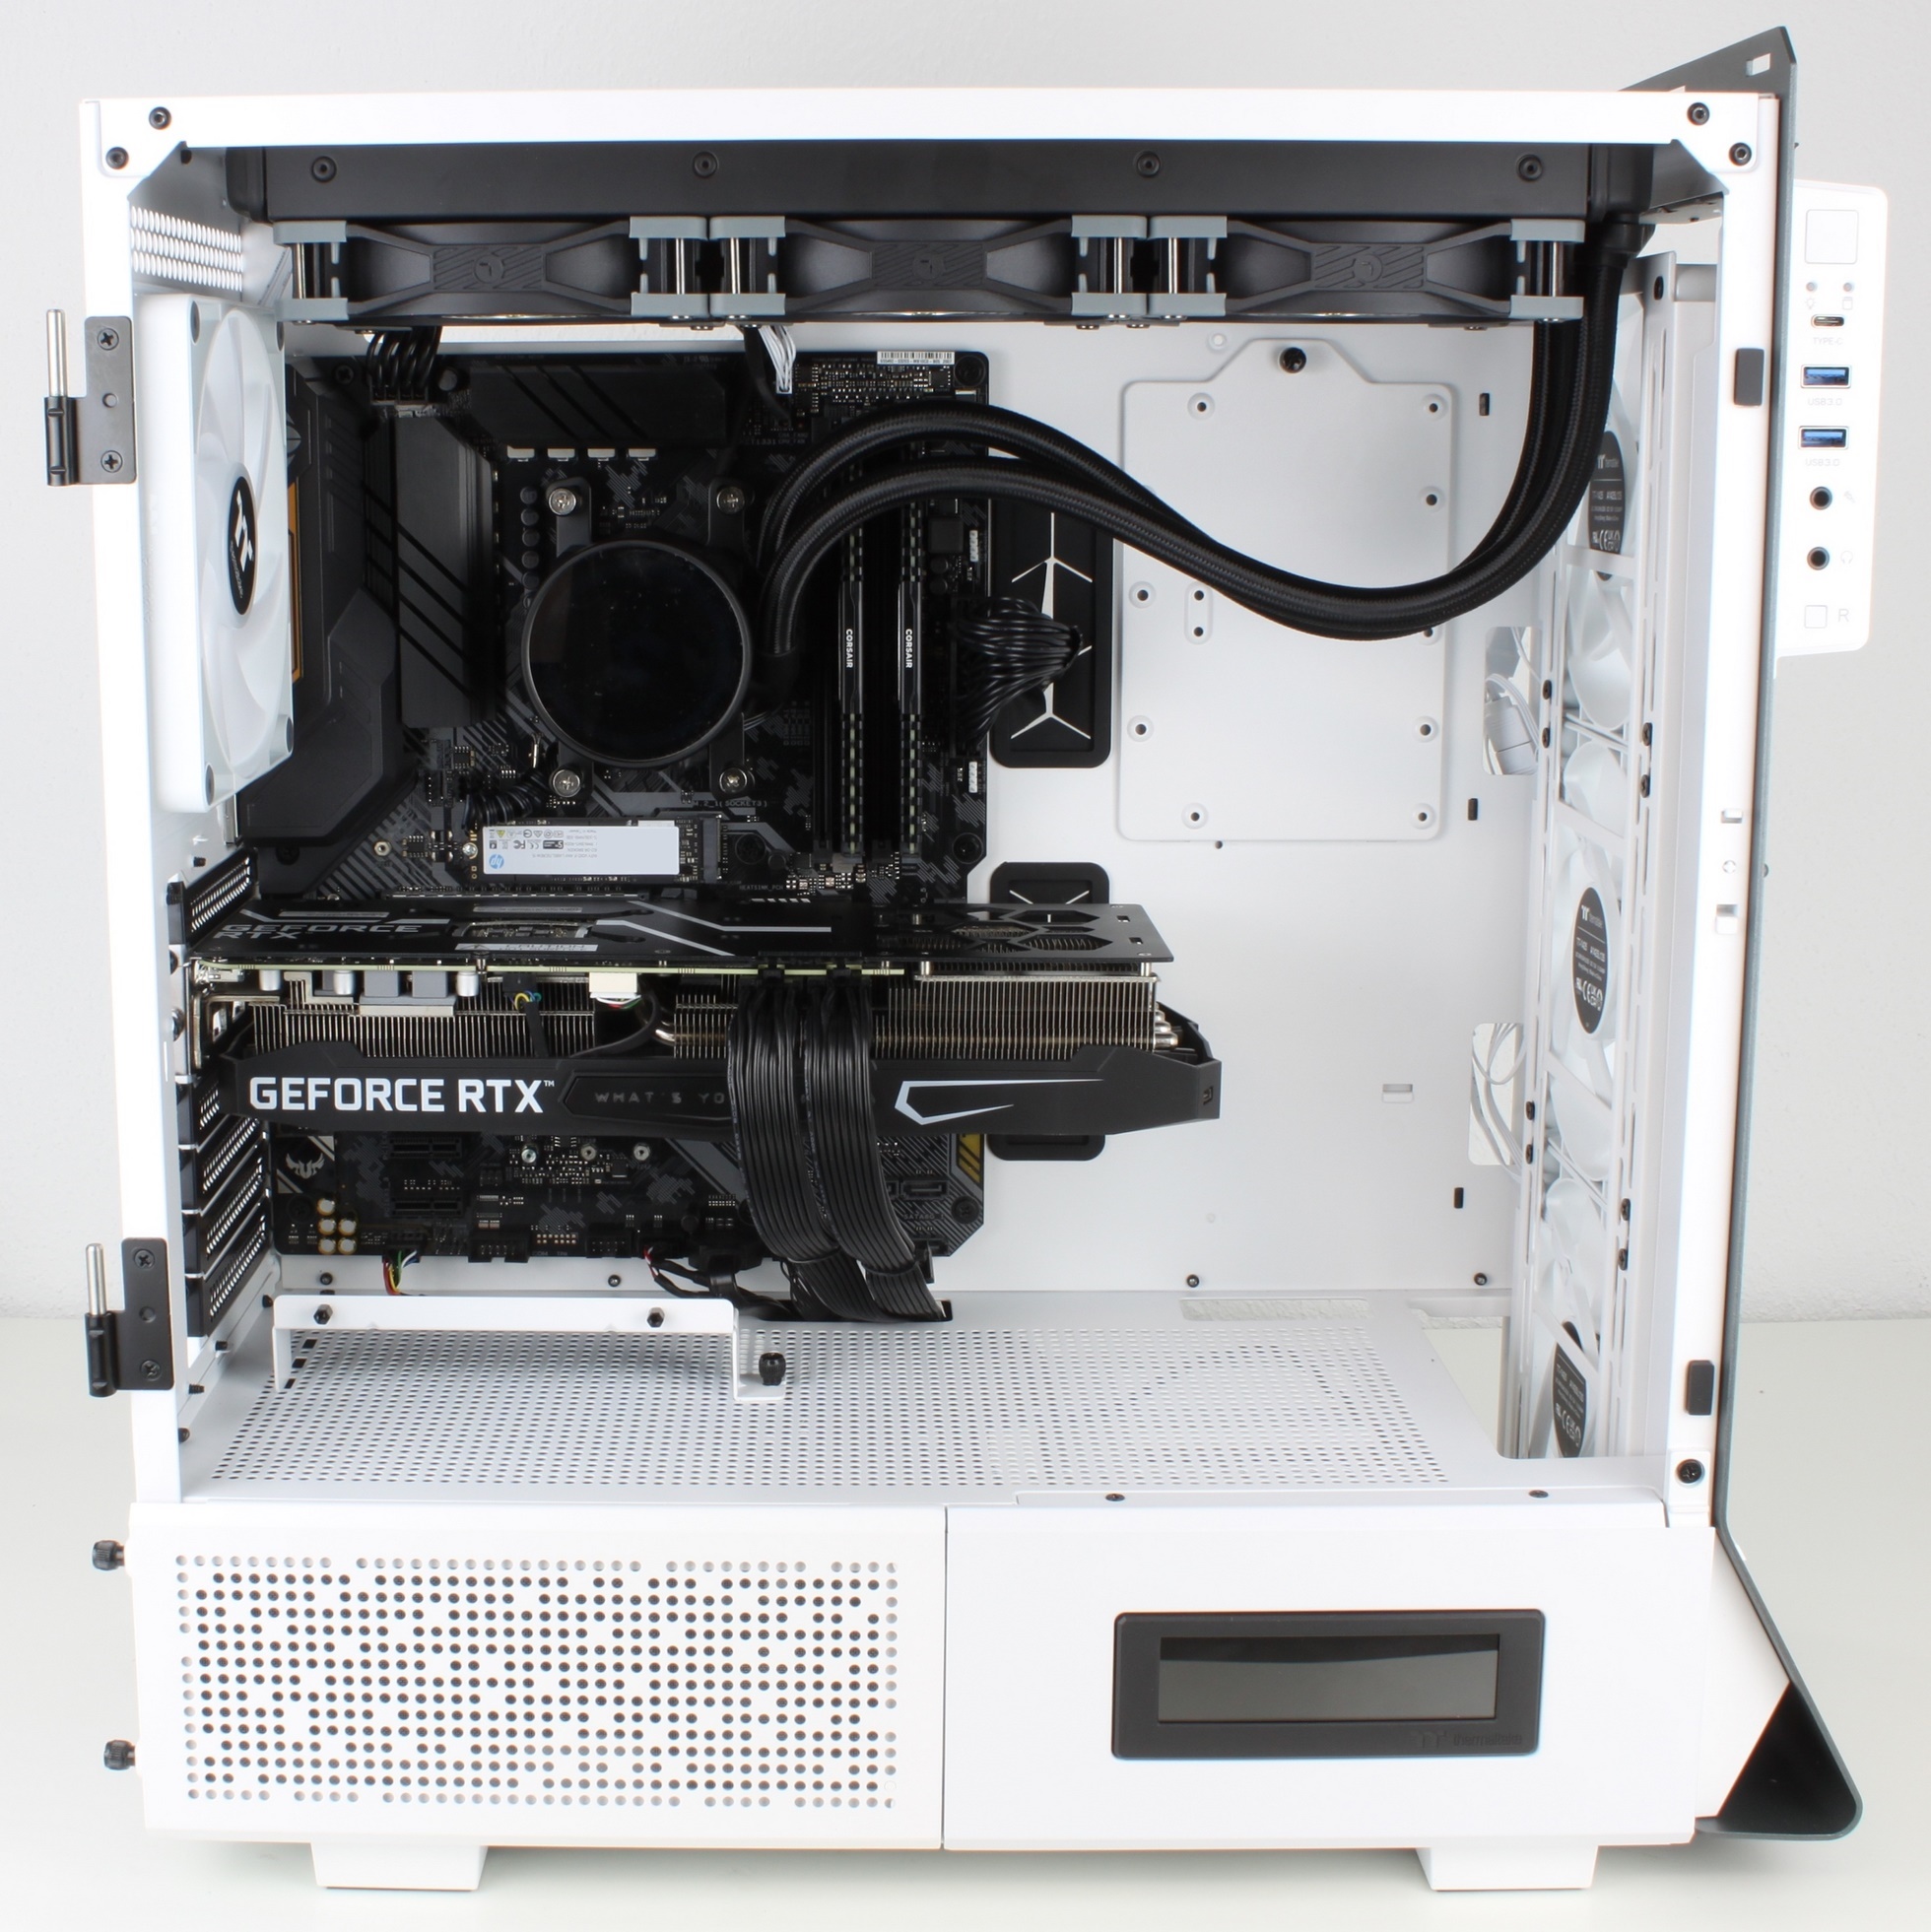
The included support against hanging GPU butts still install and we are good to go!
At the last moment, however, the doorbell rang. Because I had never done this before and thought this case test was the ideal moment, another PCIE riser was purchased.
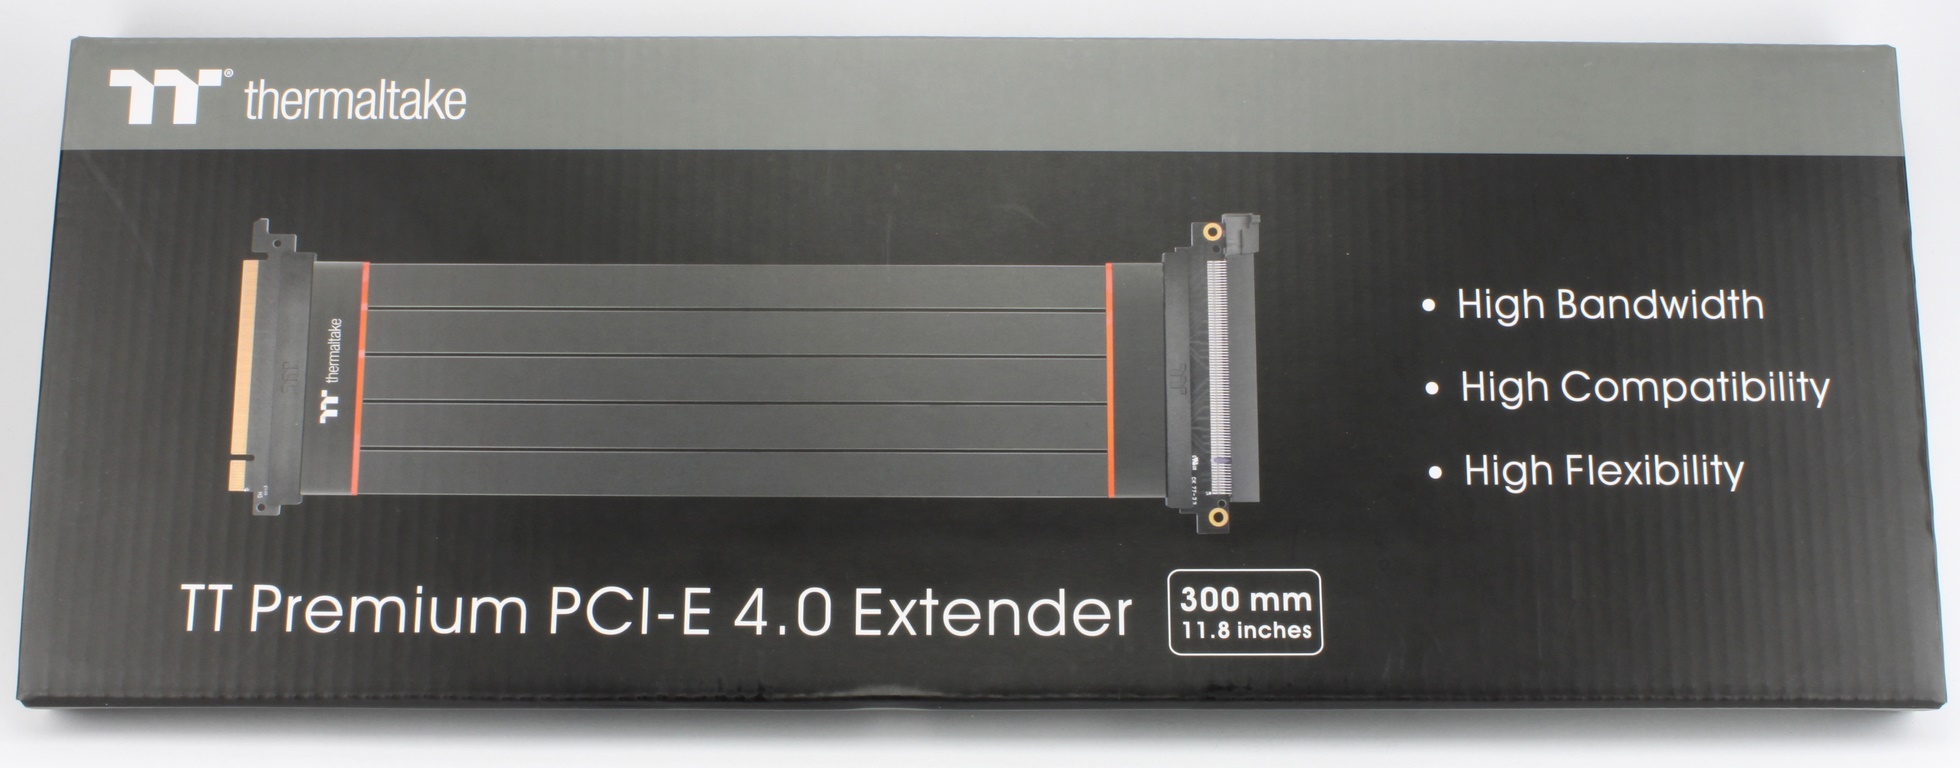
Since I don’t have any comparison options, I can’t judge whether this model is really “premium”. However, it makes a very confidence-inspiring impression haptically.
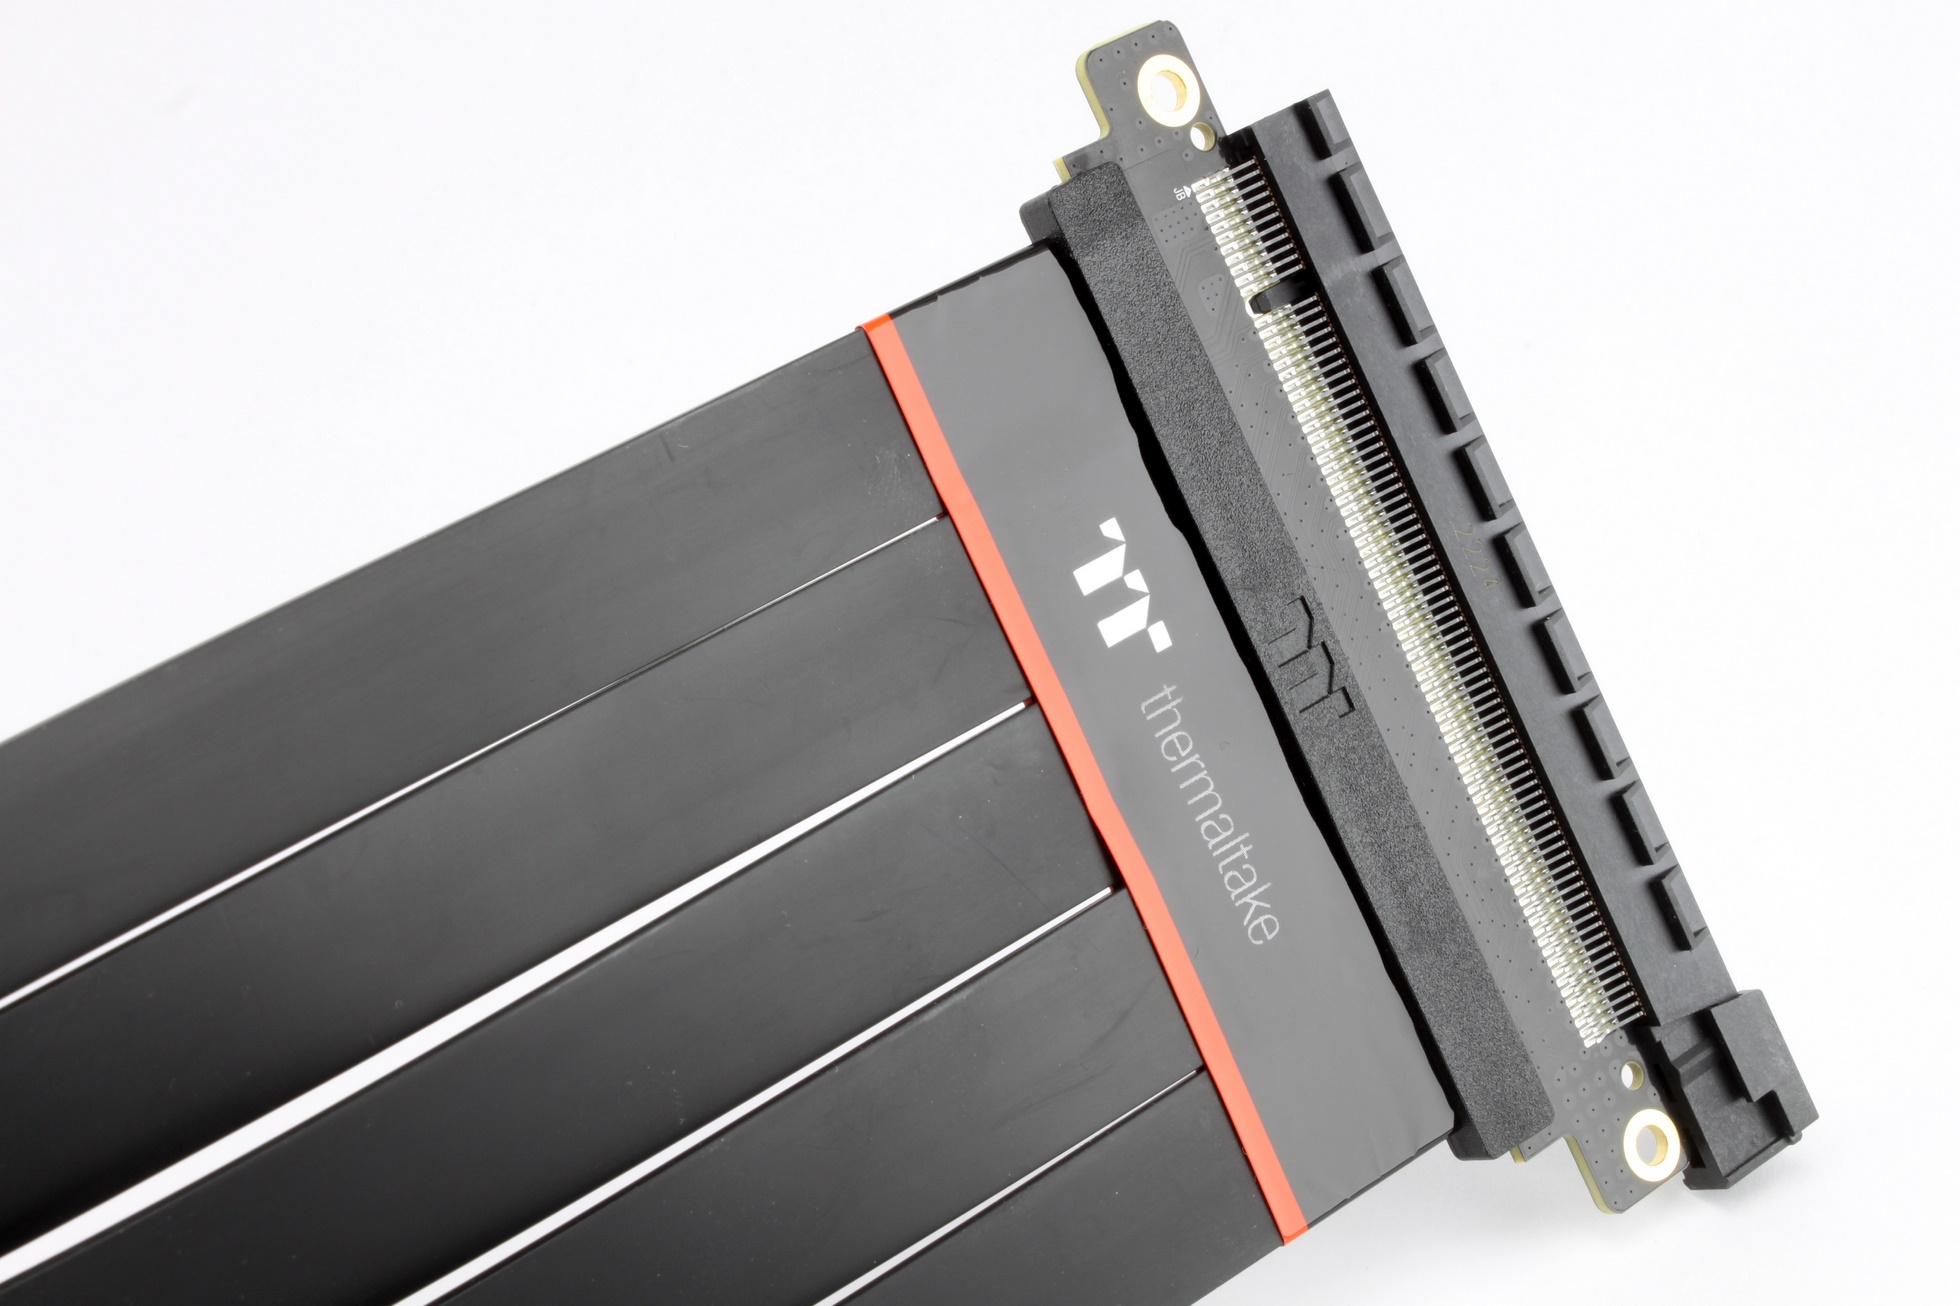
If there is another option, I am open to suggestions!
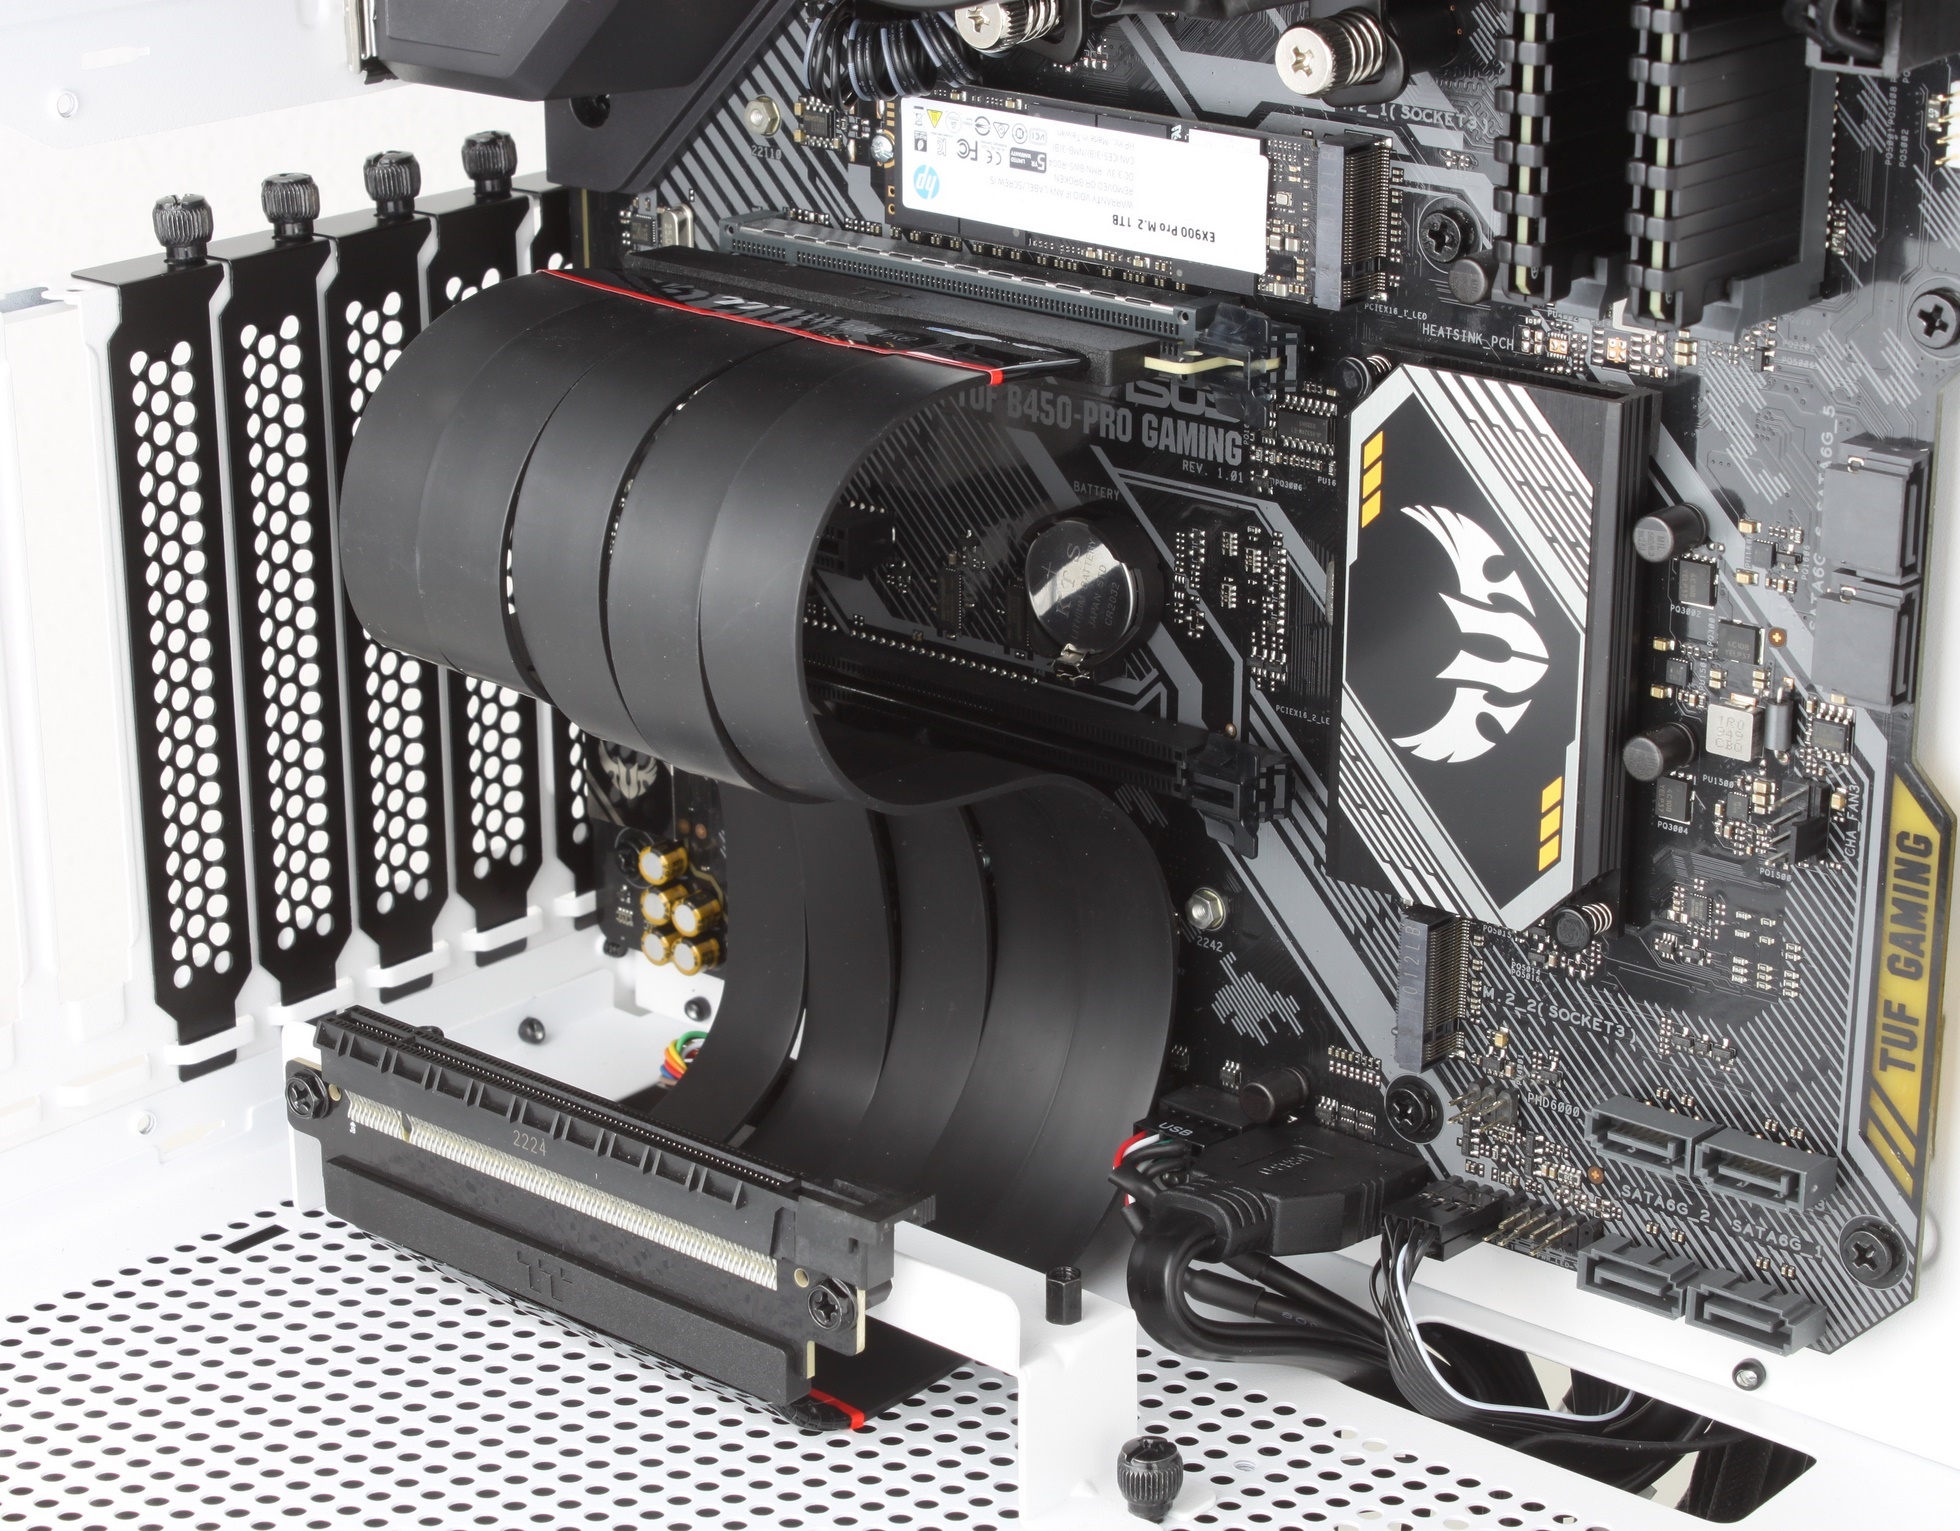
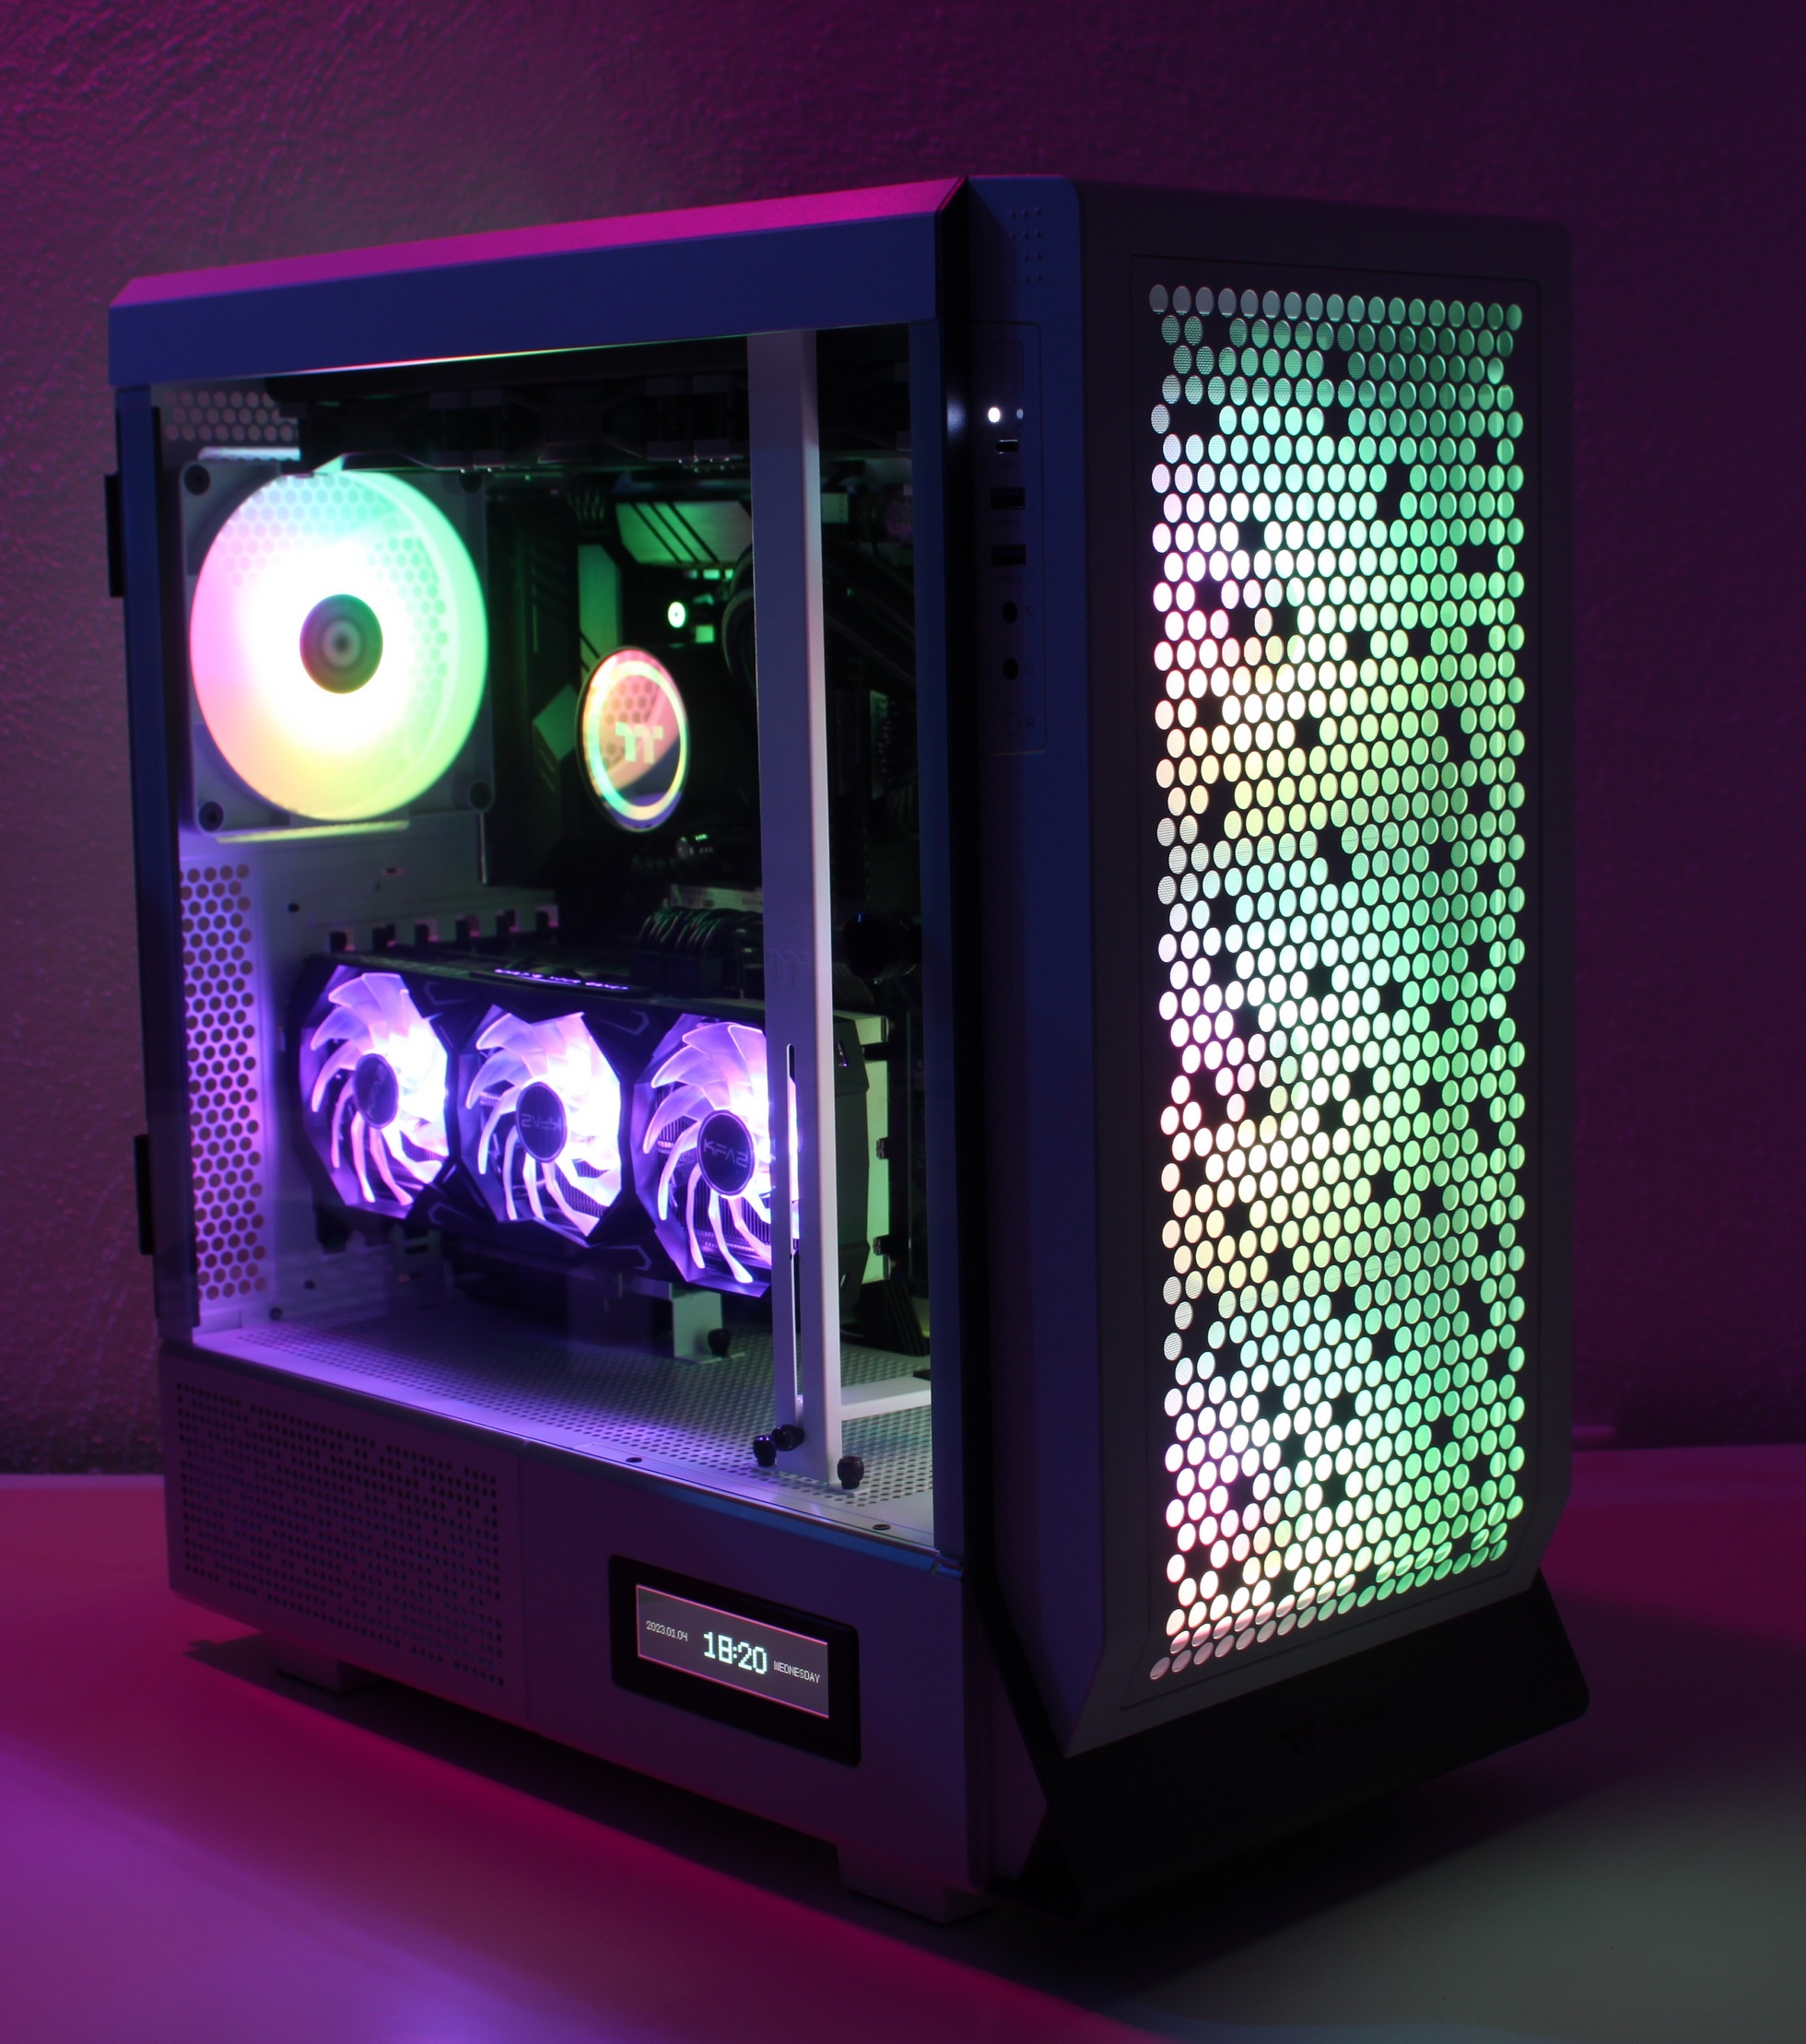
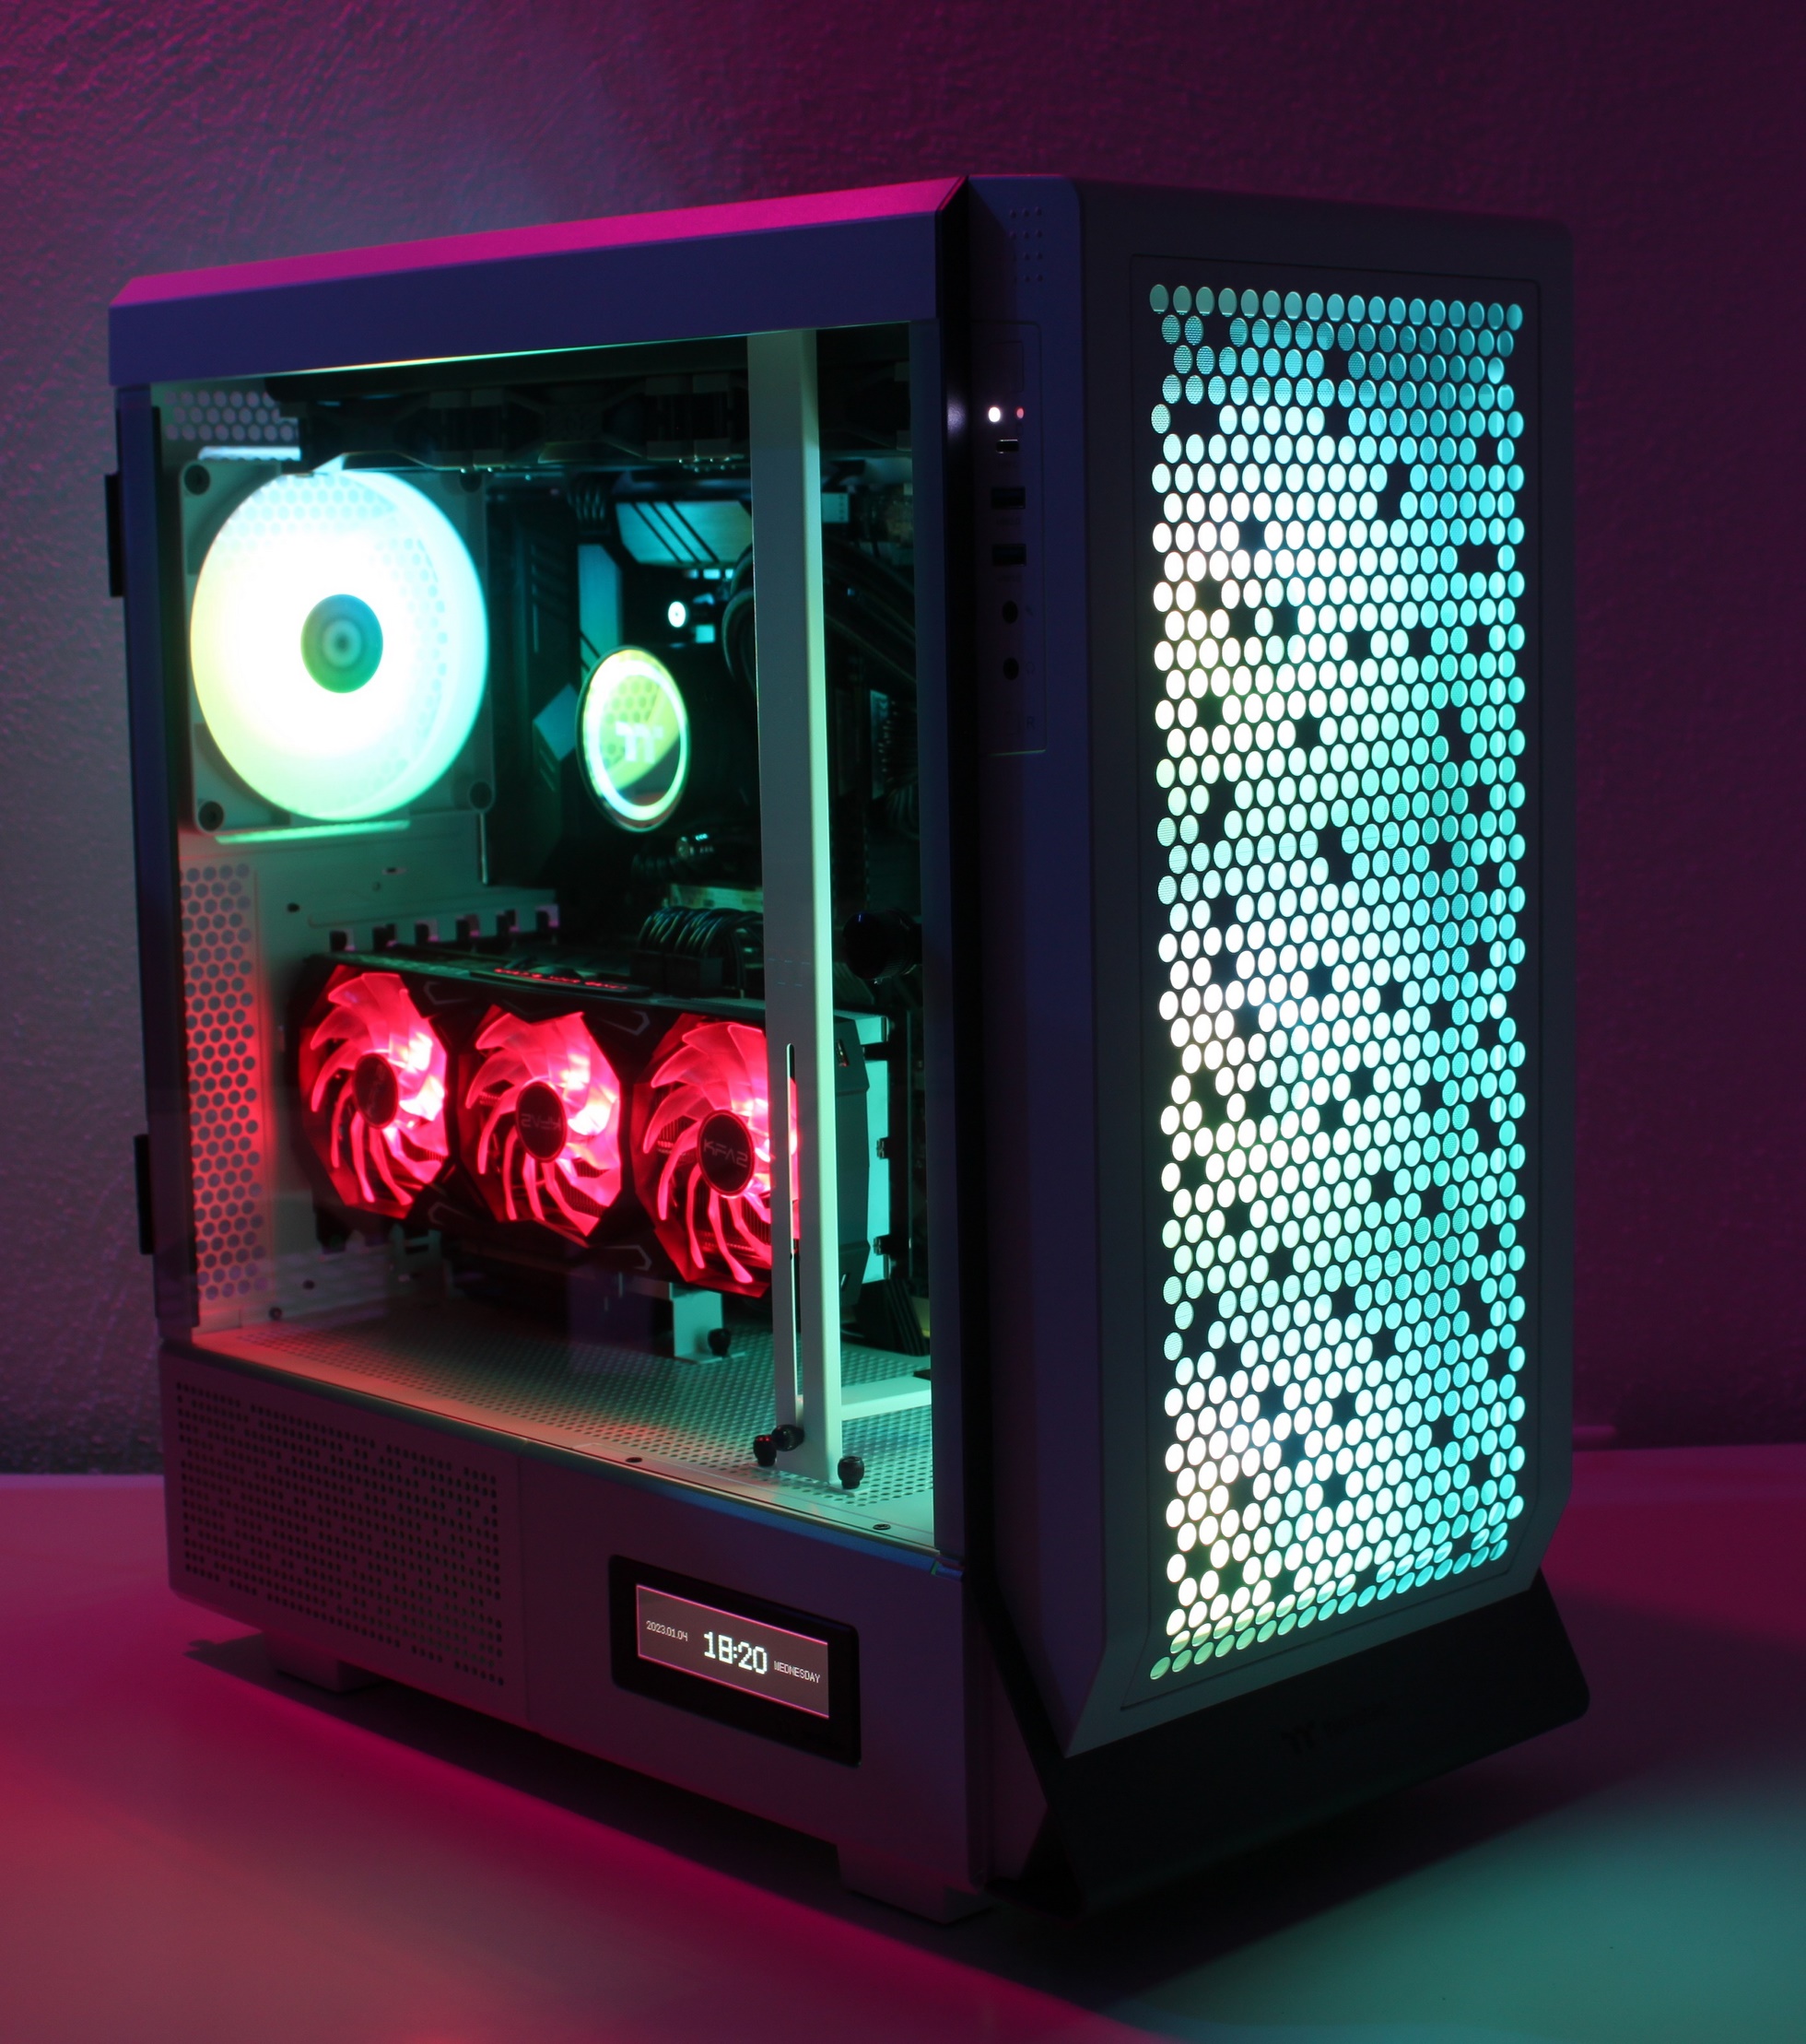
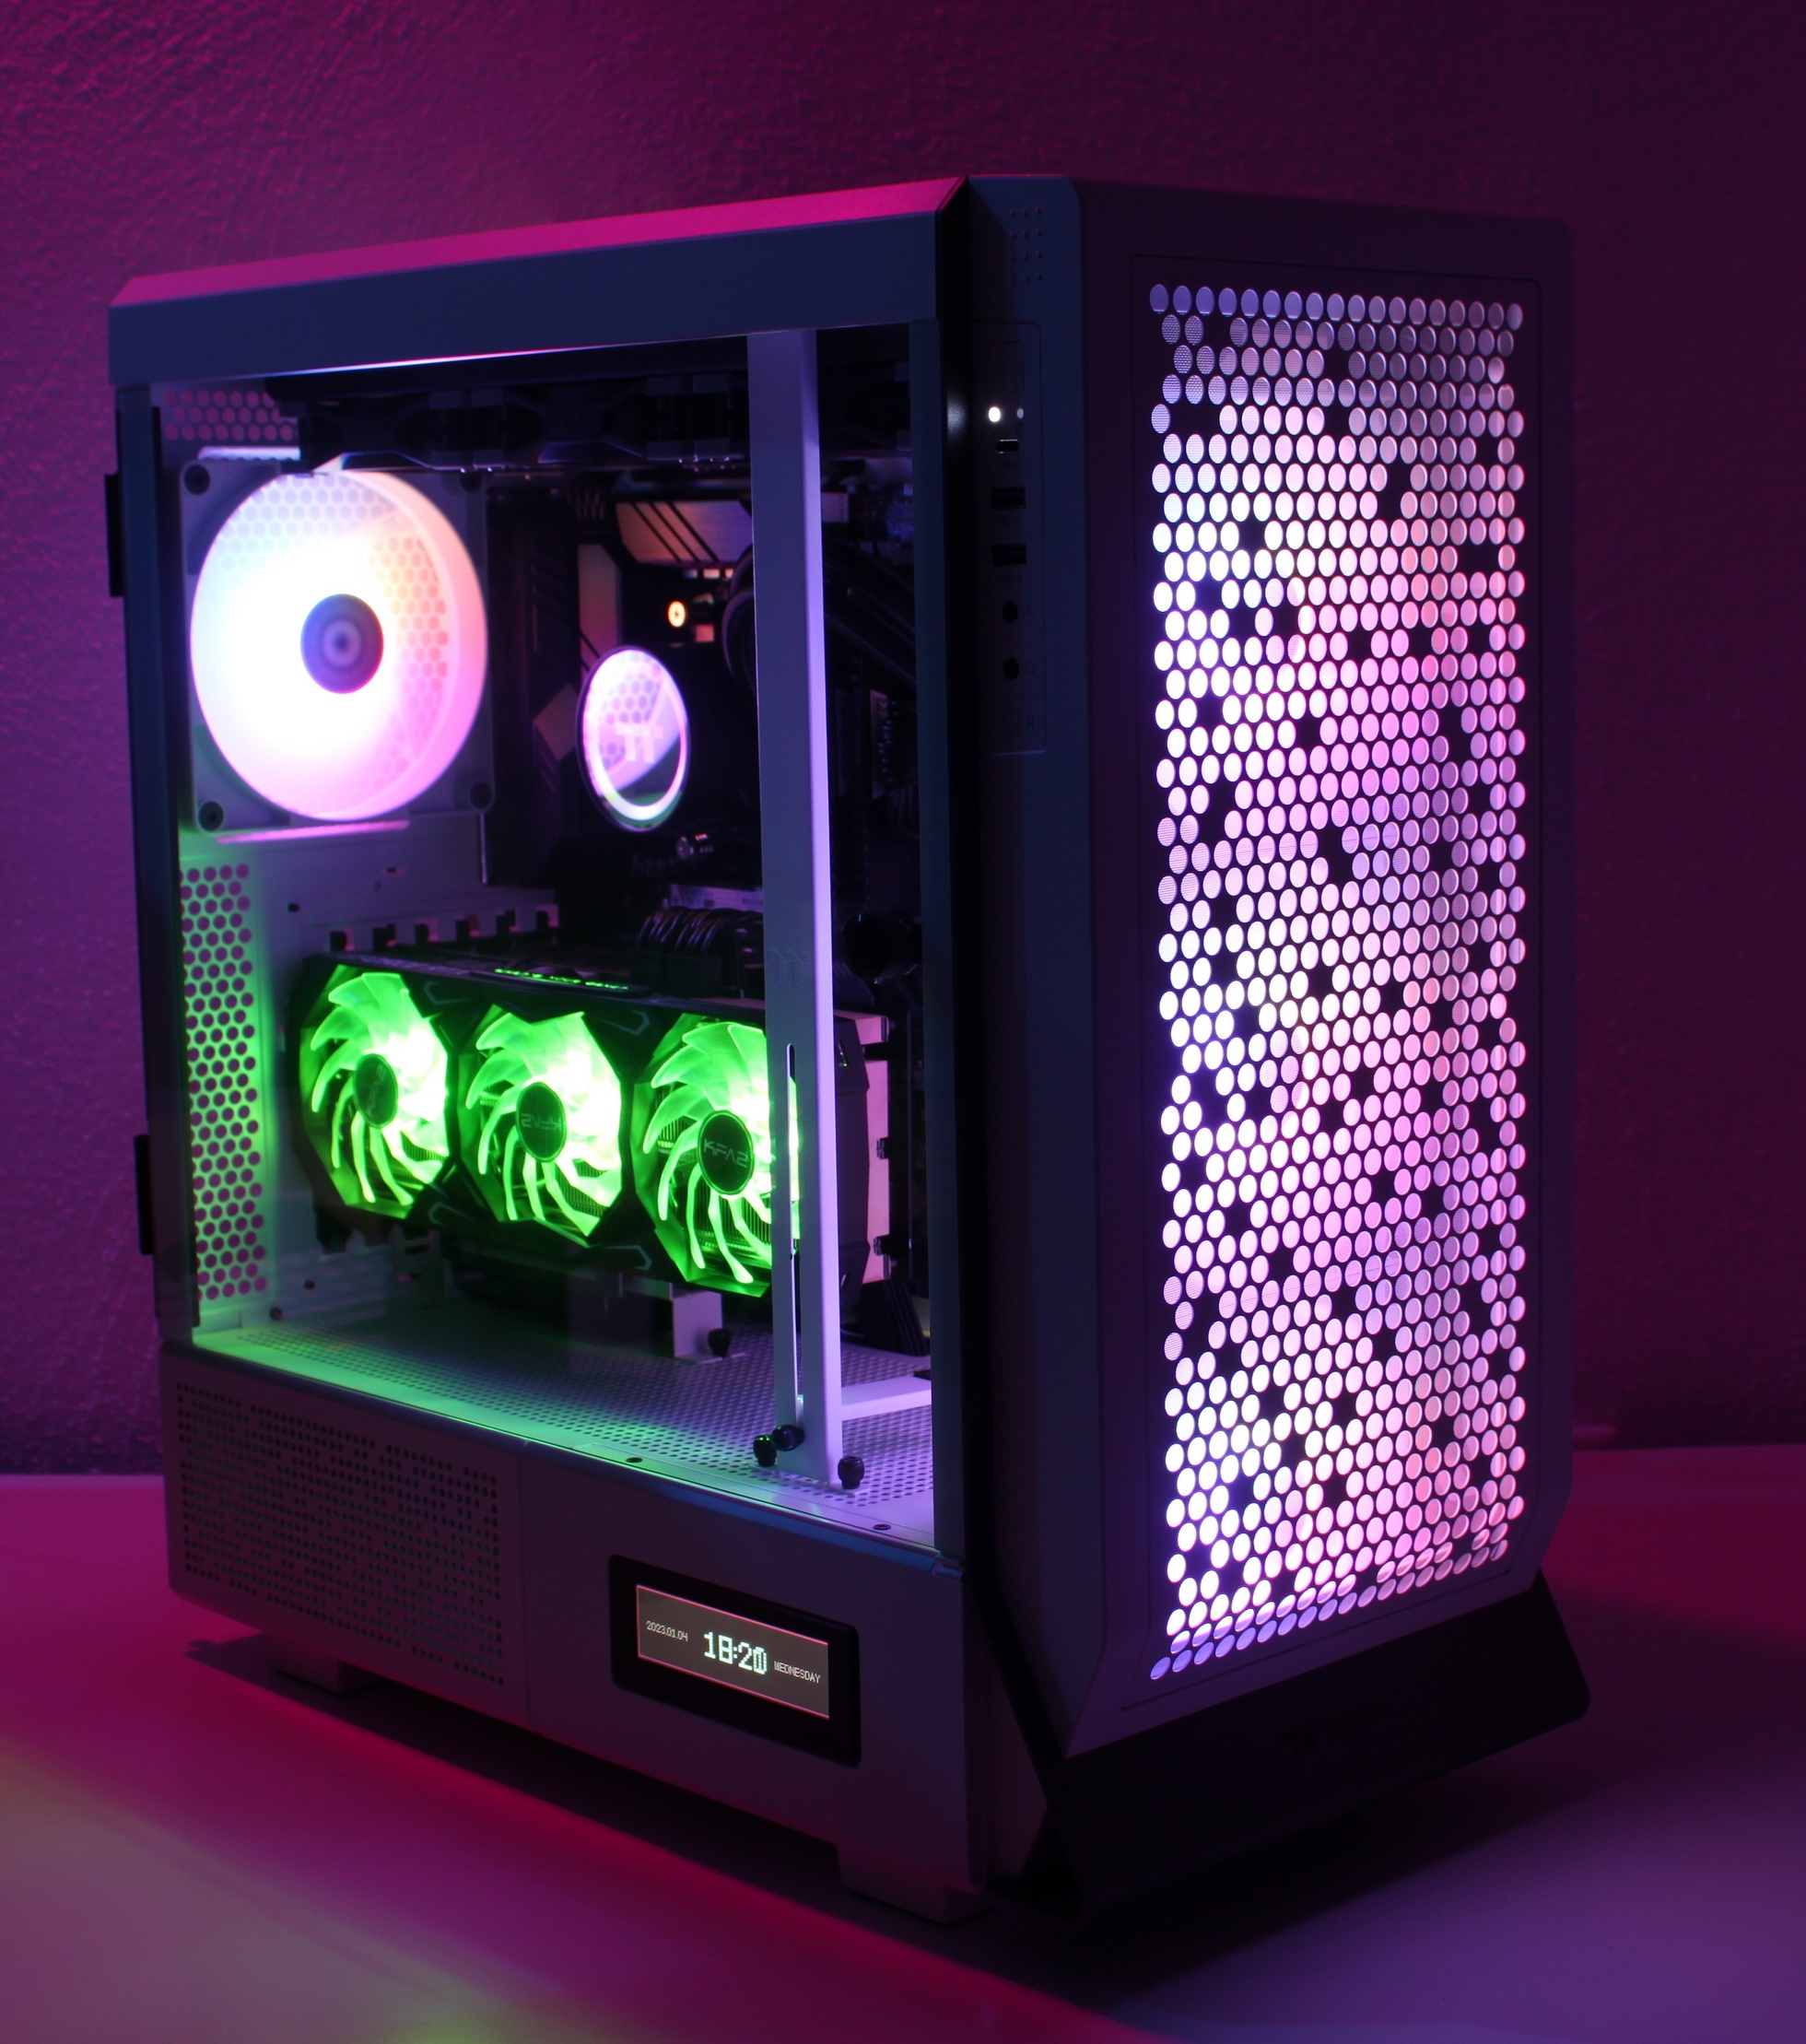
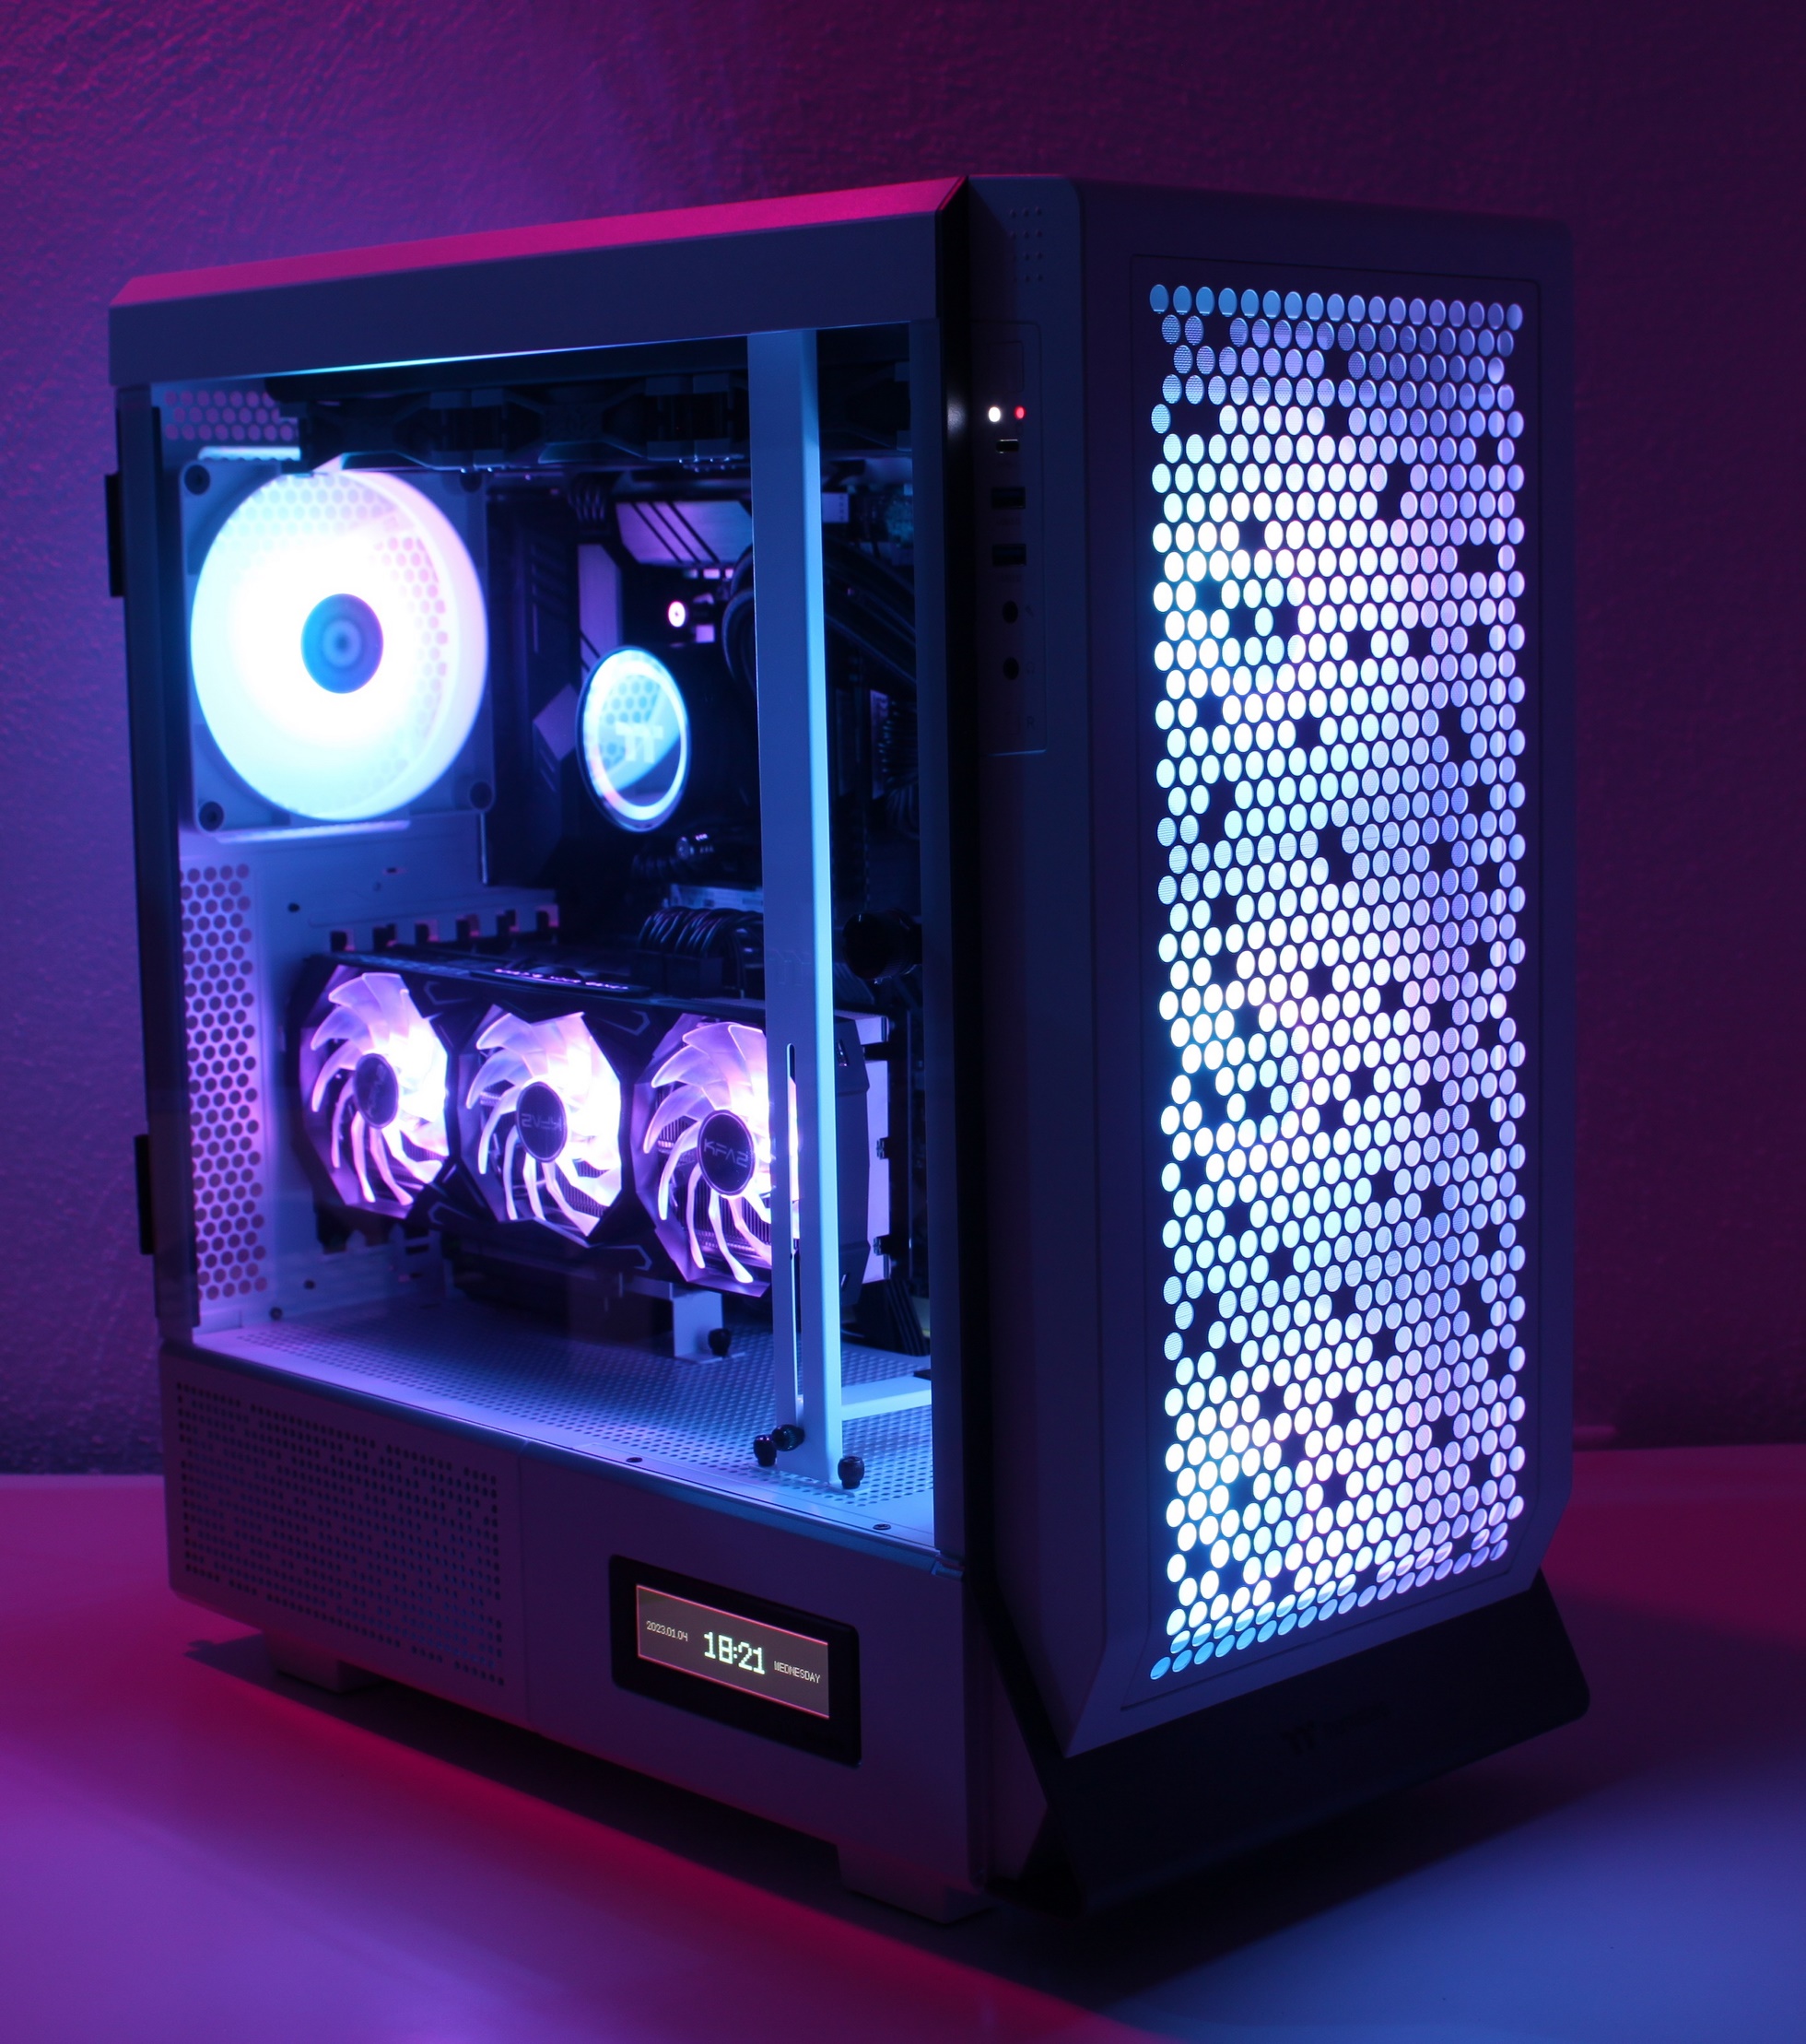
It’s kind of cool, I have to admit.
First Boot and RGB Overload


21 Antworten
Kommentar
Lade neue Kommentare
Urgestein
Moderator
Urgestein
Moderator
Veteran
Moderator
Moderator
Moderator
Mitglied
Veteran
Veteran
Moderator
Urgestein
Moderator
Veteran
Veteran
Urgestein
Urgestein
Alle Kommentare lesen unter igor´sLAB Community →