


As just mentioned, I wanted to push the envelope in the Lian Li Q58 and so the decision was made. to install a real and full-blown custom loop water cooling system with hard tubing. For me, of course, the aesthetics and performance are paramount, so I also used components that not only look good, but also fit in the performance. At least for such a small build.
Due to the very limited installation space, you should plan well in advance, especially with regard to the cooling. Everyone should really be aware that in such a build, for example, an AMD Ryzen 9 5950x and a GeForce 3090 won’t work together anymore, since the cooling with only one radiator definitely can’t work like that. The situation is different if you plan to cool the system with air or use some kind of hybrid cooling, but then it will get noisy again. No one wants to.
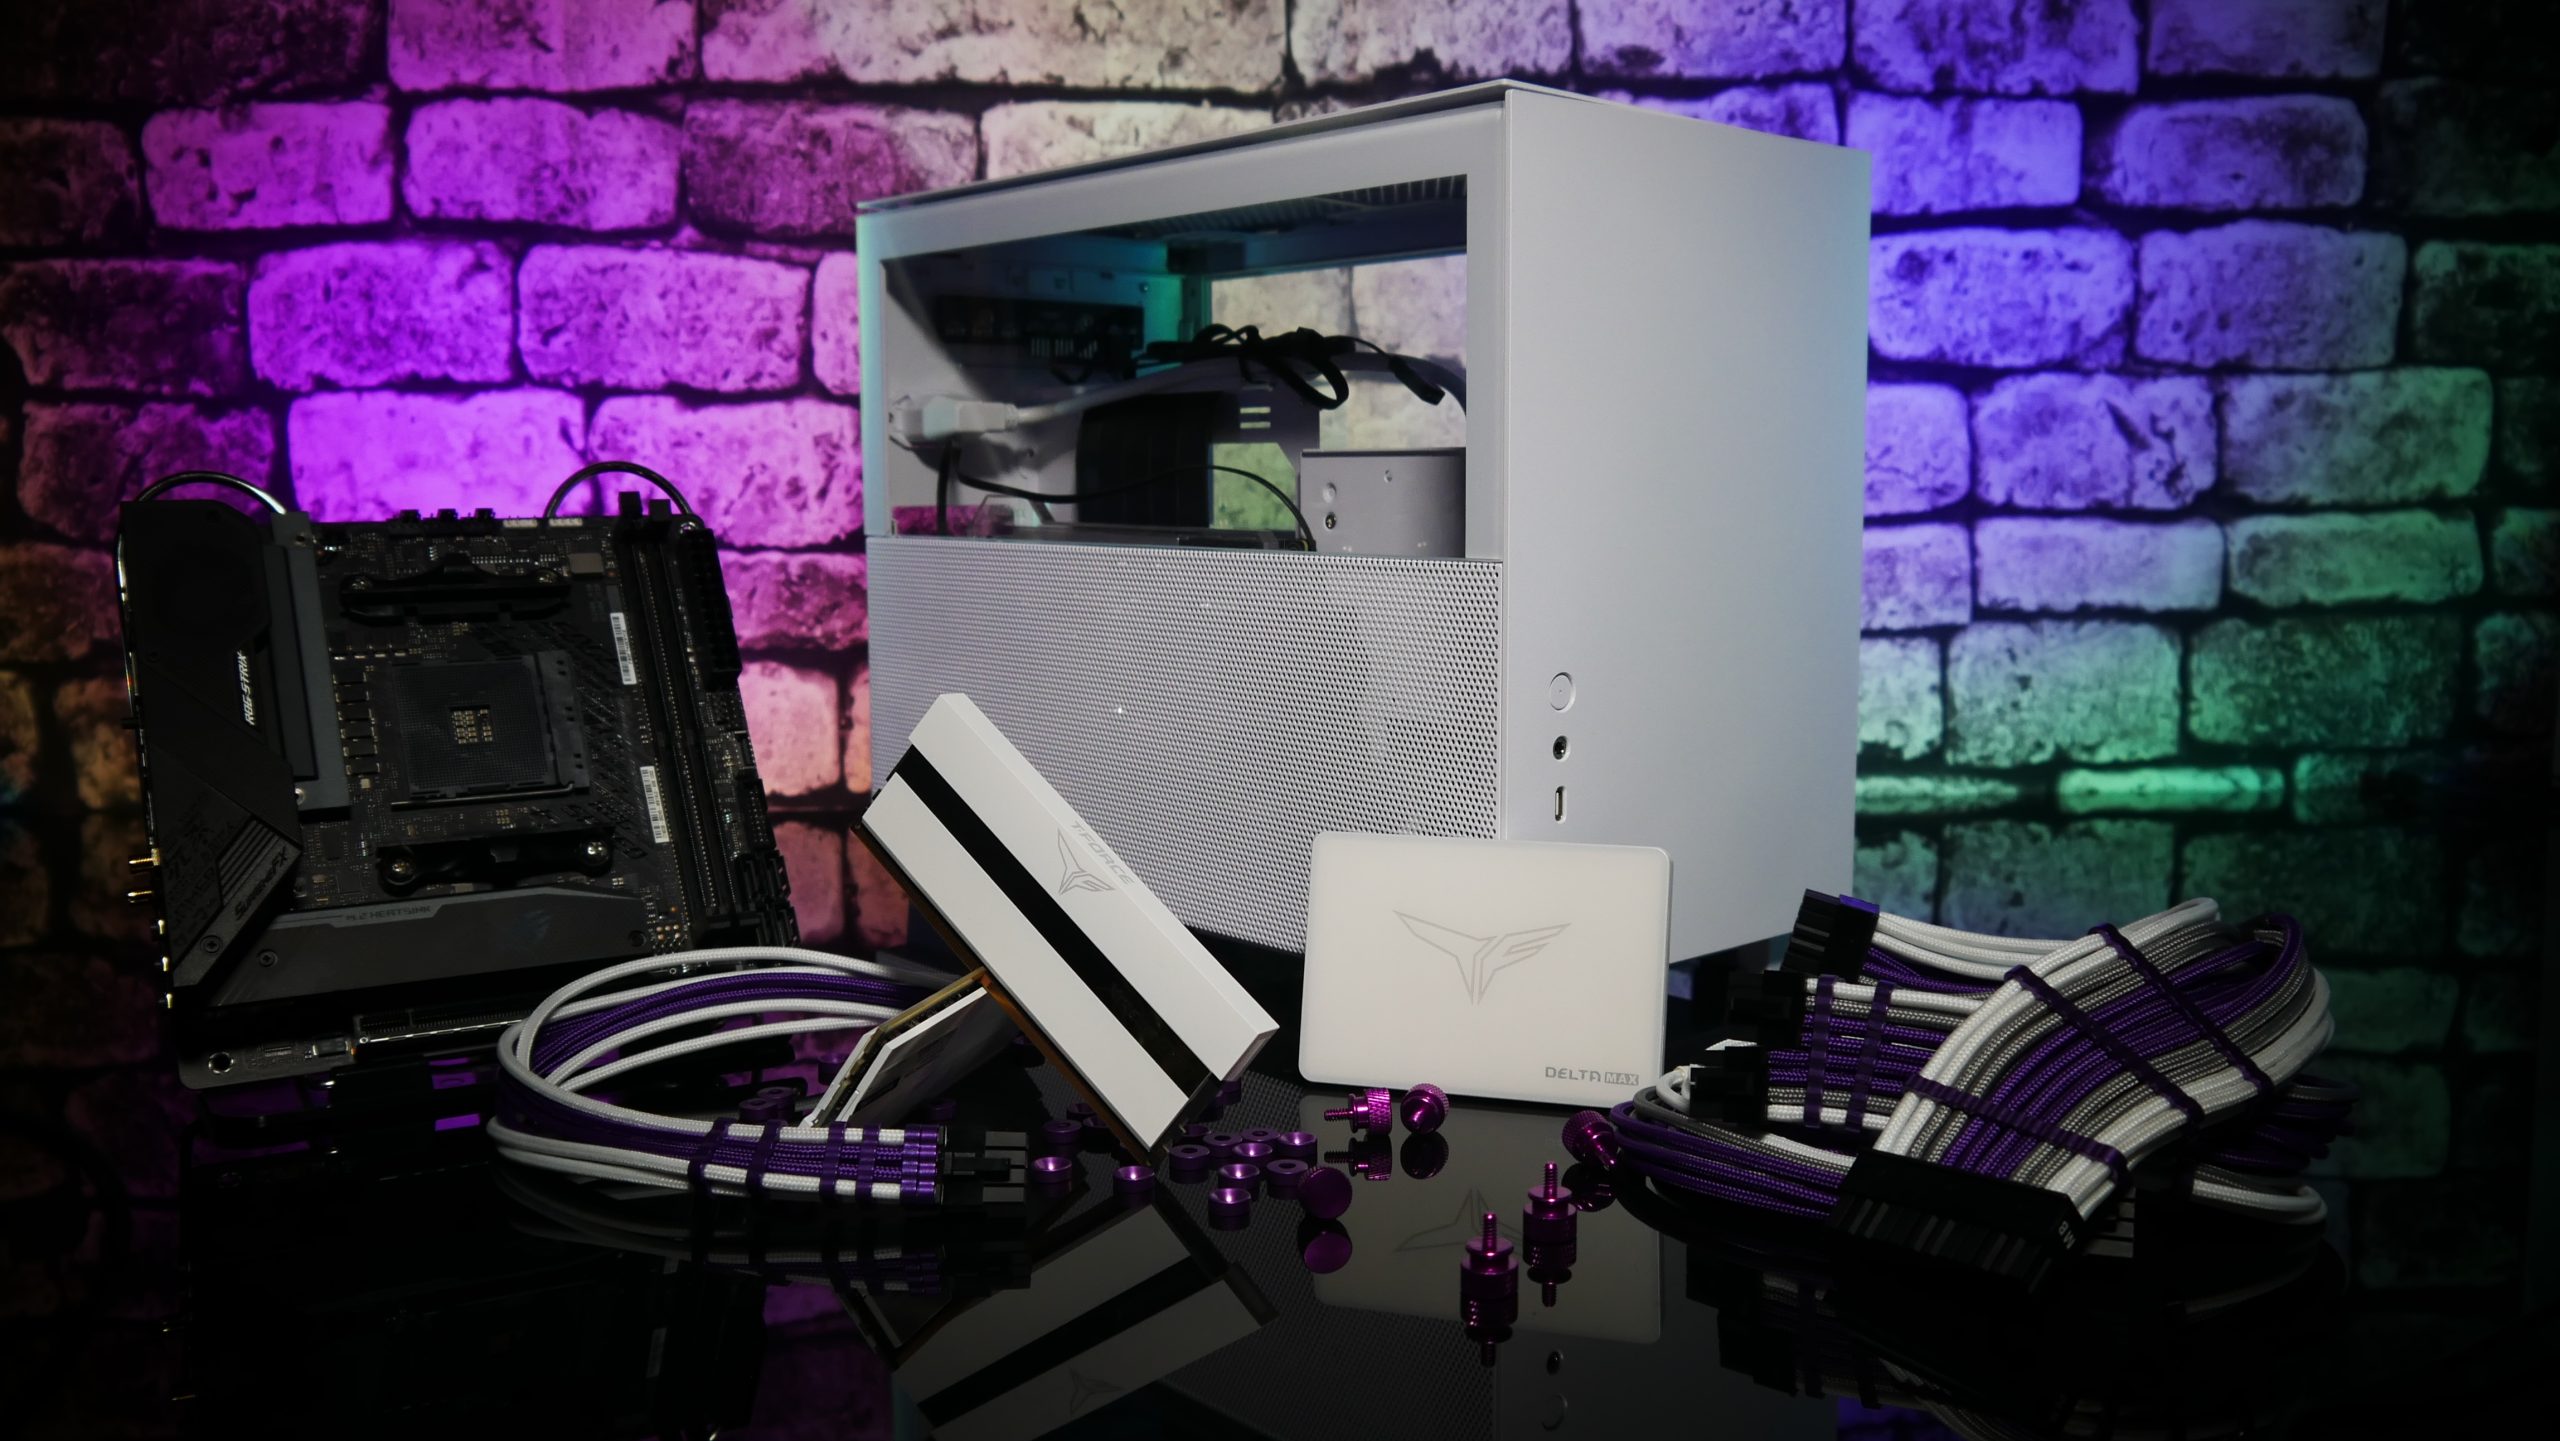
The build is made up of the components in the following list, although one could certainly have gone a bit further. However, the quad-core is still easily sufficient for the GeForce RTX 3070 in WQHD in almost all cases.
| CPU | AMD Ryzen 3 3300X |
| CPU Cooler | Alphacool Ice Block Aurora XP³ Light |
| Mainboard | Asus ROG Strix B550-I Gaming |
| Working memory | Teamgroup XTREEM ARGB White 16GB 3600Mhz CL16 |
| Graphics card | Zotac GeForce RTX 3070 Twin Edge |
| GPU block | Alphacool Ice Block Aurora Acrylic GPX-N RTX 3070 Gaming Twin Edge with Backplate |
| NVME | Crucial P5 2TB M2. |
| Power supply unit | Cooler Master V850 SFF White |
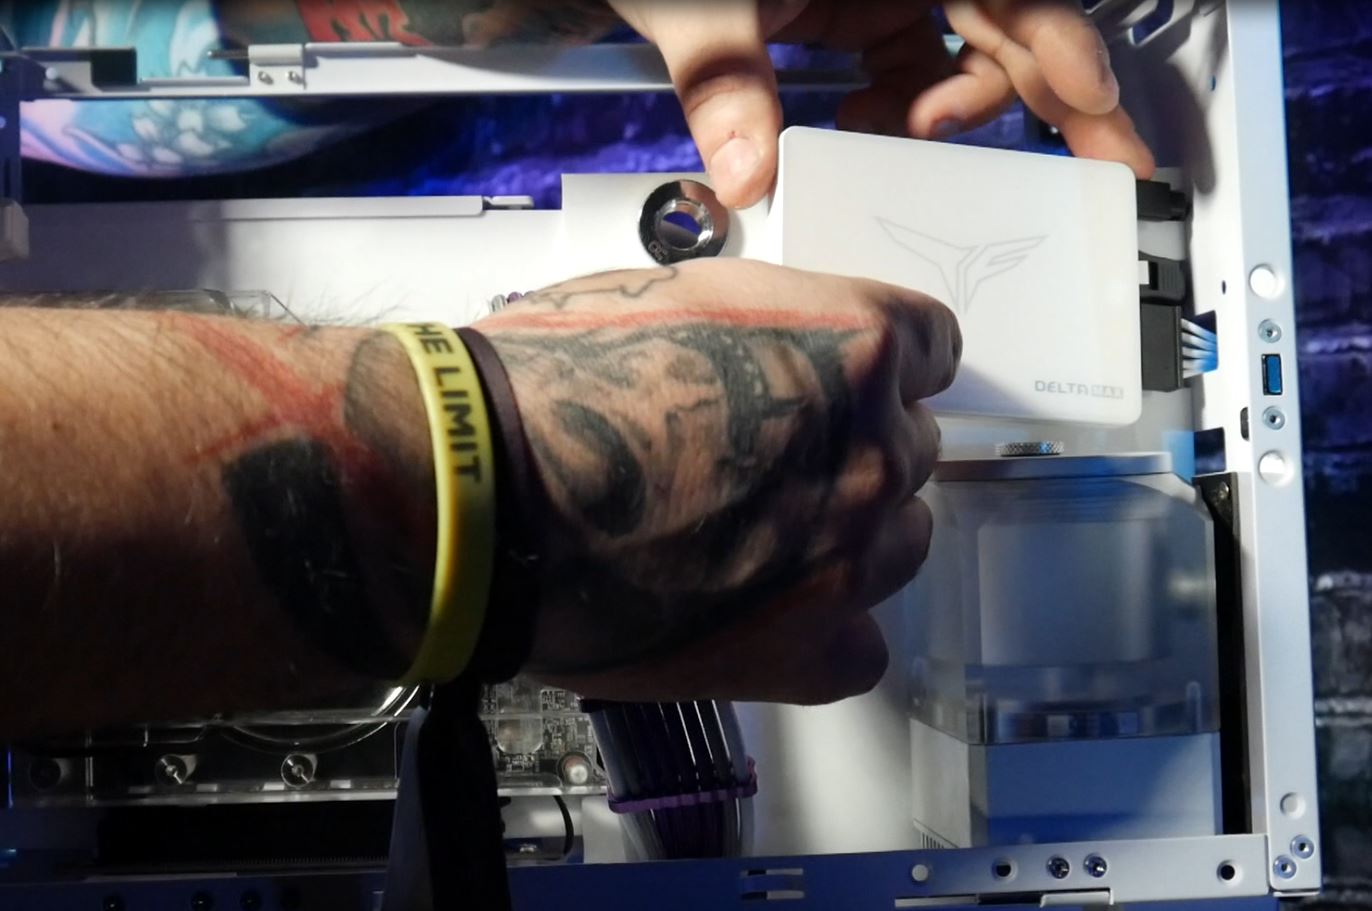
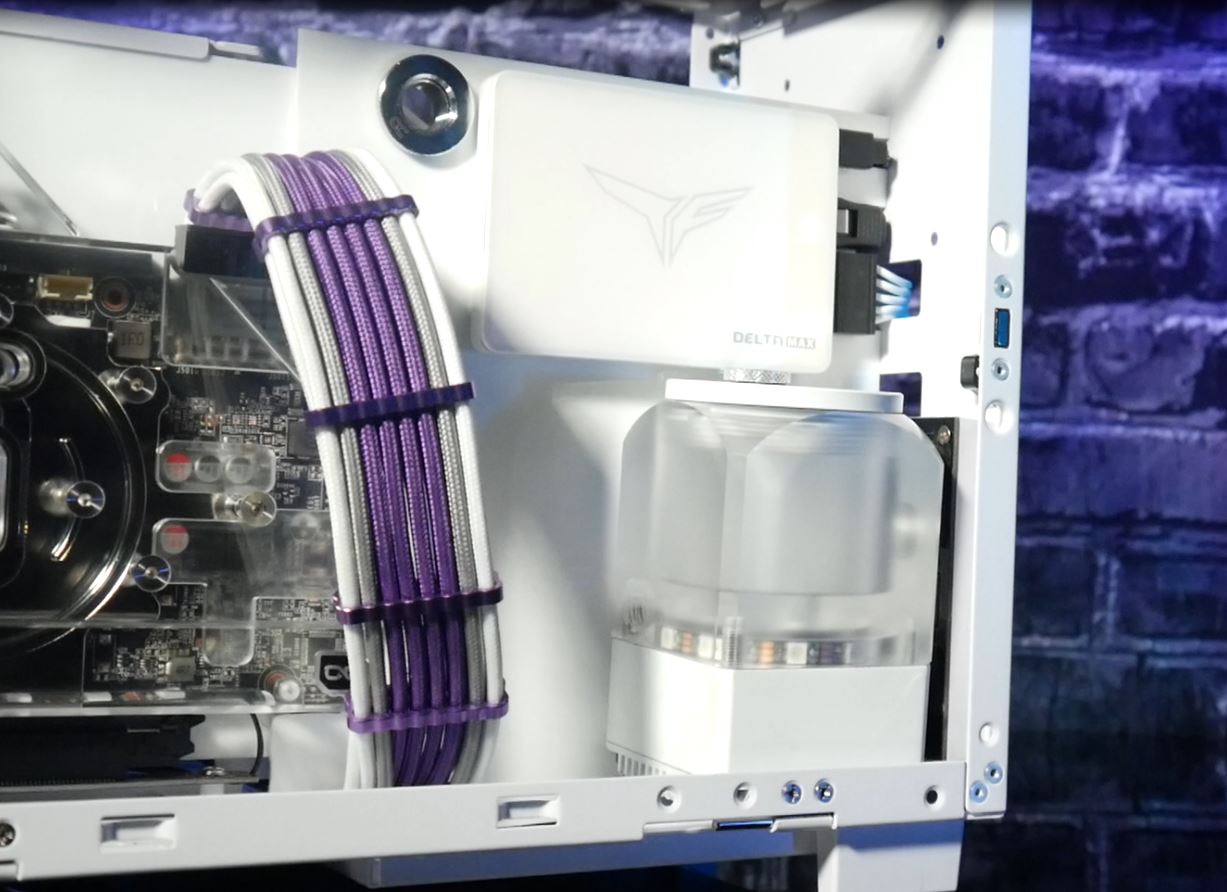
| Games SSD | Team Group Delta MAX White 1TB |
| AGB/Pump | Bykski Pumps-AGB Combi Box |
| Tubes | Alphacool Ice Tube 16/13mm Acrylic Satinized |
| Connections | Alphacool Icicle Pro White |
| Radiator | Alphacool NexXxoS ST30 240 |
| Fan | Noisblocker eLoop 120mm ARGB White |
| Cable | Cablemods custom cable from power supply |
| Other | CableMod Anodized Purple Aluminum Thumbscrews/Washers |
| Controller | Aquacomputer Inking Unit 360 |
| Liquid | Corsair Hydro X Purple and EK Indigo Purple (MIX) |
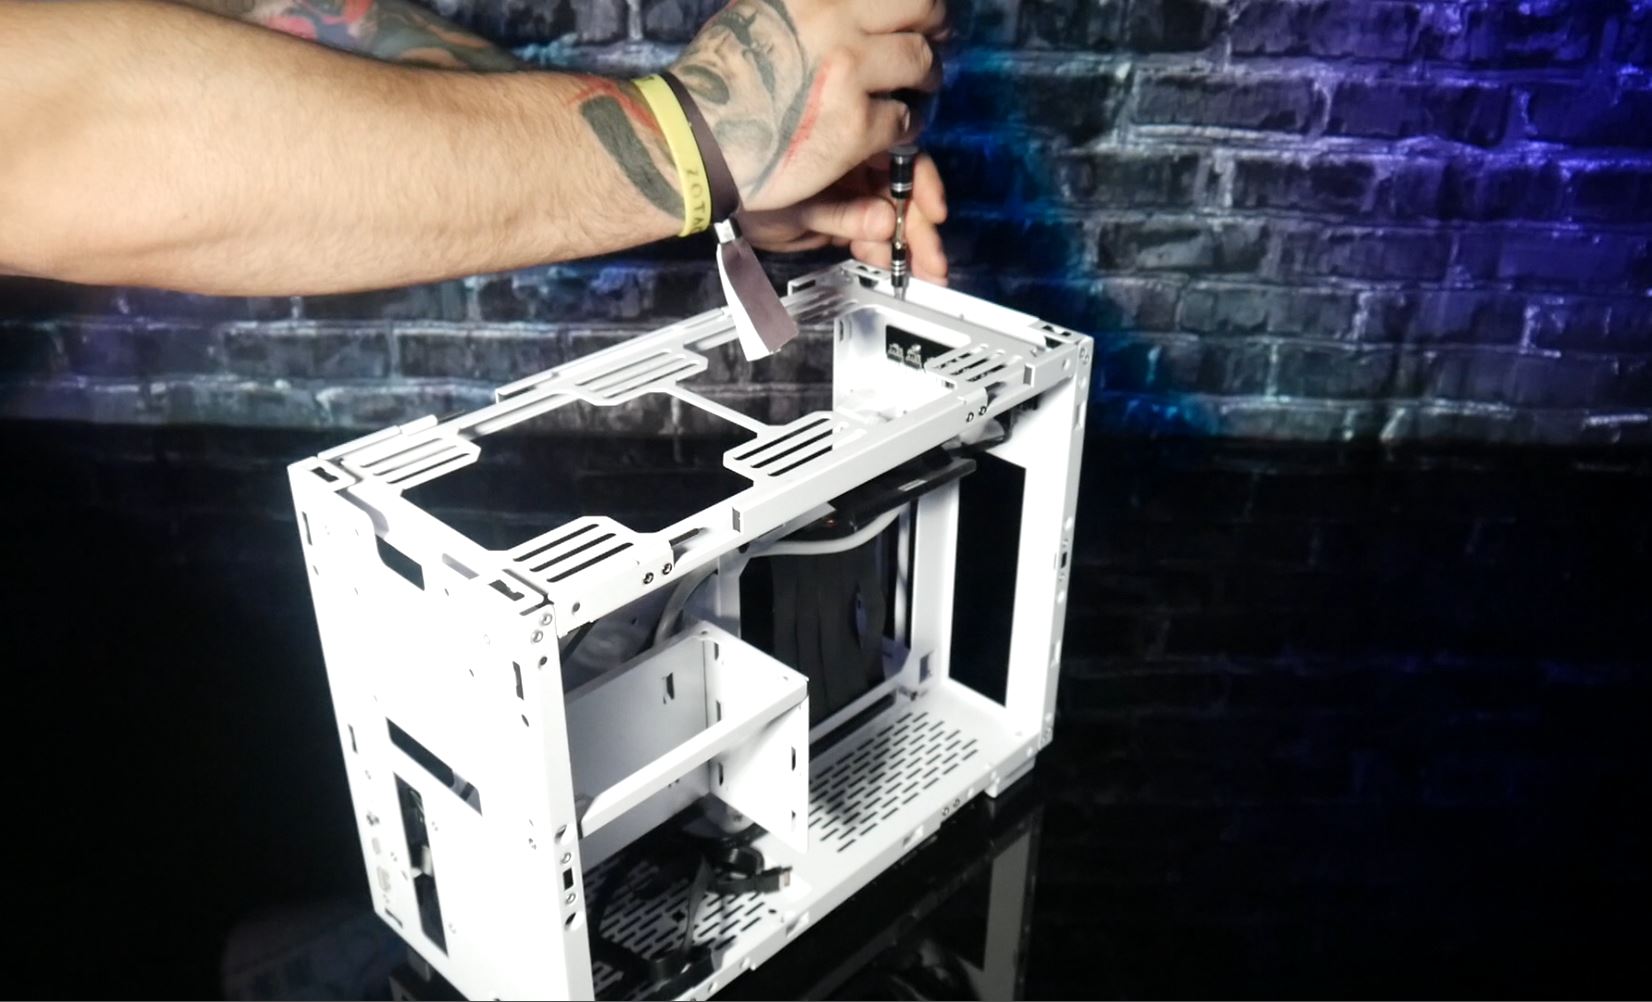
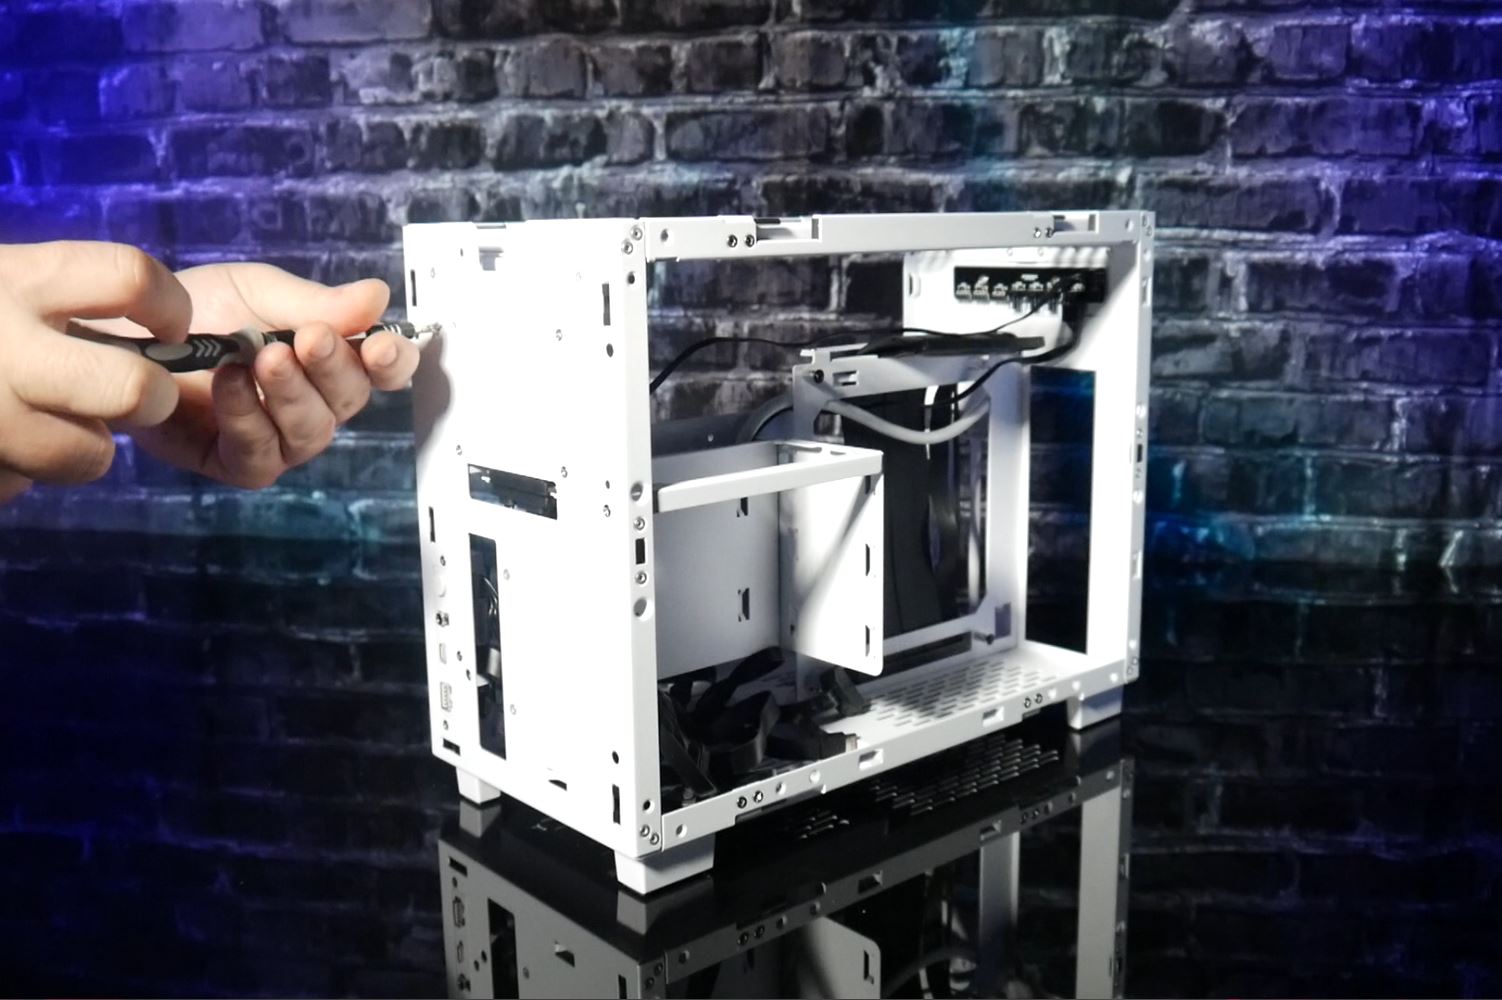
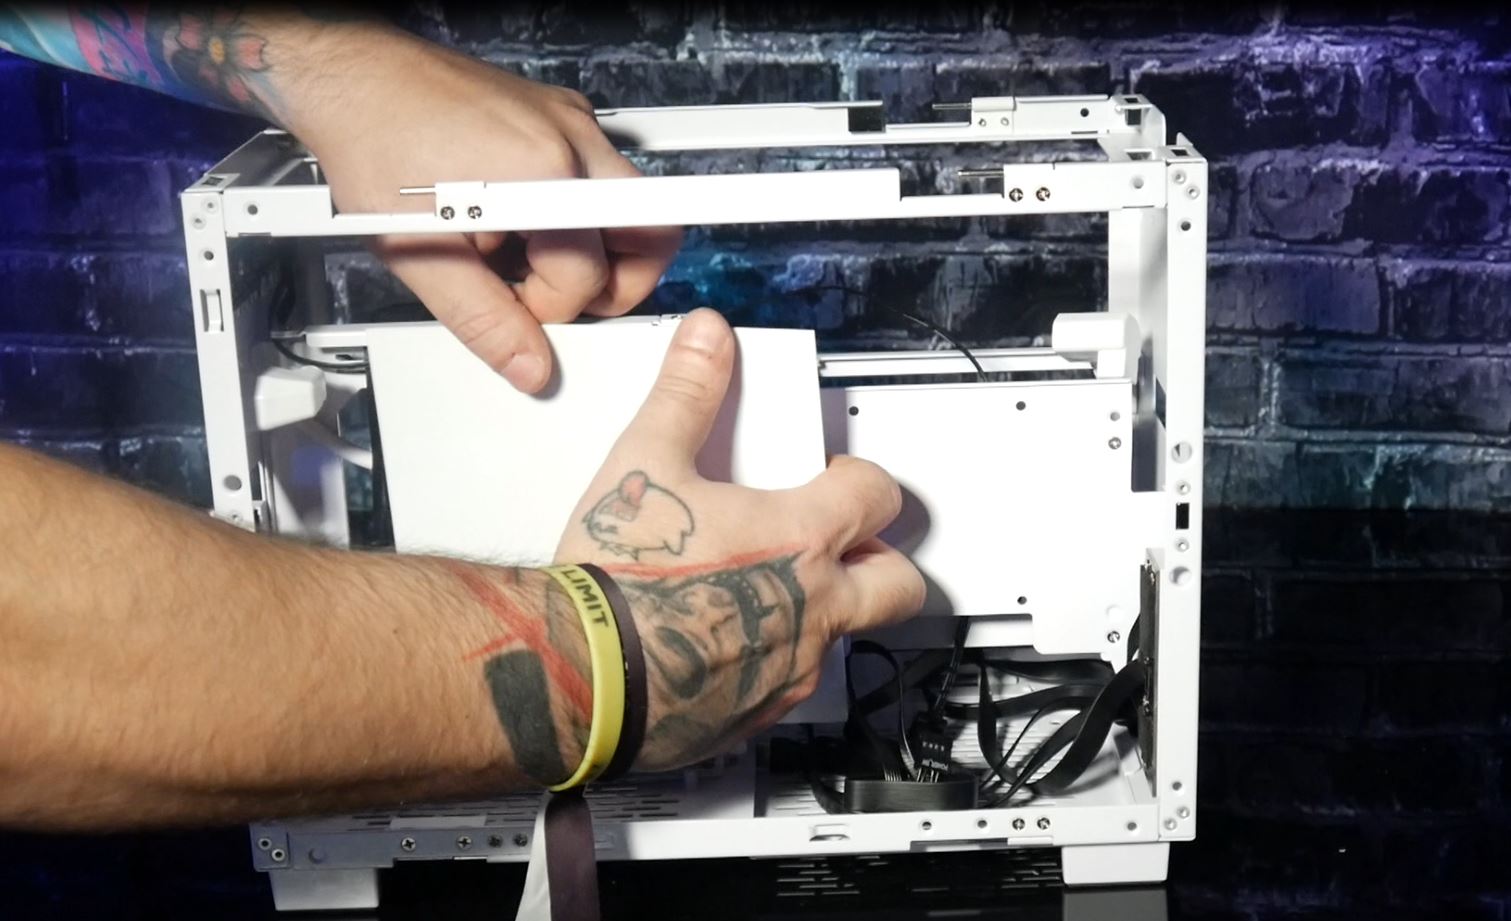
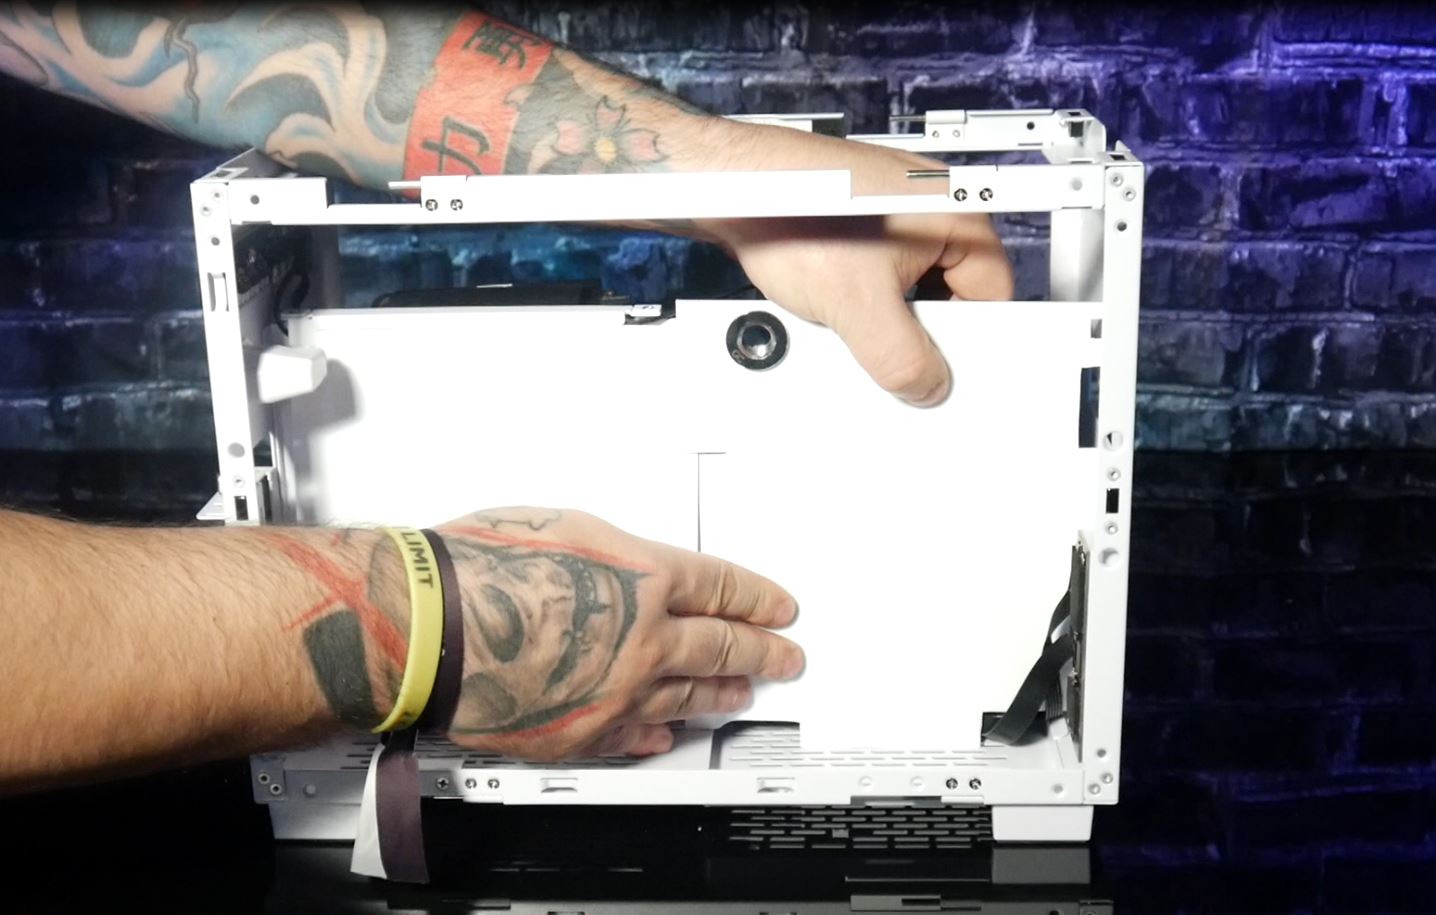
First, I disassembled the entire case and removed the parts I don’t need, such as the SSD hot-swap cage, because I will position the SSD differently later as a small eye-catcher. Since I have never needed the audio connector, I unplugged the cable from the I/O panel. This is quite simple just plugged in and did not require separate desoldering.
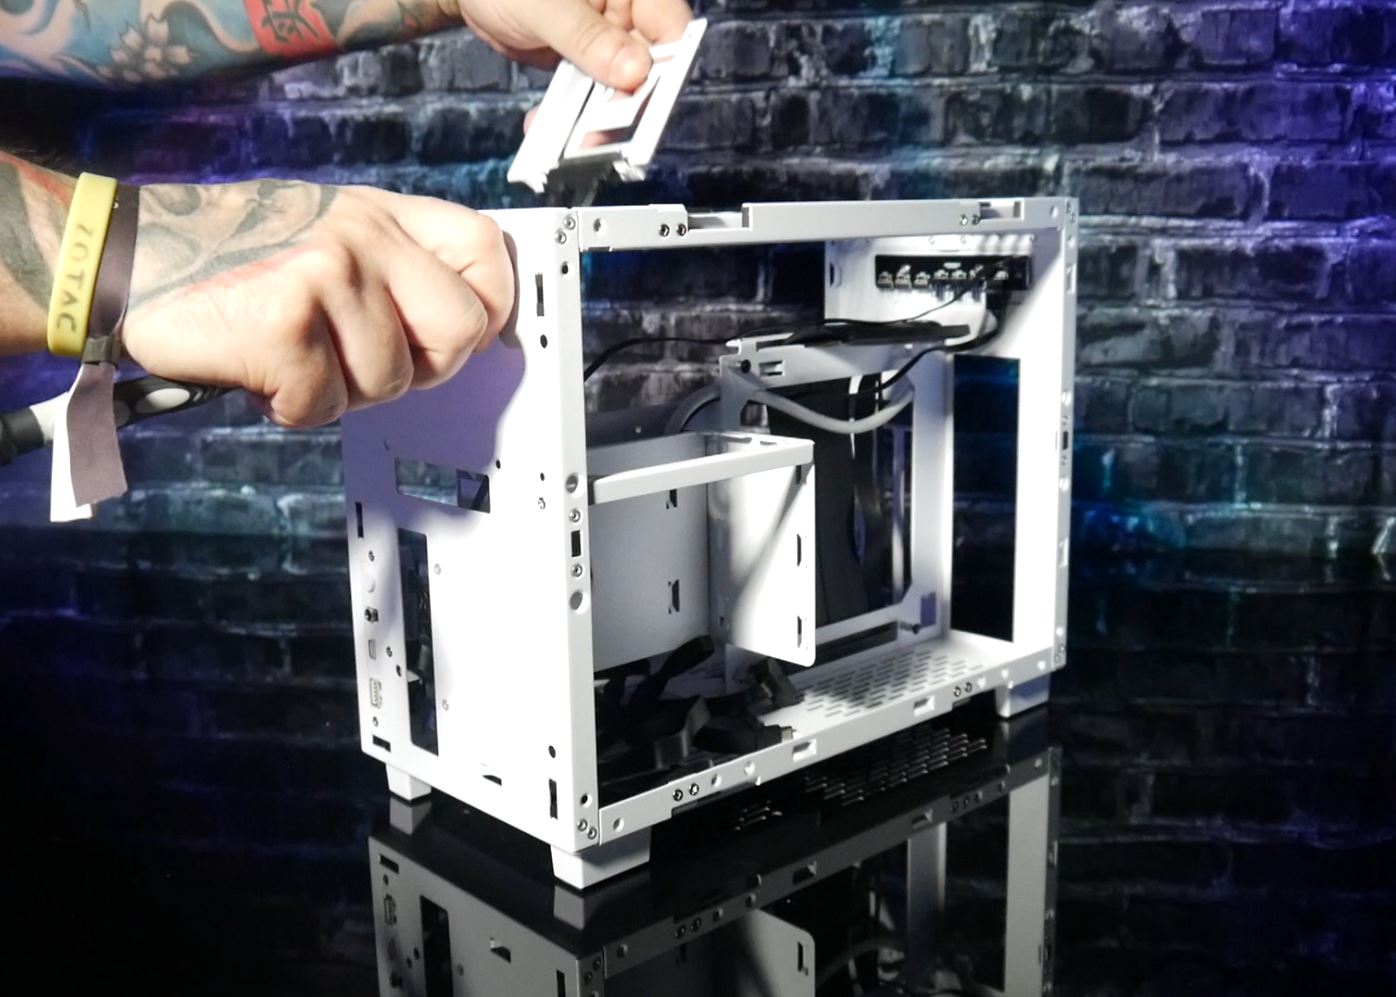
As I mentioned, aesthetics are very important to me in such a build and exposed cables are always a thorn in my side. So I used simple PVC sheets from the craft supply to cover the riser cable and the back panel in the GPU chamber.
In the right cover I planned the cable entry and the passage for the water cooling into the mainboard chamber. This can be achieved quite well with a so-called bulkhead fitting.
Next up was the GPU. This was disassembled after 10 minutes and assembled with the Alphacool GPU block – the assembly is really child’s play. Make, that’s it.
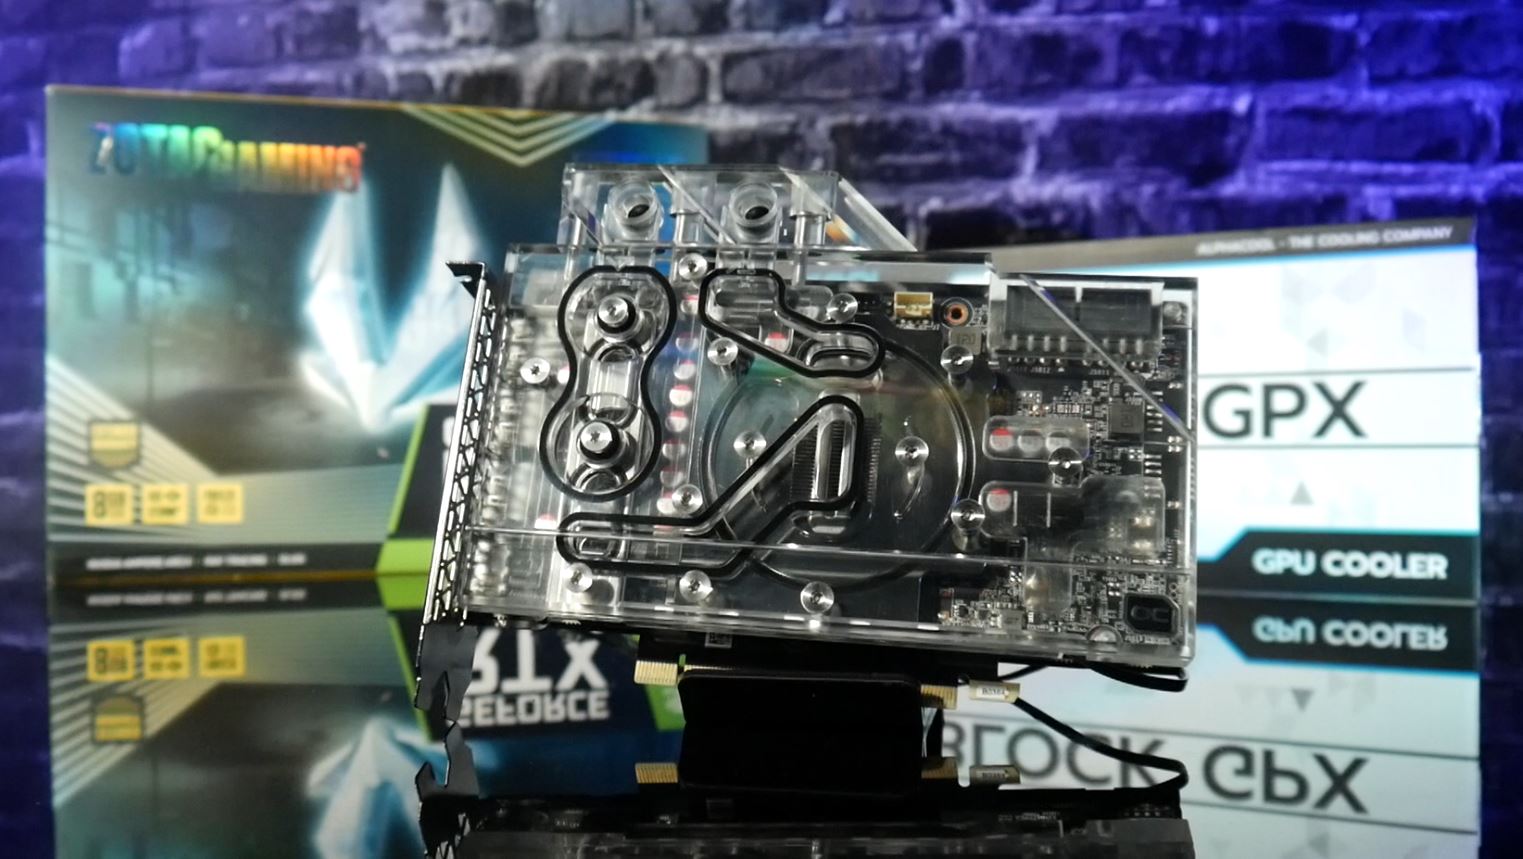
And everything was then quickly installed in the case, but at exactly this point we now also see the already mentioned problem with the IEC connector, because it almost collides with the terminal of the GPU block and thus makes later tubing very difficult. In my case, I even had to go a completely different way, because tubing was no longer possible in this case.

However, I would like to point out again that the problem exists explicitly with this block. Other GPU blocks where the terminal is shifted more to the right will not have problems here. To complete the GPU chamber, I also velcroed the Teamgroup SSD to the right rear panel….
… and then installed the pumps/AGB combination in its final place.
Let’s move on to the motherboard chamber next. First of all, I installed the I/O shield there, because who doesn’t know the great shock when the build is finished and you finally see the hated hole at the back, where exactly the I/O shield should be. Actually a typical beginner’s mistake, but one that is always popular, even among professionals. Once this important step has been accomplished, it’s time for the mainboard and the assembly.

After all the parts found their place, it was carefully installed into the Q58. This board is held in place by four screws. To add a touch of color, I used purple anodized washers. So much time must be!

The riser cable can now be bent very well into the desired position and clicked into the PCIe slot. So Lian Li did not use an unruly or even hard cable here, as there are plenty of them on the market, but something softer.


23 Antworten
Kommentar
Lade neue Kommentare
Moderator
Mitglied
Urgestein
Veteran
Urgestein
Mitglied
Urgestein
Urgestein
Mitglied
Urgestein
Mitglied
Urgestein
Urgestein
Mitglied
Urgestein
Urgestein
Mitglied
Urgestein
Urgestein
Alle Kommentare lesen unter igor´sLAB Community →