


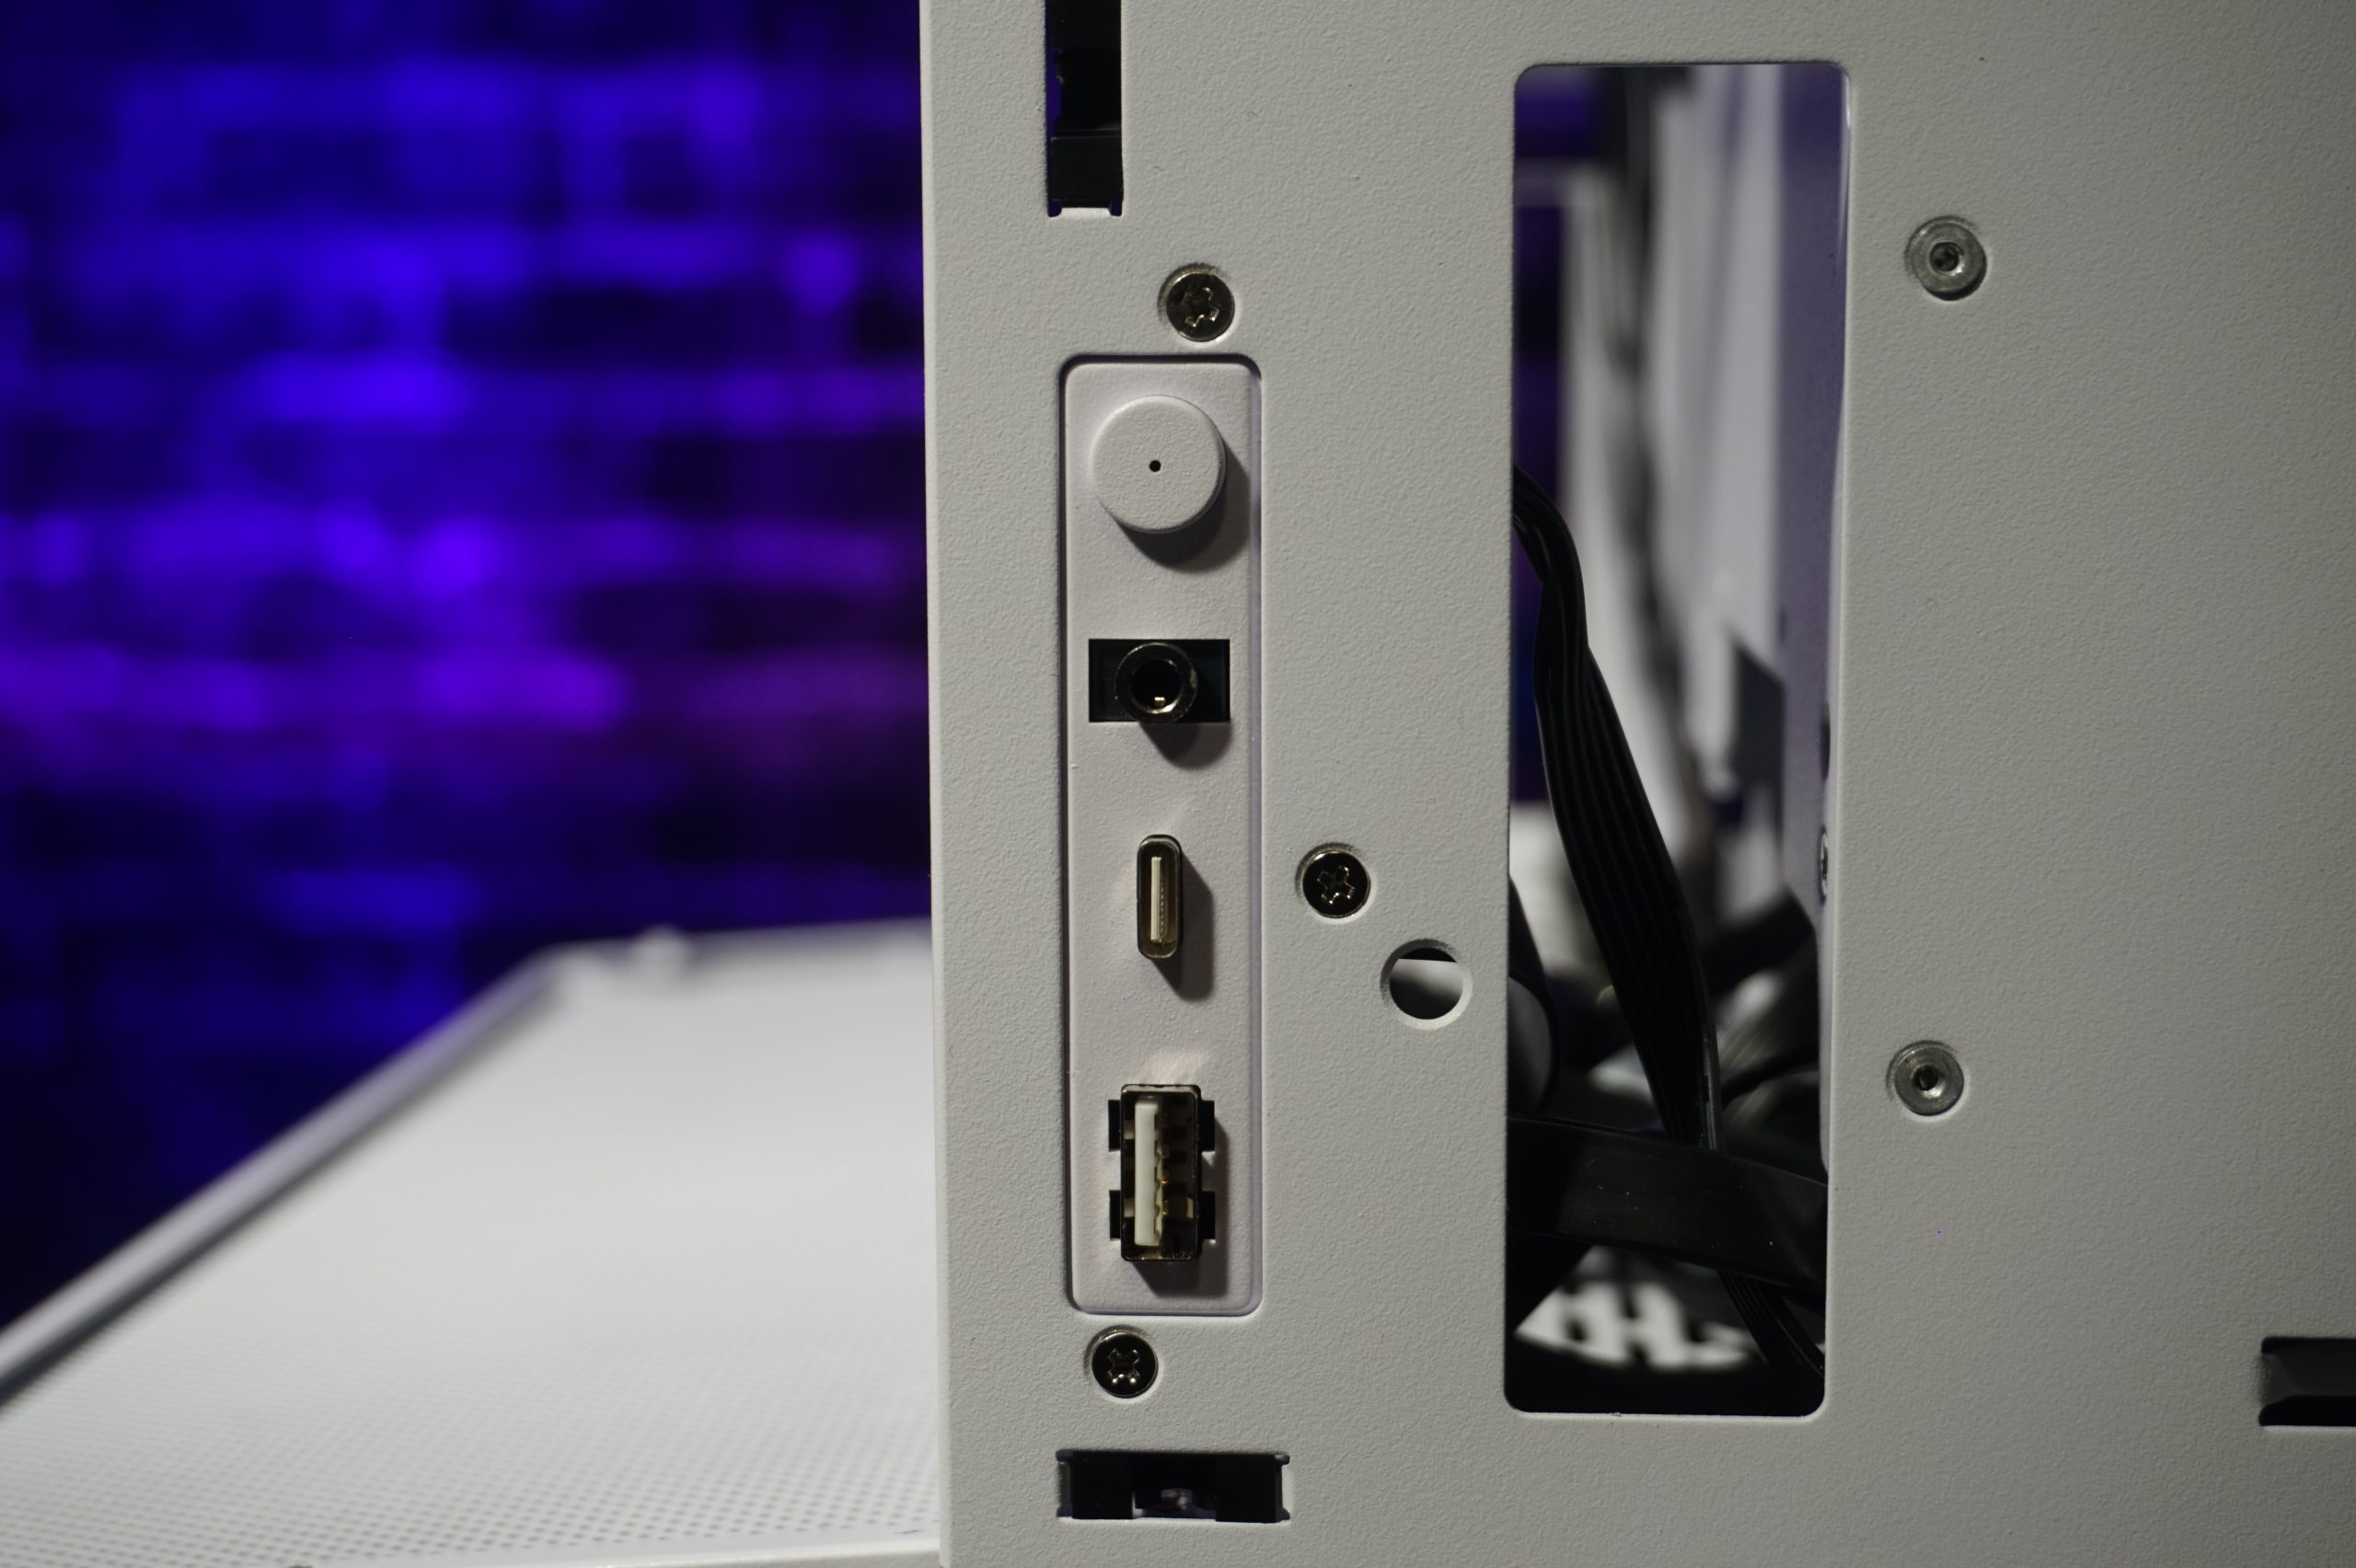
And on it goes The power button, a USB 3.1 Type C, a USB 3.0 Type A and the 3.5 audio port are located on the front – that’s all there is here.
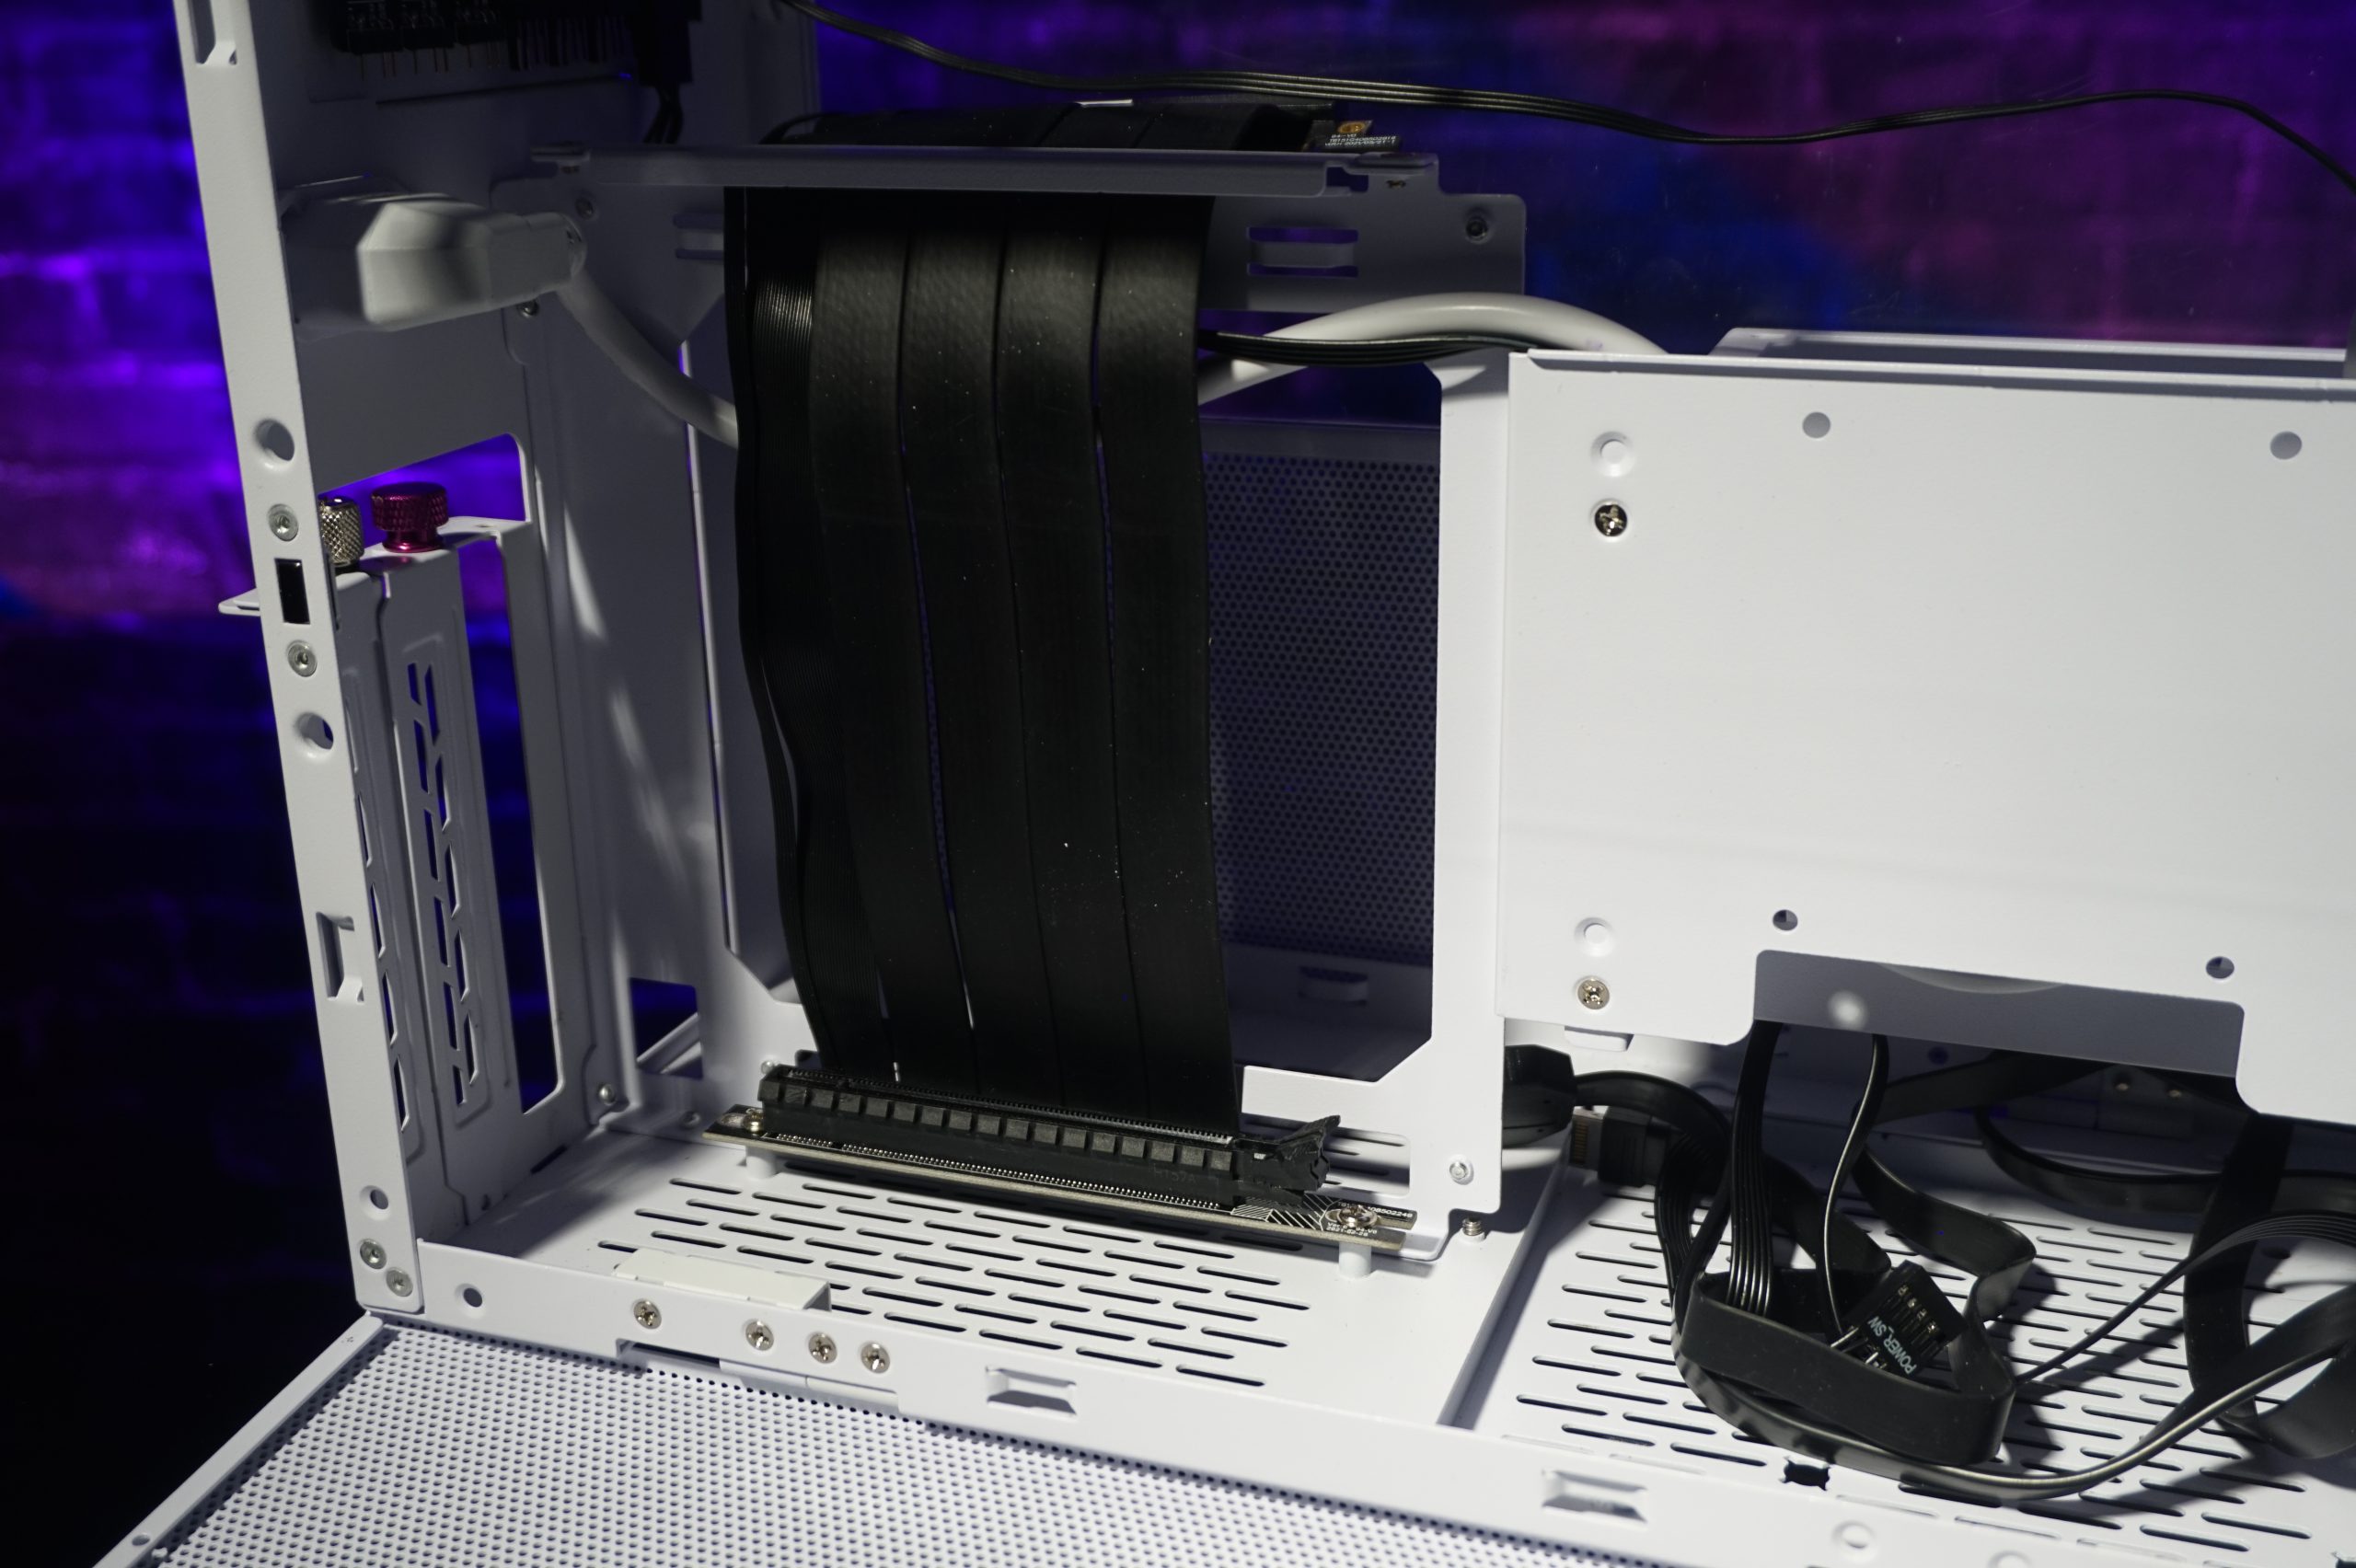
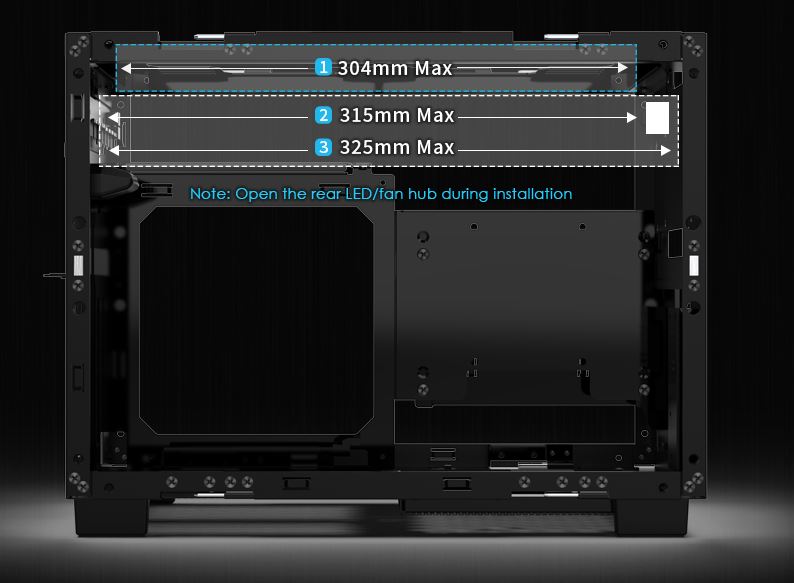
Let’s now look at both chambers separately and start on the GPU side. As mentioned at the beginning, graphics cards with a maximum length of up to 325 mm can be installed here. So even the really big cards have enough space here. Even thick triple-slot cards find room here, you see. On this page you can also find the riser cable and here you have the choice if it can be the PCIe 3.0 version or if you better choose (and need) the PCIe 4.0 version.
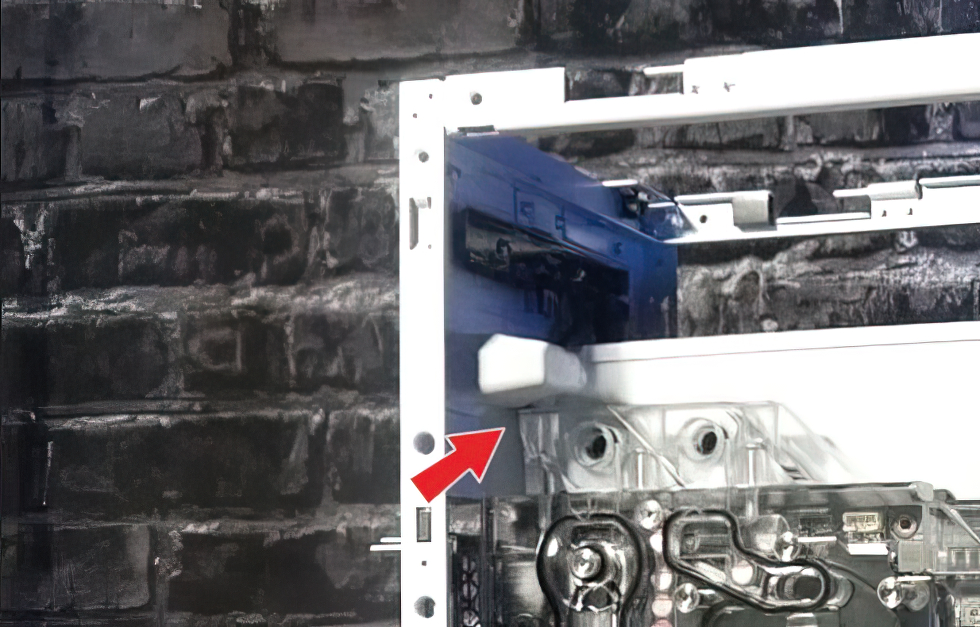
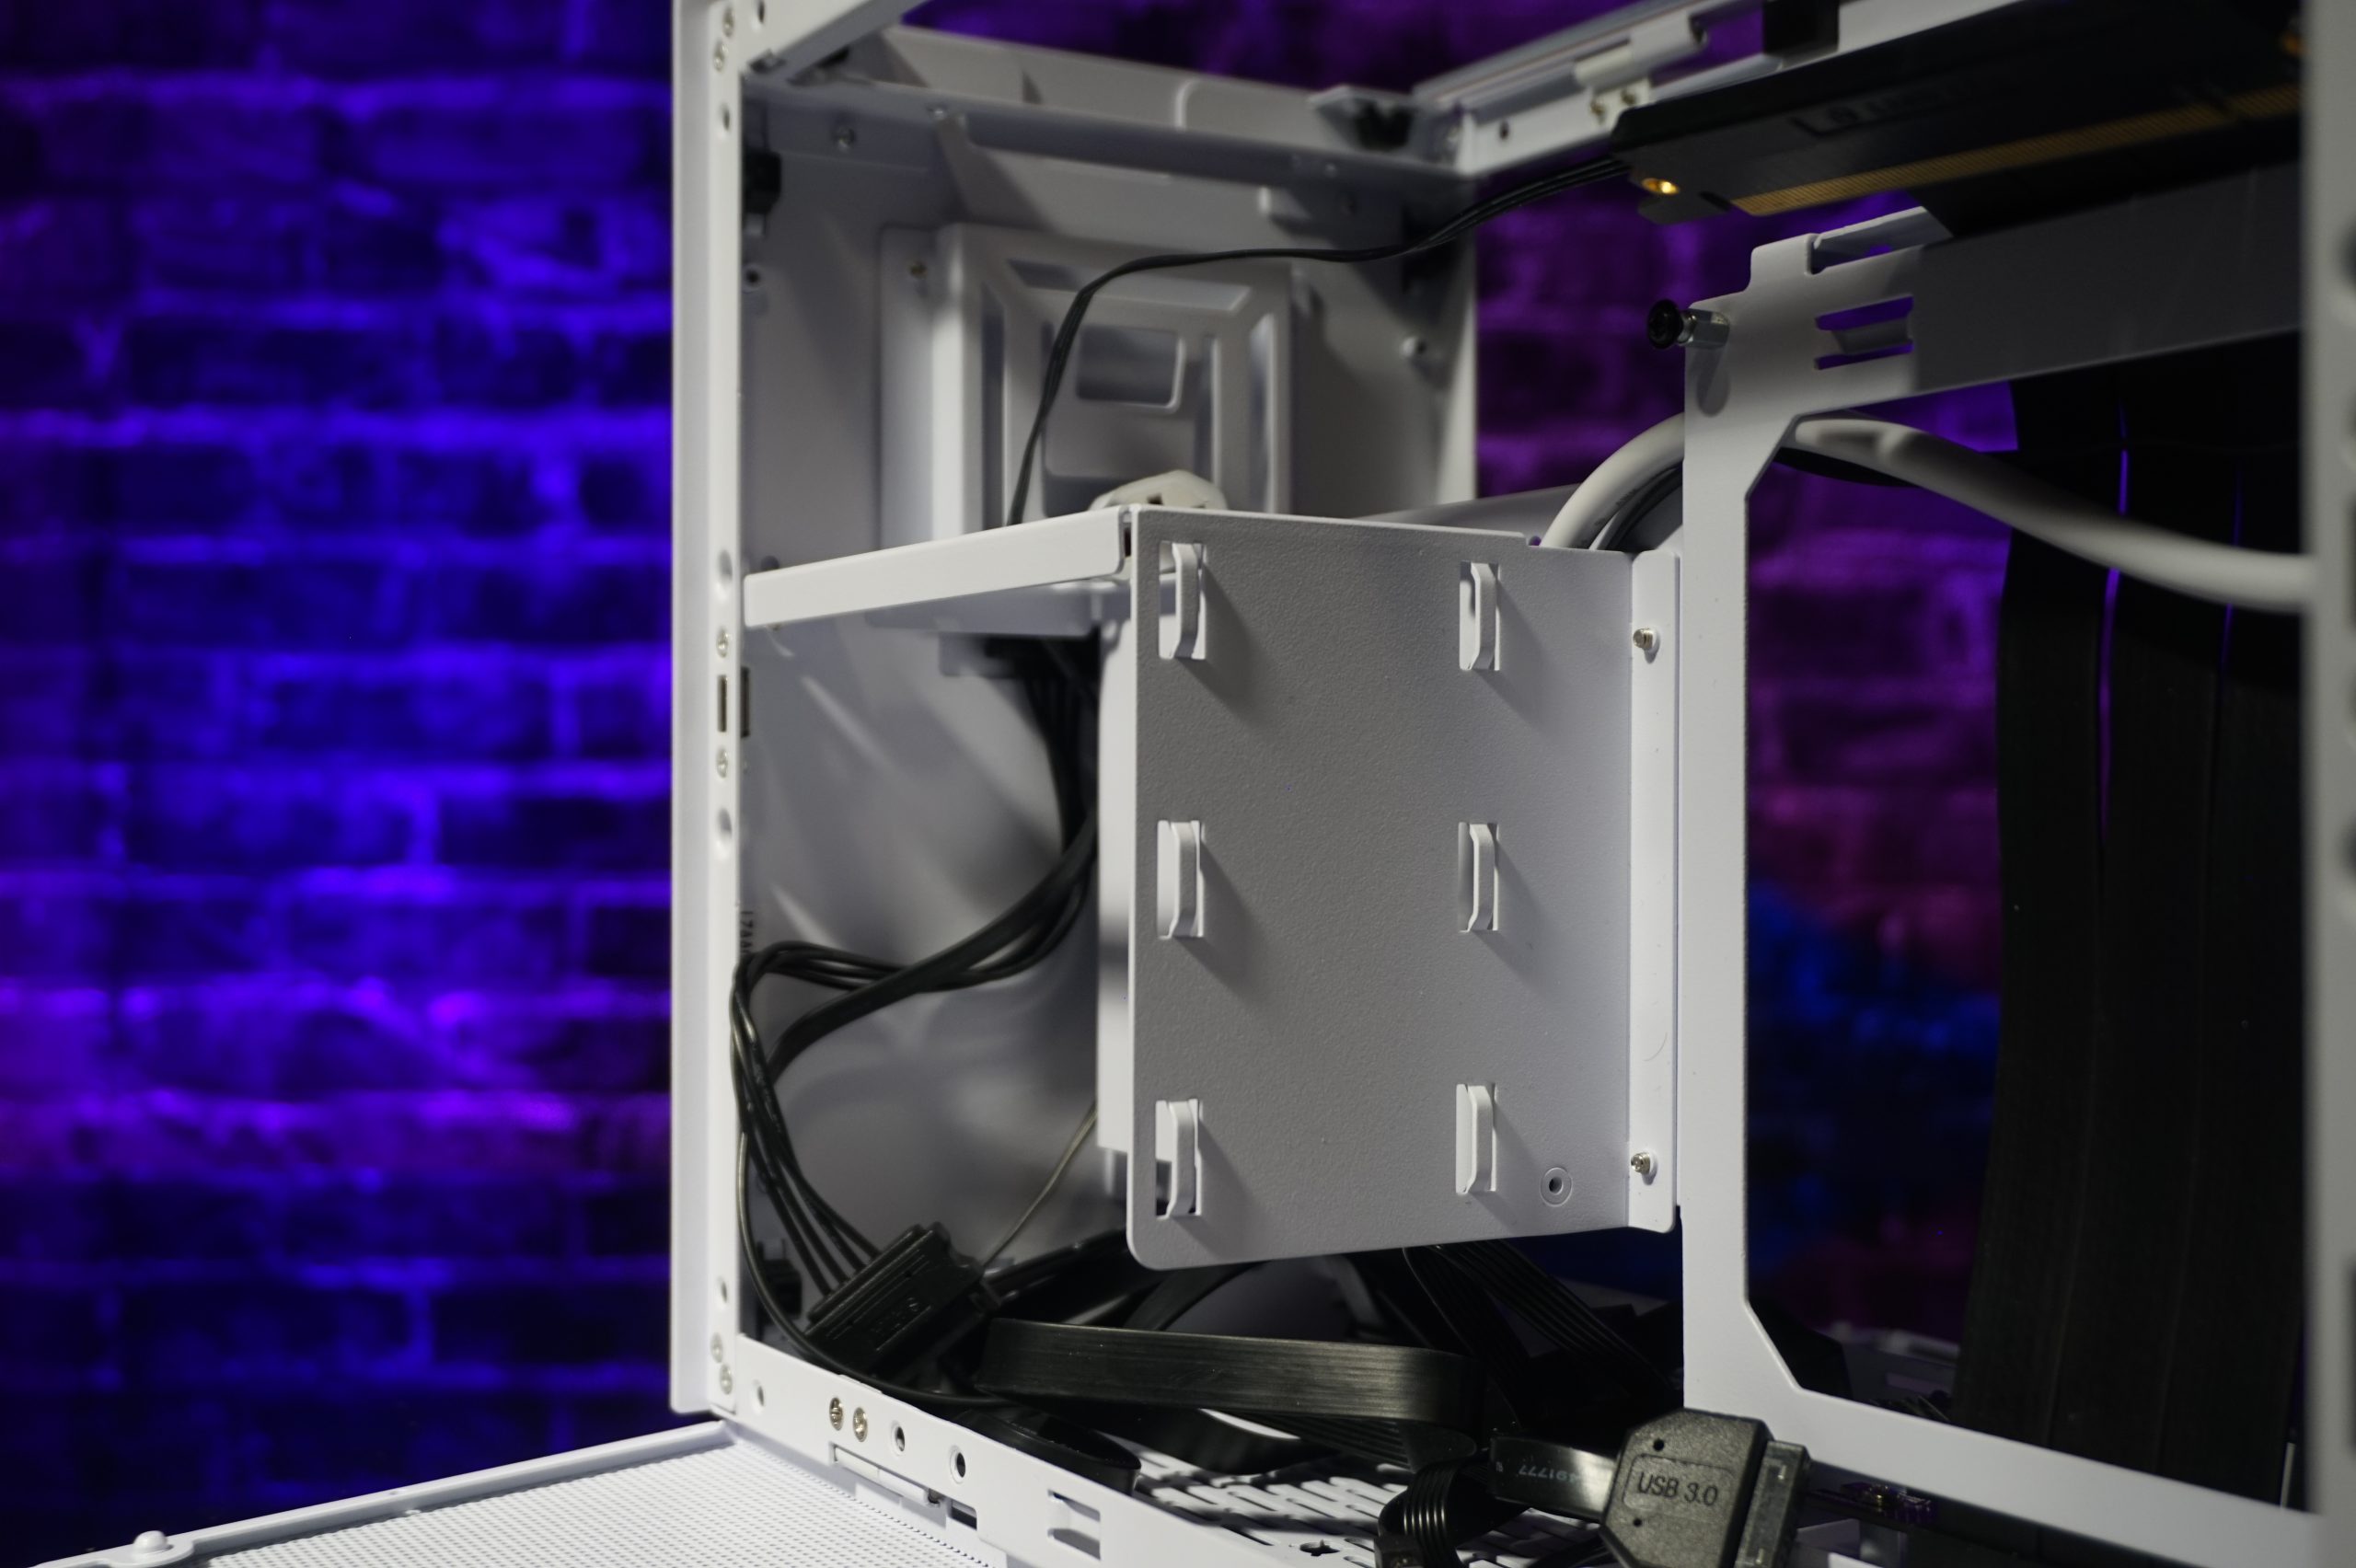
However, on this page I came across a shortcoming that you will see in more detail in the later part of the review. To be precise, it is the position of the cold device connector. This position is not very well chosen and this is due to the fact that Lian Li decided to include a flap at the back, where a fan hub is located. The idea behind it is as simple as it is ingenious, since we get access to our PWM and ARGB slots from the outside – but at the expense of the somewhat poorly positioned IEC connector for the power supply.

But here I have to say directly that this circumstance was really a problem for me personally and my project (which you will see here). Something that may not cause a problem for other users.
And speaking of the hub, there are 3 PWM ports as well as 3 ARGB ports. The hub is later connected to our motherboard by two cables and allows us to control our fans or ARGB effects if we have such a thing installed.

Next, we’ll take a look at the motherboard and power supply chambers. The mainboard is installed inverted on this side, i.e. rotated by 180 degrees. This gives us direct access to the angled PCIe riser cable, which is now very easy to plug in.
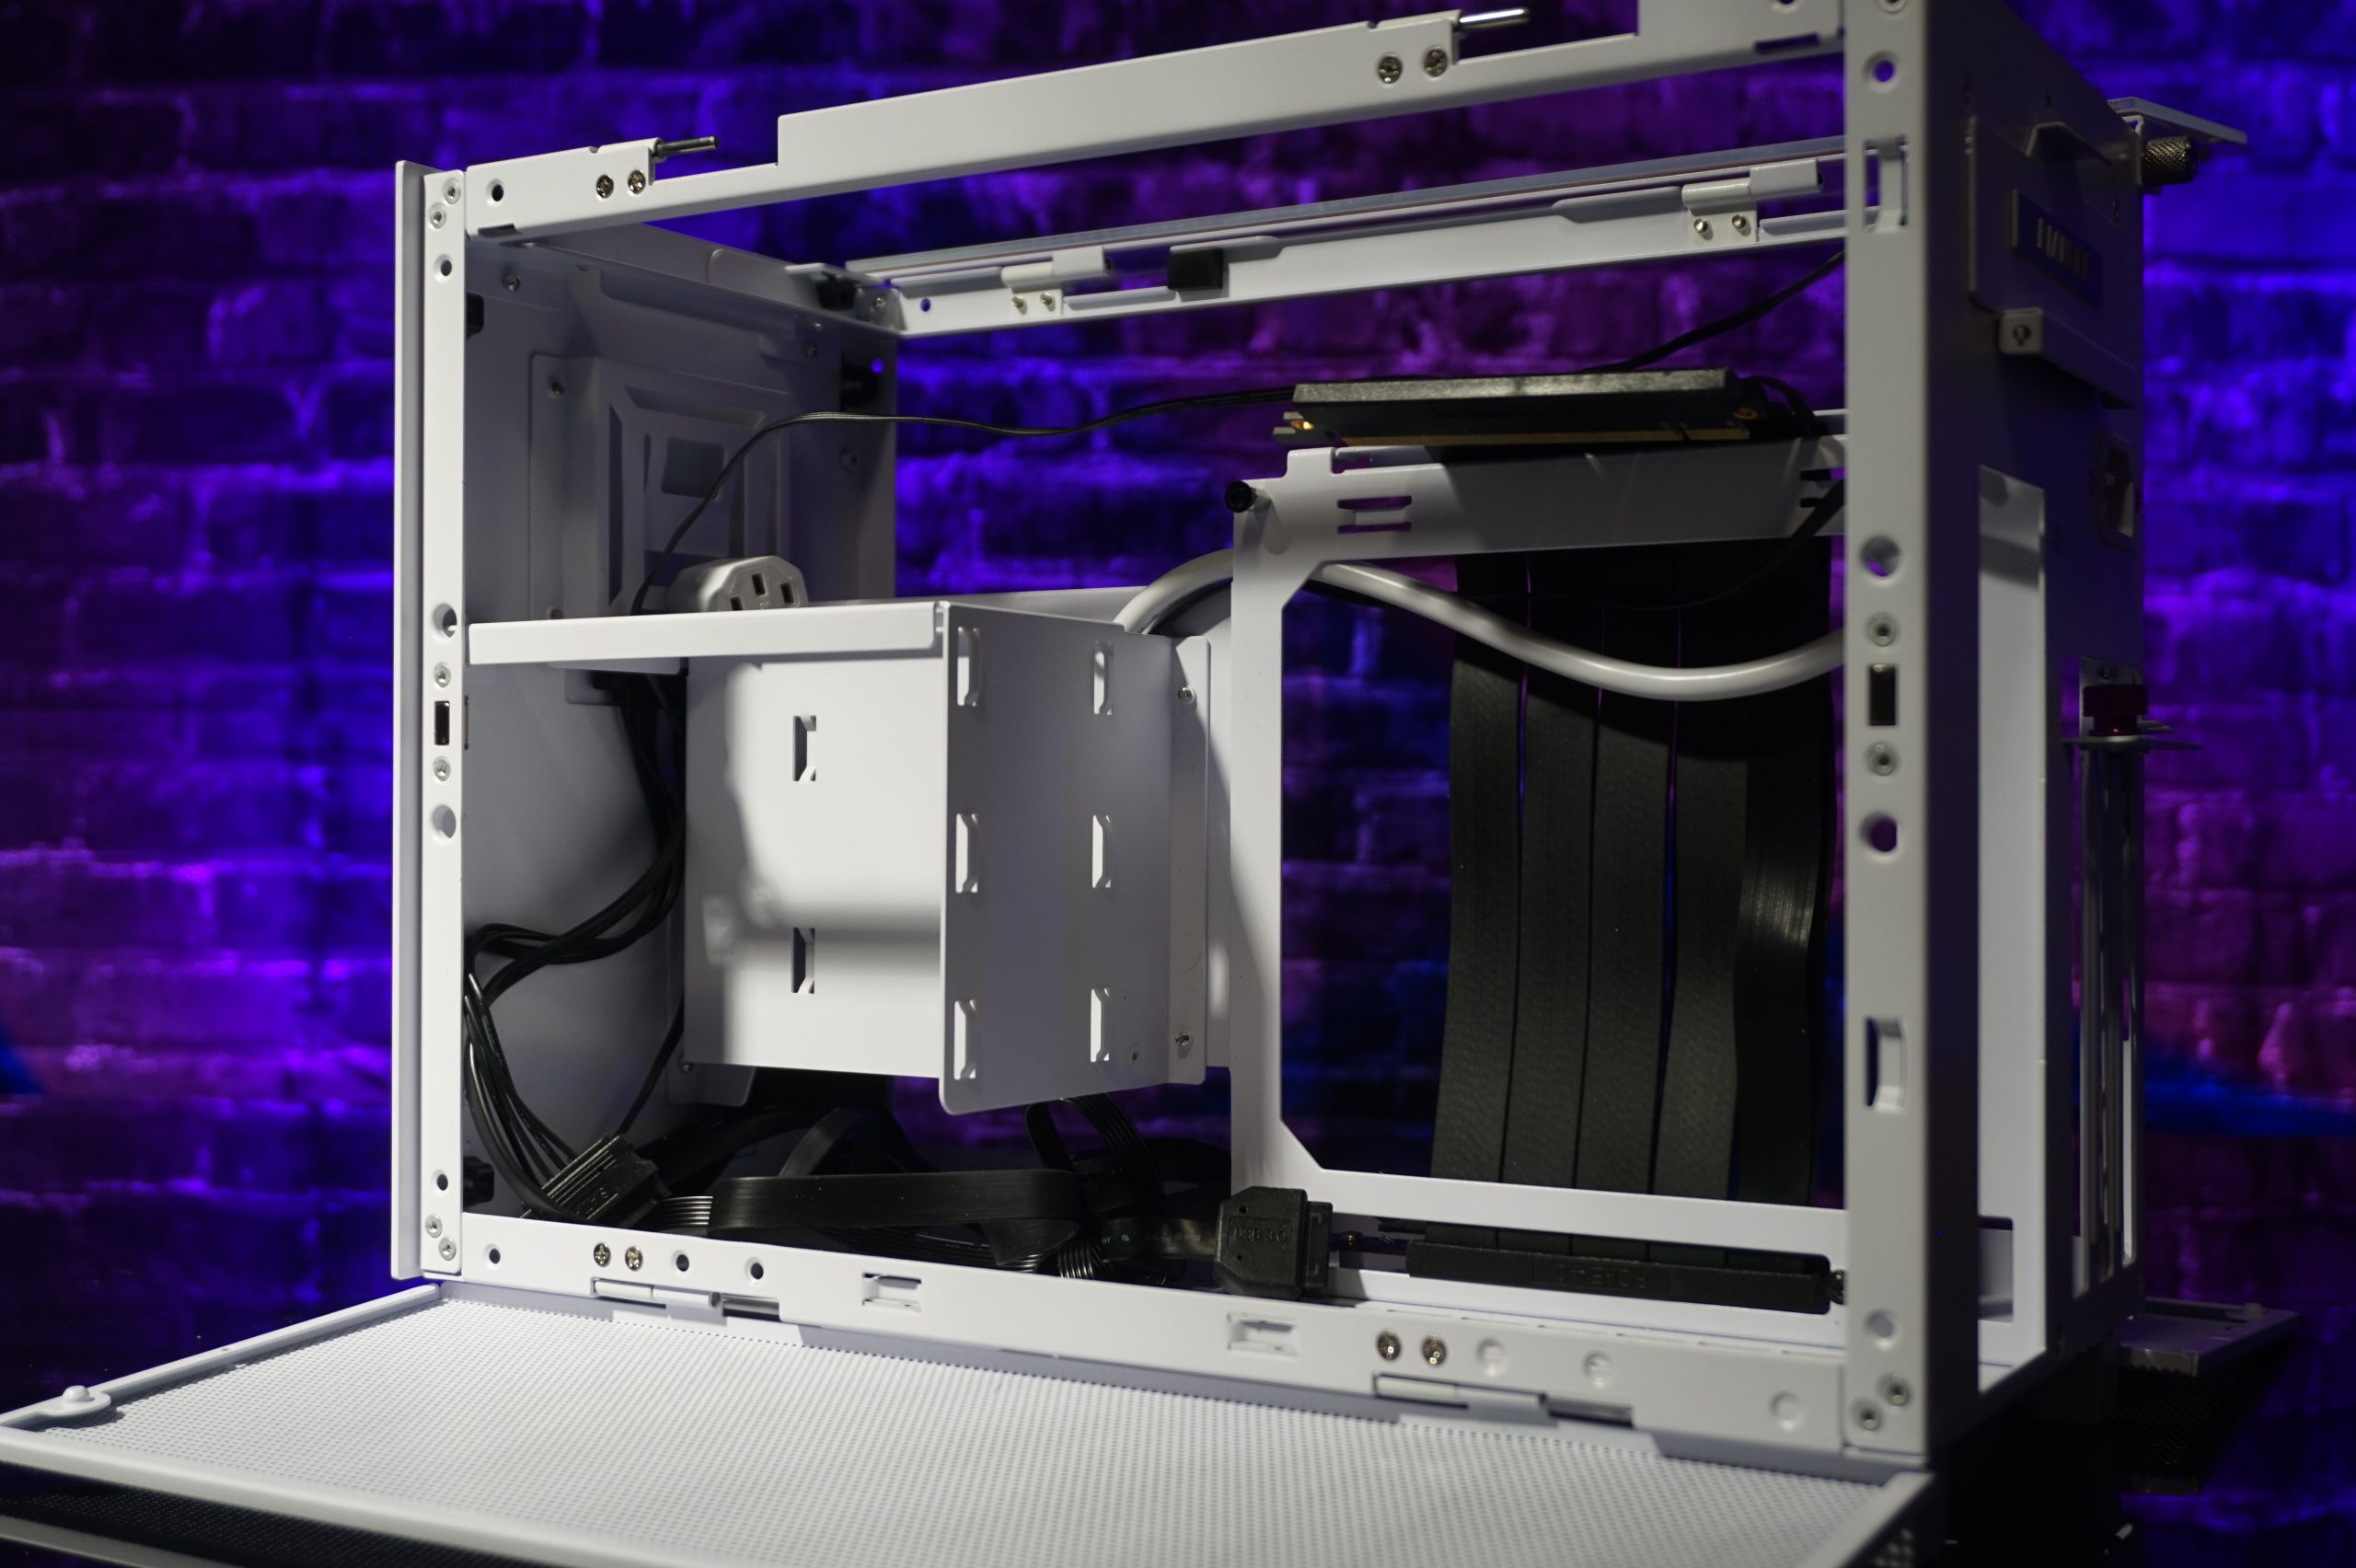
To the left of the motherboard is the pre-mounted SFX power supply bay. on which there are four cable ties with Velcro fasteners at once. And as mentioned earlier, the PSU cage lets you switch from SFX size to ATX size. Well.
In the bottom of the case we find another flap. Either a 2.5-inch SSD or a 120 mm fan can be installed on it. Two 280 mm fans or a radiator with a maximum length of 325 mm can be installed in the lid in the standard configuration. This would also give us the option of installing a larger AIO. I, on the other hand, am going to take a completely different approach in this review and get the maximum out of it that is possible in this case. Let us surprise you!


23 Antworten
Kommentar
Lade neue Kommentare
Moderator
Mitglied
Urgestein
Veteran
Urgestein
Mitglied
Urgestein
Urgestein
Mitglied
Urgestein
Mitglied
Urgestein
Urgestein
Mitglied
Urgestein
Urgestein
Mitglied
Urgestein
Urgestein
Alle Kommentare lesen unter igor´sLAB Community →