


Painting
To finish part 2, I'll show you the painting, the installation of the floor and the room ready to move in. The painting work turned out to be quite manageable.
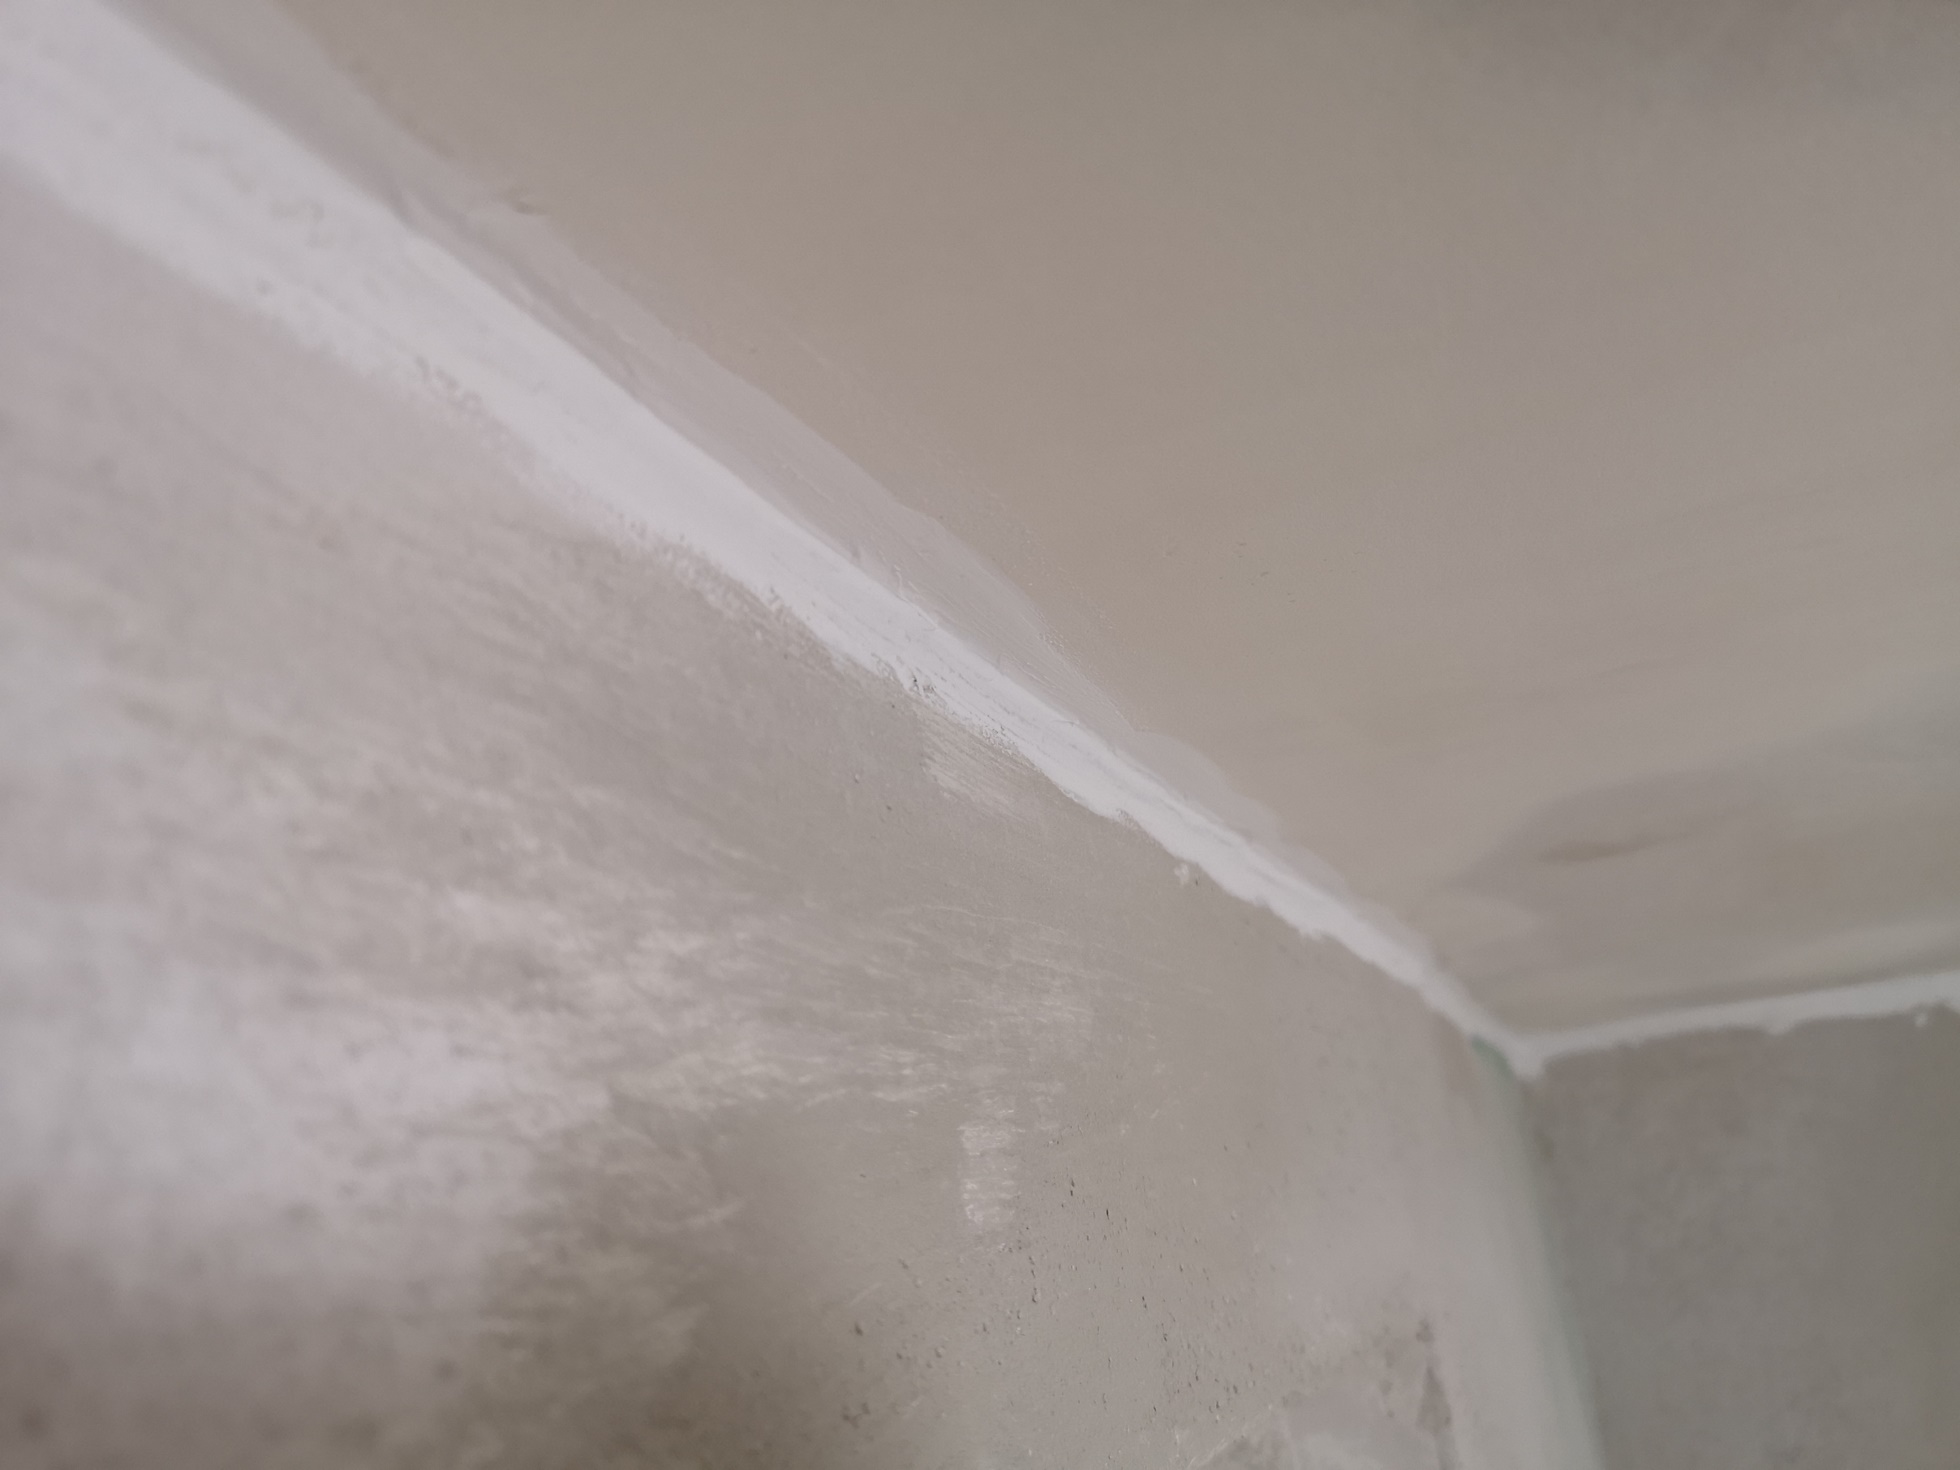
The edges of the suspended ceiling were sprayed with acrylic
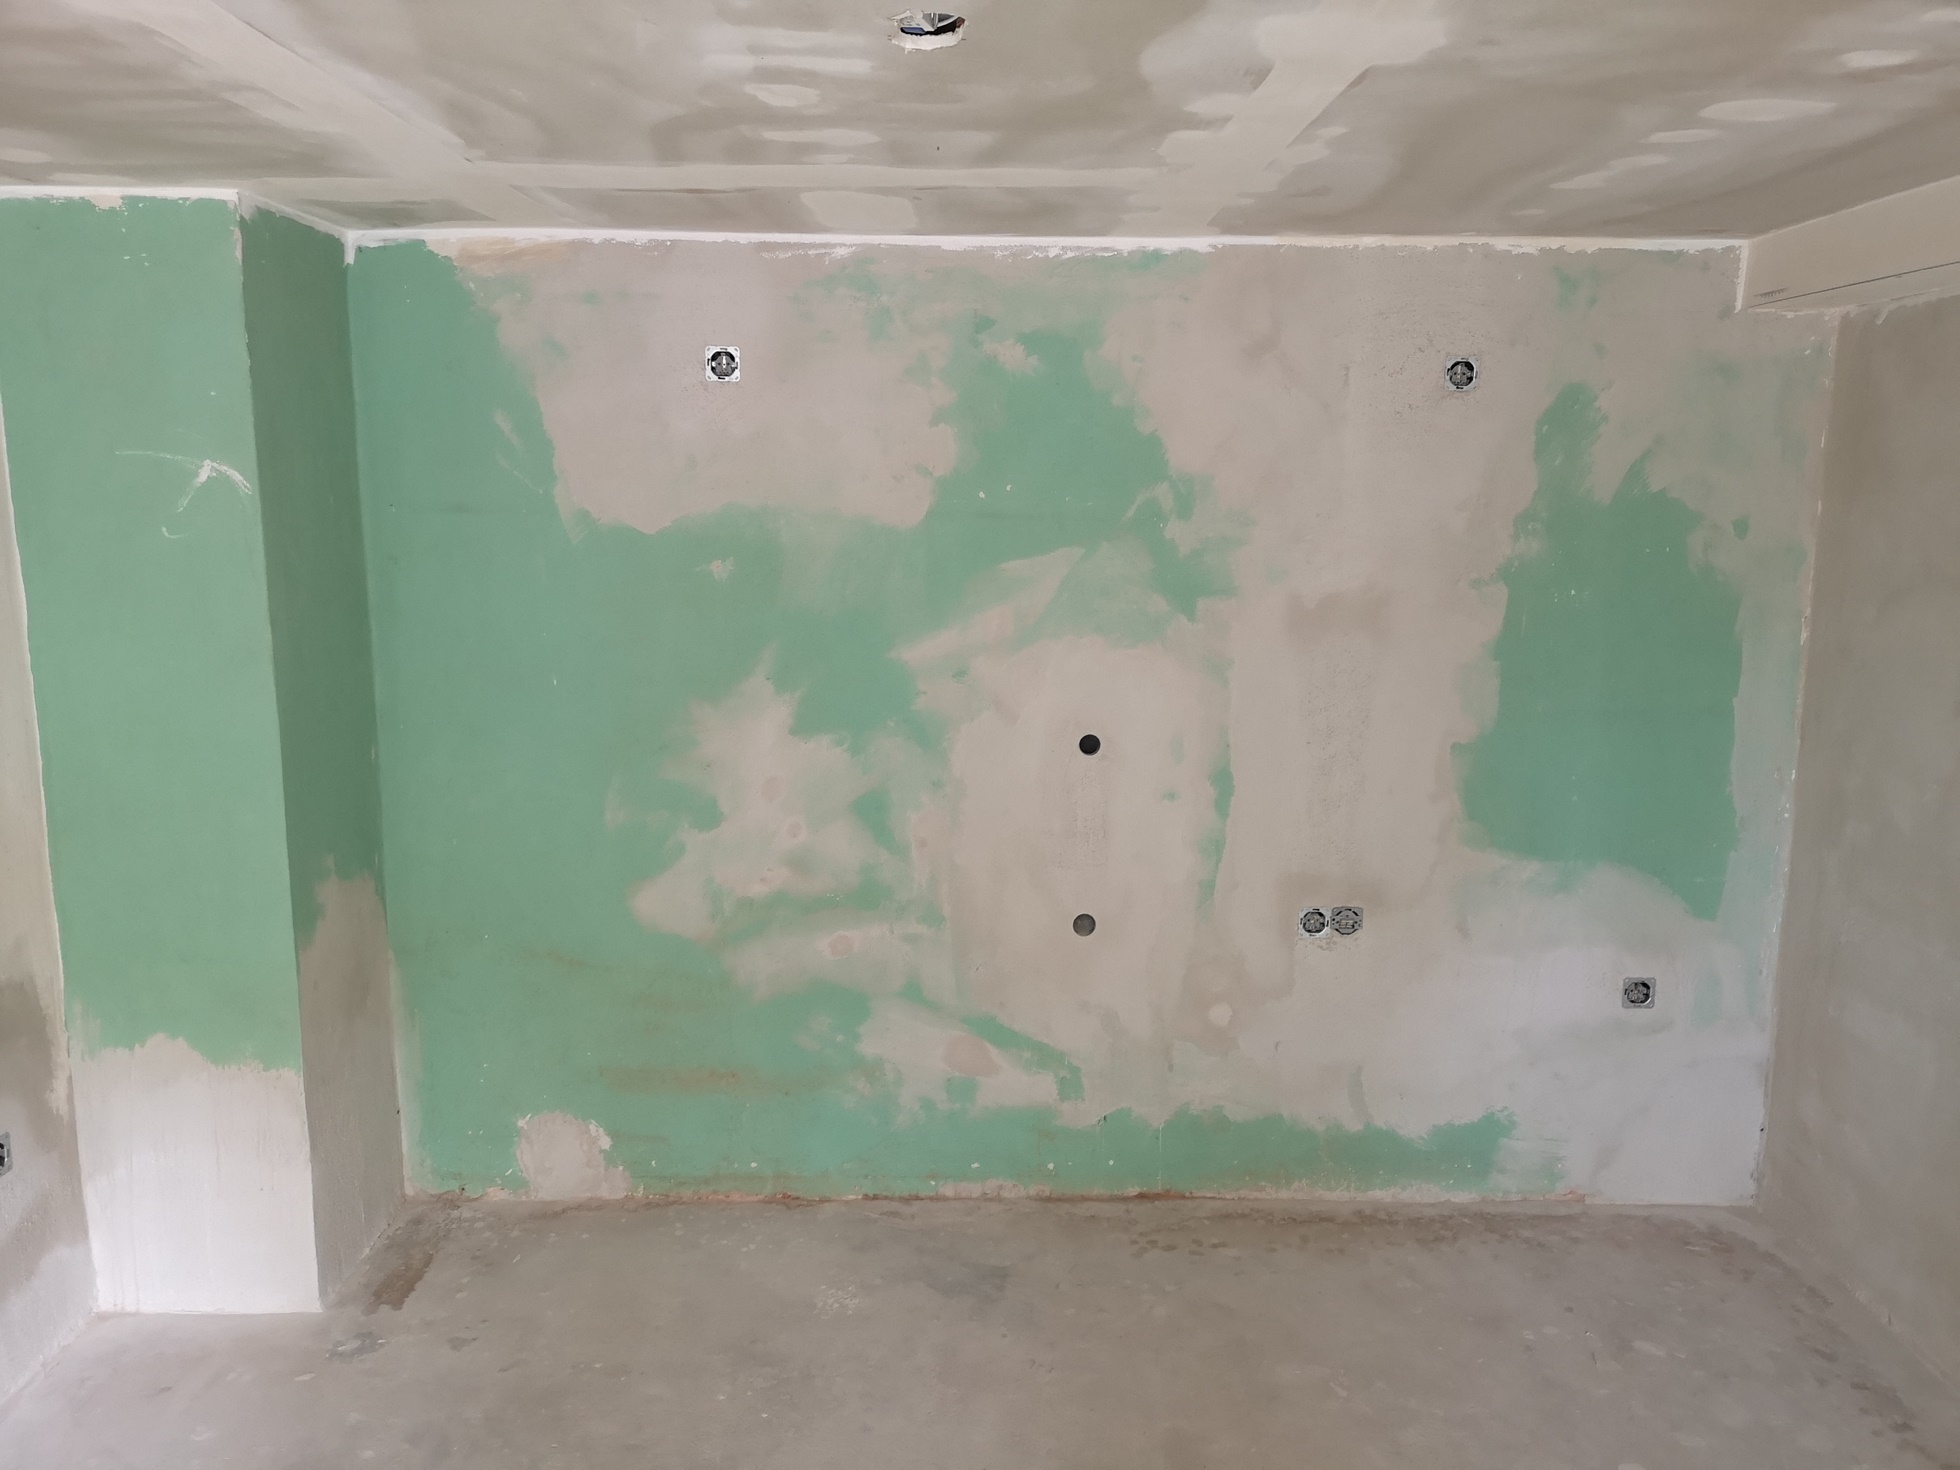
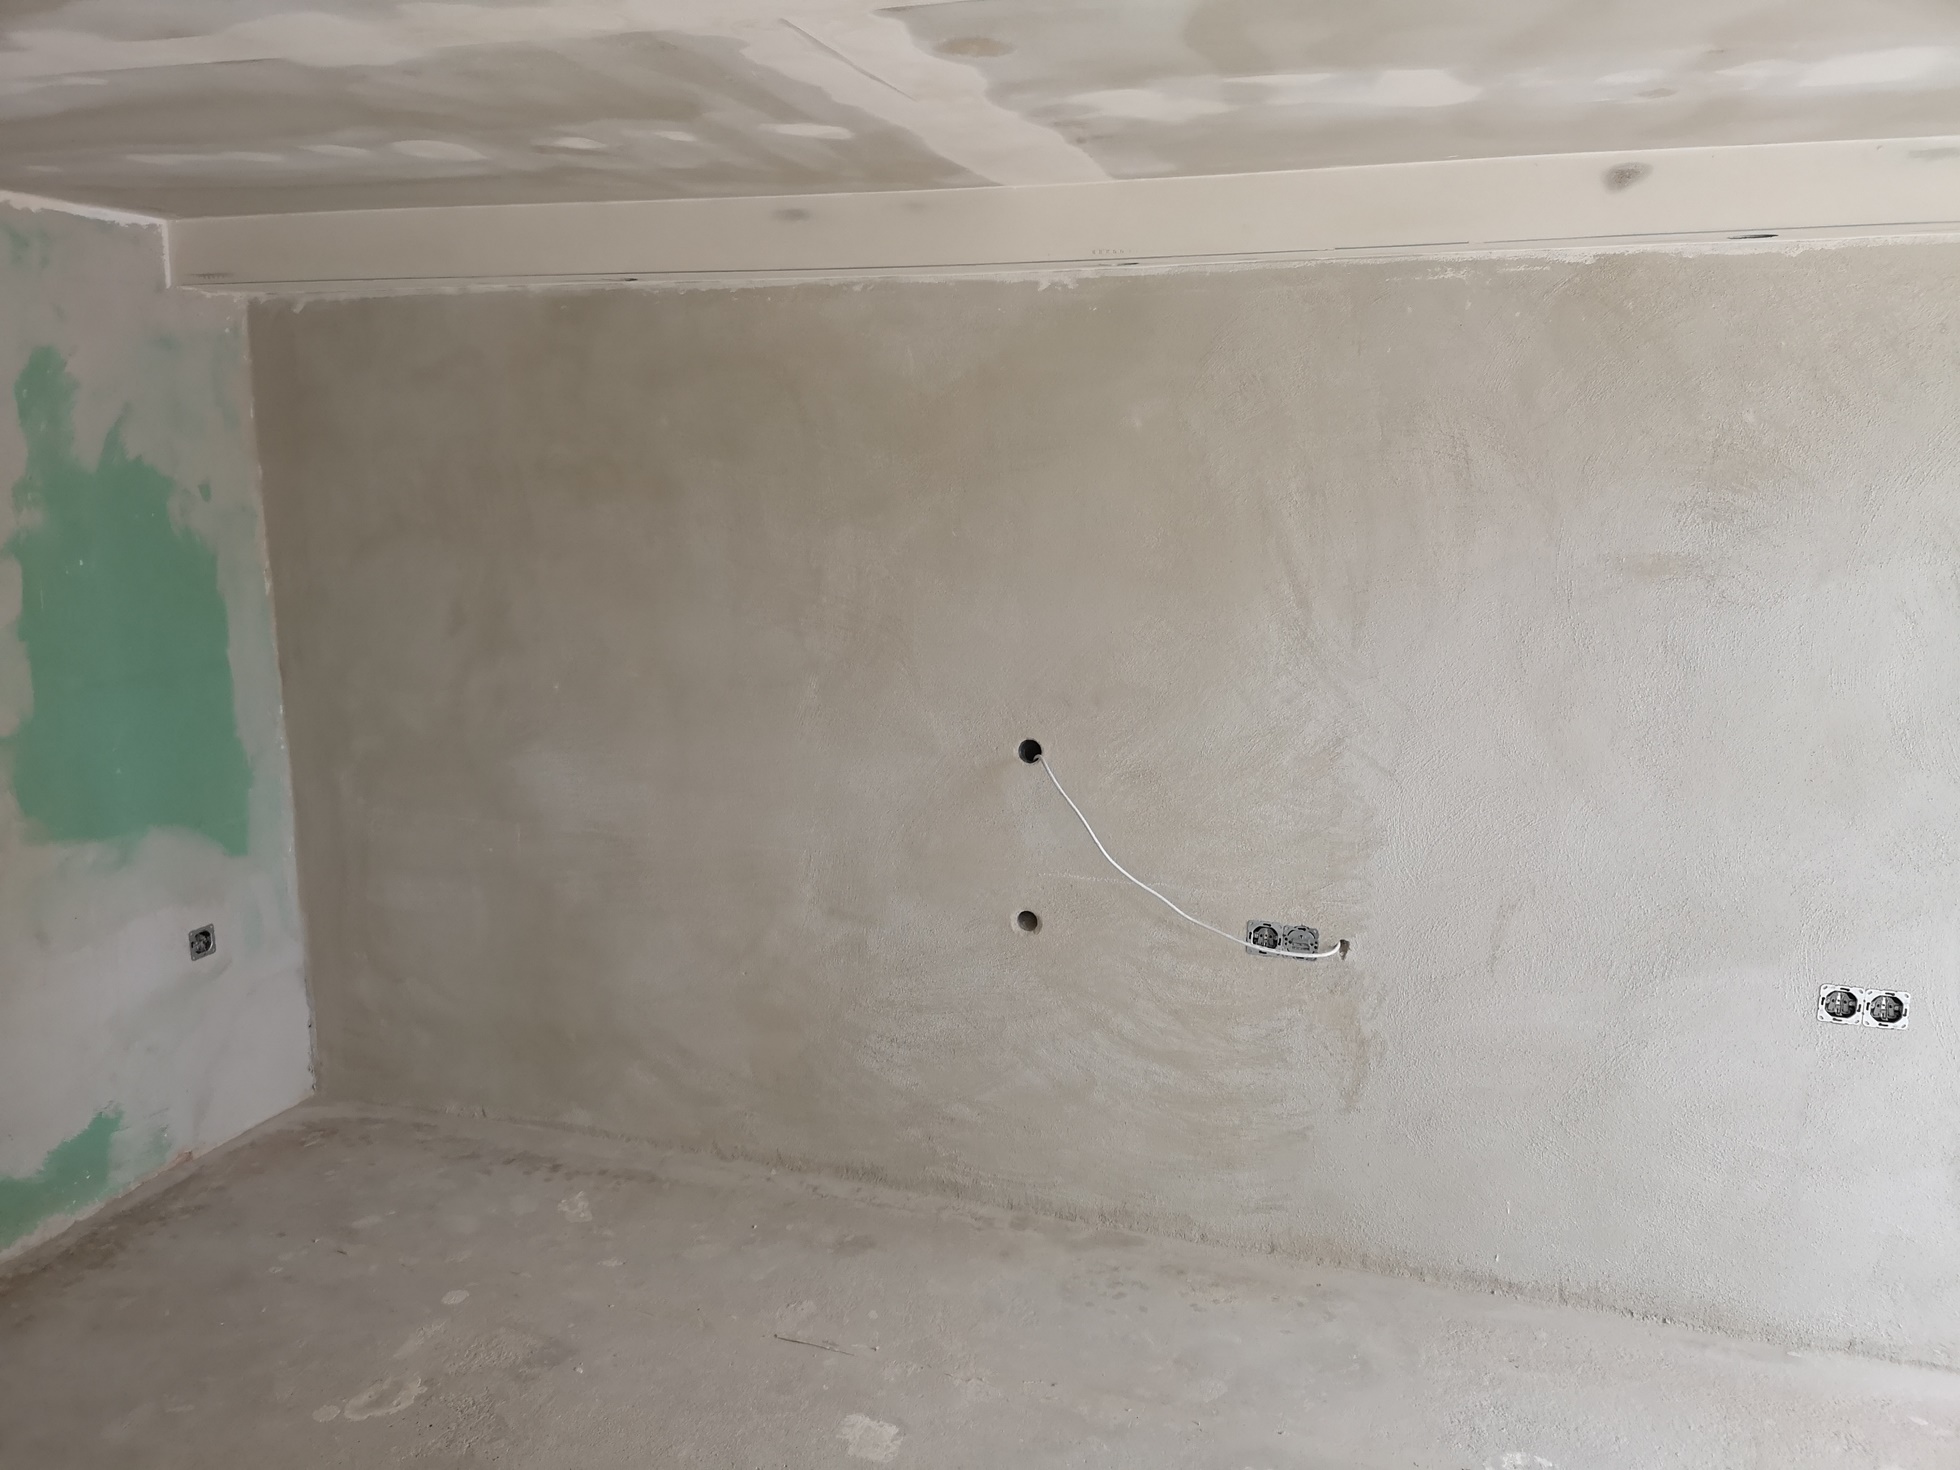
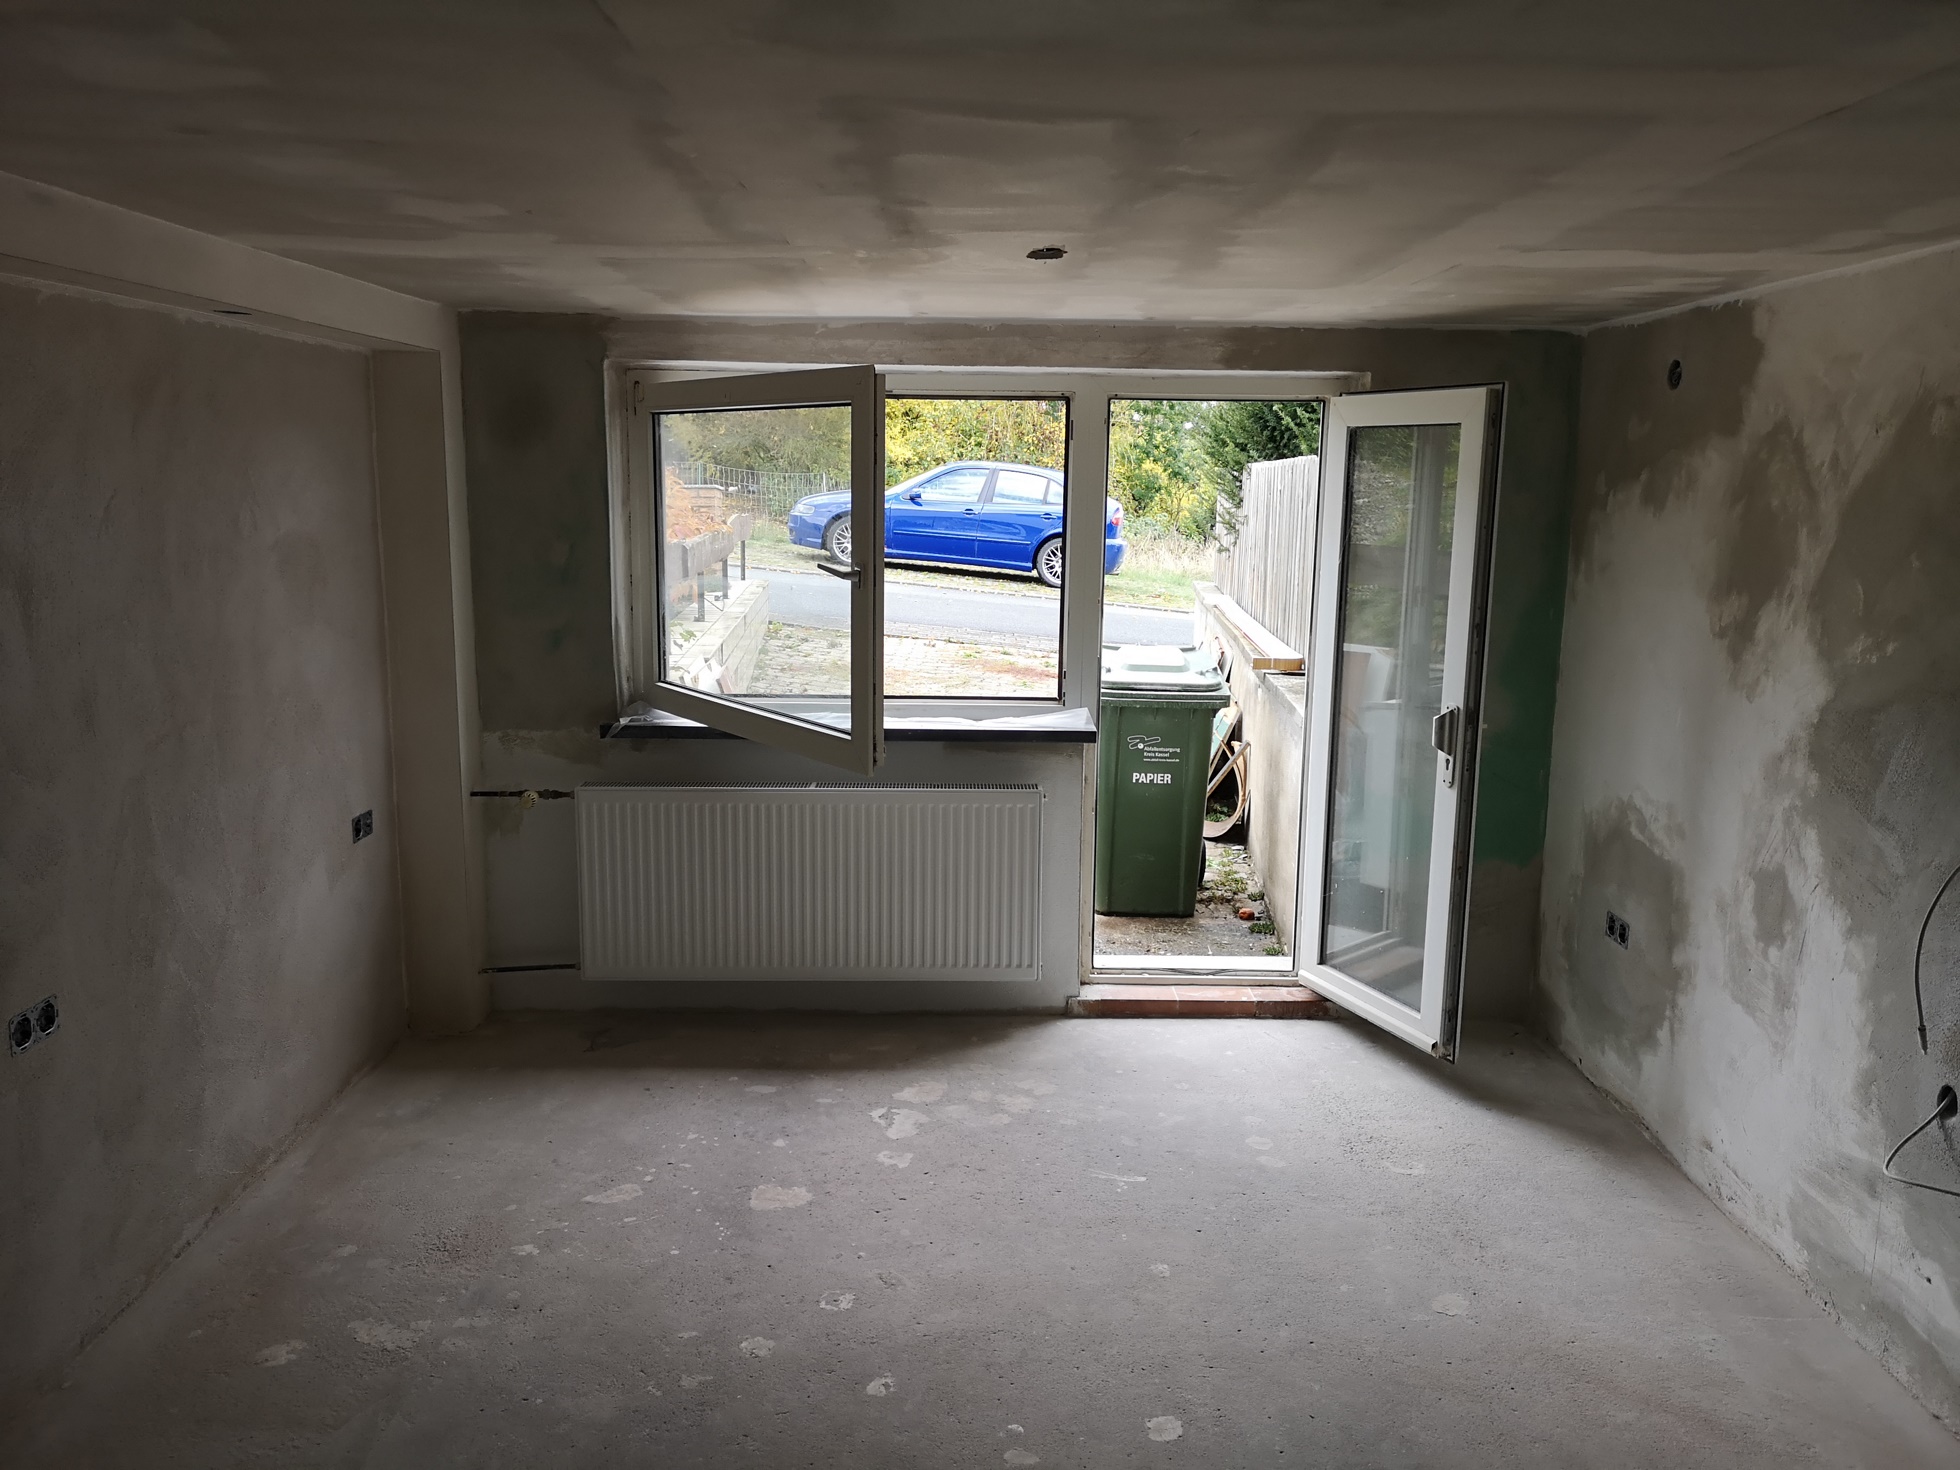
This is how the room looked after all the sanding and "cleaning":
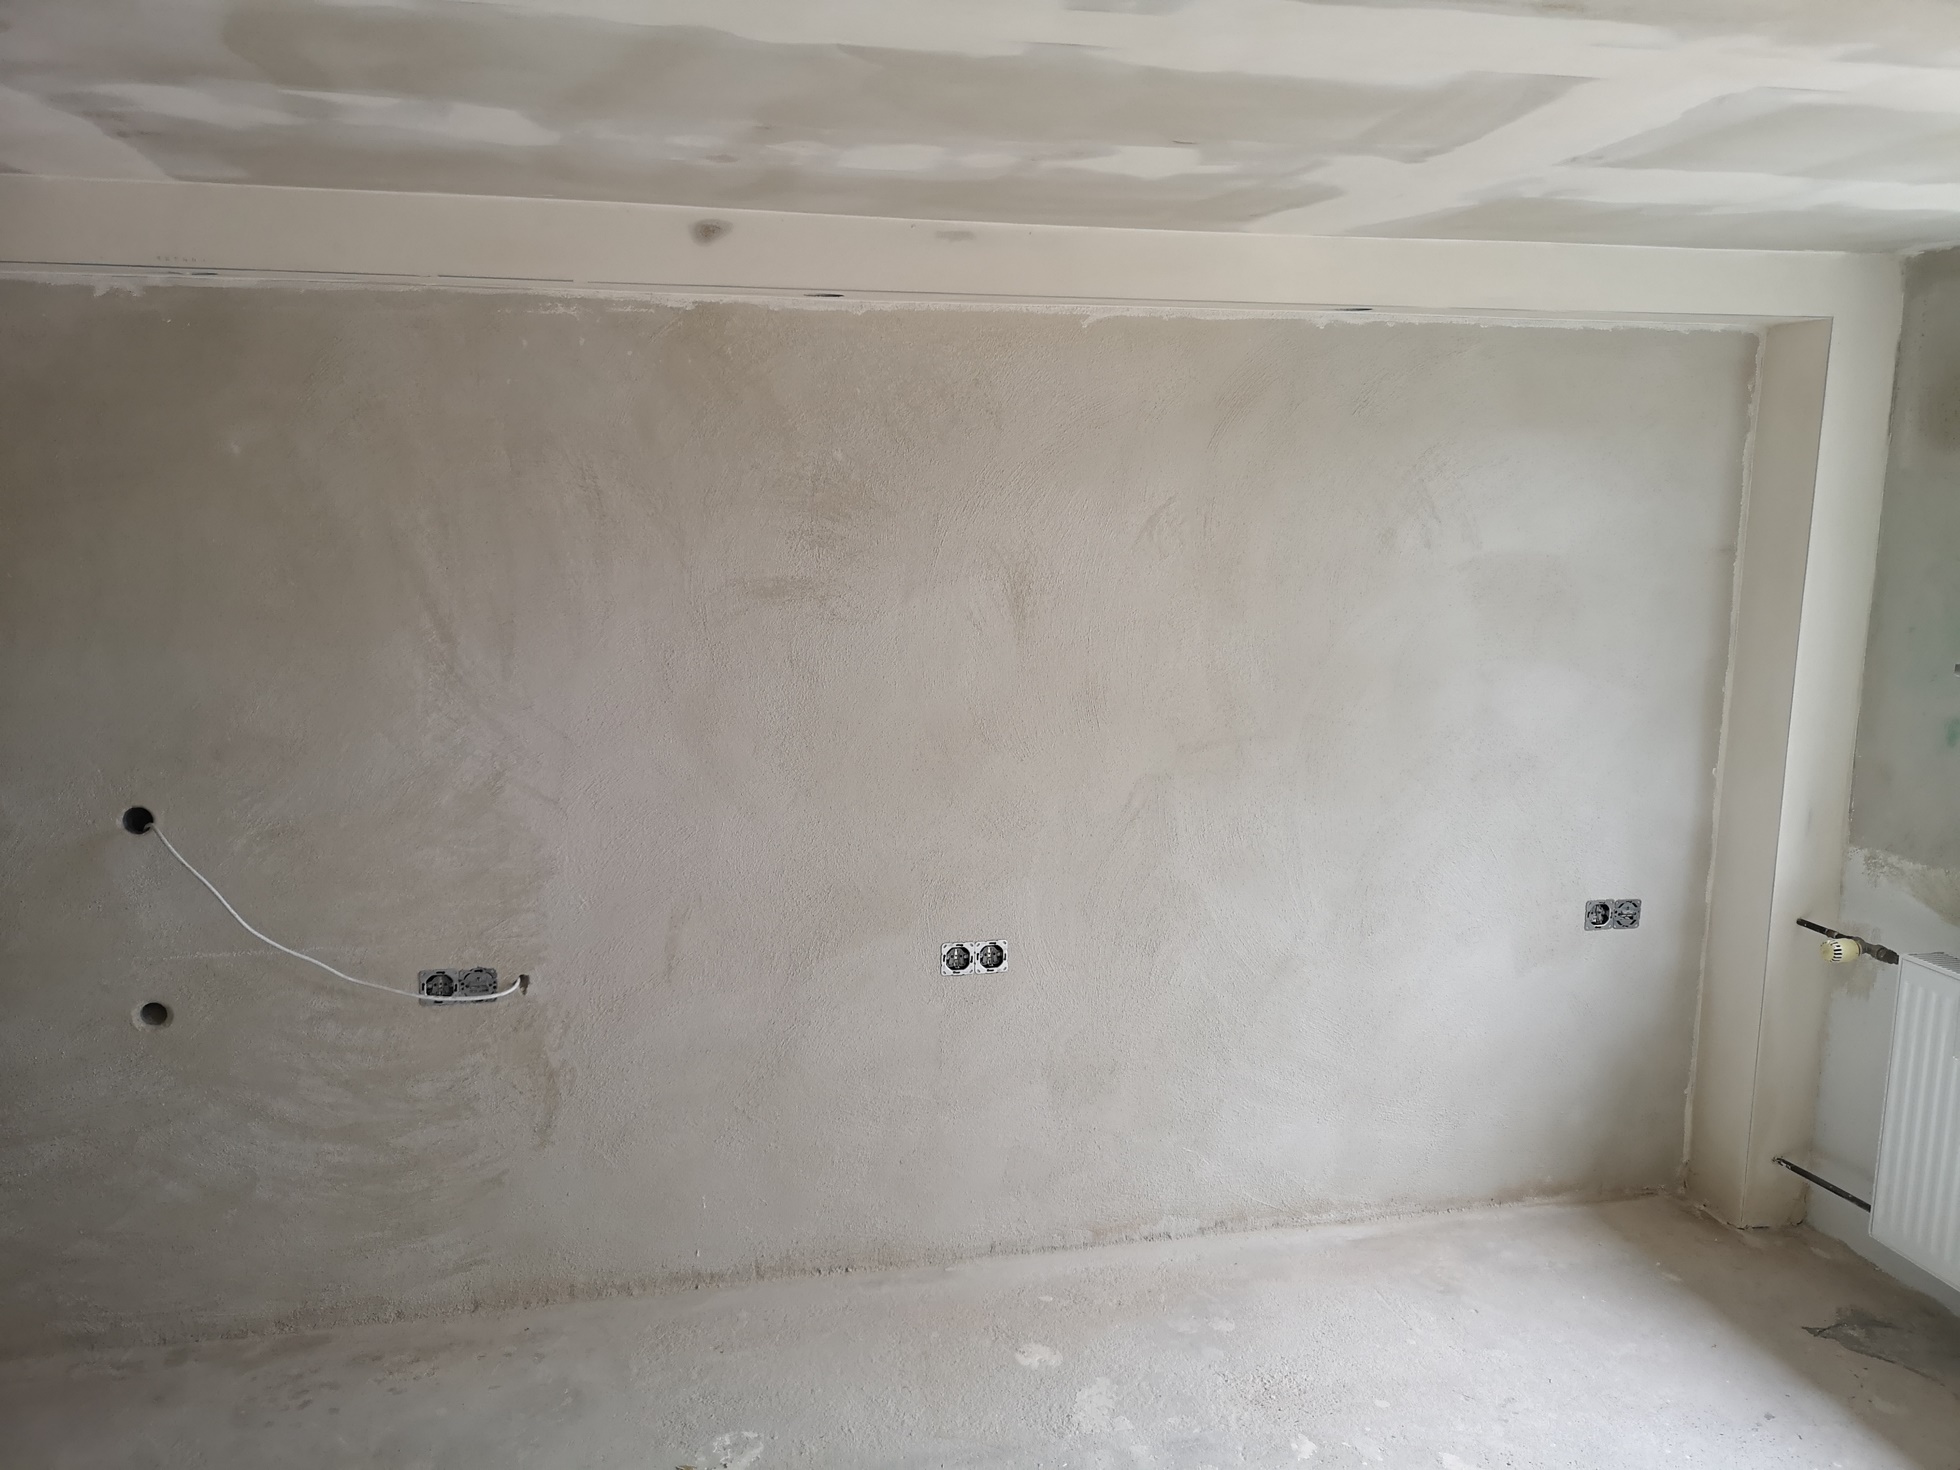
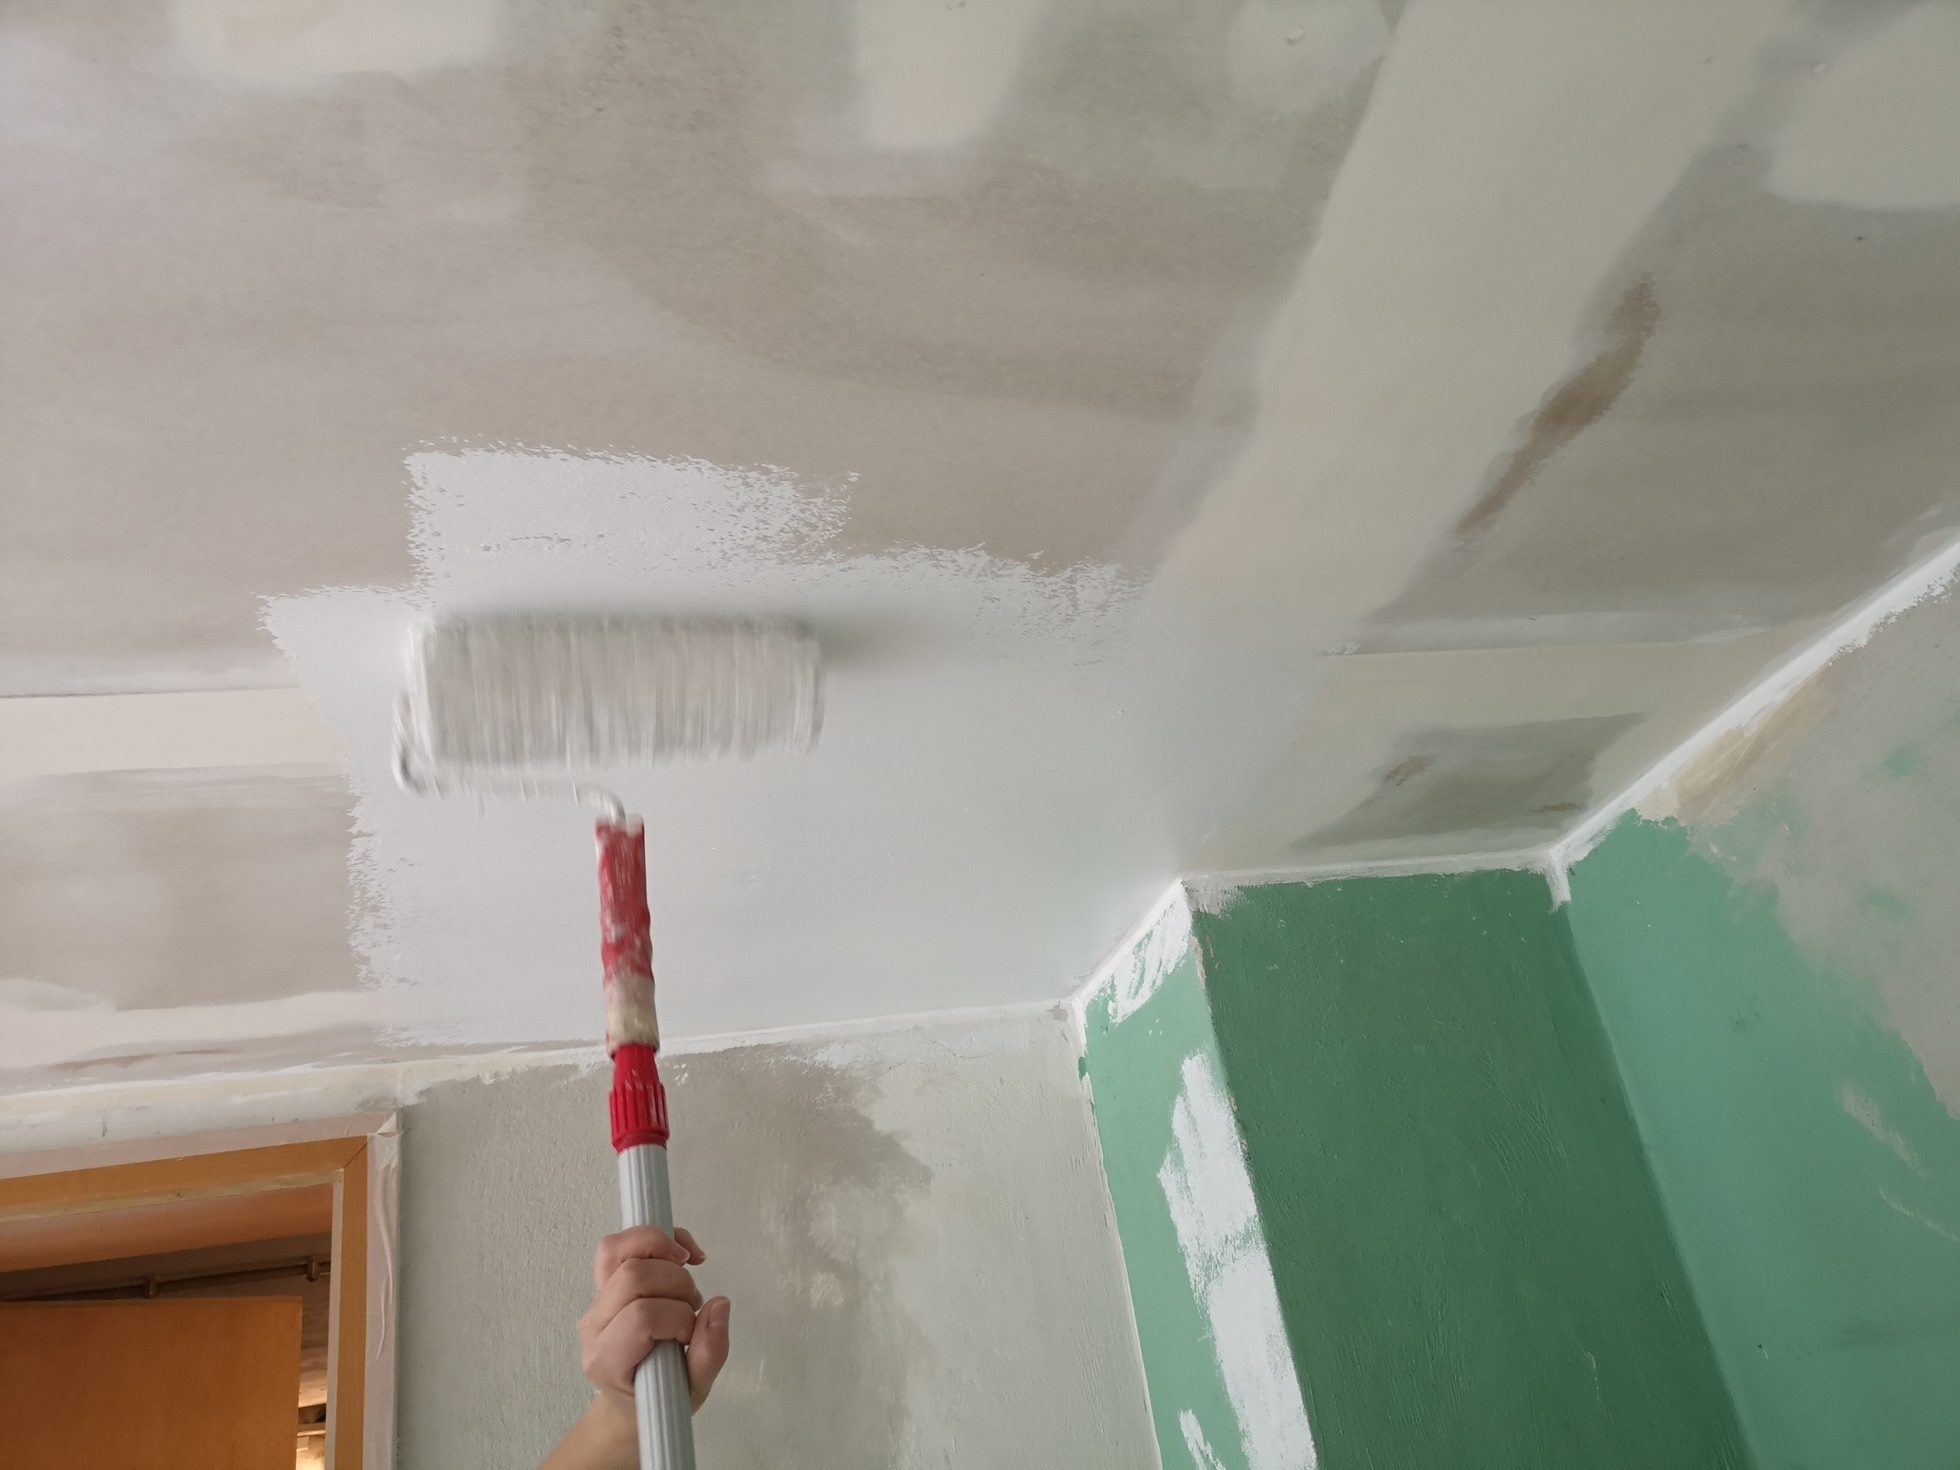
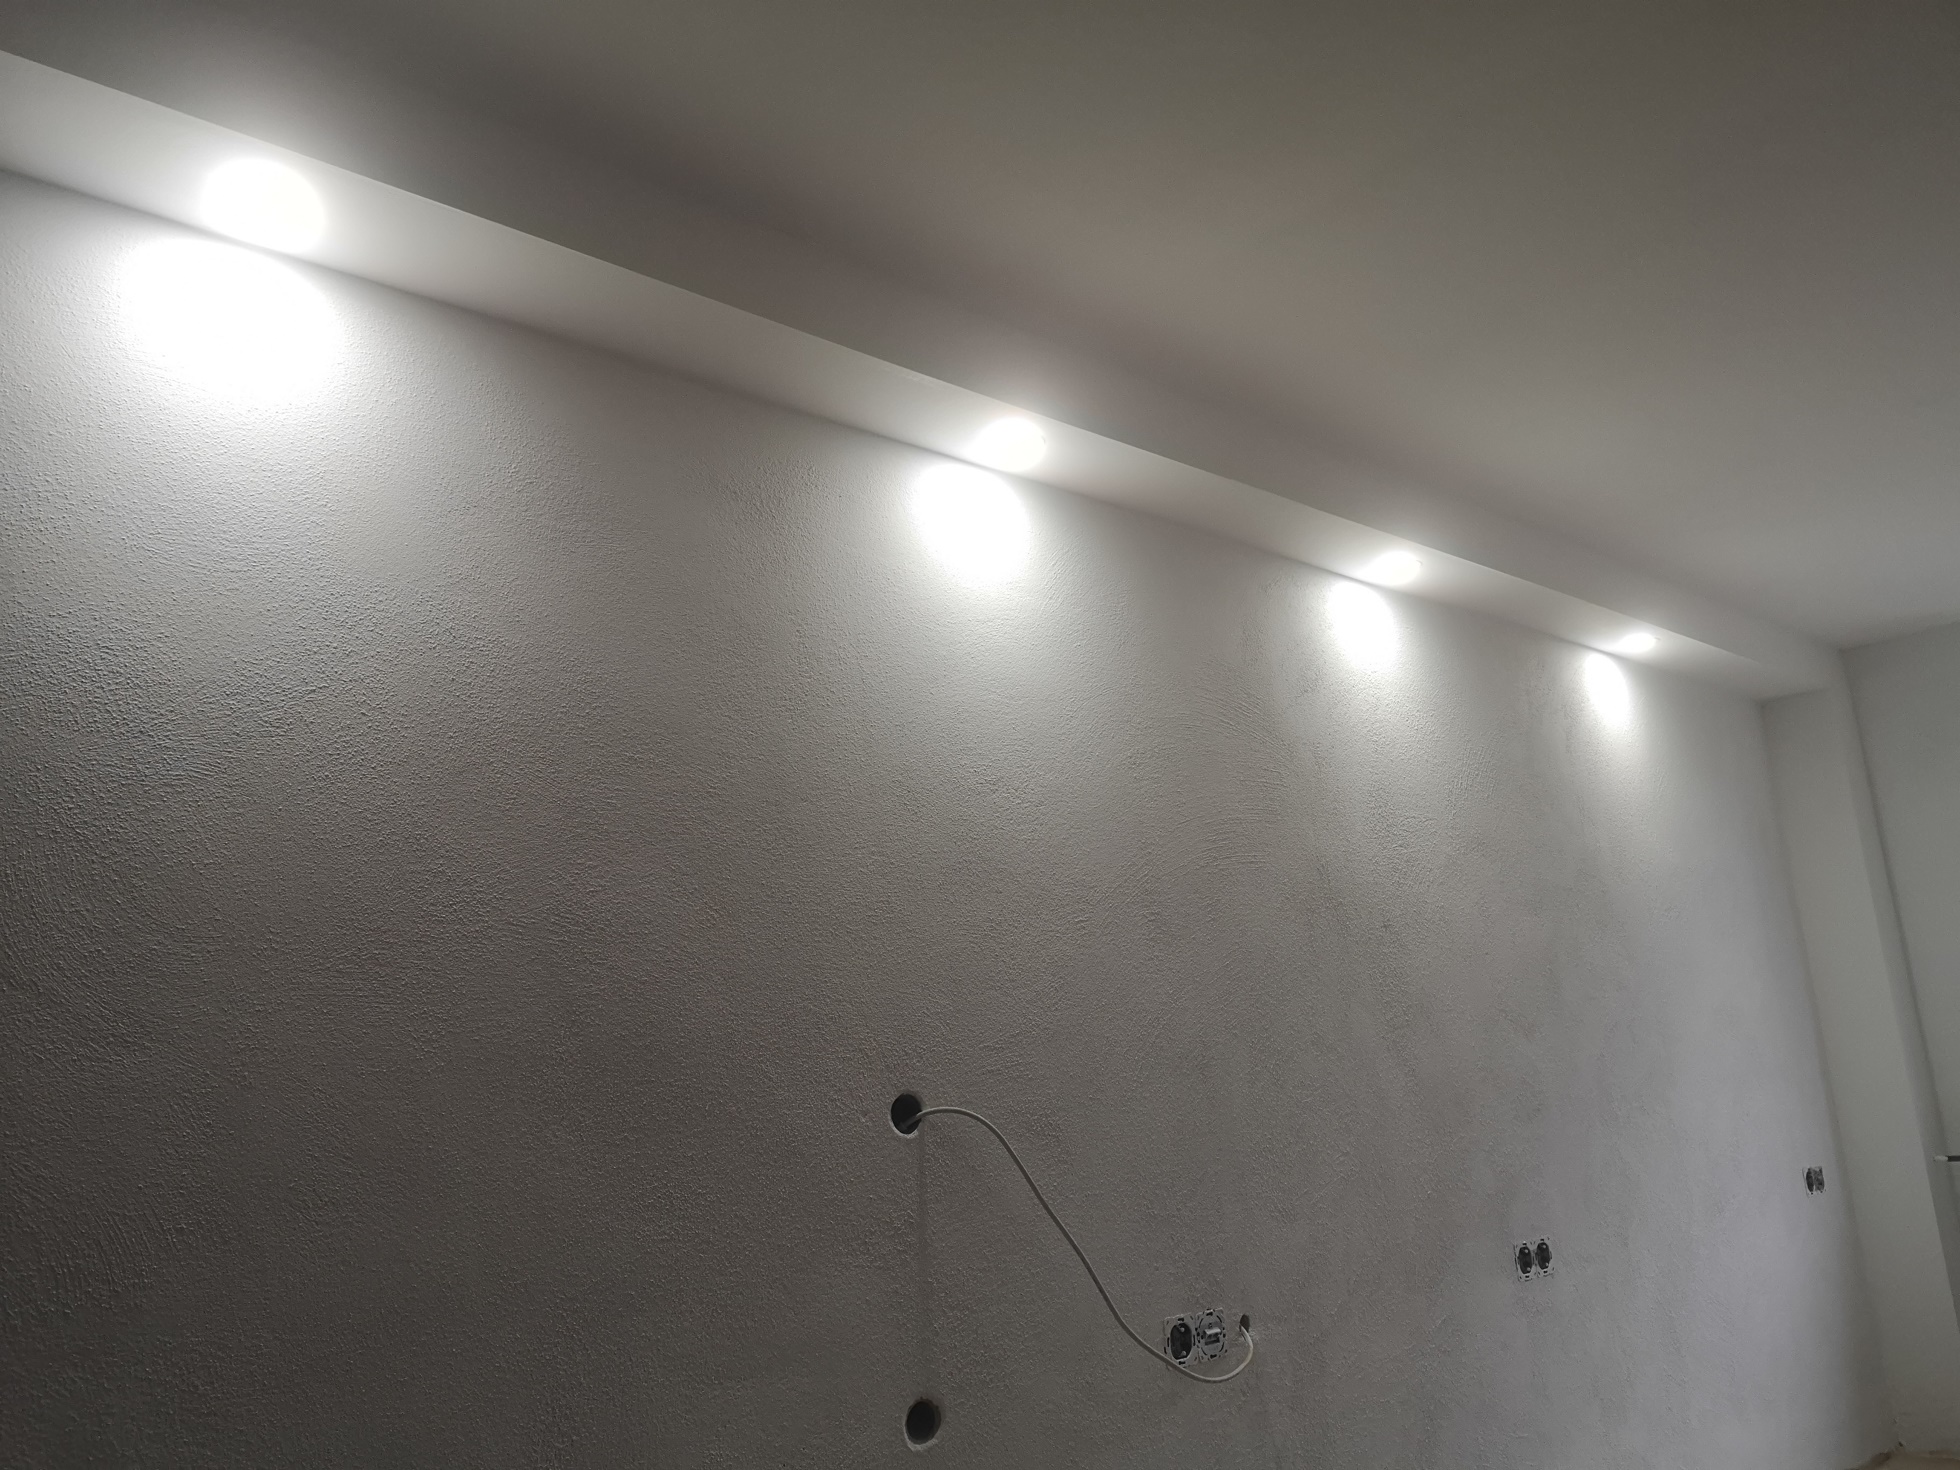
Then, to prepare for the paint, all the walls and the ceiling were treated with deep primer. Subsequently, it was painted.
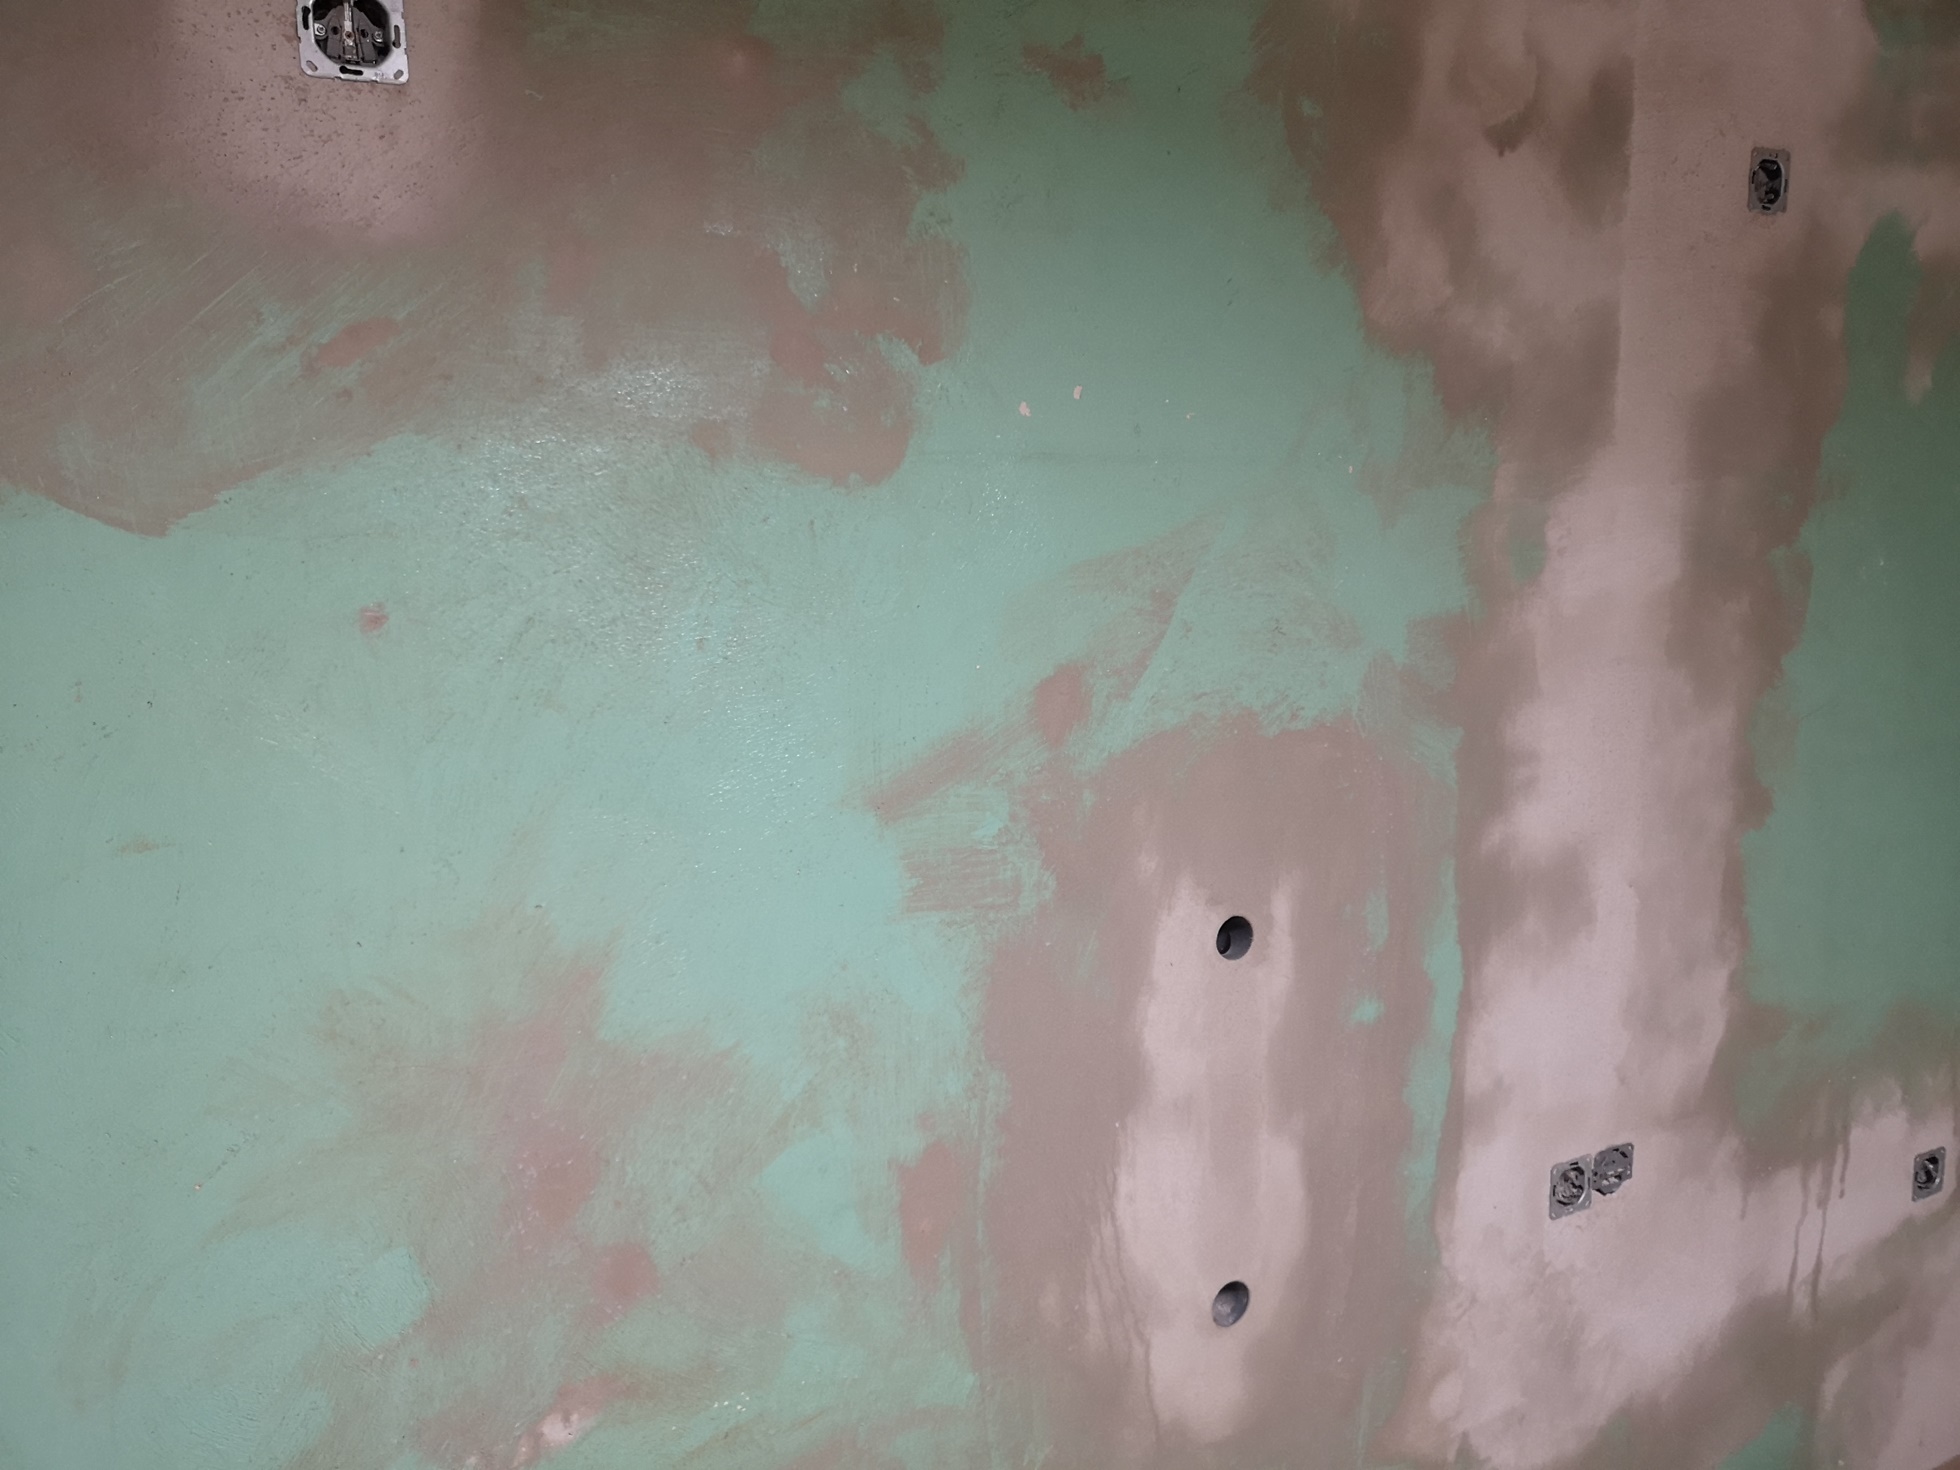
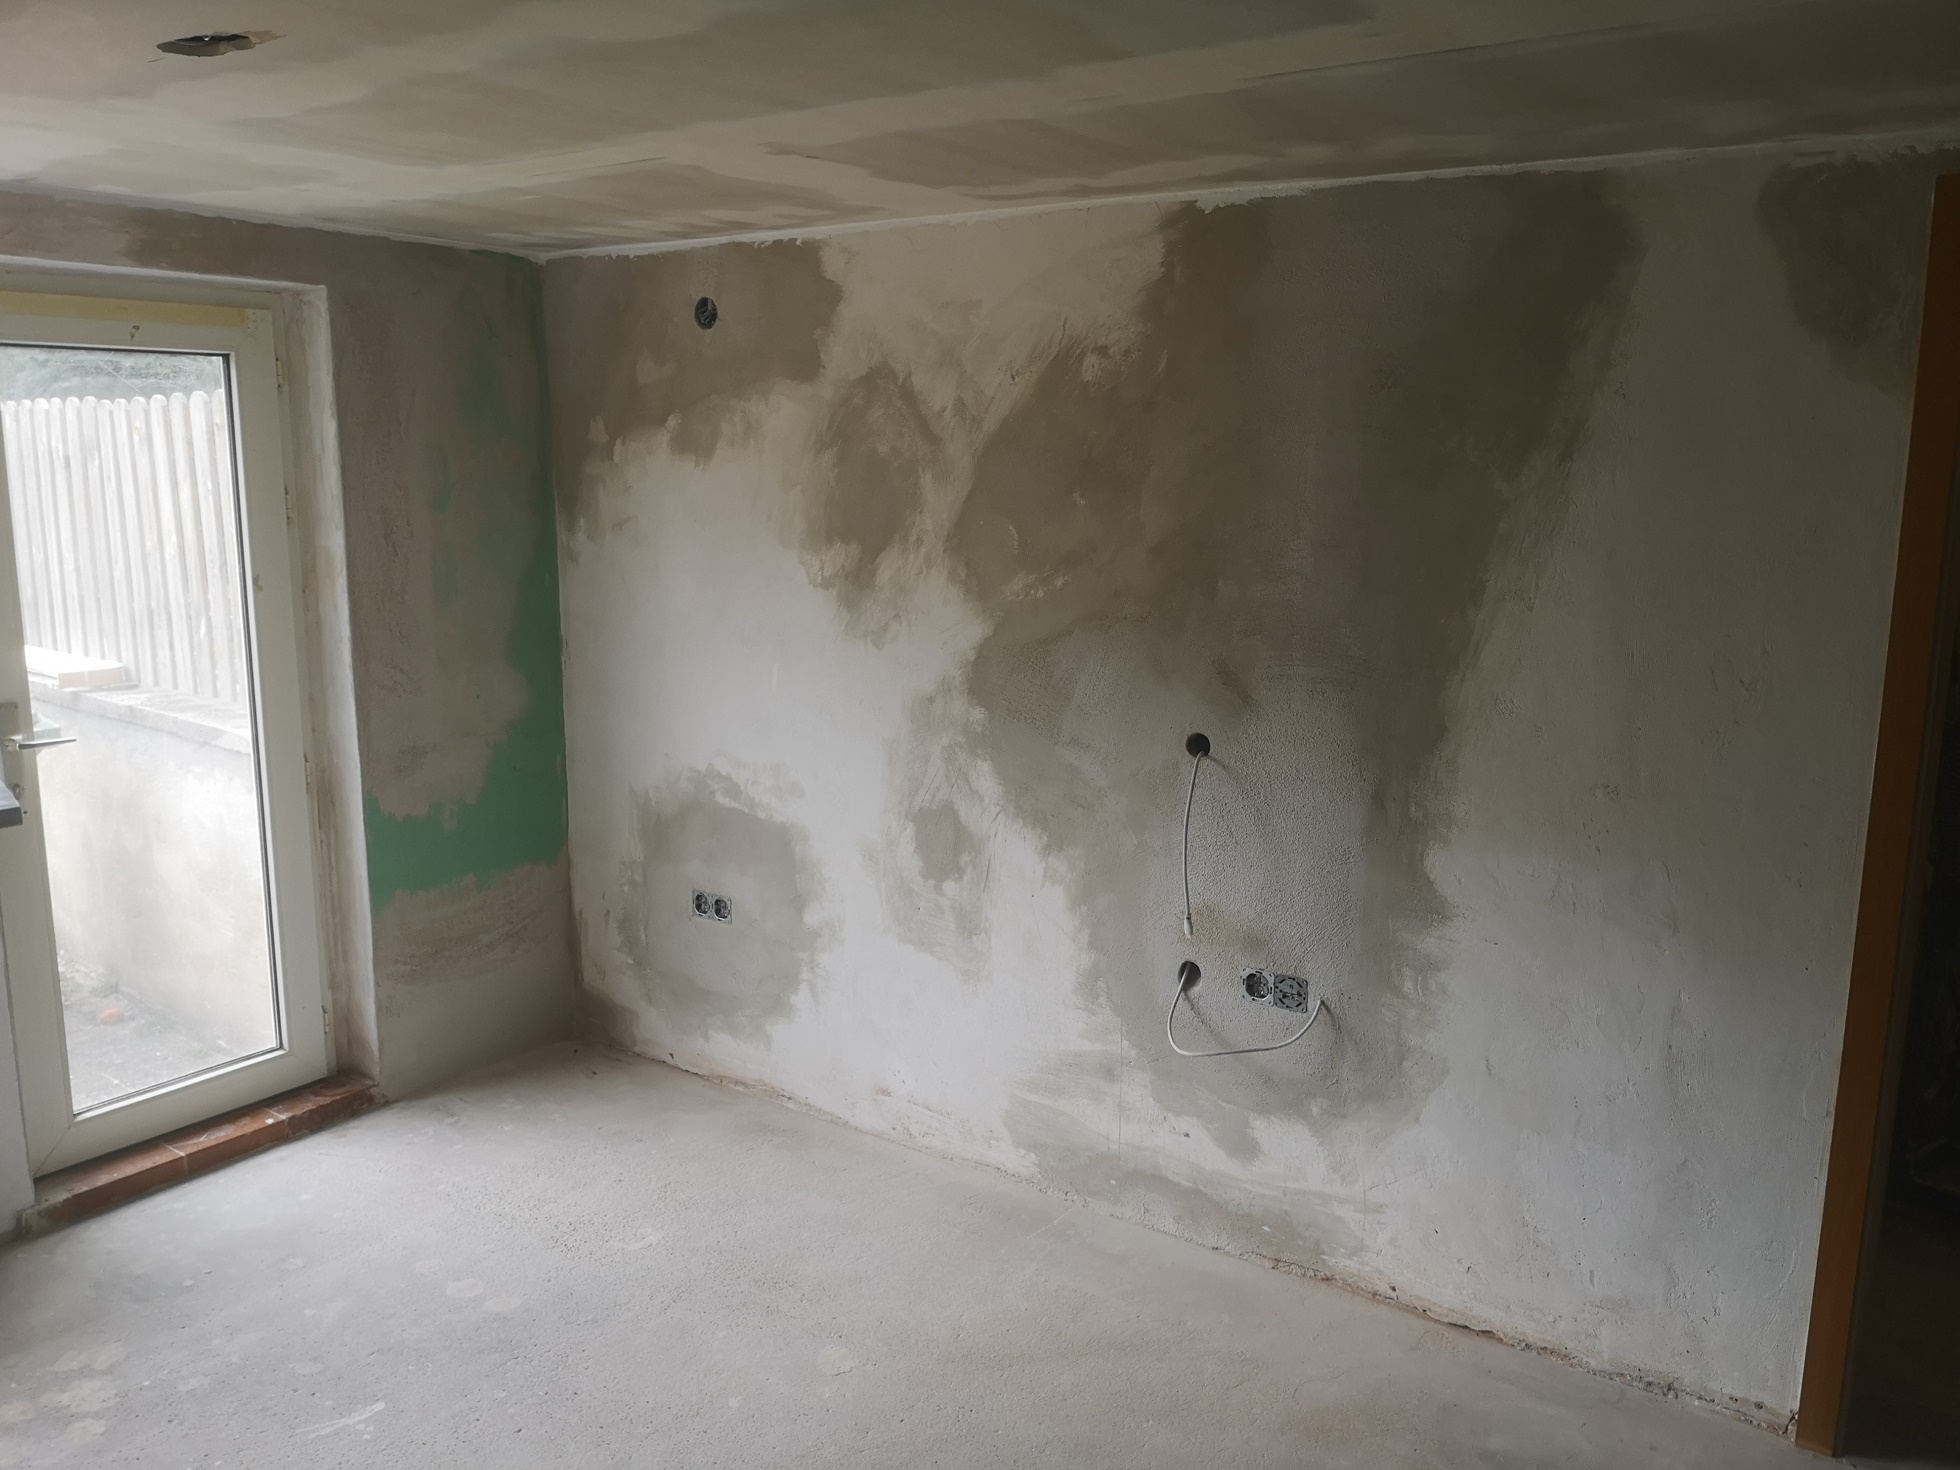
For one wall I had a dark gray mixed.
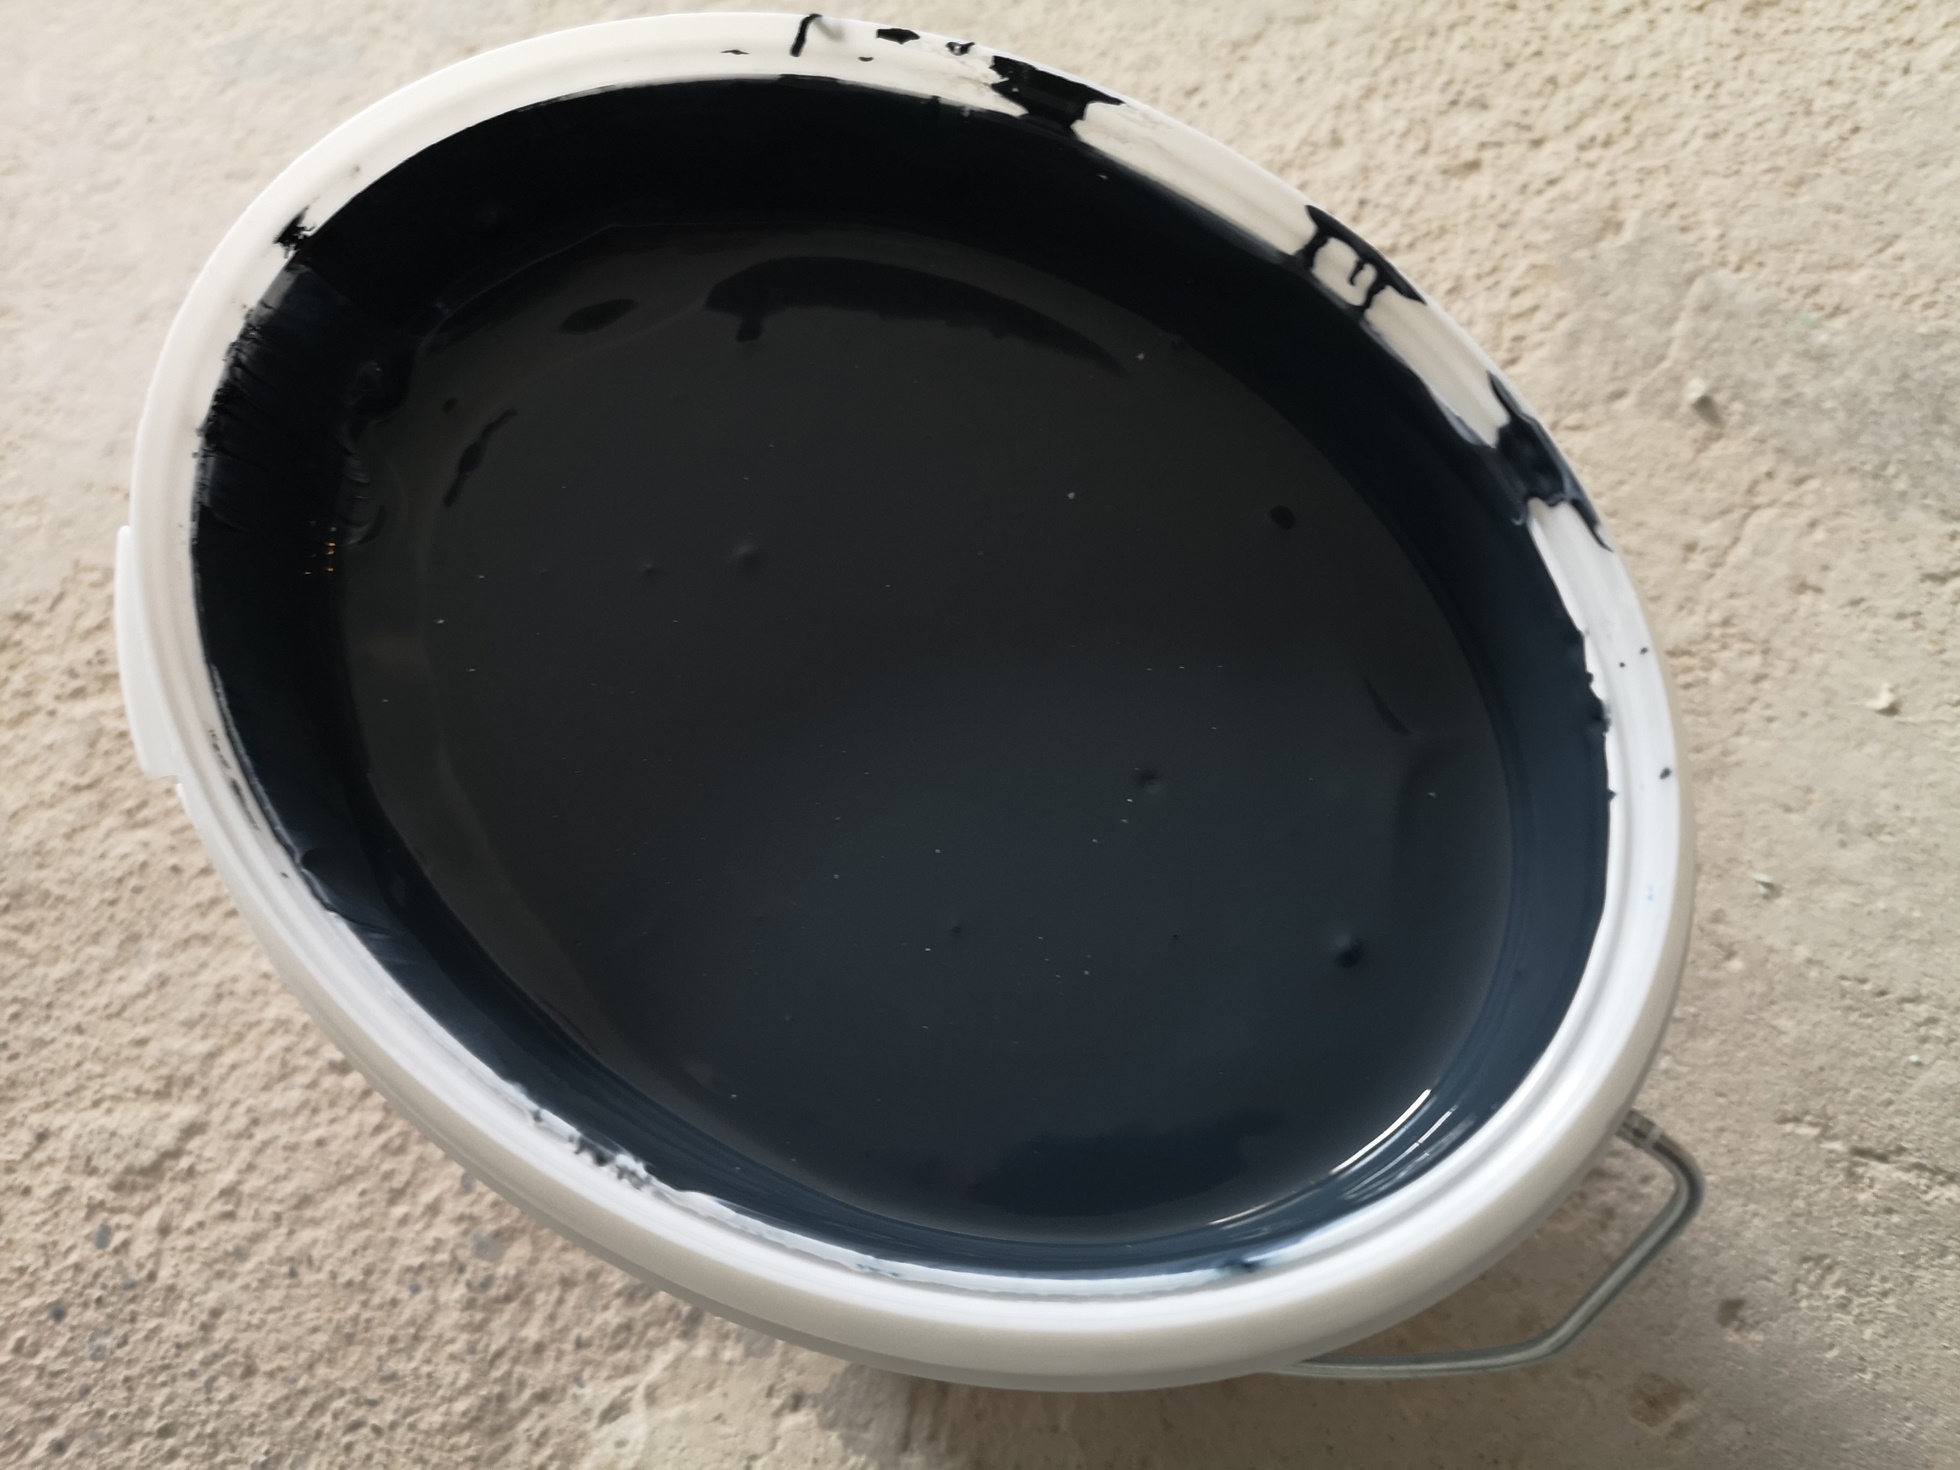
As it turned out later, should have been pre-painted despite the dark color, and in the end I also found the color too dark and too "cold". The wall after the second coat I'll add in the third part, because it couldn't stay like that in any case:

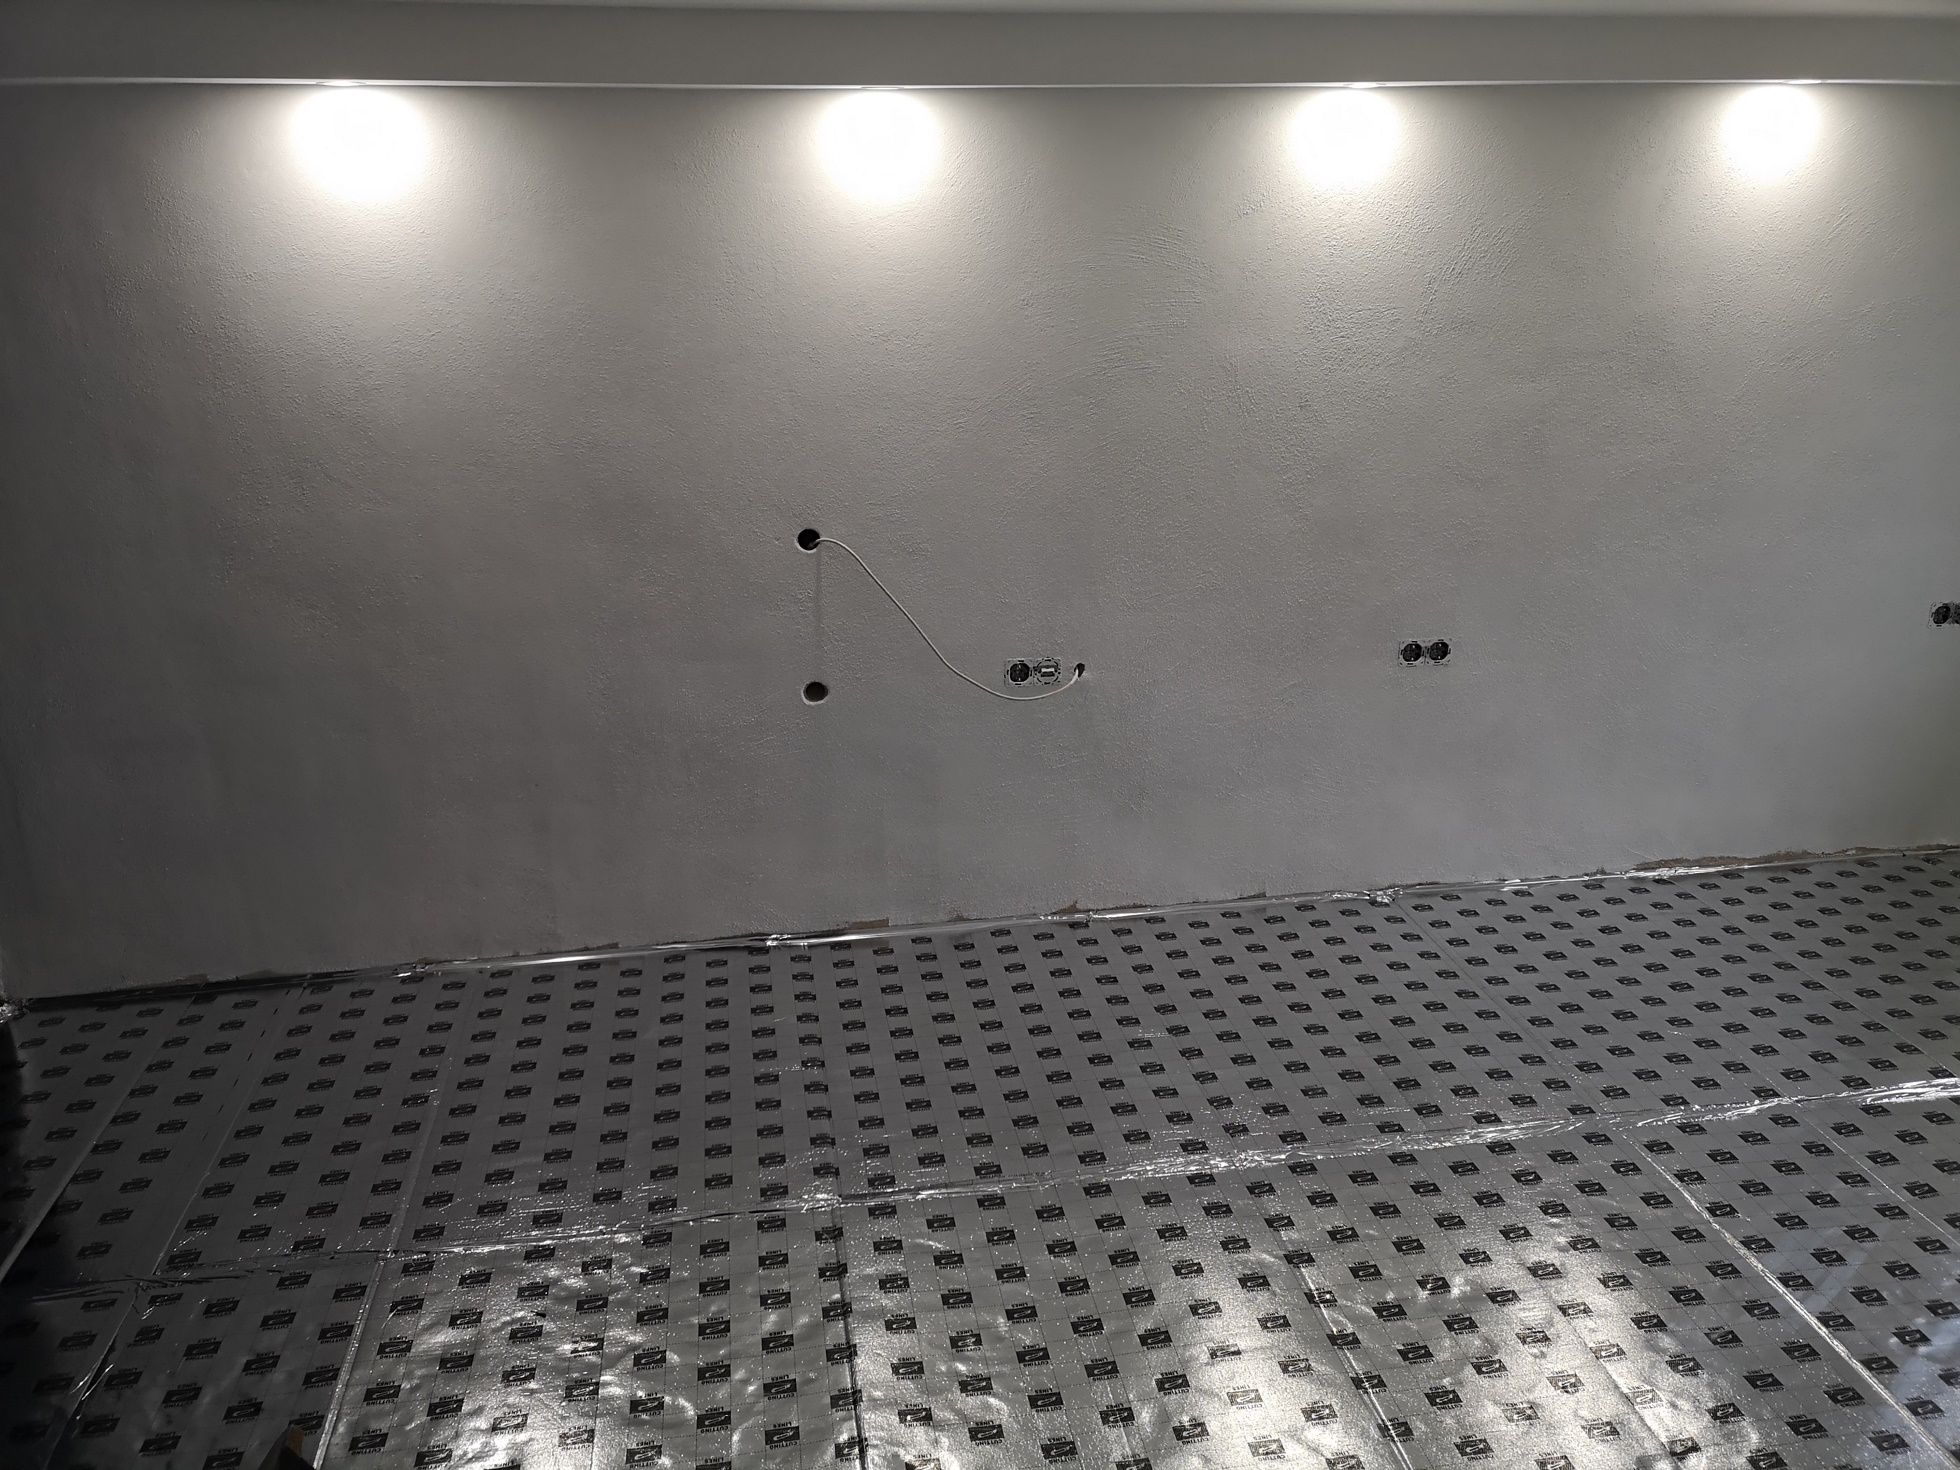
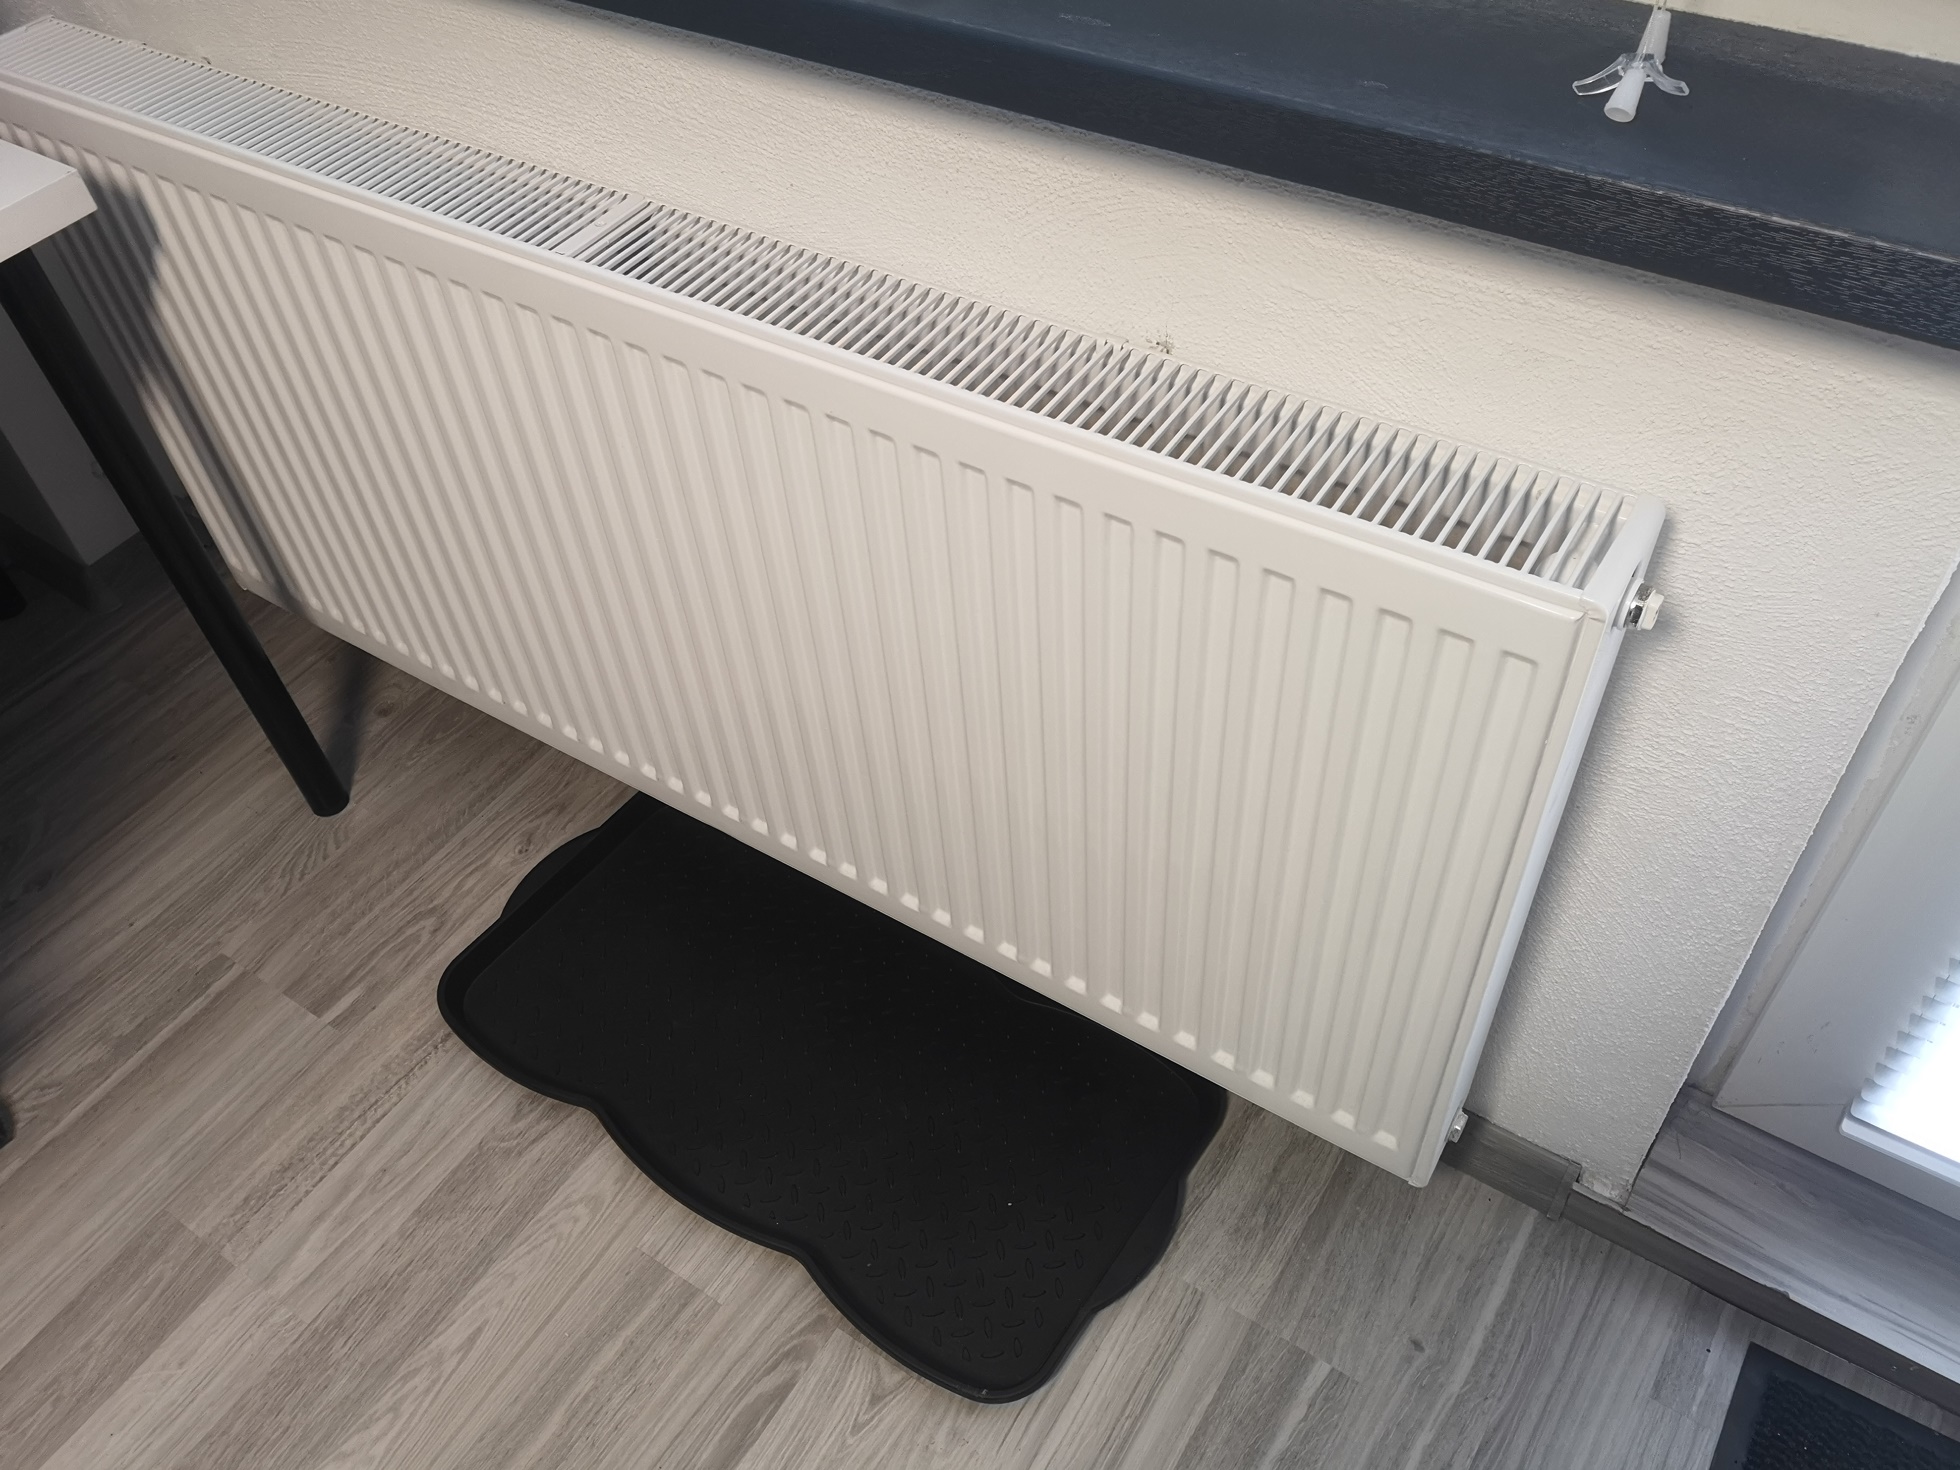
So all in white, the formerly damp and crumbled wall looks quite different, right? And the spots in the heating pipe box are also doing quite well in my opinion!
Floor
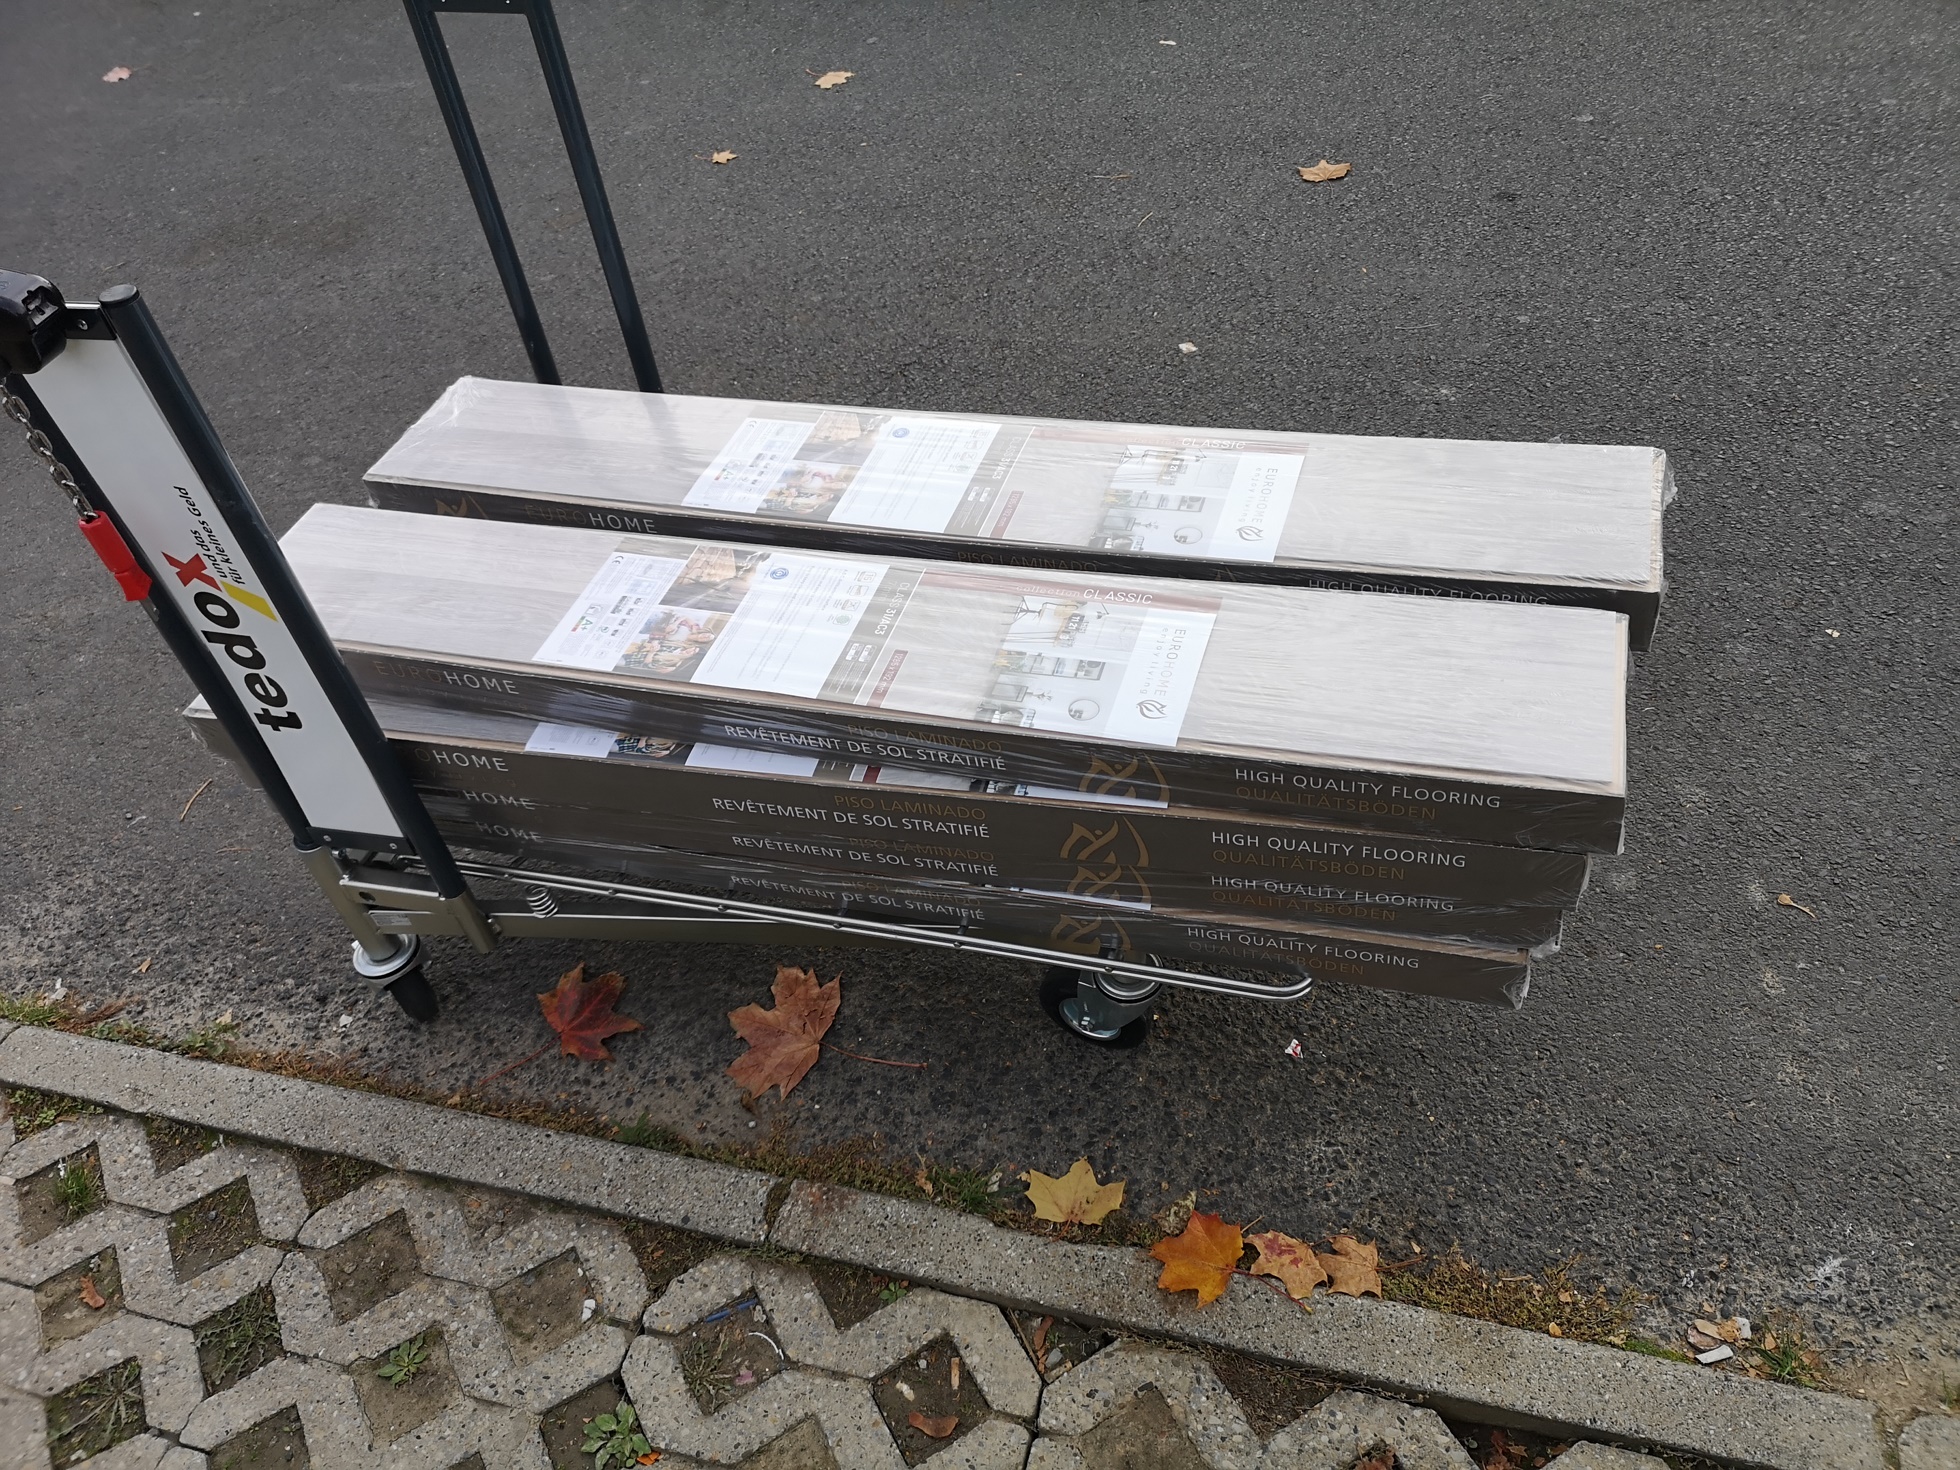
I didn't want to take a big financial risk with the floor for the time being. Surely an epoxy coating and also insulation would not have been a bad choice, but both would definitely have been beyond the financial scope and possibly also taken too much room height, because the room is now already only about 2.10m high due to the minimally suspended ceiling. So the choice fell on a 5mm thick XPS impact sound insulation with integrated vapor barrier and an inexpensive click laminate in a contemporary look. Since we've already had -10°C and colder this winter and I've been in the office every day, I can anticipate that my solution will only make the floor moderately cold to the feet and you can stand it quite well with thick socks (or slippers) and a small rug under your desk.
Laminate should probably be stored a few days before installation in the room where it will later be installed for "acclimatization". I didn't know that yet either, but it was actually feasible because a nasty infection put me out of action shortly after the purchase.
But I just could not stand it and in the end, with a slight fever, cough and miserable malaise, I had nevertheless laid the footstep sound insulation.
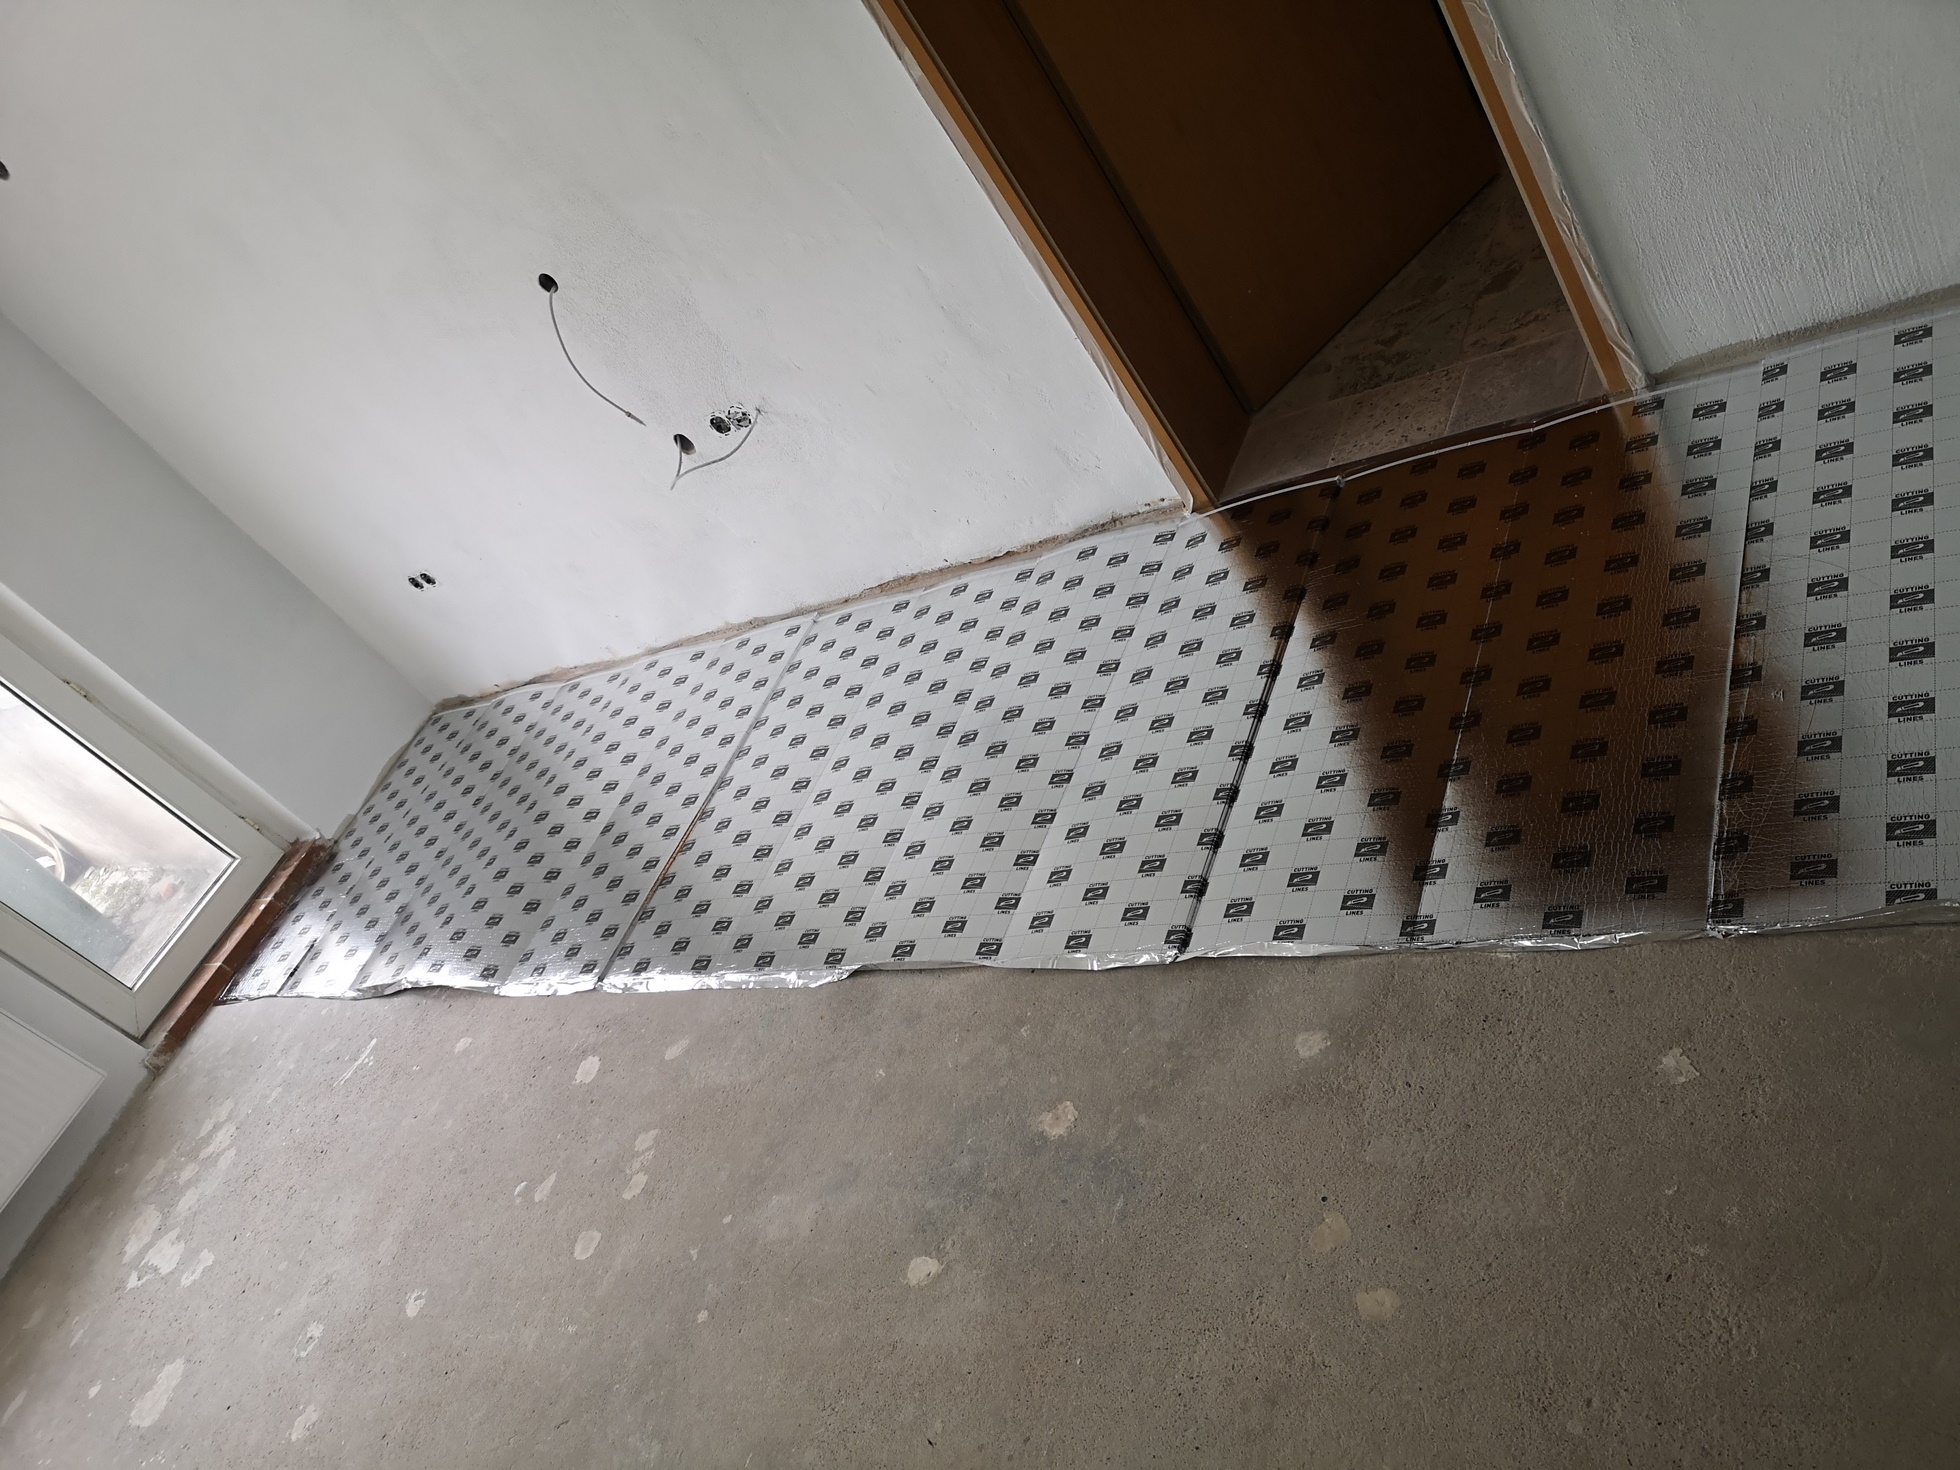
Because the room is quite rectangular and not rather trapezoidal, as was the case in the half-timbered house at the time, the impact sound insulation was laid within an hour and the transitions were accurately sealed with aluminum adhesive foil.
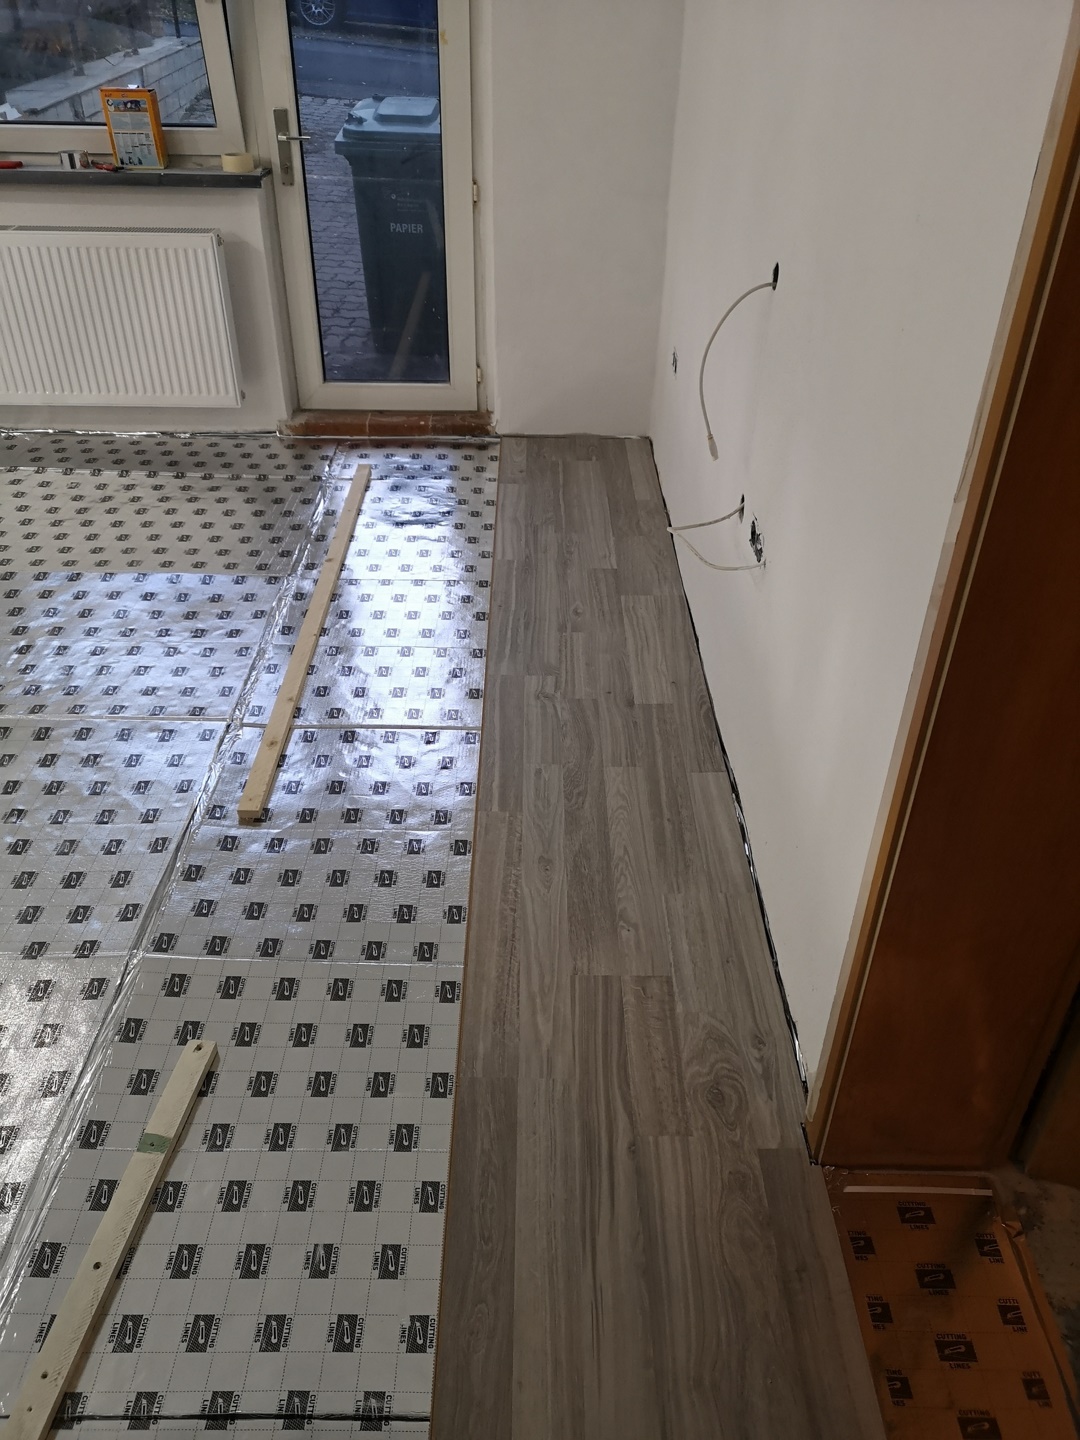
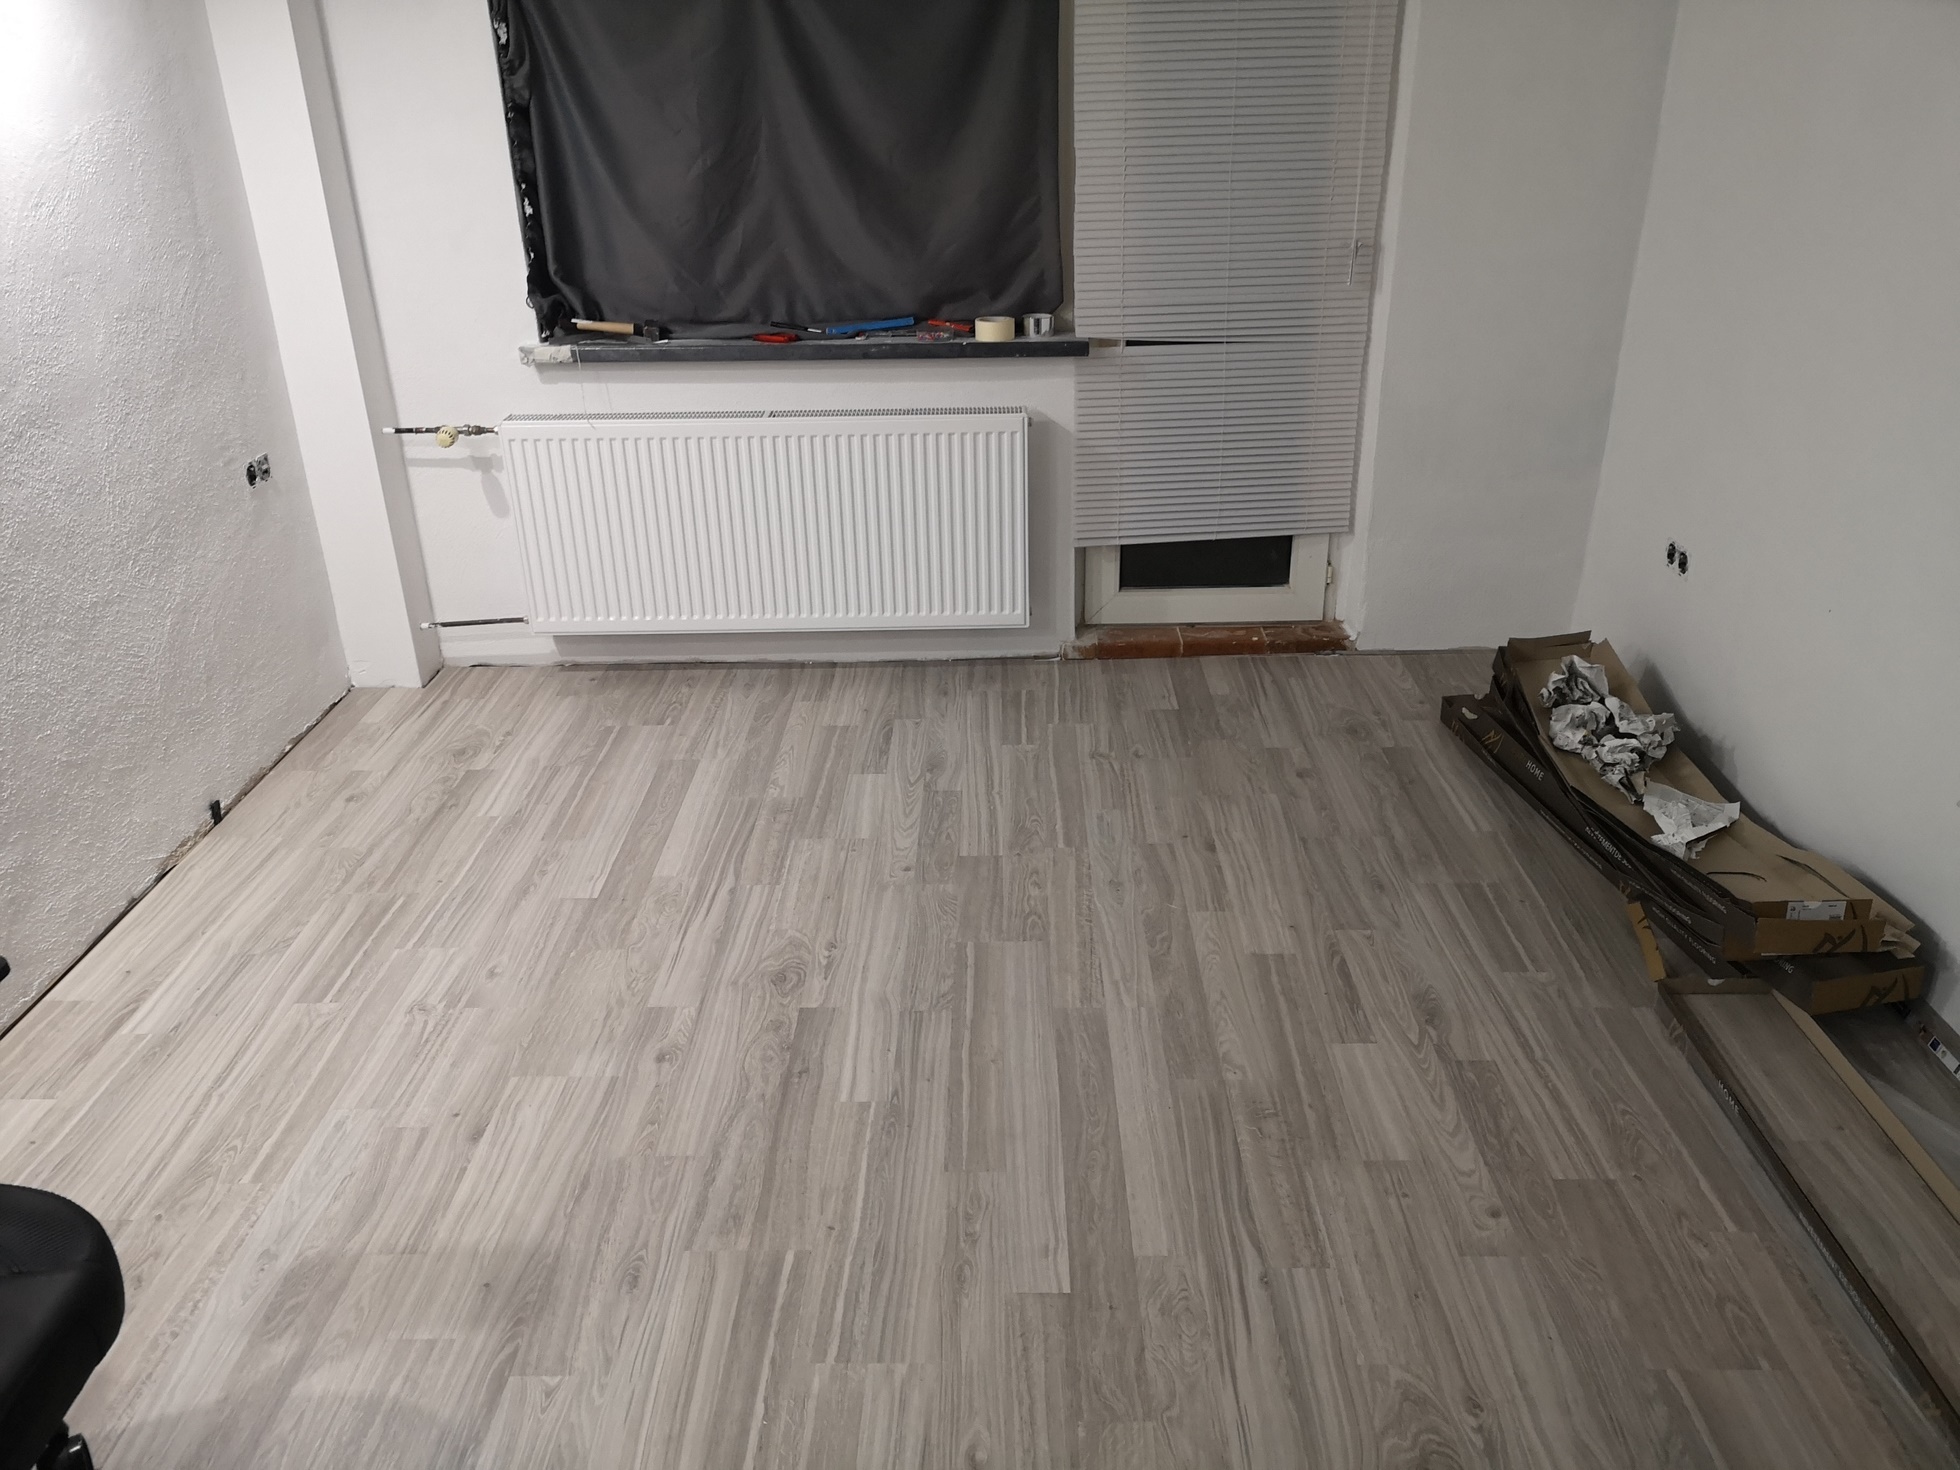
Well, if the impact sound insulation is already in place, the laminate can still be laid on top, right? The first row was still a bit fiddly because of the adjustment of the corners and the cutout around the door frame, after that it went blow by blow.
Even with an infection and without help, this was done quite relaxed within 3 hours.
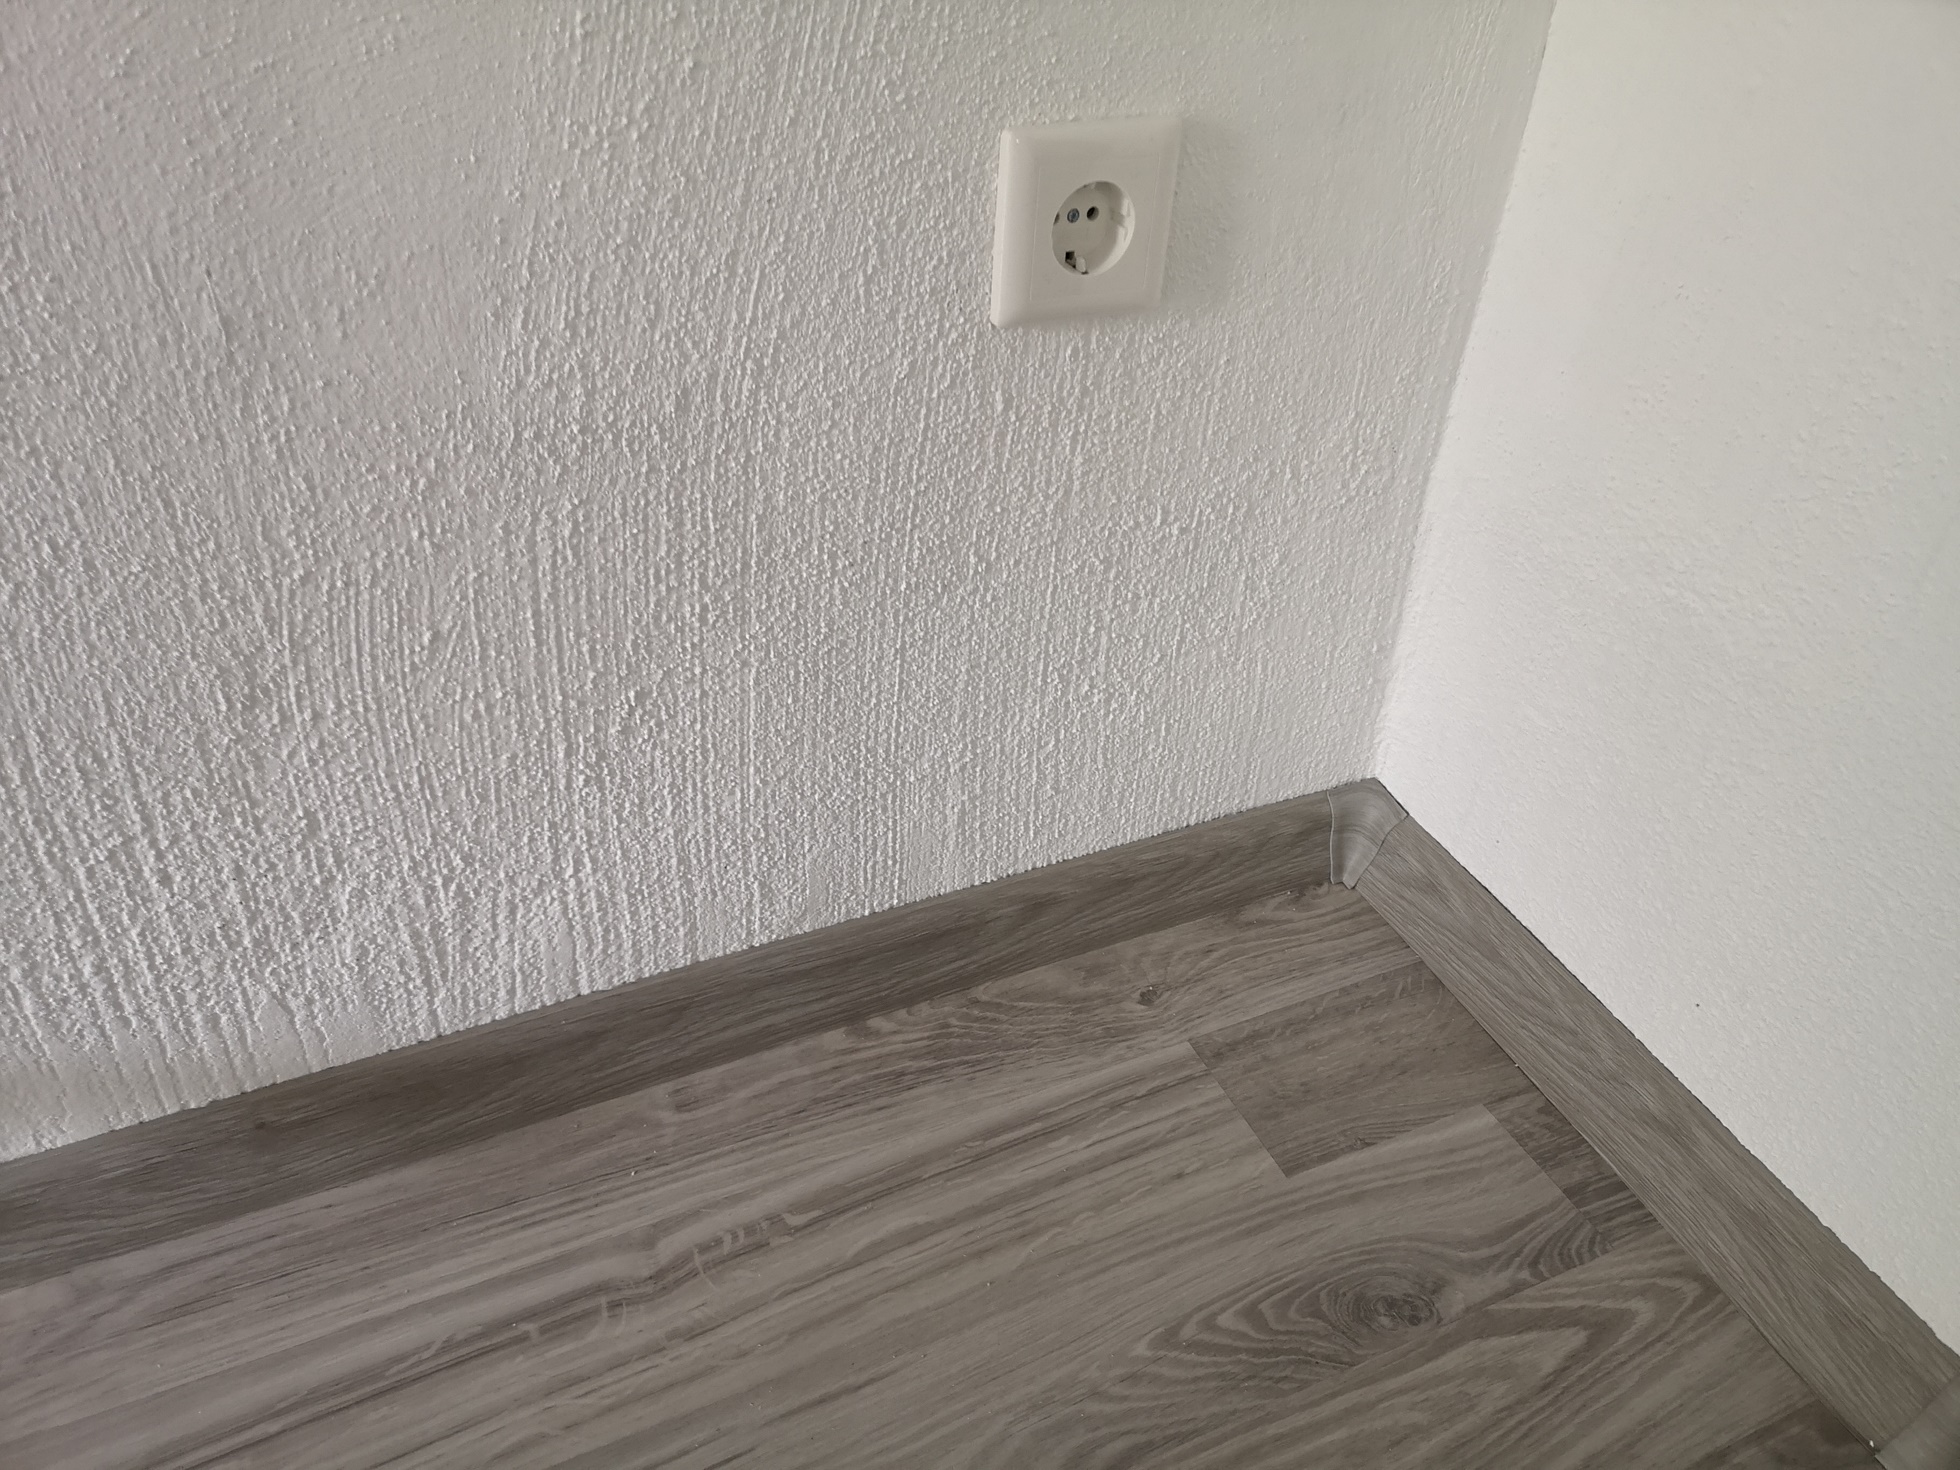
The cover frames of the sockets, switches and co., as well as the skirting boards, however, I had saved for the following day.
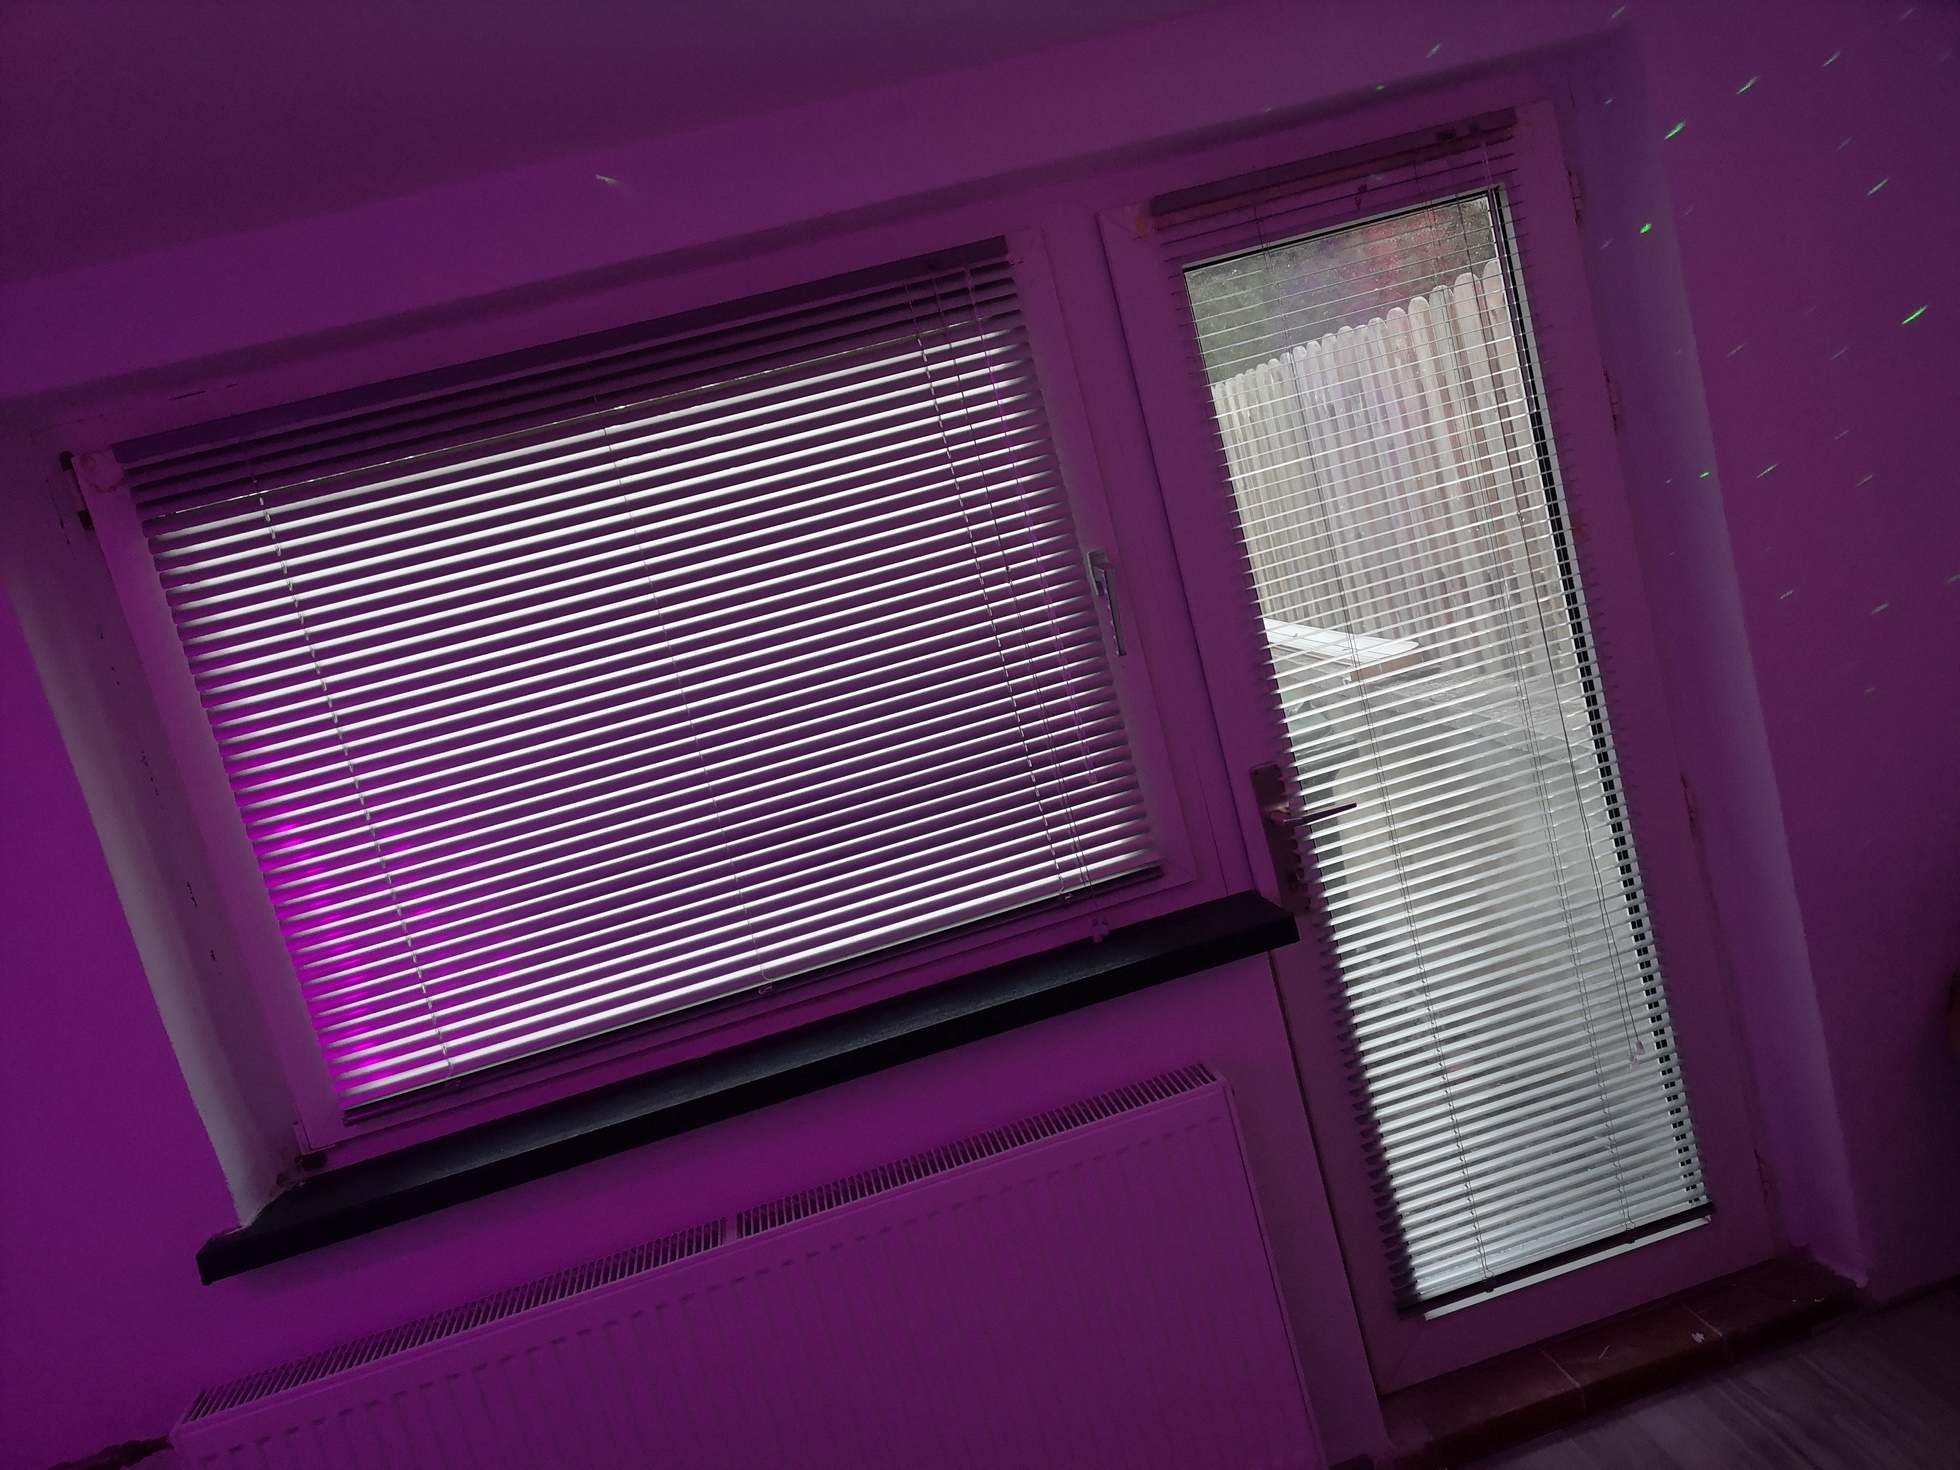
Custom blinds also arrived a few days later and the Galaxy projector adds some ambiance to the room…
At this point, I'll make another cut. With the third part I will finish the series in a few weeks, show you how I built the desks, how the finished room looks like and present my (mostly already known) systems in detail.


65 Antworten
Kommentar
Lade neue Kommentare
Veteran
Moderator
Veteran
Urgestein
Mitglied
Urgestein
Urgestein
Mitglied
Urgestein
Veteran
Mitglied
Mitglied
Veteran
Mitglied
Veteran
Mitglied
Veteran
Urgestein
Urgestein
Alle Kommentare lesen unter igor´sLAB Community →