


Electrical and network
Now we come to another not entirely unimportant point. The electrical system of the house is still at the level of the 70's and instead of a reasonable grounding, only a "classic grounding" has been carried out everywhere. In view of a complete refurbishment due at some point, I have therefore already made a few changes.
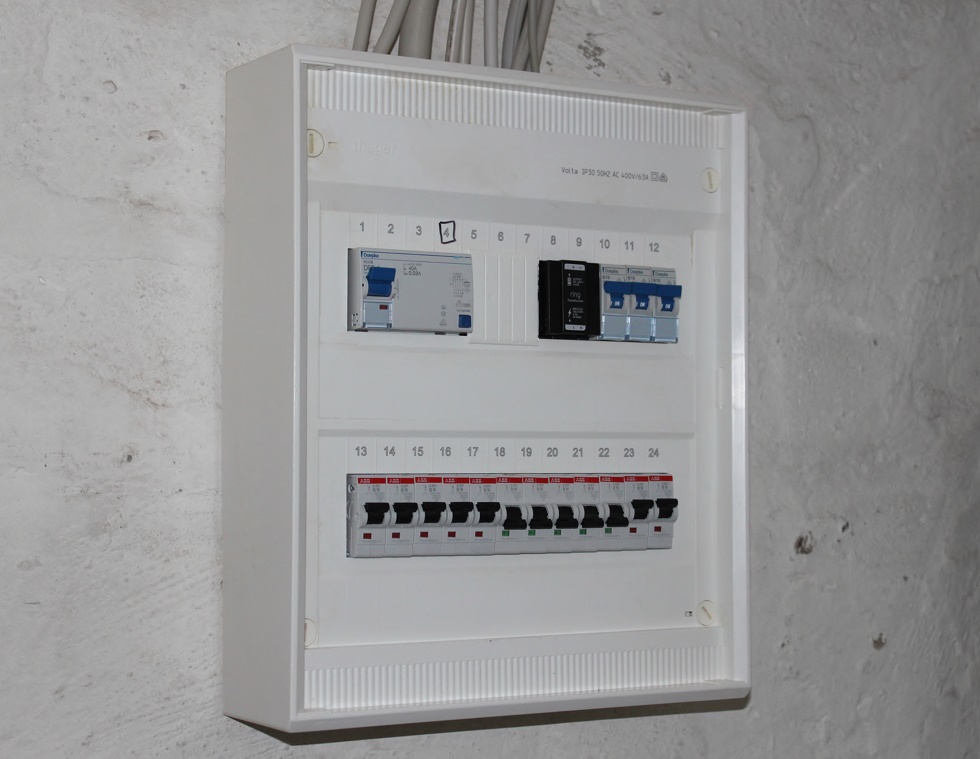
All new sockets and installations were pulled, reasonably grounded, from a newly set sub-distribution. In order to explain the initial situation, I have to go a little further. However, I'll try to shorten and simplify the whole story a bit. As part of the installation of a PV system, a large new meter cabinet was placed in the basement a few years ago. From there, supply lines were drawn to the sub-distribution boards on the ground floor and first floor. Furthermore, the 5×2.5mm² for the stove connection renewed by the last tenant was also connected there.
From the electrician of trust, who had already helped me with the plastering and drywall, I then had a new sub-distribution set in the basement, from which all new installations, as well as the somewhat botched stove connection were then tapped. So I can at least be sure that everything I have installed new is also properly grounded and fused by means of FI.
The office should end up having multiple circuits:
- General/Light
- Workplace 1
- Workplace 2
- Craft table
- Refrigerator/coffee maker
- Exterior (spotlight with motion detector, doorbell, surveillance camera)
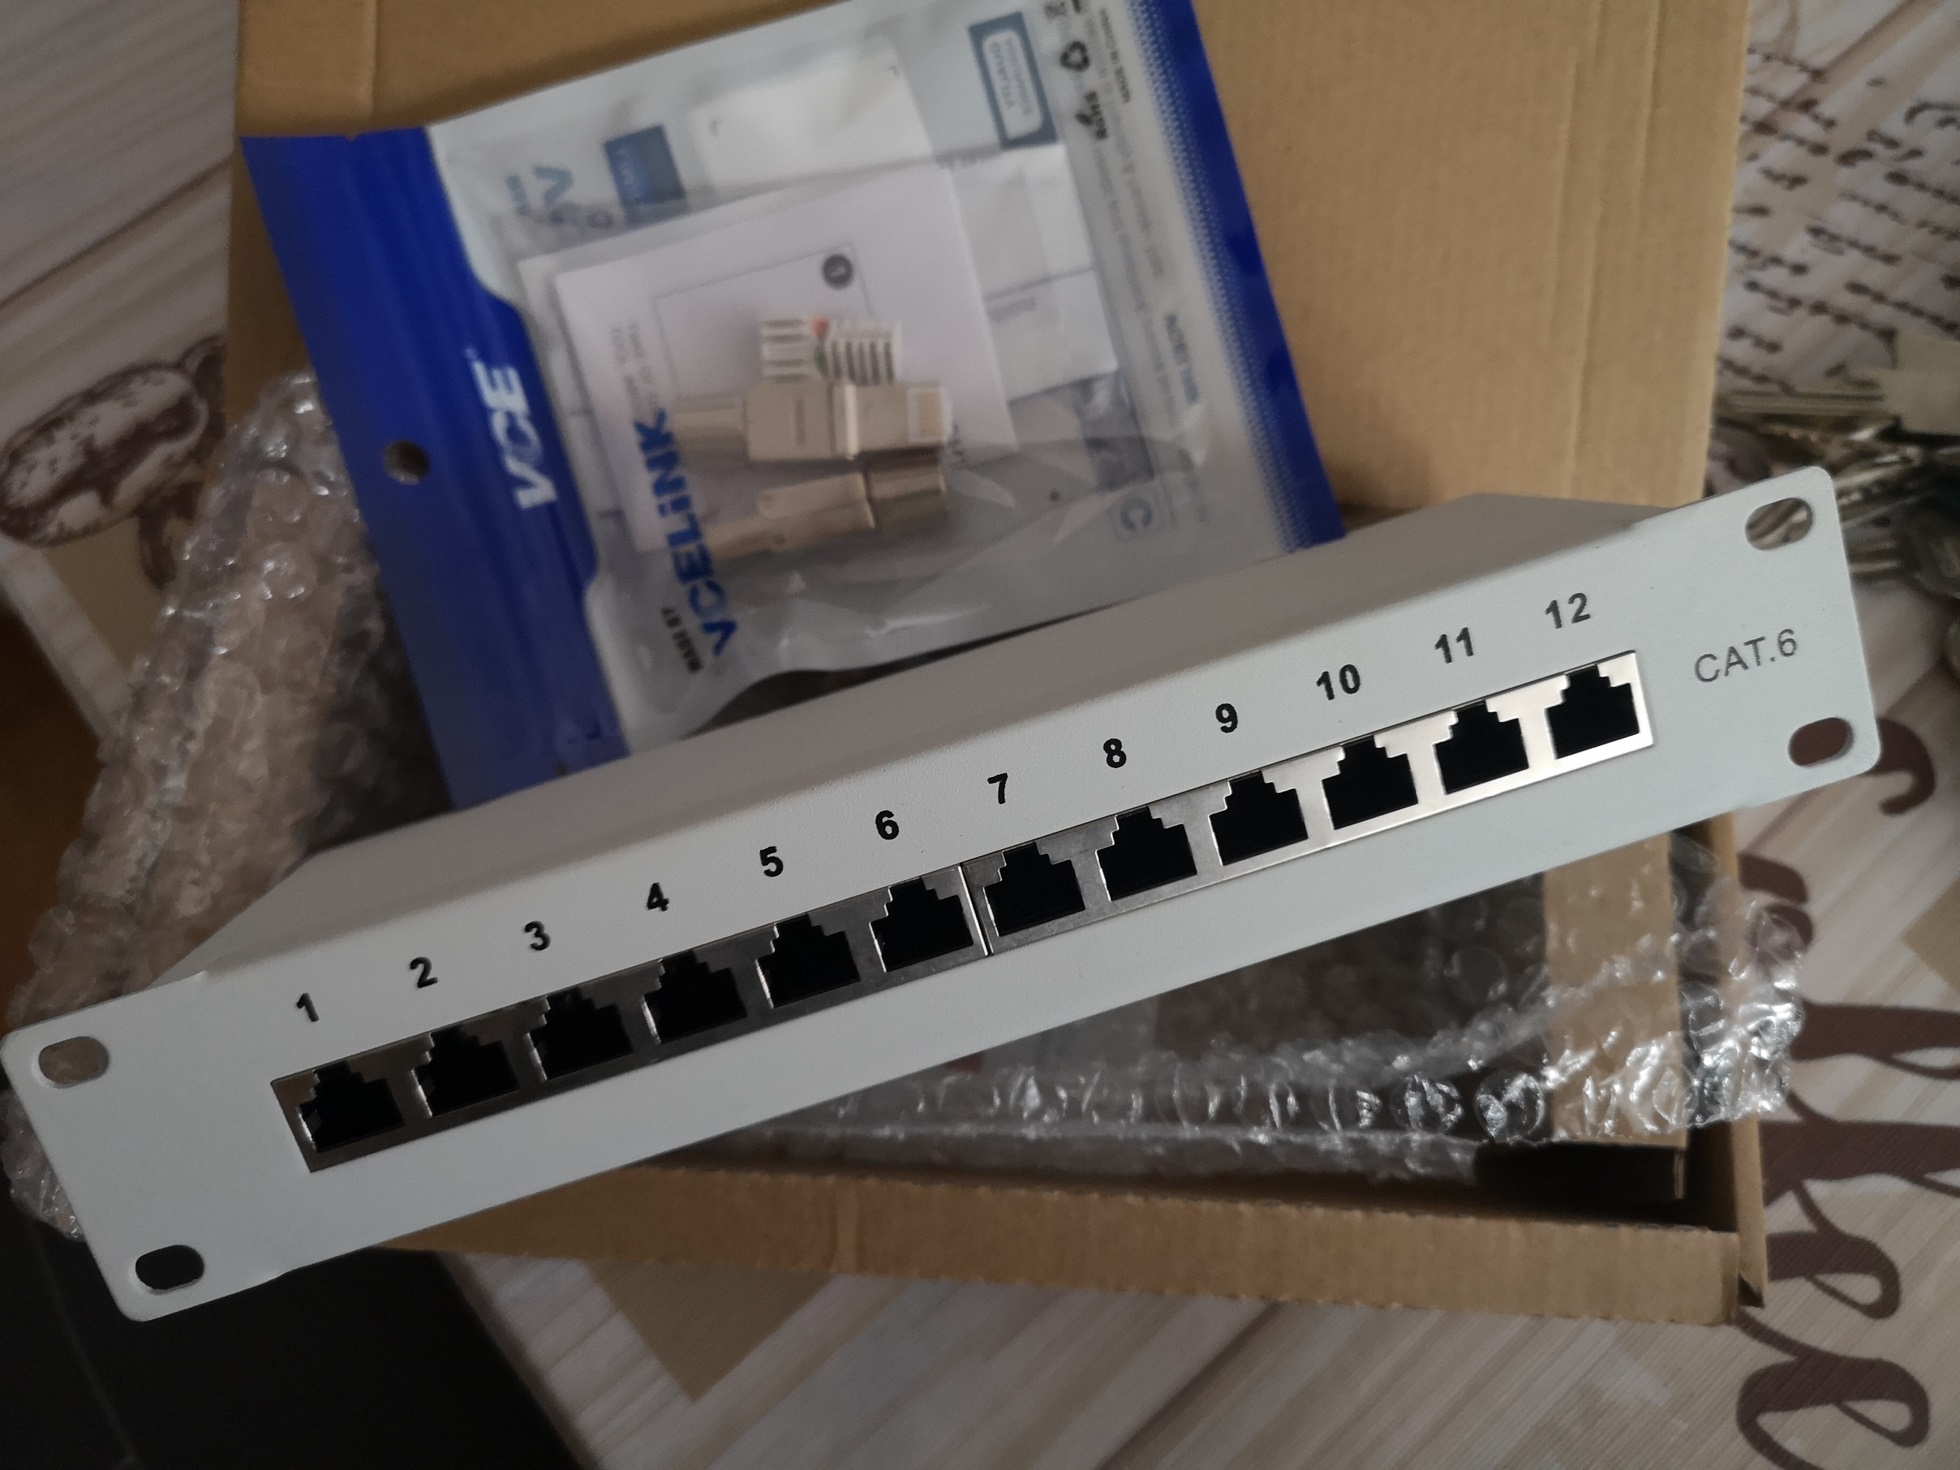
Of course, as an advocate of the good old cable connection, I had also provided a network connection at every workstation, TV, etc. in the entire house. From the attic to the basement, all rooms were wired accordingly, and a different color was even chosen for the data lines on each floor. All cables arrive at a small patch panel in the same room where the new sub-distribution was placed and which also serves as storage for samples, old cases and as housing for the photo box. Later, a small network cabinet is to be placed here, which will then also house a sufficiently large switch, the FritzBox and a NAS.
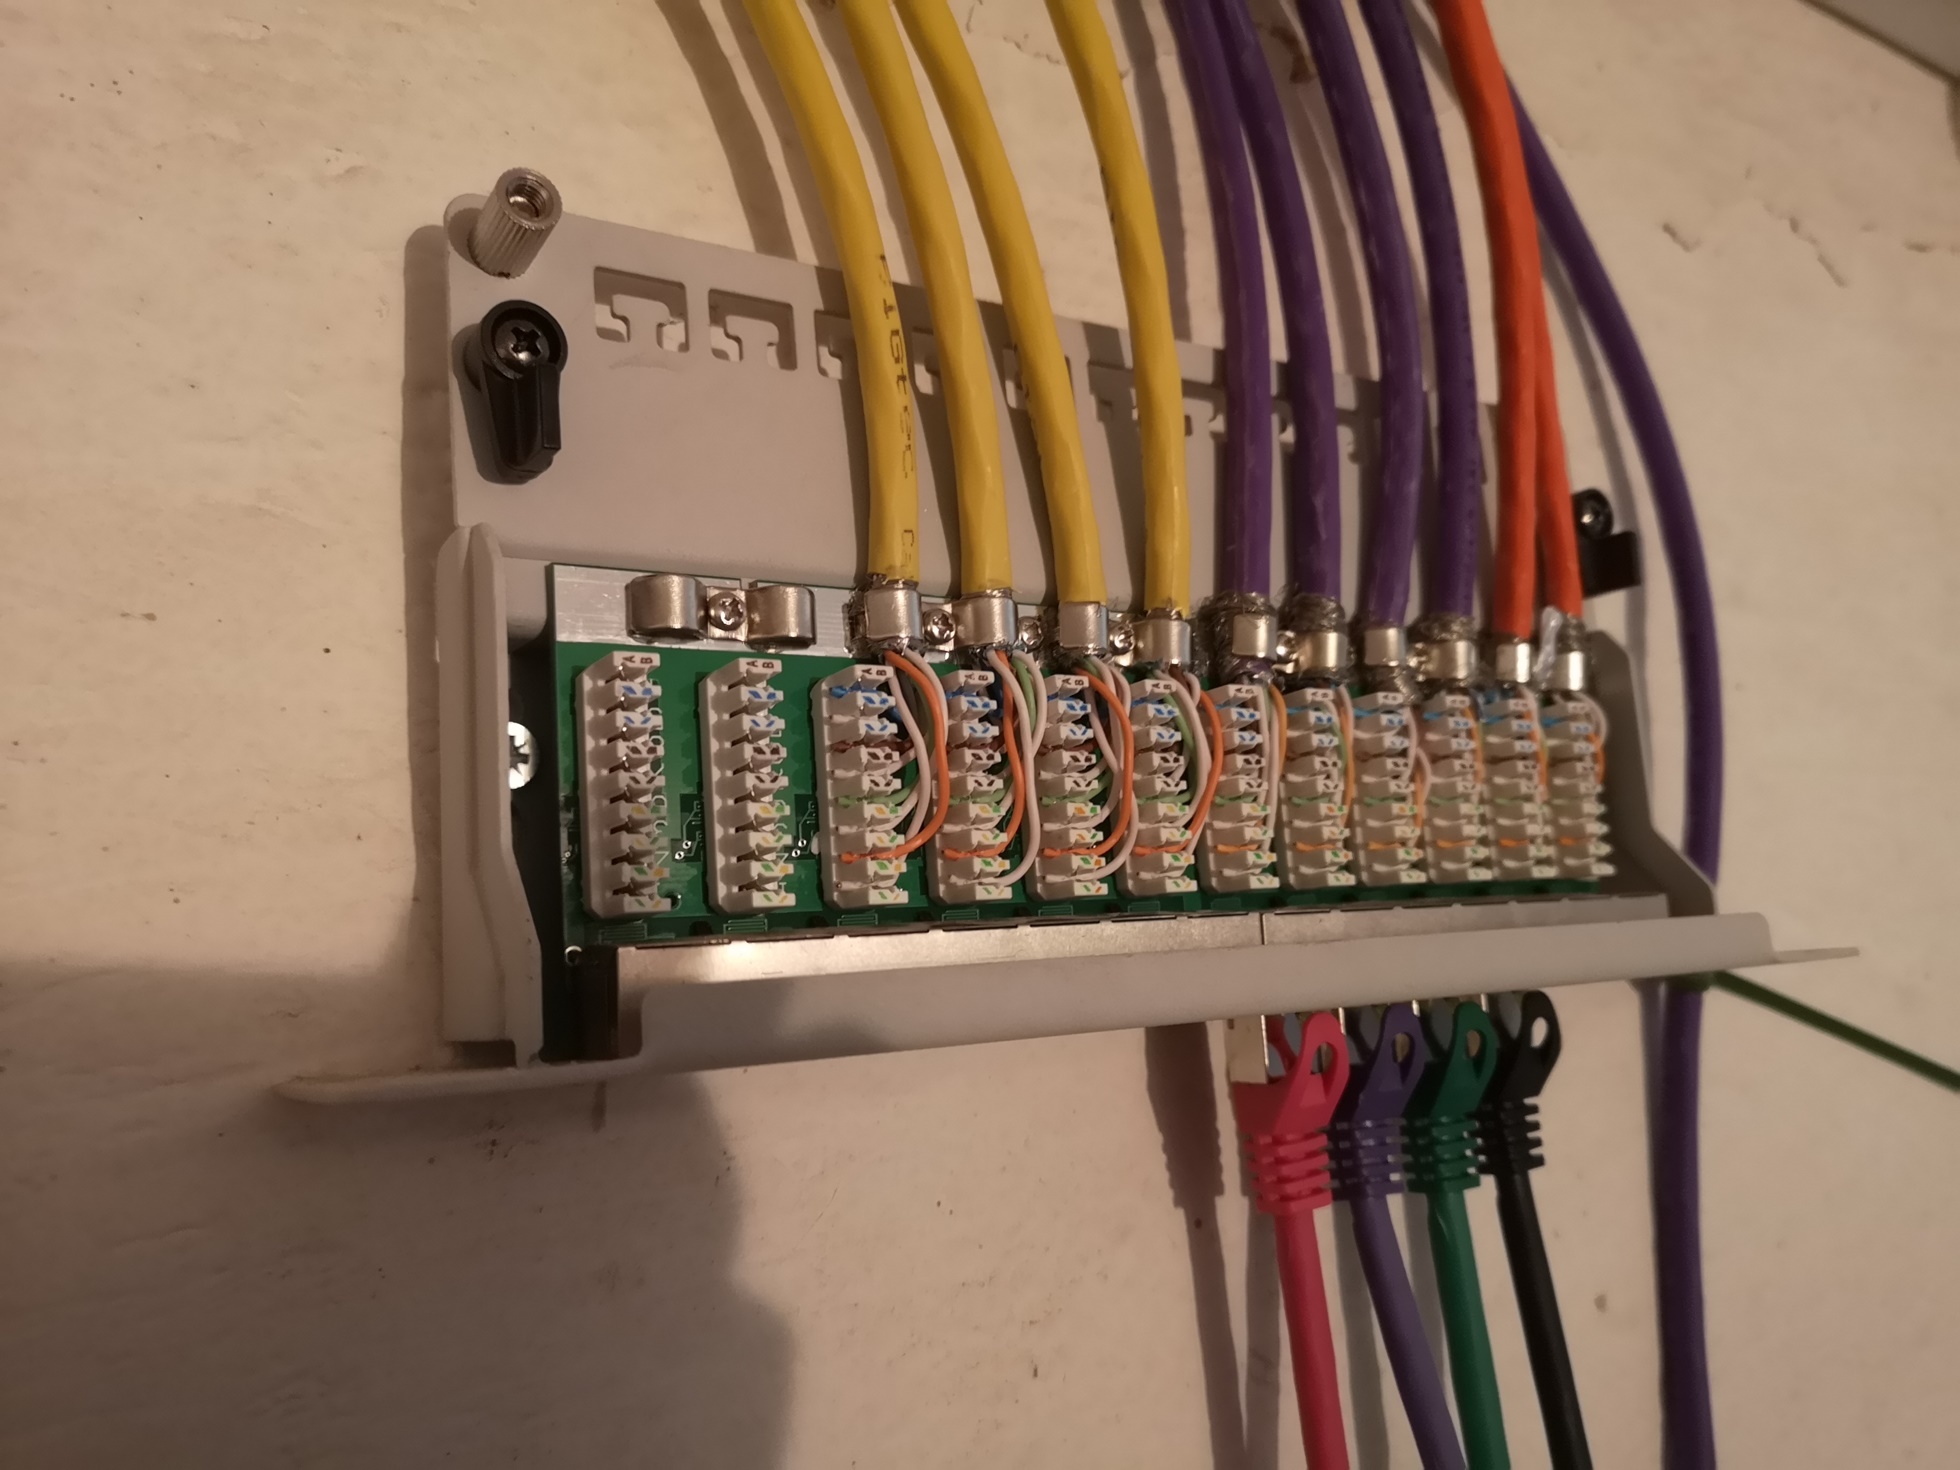
How do you actually put on a network cable!?
Because the opportunity has just presented itself and because some of our readers have certainly never seen this before, I have documented roughly how to "put on" such a network socket. Surely it can be done much cleaner and one or the other installer will vllt. but in my defense, I can say that all the cans work and the transmission rate is also good.
First, the cable is cut to length and shortened. Not too short that you have no more room to work, but also not so long that you can't get all the tangled cables into the box later.
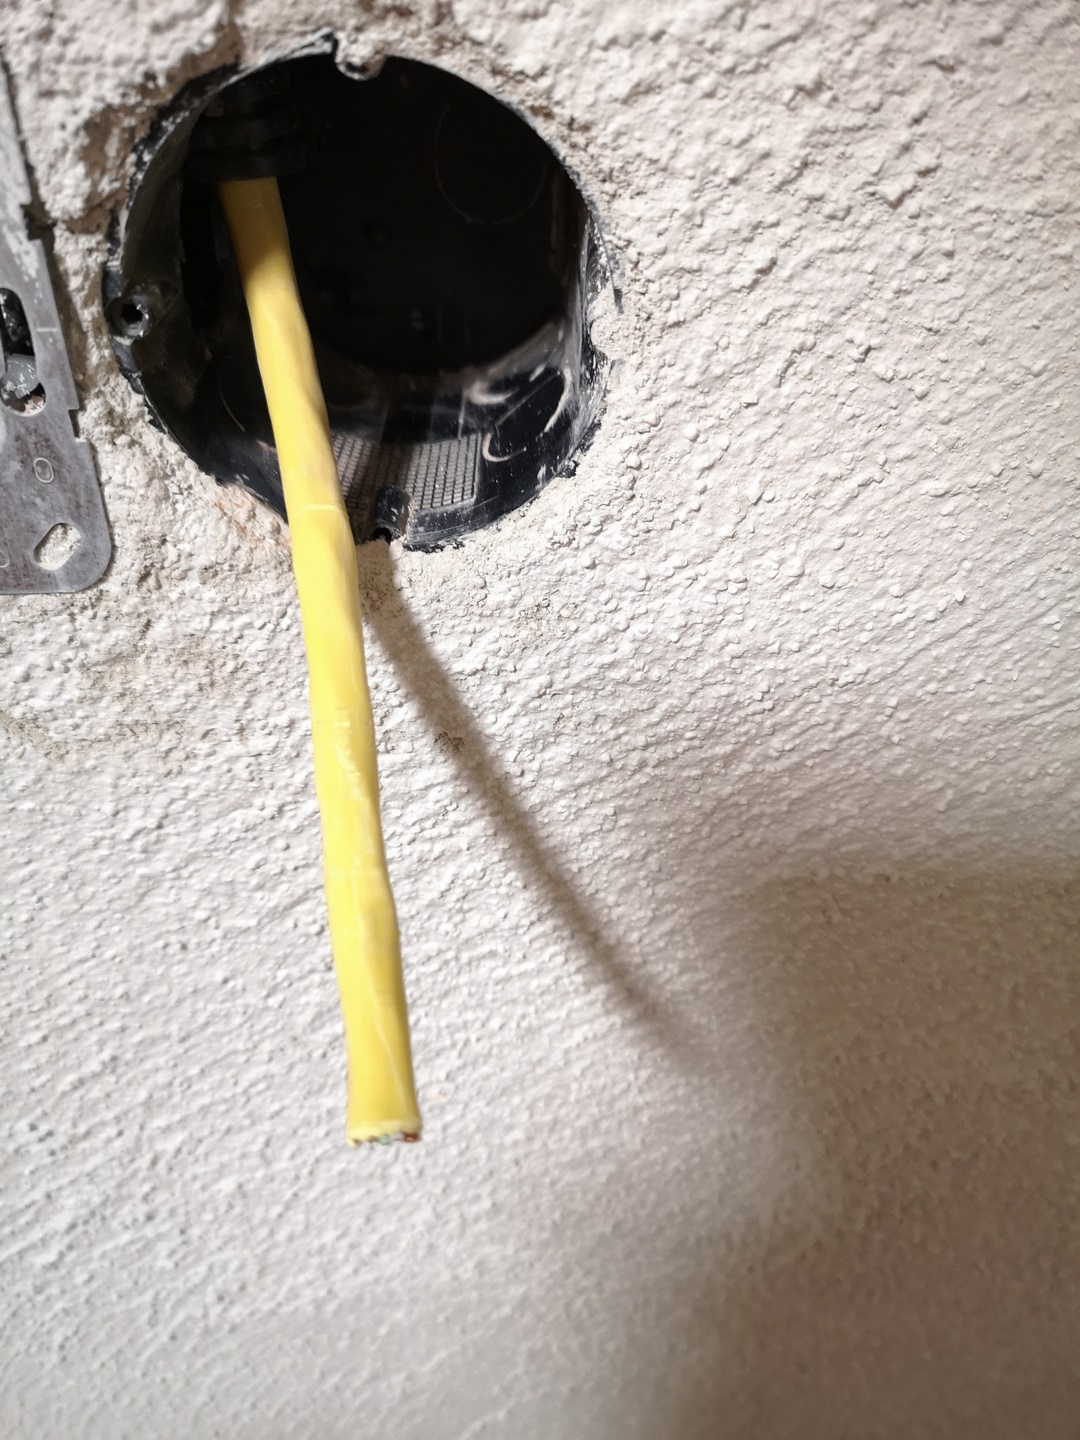
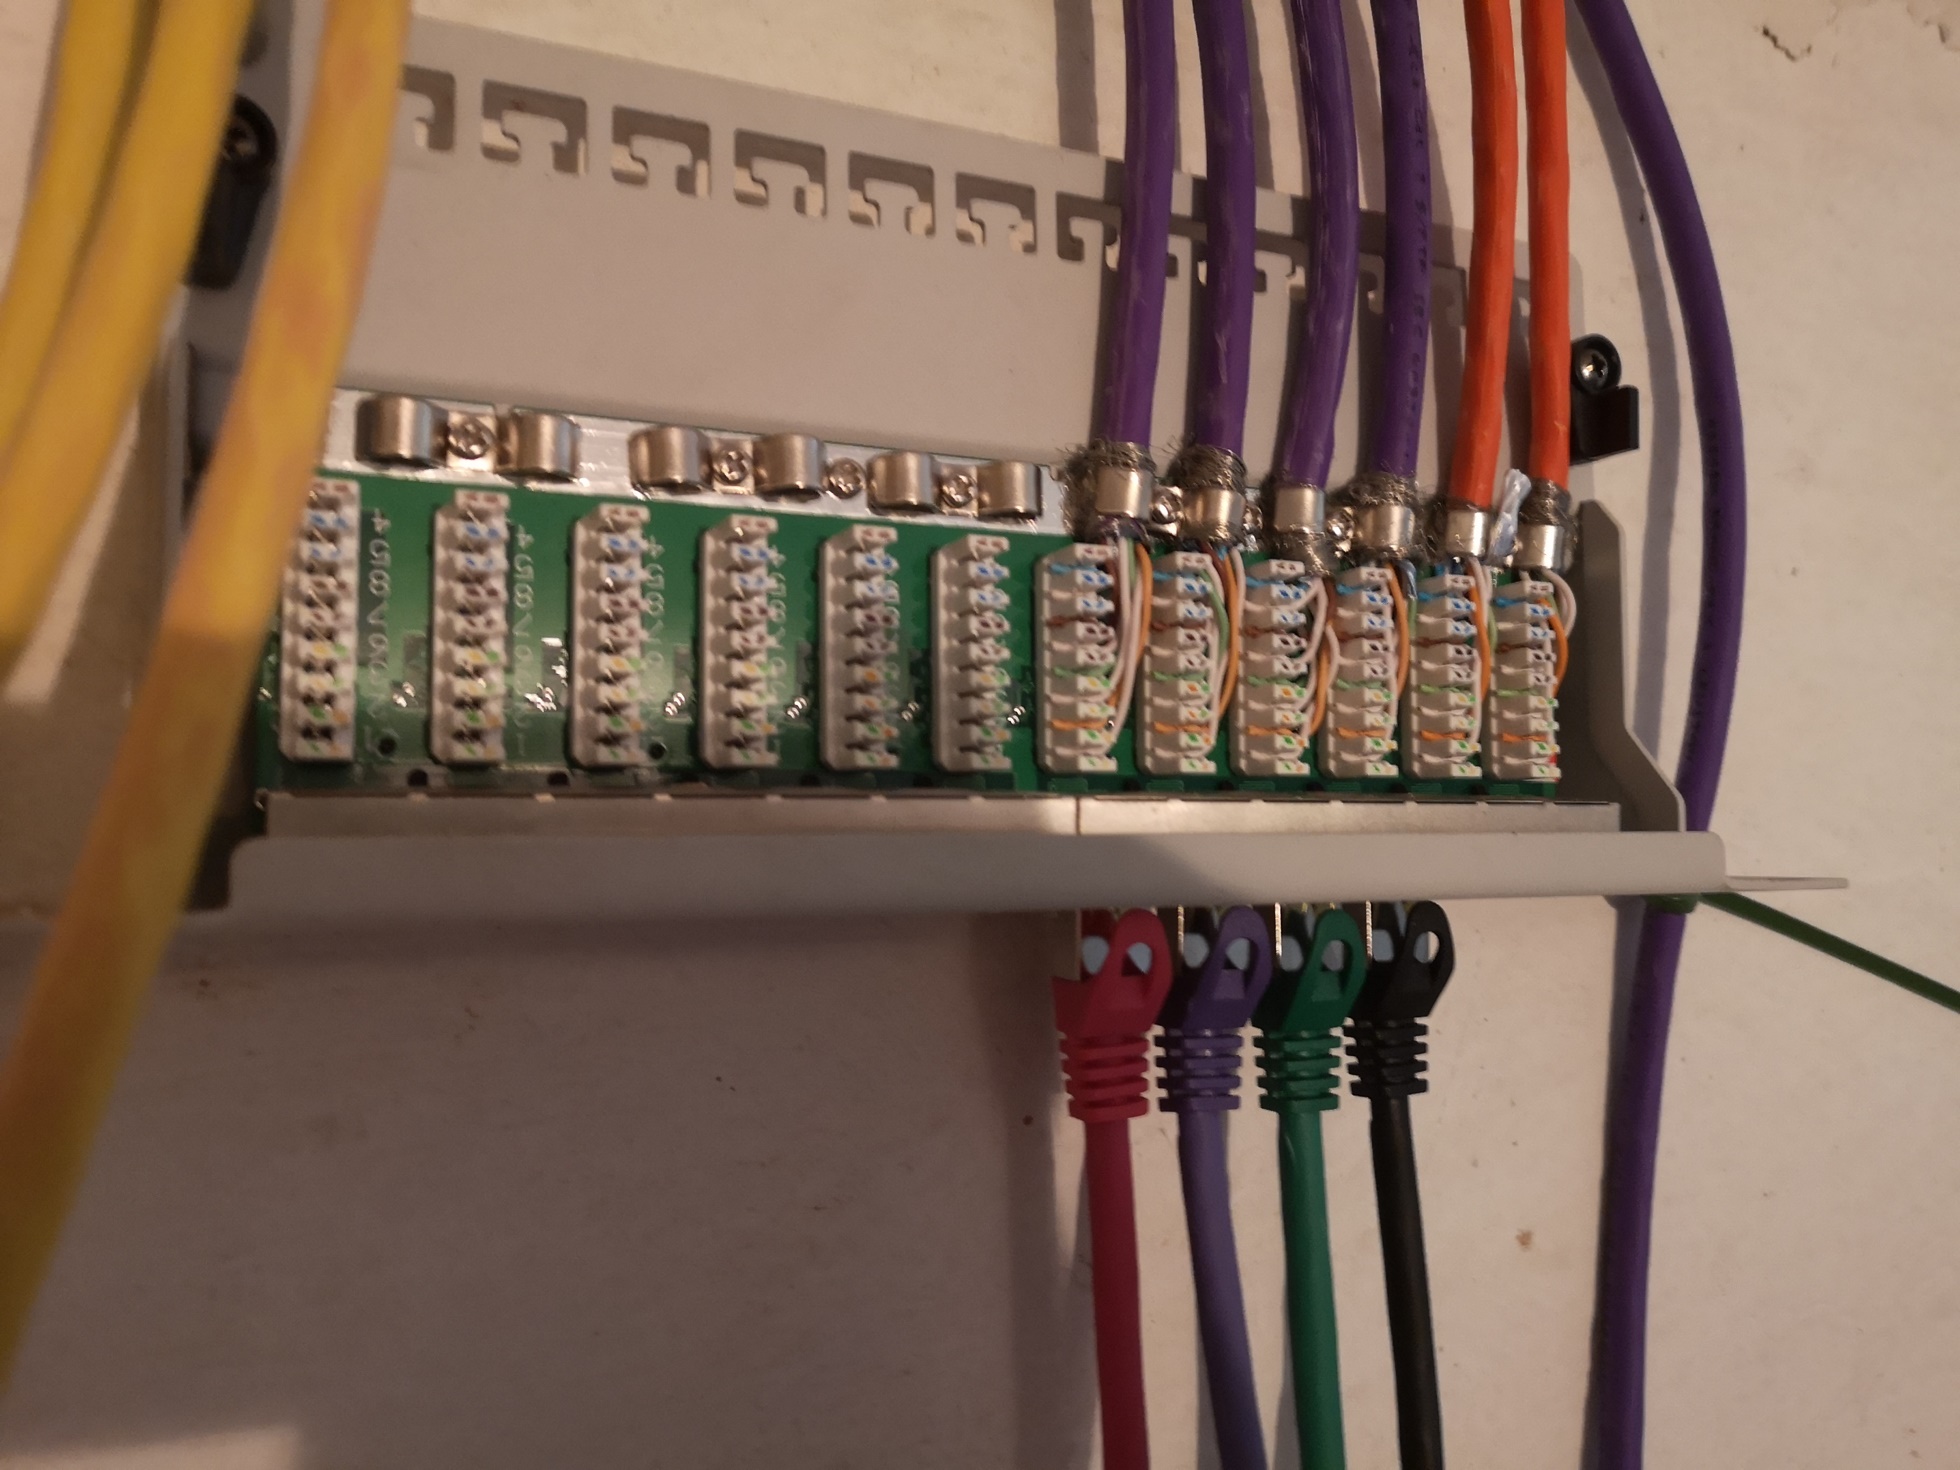
The next step is to remove the sheath. Make sure that the shielding of the cable (fine wire mesh) is not damaged!
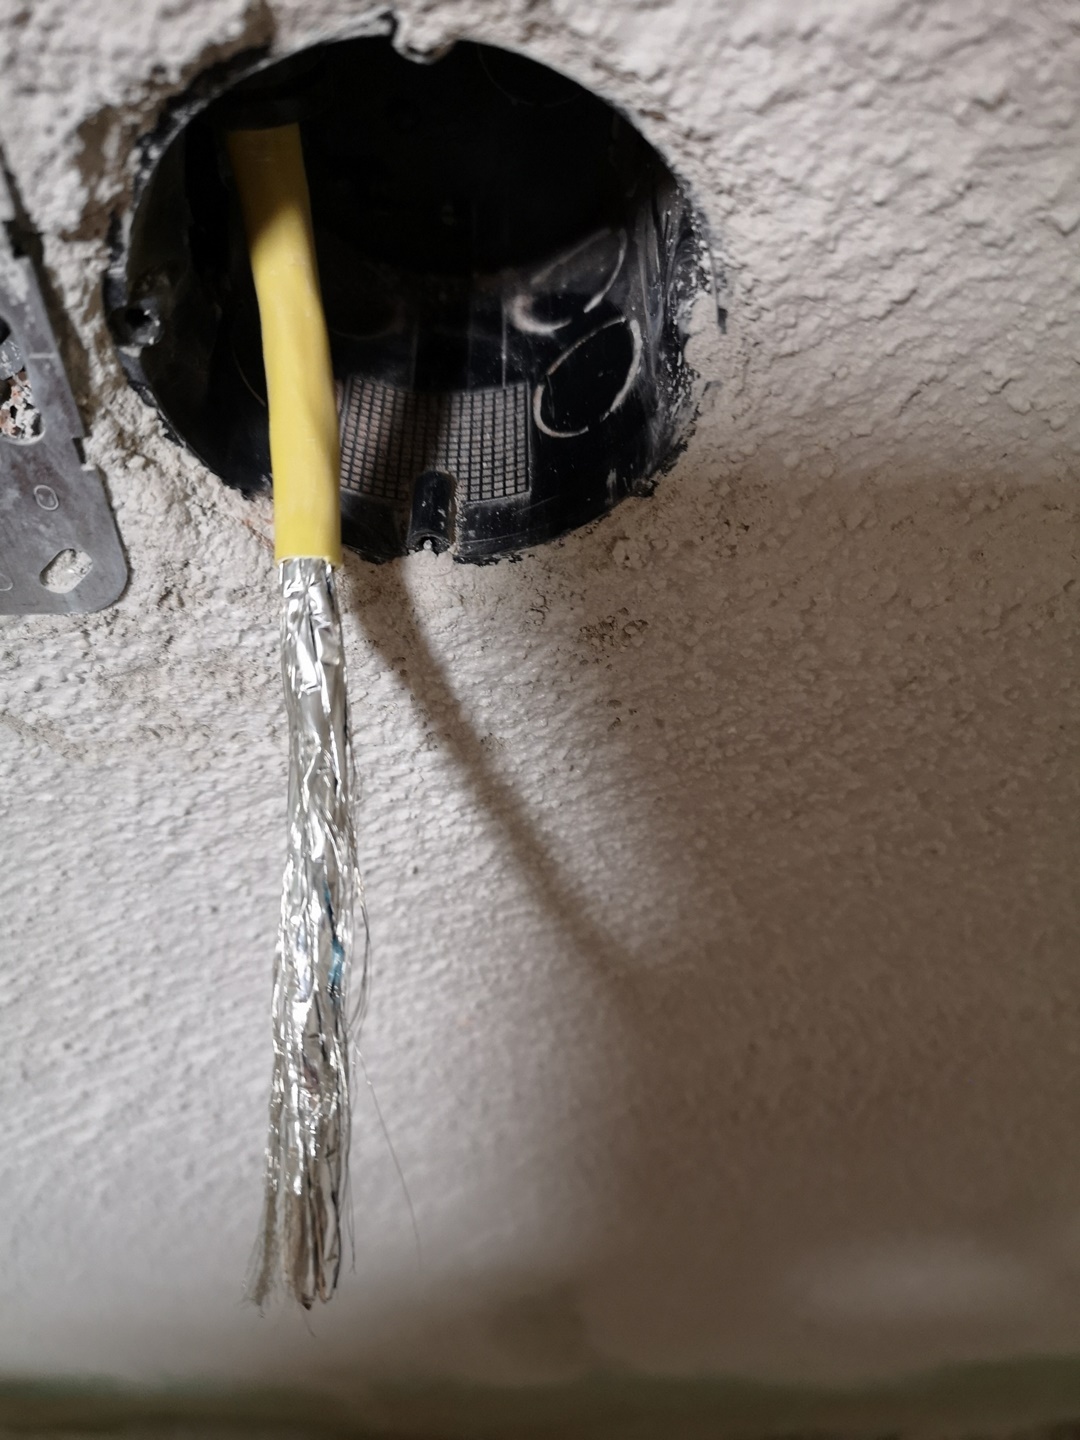
The shielding just mentioned is then carefully wrapped around the data lines:
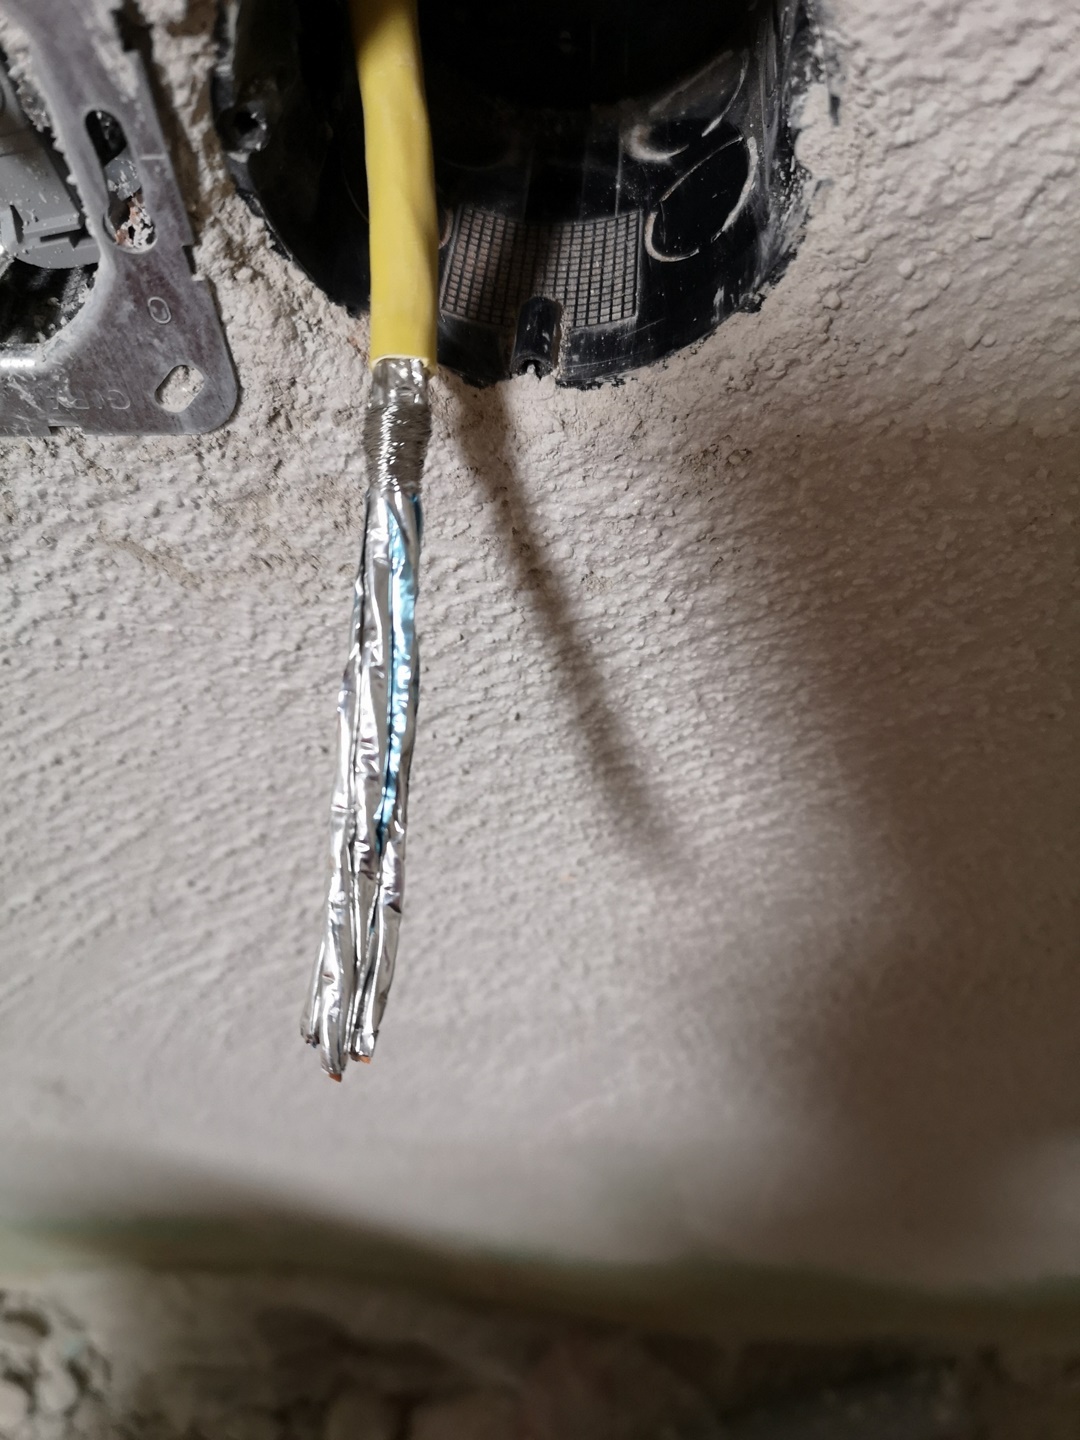
And later neatly connected to the housing under the "strain relief".
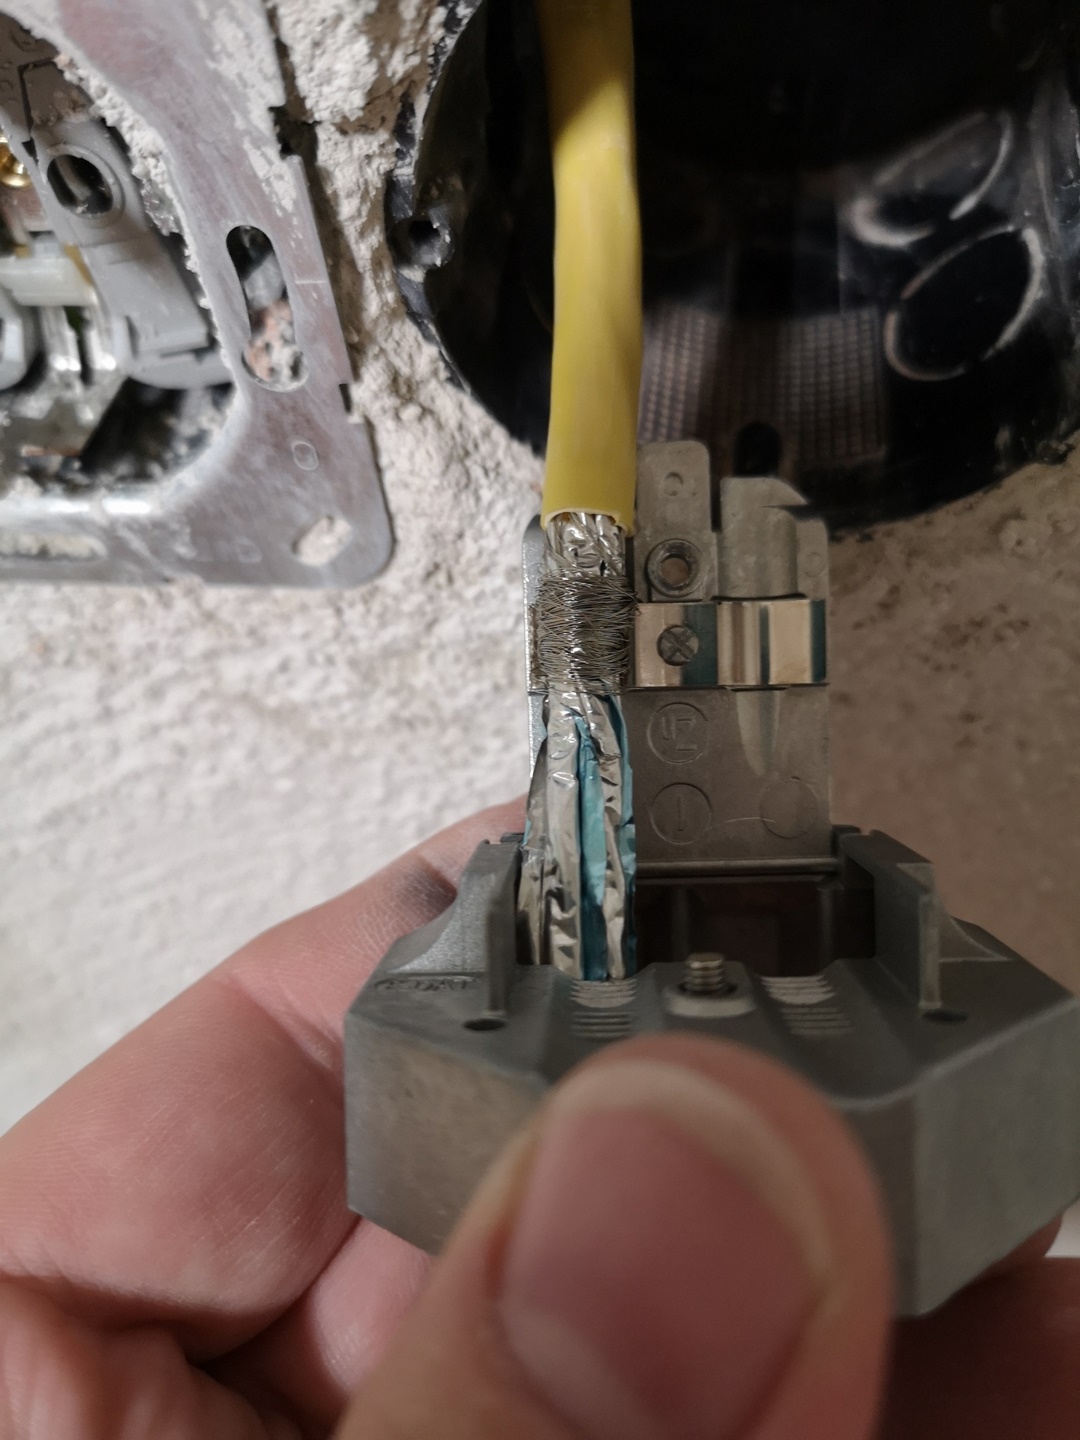
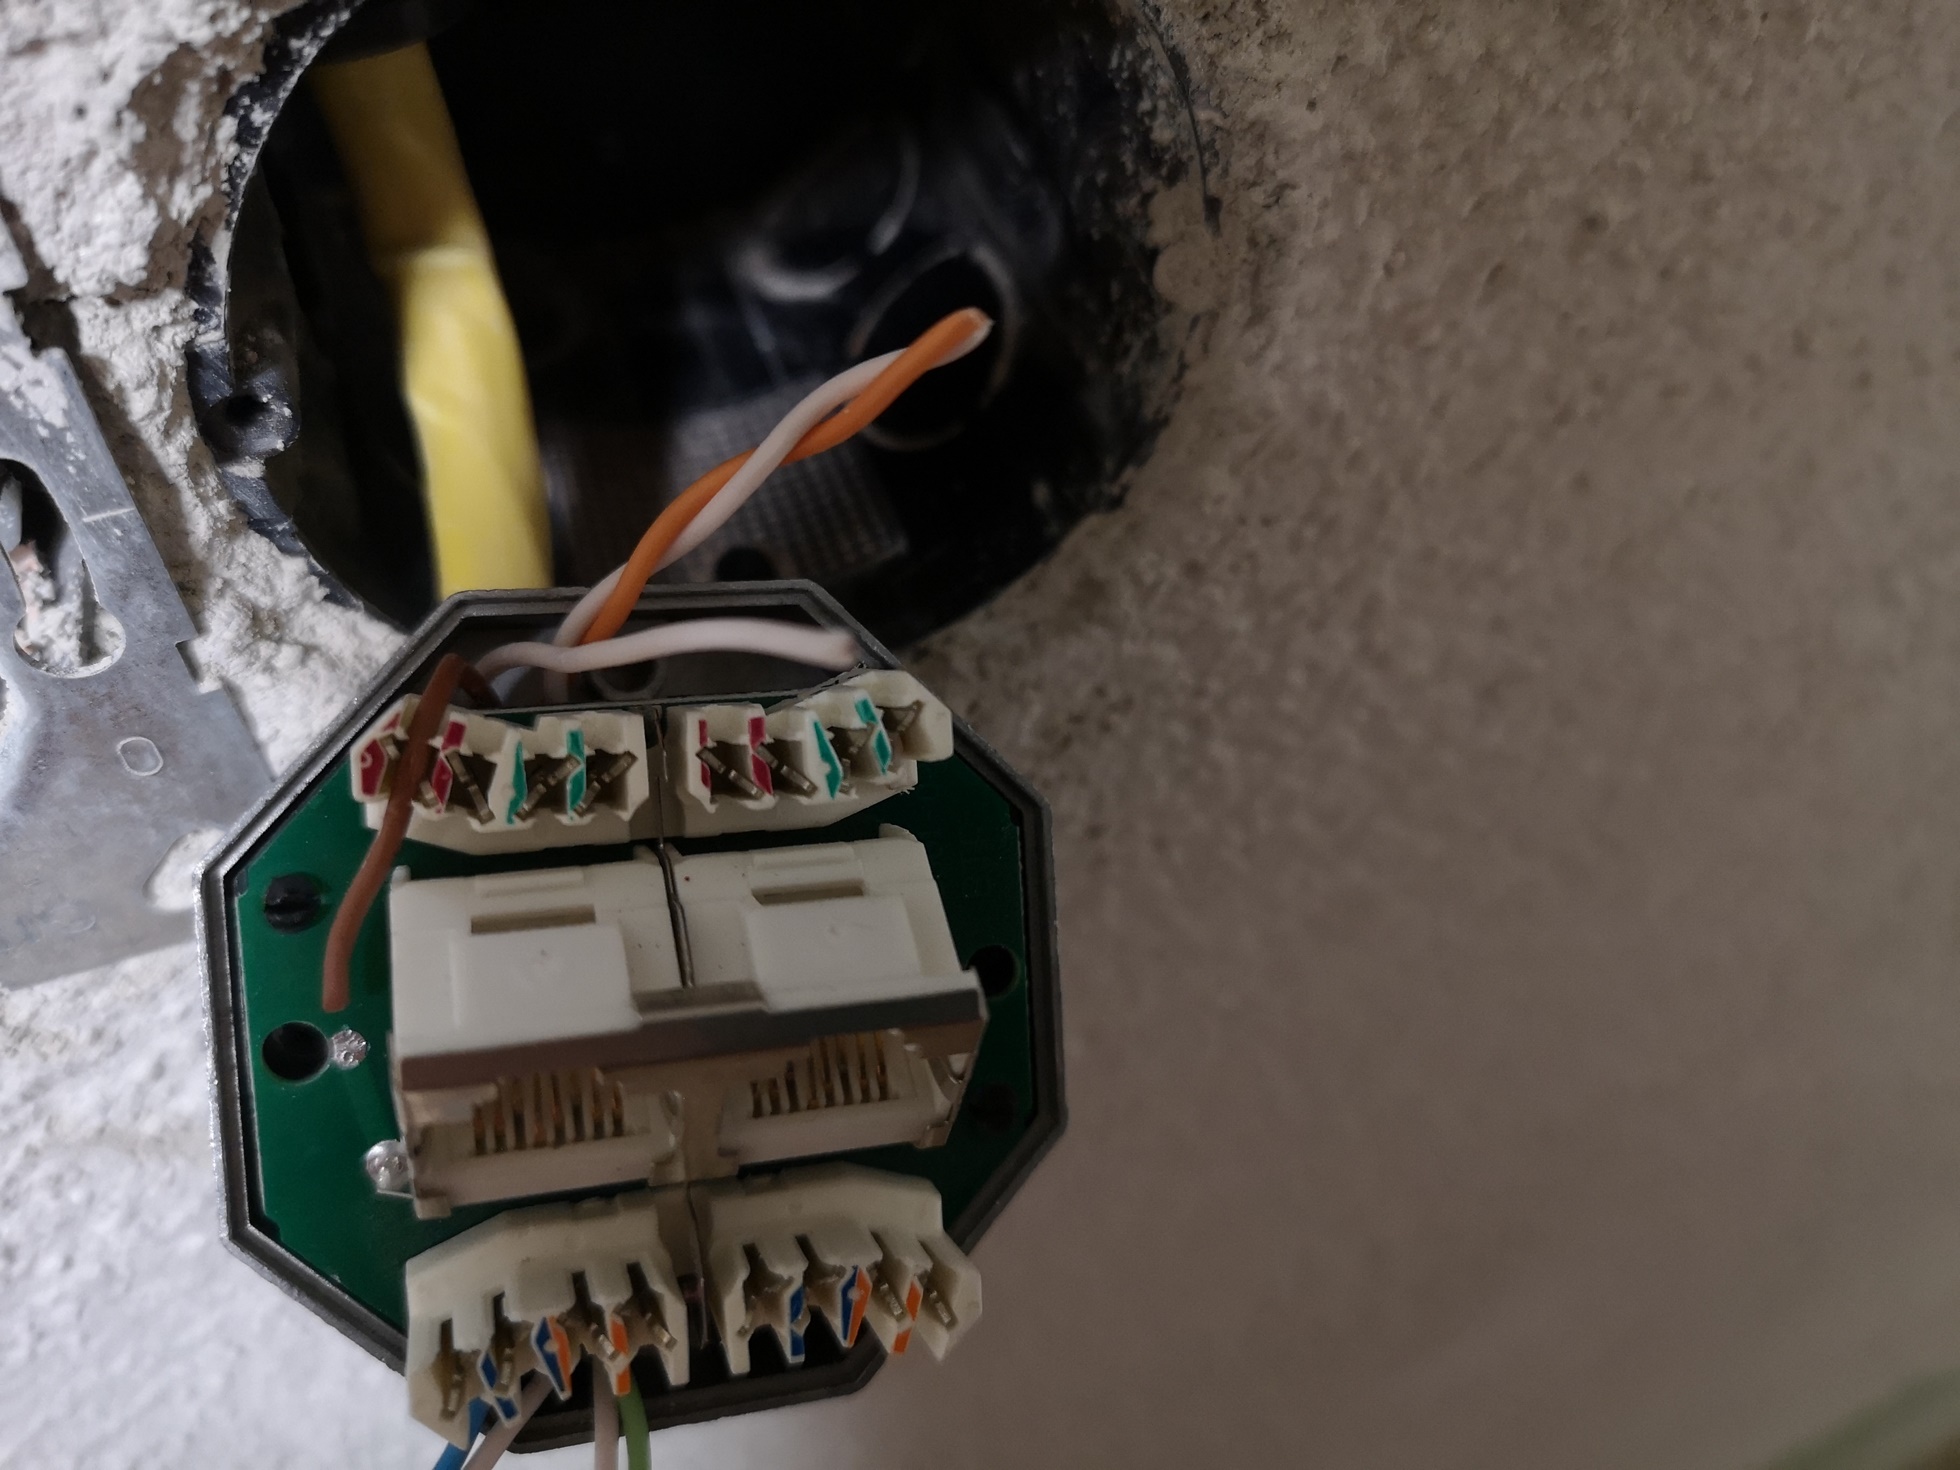
Now the pairs of wires are freed from the shielding (foil) and inserted into the box.
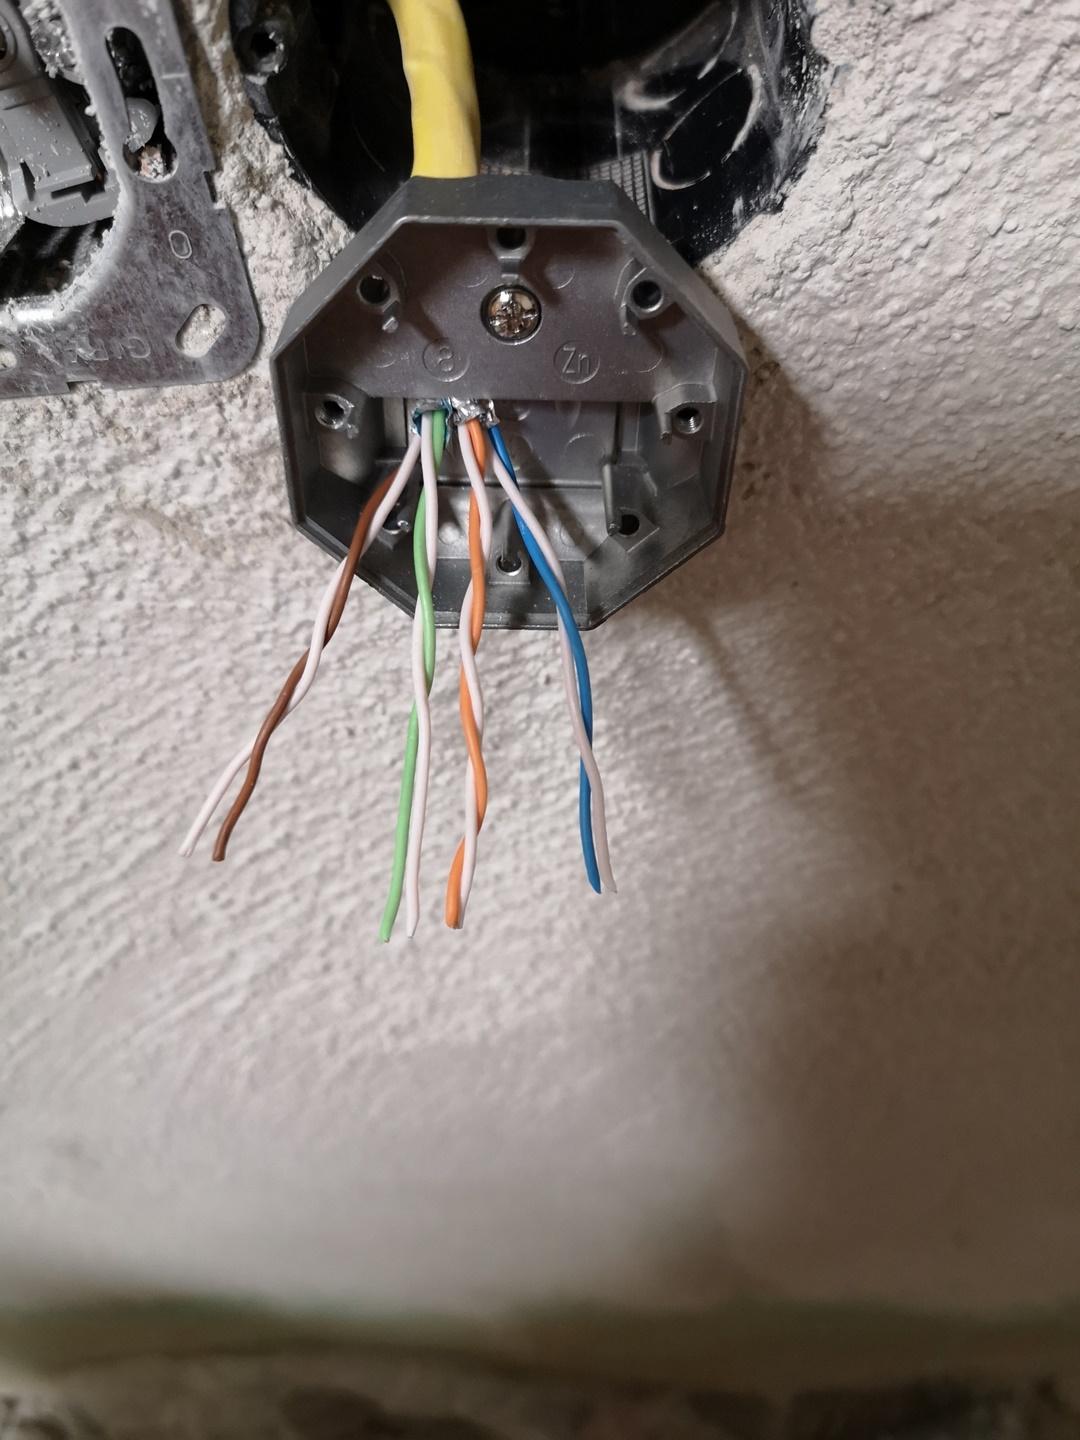
In this case, it is a duplex box, which provides two connections and where two lines are inserted accordingly.
Network sockets of this type can be placed "to A" or "to B". It doesn't really matter which variant you choose, you just have to consistently select the same variant everywhere in the house. If you would like to read about this in more detail, you can start with the Wikipedia article, for example. I chose variant B because the wire pairs in the first cable were the most favorable for this.

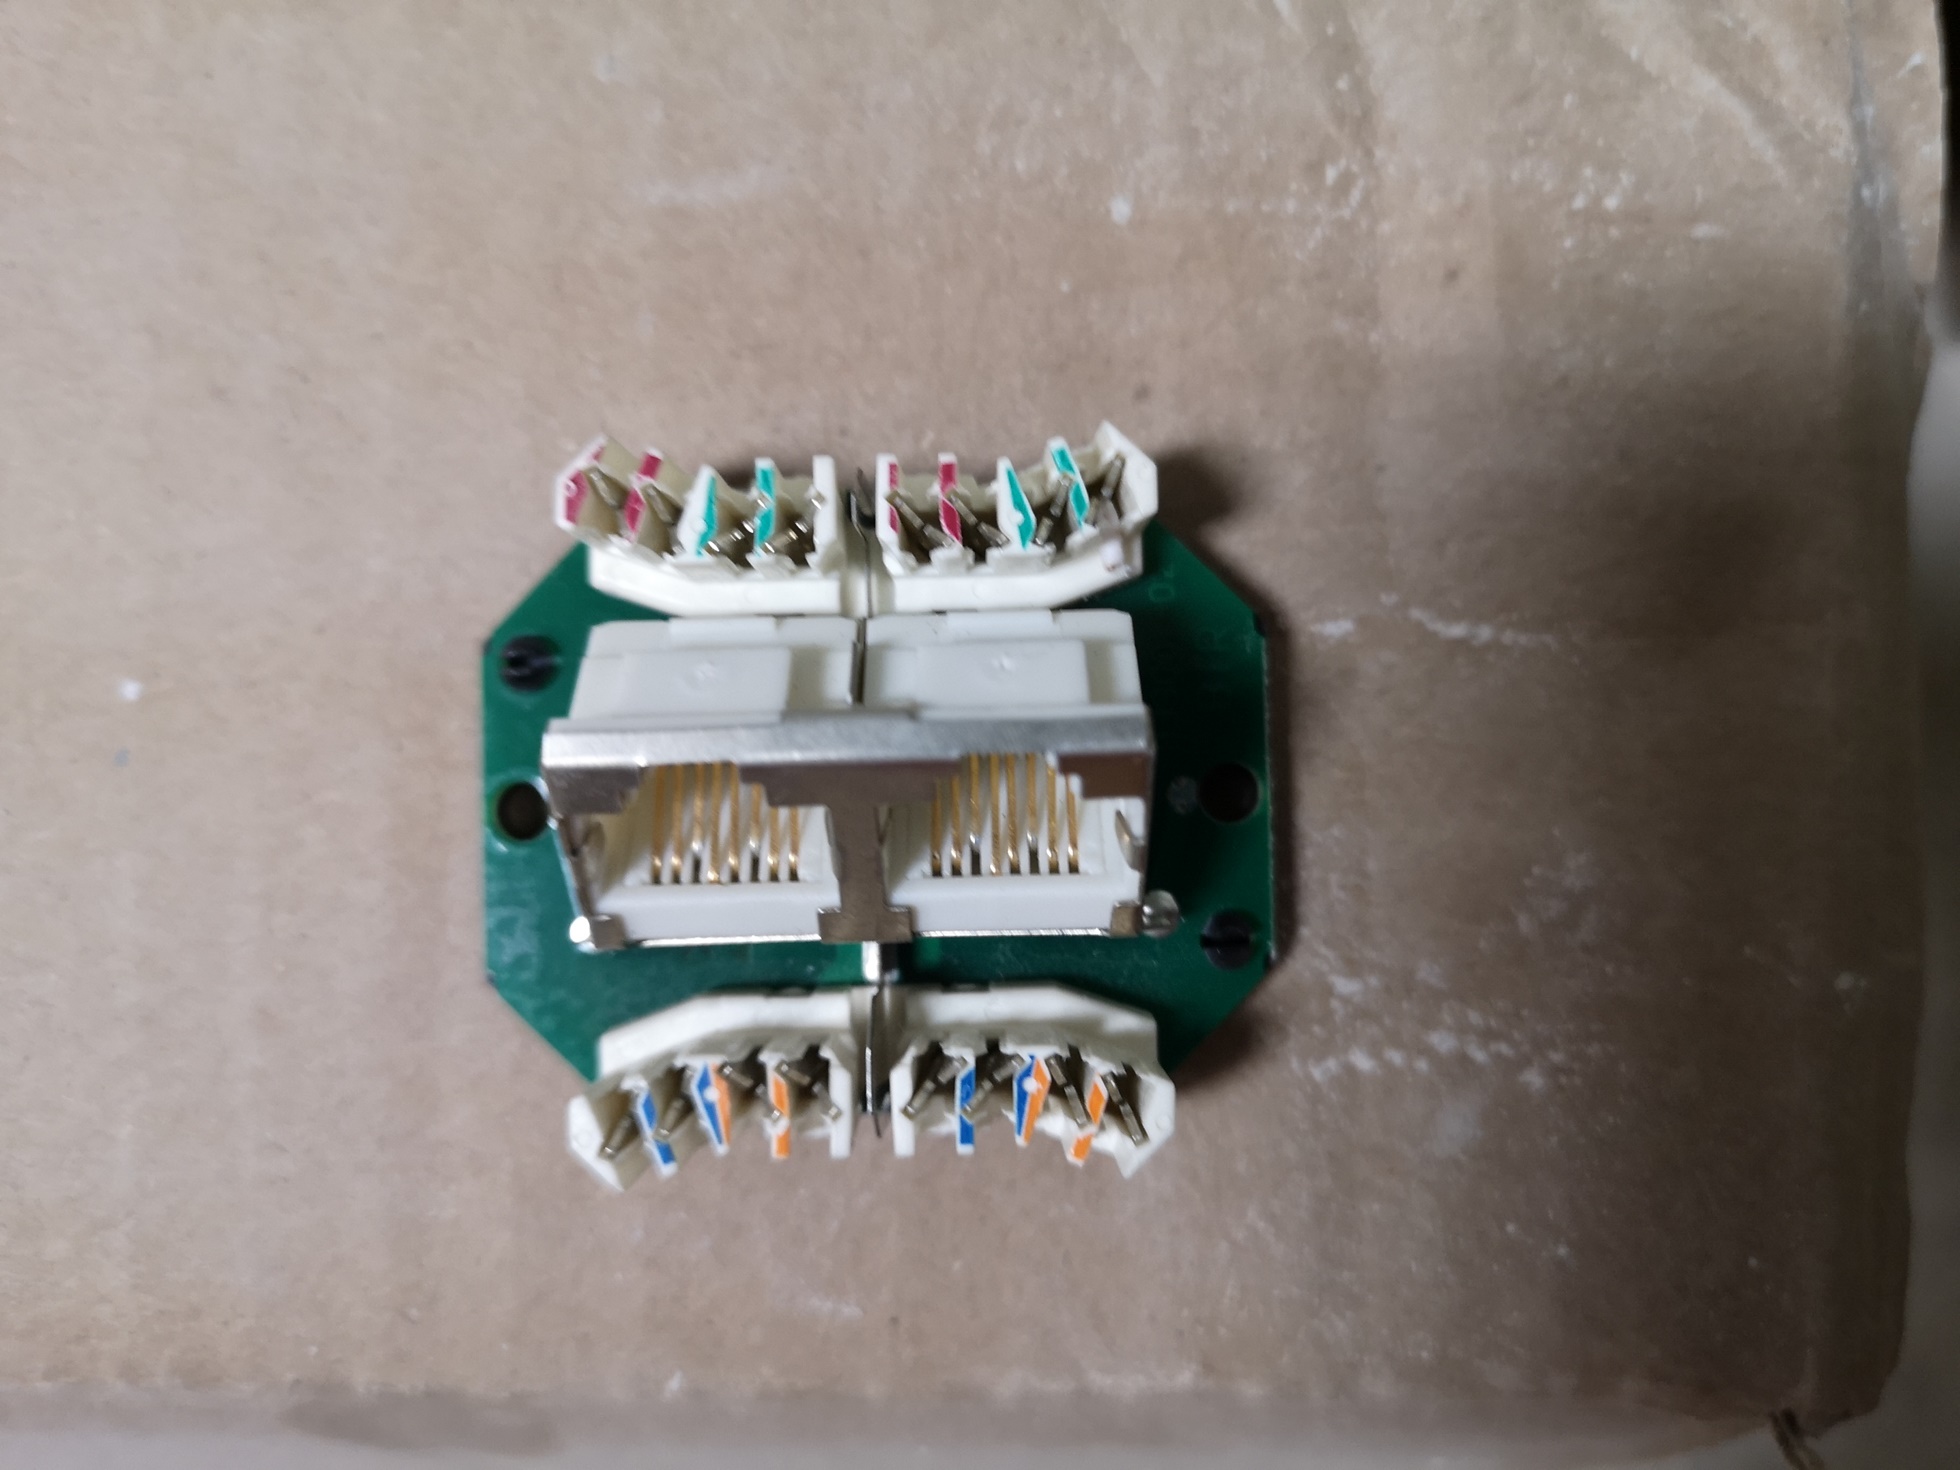
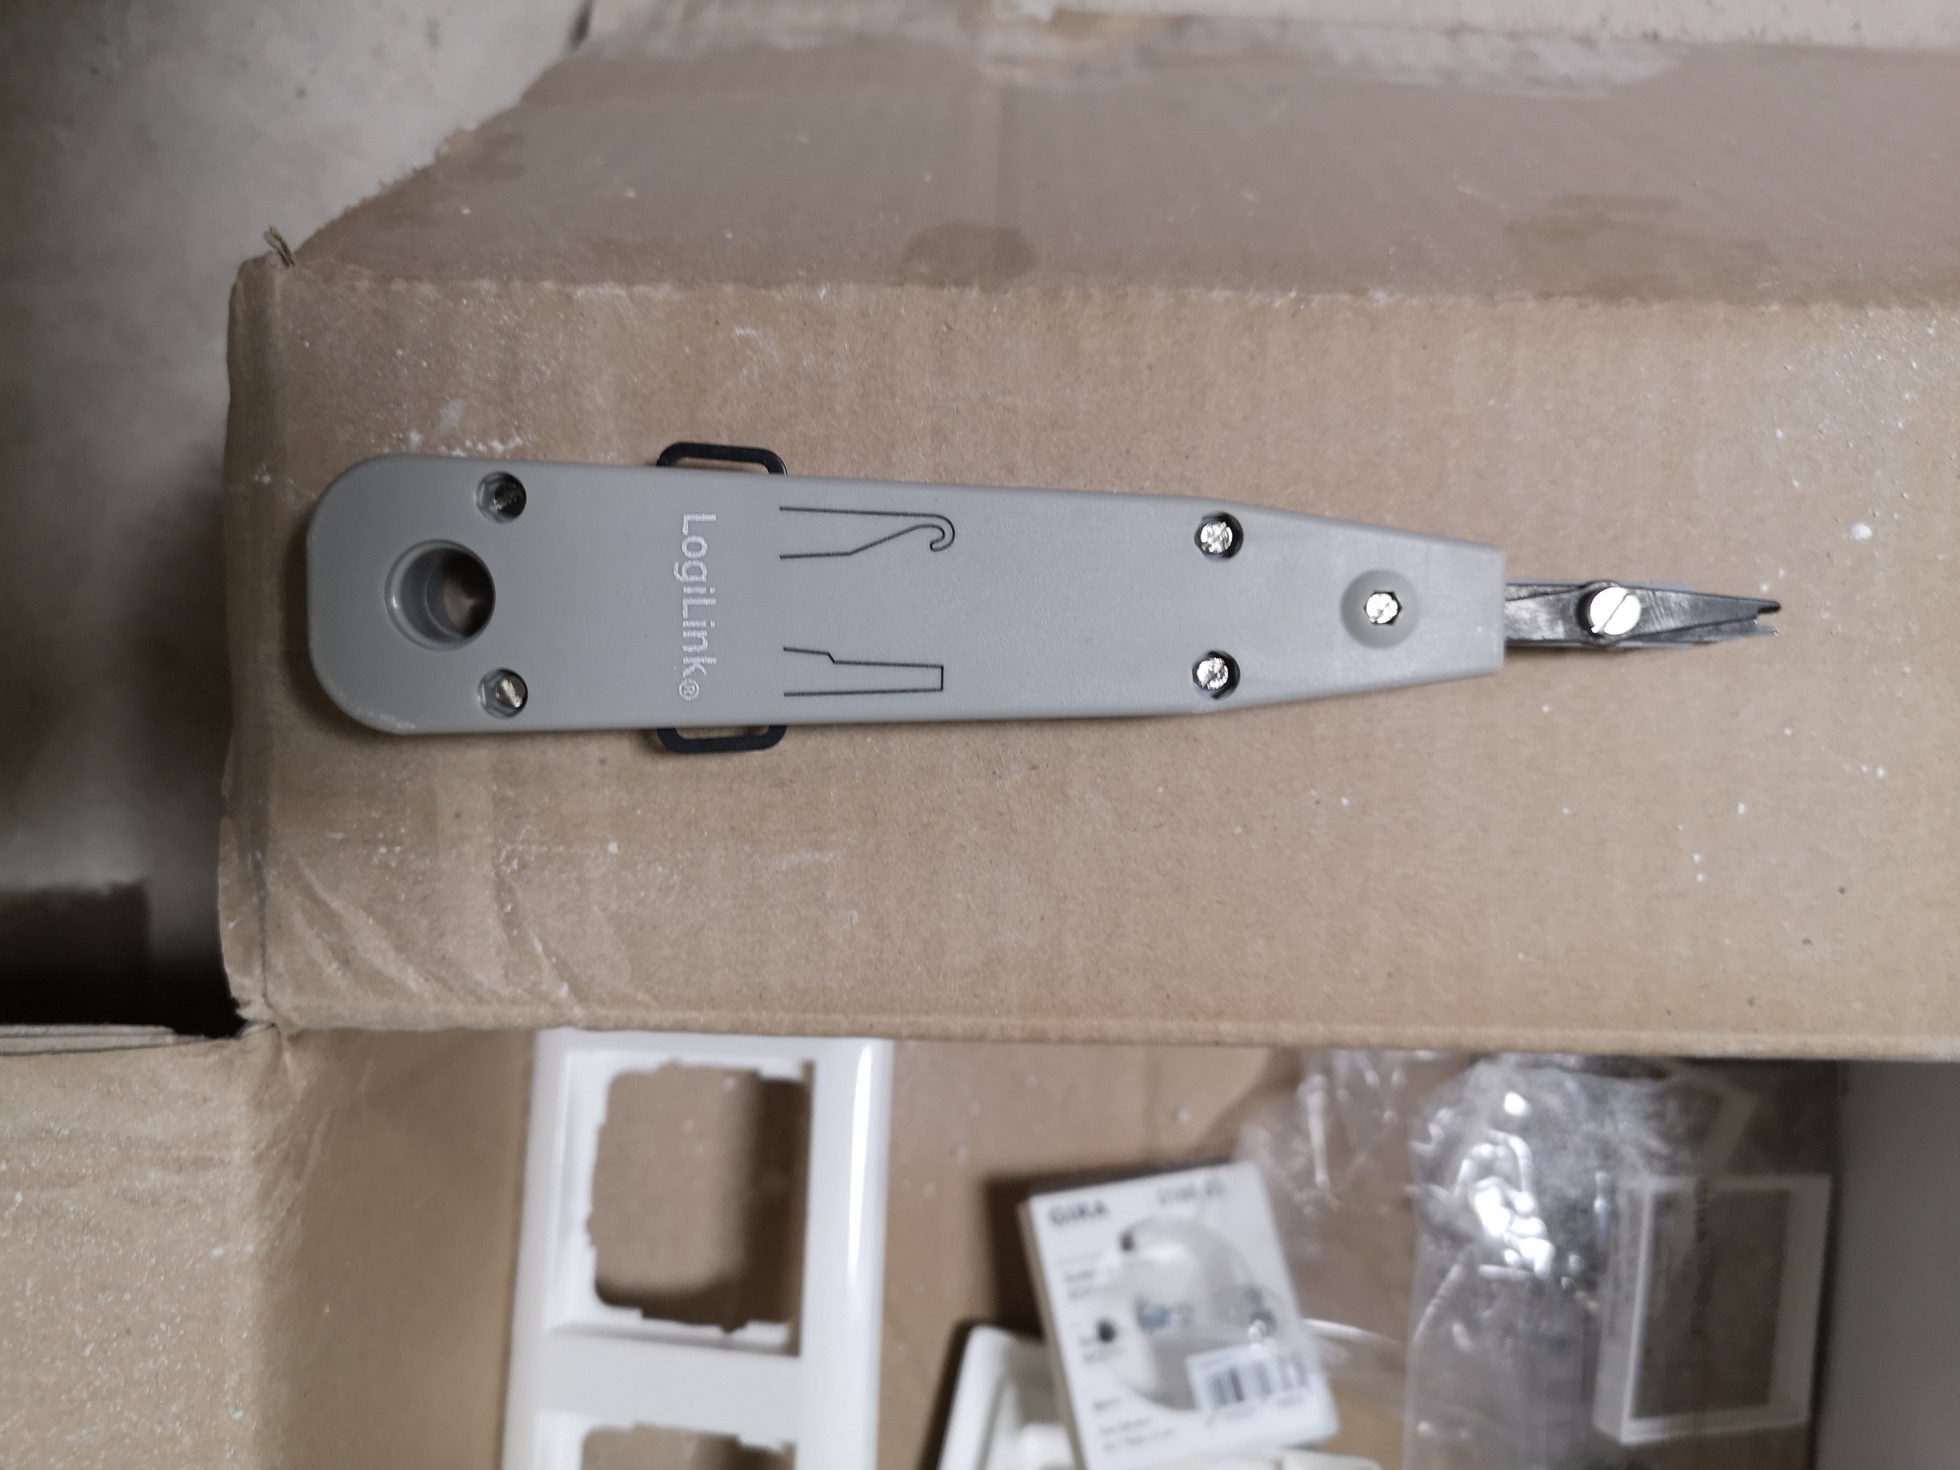
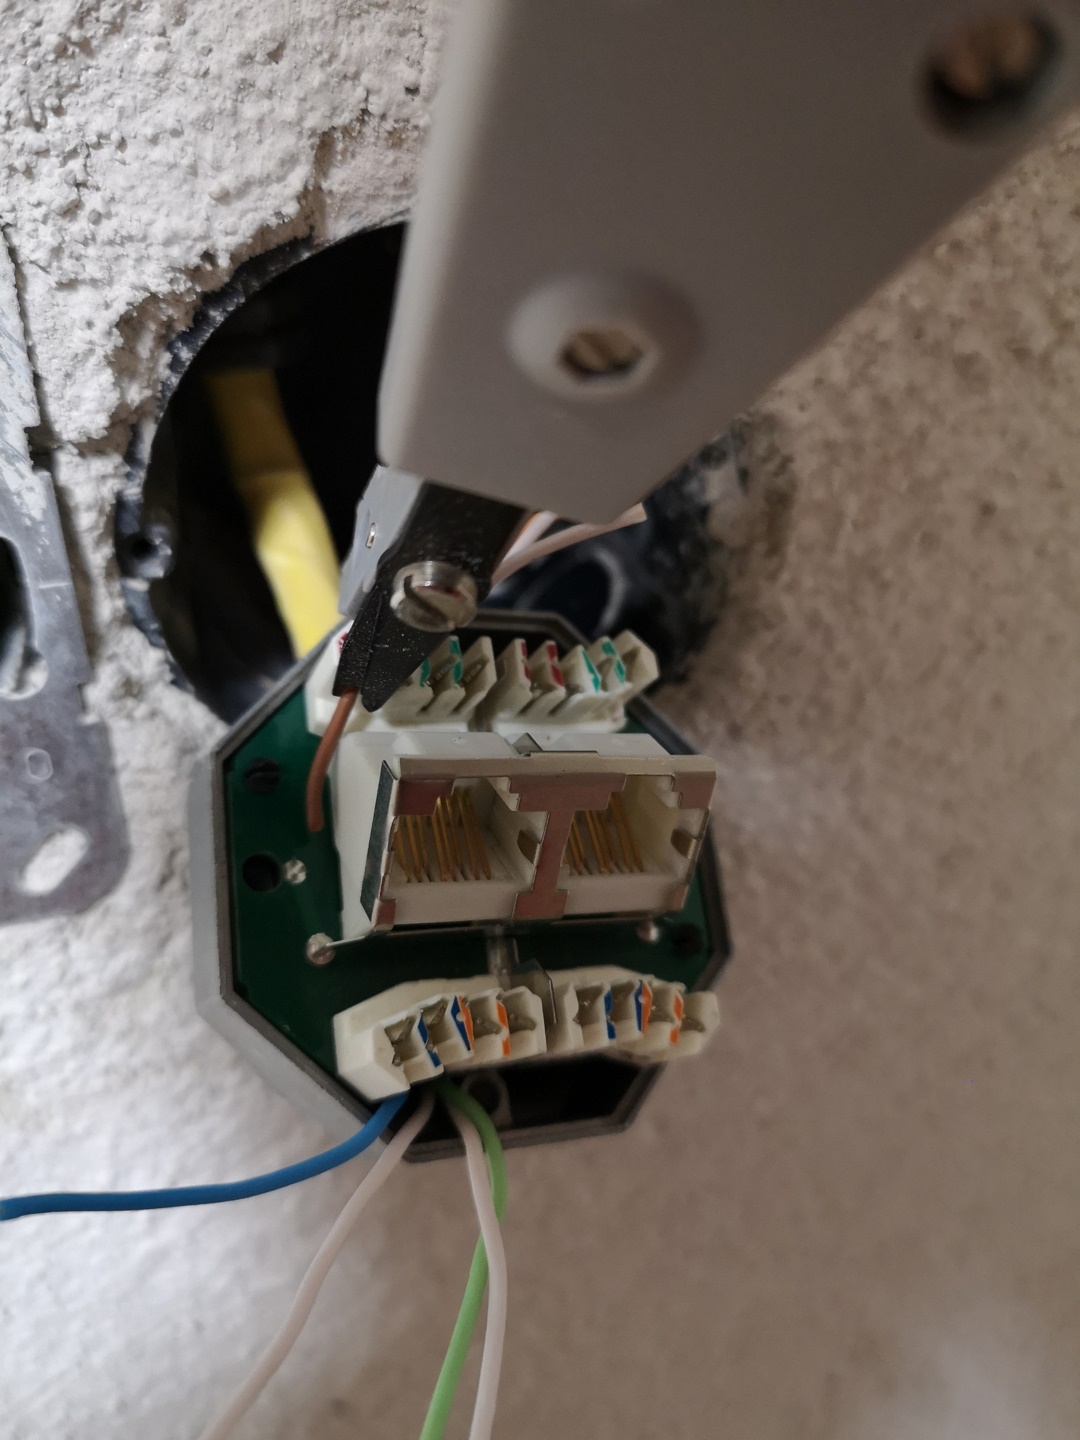
the individual cores are then "laid on" with a "laying tool". This presses the thin cables into the corresponding contacts and cuts off the protruding cable residue at the same time.
In the example, we put on the brown cable. For this purpose, the cable is placed on the contact:
The lay-on tool is applied and pressed firmly into the contact:
If we have done everything correctly, the protrusion is cut off and the cable is pressed firmly into the contact.
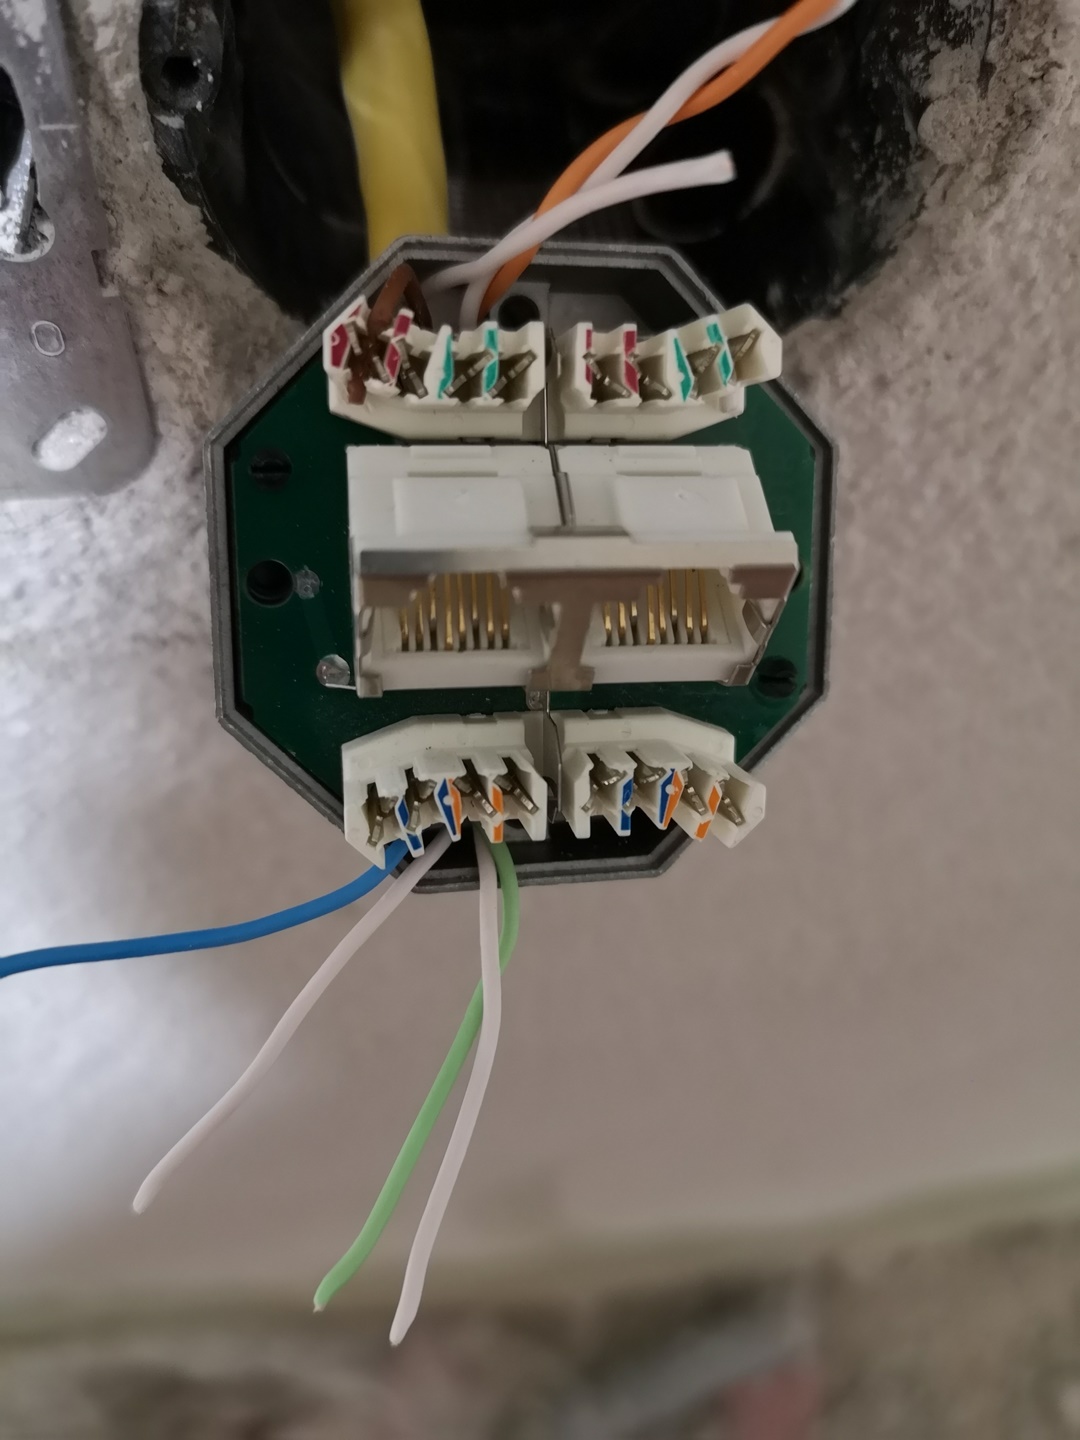
We repeat this until all eight wires have connection:
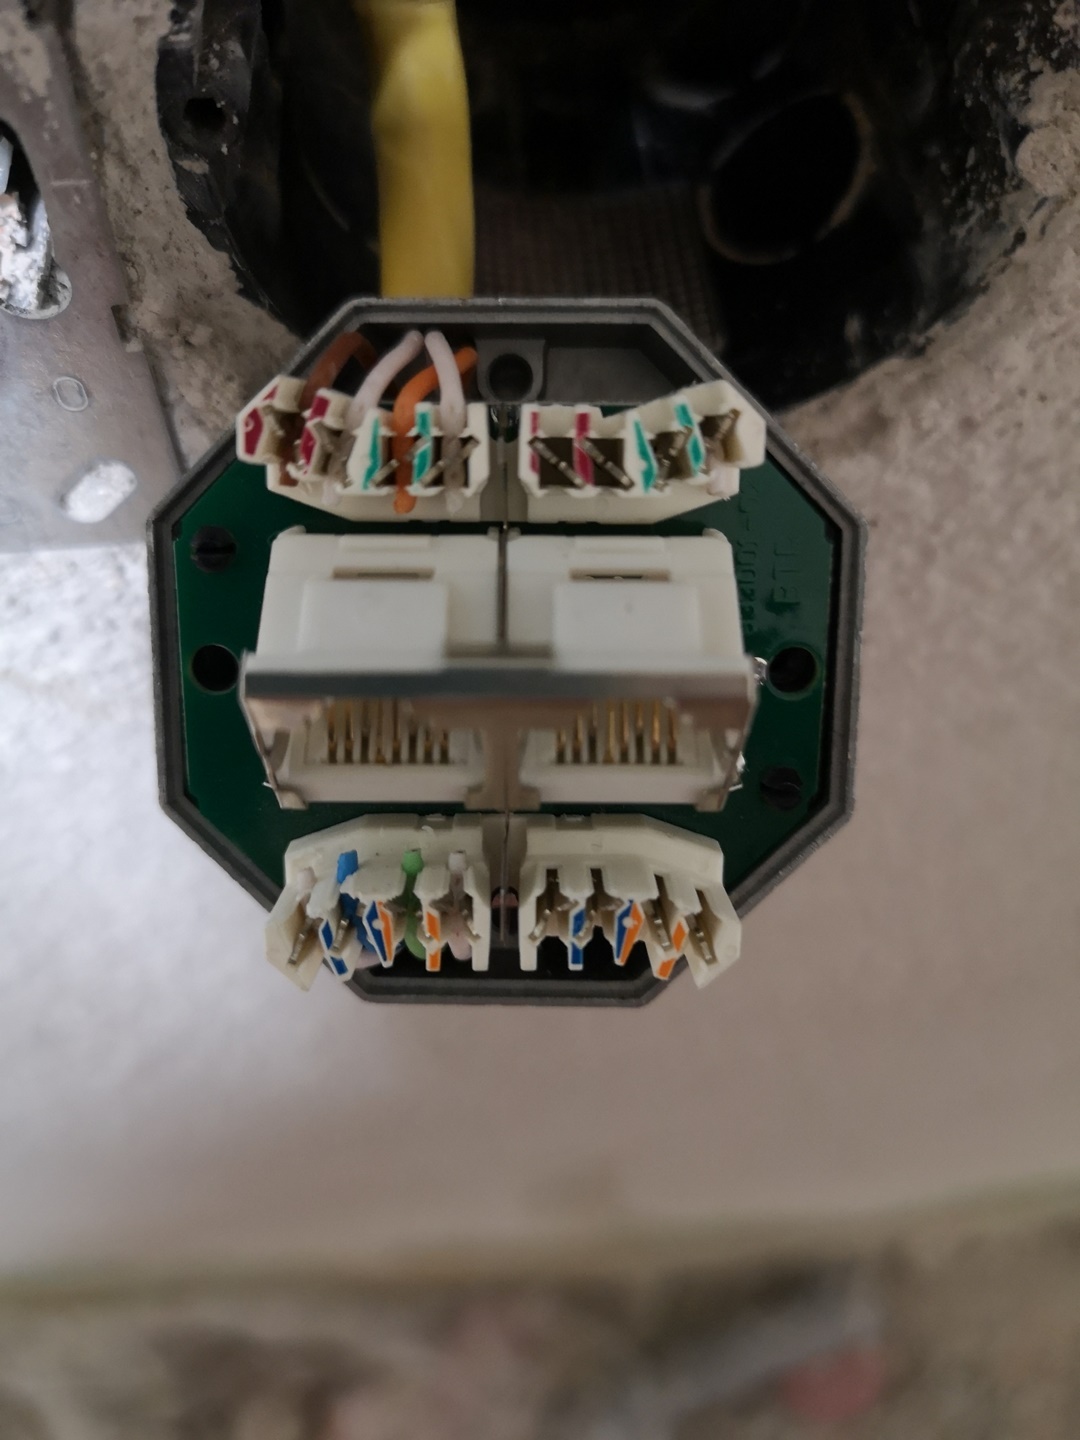
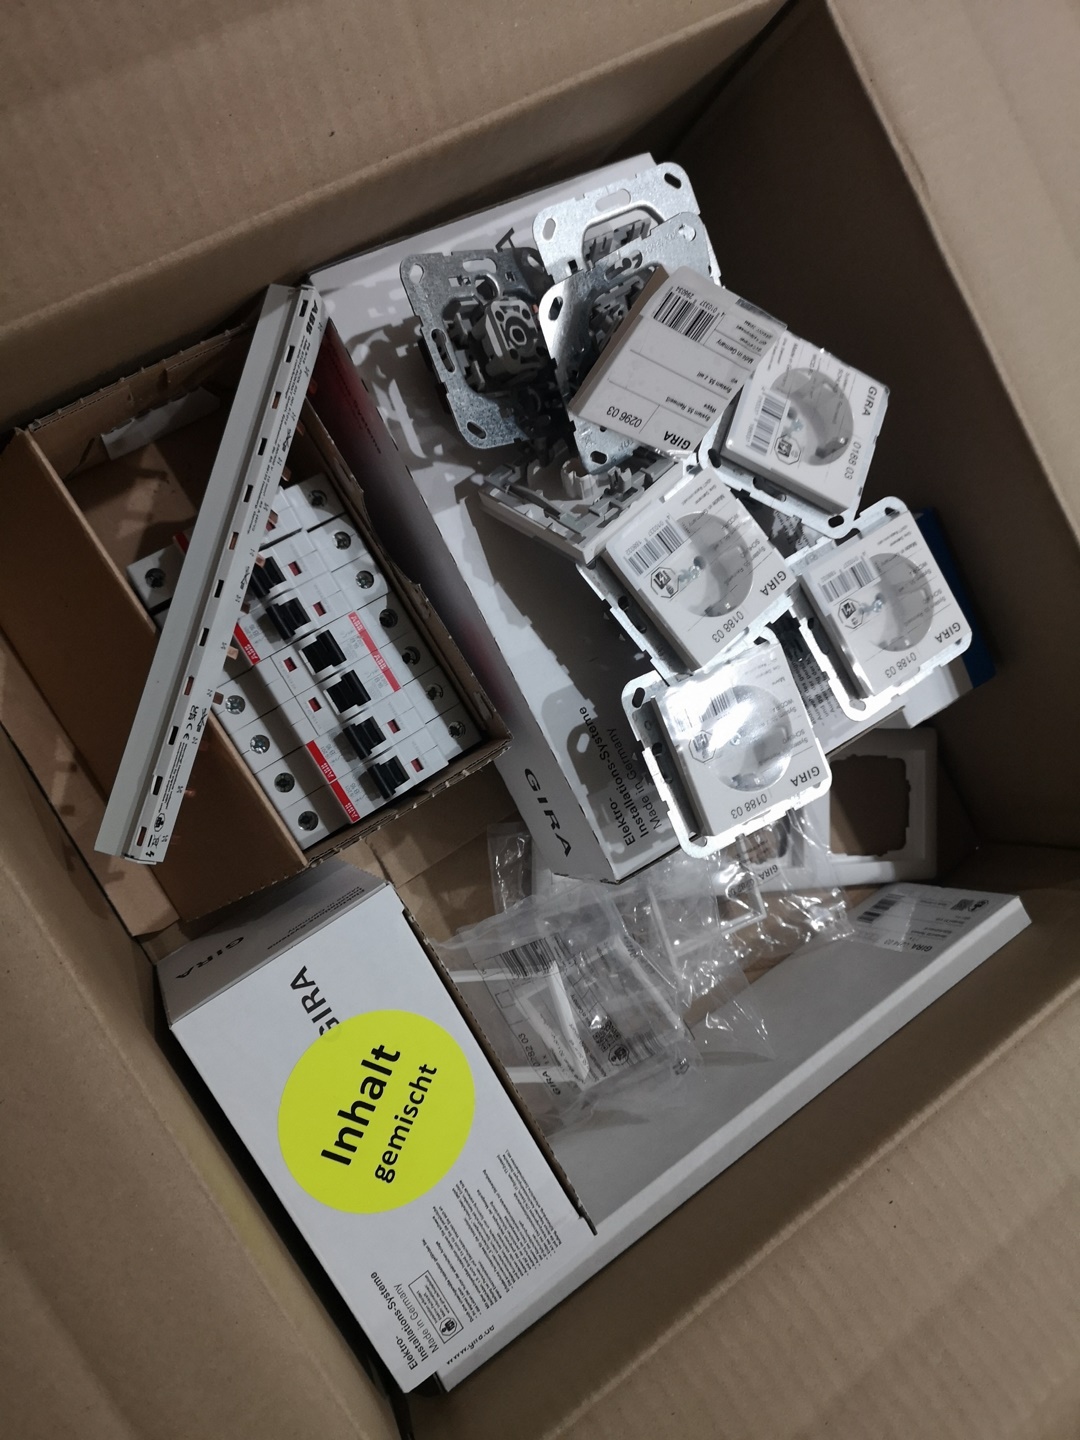
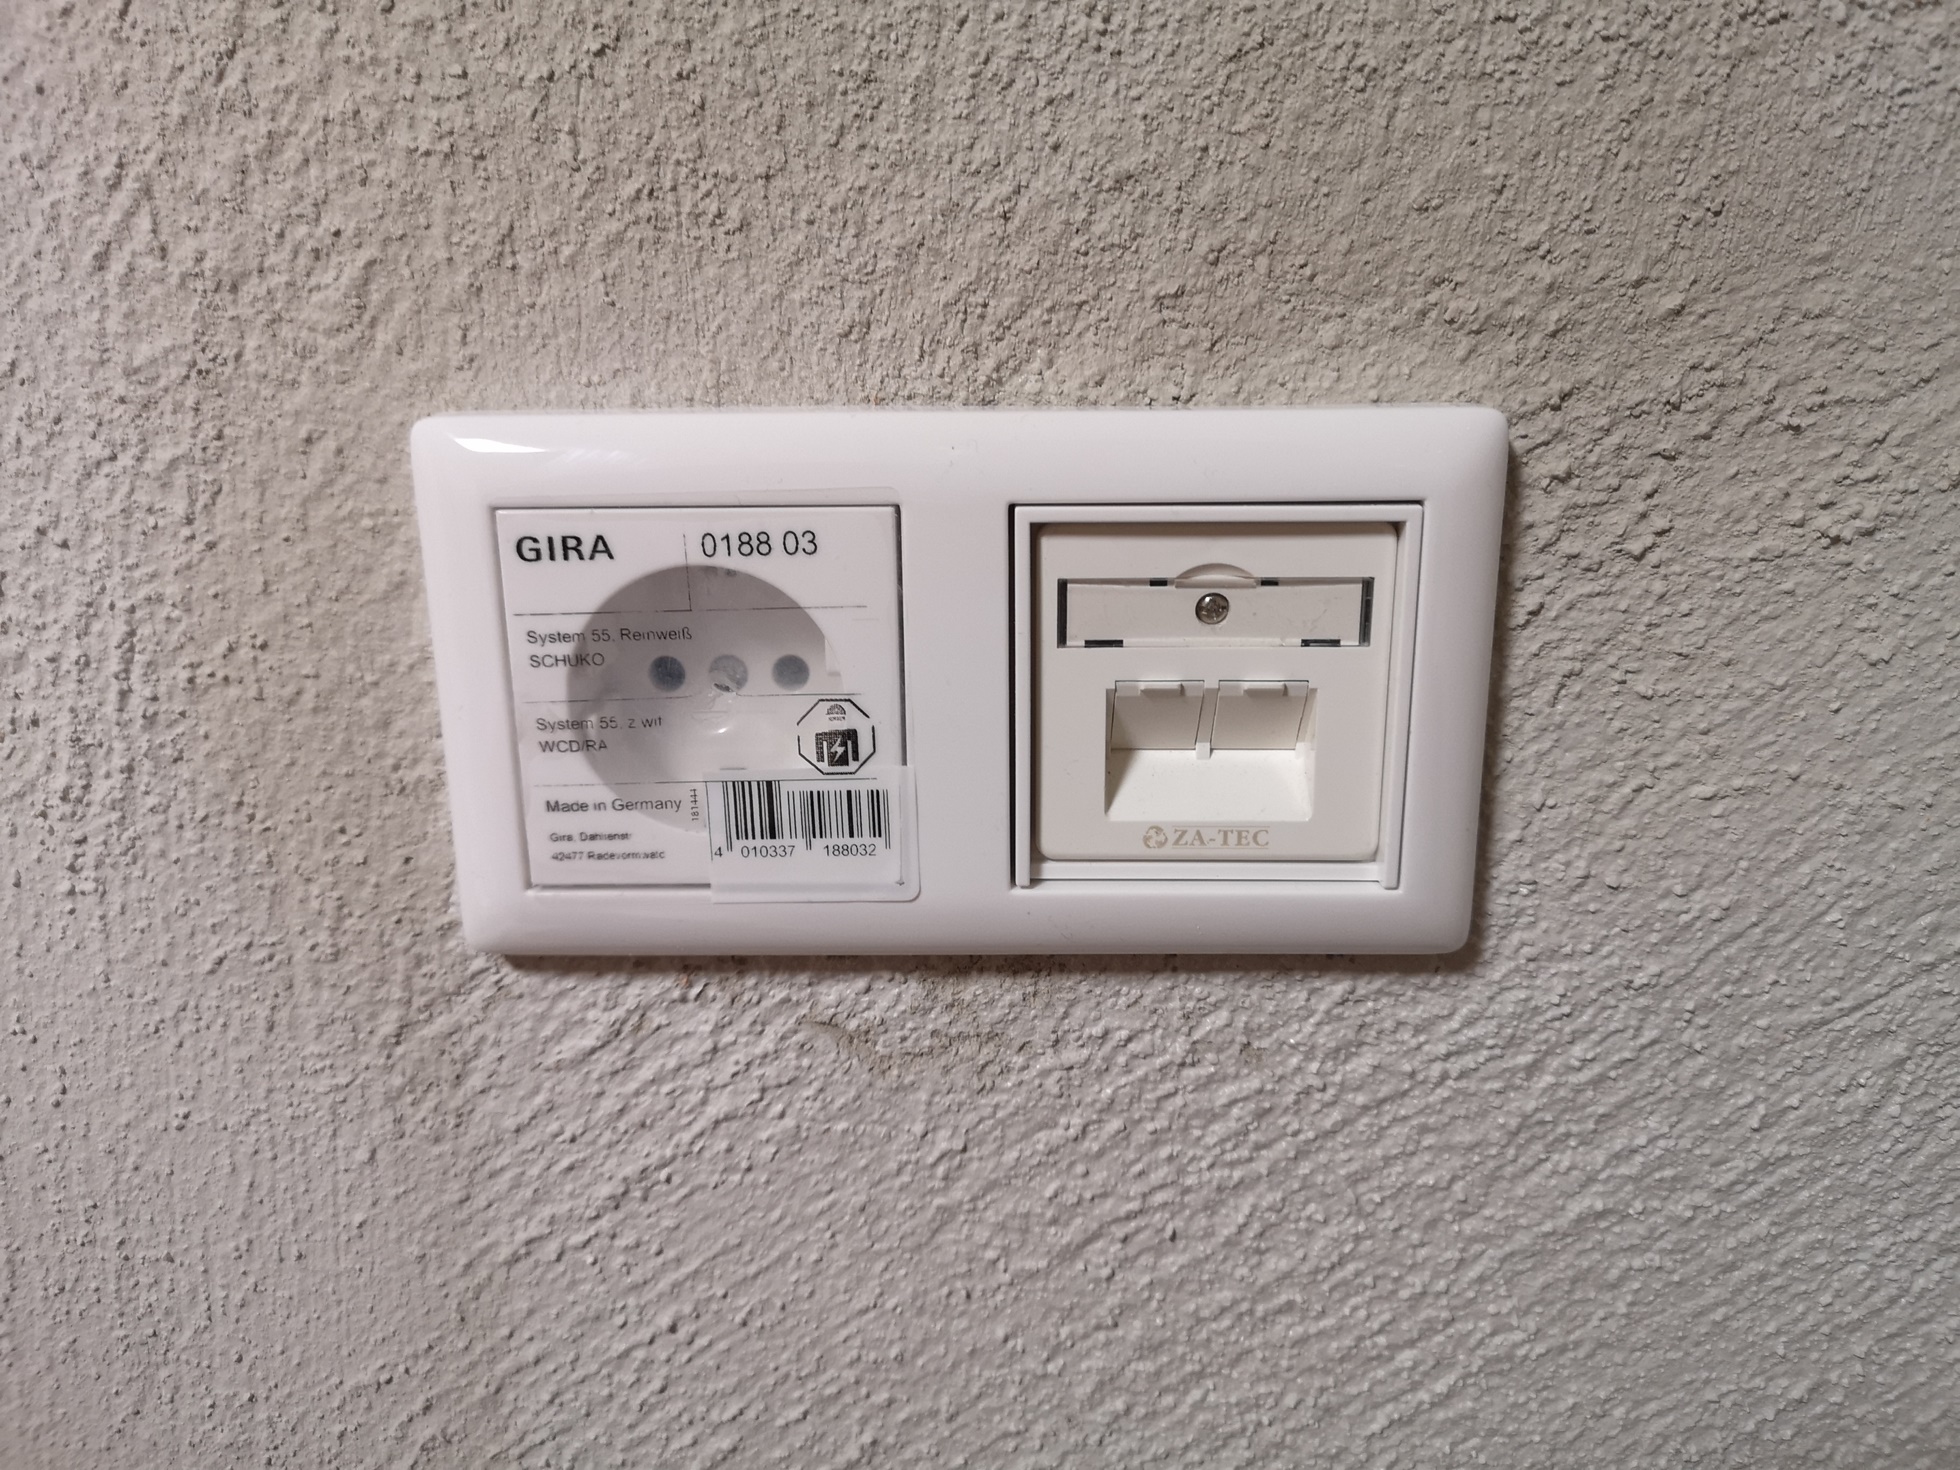
At the end, the box is inserted and the cover frame is mounted. I use for switches and sockets exclusively GIRA, but had gotten from remaining stocks so cheap sockets and adapter frames from ZA-TEC, that I can live here under the desk also times with such a solution.
In front of the door
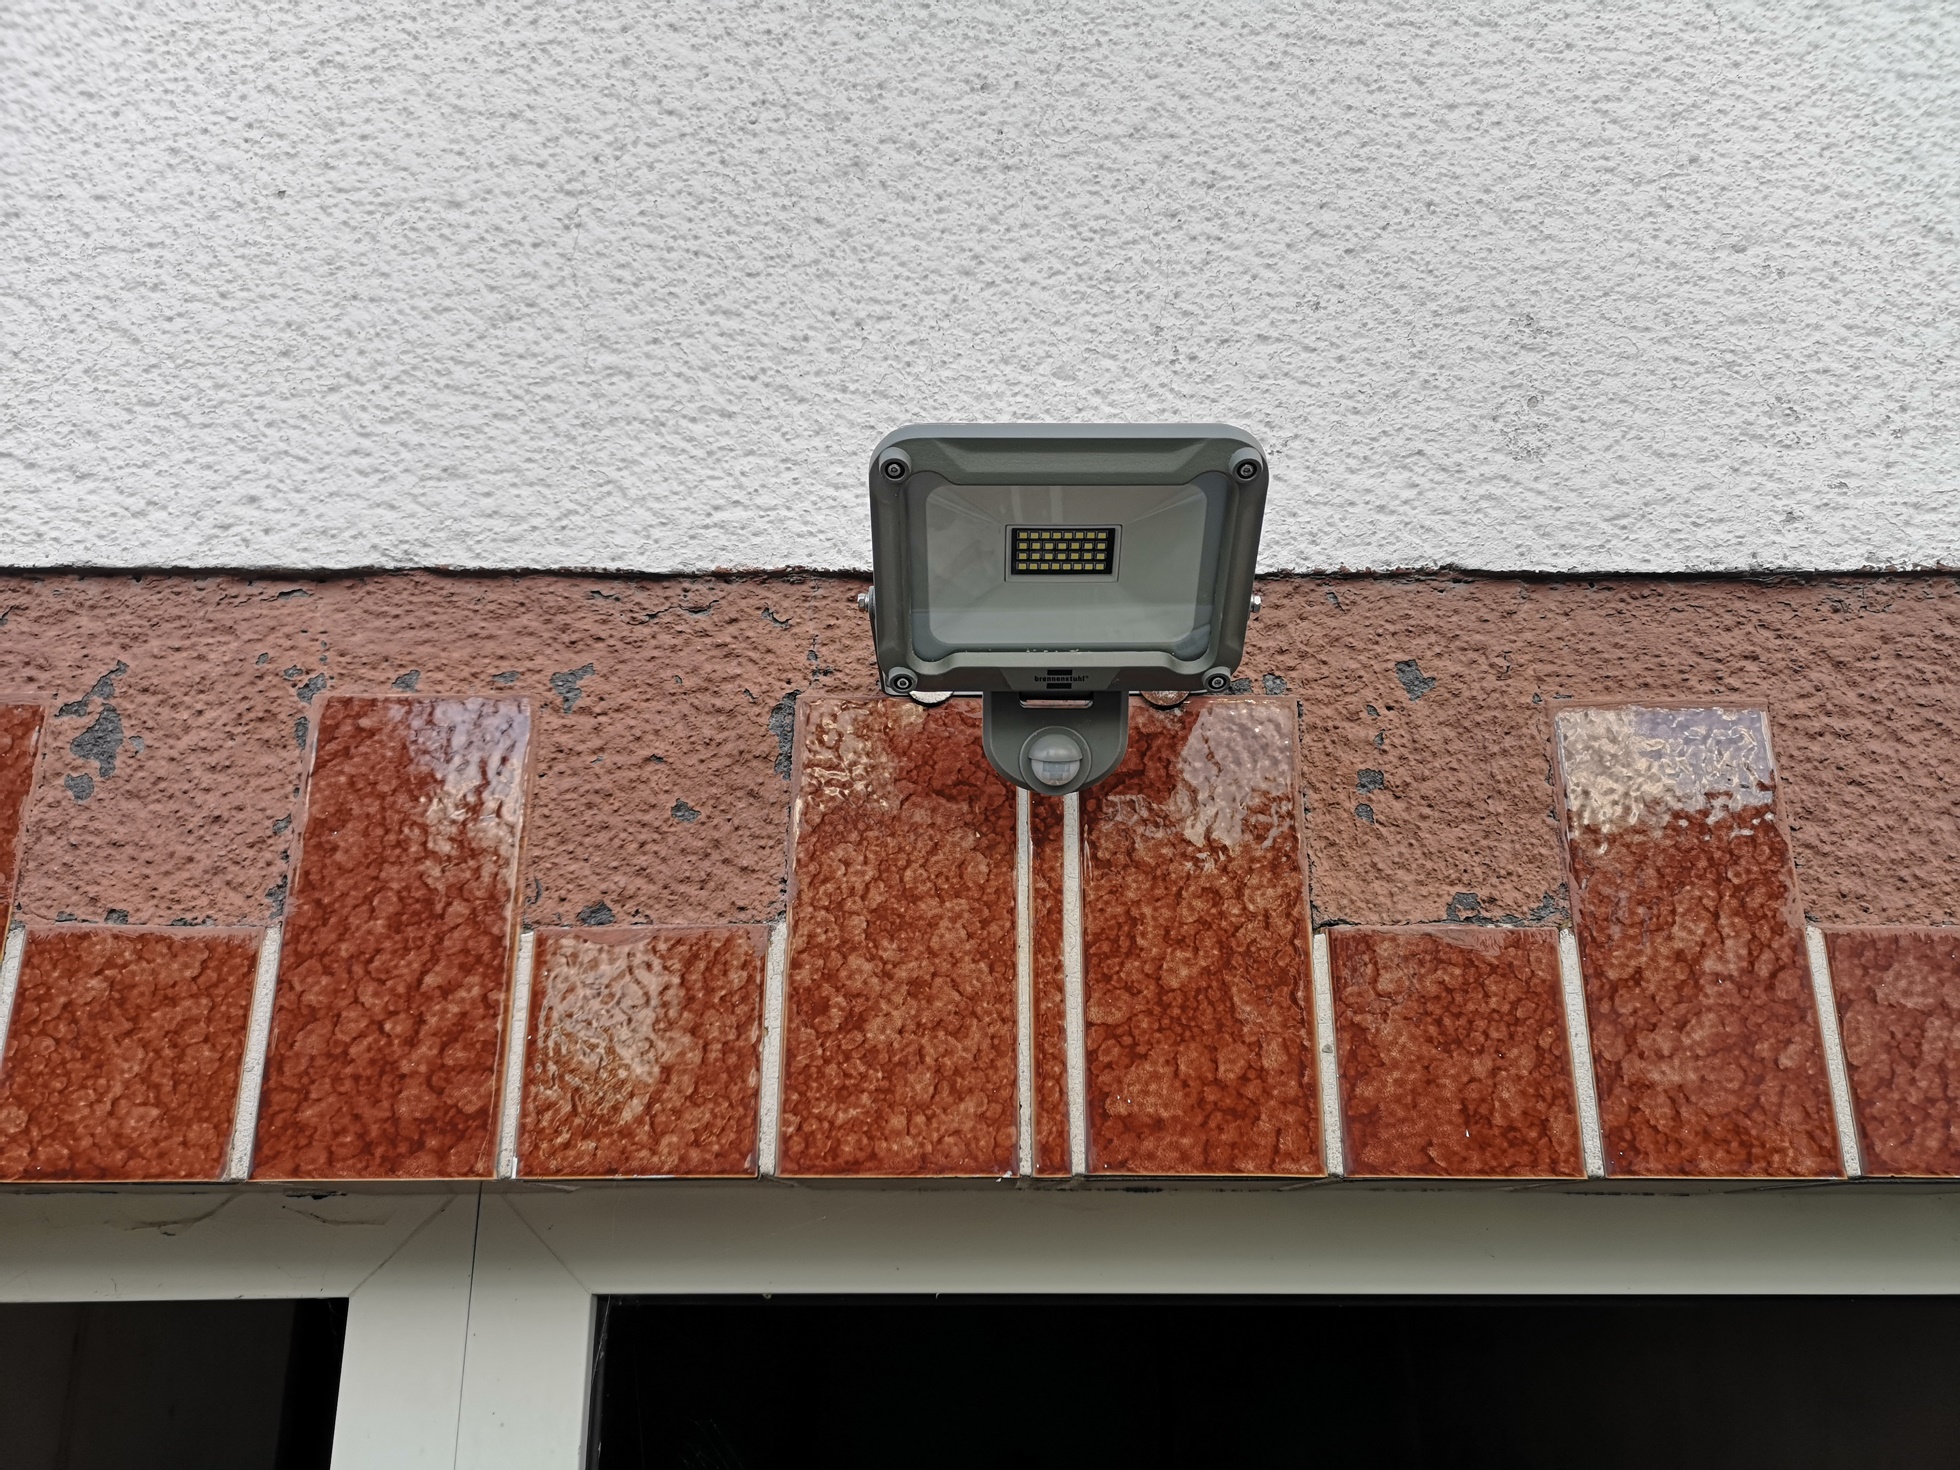
Since I have direct access to the outside from the office, I mounted an LED spotlight with motion detector in the outdoor area.
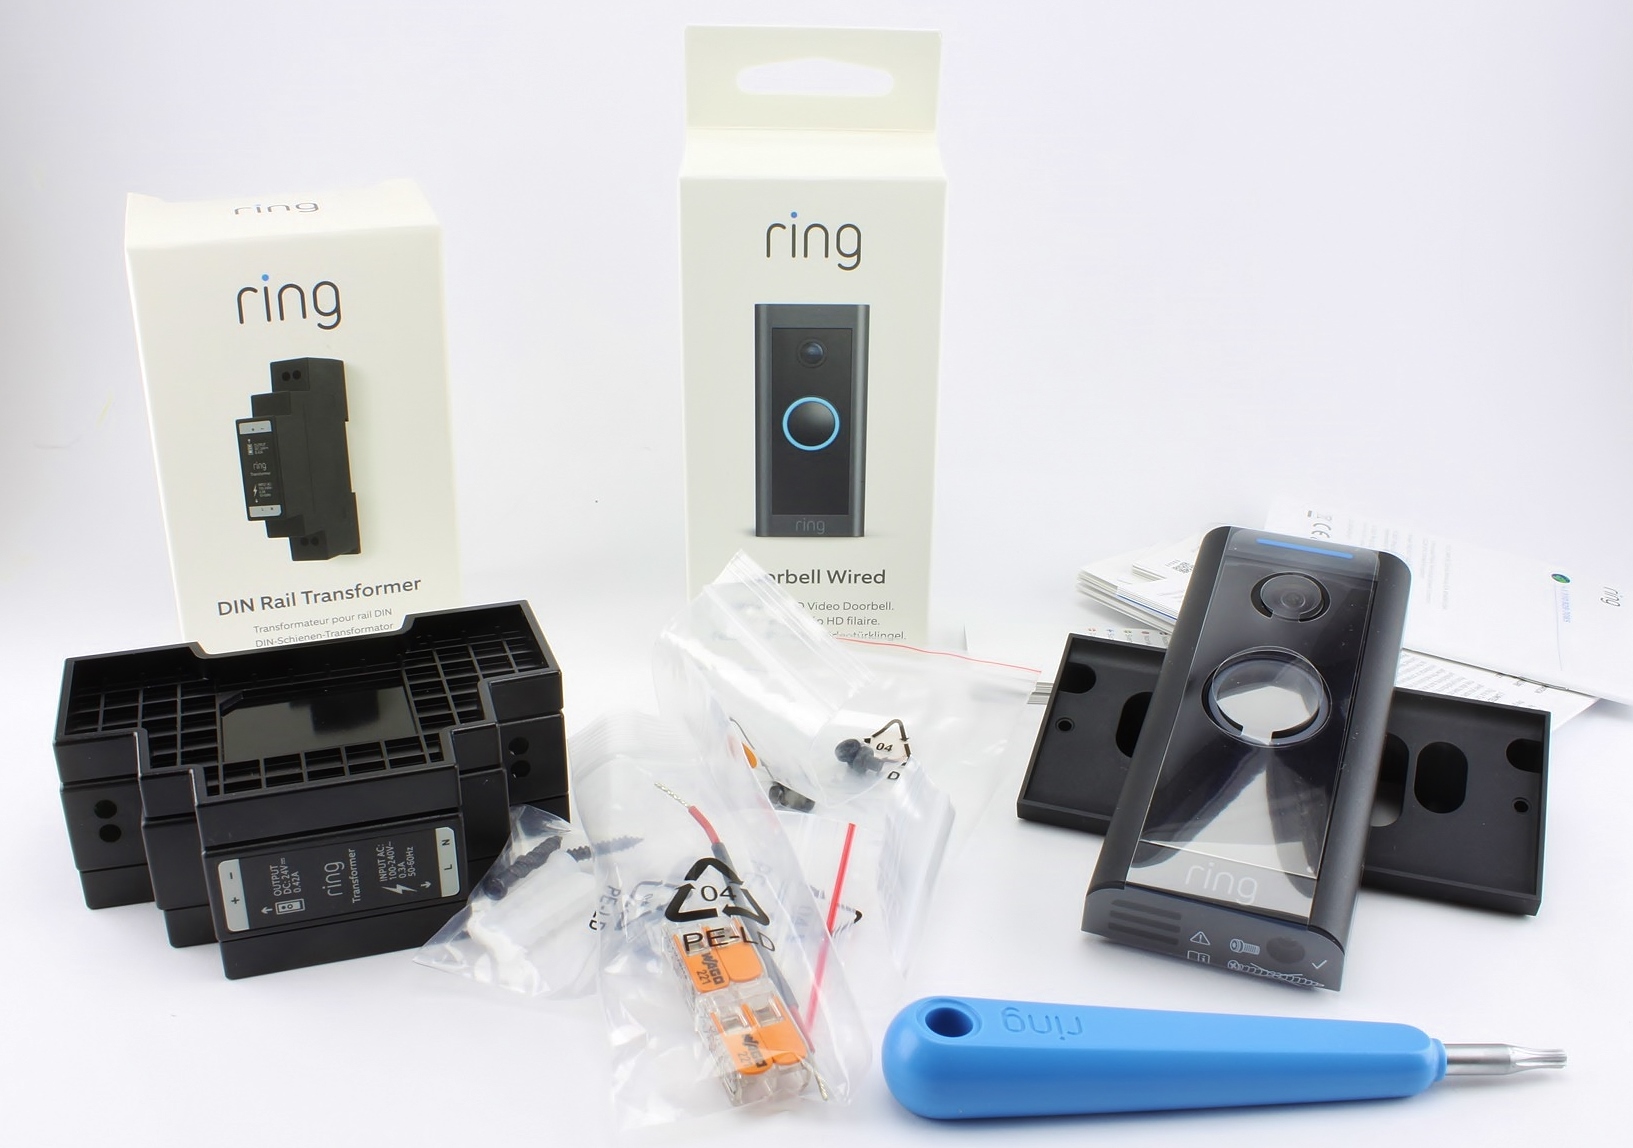
If – depending on the time of day – business partners, friends or the letter carrier are expected, I have also installed a bell with intercom and video camera. It's just a nice gimmick, but since you have your smartphone in your pocket all the time anyway, you also get to hear when someone rings the doorbell while you might be out back in the garden or shopping. I keep the further security measures for myself 😉.


65 Antworten
Kommentar
Lade neue Kommentare
Veteran
Moderator
Veteran
Urgestein
Mitglied
Urgestein
Urgestein
Mitglied
Urgestein
Veteran
Mitglied
Mitglied
Veteran
Mitglied
Veteran
Mitglied
Veteran
Urgestein
Urgestein
Alle Kommentare lesen unter igor´sLAB Community →