


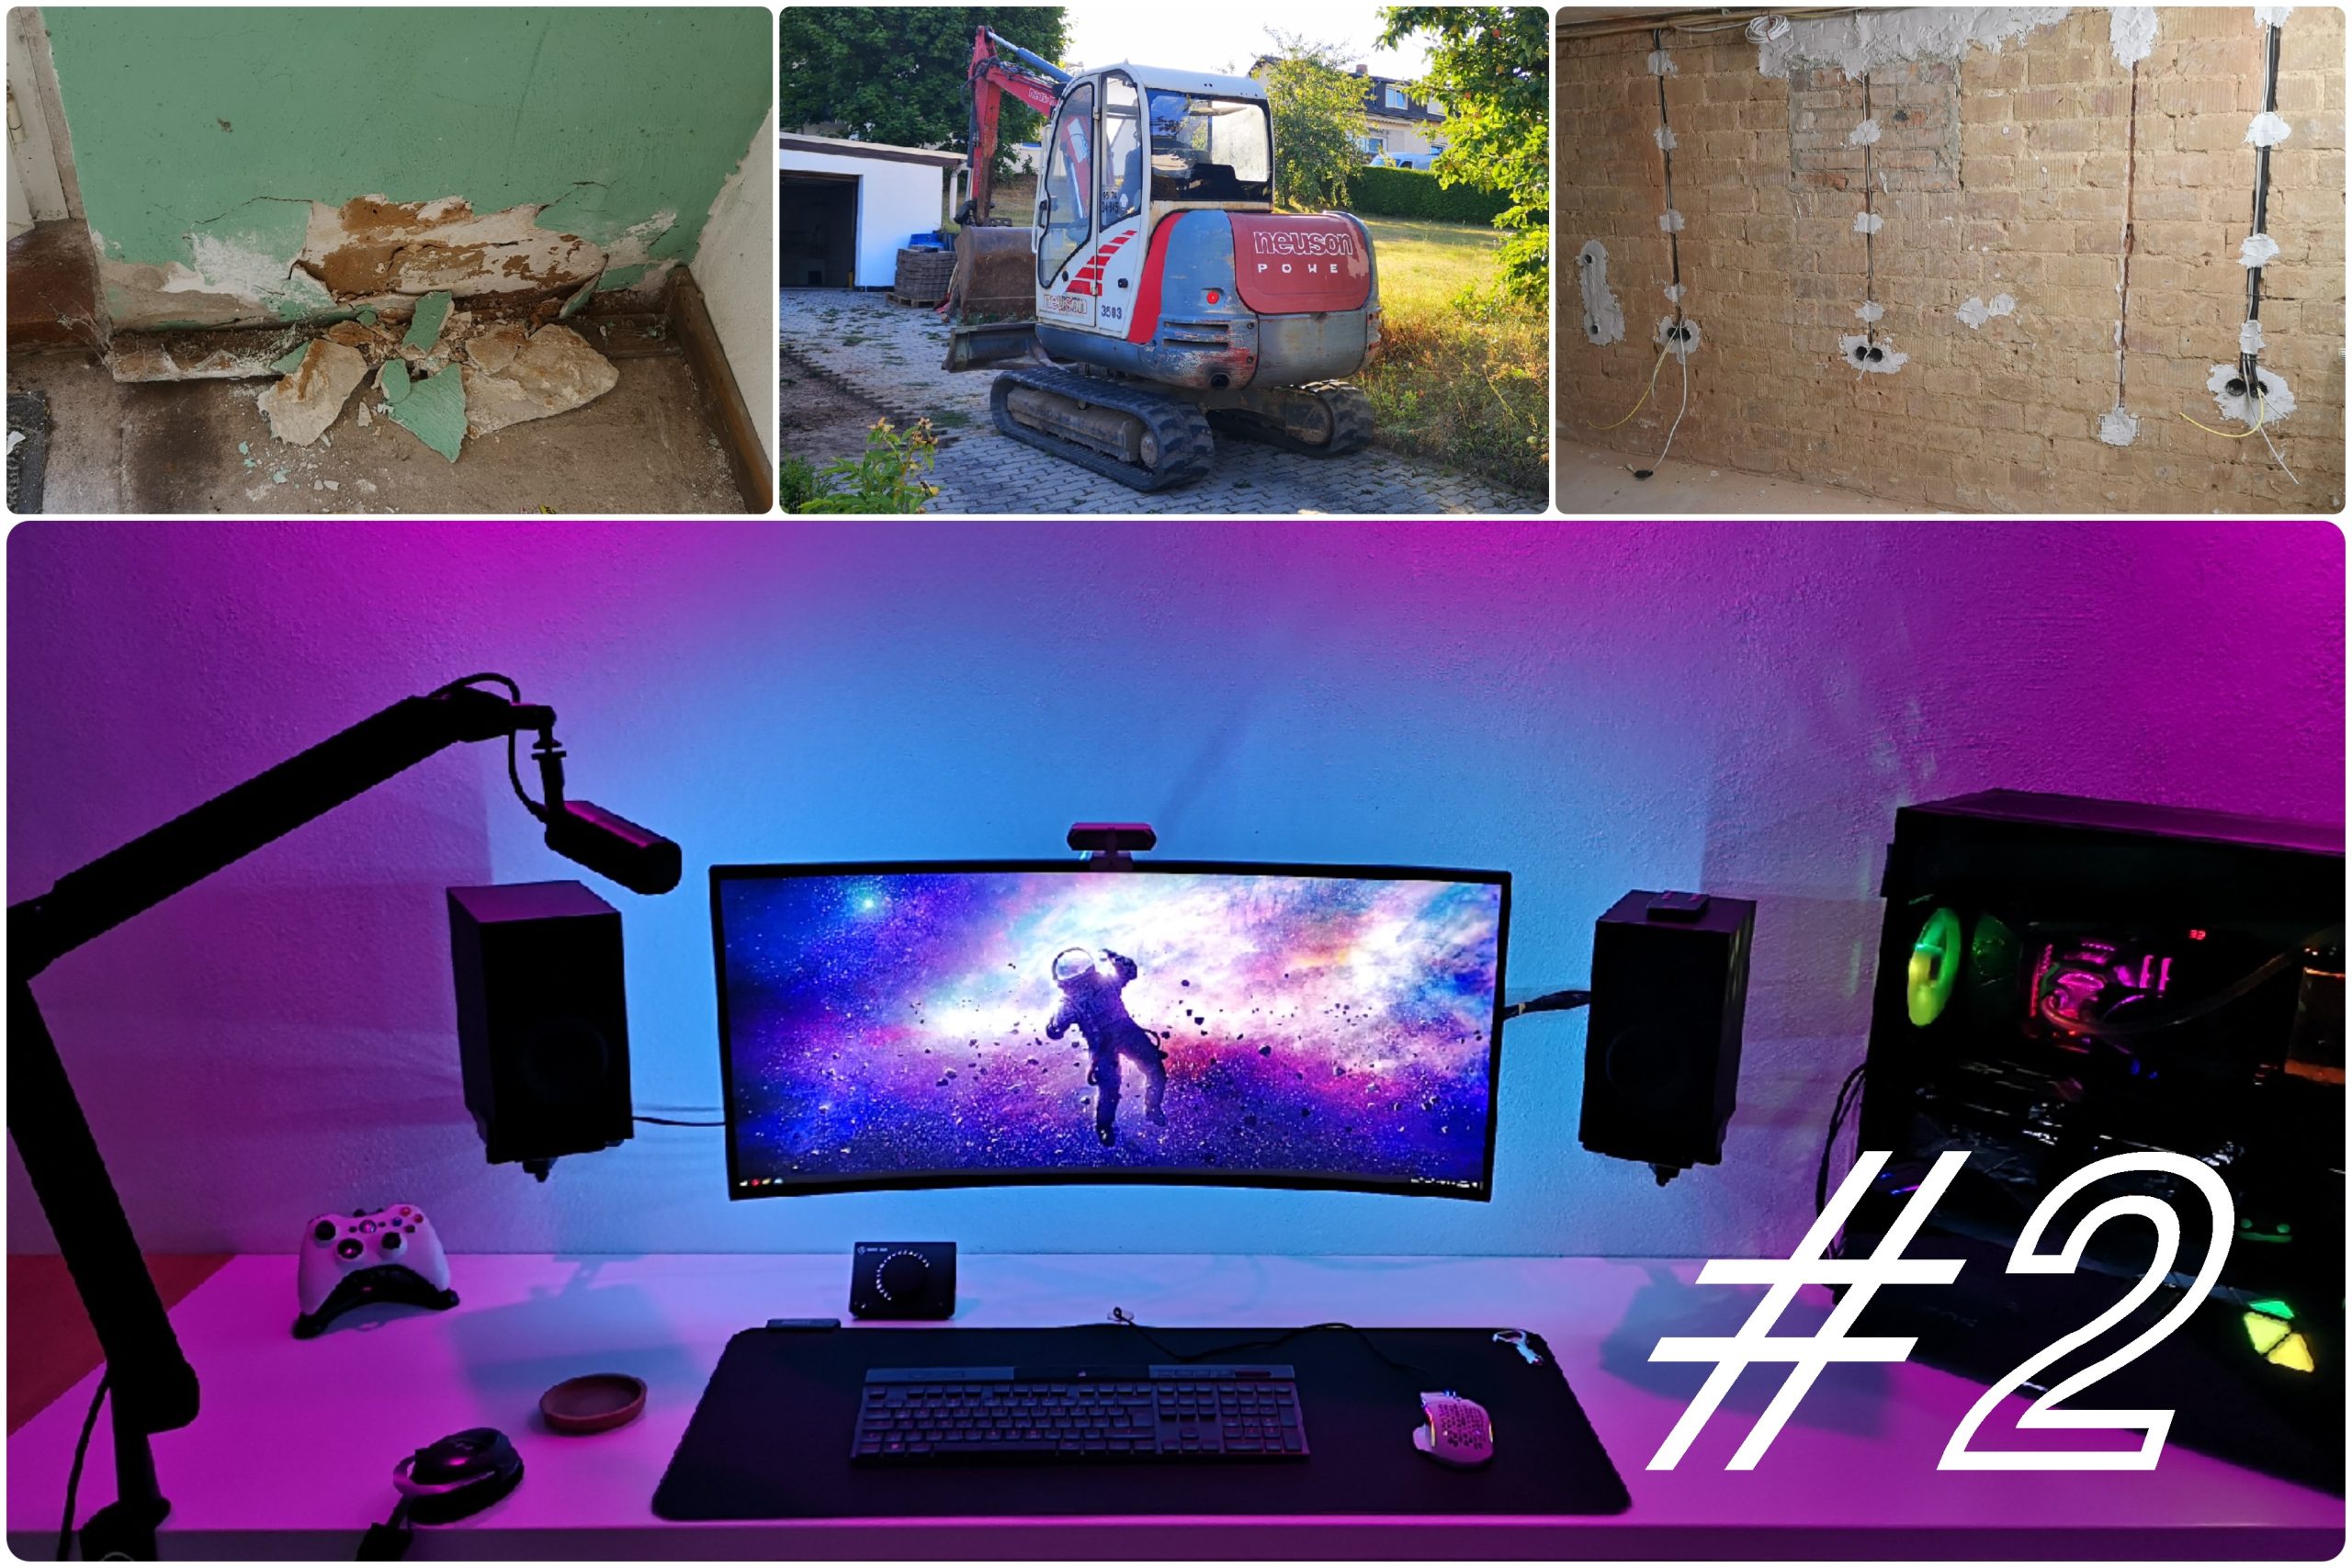
Core renovation, stripping, plastering and painting? No, you have not made a mistake in the website! Even though it is quite offtopic, I would like to share a "small" heart project with you. In part 2, I'll show you the electrical installation, how to put on a network outlet, and what the room looked like after the renovation.
Foreword
When we visited this house at the end of June, it was immediately clear to us that we will move in here. Lots of space, a huge backyard, quiet neighborhood, and a large, unused room in the basement that immediately conjured up a vision when I walked in: this is going to be my gaming room! Pardon.. Home office of course, you have to package a project of this scale somehow nice that the wife waves it off. Since I work 90% of the time in my home office and do a bit of studying on the side and write the odd review for Igor's Lab, I have to have a space to retreat to and be productive, right? As it happens, the room is just a bit bigger that you might be able to set up a little gaming corner. And a craft table. And a TV, refrigerator and coffee maker! What? Oh, I was just thinking out loud and fantasizing…
Plastering, drywall and heating installation
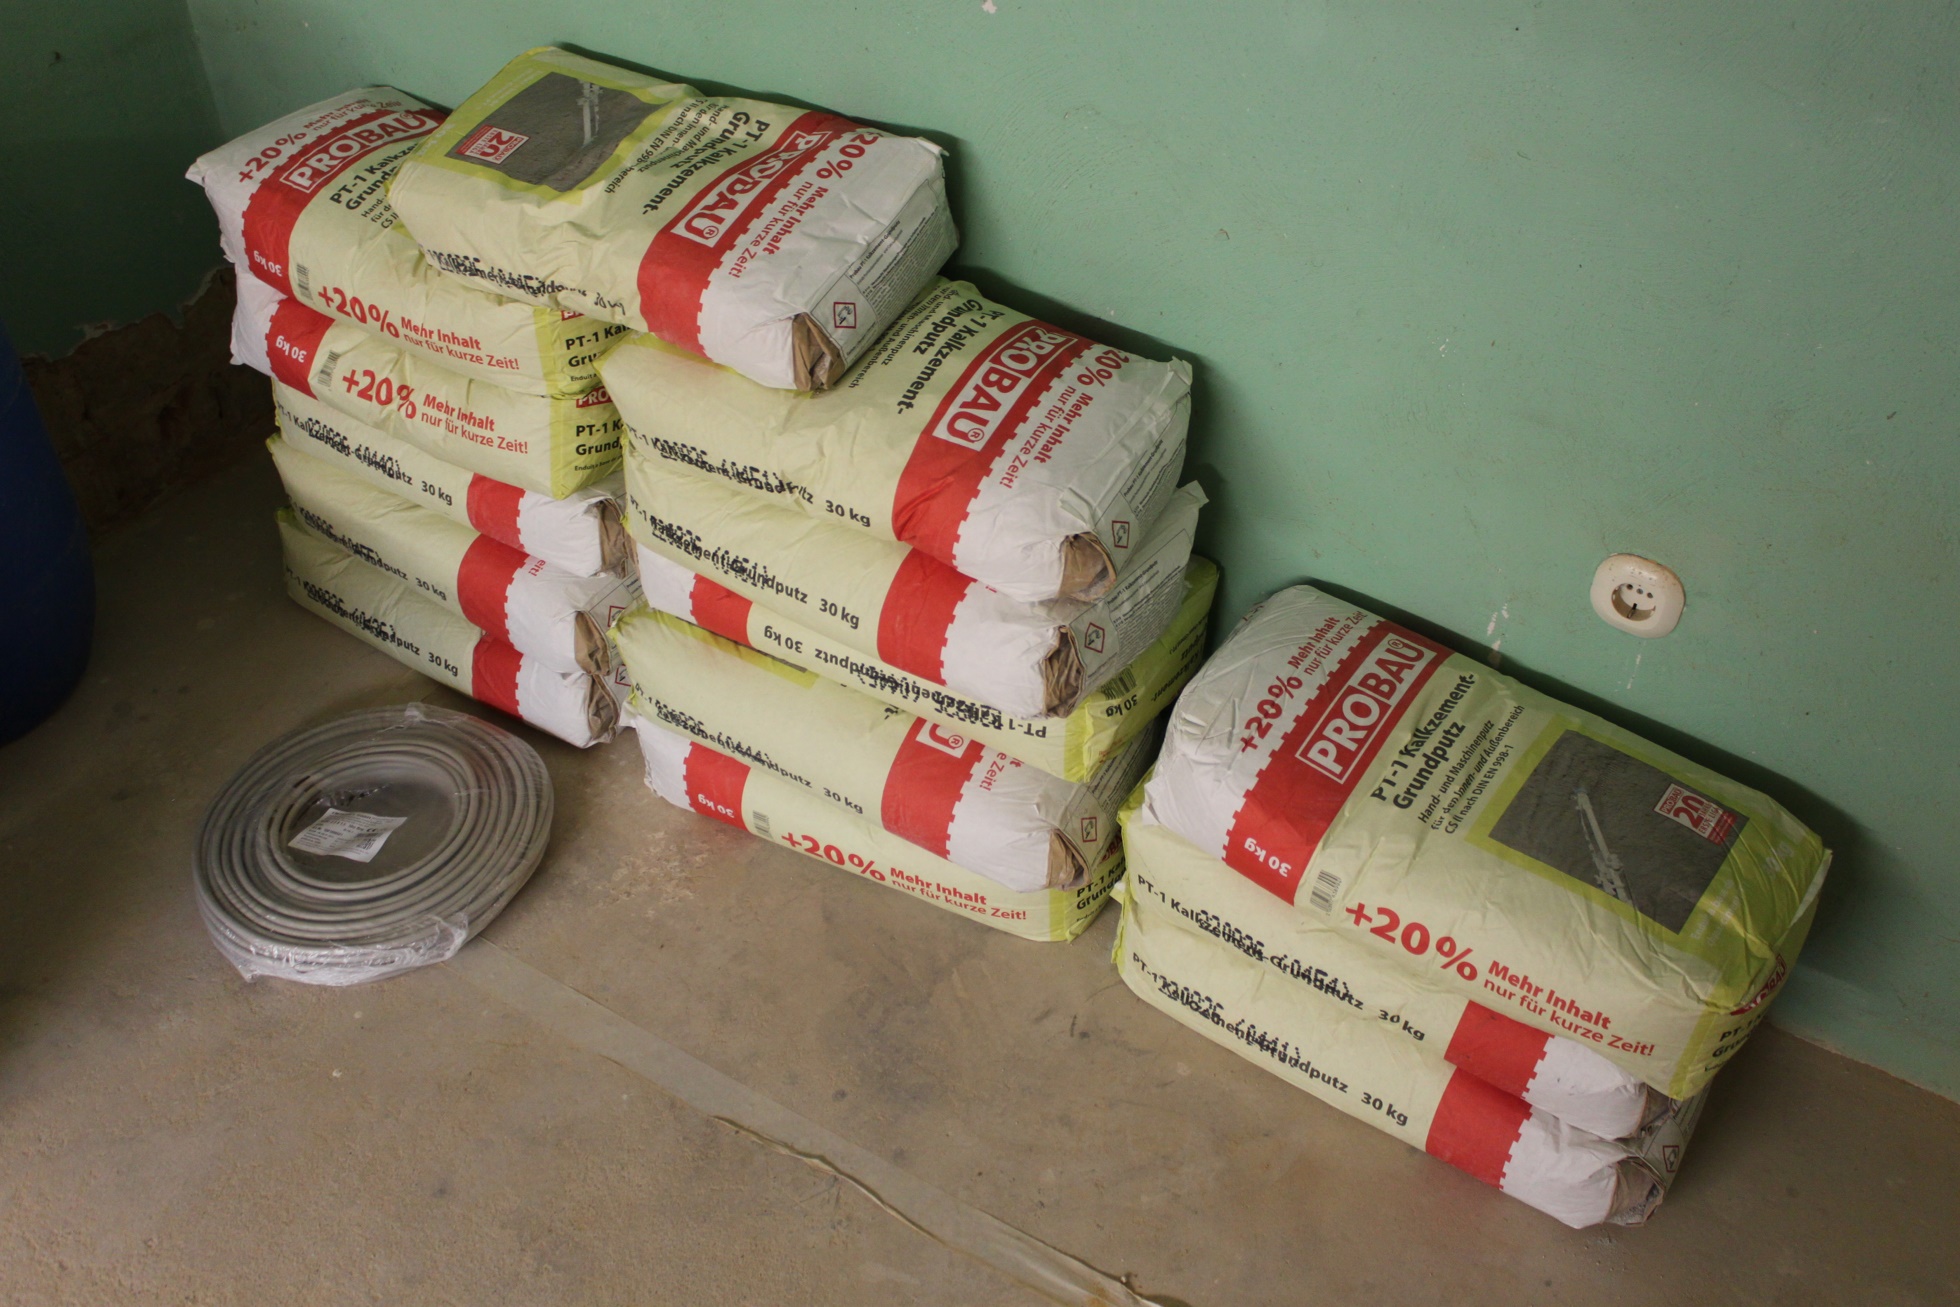
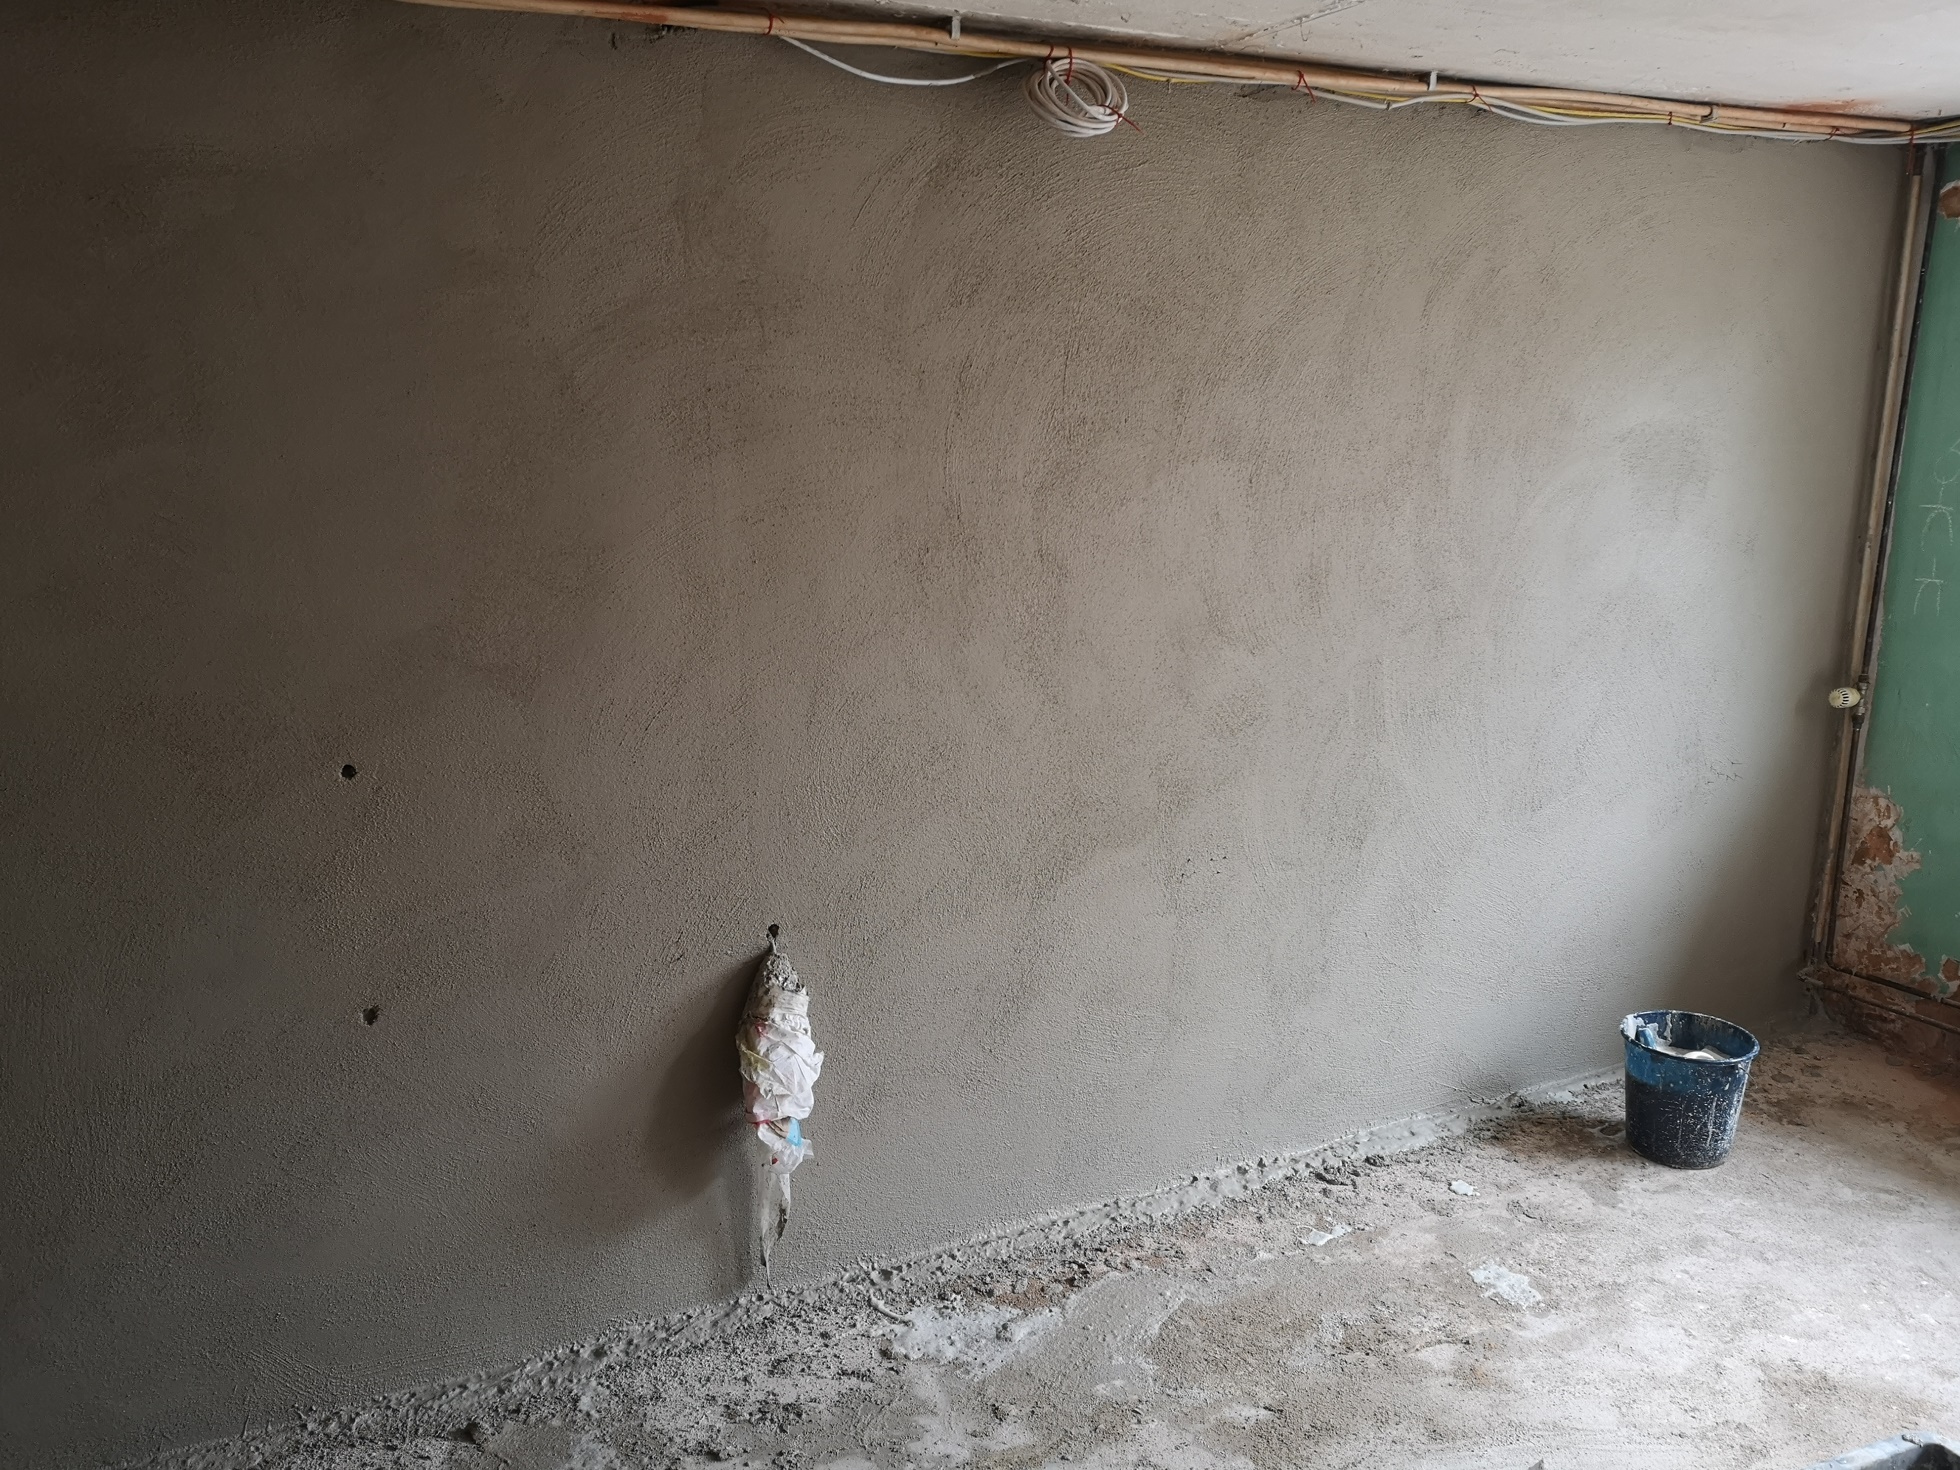
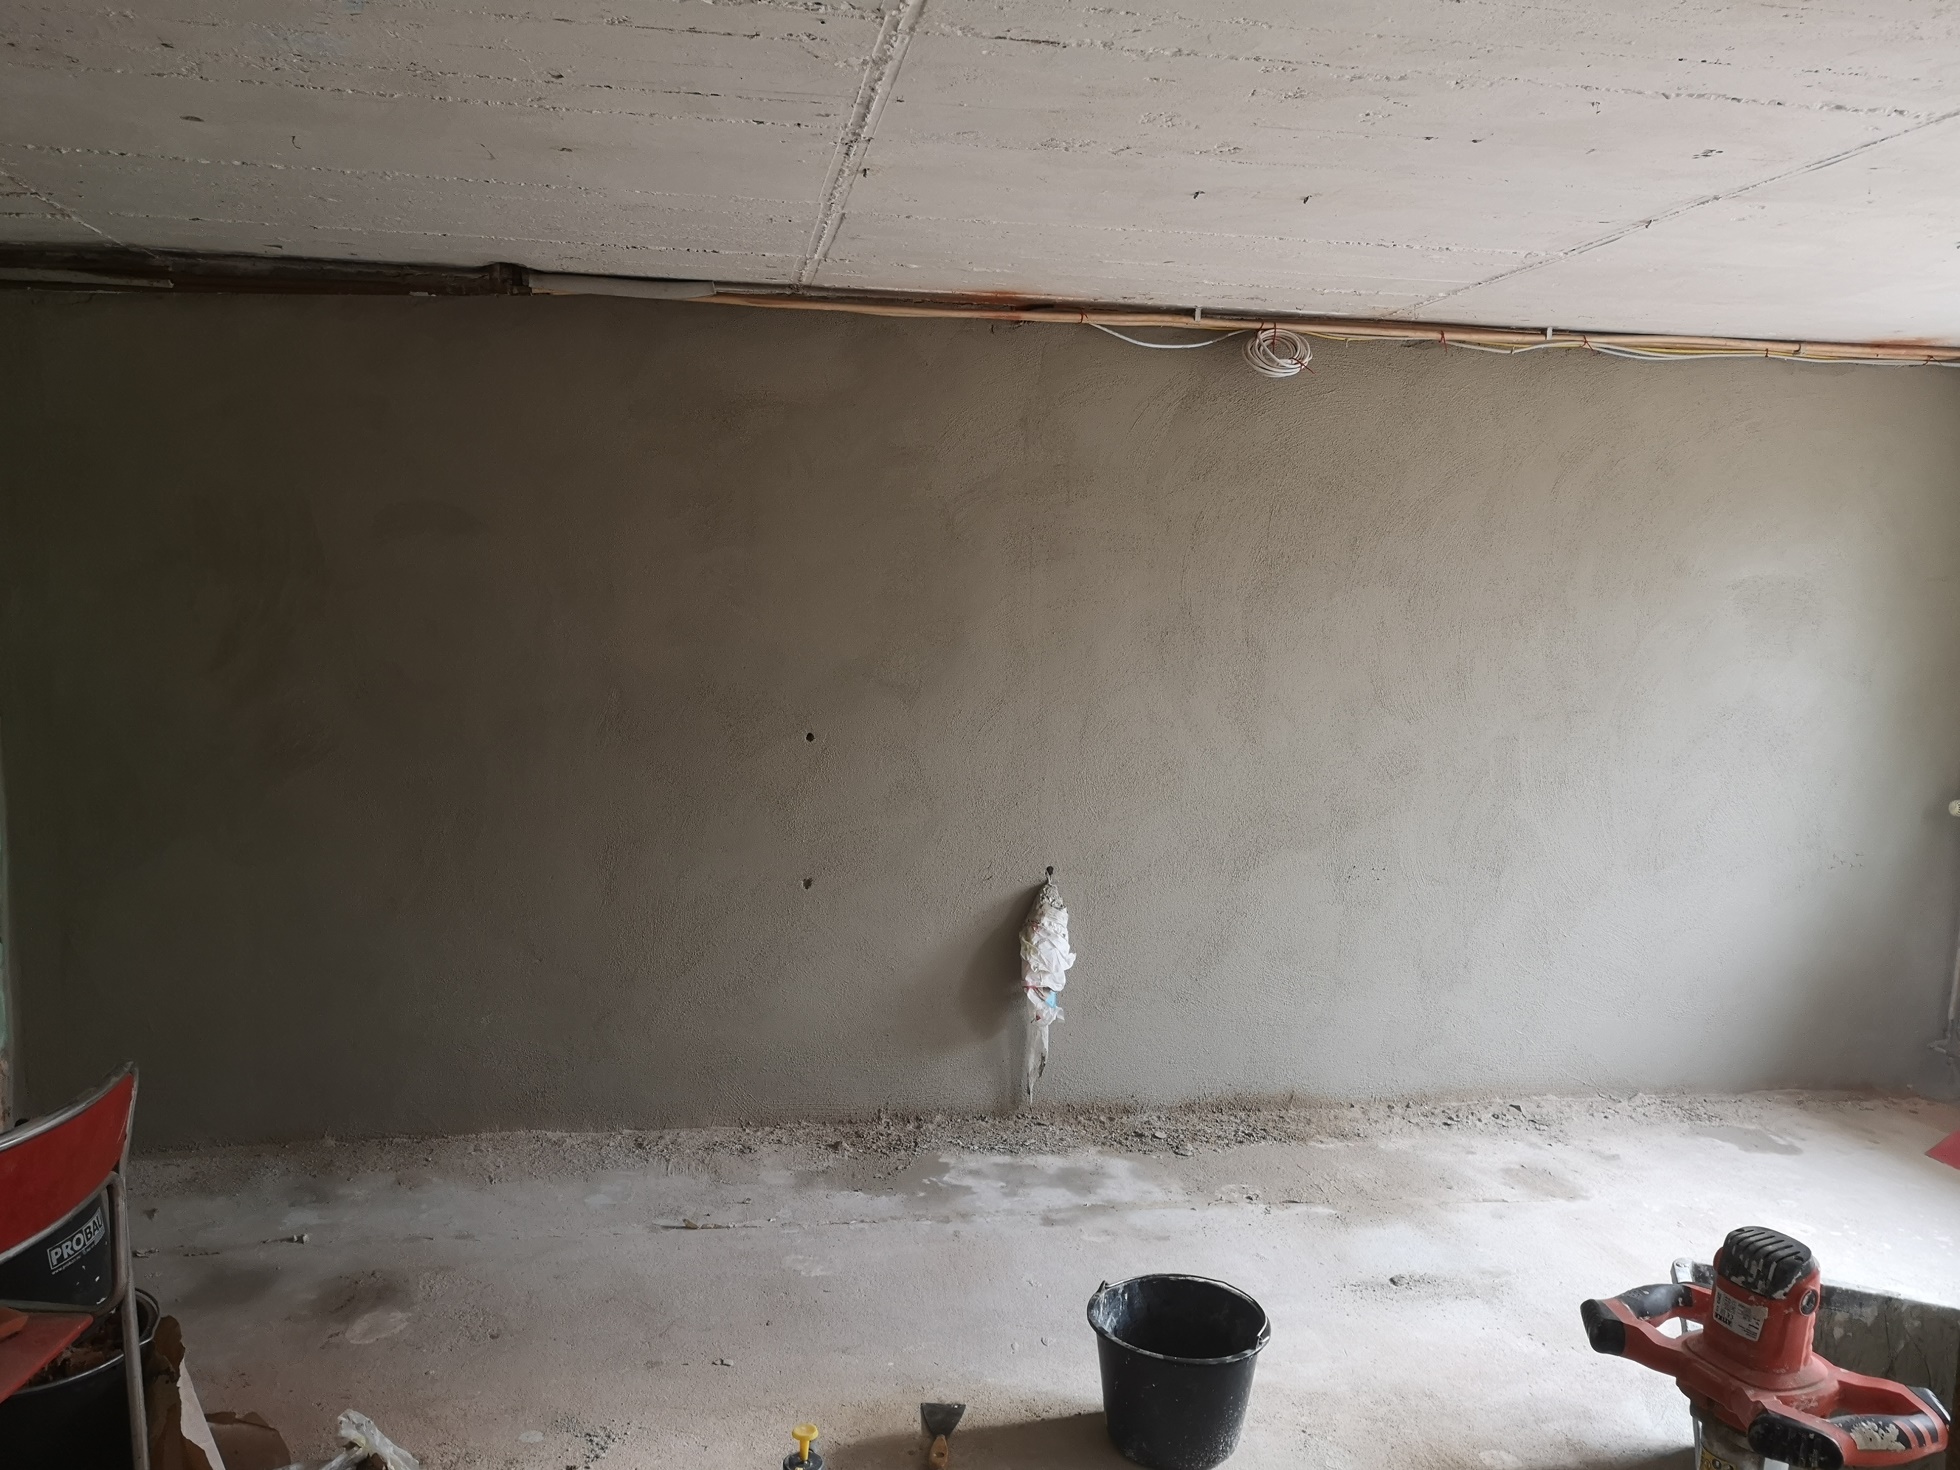
I had finished the last report with the slots for the new lines and the set cans. So today we start plastering the walls and slots. After the freshly sealed wall had been allowed to dry for several weeks and the measuring device also indicated a satisfactory residual moisture content (namely 0.1%) at the end, plastering could begin. From several quarters I was recommended lime-cement plaster as the right choice, which I ultimately trusted and organized half a ton of it in bag form.
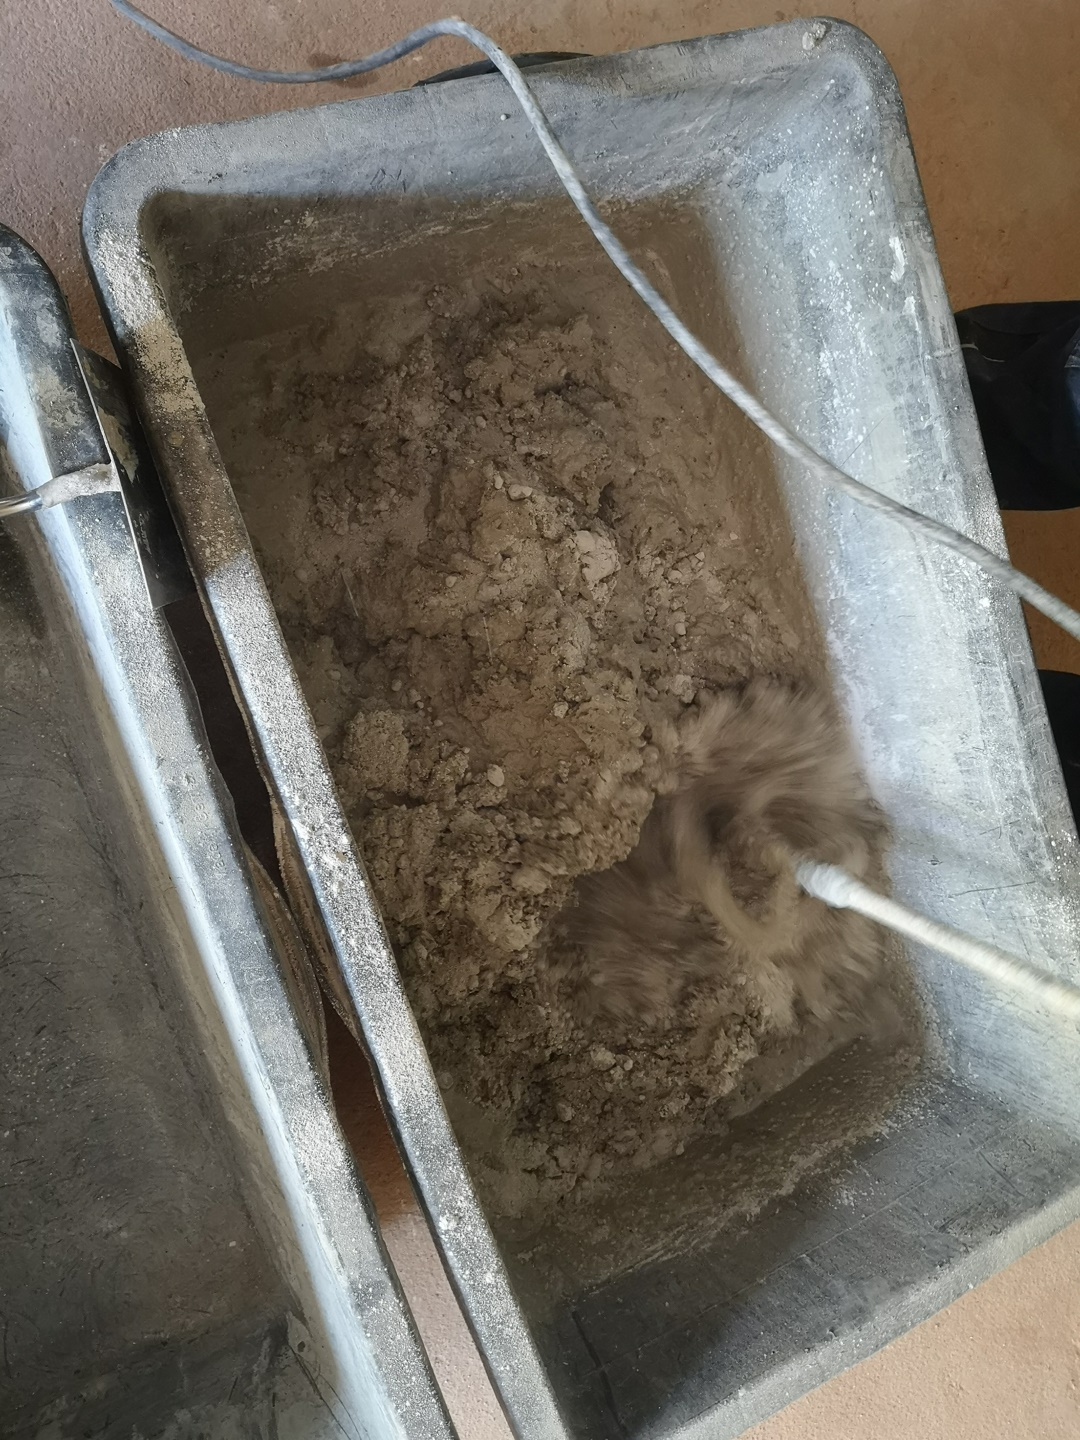
Always two bags "turned on", which is quite power-consuming work, despite the "mixer" provided for this purpose. Quite tough, this stuff, before it is properly blended.
Then two of us threw the plaster on the wall until the bucket was empty.
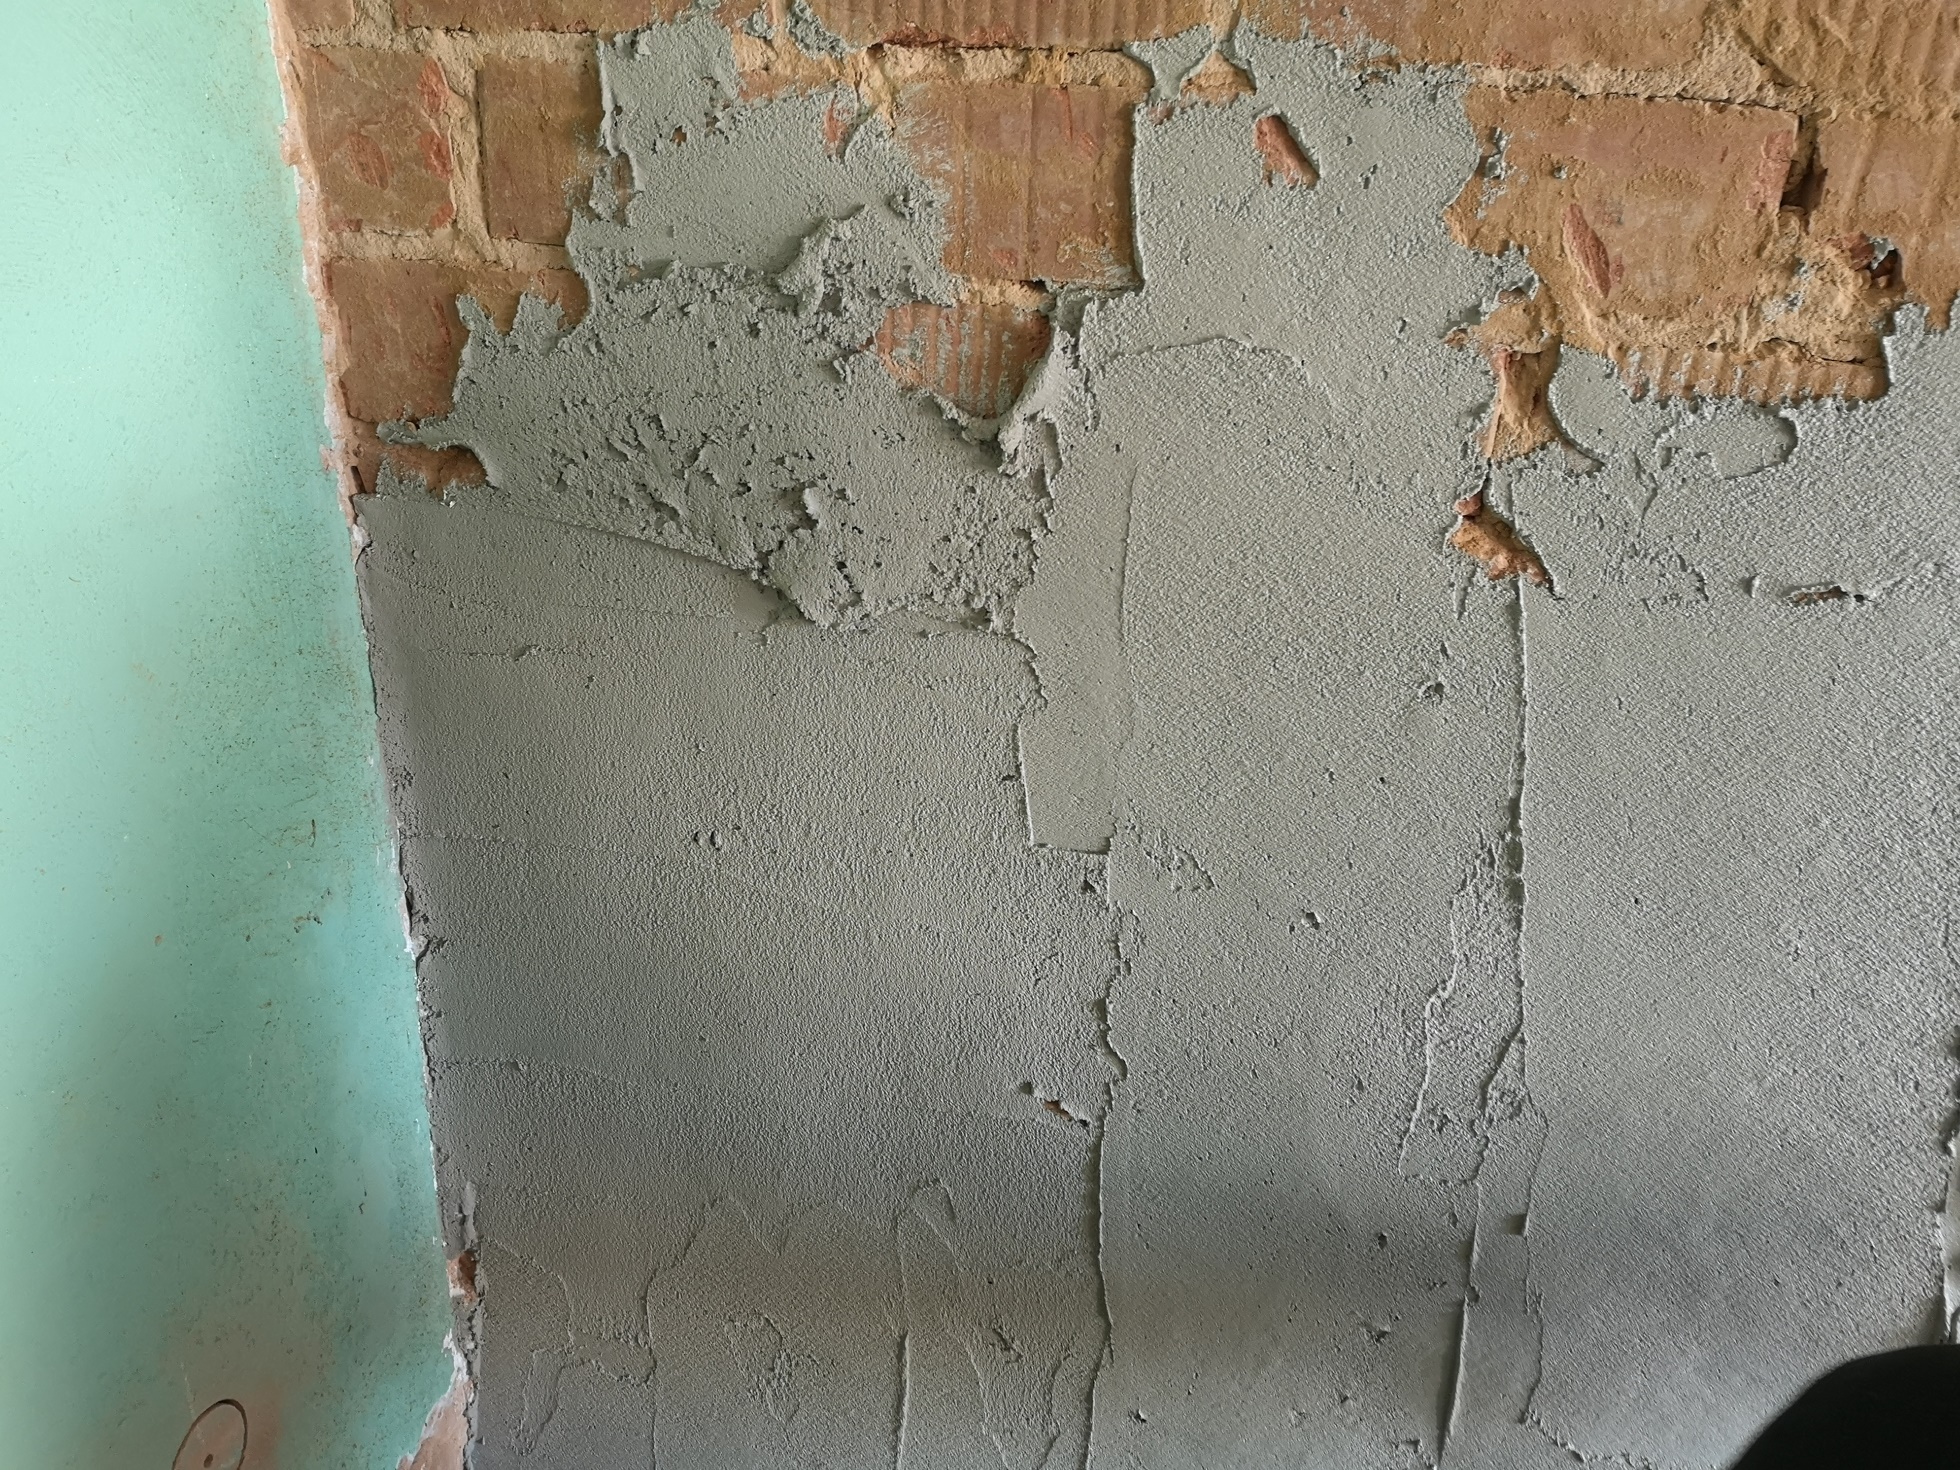
And while I was mixing the next batch, a buddy was smoothing out the surfaces. So in a relatively short time we had plastered the whole wall.
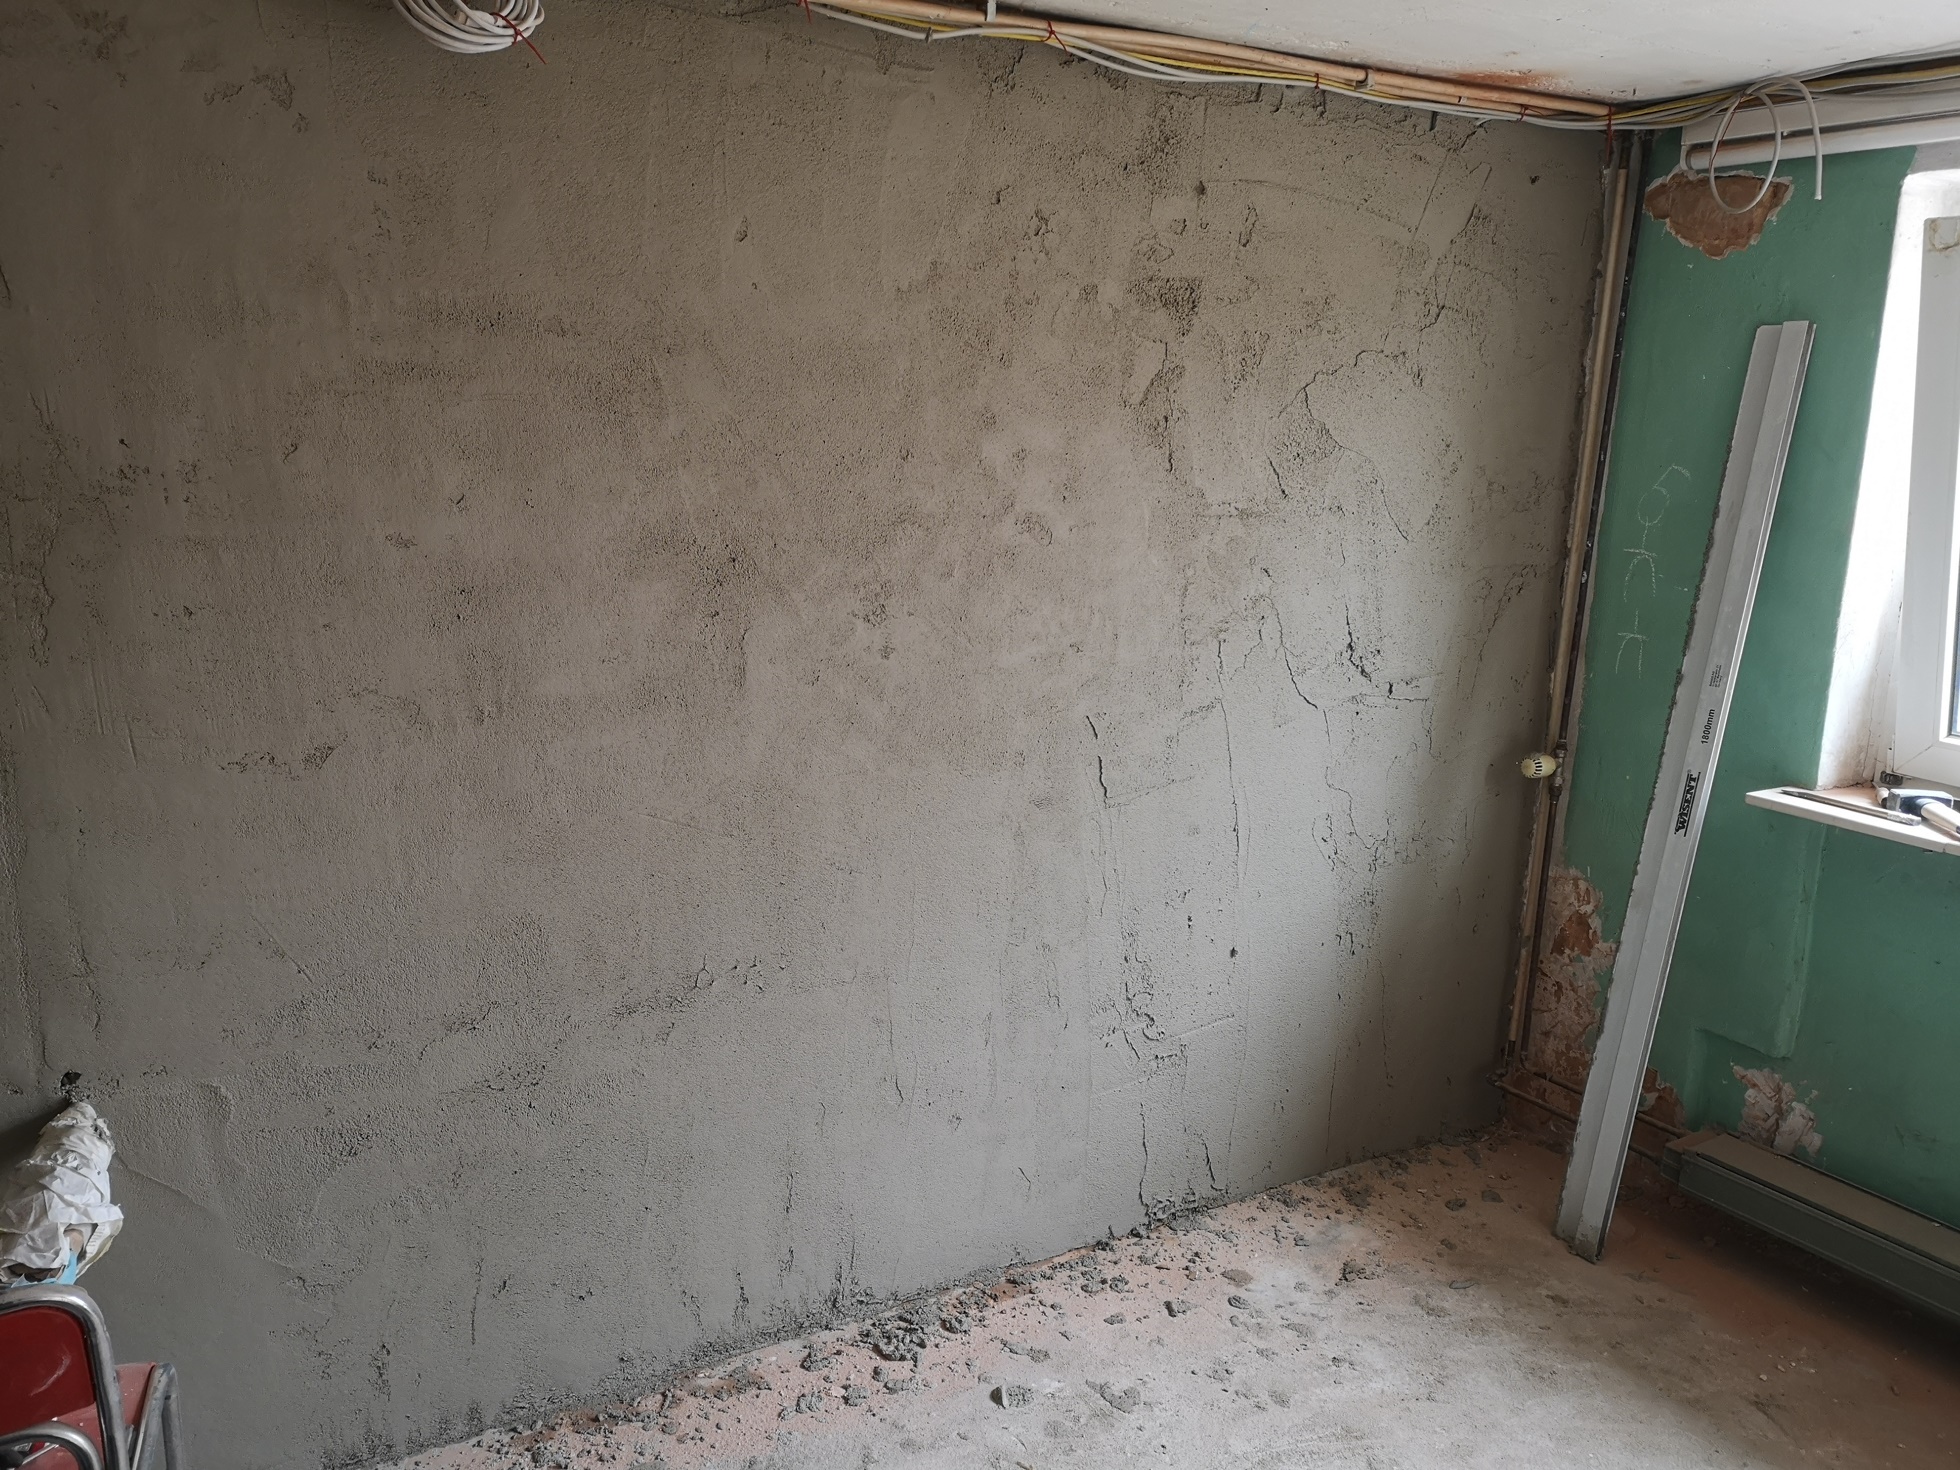
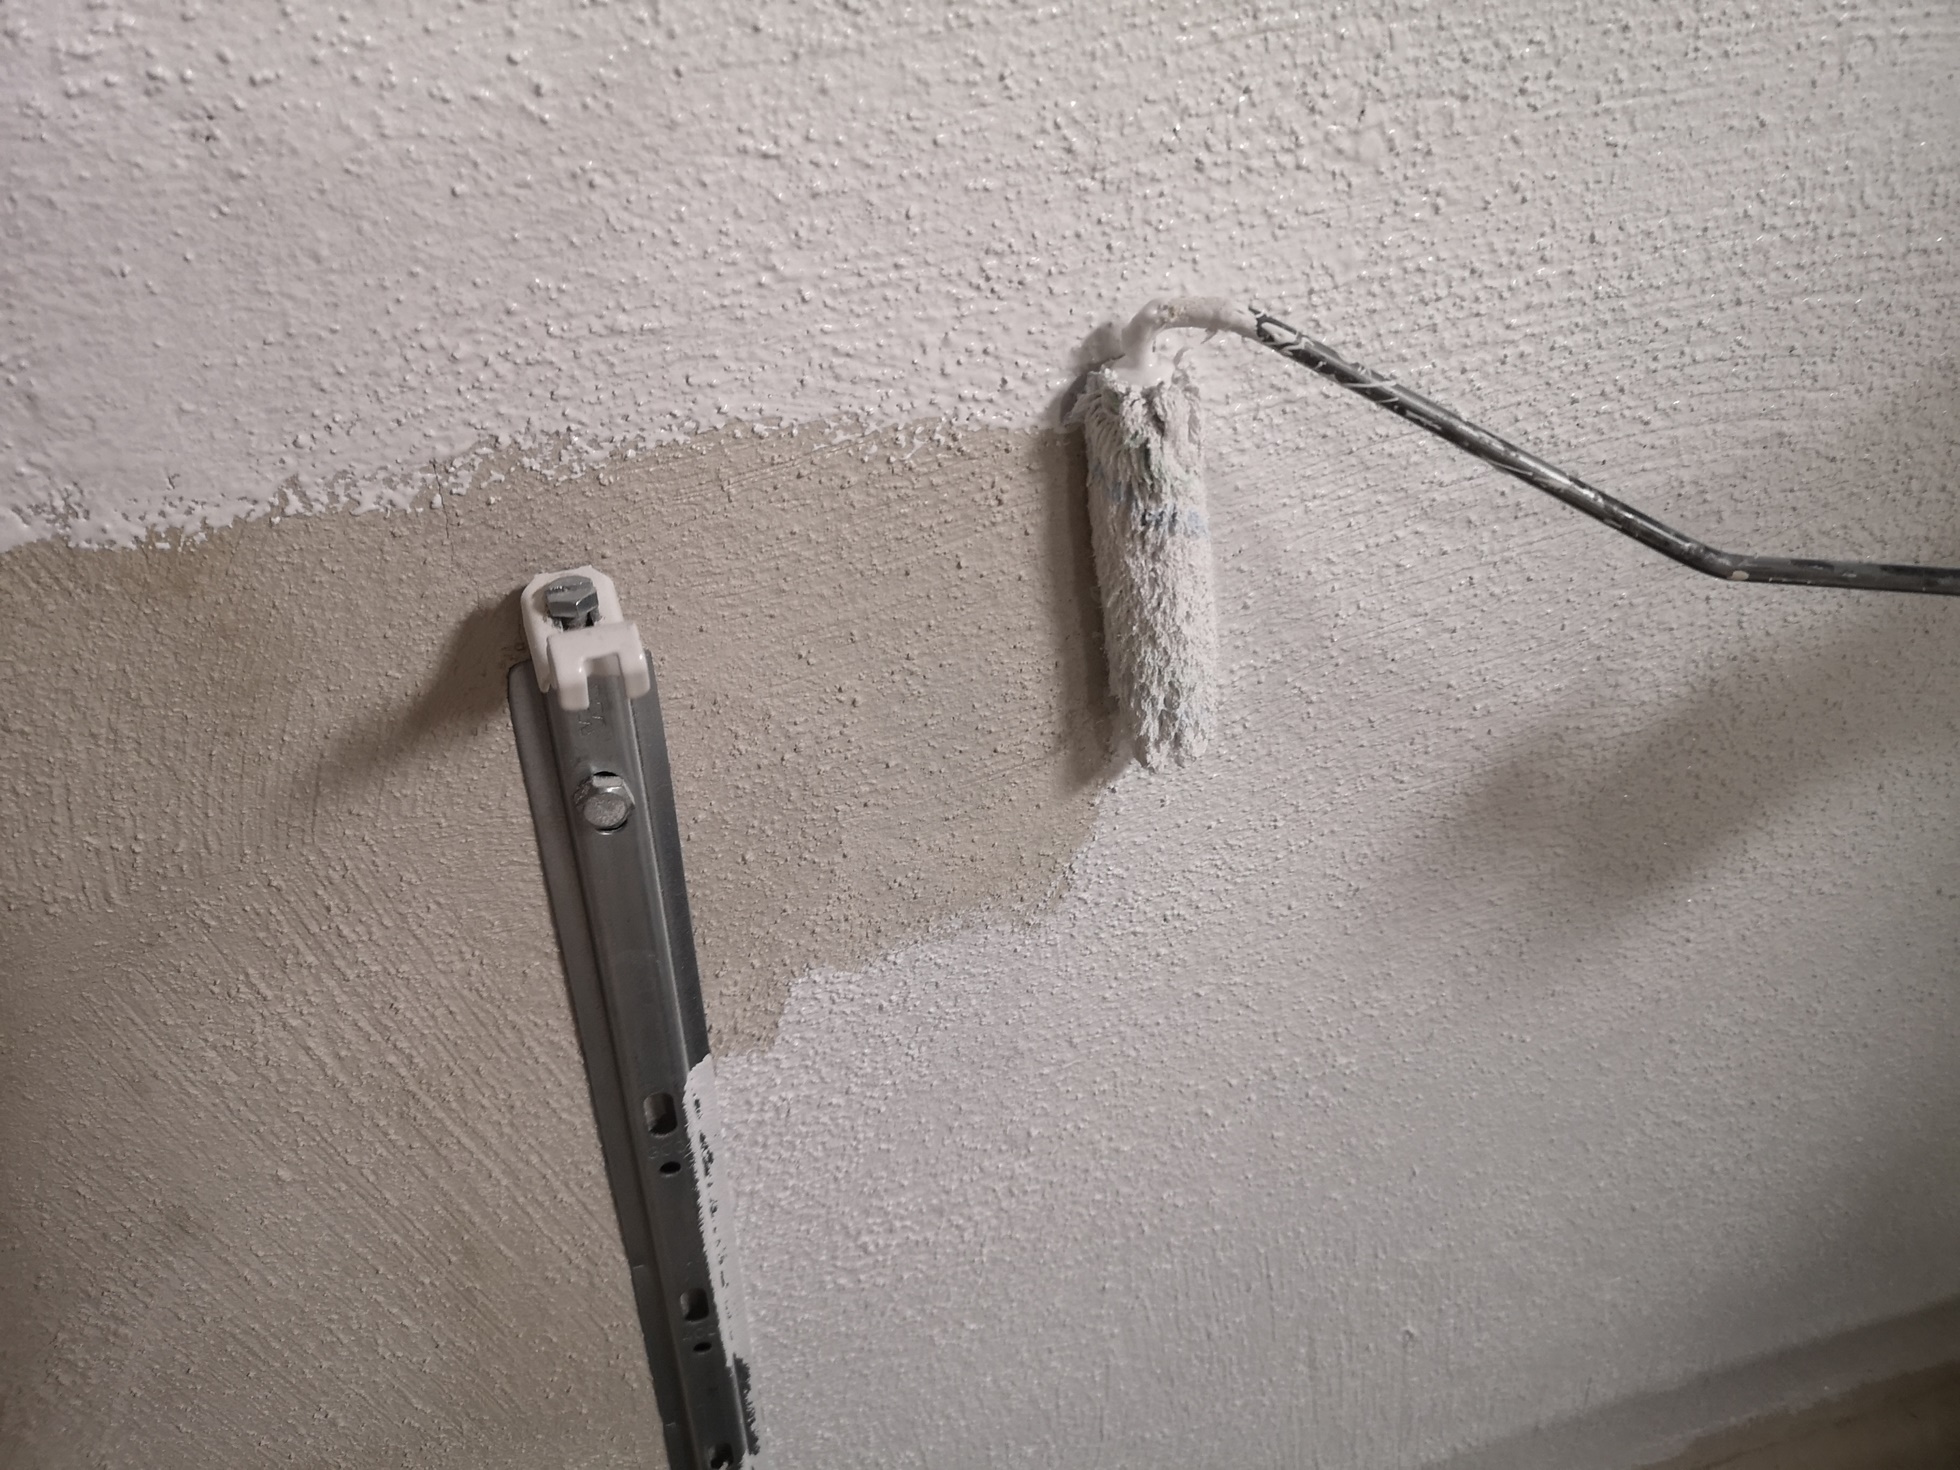
In the end, I felted the wall with a lot of patience and feeling with the sponge board, so that the surface was as even as possible with a relatively coarse structure. That's more or less how I had imagined it!
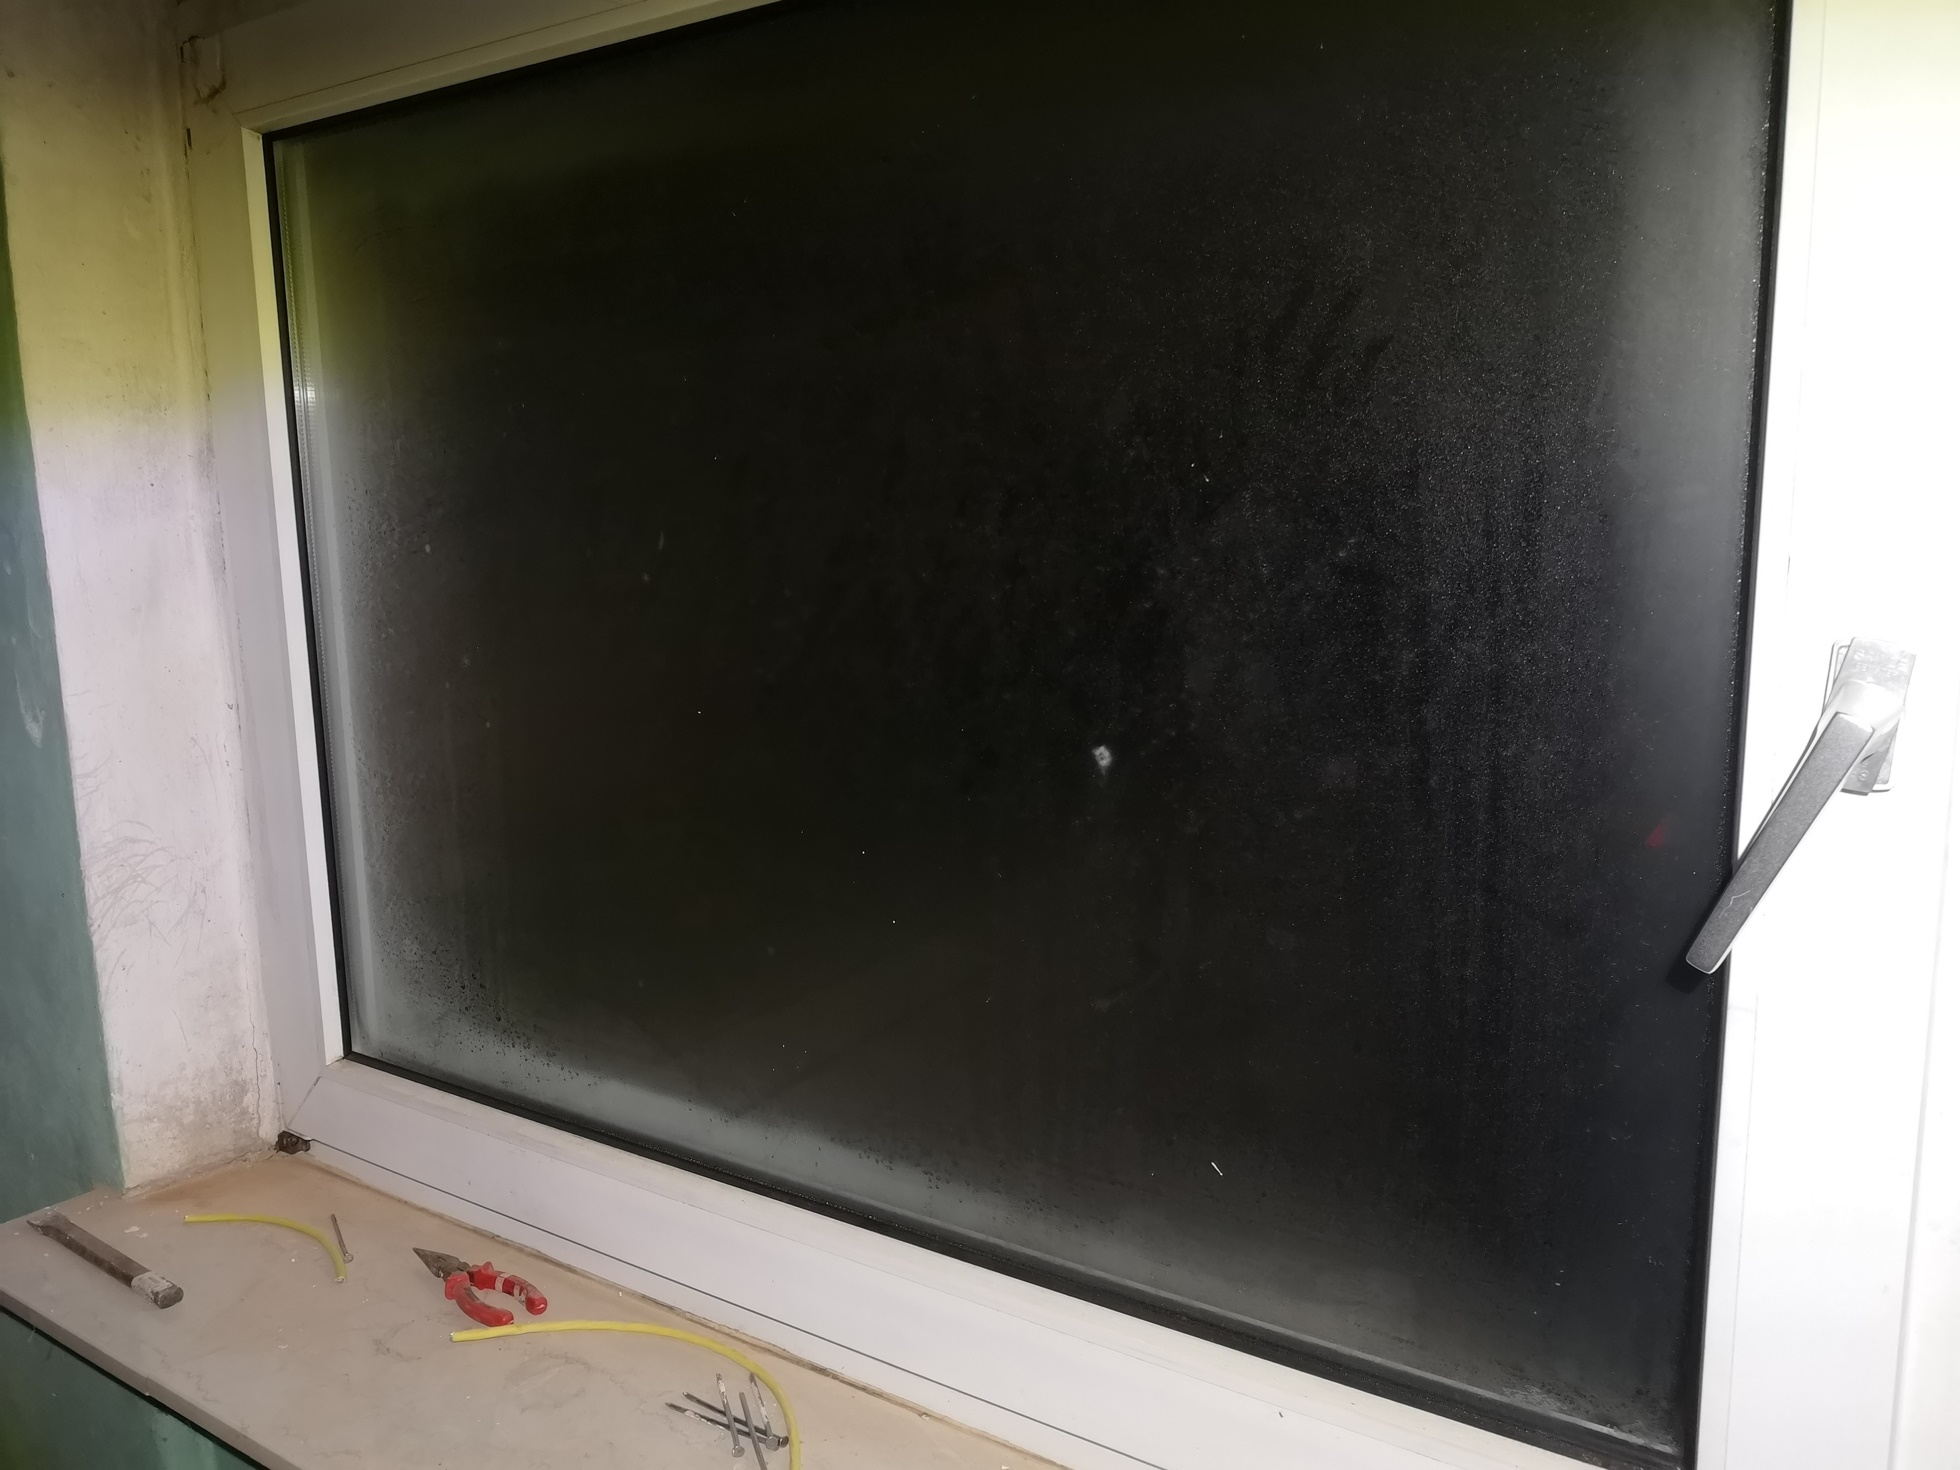
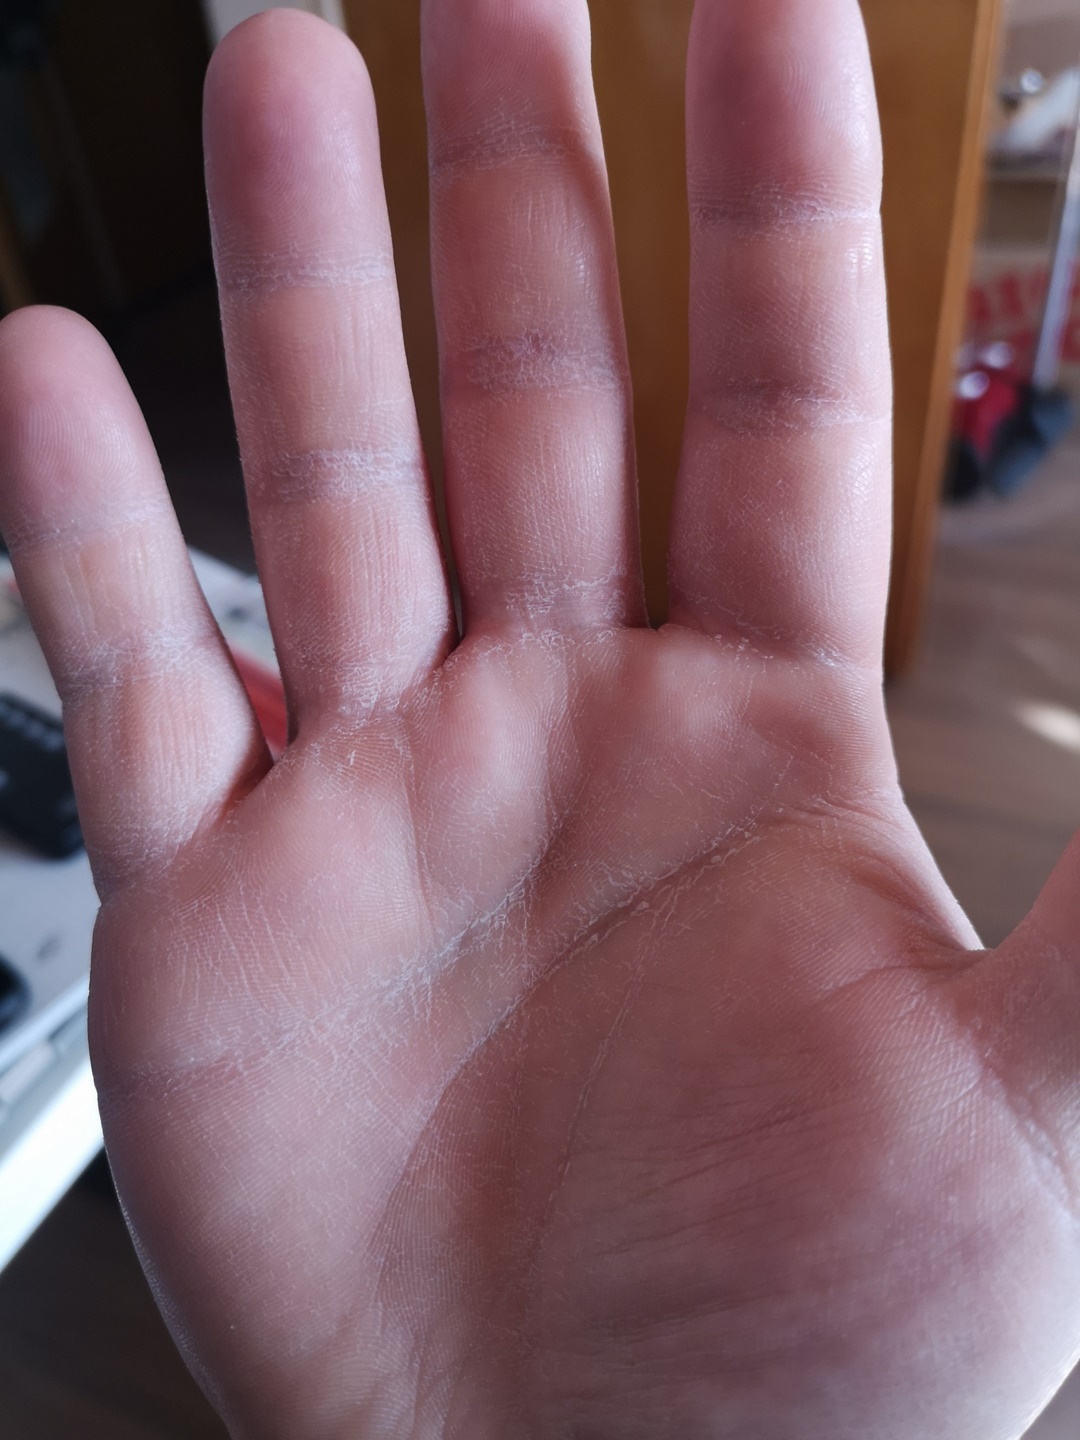
The damp plaster, of course, fogged up the windows for days.
Another important finding: wearing gloves should avoid such consequences:
From here on, things get a little messy because drywall and plumbing work was still being done in between the plastering. I'll just put everything out chronologically so that you don't see a finished ceiling in between and then it's missing again in the next picture.
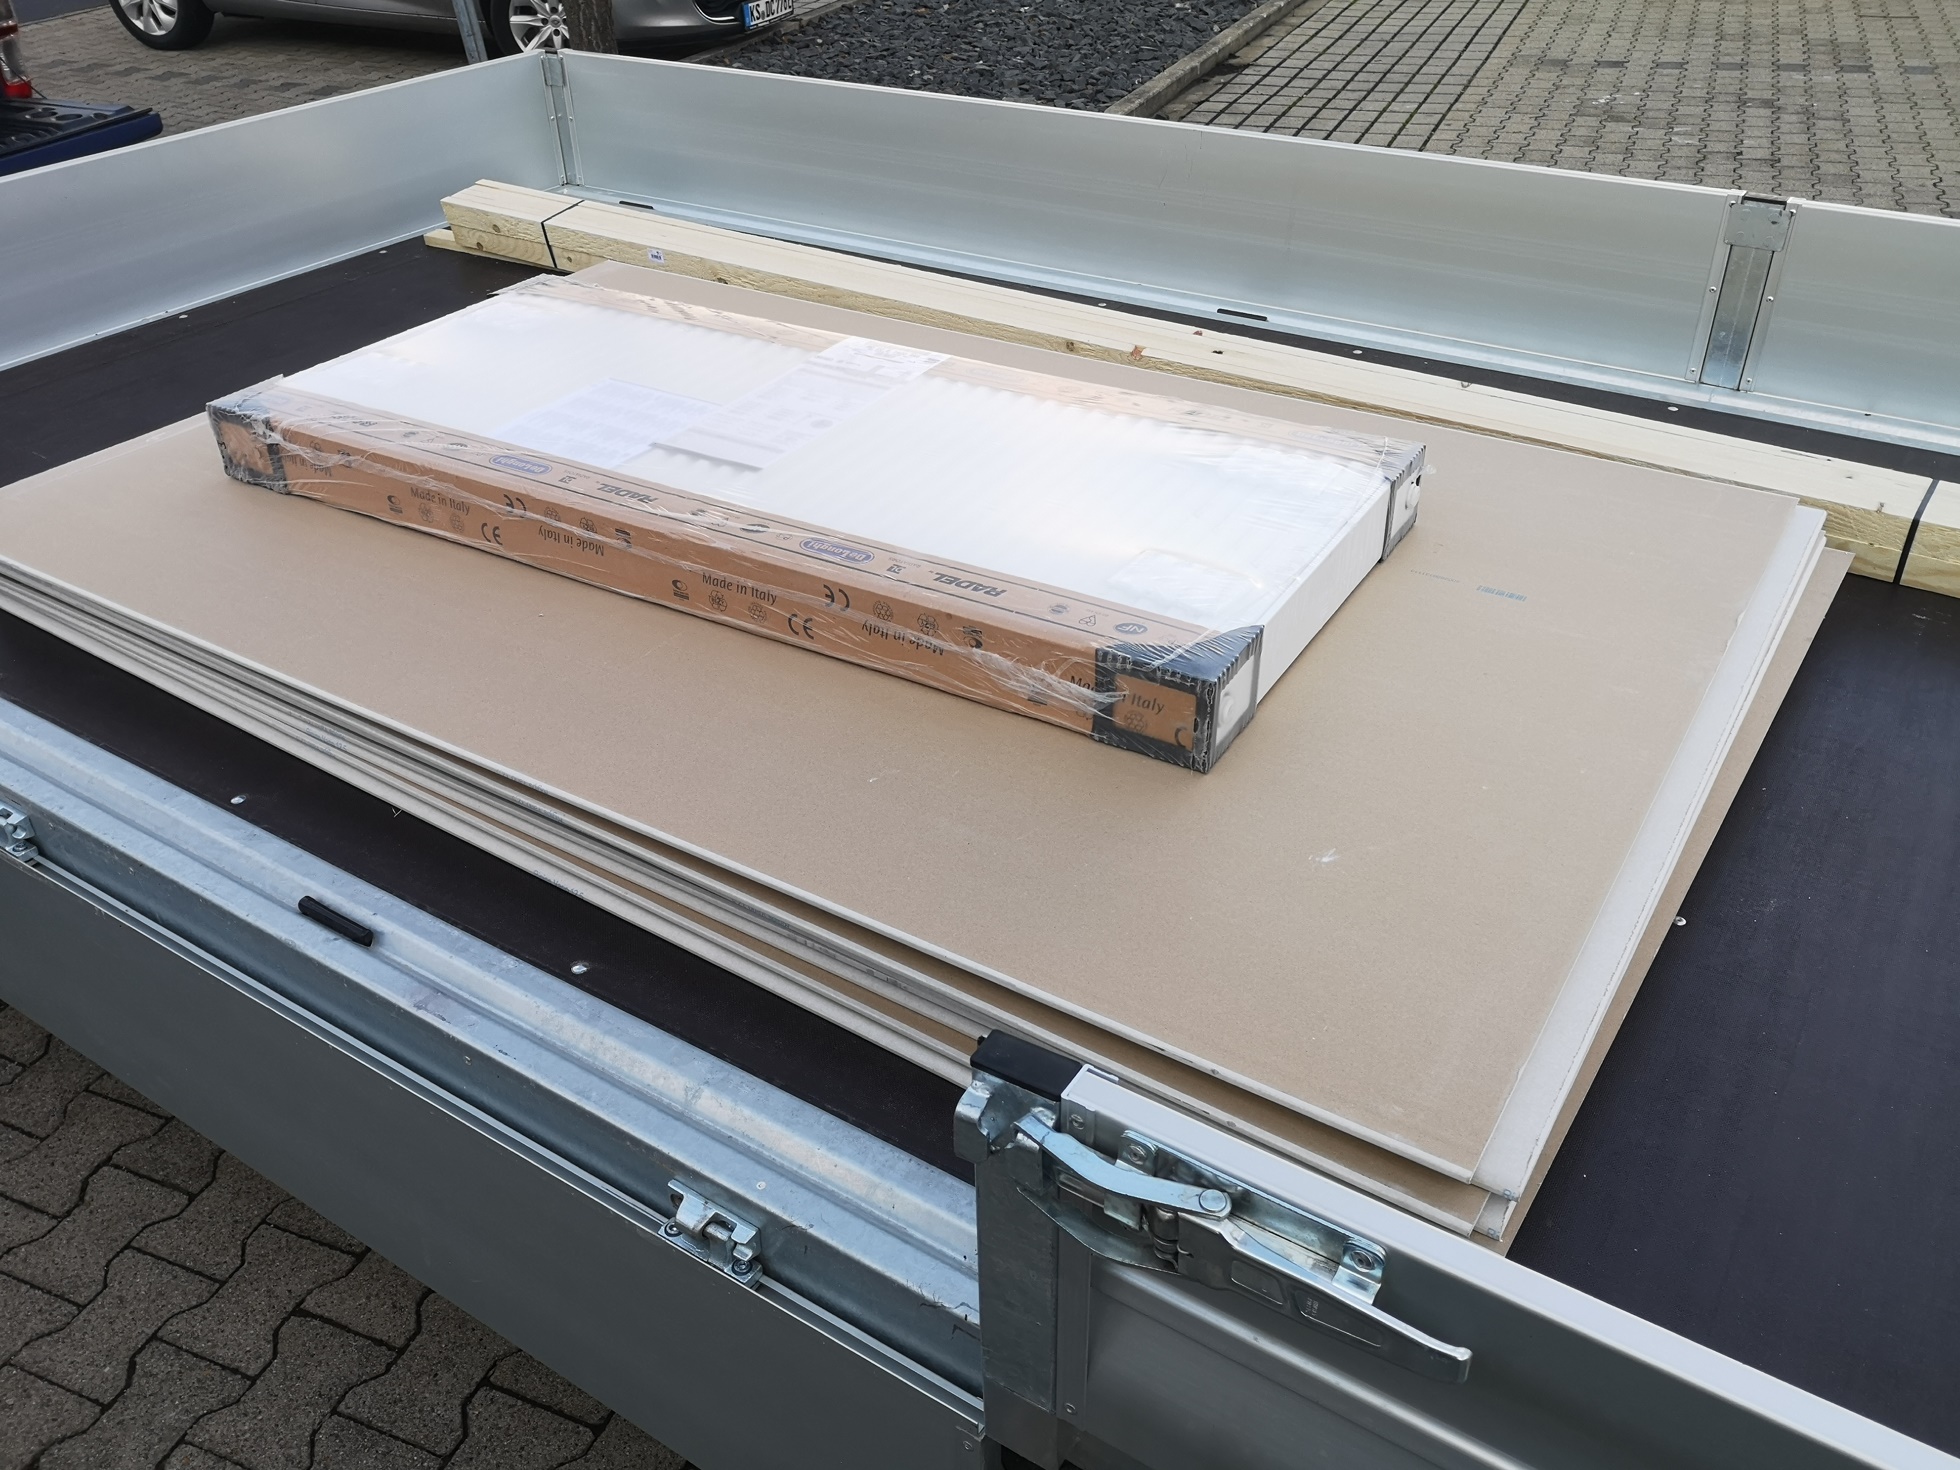
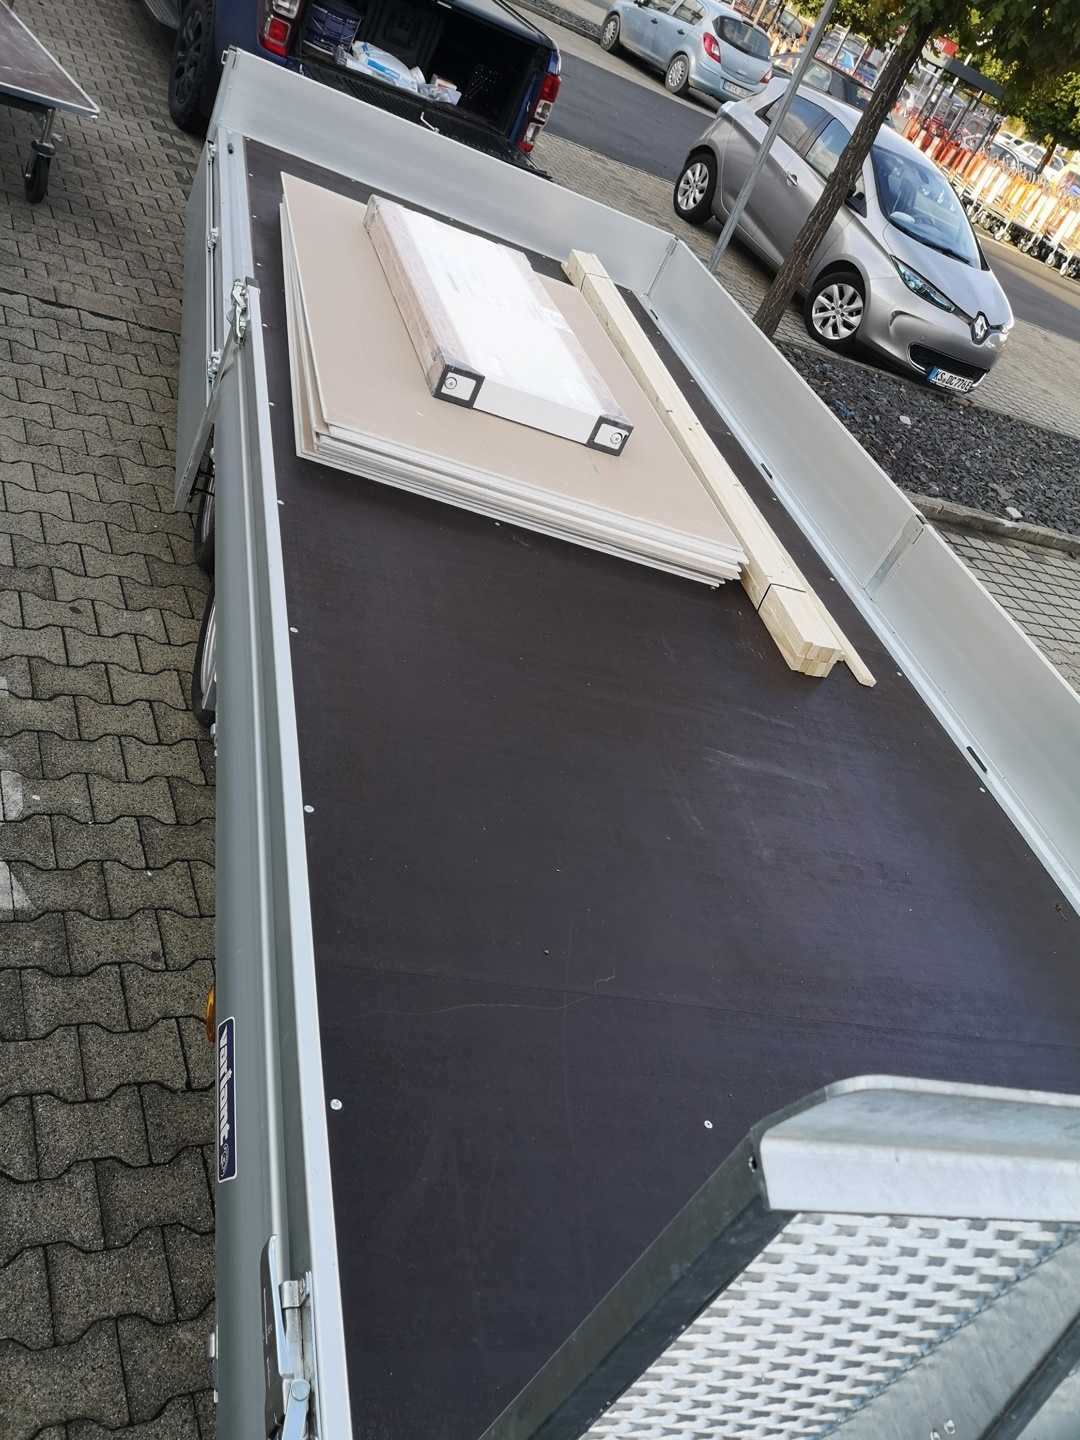
When transporting the material for the lining of the ceiling and the heating pipes, I of course had help again and the colleague absolutely had to use his sparkling new (and massively too big) trailer for this. The 1.25 x 2.0 m panels and the radiator look a bit lost.
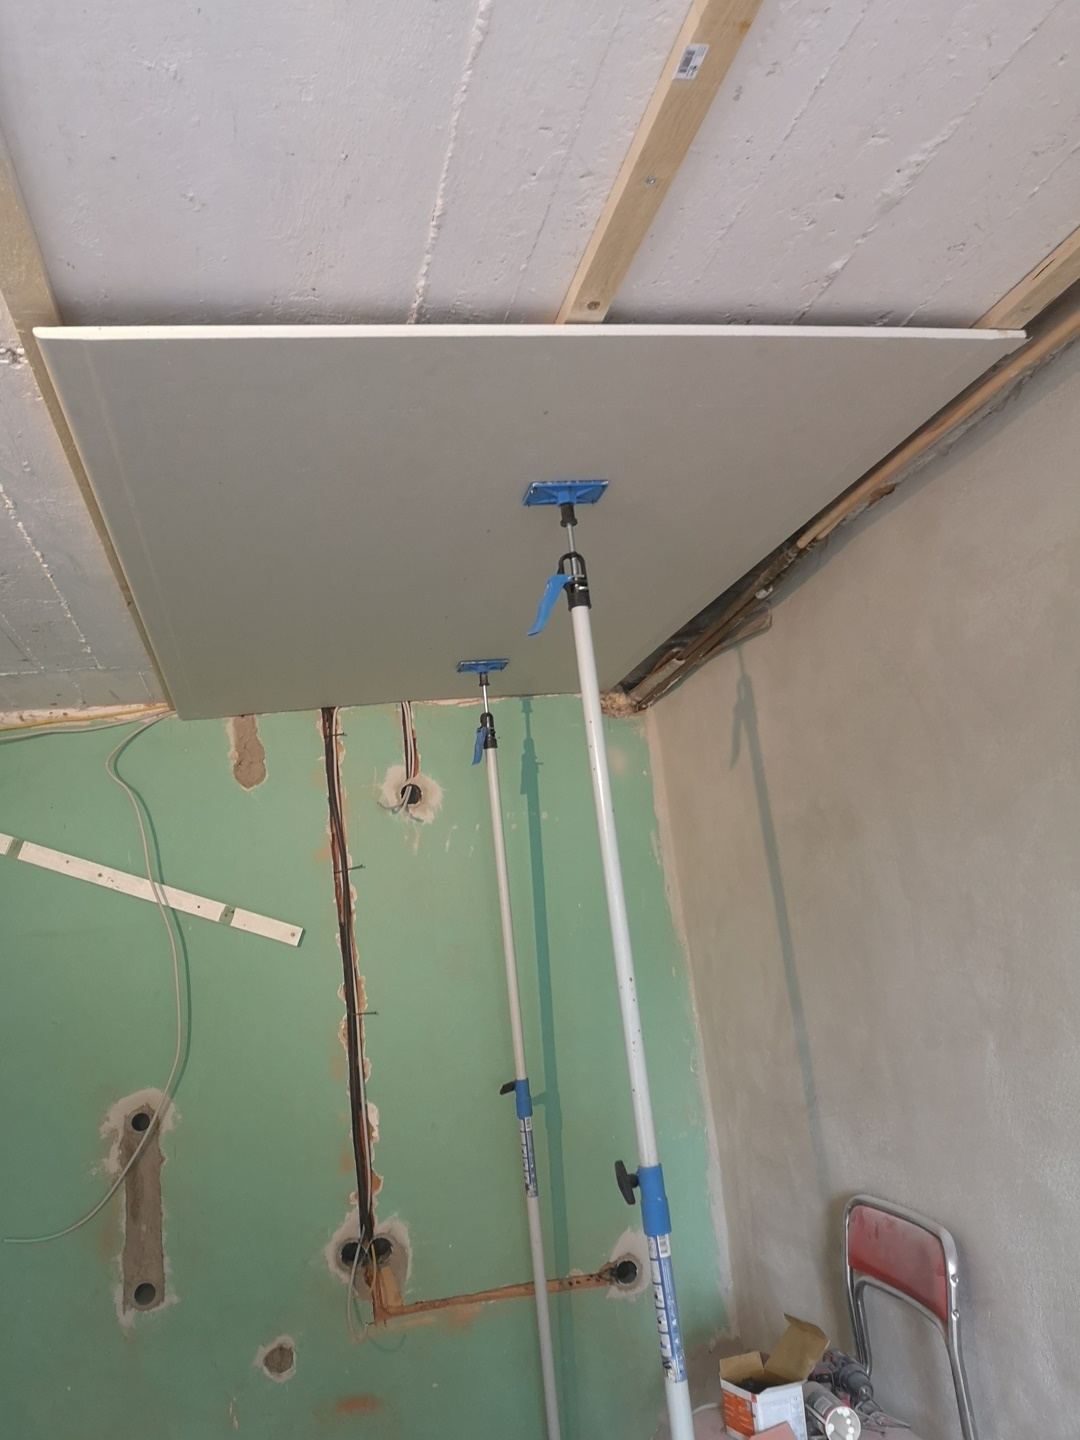
We made short work of the ceiling. Because the concrete slabs are fairly level and in balance on the walls anyway, I didn't fiddle around with rail systems for long, but simply shot a few roof battens with impact dowels under the ceiling.
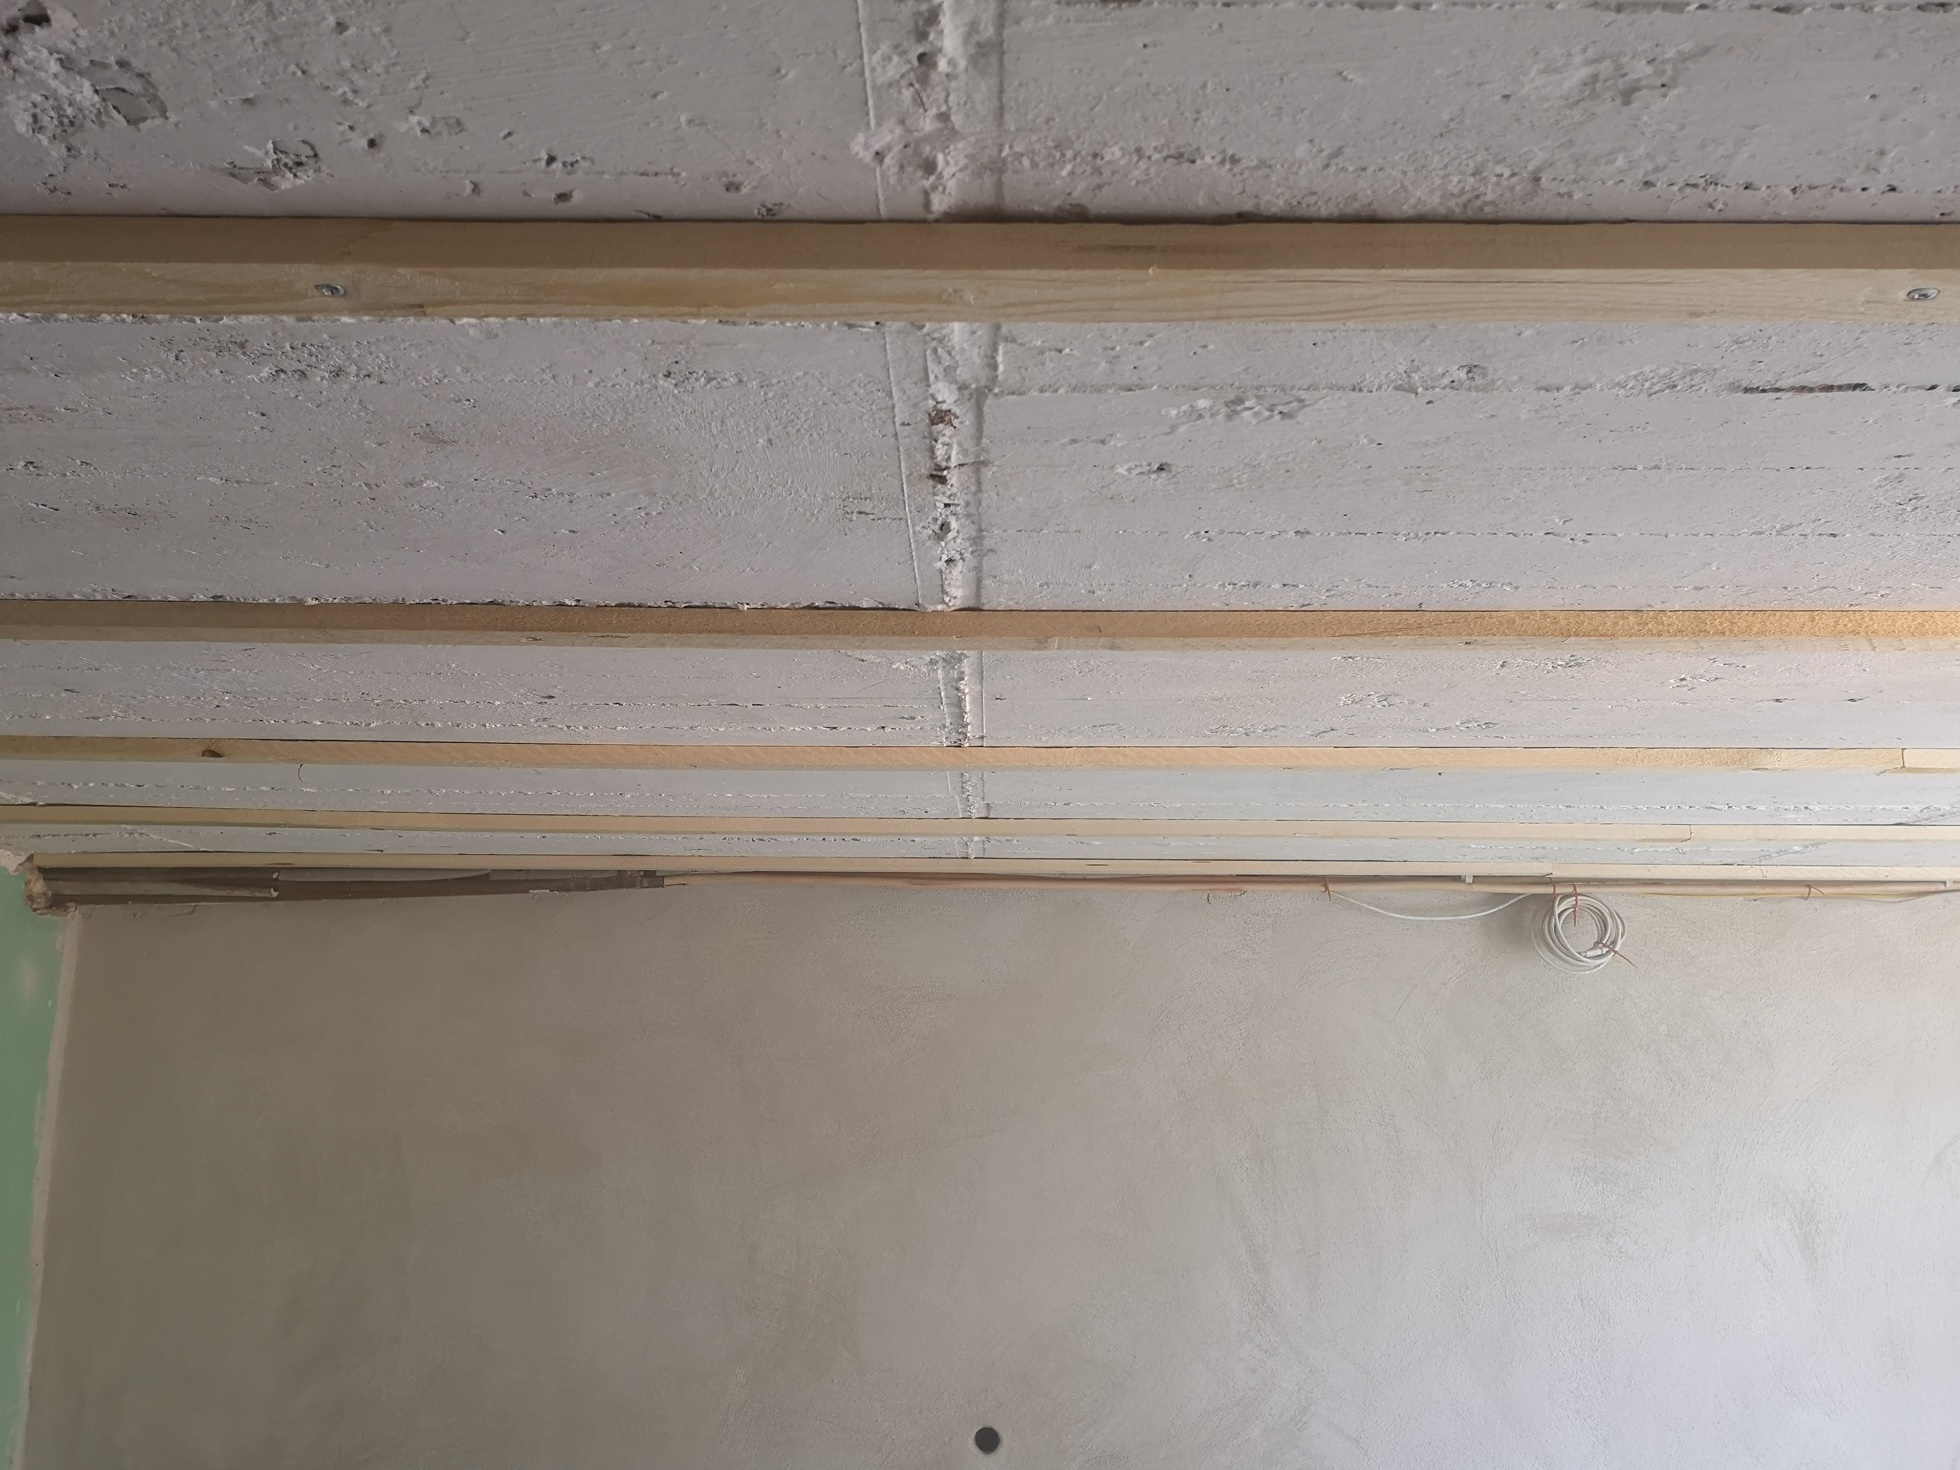
And with the help of these handy supports, the sheetrock was on the ceiling in no time.
I like this kind of work, where you can quickly see progress.
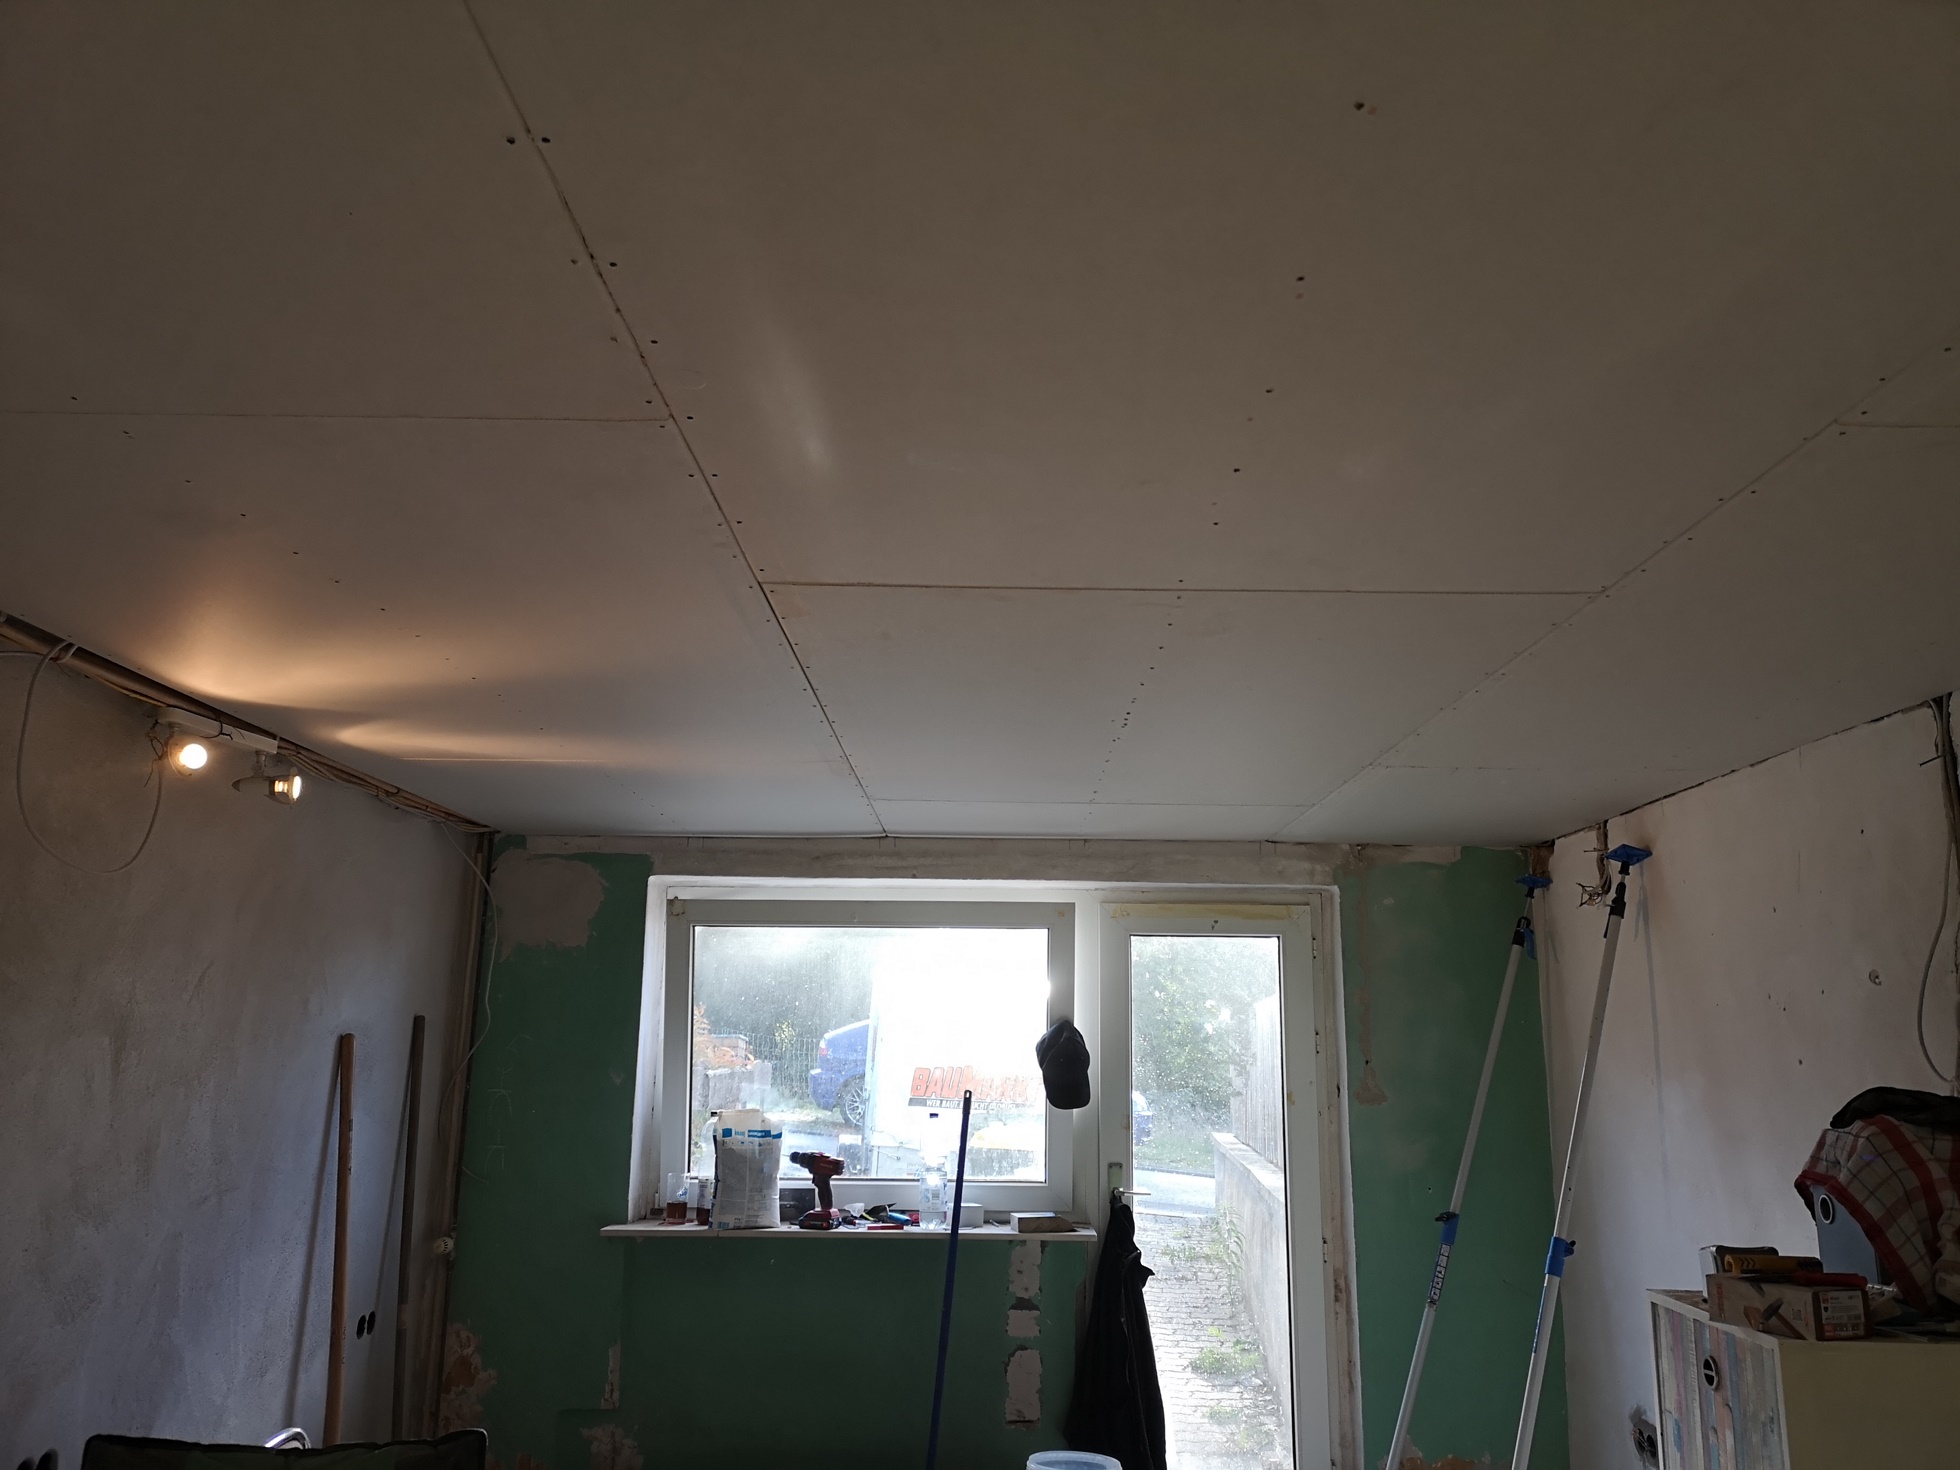
First round of spatula..
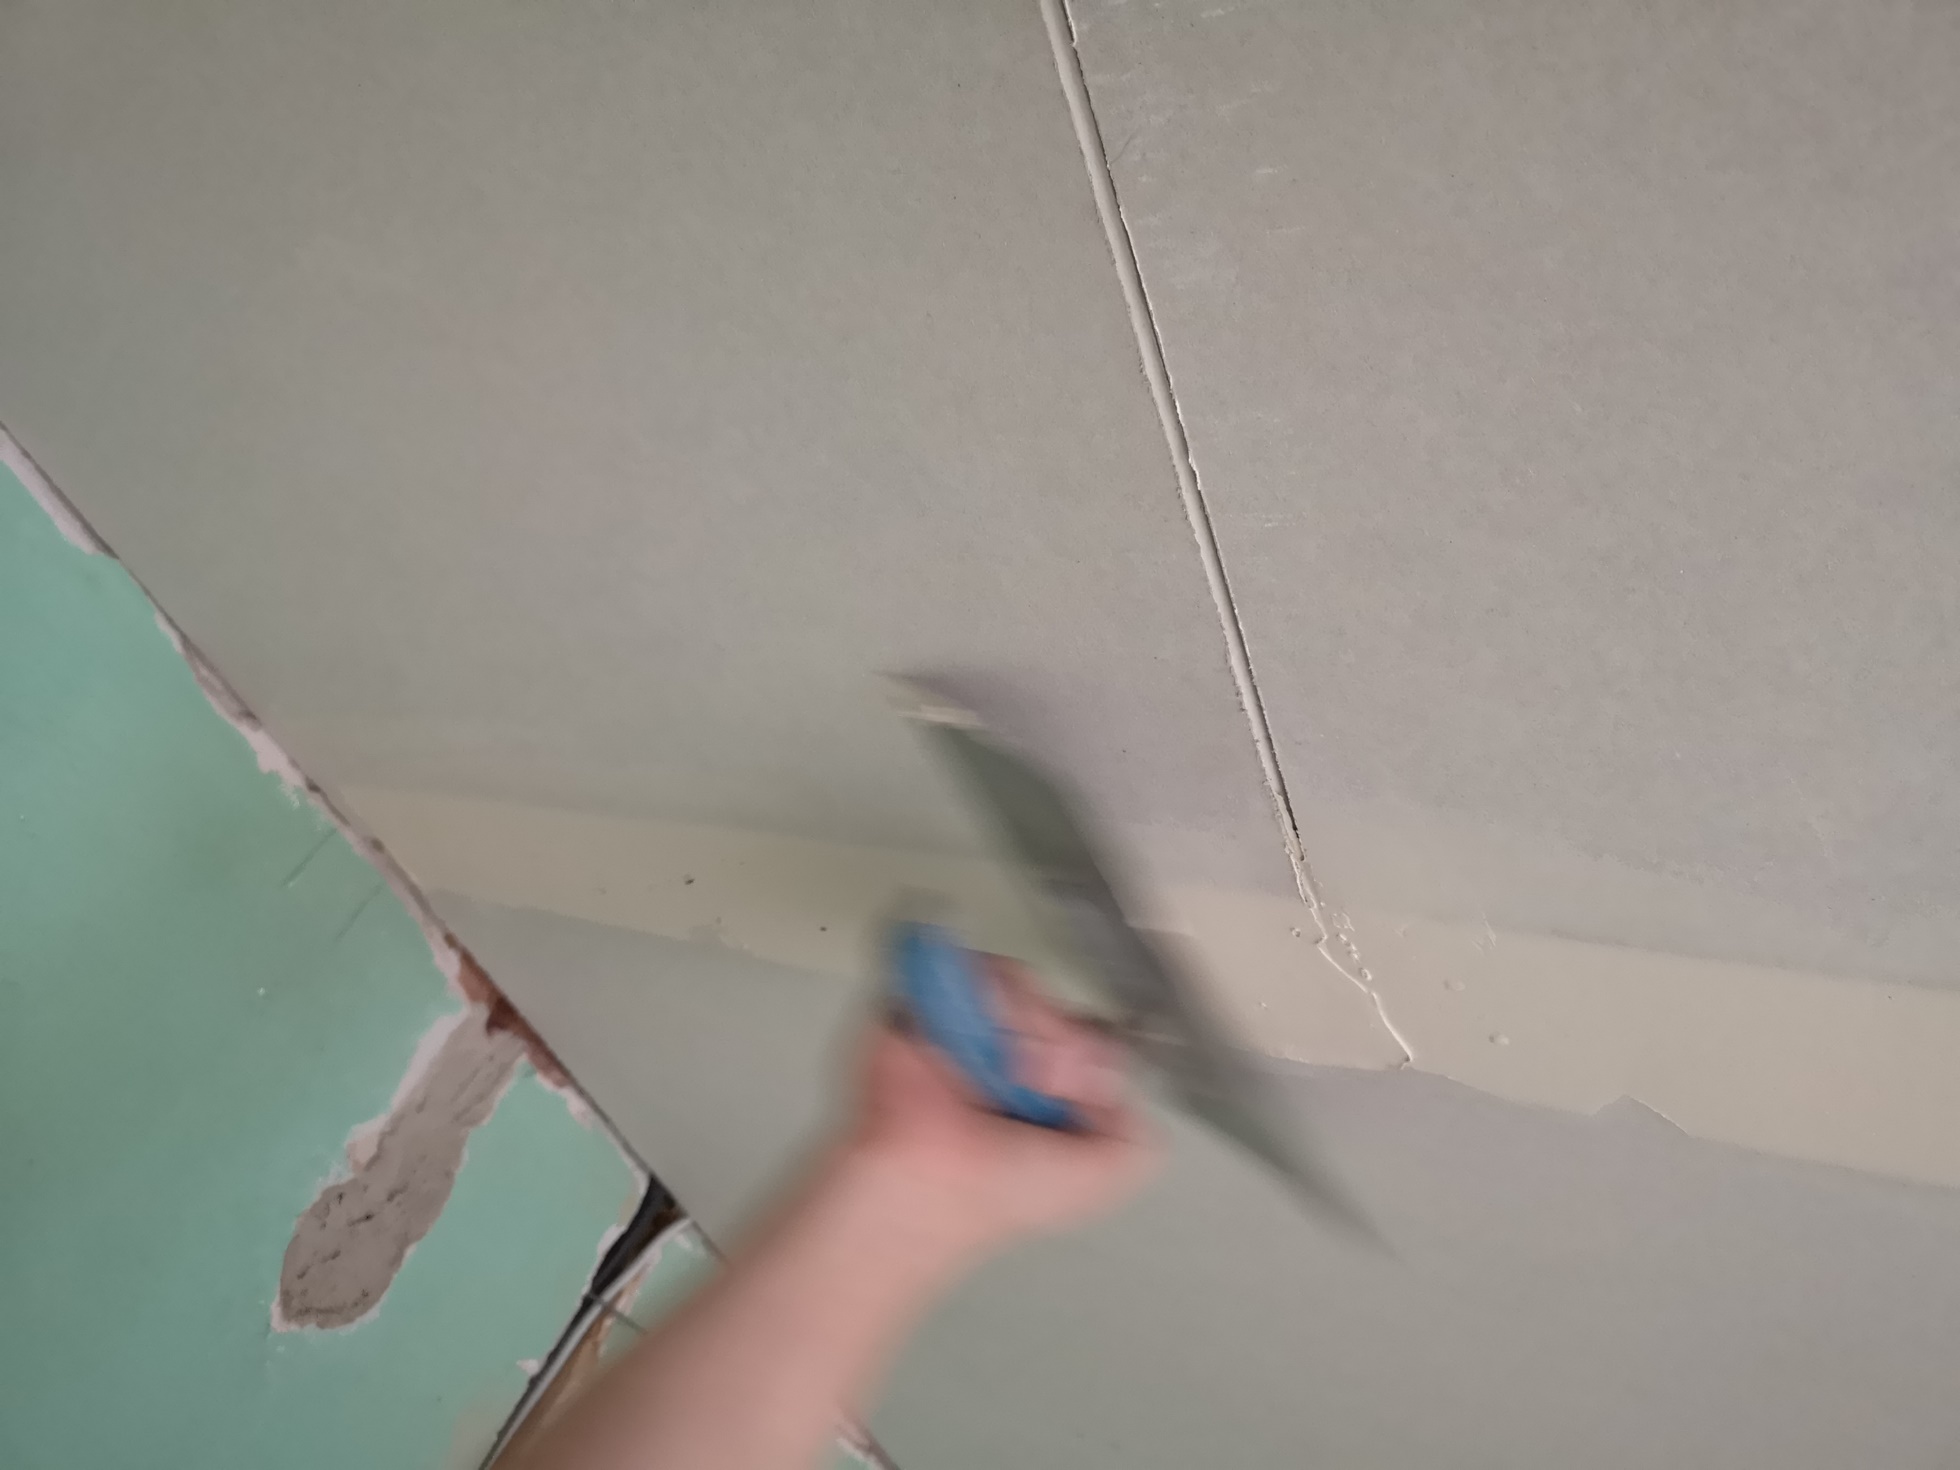
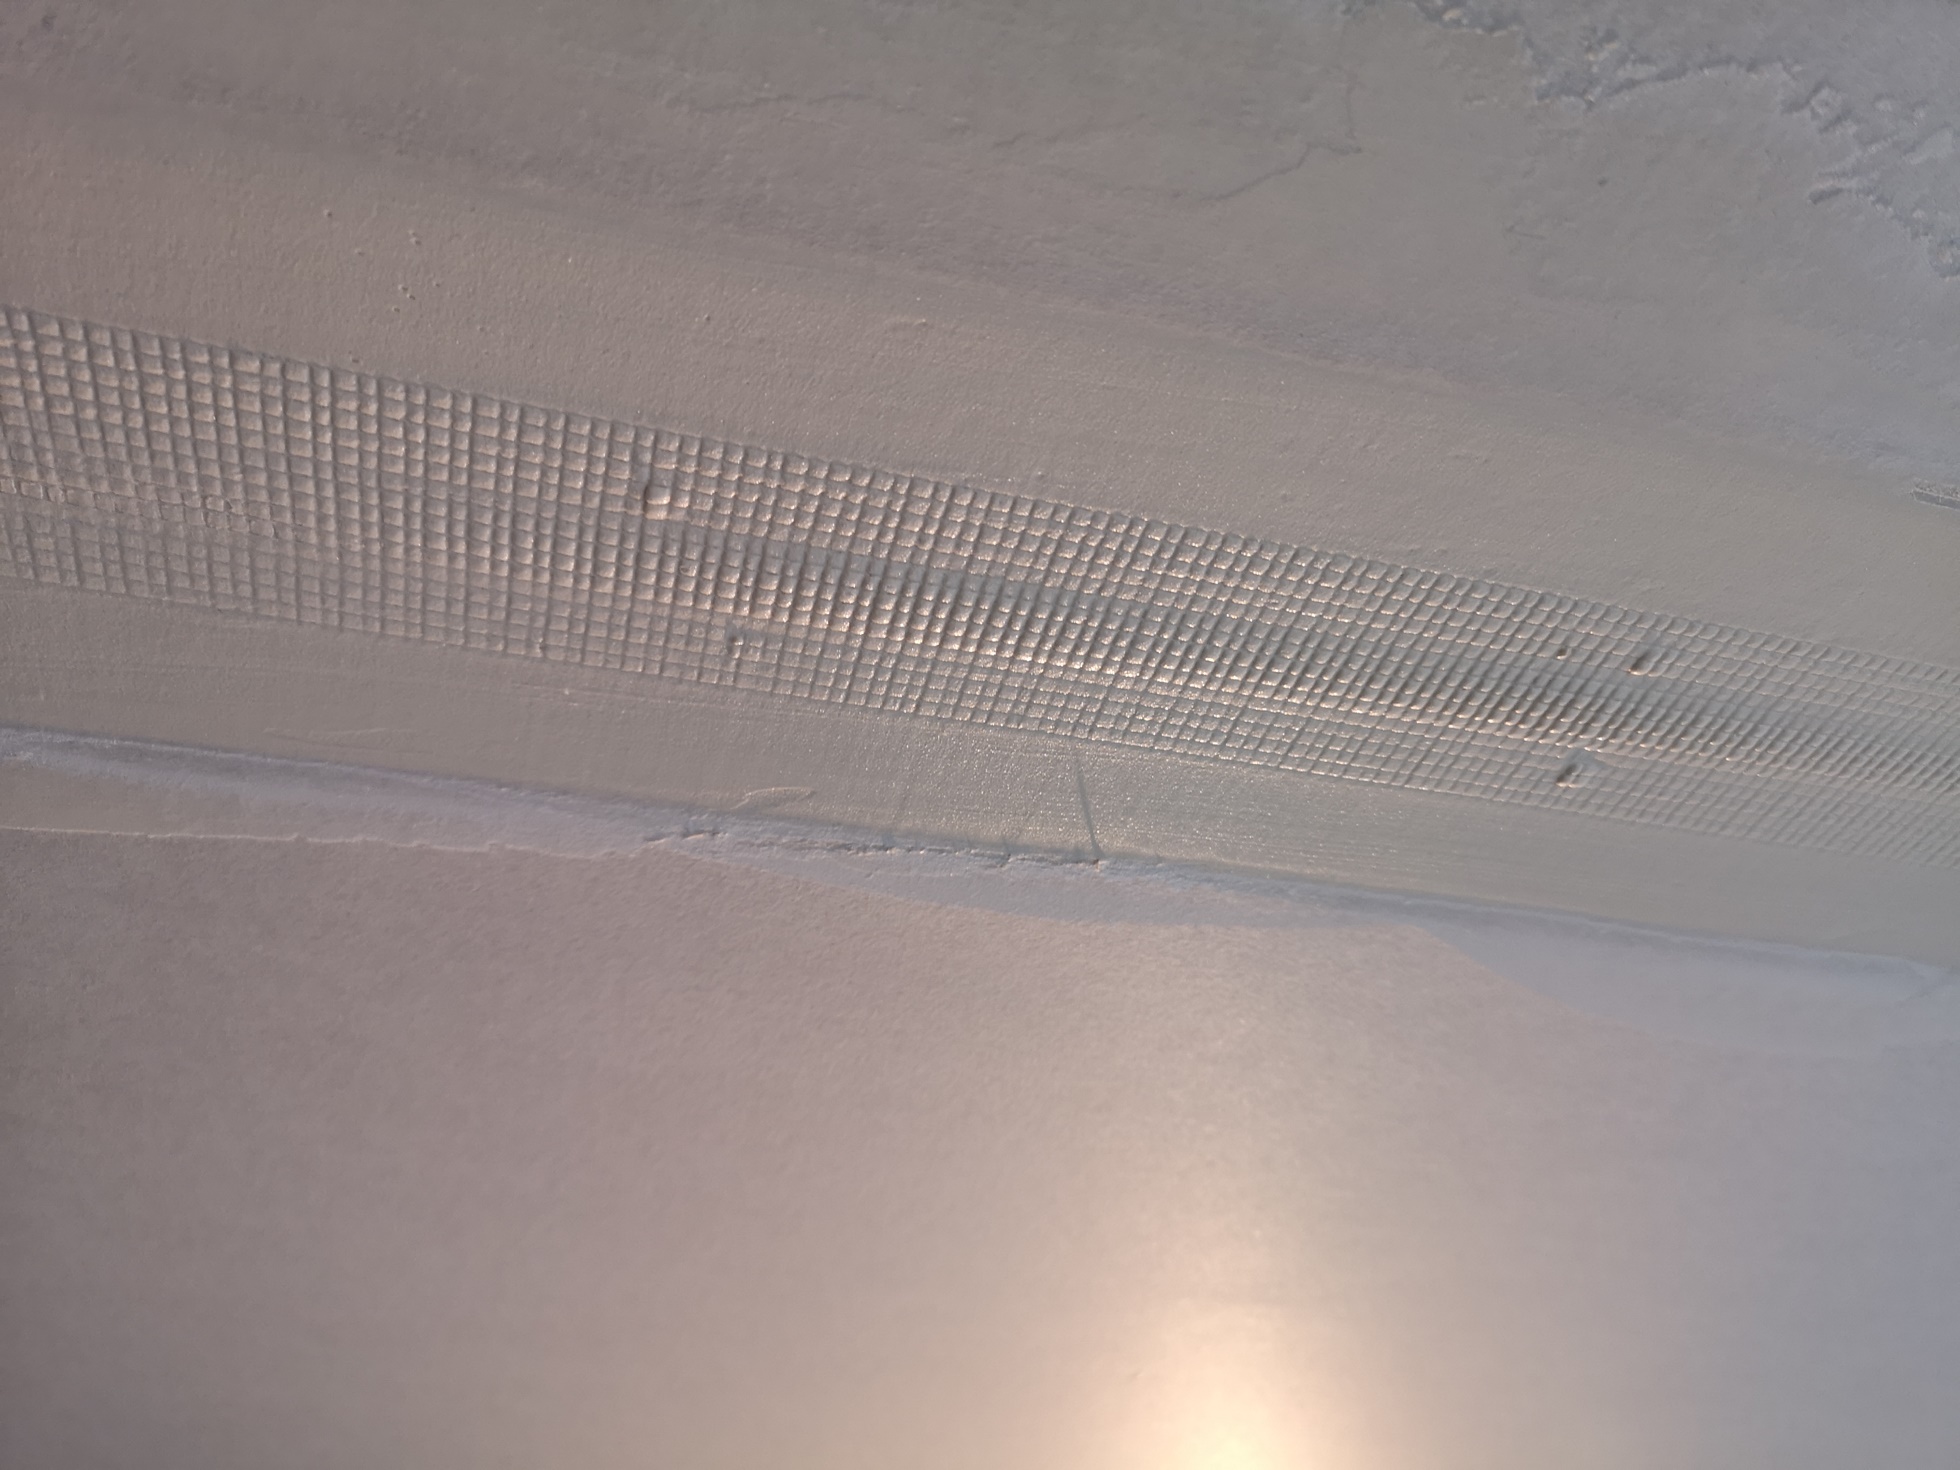
The fiberglass reinforcement tape ensures that the joints do not crack later.
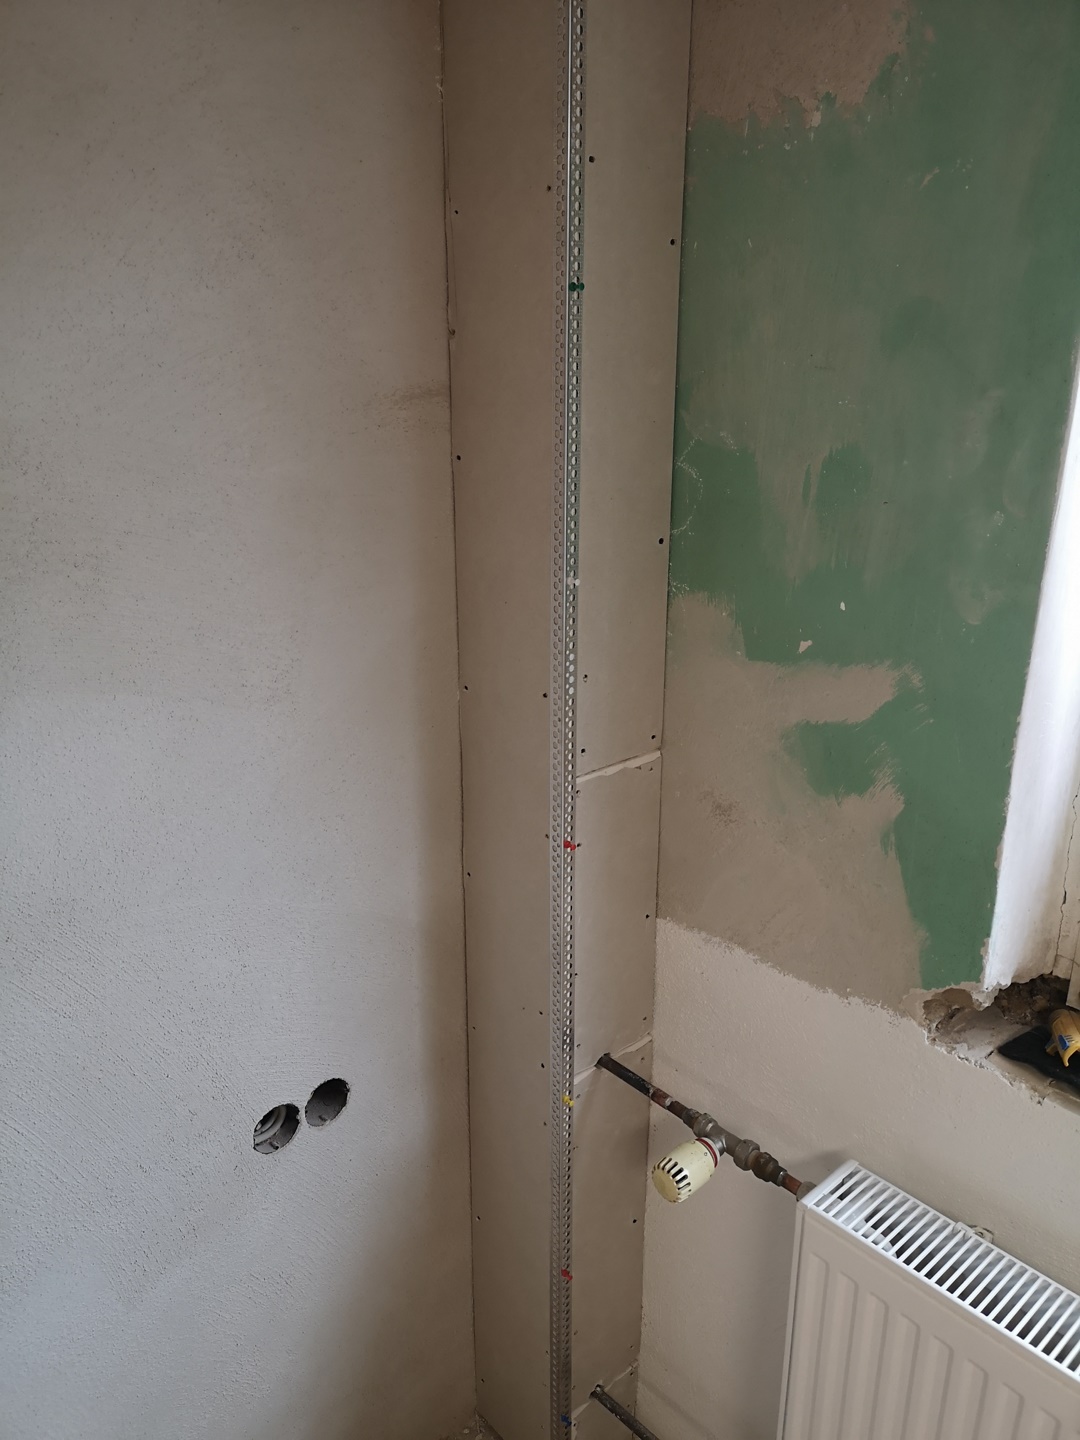
While the joints on the ceiling were drying, I had set about implementing my plans regarding the heating system. I didn't trust the old "convector" one bit. Especially since the things are probably also quite inefficient and I would like to achieve even at below -10 ° C still comfortable temperatures in this room.
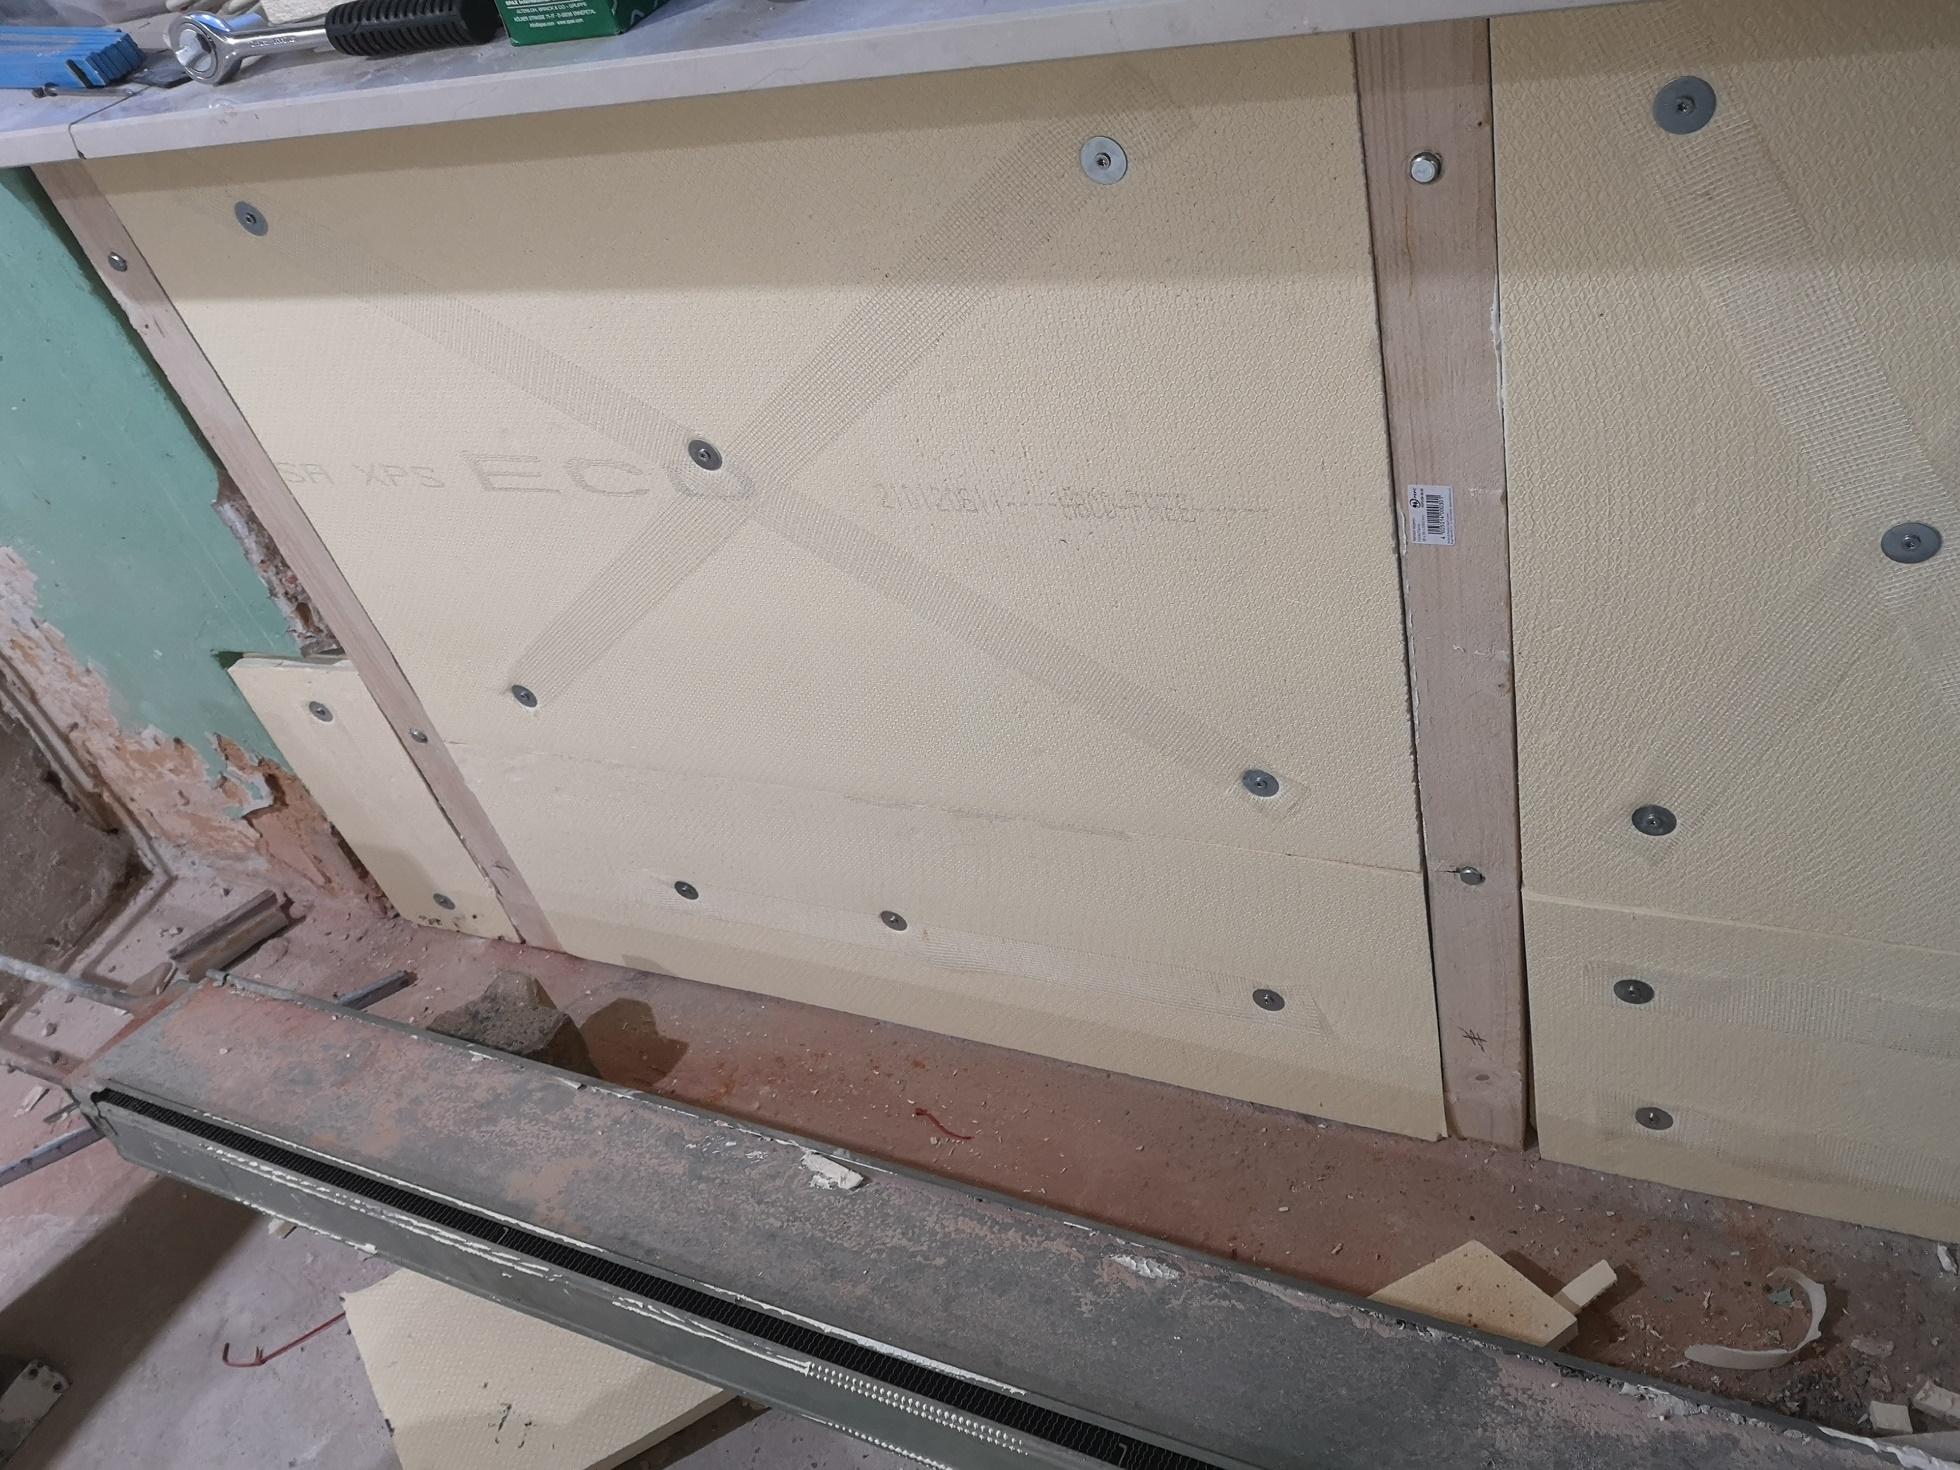
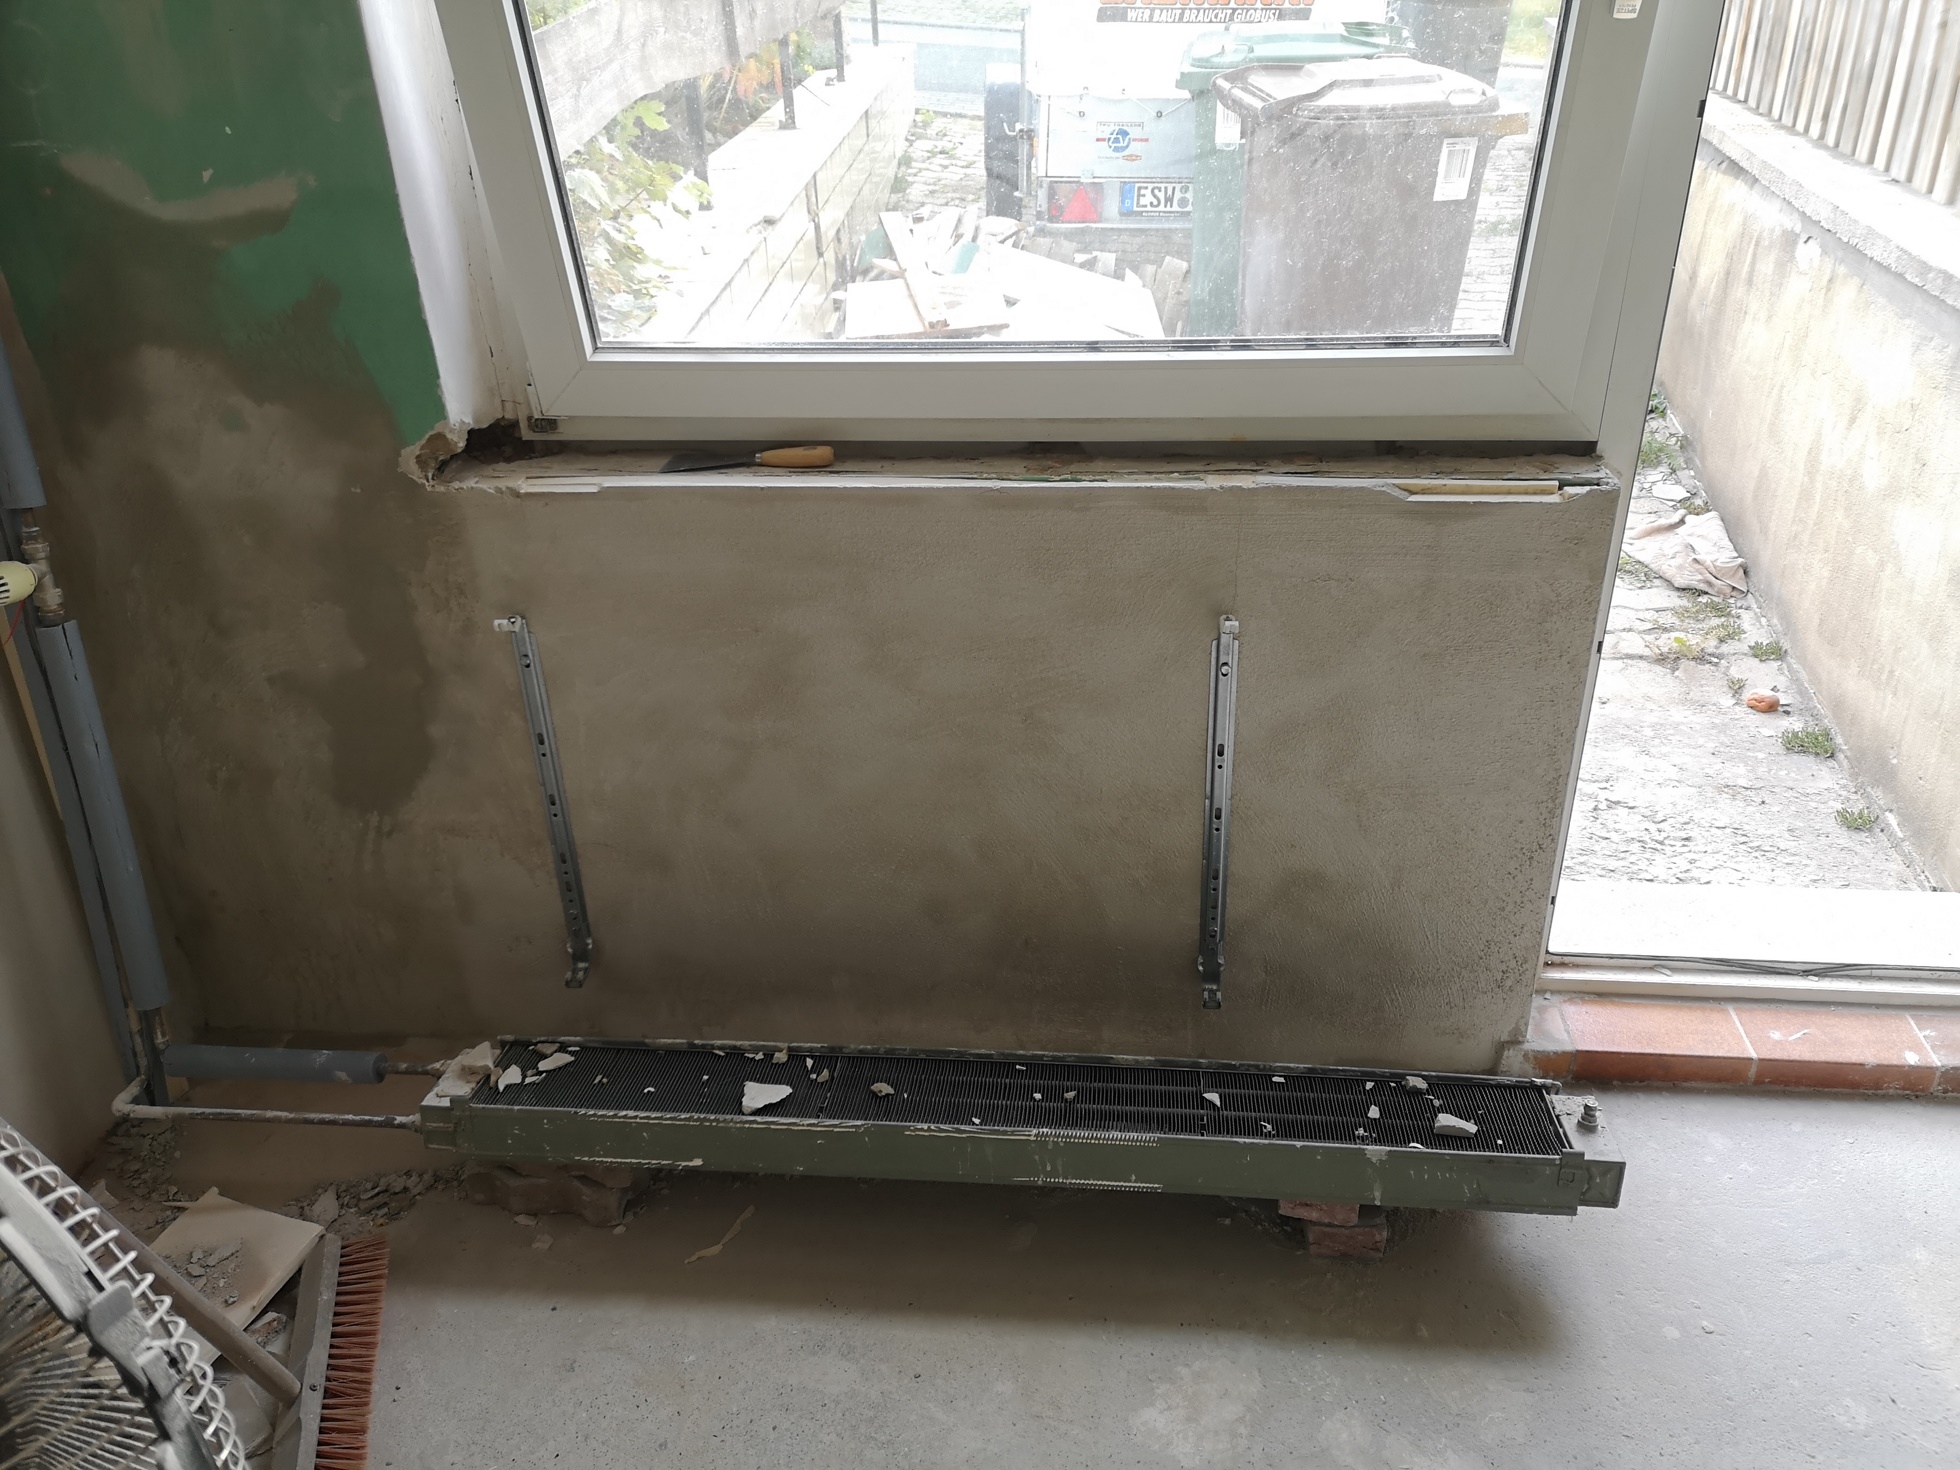
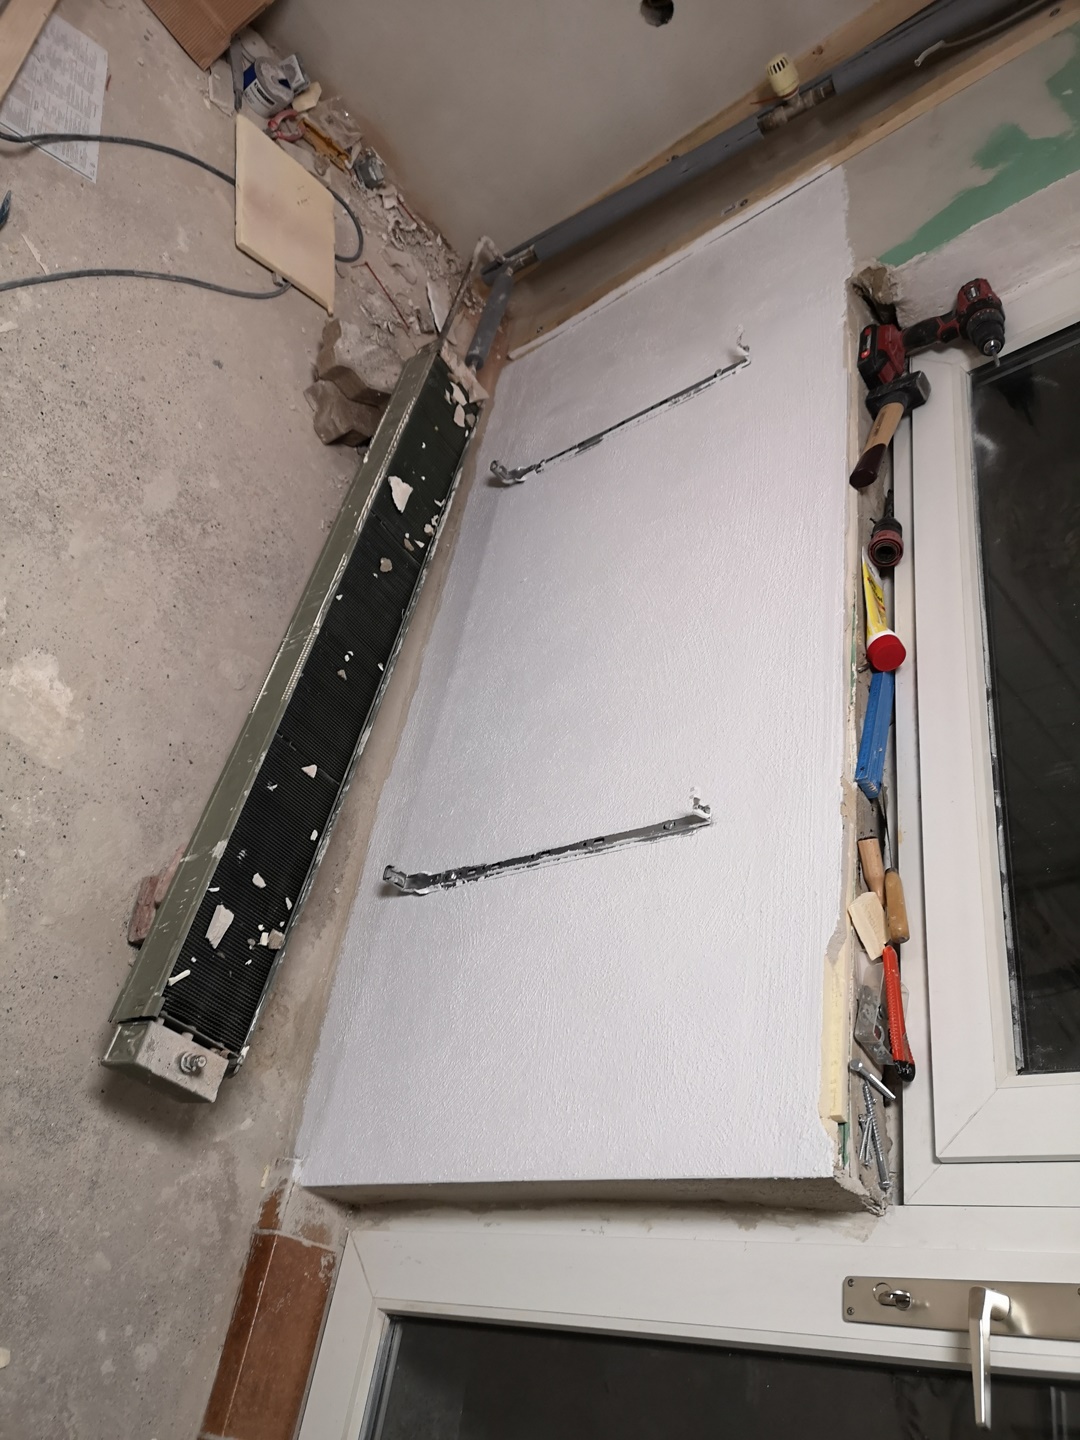
At the places where the wall brackets for the new radiator were to be screwed on, I doweled two thick square timbers to the wall. I filled the remaining area of the bulge with the remaining XPS boards.
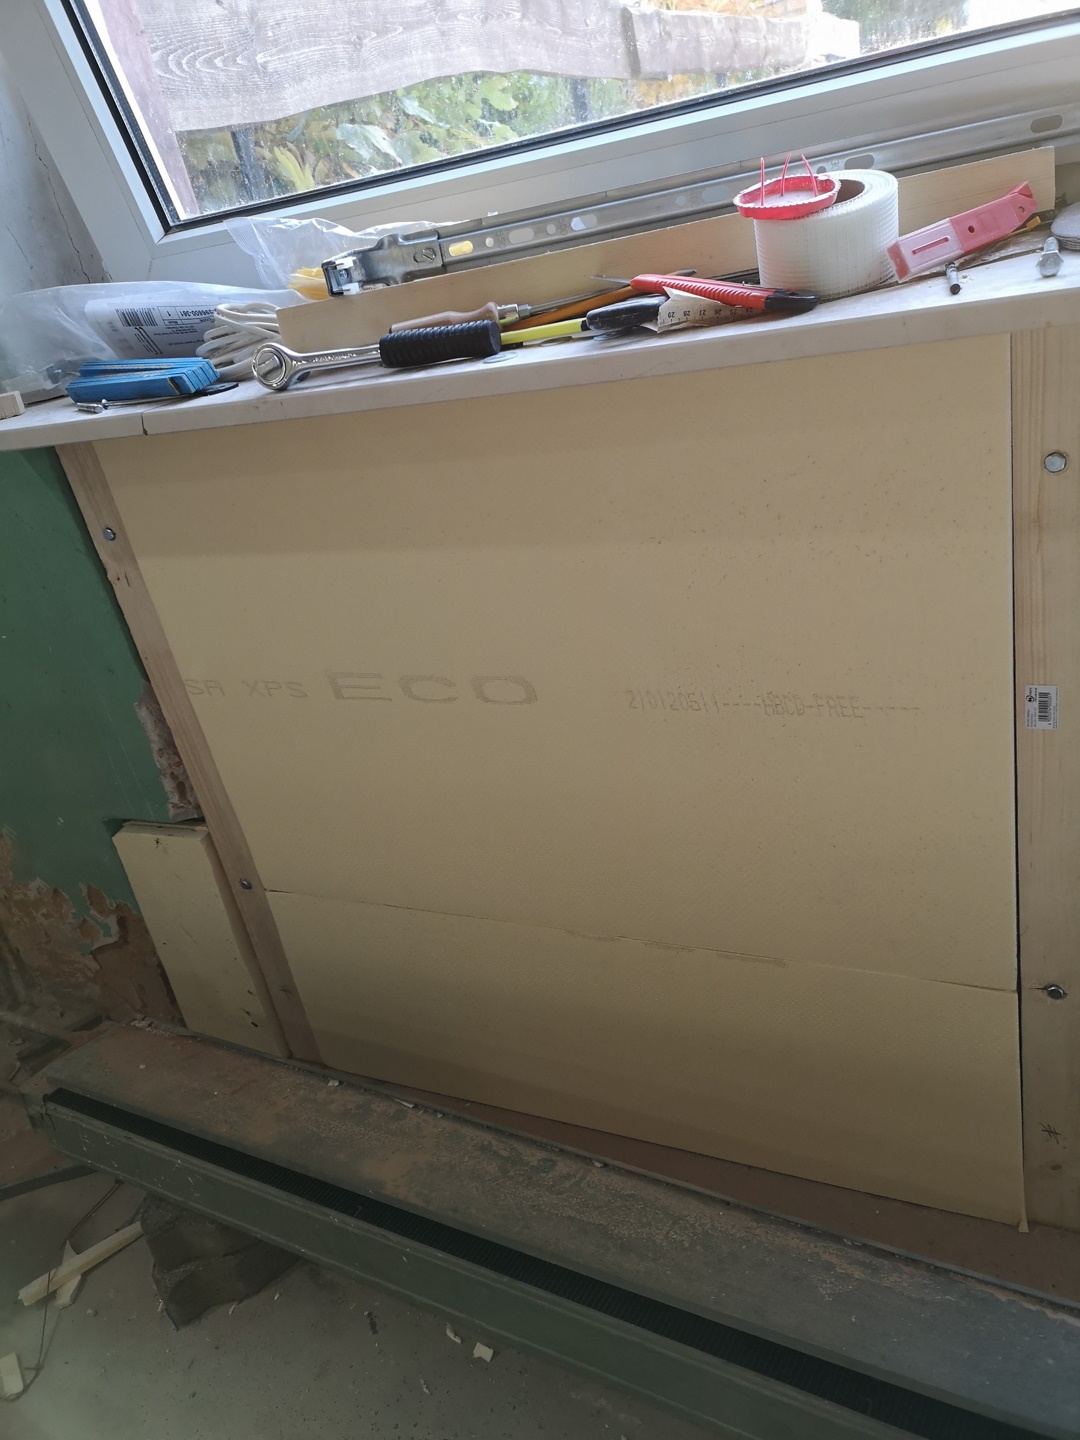
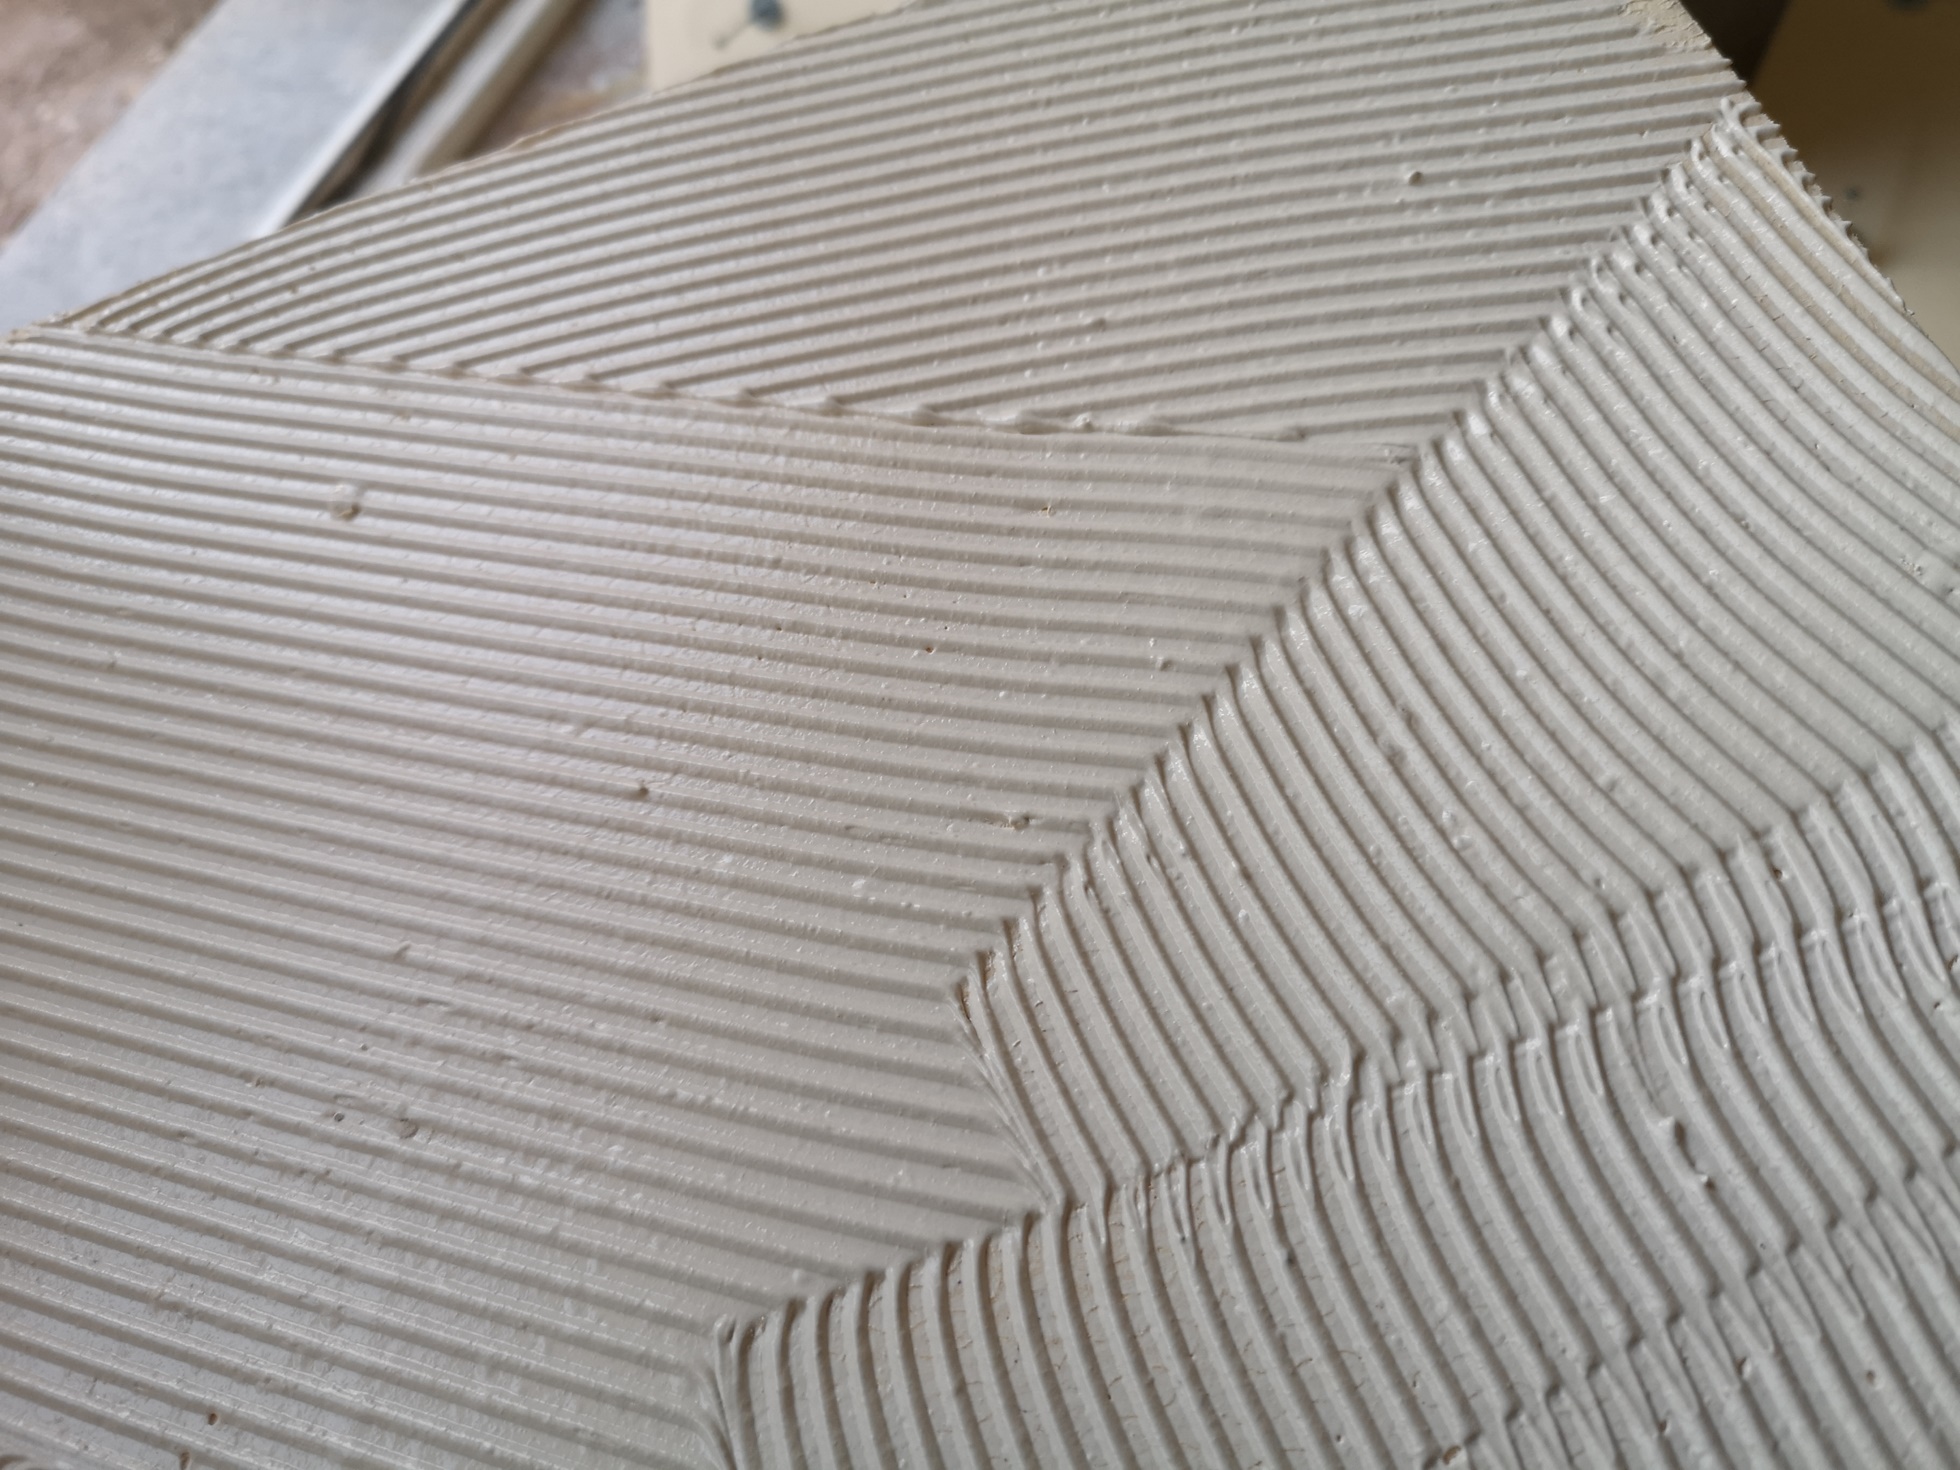
I "layered" the panels with Styrofoam adhesive and glued them directly to the plaster.
In addition, I screwed them together with long screws and large washers so that the glue is pressed on a bit.
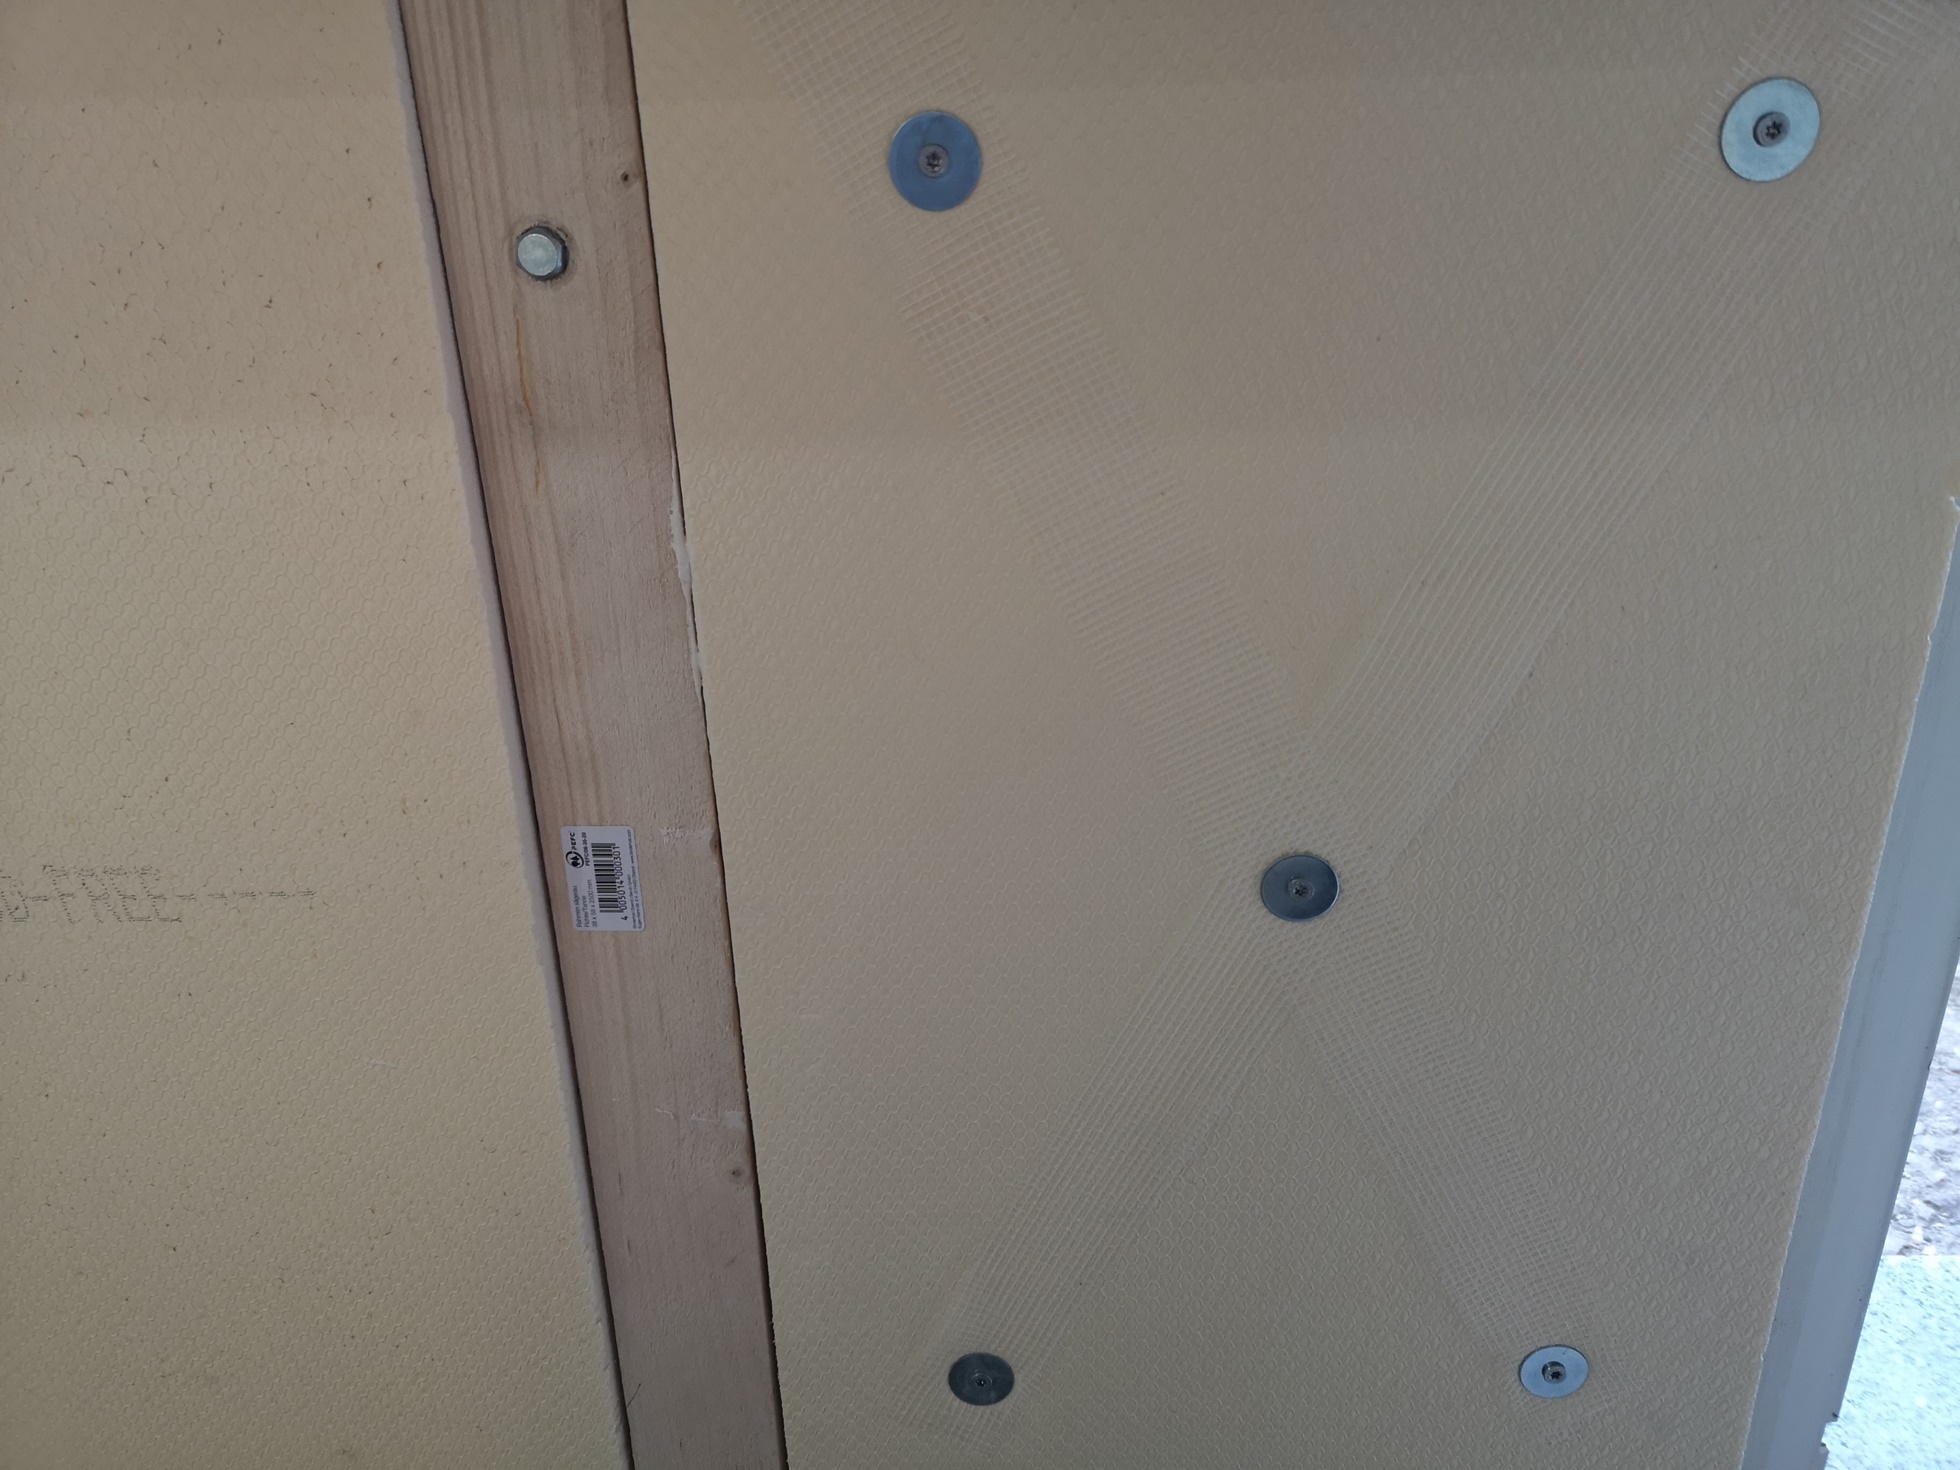
The probation tape should provide support for the plaster. I don't know if that helps, but it can't hurt either.
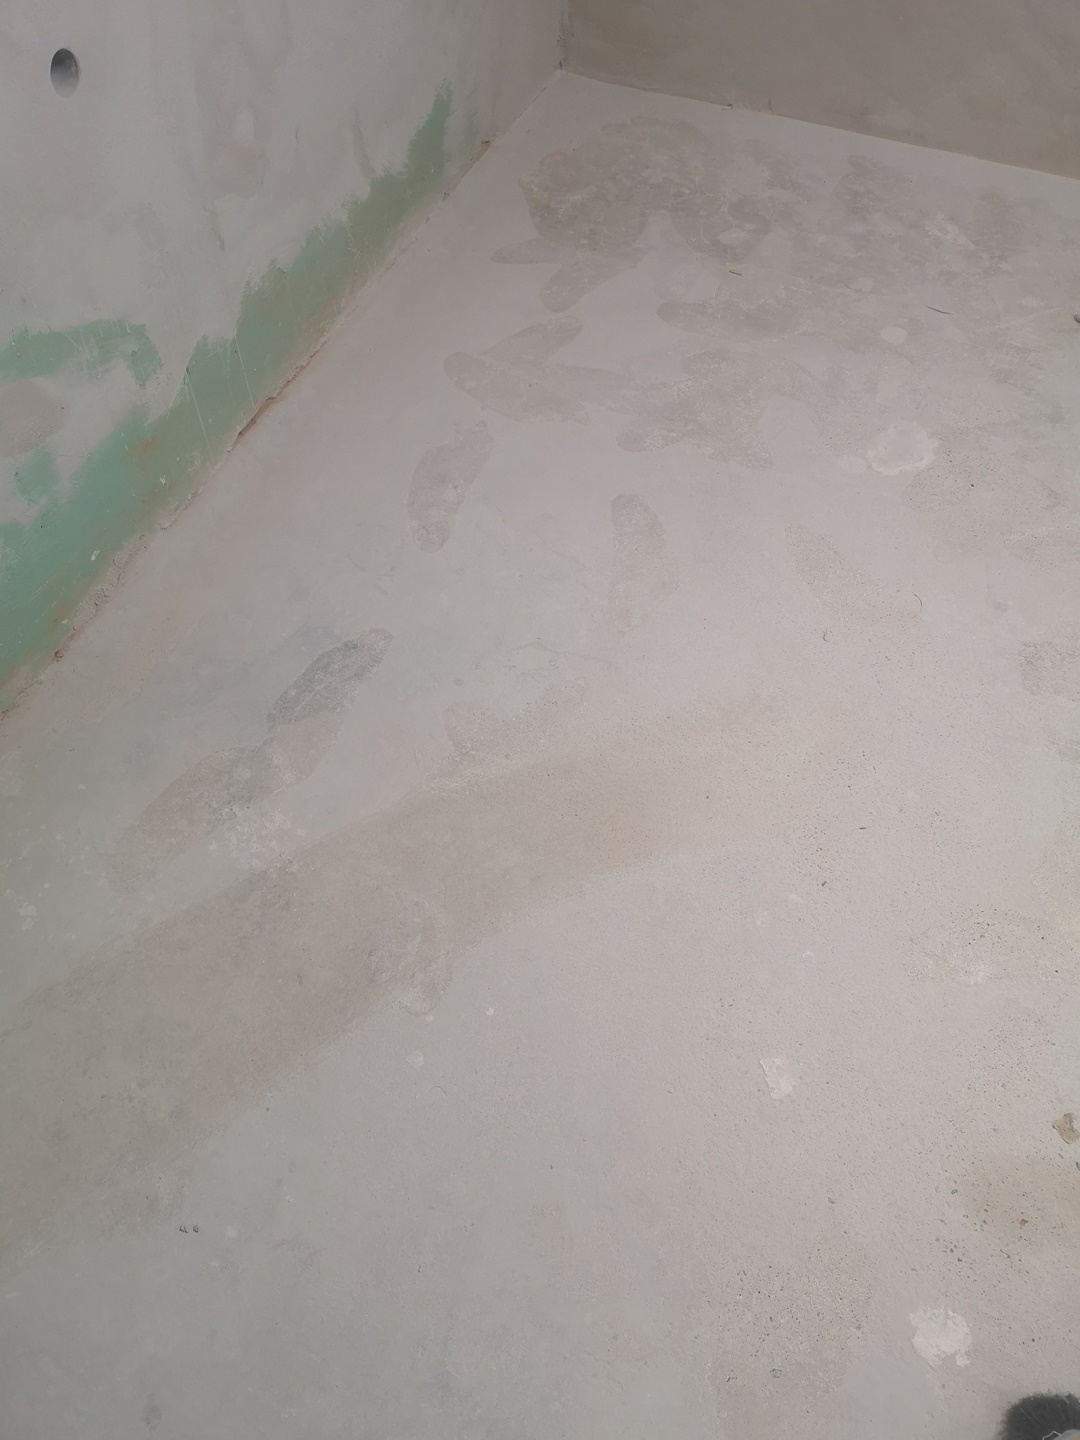
I then plastered and felted the entire surface. For the first time cleaning completely alone, that's halfway respectable, isn't it?
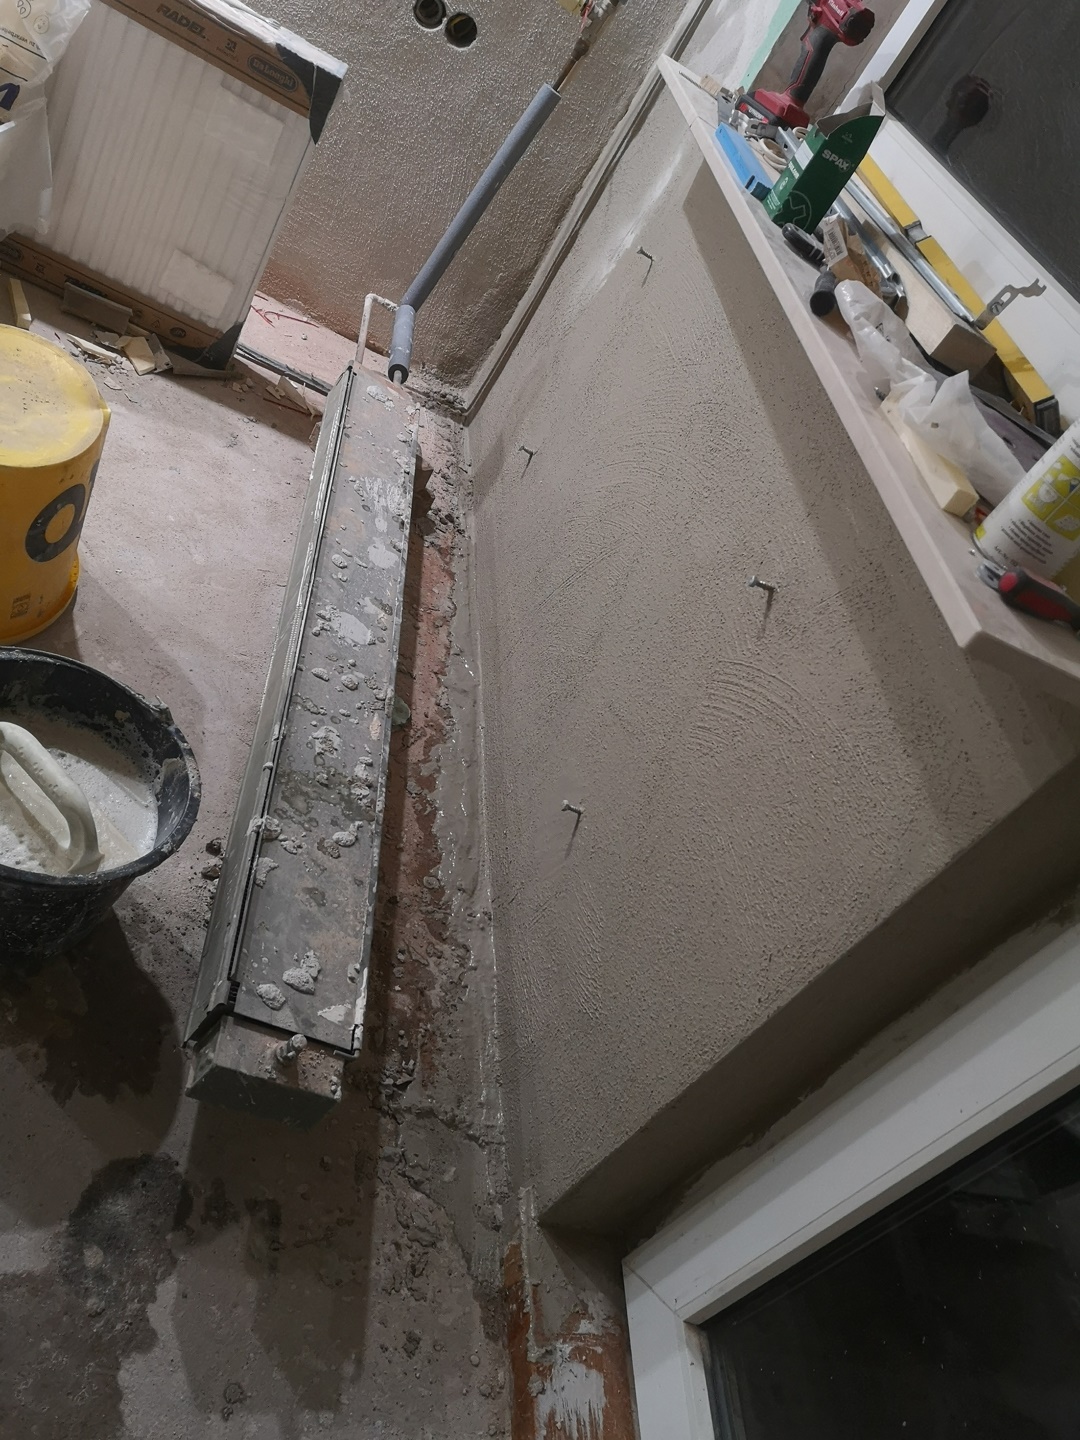
Meanwhile, the broken windowsill was also a real thorn in my side.
So this was unceremoniously removed as well.
Only I had made the bill without the local hardware stores, which simply times no suitable window sill in the offer had. That left only the customization on the Internet. Fortunately, I was able to find a dealer on Ebay who could supply the desired dimensions quite cheaply. During the short week of delivery, the plaster behind the heater was able to dry properly and was ready for painting after a treatment with deep primer.
Even if it is surreptitious advertising, there is simply no cooler color than polar white from Schöner Wohnen!
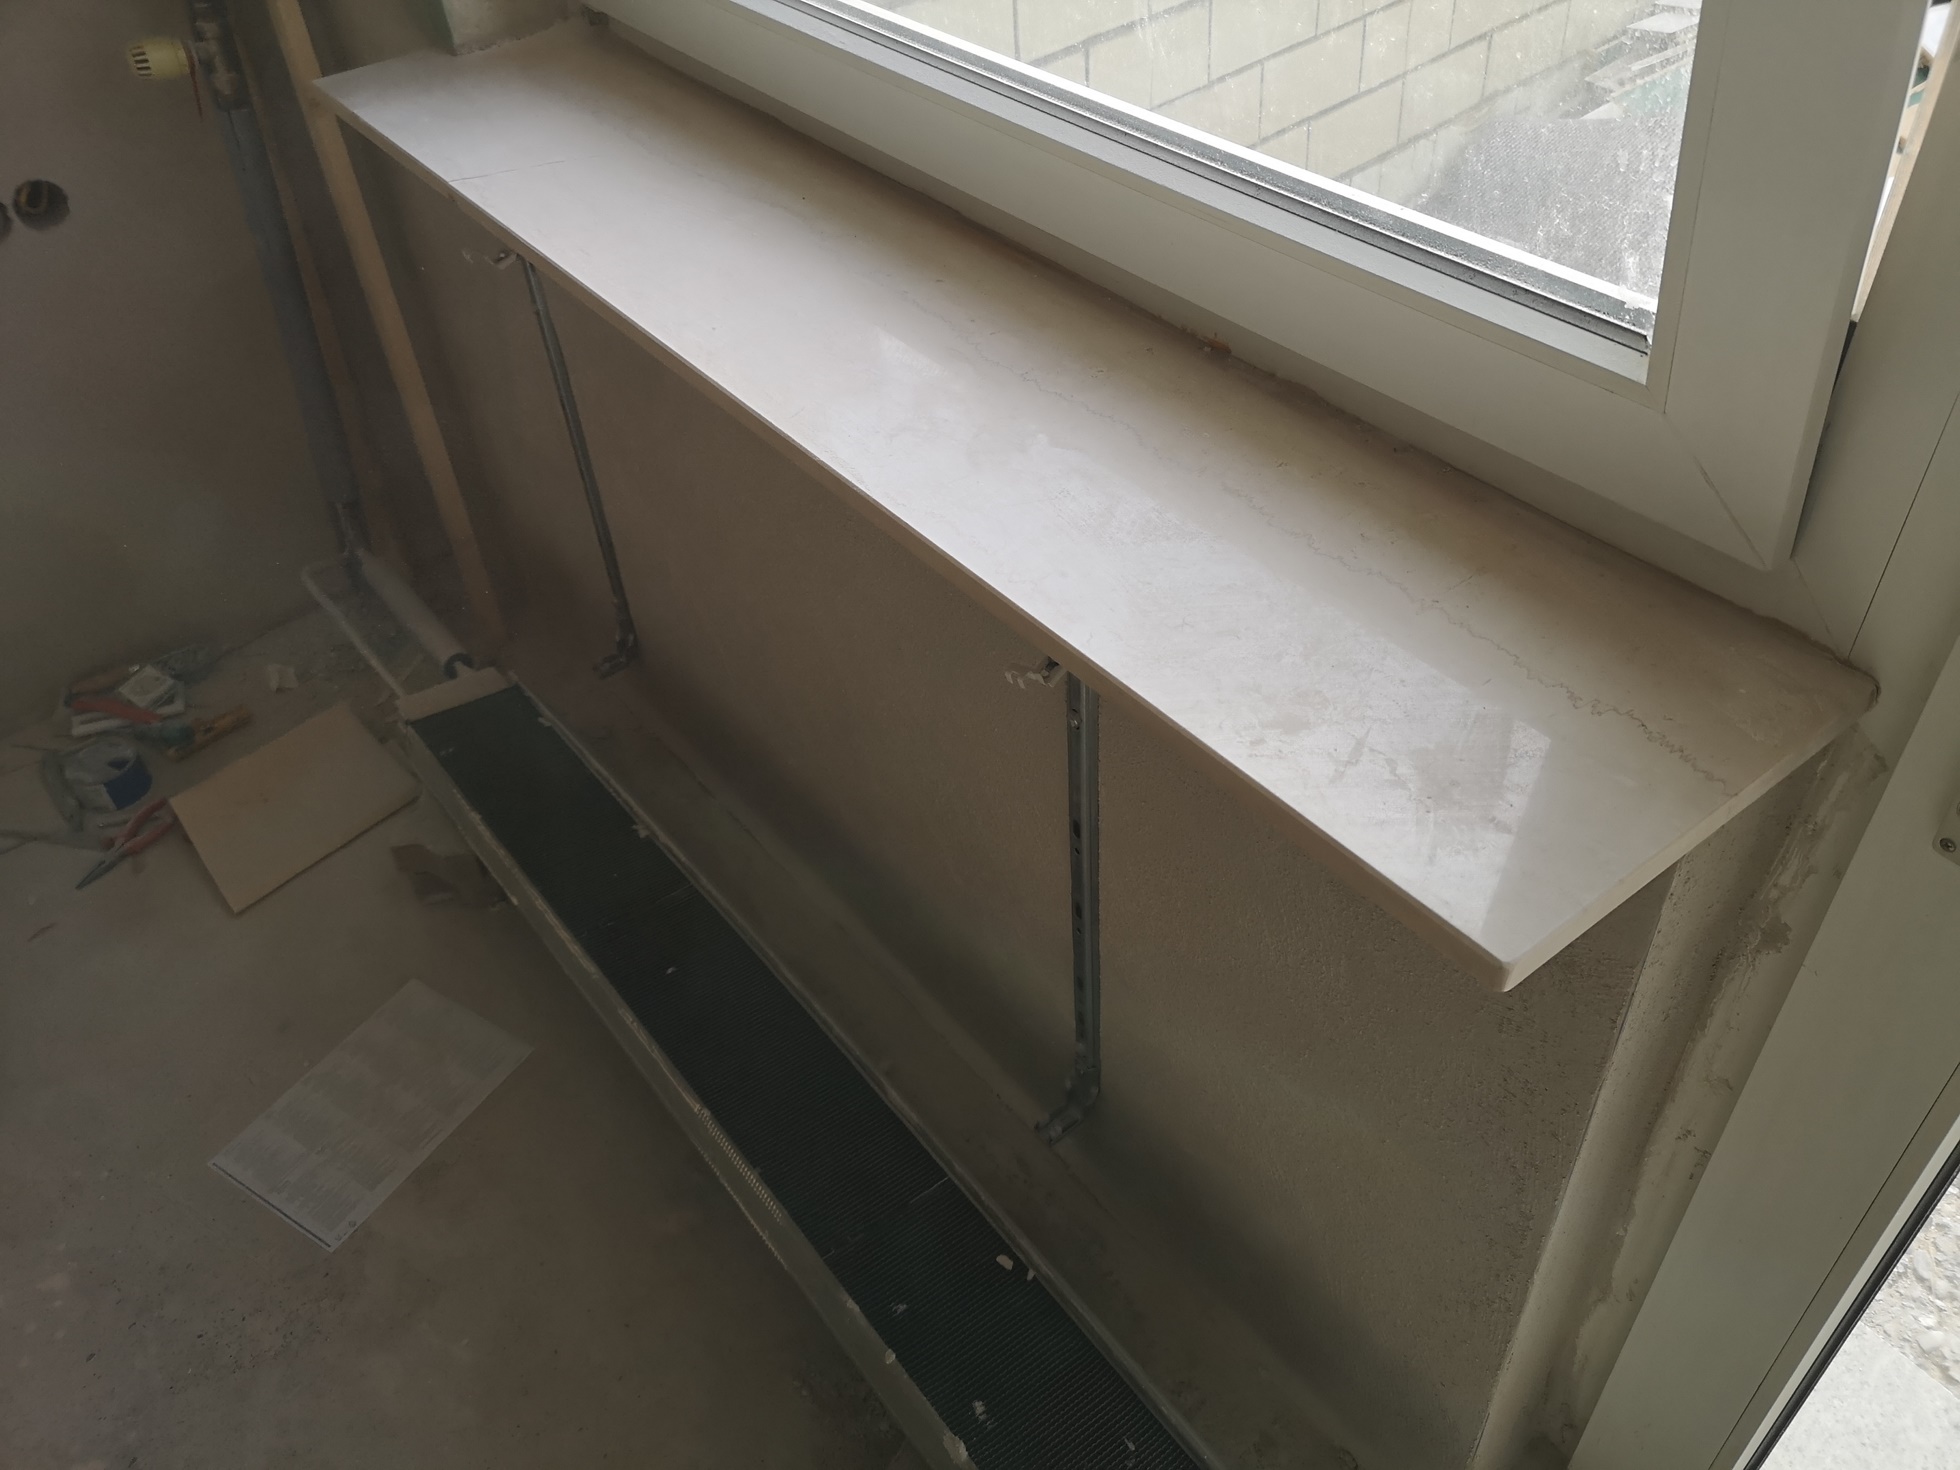
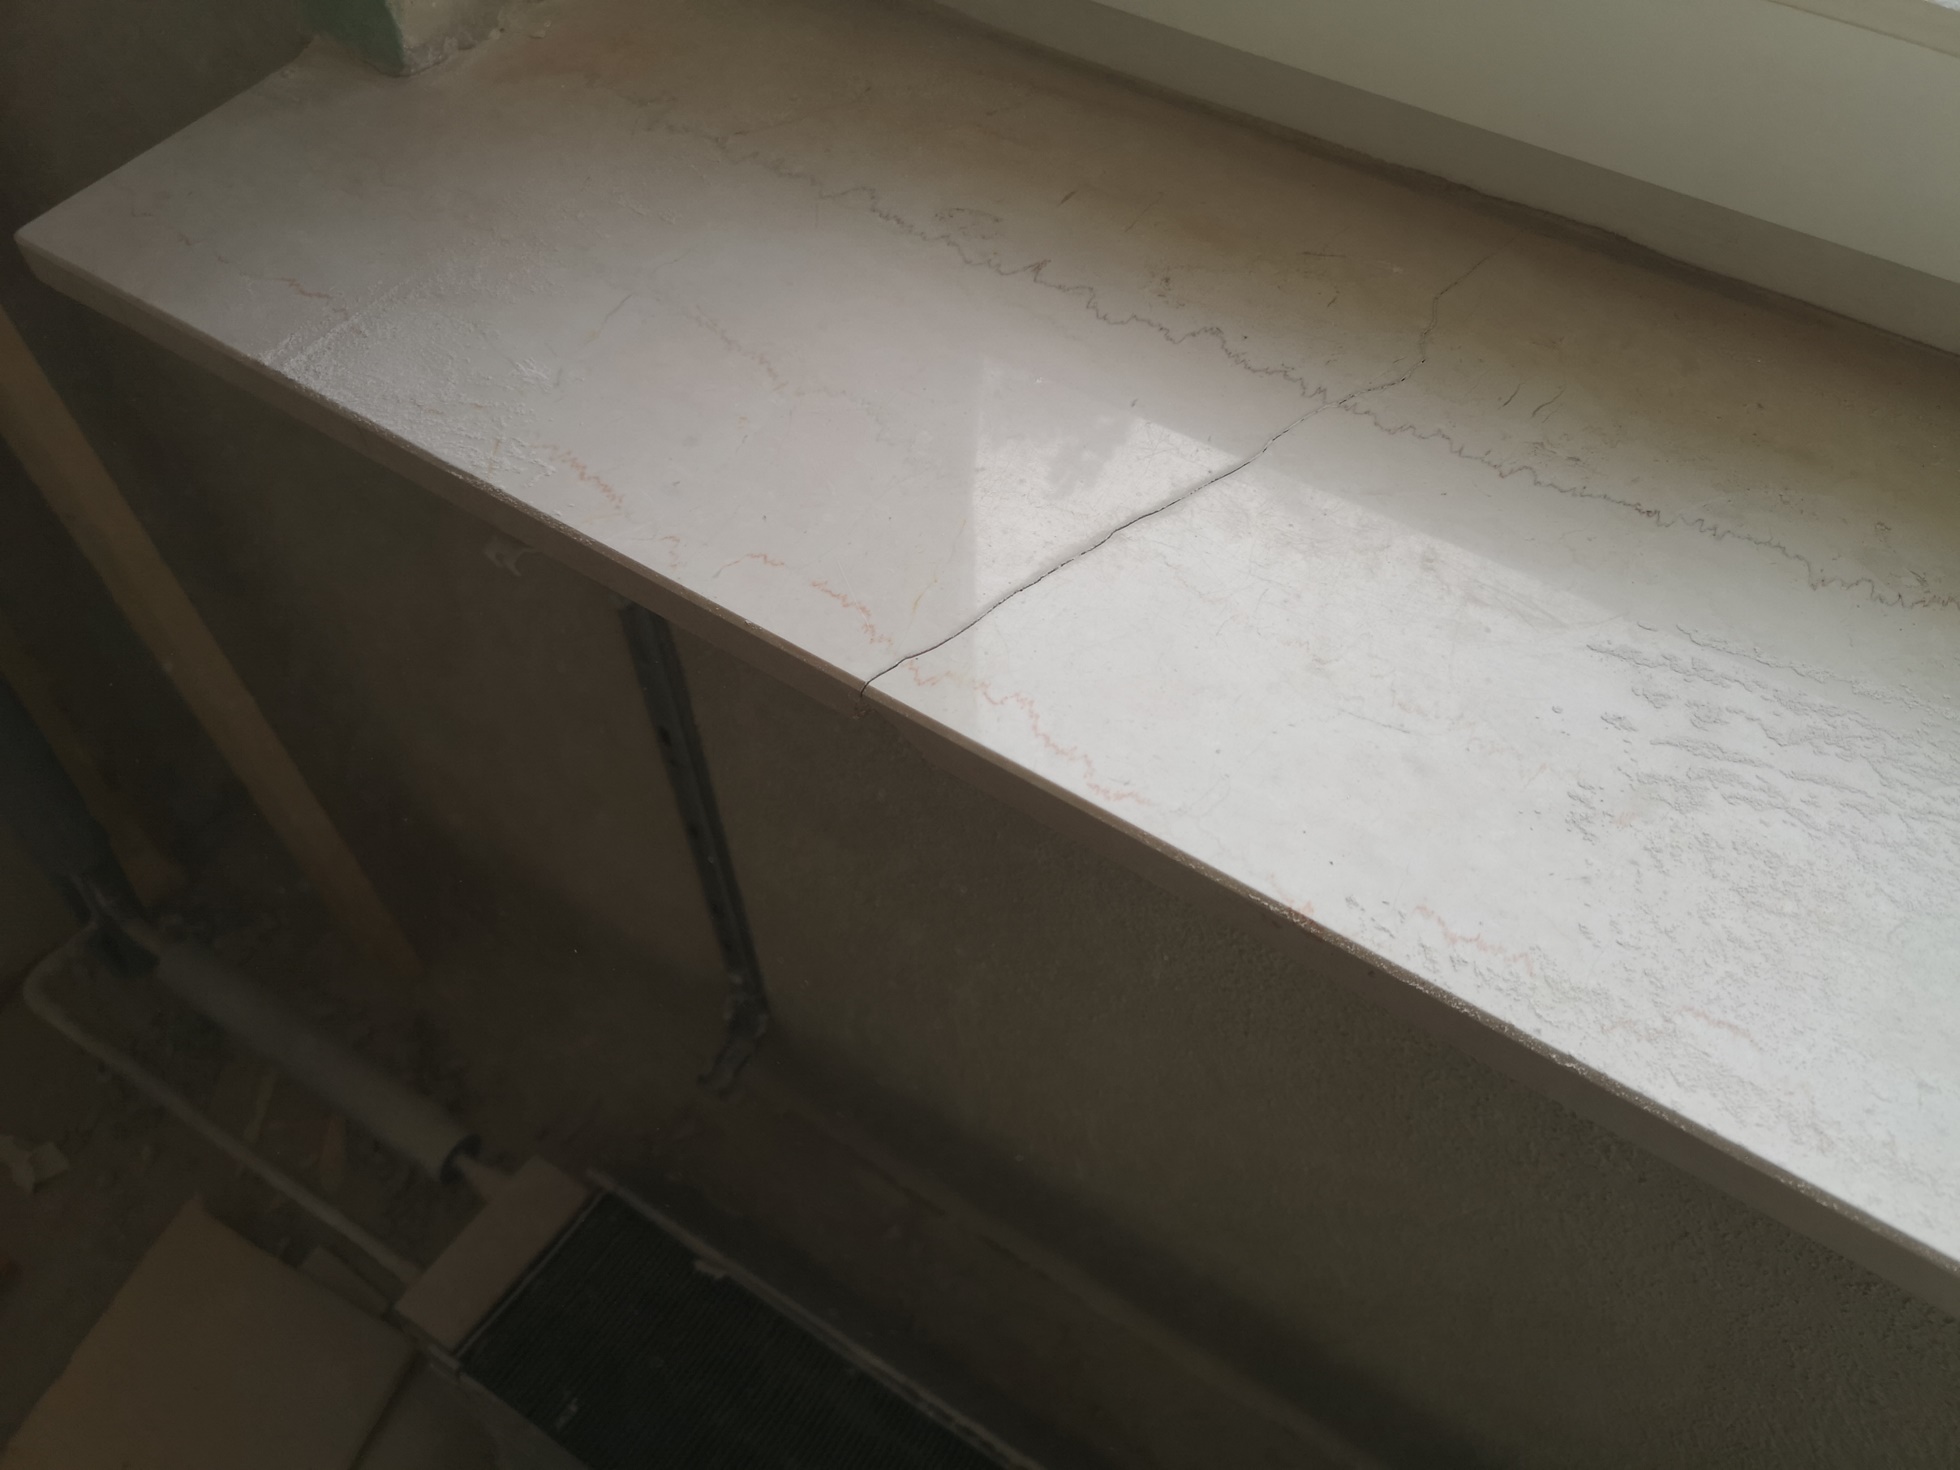
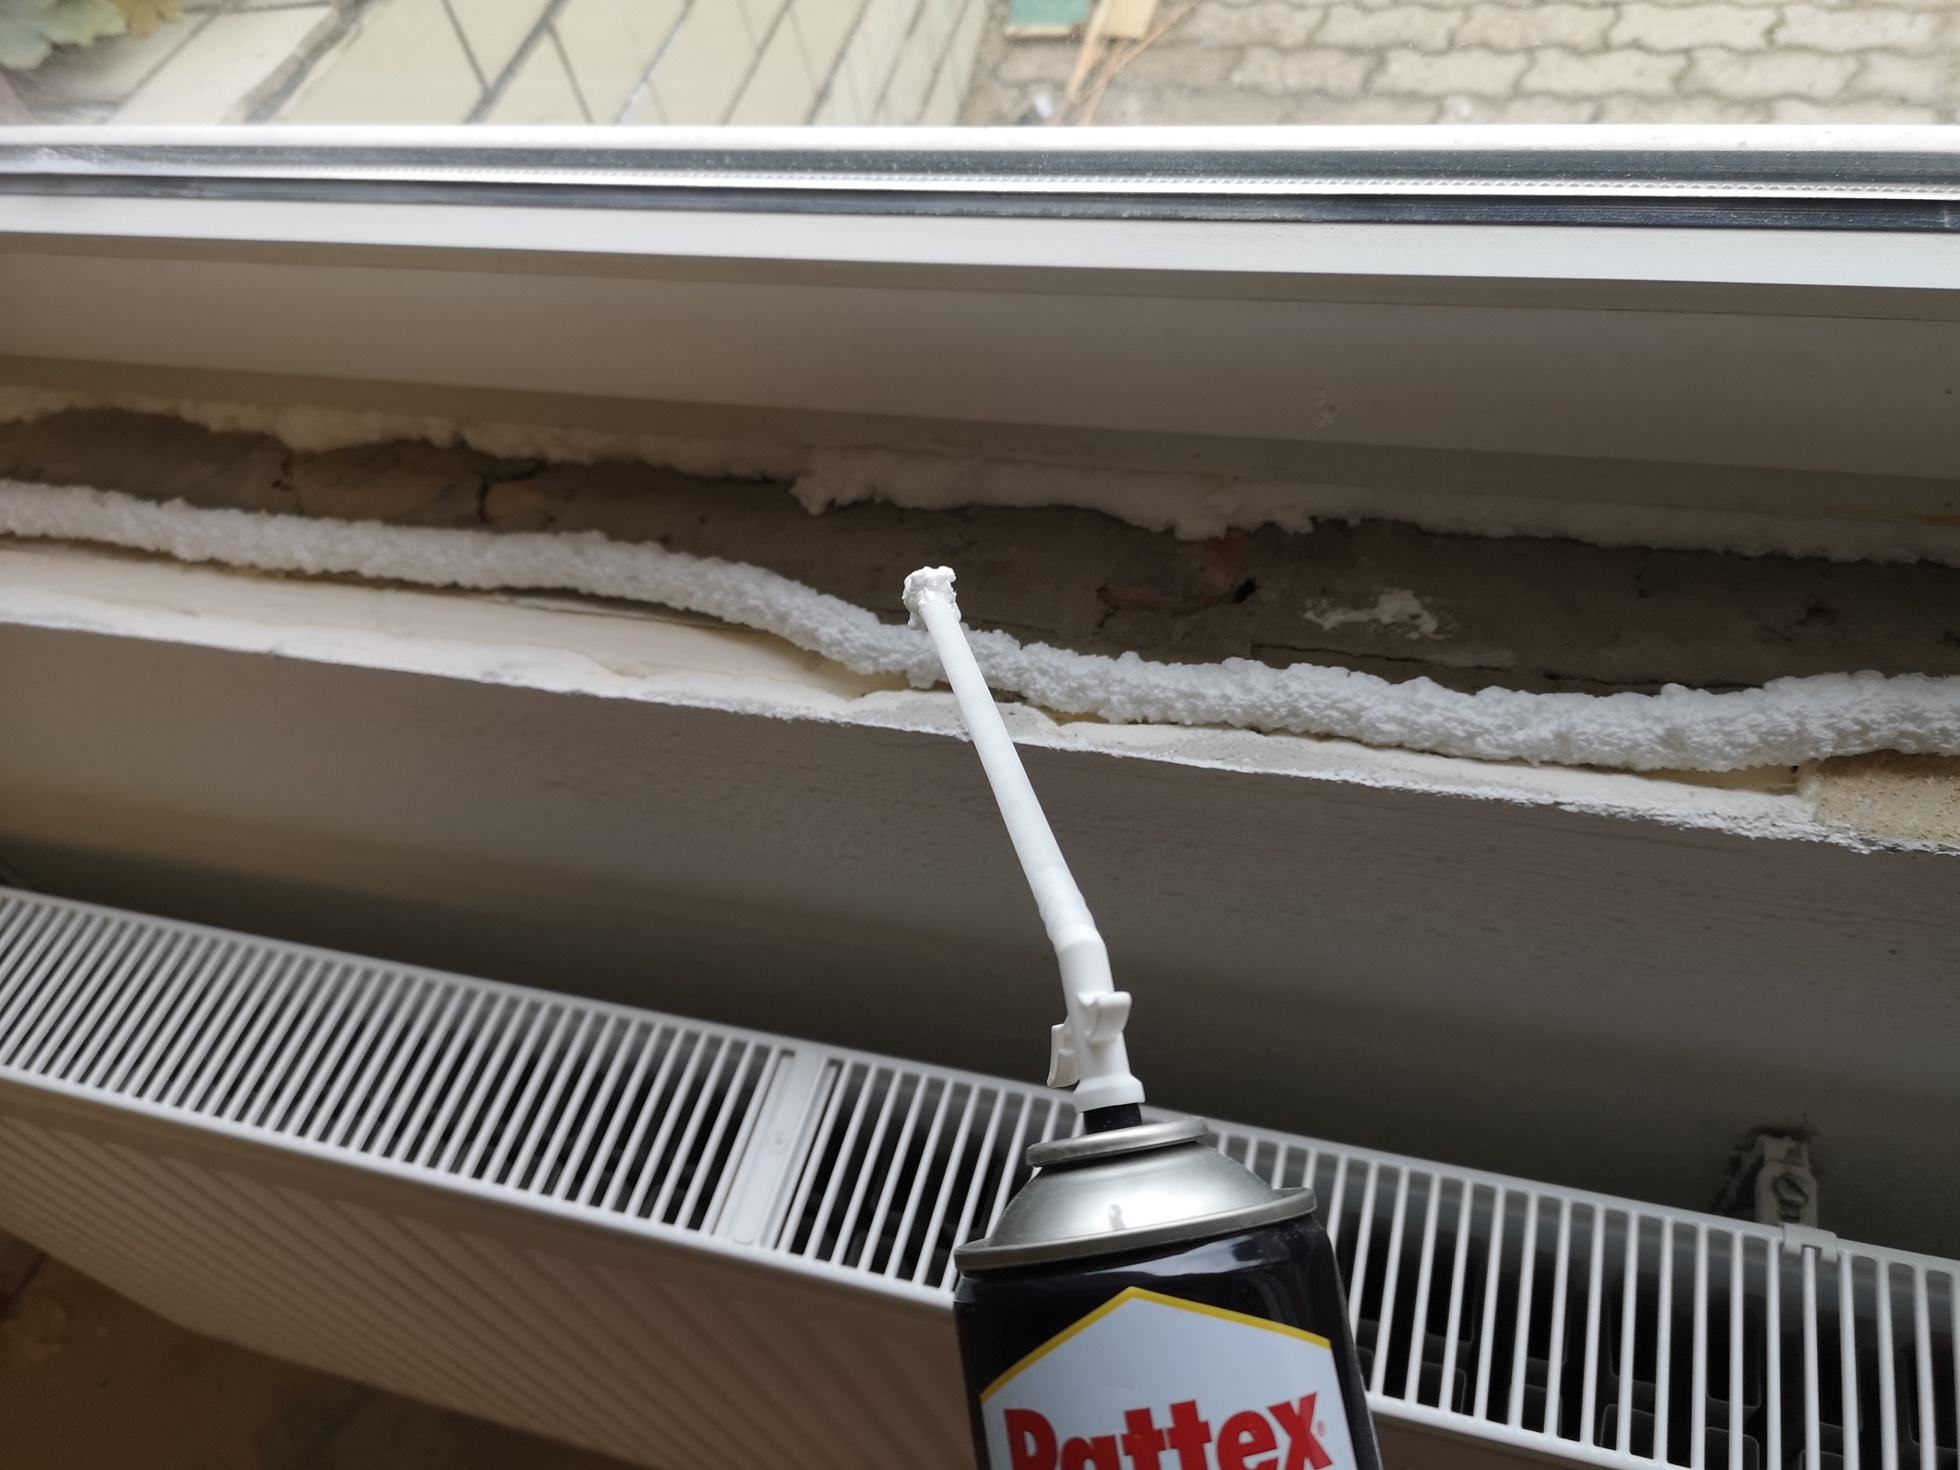
The new window sill I still minimally worked with the jigsaw on site and then fastened with mounting foam. I also took the opportunity to seal the lower edge of the window frame.
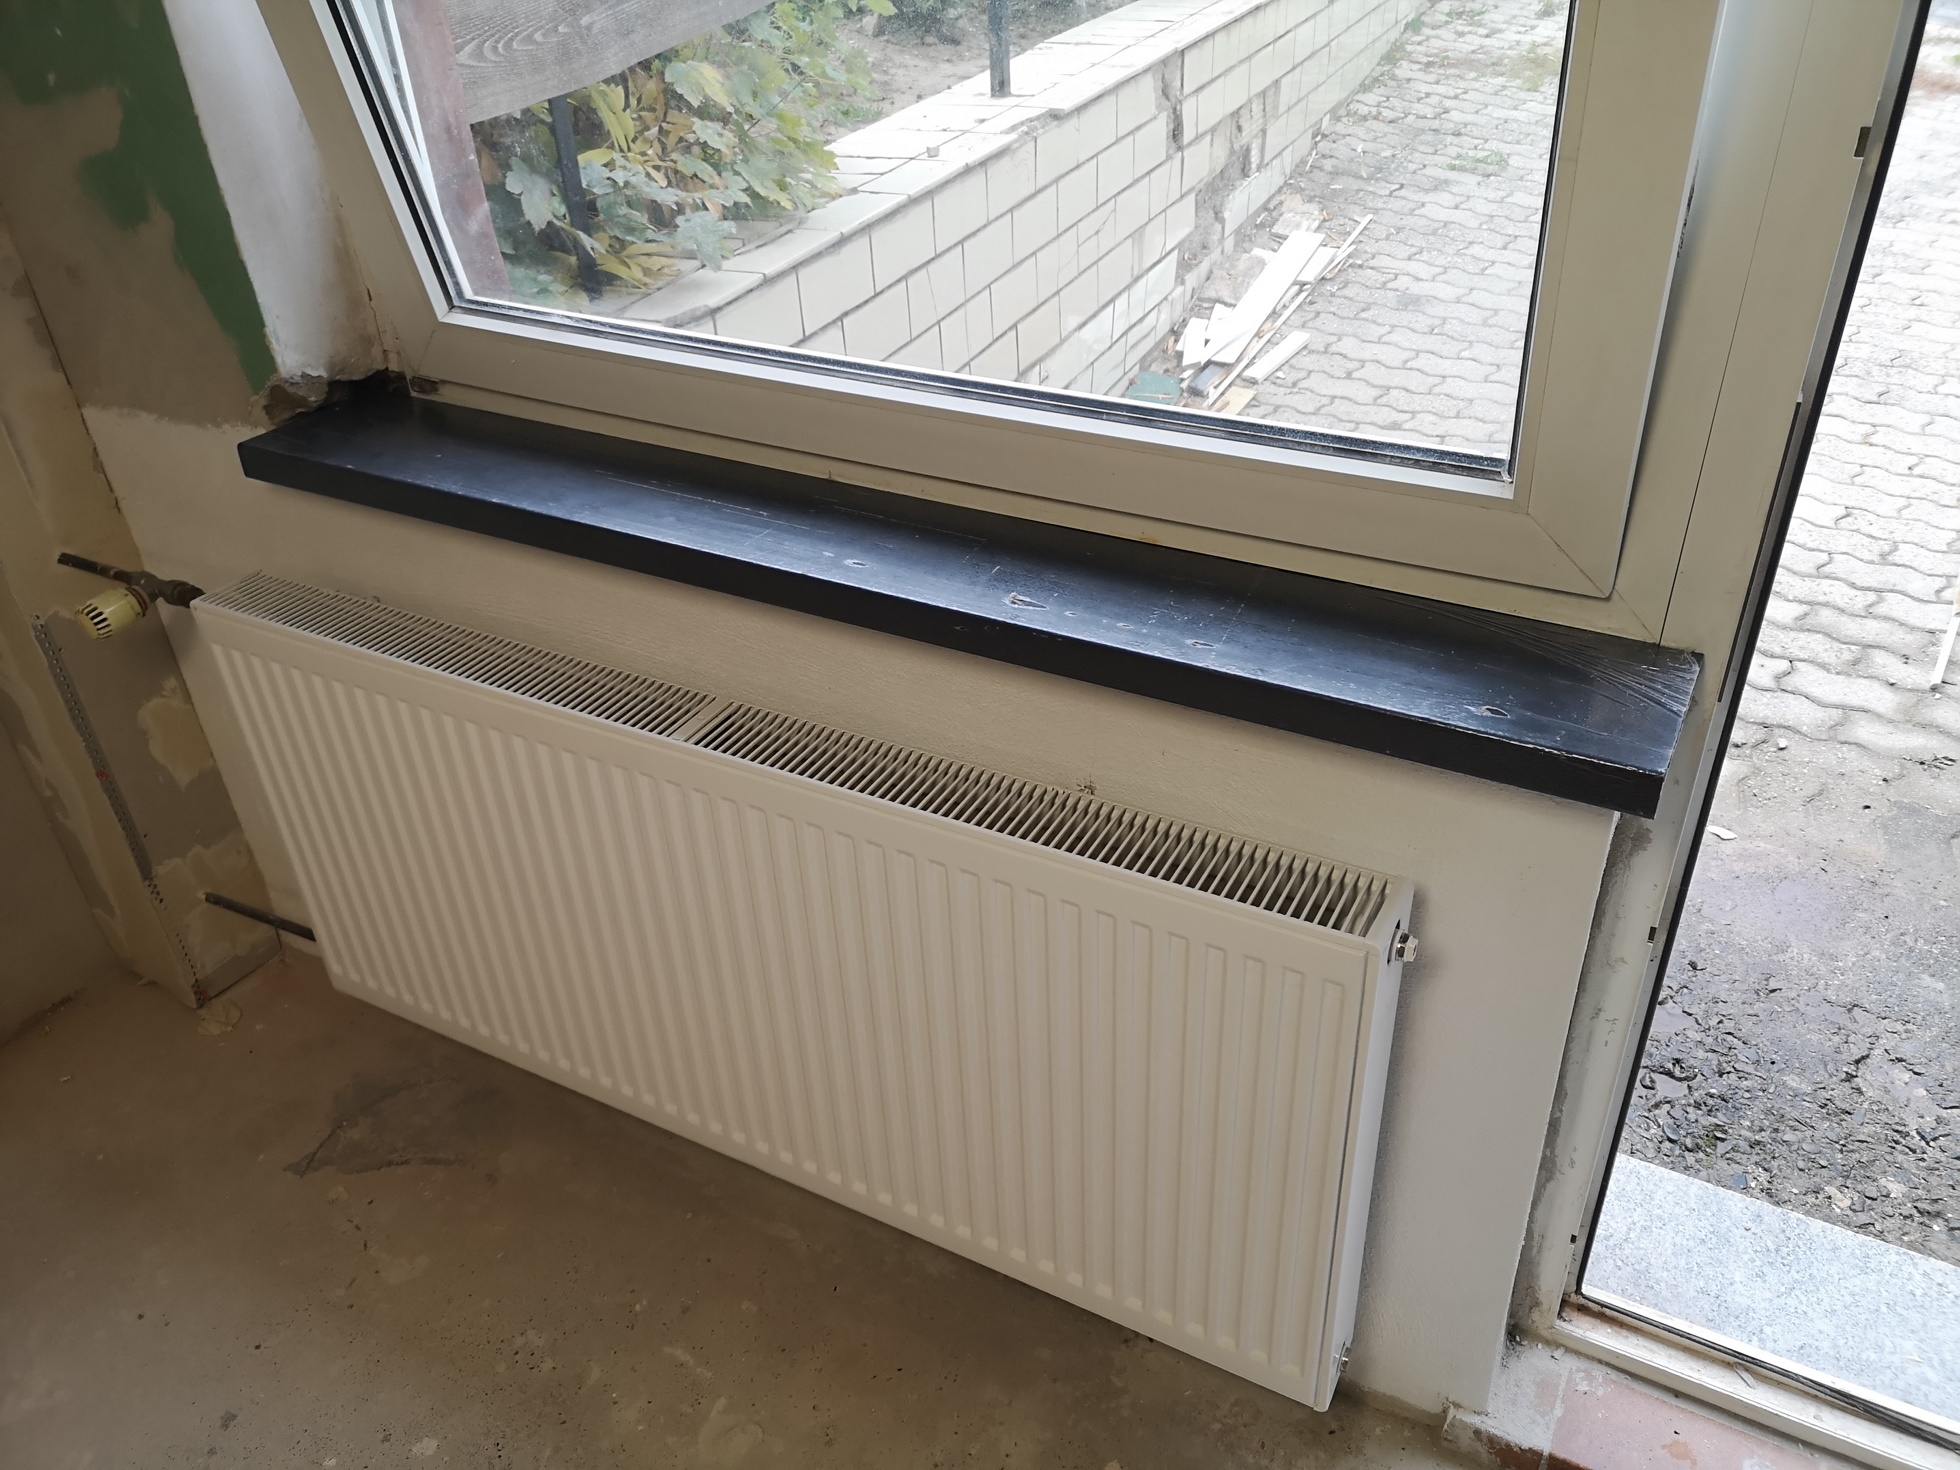
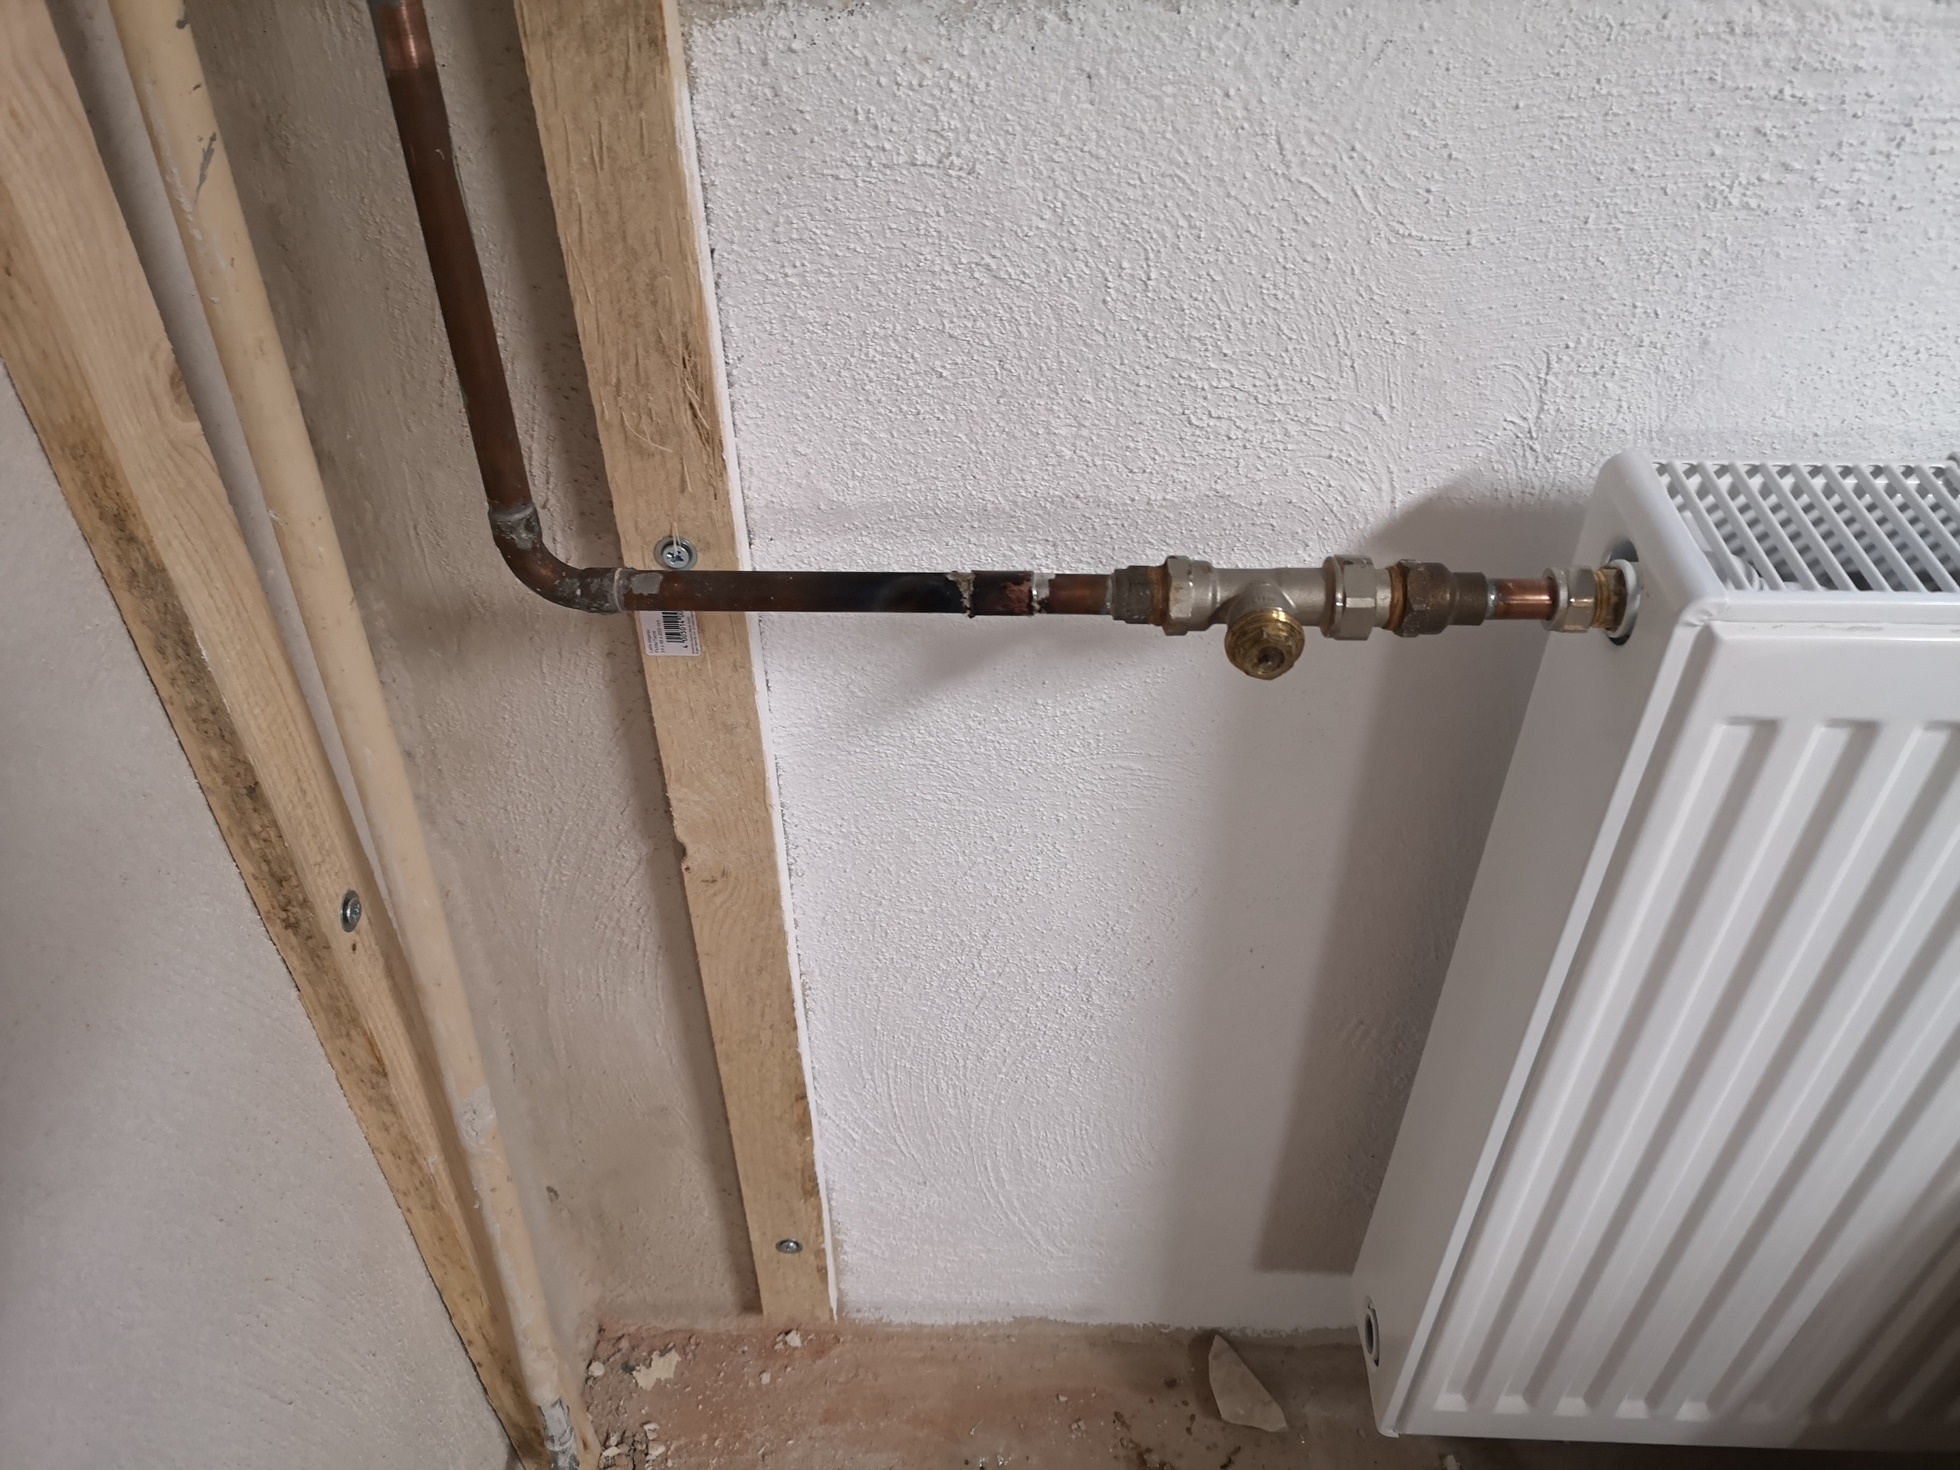
This is how it looked later with the window sill mounted and the radiator connected. Of course, I'll explain how we got there.
When connecting the radiator, one mishap followed the other. When draining the heating circuit, the first thing we noticed was that the drain in the laundry room was no longer doing its job, which resulted in scooping water and splashing around in stinky gloop. Very tasty, everyone should have made once.
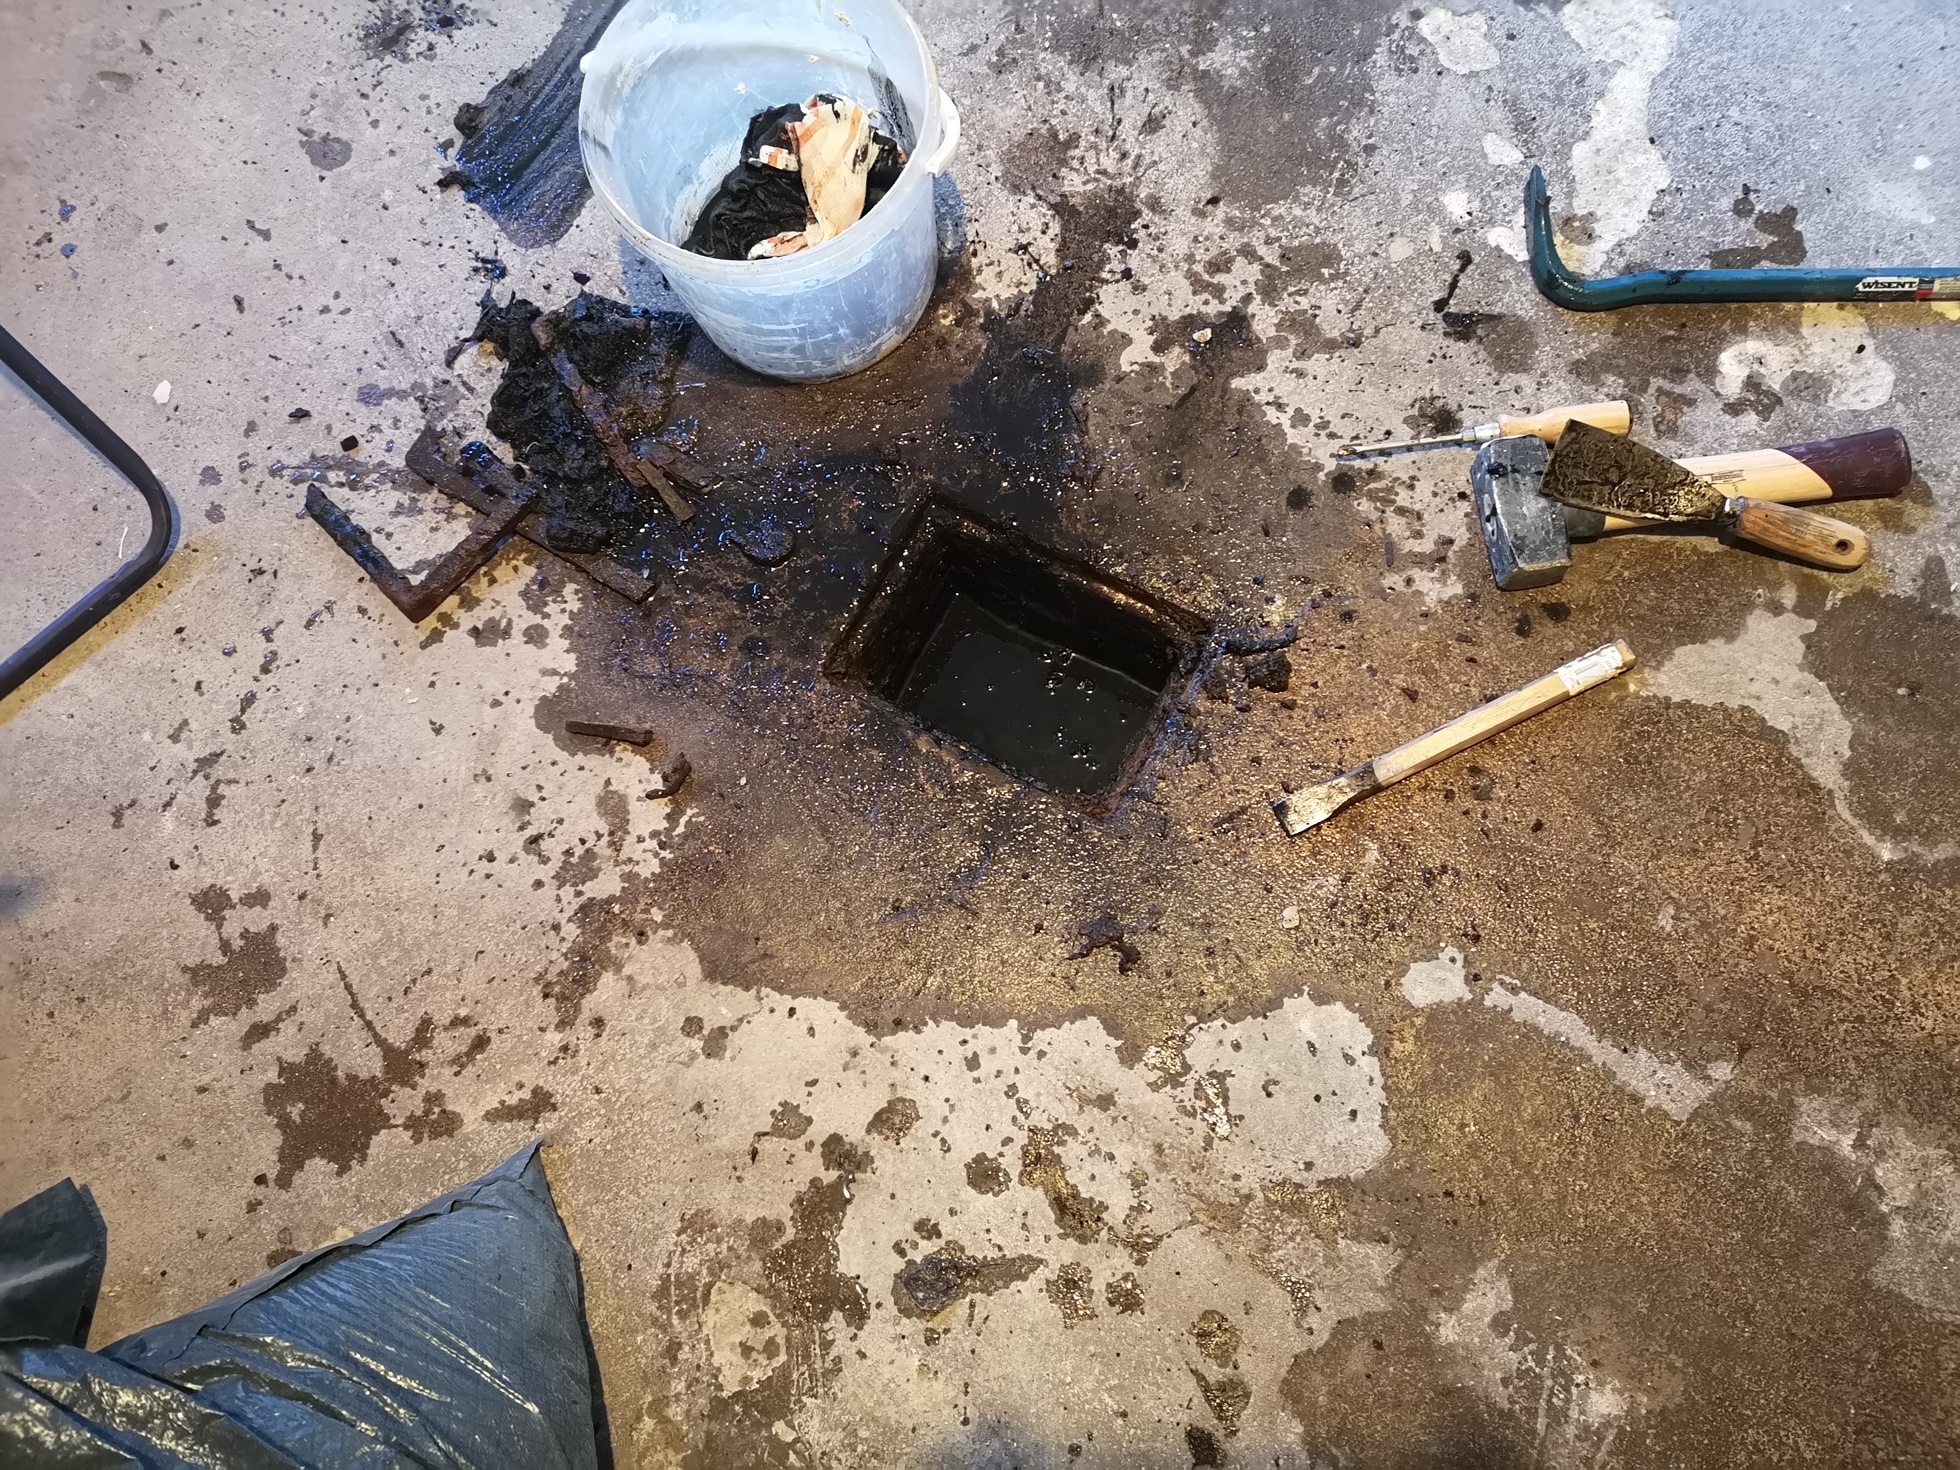
Shortening the old copper lines and soldering on the angles worked surprisingly well and smoothly, but later one of the press fittings had turned out to be leaking. Okay, we probably had a little hemp wrapped around the thread due to lack of experience. In the second attempt there was more hemp and the fitting was simply "bombed", then was rest.
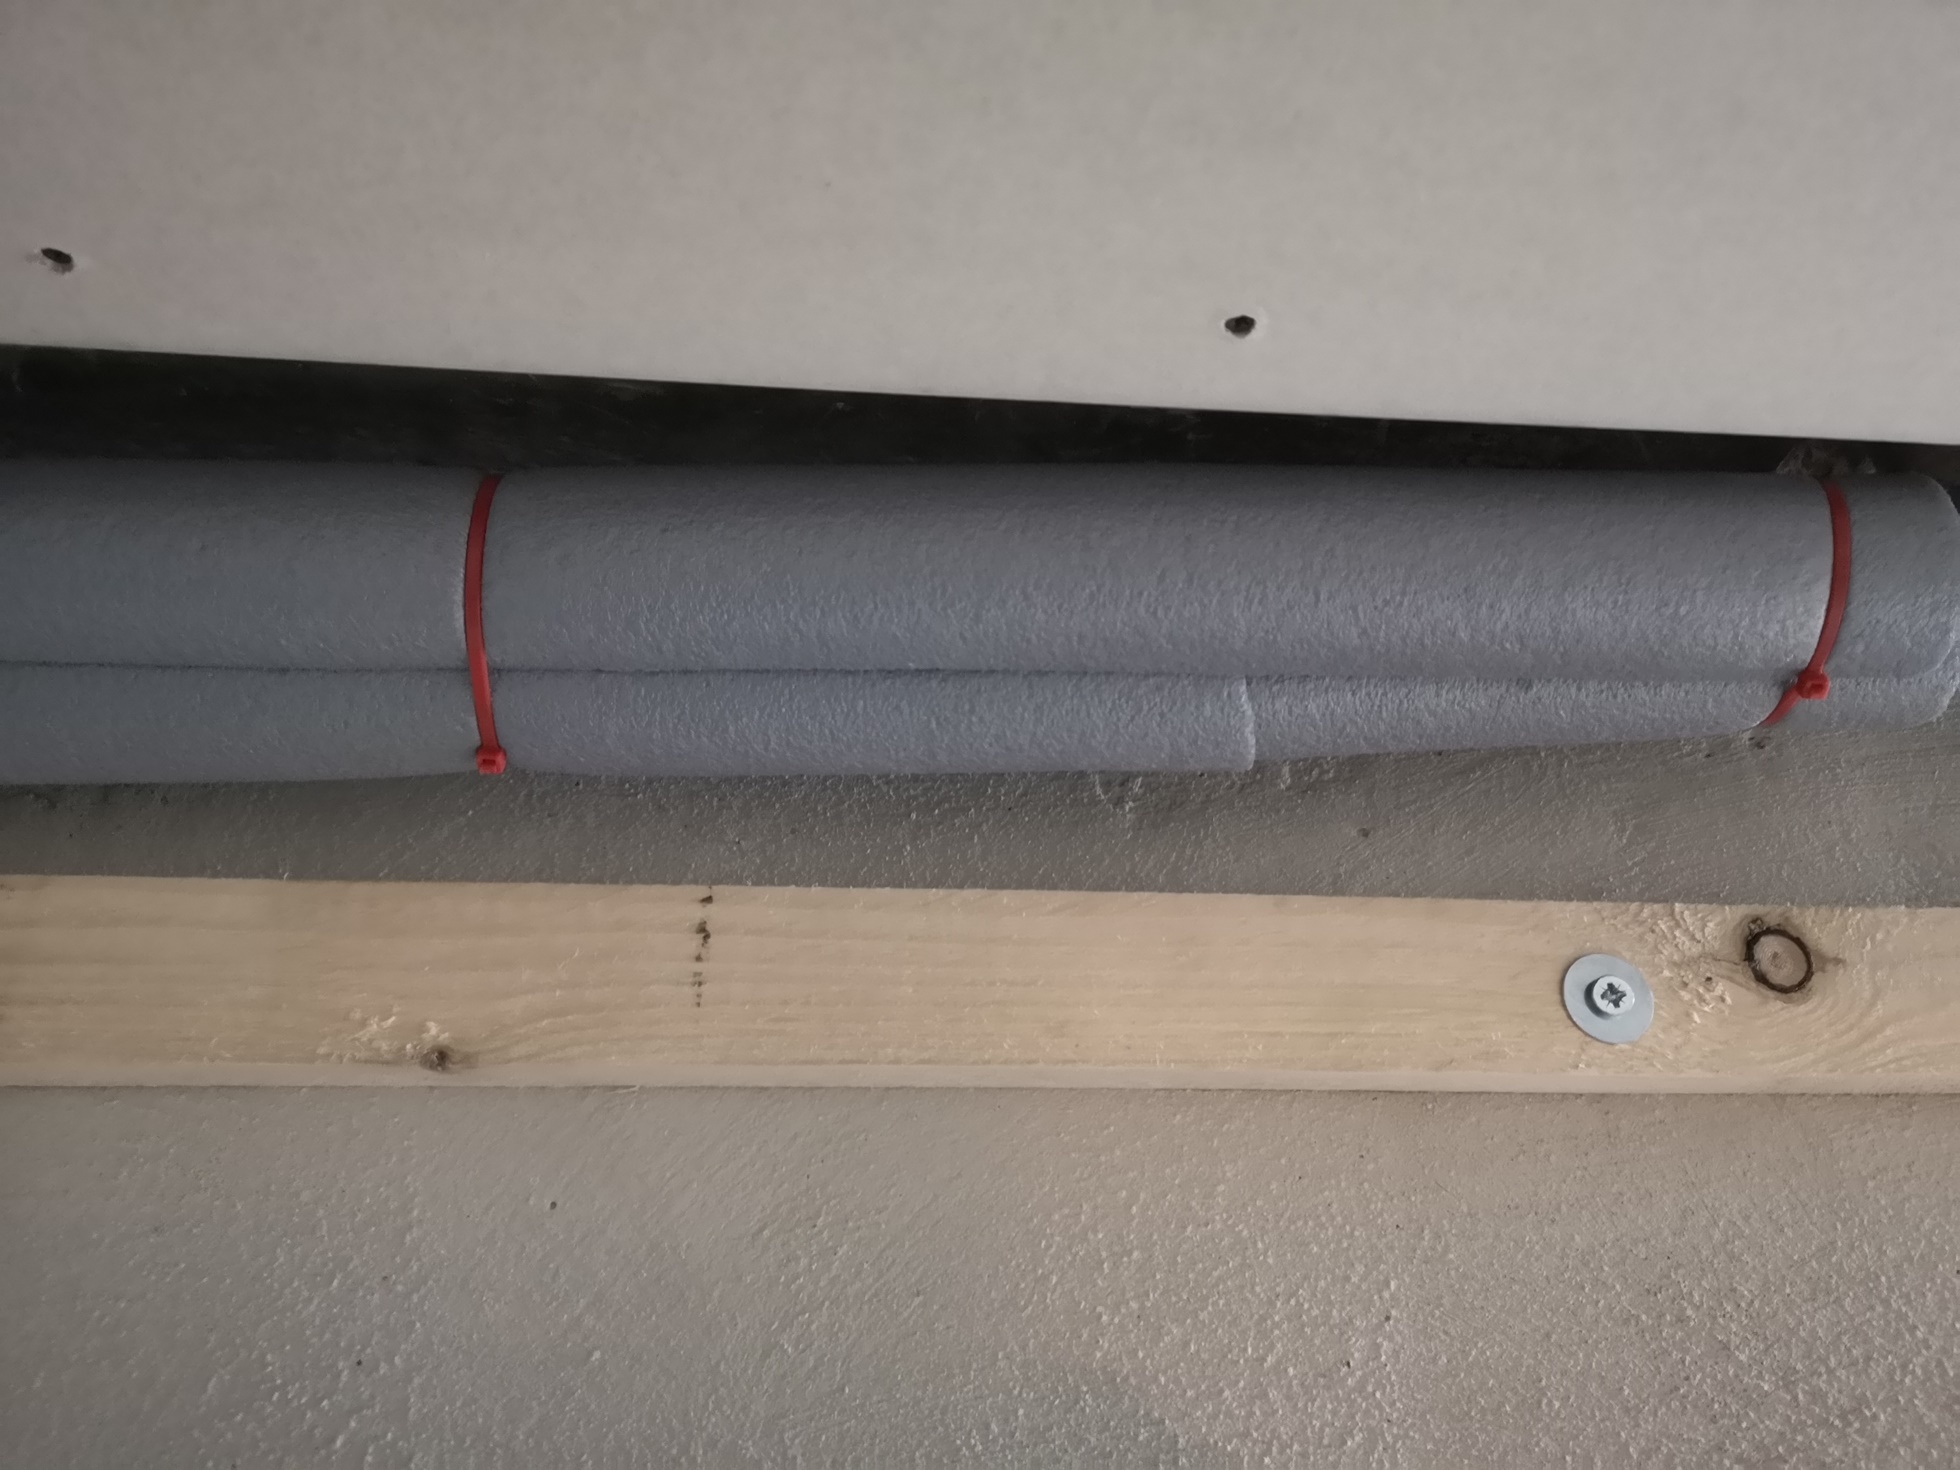
Because the old oil heating system causes brutal heating costs anyway, I at least insulated the pipes and clad them properly at the end. Of course I had a few RGB spots in mind, but one after the other. The pipes were insulated with appropriate PE foam and a simple construction of roof battens was carpentered for the cladding.
Clippings for the spots:
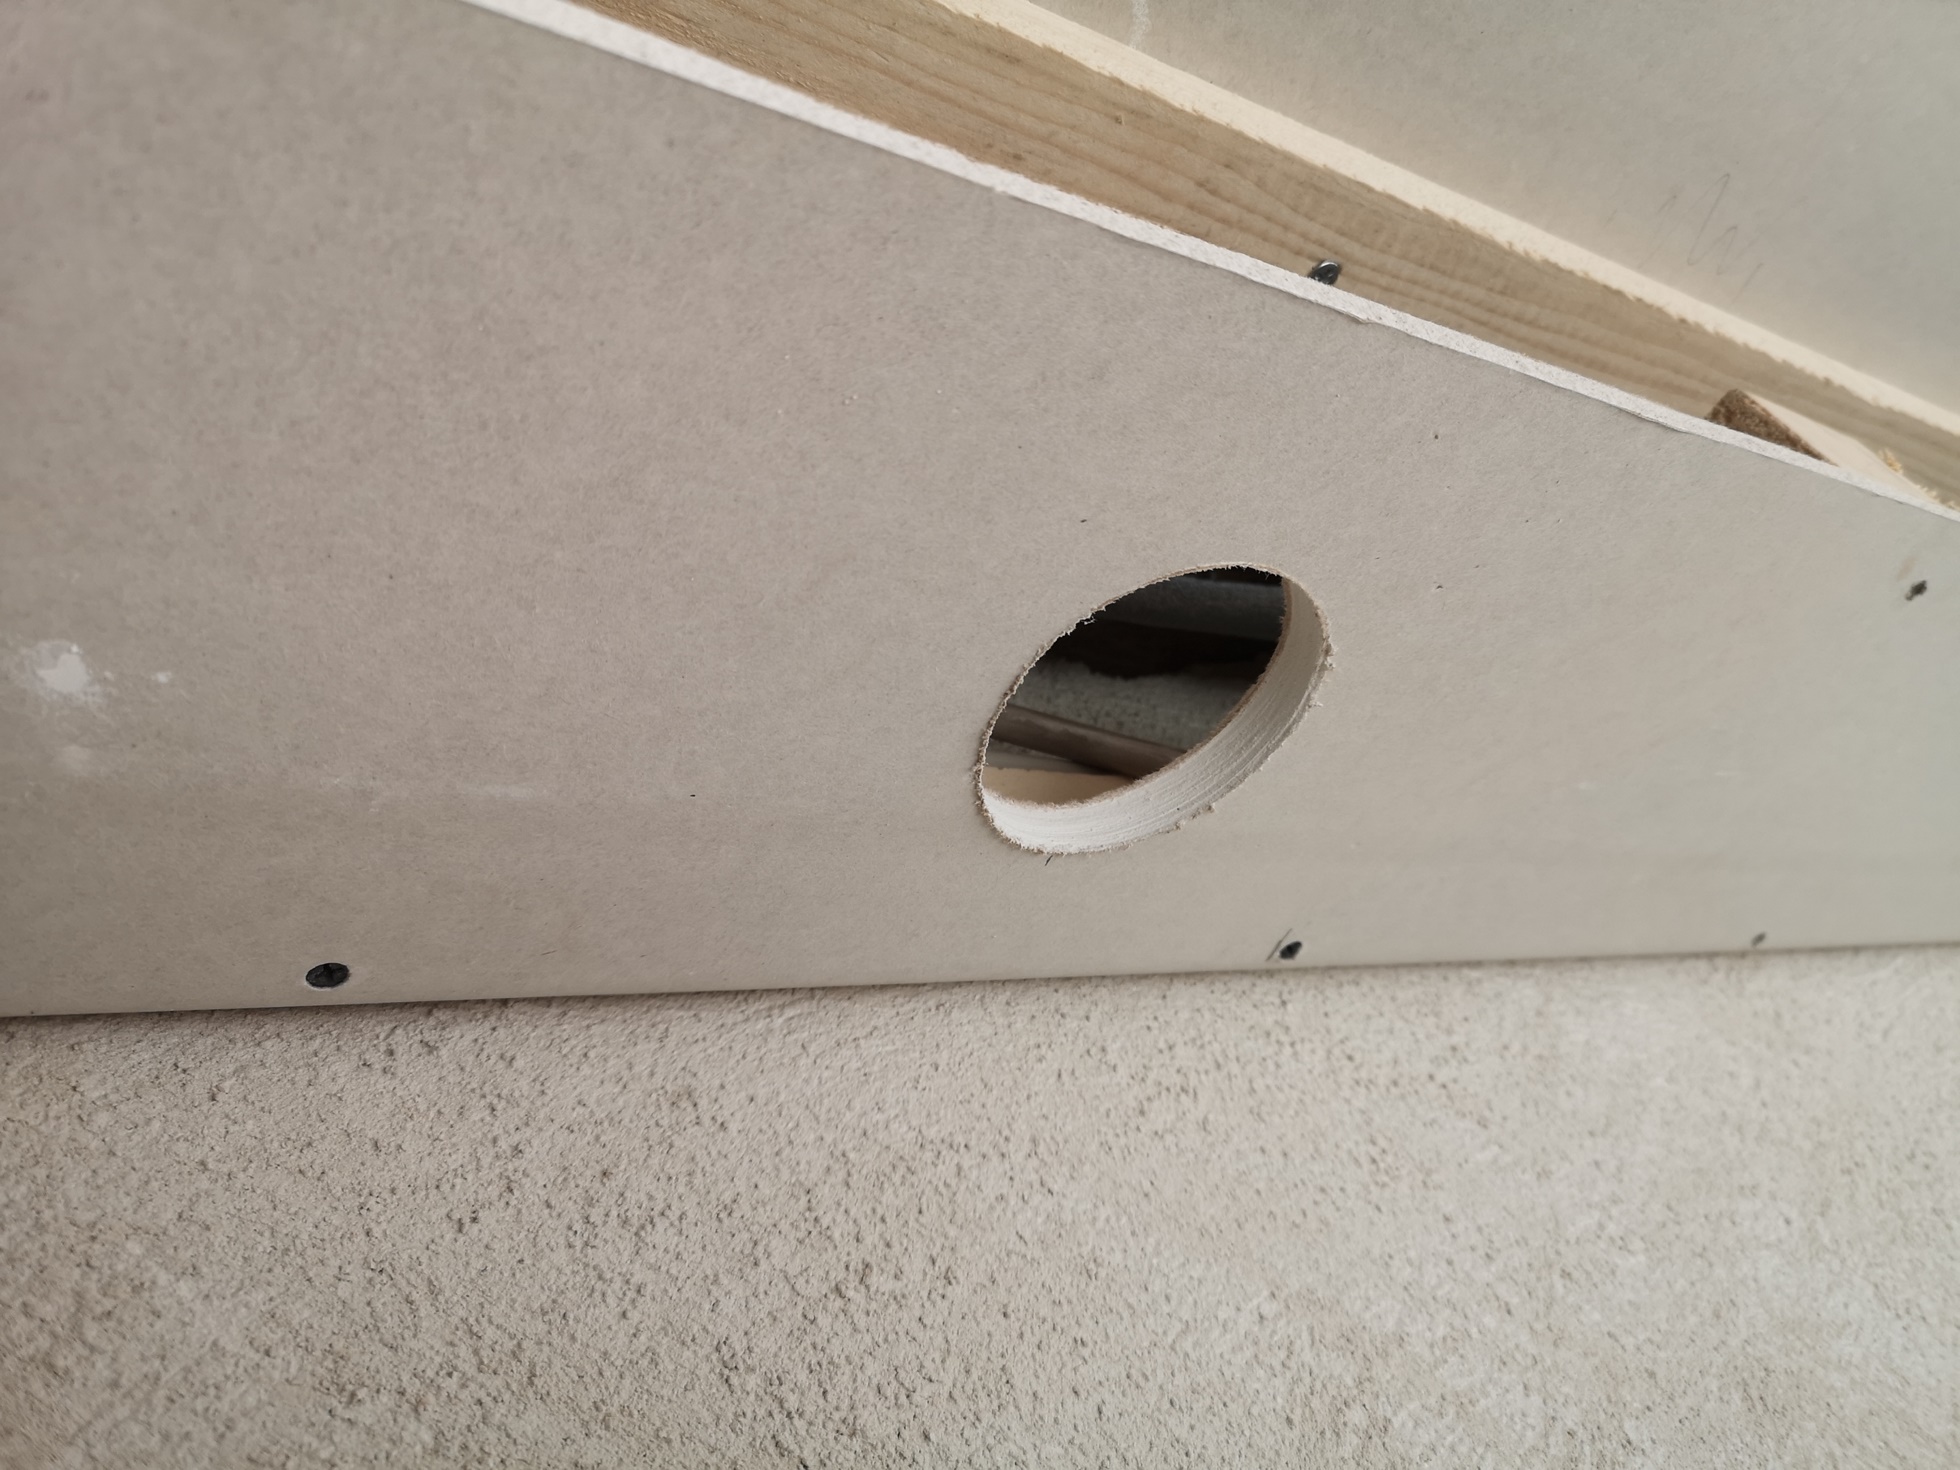
Two sockets, a switch and a lamp for illuminating the tinkering table are then to be retrofitted in the vertical box later, which is why this box must have a corresponding depth. Pi times thumb is sufficient, however, because there are flatter wooden space cans if necessary.

All dressed up and ready for spackling:
And after filling, it's back to sanding, sanding, sanding…


65 Antworten
Kommentar
Lade neue Kommentare
Veteran
Moderator
Veteran
Urgestein
Mitglied
Urgestein
Urgestein
Mitglied
Urgestein
Veteran
Mitglied
Mitglied
Veteran
Mitglied
Veteran
Mitglied
Veteran
Urgestein
Urgestein
Alle Kommentare lesen unter igor´sLAB Community →