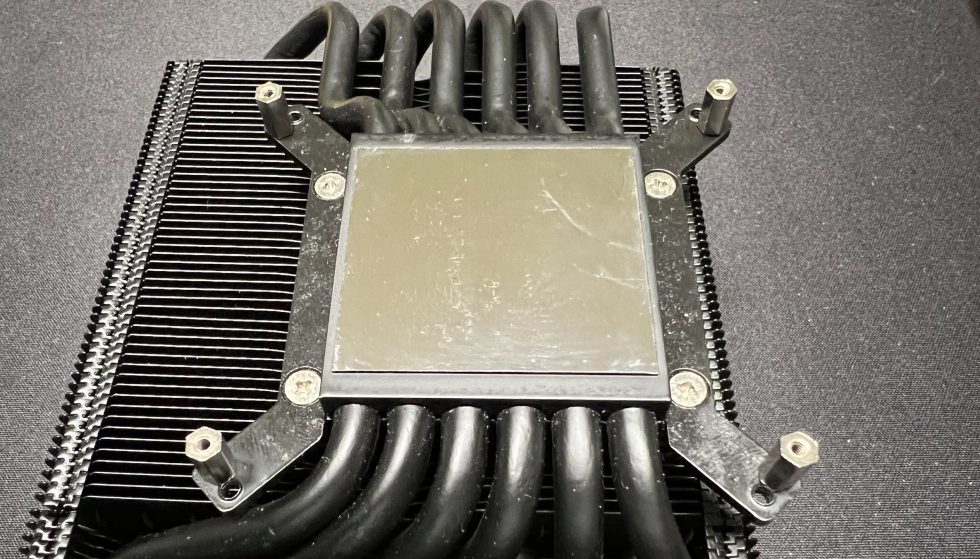
While cleaning up in the storage, I found a virtually unused Raijintek Morpheus prototype that was supposed to clarify the difference between copper and aluminum heatsinks on RAM and VRM ages ago. Fittingly, the GeForce RTX 3080 reference board is also on the shelf of good deeds in the test lab, including a universal backplate that could be adjusted quite quickly on the CNC. And I’m sure you’re just as curious as I am to see if the popular and much-used Morpheus can also bring Jensen’s first Ampere product to its knees in terms of cooling.
I must also point out here that it is NOT a special sample from Raijintek for the GeForce RTX 3080, because there is no such cooler (yet). But I have sent the manufacturer my impressions and results, so that here an adapted re-design is certainly not quite unlikely. Because the potency is more than enough, as we will see. Only the small pitfalls of implementation we really need to discuss today. The cooler itself can be used universally, so there is no limit to the playfulness.
So, despite all the anticipation and the somewhat workable result, today’s article will intentionally not be a 1:1 rebuild guide, but I will explain in detail the creation of the “Frankenstein” mod and especially the possible pitfalls and the necessary workarounds. So take it also as a little learning lesson, because some things might not be really known by all readers. But back to the cooler and today’s task.
No project without matching brackets!
Of course, the whole thing has to fit through the board’s holes and the brackets have to be adapted for the GeForce RTX 3080’s hole pattern first. Furthermore, the spacer has to fit, which is not that easy considering the huge tolerance limits NVIDIA provides here (up to 0.6 mm). The GA102 on my board is unfortunately also such a humpback and therefore I leave it with the exact dimensions. However, you should always have enough washers made of non-conductive material available to compensate for excessively large gaps.
The first hurdle was the older brackets from the box and the smaller hole diameters. Here, M3 threads had to be cut from my collection box for the more massive spacers. However, since Raijintek’s brackets are made of special steel (which is actually good), I quickly gave up on doing it myself and had the locksmith across the street do it. This resulted in a constant back and forth until the GPU was really perfectly placed on the heatsink and the contact pressure was also right. What happens when you stick to the official dimensions and why you should at least use washers if in doubt is shown in this picture of the first test:
But in the end, you somehow get everything right and are happy that the tricky part is finally done. To get around this with the washers, we shortened longer spacers again a bit less so the board wouldn’t bend as much. Everything is feasible, but without a well-equipped workshop it is hardly feasible in a normal time window.
Since this part could be completed successfully after a few pirouettes, the next page is about the actual assembly including various pitfalls, before I can screw the cooler firmly to the board with the now matching brackets.


58 Antworten
Kommentar
Lade neue Kommentare
Veteran
Mitglied
Veteran
Veteran
1
Urgestein
Urgestein
Veteran
Veteran
Urgestein
1
1
Urgestein
Veteran
Veteran
Mitglied
Mitglied
Urgestein
Veteran
Alle Kommentare lesen unter igor´sLAB Community →