


Clean, but with care and understanding!
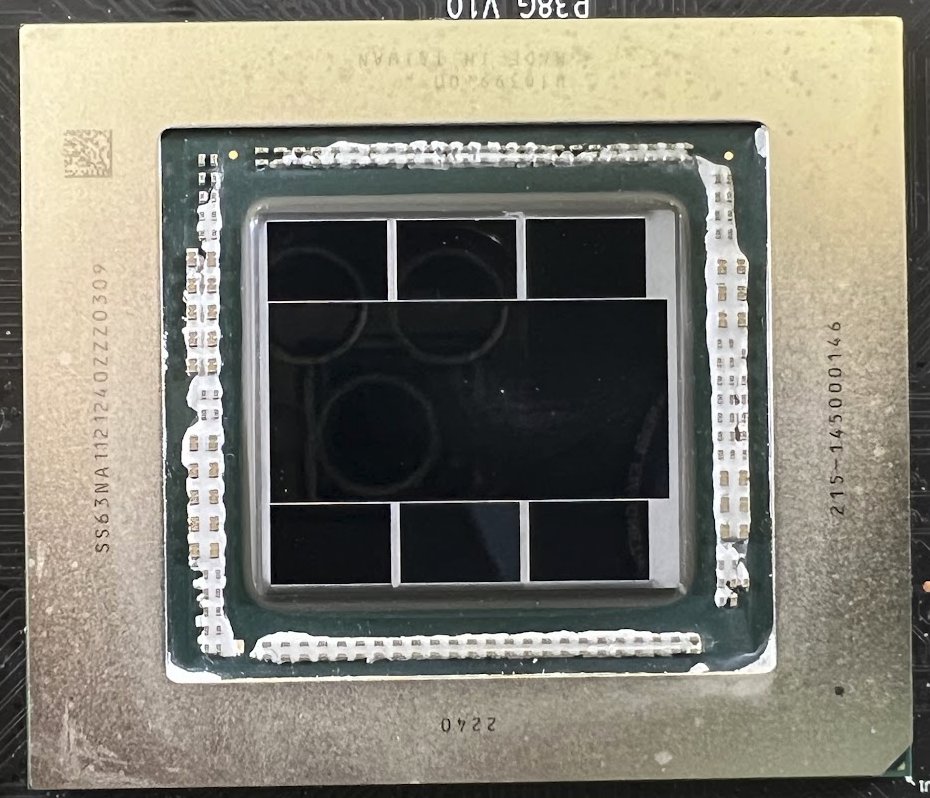
First of all, all the gunk has to come off completely without damaging the card. At the very least, all surfaces that will later come into contact with our thermal paste must be cleaned absolutely residue-free! This is important to guarantee a homogeneous, clean distribution on the one hand and to be able to exclude possible chemical reactions on the other. An old trick here is to use ear swabs, which are used immediately after the easily wiped paste in the center has been removed with a soft cloth.
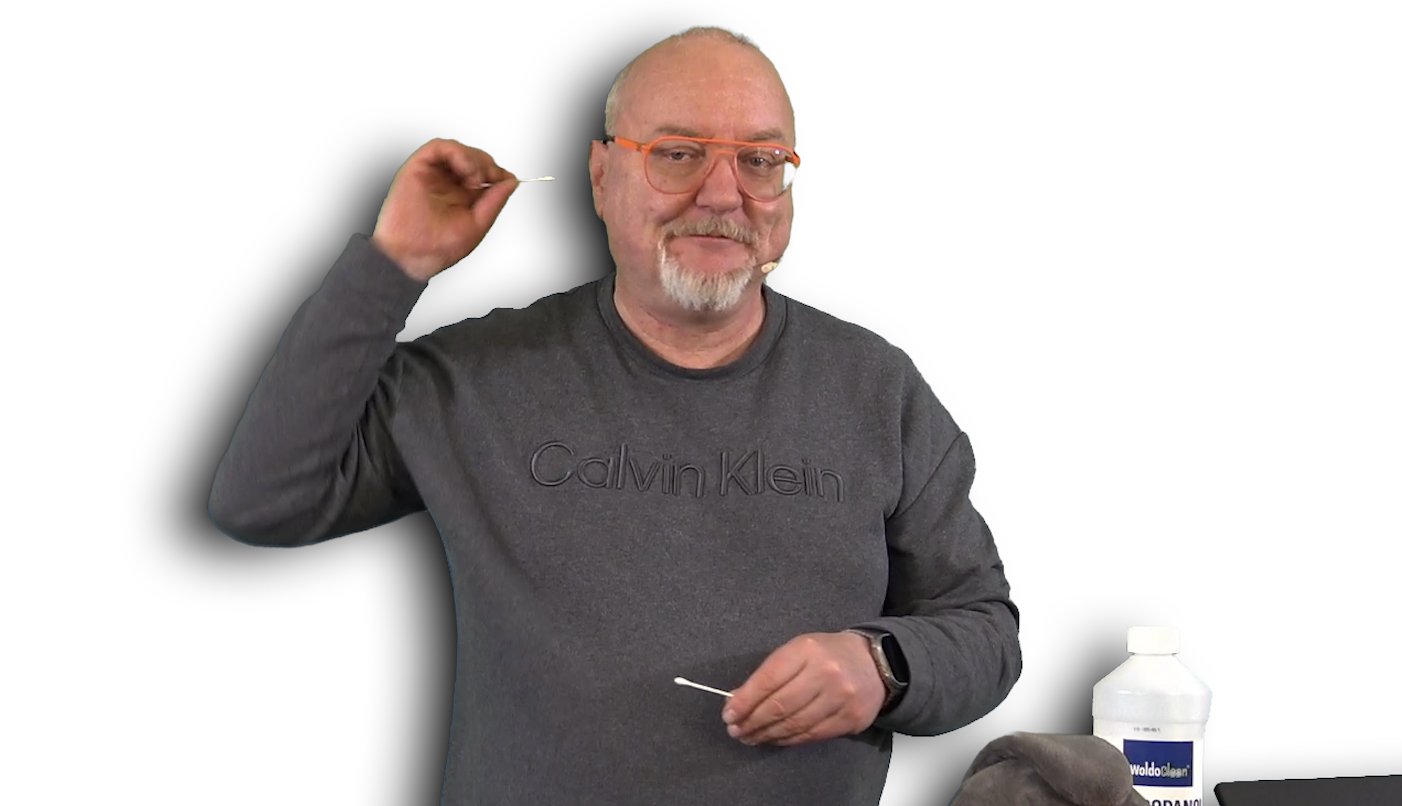
For the edges and gaps it is better to use these cotton swabs, because nothing is more harmful than excess pressure on the package! You don’t have to clean the small SMS components on the board of the BGA completely, because the old paste is not conductive and you might even tear off components or damage the contacting with too much pressure. Please only remove what is soluble without force. For the rest there is always isopropanol.
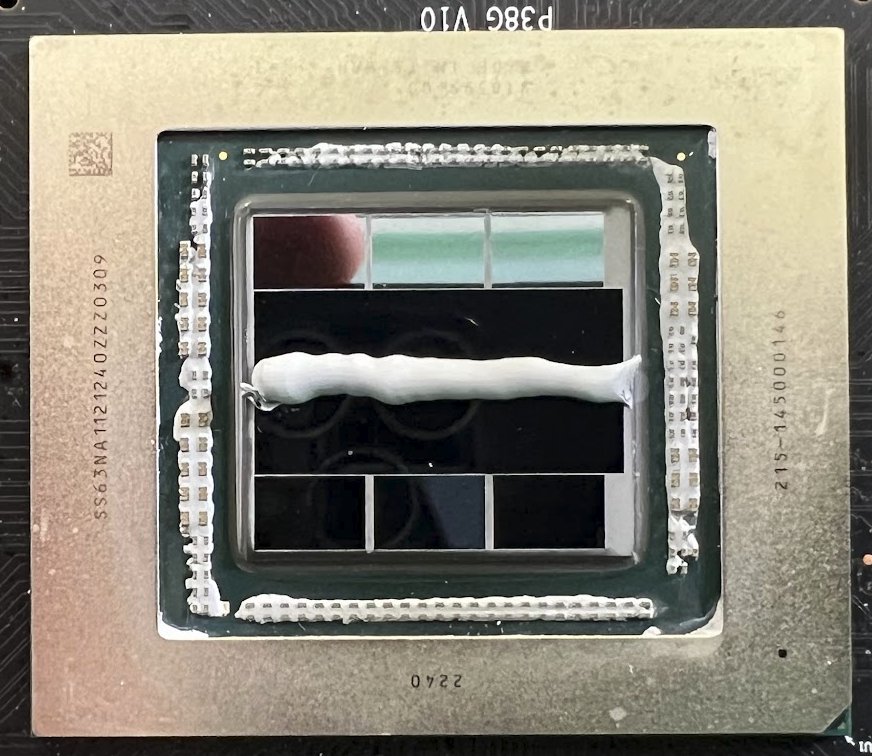
After I had cleaned everything as far as possible and necessary, new paste had to be applied. In this case, I use, as since the beginning of my first contact with the product as a pure industrial paste, the Alphacool Apex. The spreadability and optimal consistency for GPU mounts are important. The Apex is firm enough to not bleed or run away, but also not so viscous that it creates too much pressure when spreading. For me, it’s the ideal case because it gives a clean and, more importantly, optimally thin layer. The one I had converted with it a year ago still runs without complaint today….
But we’ll see why it should be a sausage (and not a blob) when we assemble it. By the way, this applies to all cards with very large chip areas, even if they are rather square. You define yourself about the position of the sausage (always orientate at the longer sides) later also the order of screwing!
The correct assembly: the order is enormously important!
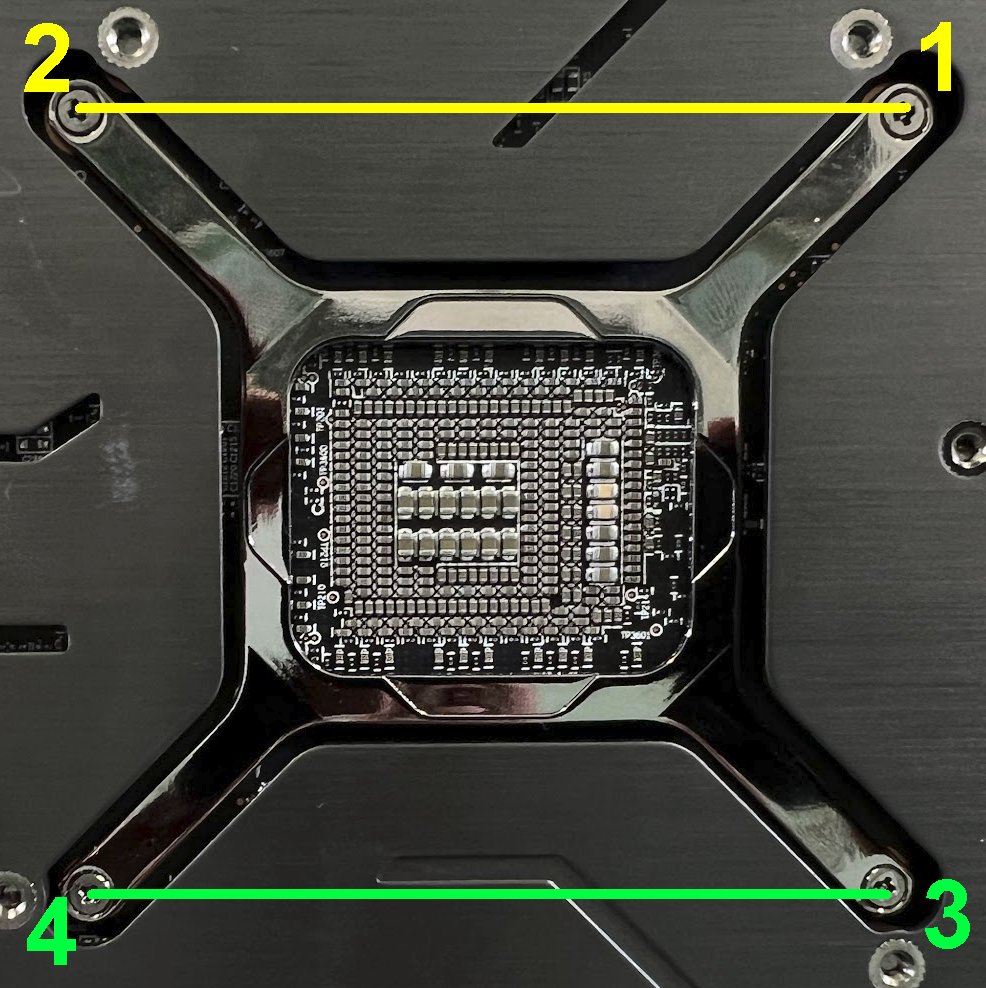
In principle, we do it like disassembling, only backwards. So first the fan cable (is the easiest way), then put the board back on, screw the tension cross and then screw in the spring screws of the board and the two screws on the slot bracket. The ARB connector comes at the end and that’s it. Well, this is a bit more complex in detail and please remember the sausage with the thermal paste! For Sin we see namely when screwing the clamping cross!
We first tighten one long side, but only until the small screws grip securely, no further. Then we press down the other two ends of the clamping cross with our finger and lock the screws here as well, without tightening them completely. For this I explicitly recommend the video at the end of the last page! Then we screw the first long side again tighter and alternate this with both sides until the end point is reached. Only now every screw is really tightened once again. Good tools are essential to avoid damaging the screw heads!
If you combine this order with the application of the thermal paste, you have done everything right. The rest is almost done by itself and the card is completely rebuilt after less than 15 minutes. I already knew that it would be worth it, but the fact that the result turned out as blatant as I could measure, surprised me positively.
Finished! Now the conversion will have to prove itself in the hotbox. Please scroll on for the last time!


191 Antworten
Kommentar
Lade neue Kommentare
Veteran
Urgestein
Urgestein
Urgestein
Urgestein
Urgestein
Urgestein
Urgestein
Urgestein
Mitglied
1
Mitglied
Urgestein
Urgestein
Urgestein
Veteran
Urgestein
Urgestein
Alle Kommentare lesen unter igor´sLAB Community →