


Cause research by disassembling
Purely externally, of course, nothing could be seen, so there was nothing left to do but to disassemble the part. I’d better not write my fingers to the bone about the so-called “seal”, because such antics should actually be prohibited, as they are in North America. If the manufacturers do not succeed in selling faultless new goods, then it must be allowed to disassemble such a device for an expert opinion. And if in the end it is possible to restore the whole thing at one’s own expense to the condition that the customer actually believes he paid for, it even saves the manufacturer a lot of RMA costs. From this point of view, I am absolutely relaxed about my disassembly.
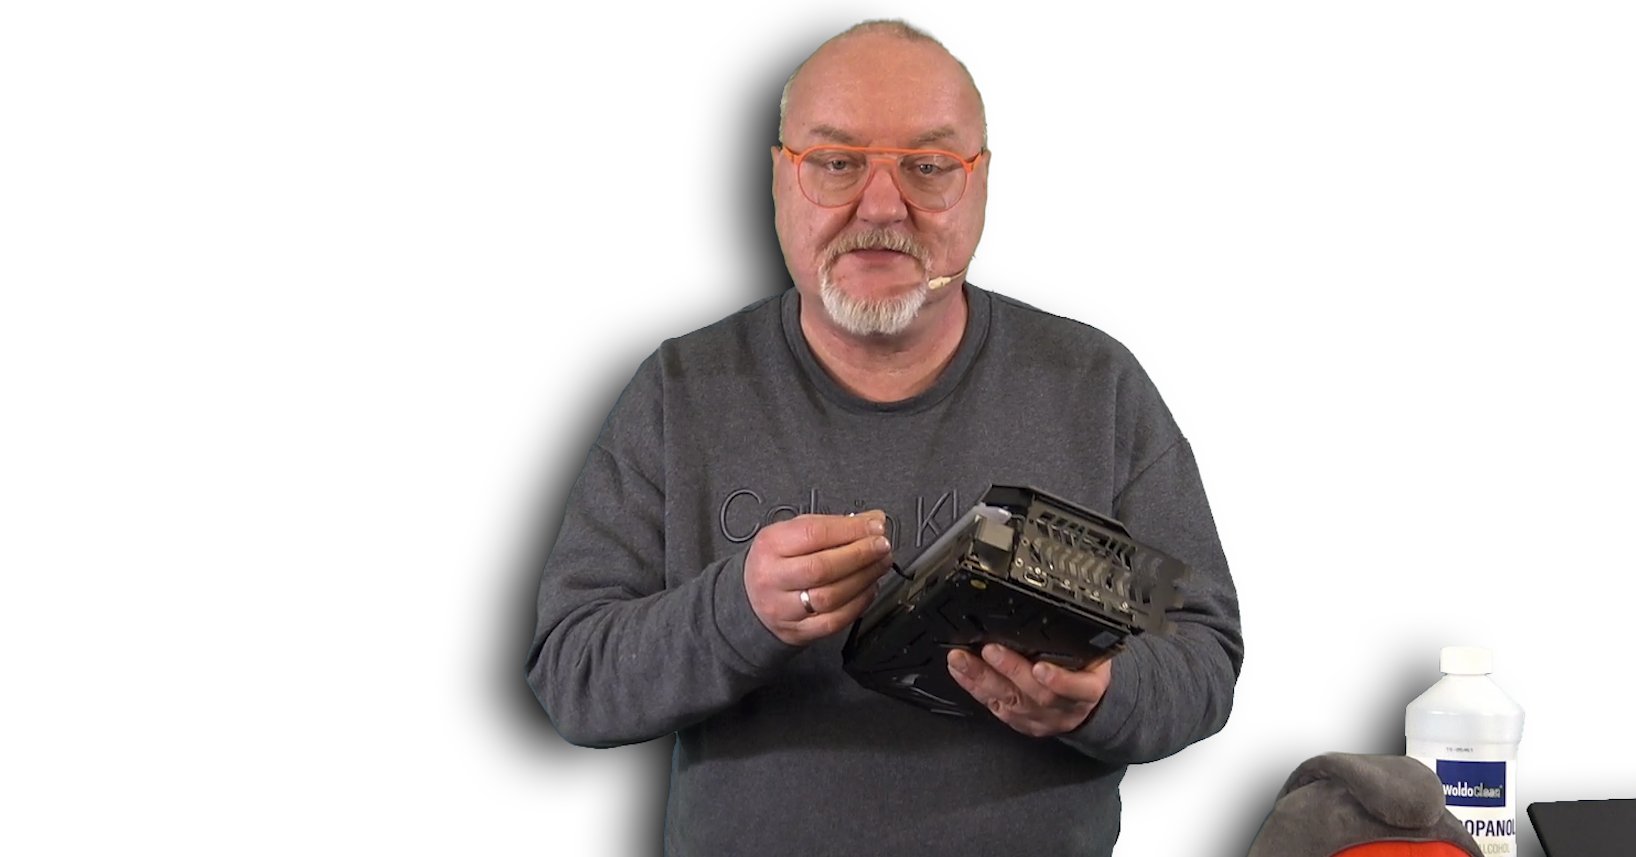
And I’ll take you along step by step now, because maybe someone will want to remedy the situation themselves. If you proceed carefully and with a plan, nothing can go wrong. The first step is always a visual inspection, where connections between cooler and board exist. First we need to disconnect the fan and RGB lighting cables. If you want to know more about this, the video at the end of the article is recommended.
After that, you need to remove the two screws on the slot bezel that connect the stabilizer frame to the bezel. Otherwise you won’t be able to get the board off later. And don’t forget to collect all screws in a small container!
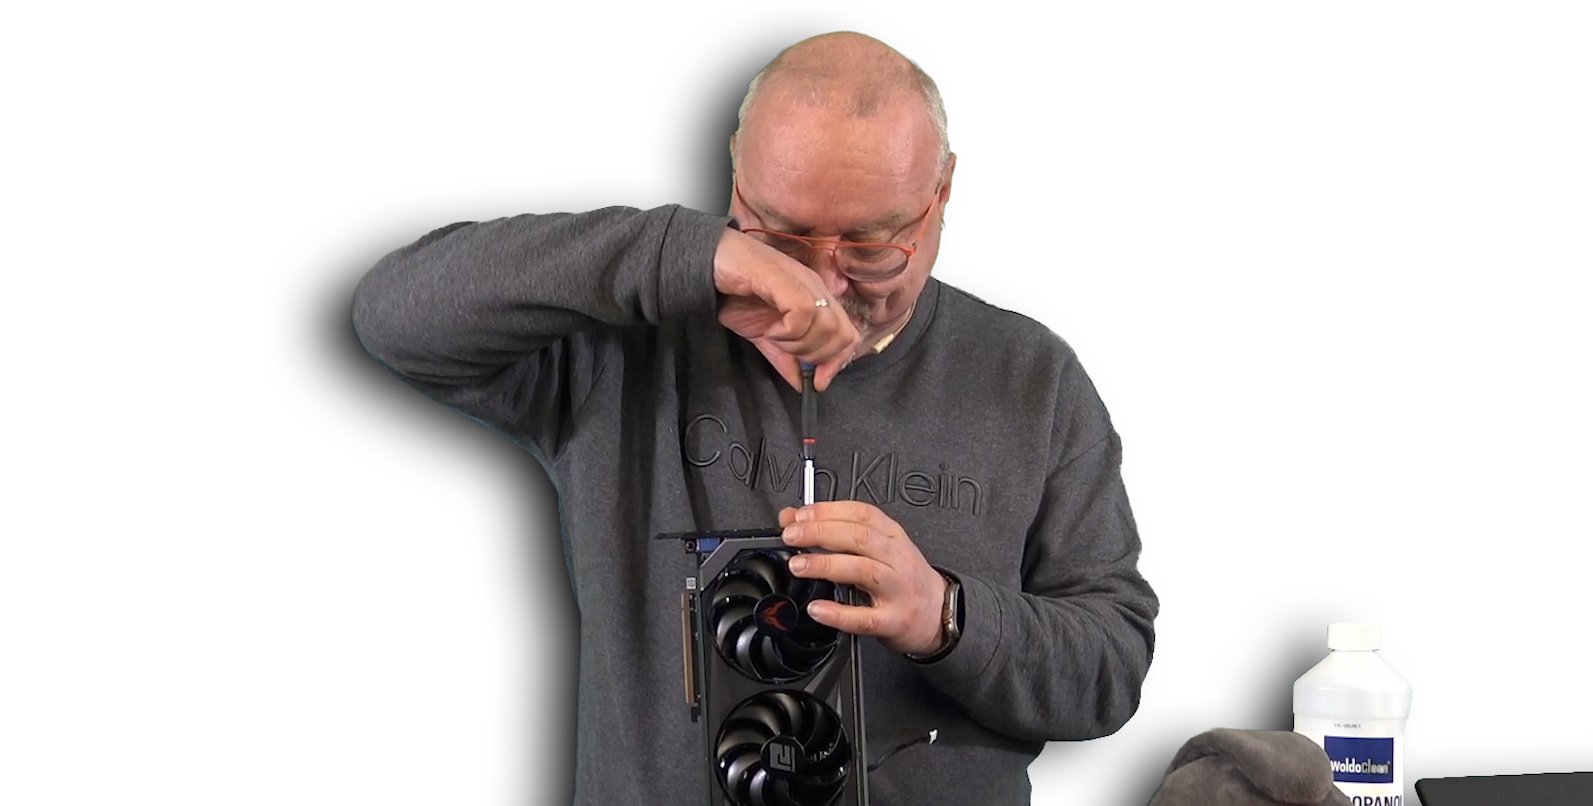
Once you’ve done that, you have to remove the circuit board that is firmly connected to the backplate. This is enough for now, but it has to be done in a certain order. First, one loosens all separate spring screws and collects these also in the container. You simply have to ignore the seal, because it will be broken in any case.
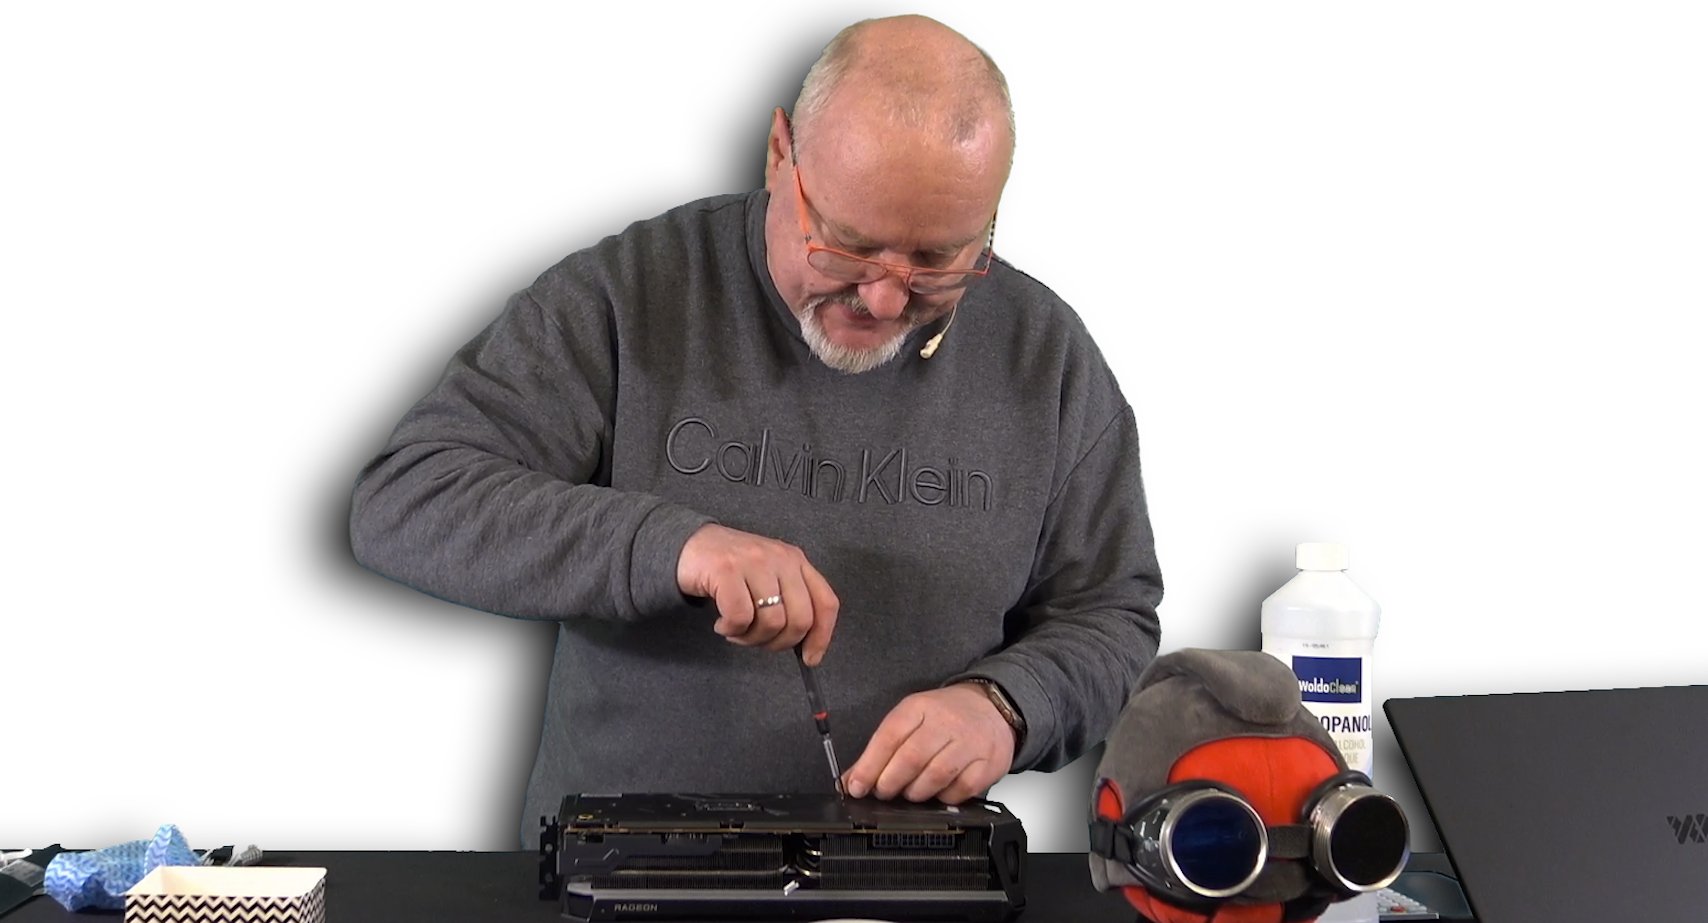
Only now do you remove the spring tension cross of the GPU. However, loosen all the screws alternately just a bit and then unscrew them piece by piece to the end. This reduces the pressure and is much gentler on the board and the very sensitive GPU package. Note also my finger, which slightly presses down the respective side of the cross to relieve it.

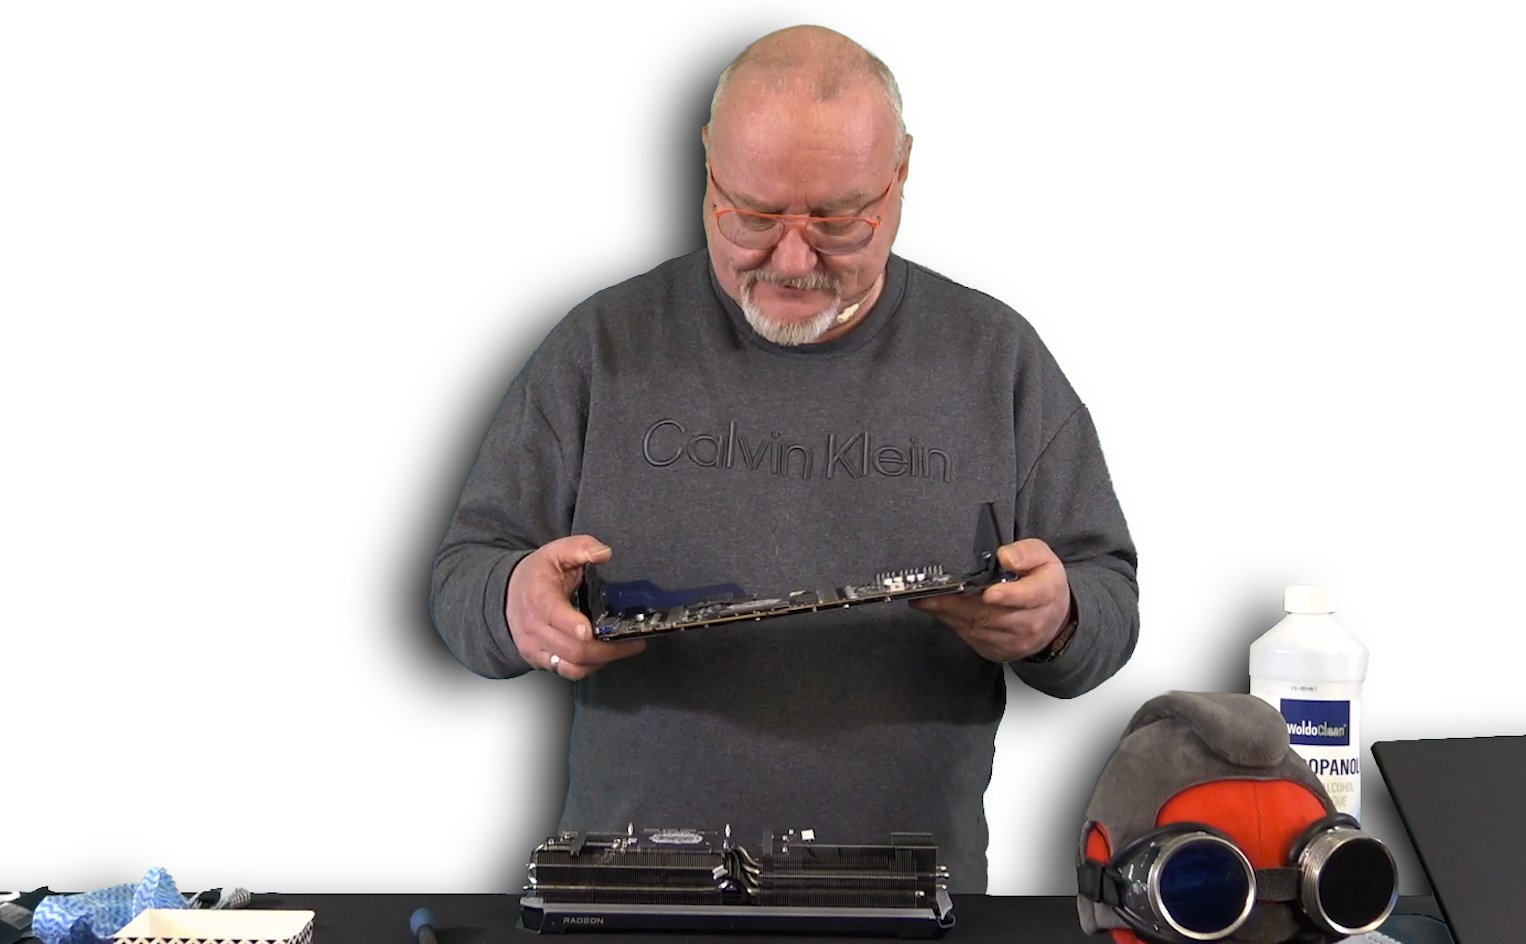
And now it gets exciting. We carefully loosen the board (heat conduction pads and heat conduction paste are sticking) piece by piece on the long sides and also pay attention to the hooked nose of the backplate, which makes contact to the cooler, when lifting up the board together with the backplate! Please do not use force, it works like this!
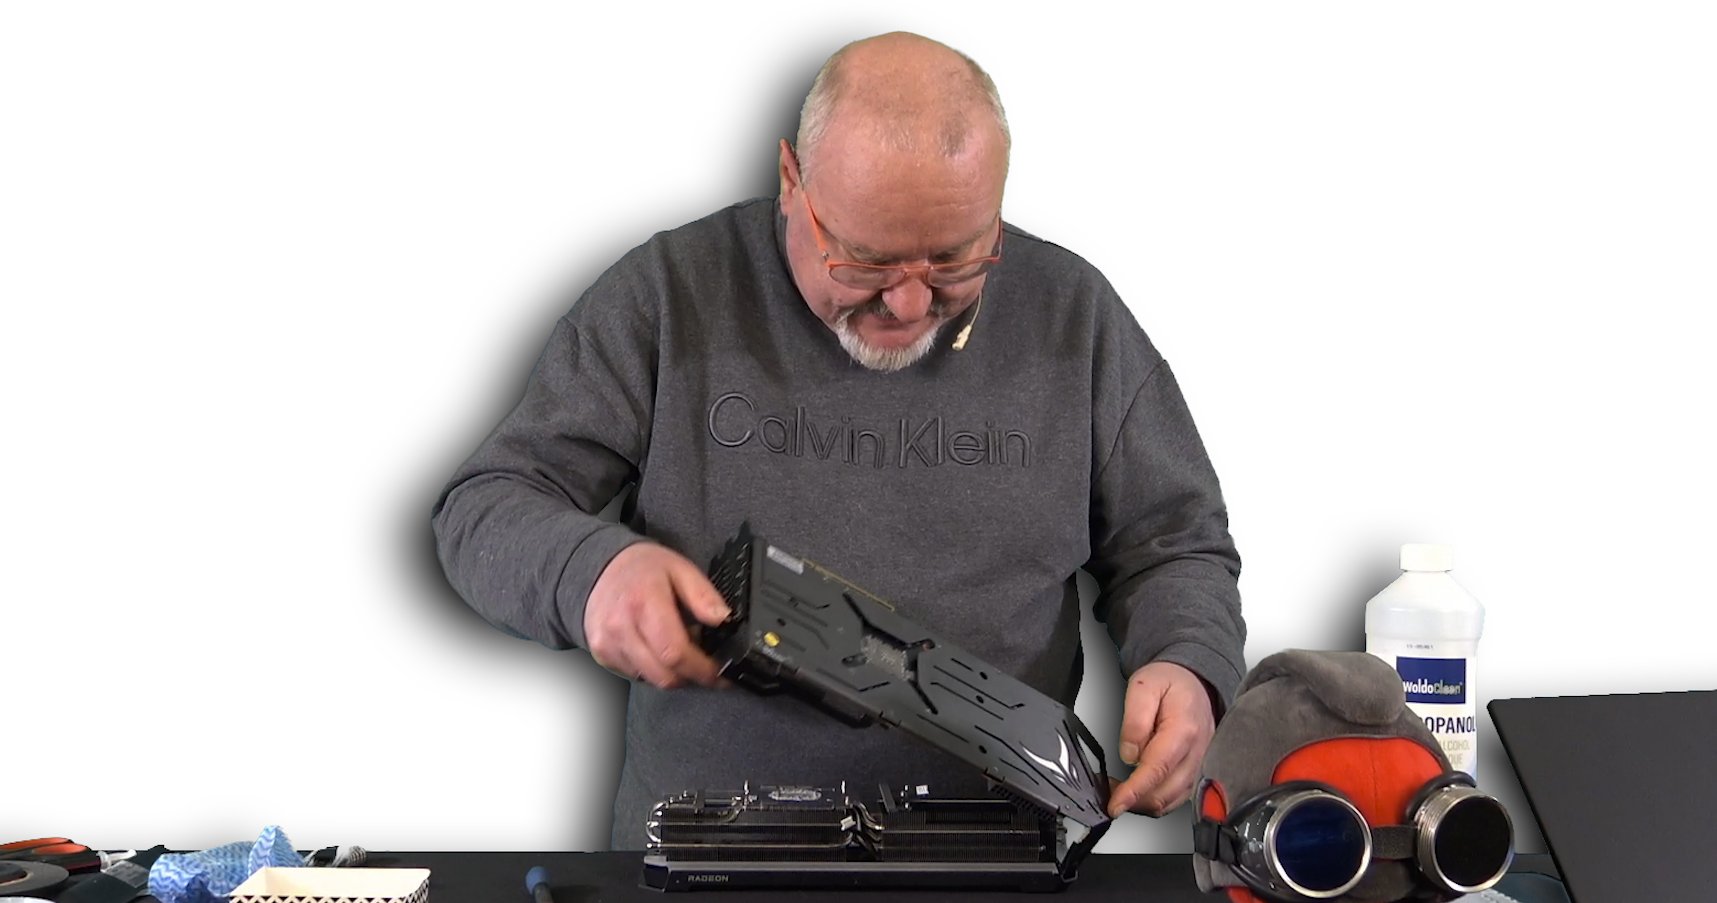
Done! And what was visually presented to me here is simply an impertinence. That you get something like this directly from the factory is almost incomprehensible. More on this after the turn of the page, because we need to talk!


192 Antworten
Kommentar
Lade neue Kommentare
Veteran
Urgestein
Urgestein
Urgestein
Urgestein
Urgestein
Urgestein
Urgestein
Urgestein
Mitglied
1
Mitglied
Urgestein
Urgestein
Urgestein
Veteran
Urgestein
Urgestein
Alle Kommentare lesen unter igor´sLAB Community →