


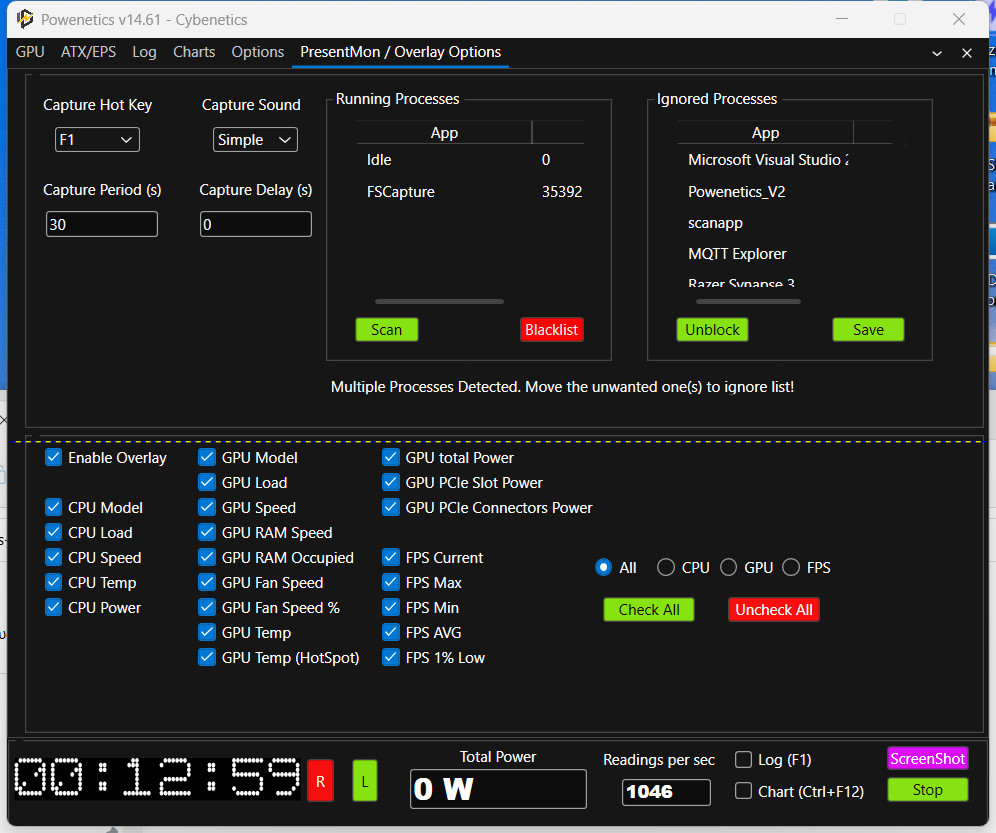
PresentMon/Overlay Options Page
Aris has integrated a light version of CapFrameX into the app, so the options are very similar. It can set the “capture hot key” using one of the F keys. One thing to note is that the capture only starts when a compatible application is running, and the “Log” checkbox is also checked. If you want to start a logging session, for example, when the system is idle, you can either check the Log checkbox manually or press the “Ctrl + F11” key combination, which is fixed.
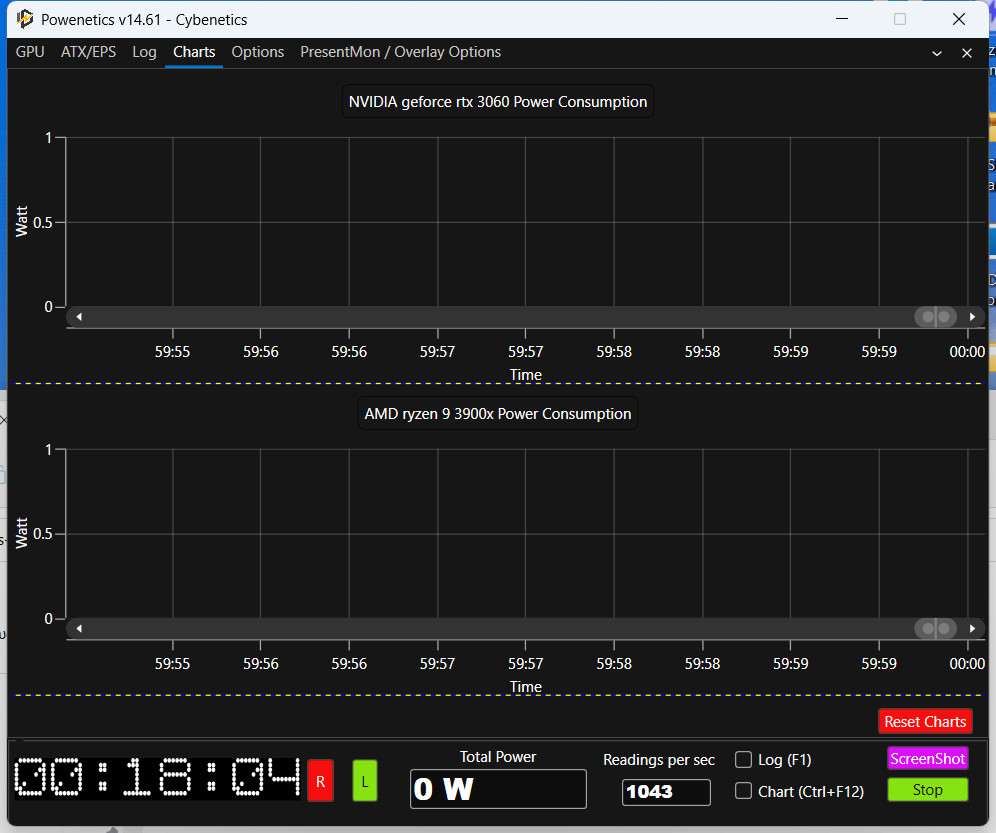
Diagrams page
The Diagrams page is only for simple demo purposes, but it can be quite useful if you want to show something during a video. However, it makes the program slower and then doesn’t always work as accurately as intended, especially at full speed. So it’s much better to keep a logging session and create your own charts from that data. That’s exactly what I’m doing.
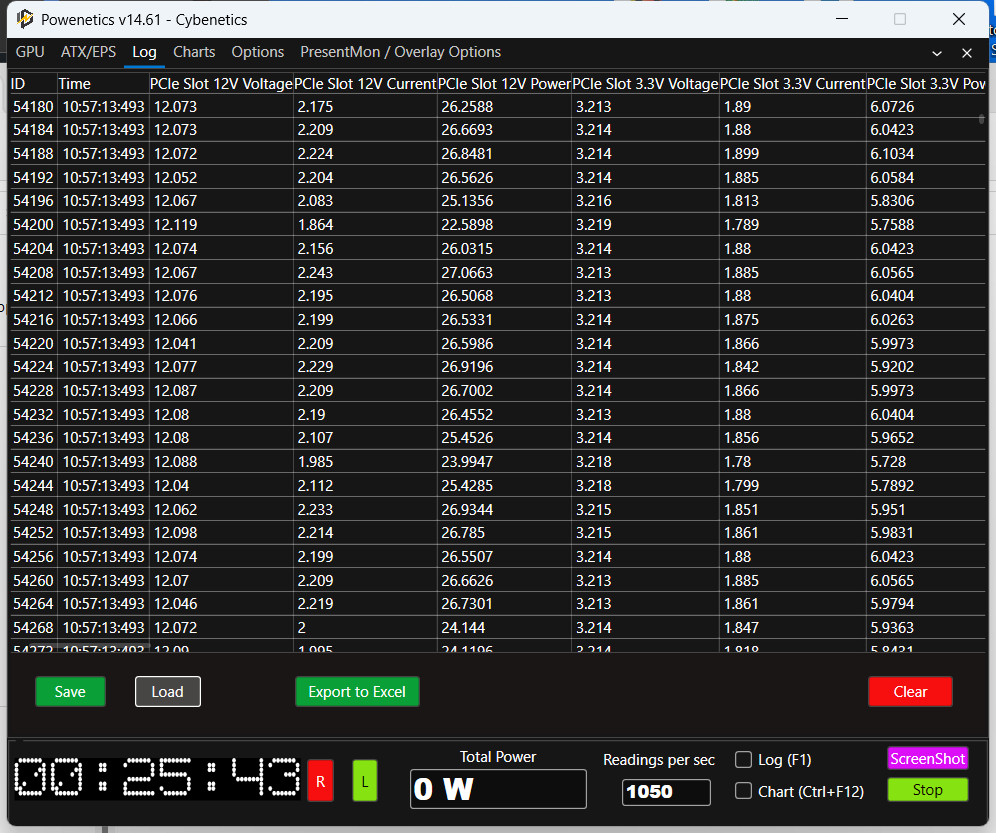
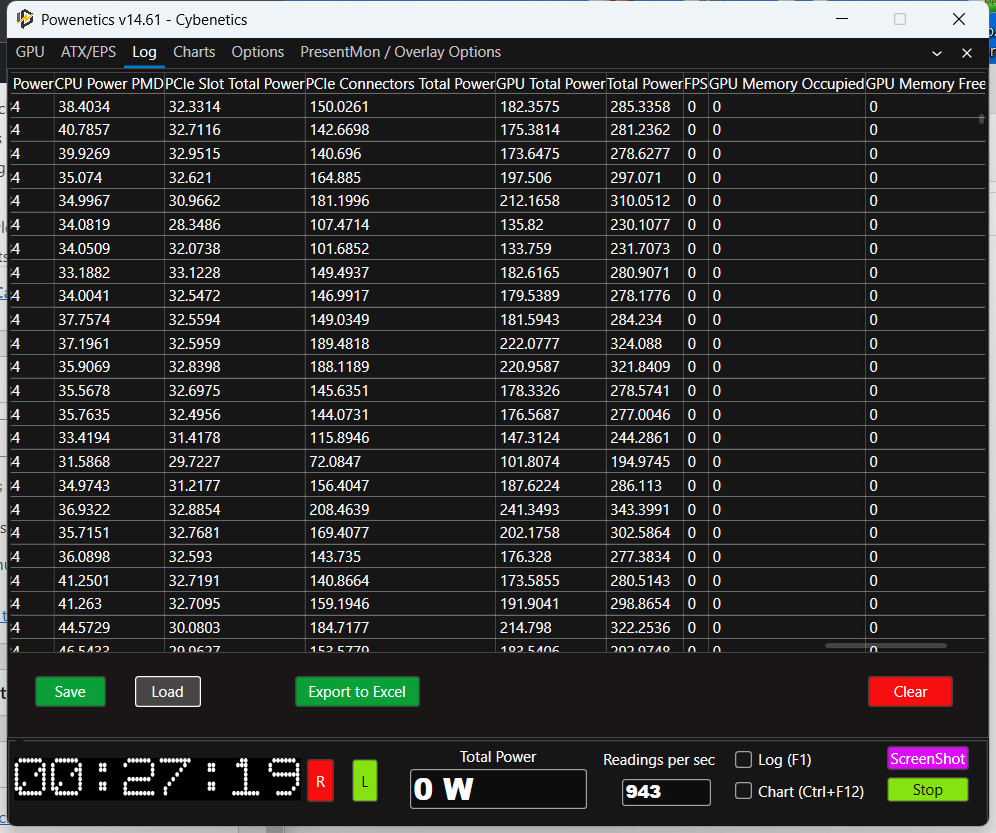
Log page
The most important page! While logging is running, you won’t see anything here for now, to avoid delays and to minimize processor load. One can load existing logs from this page and export them to Excel for further analysis.
FPS information is only available when a 3D application is running in the background and the corresponding code is working correctly. Unfortunately, the software still has some difficulties with this code due to the high data request rate in the ms range, but Aris will fix the problem soon. Also, GPU memory readout may not work on some GPUs due to the plugin used. A solution is already under consideration here as well.
If you want to start a logging session, for example when the system is idle, you can either check the “Log” checkbox manually or press the “Ctrl + F11” key combination, which is already set.
GPU page
If you want to test a GPU, this page is relevant. The “GPU Details” should still be added manually to also store the correct data in your log files. For example, if I want to check power consumption in Cyberpunk, I fill in the “Notes” section with “Cyberpunk OC”.
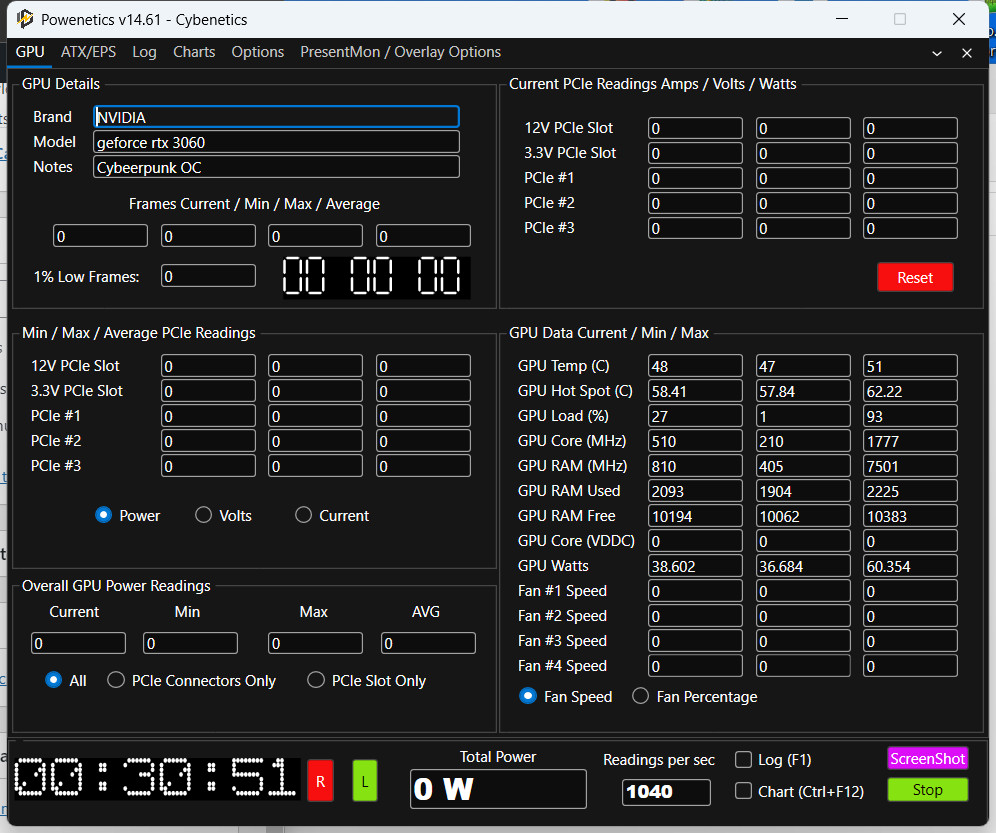
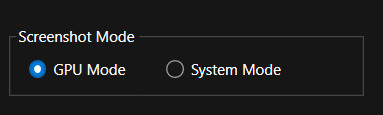
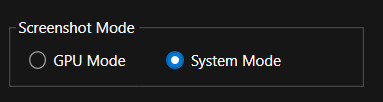
For all saves, whether logs or screenshots, you should select “GPU Mode” to use the data from the “GPU Details” fields.
 |
ATX/EPS page
This is the right page if you want to check the power consumption of the motherboard or CPU. Since there is already information about the 12V power consumption of the PCIe slots, it is possible to get the actual power consumption of the CPU with great accuracy. You get the 12V current from the EPS and ATX cables and subtract the 12V current at the PCIe slot. This gives a very accurate estimate of the CPU’s power consumption, since the 24-pin ATX cable only has two 12-volt lines that supply power to the entire motherboard, including the PCIe slot, which usually consumes the most power.
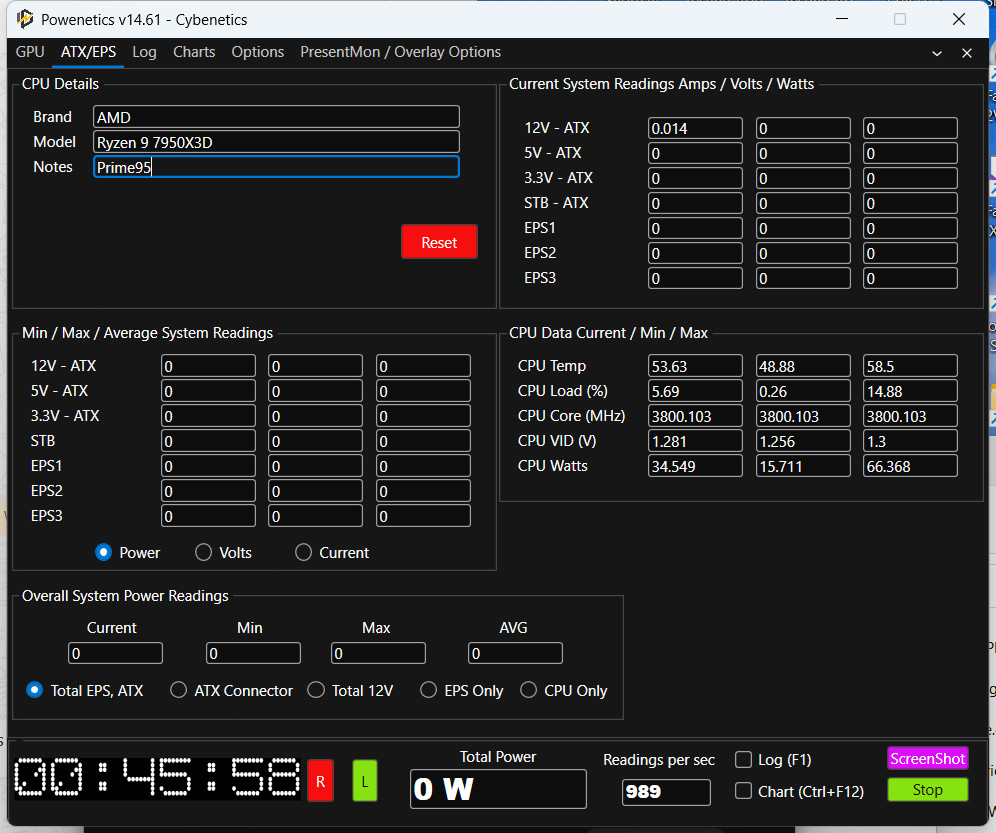
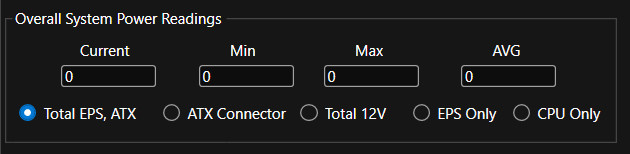
From here, you can also select what you want to see. The most interesting option is the “CPU only” option.
 |
For all saves, either logs or screenshots, you should select “System Mode” to use the data from the “CPU Details” fields.
 |


22 Antworten
Kommentar
Lade neue Kommentare
Urgestein
Mitglied
1
Mitglied
Urgestein
1
Mitglied
Urgestein
1
Urgestein
1
Urgestein
Urgestein
1
Urgestein
1
Veteran
Urgestein
Mitglied
Alle Kommentare lesen unter igor´sLAB Community →