


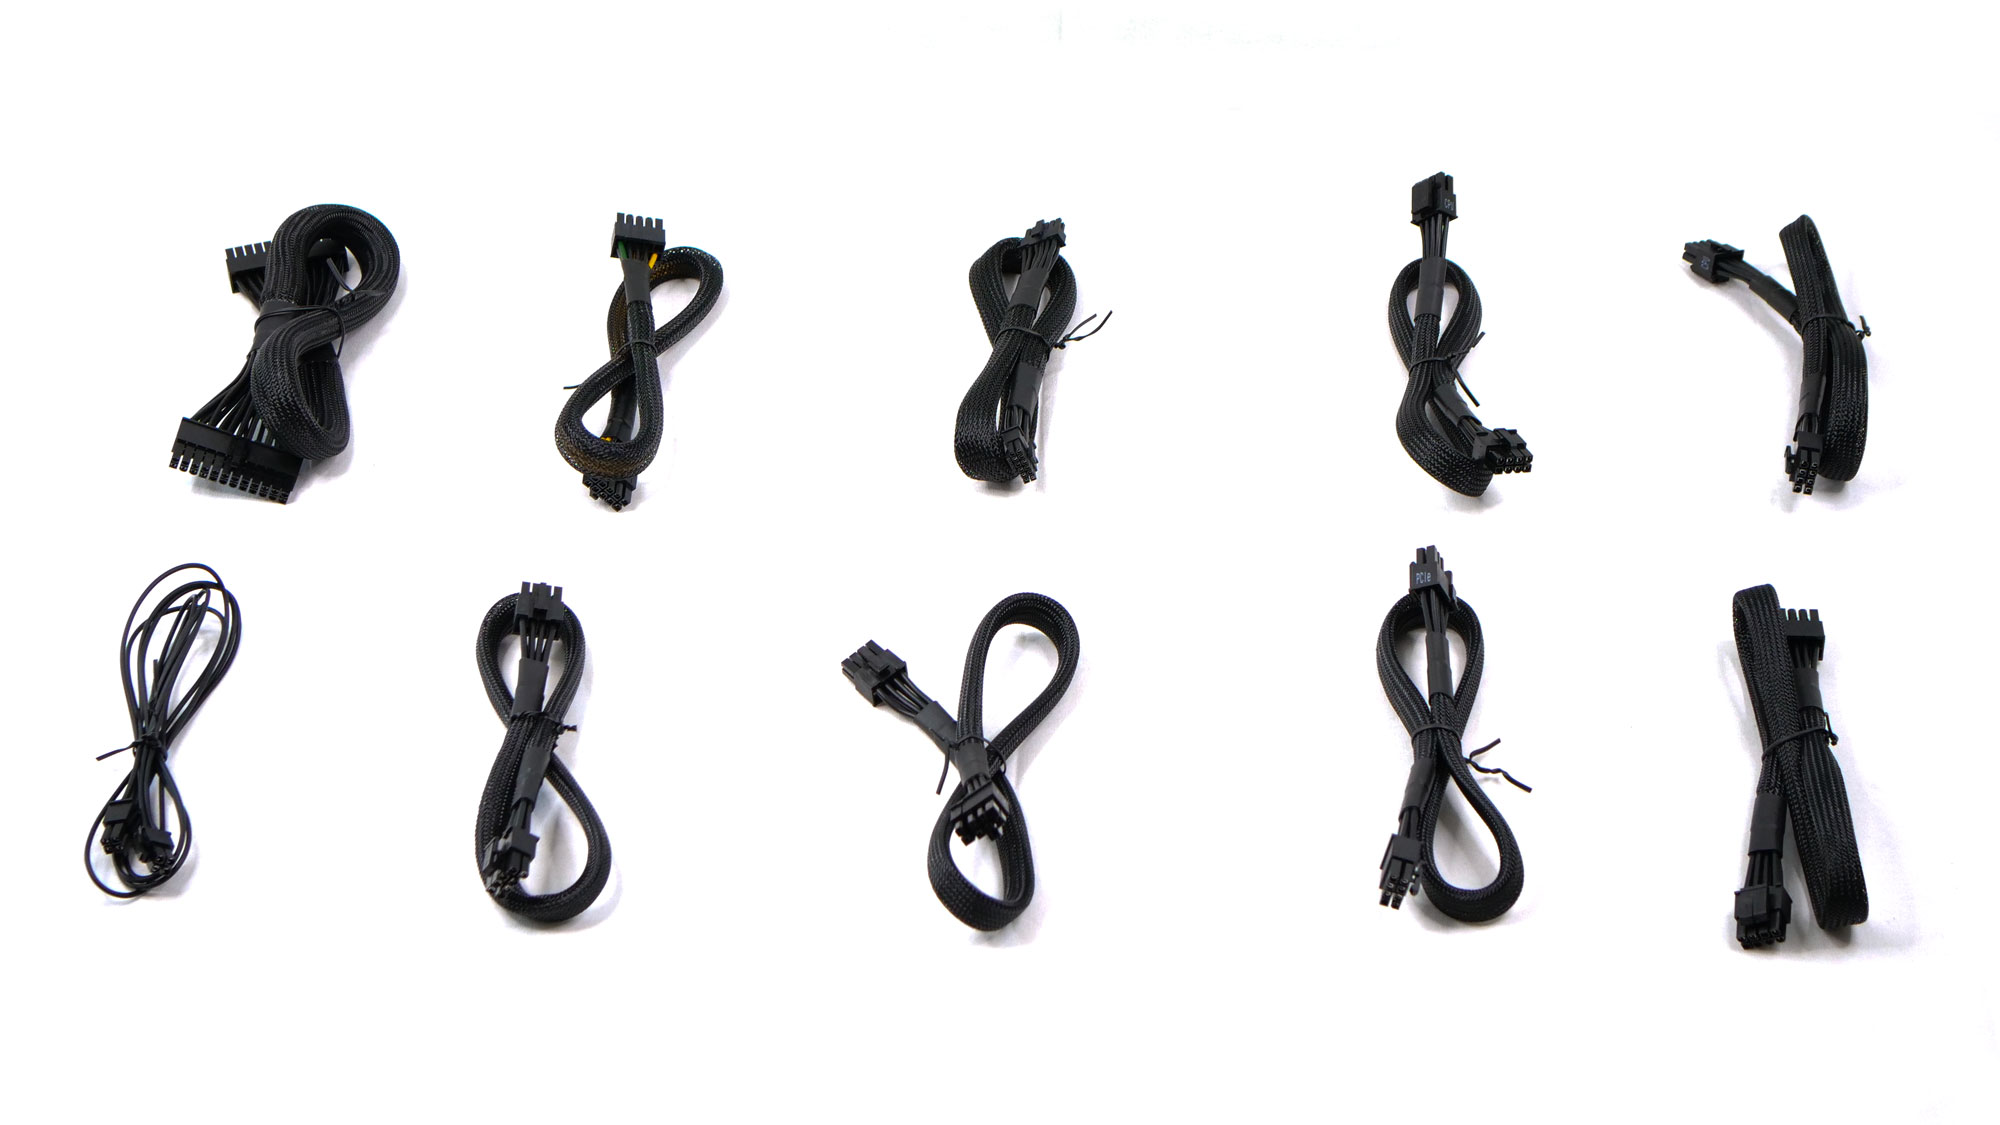
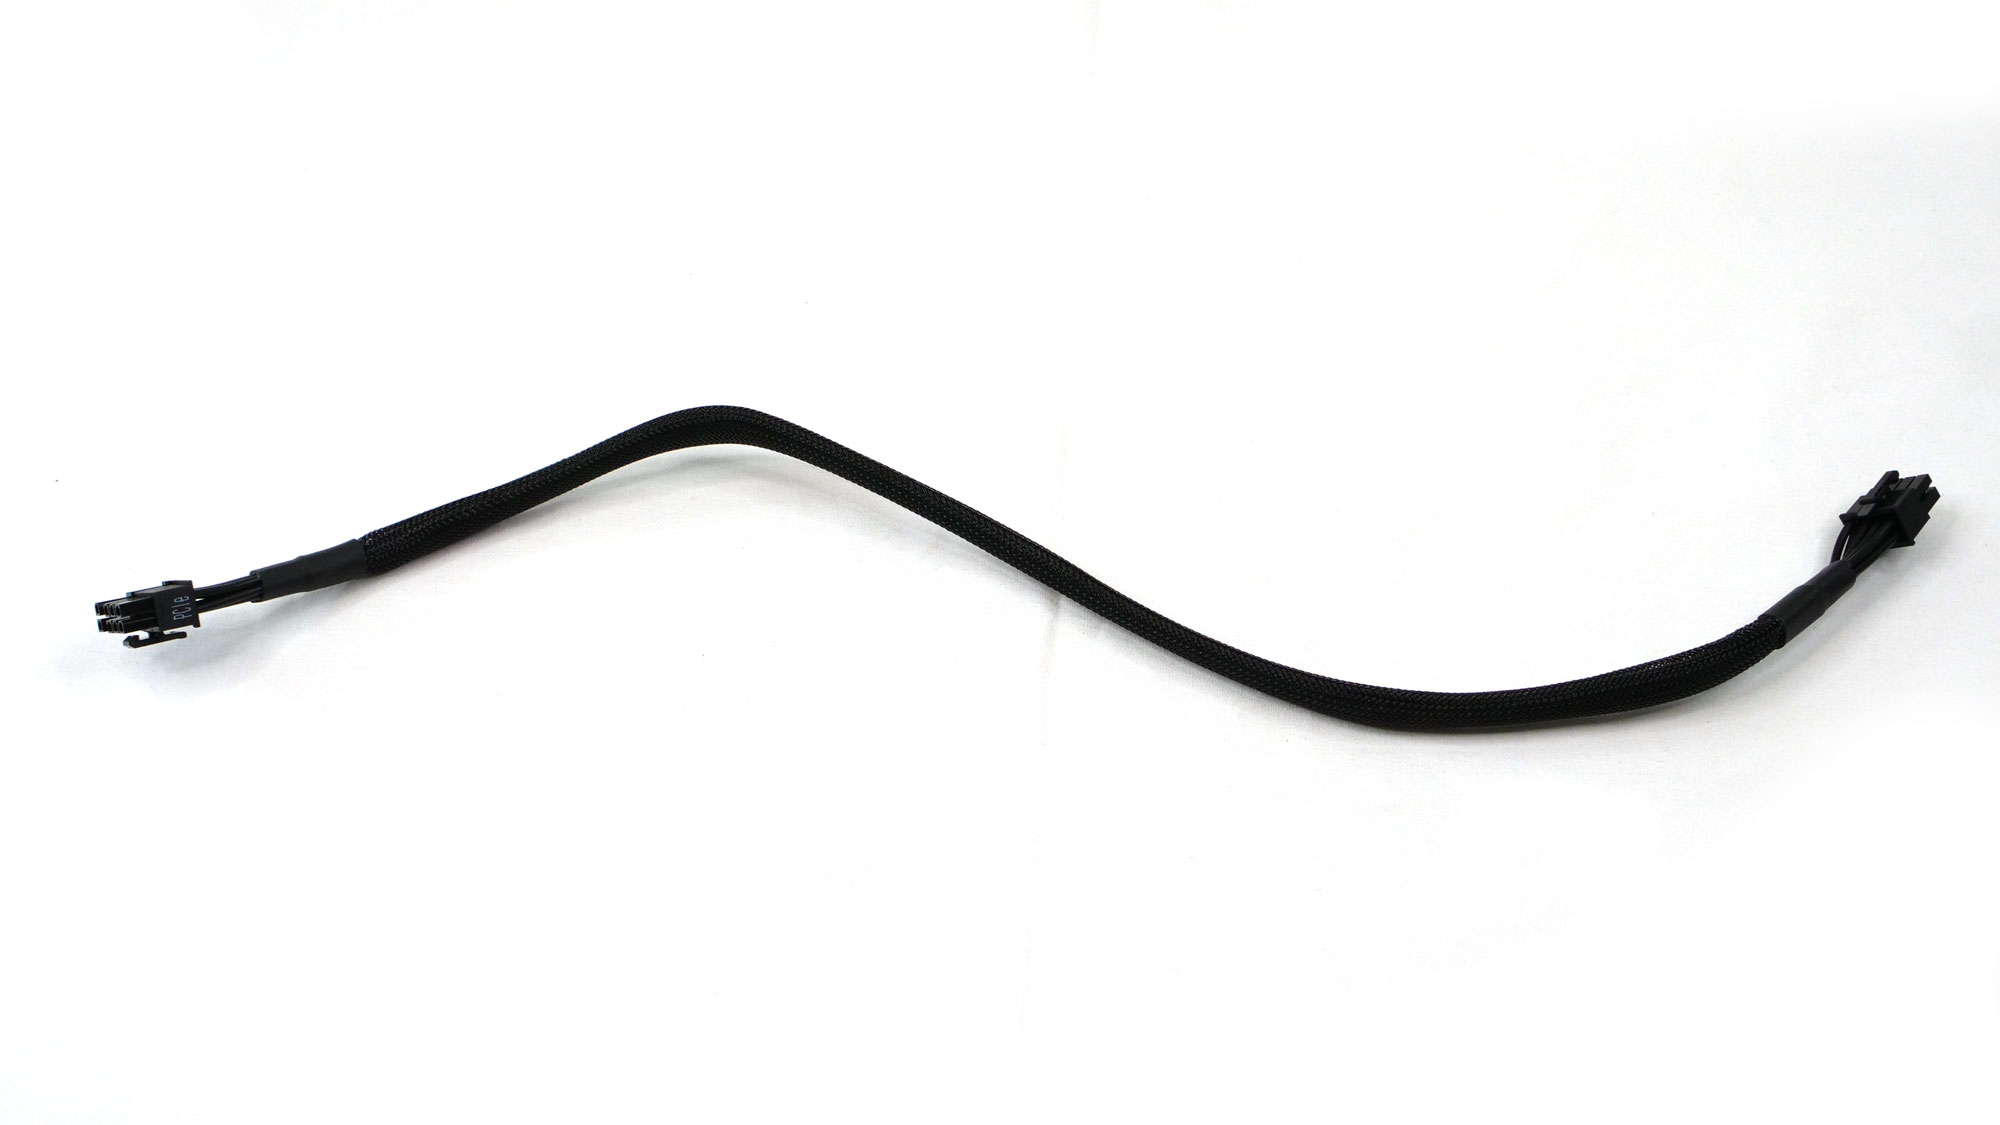
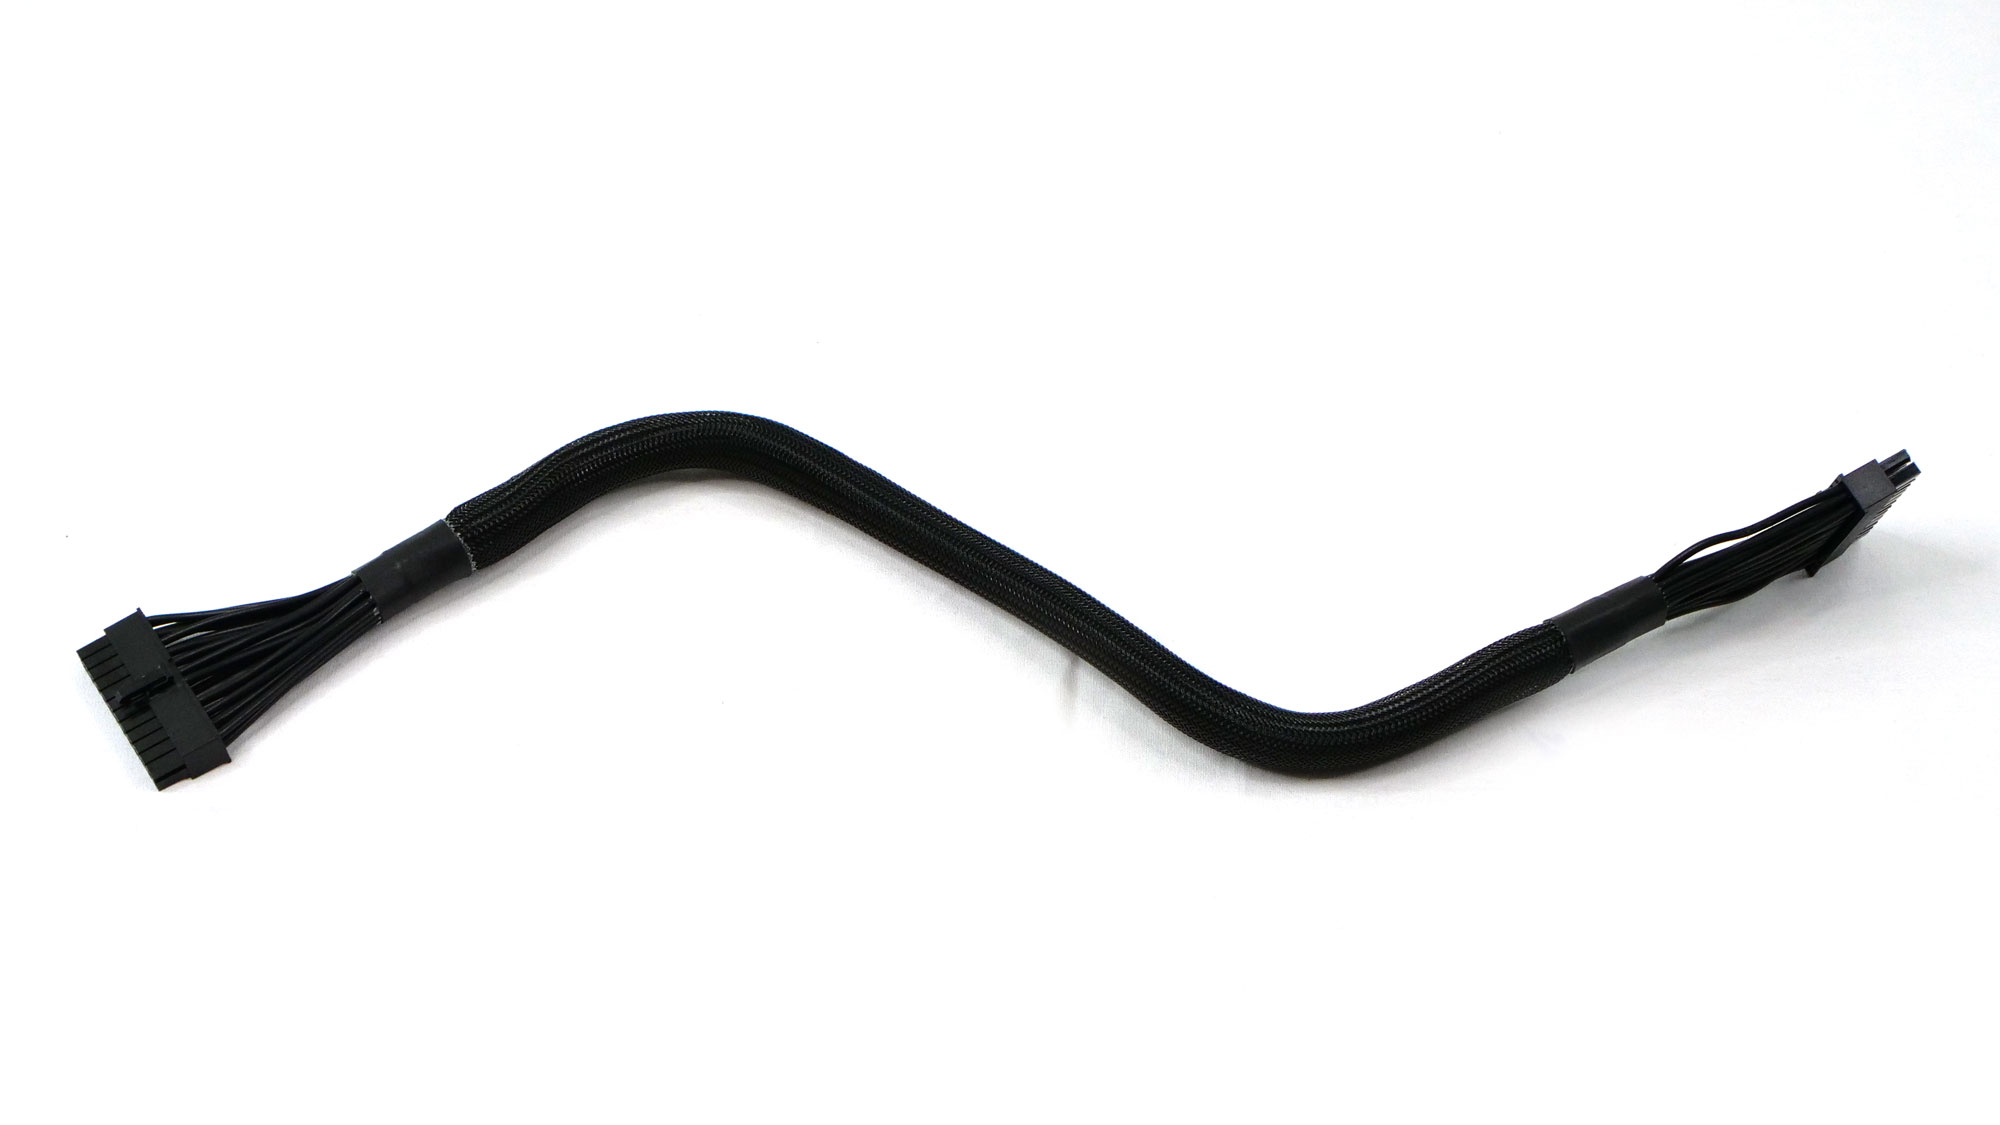
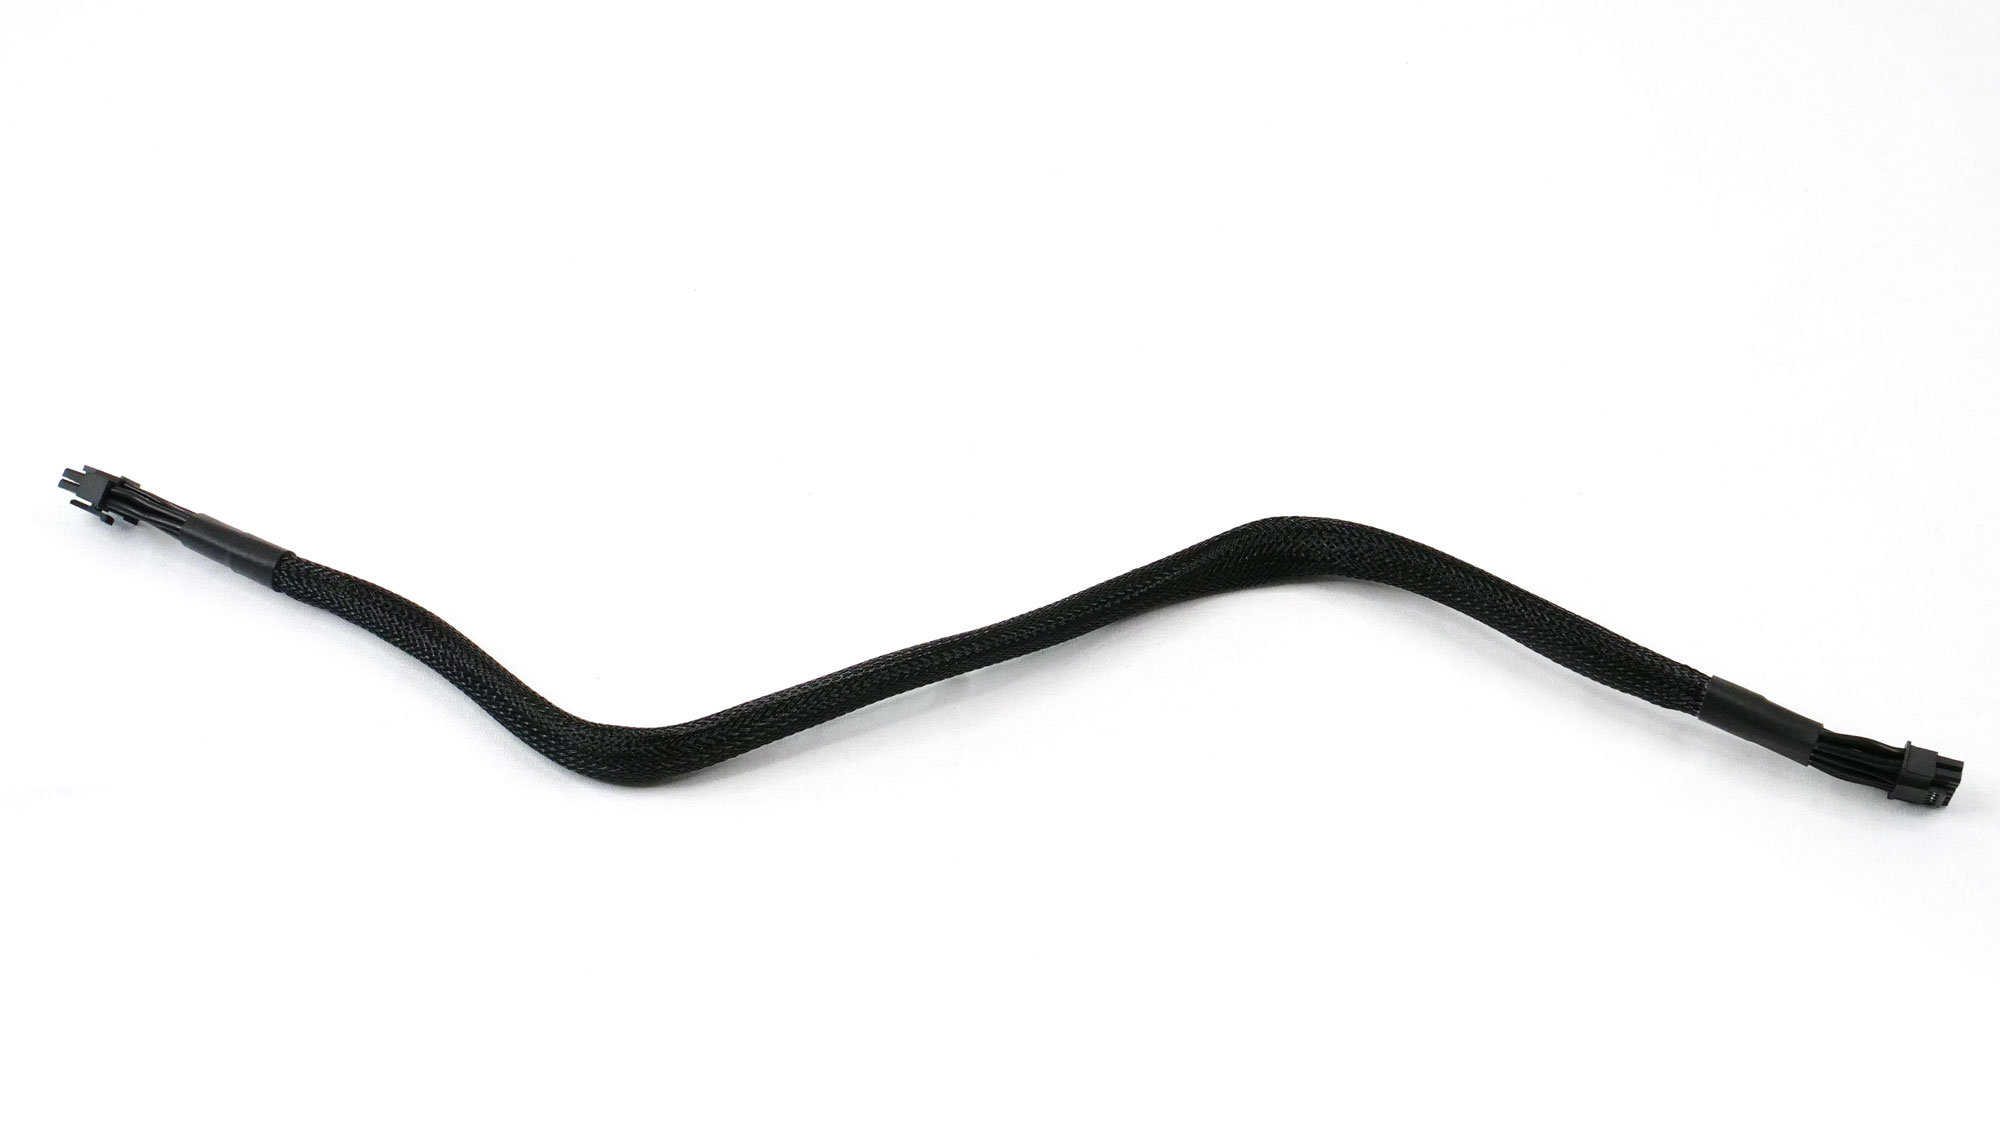
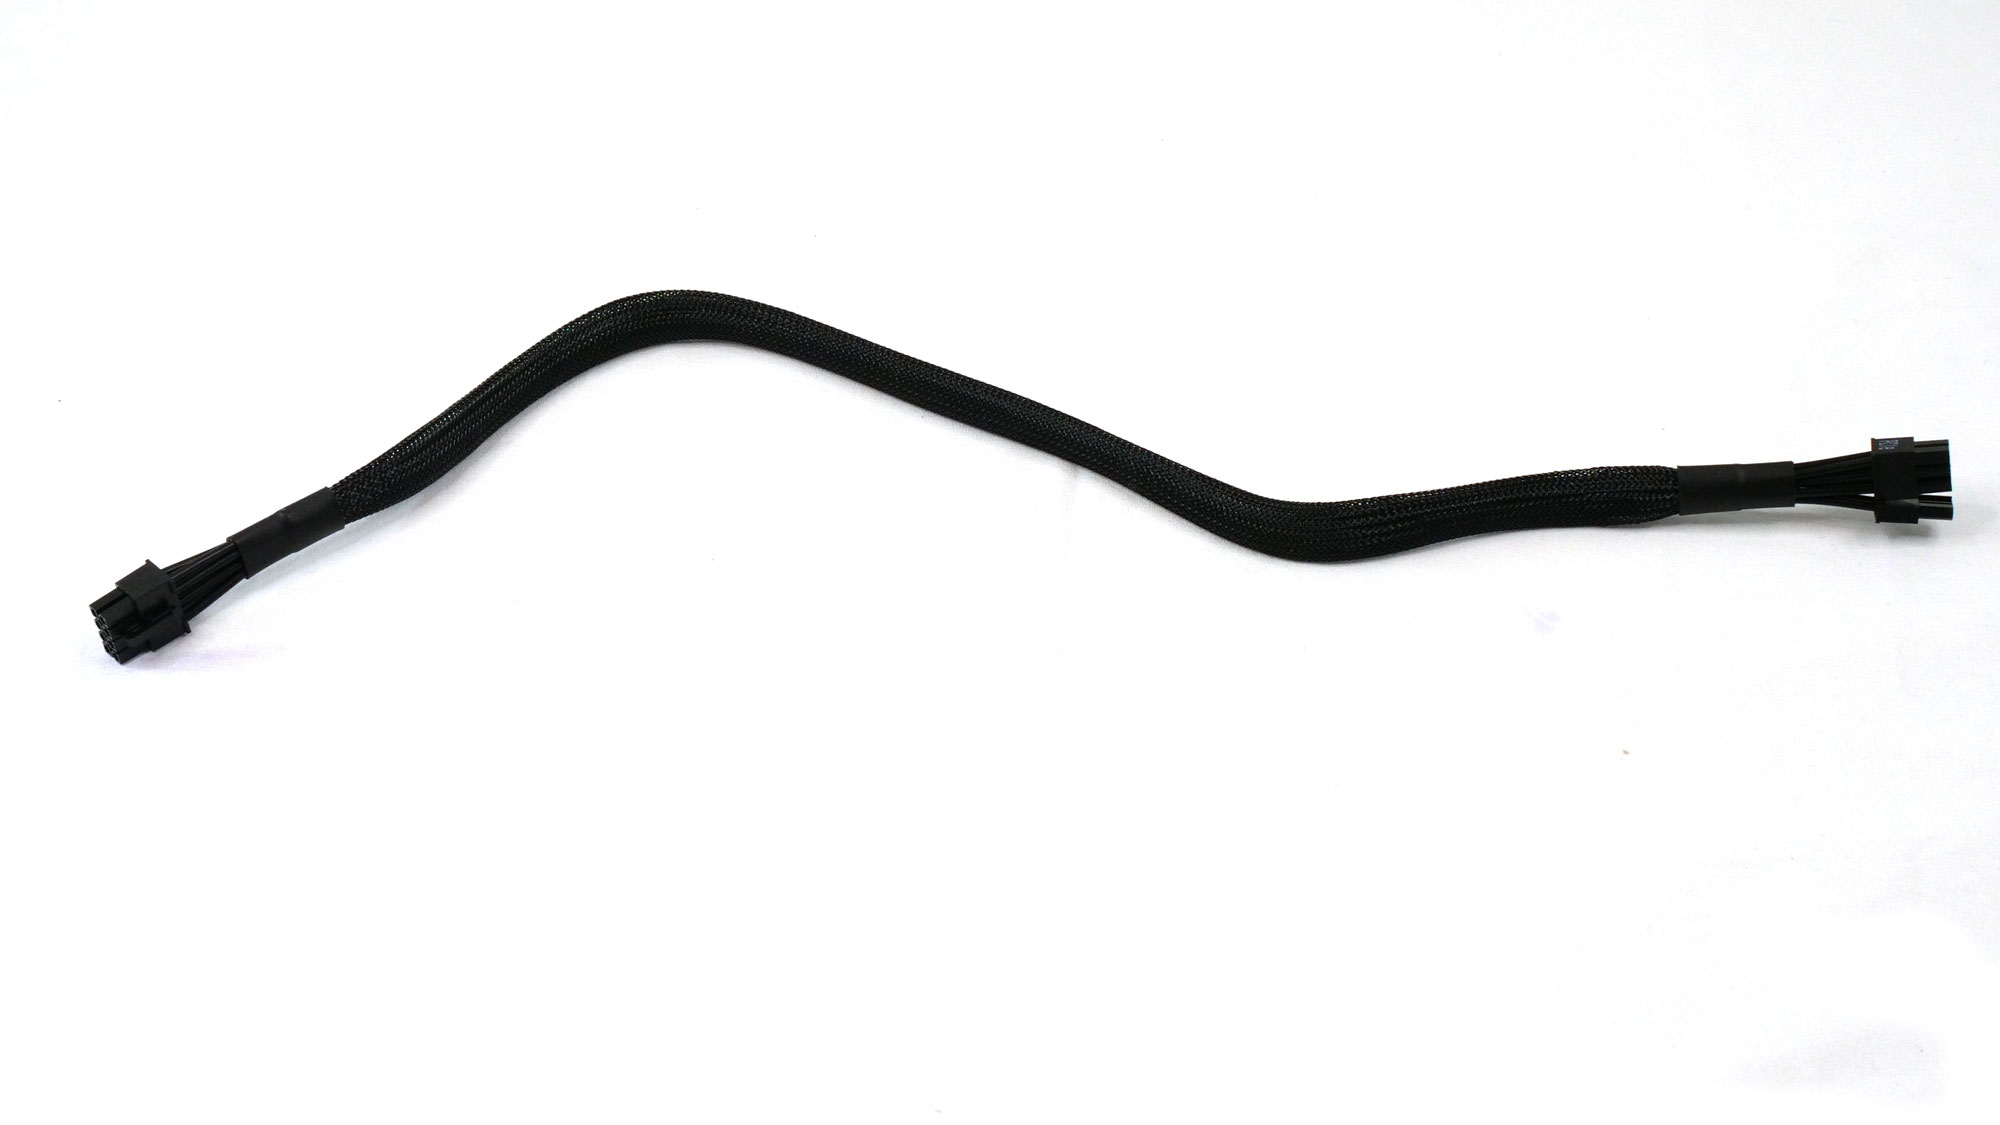
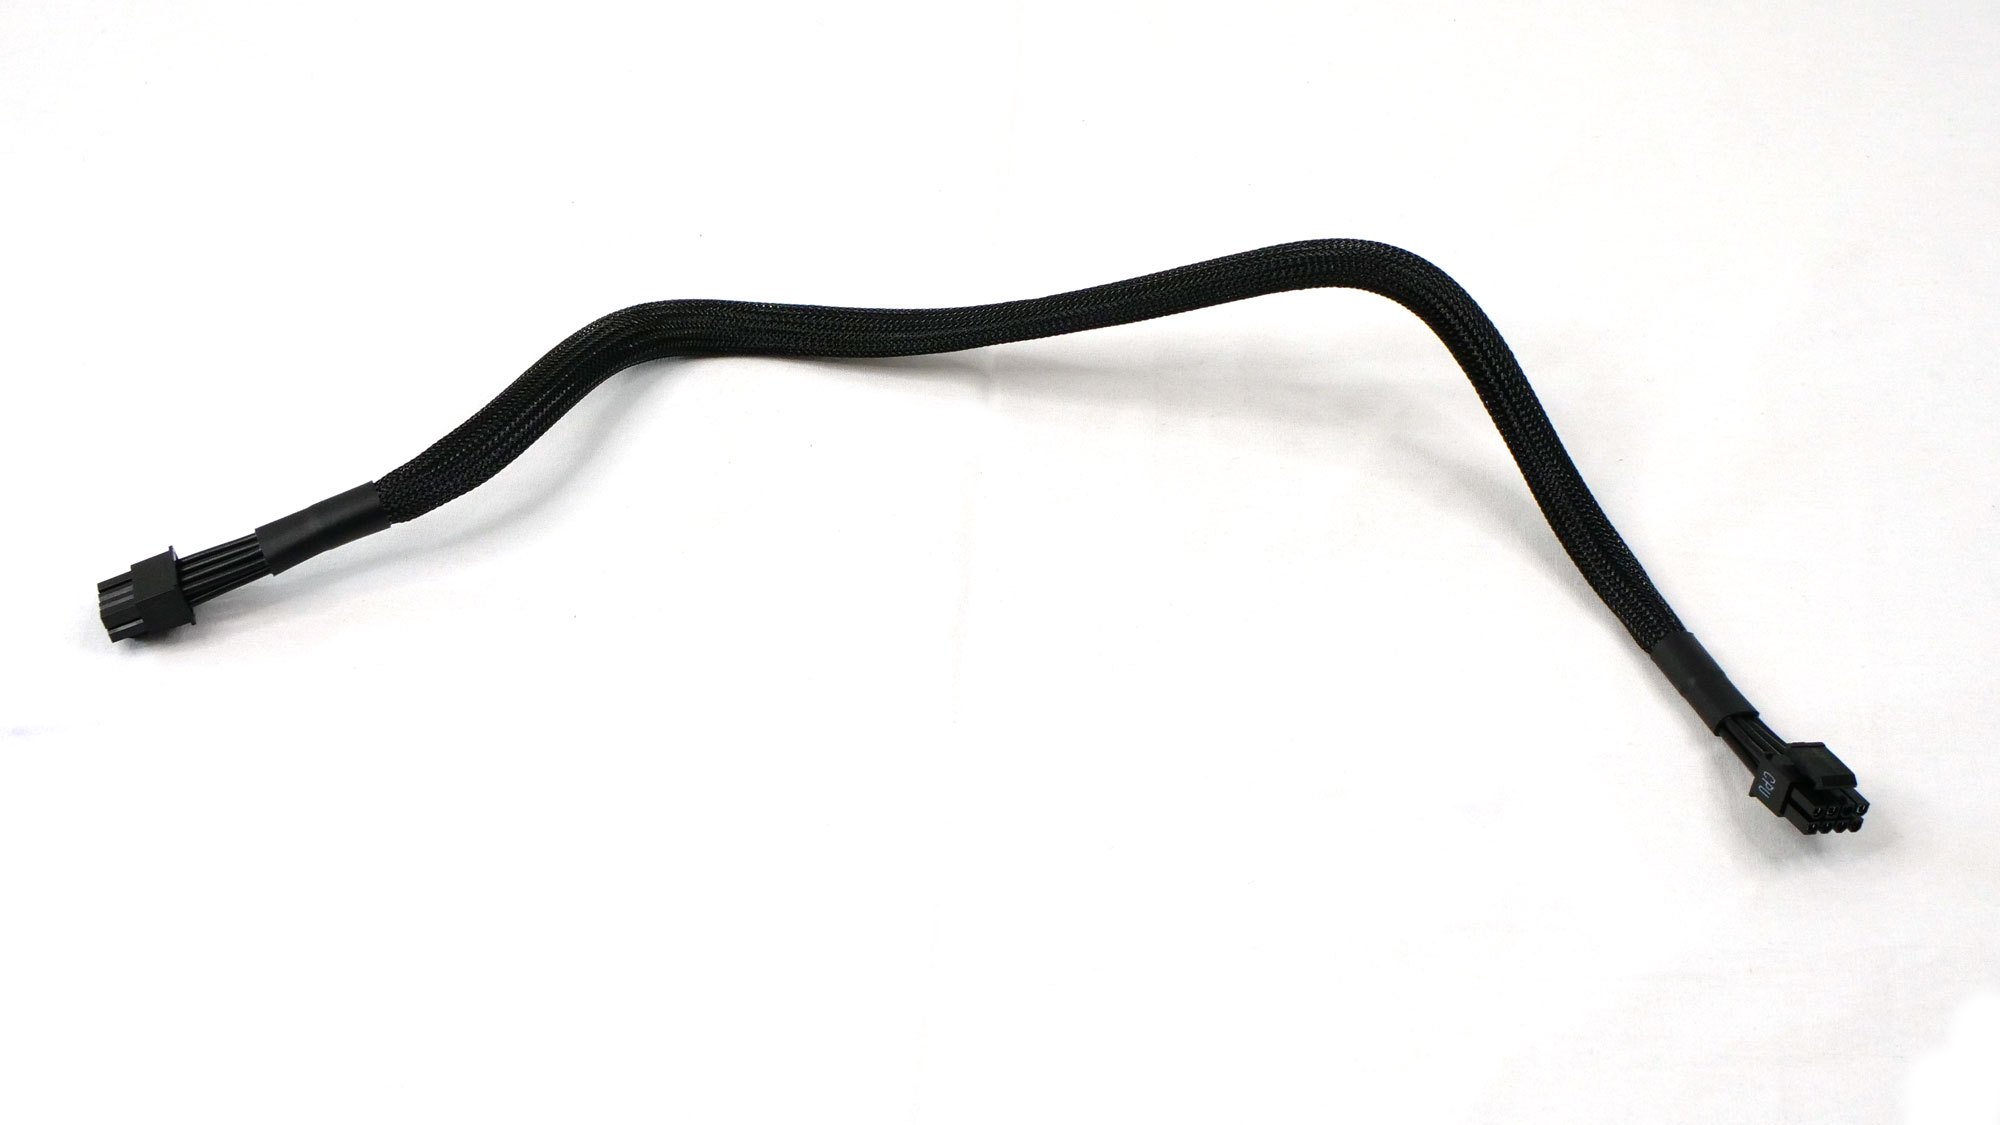
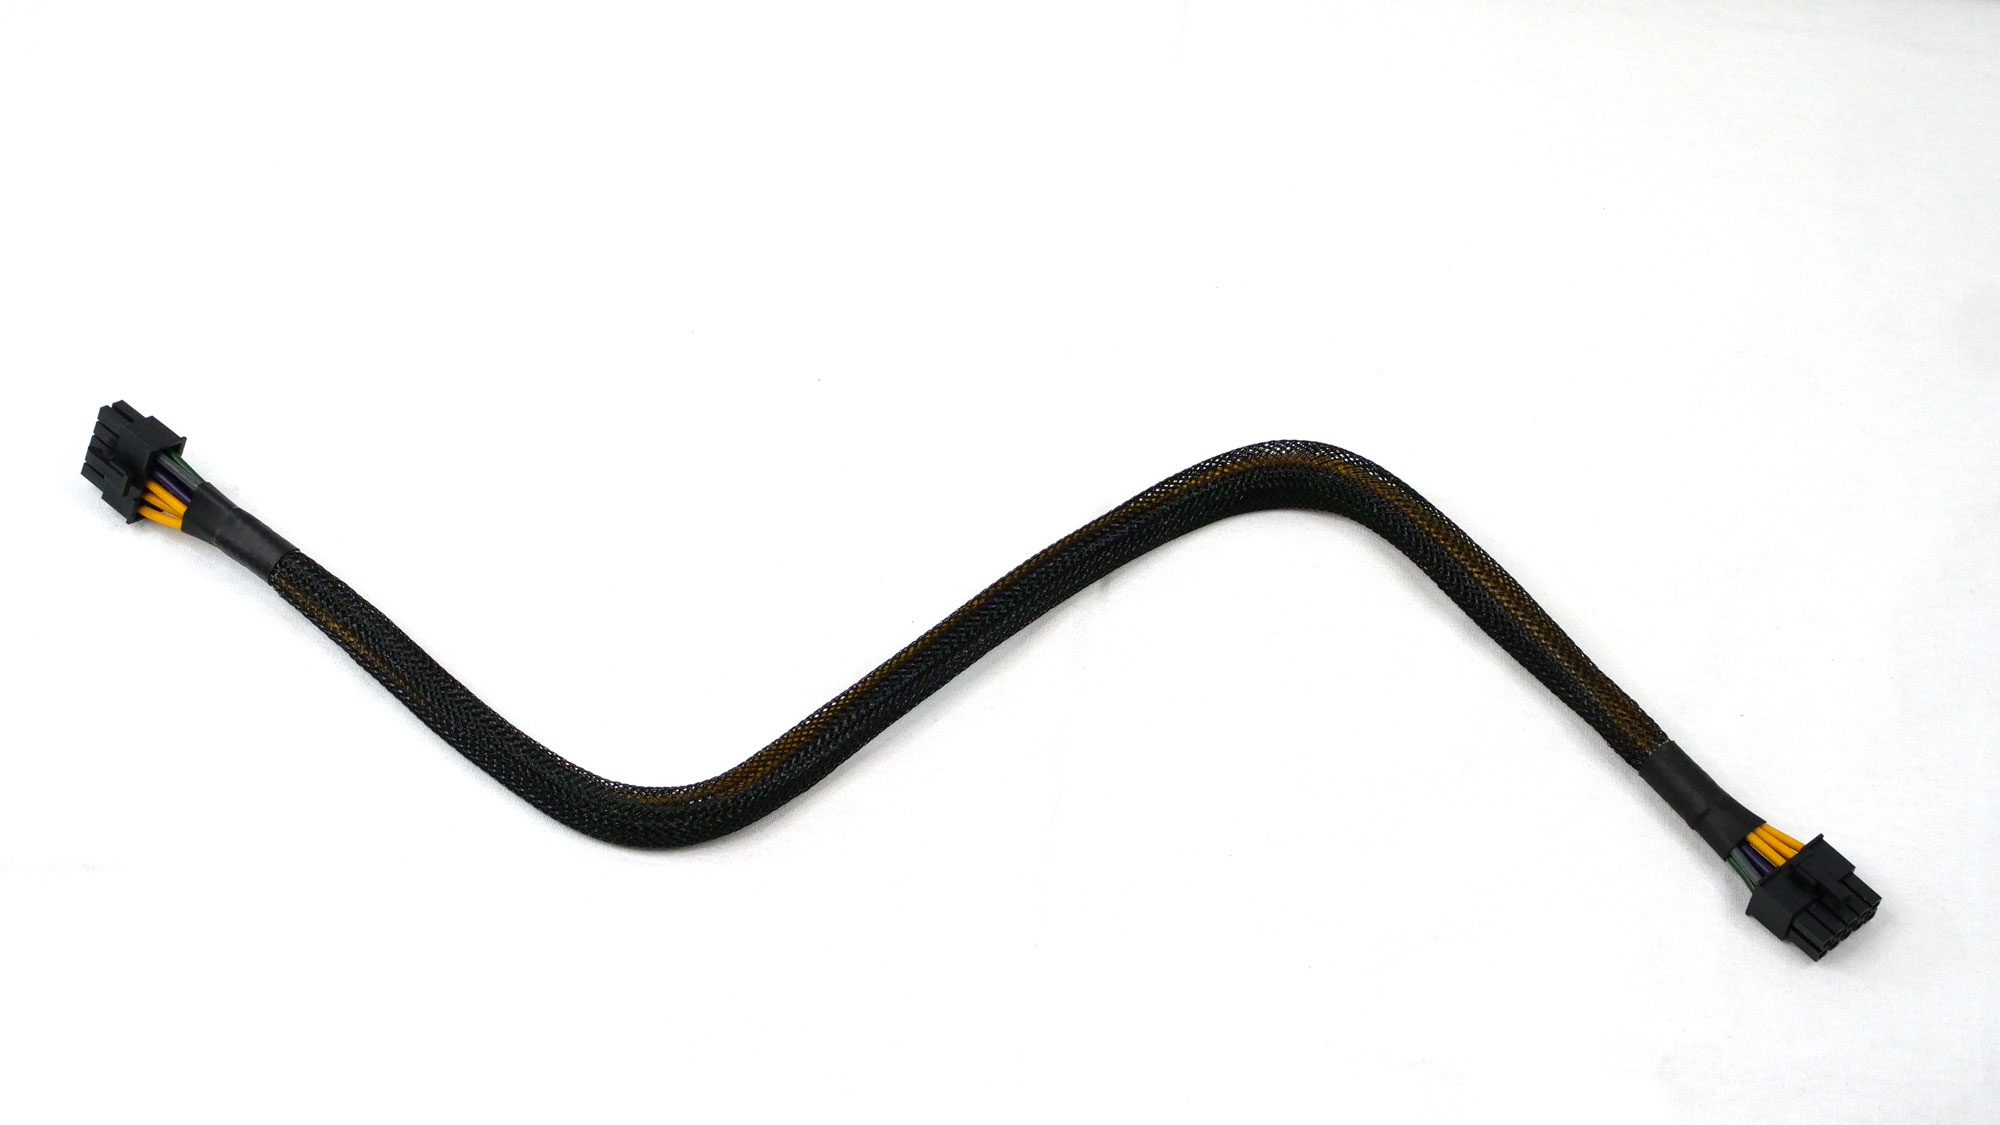
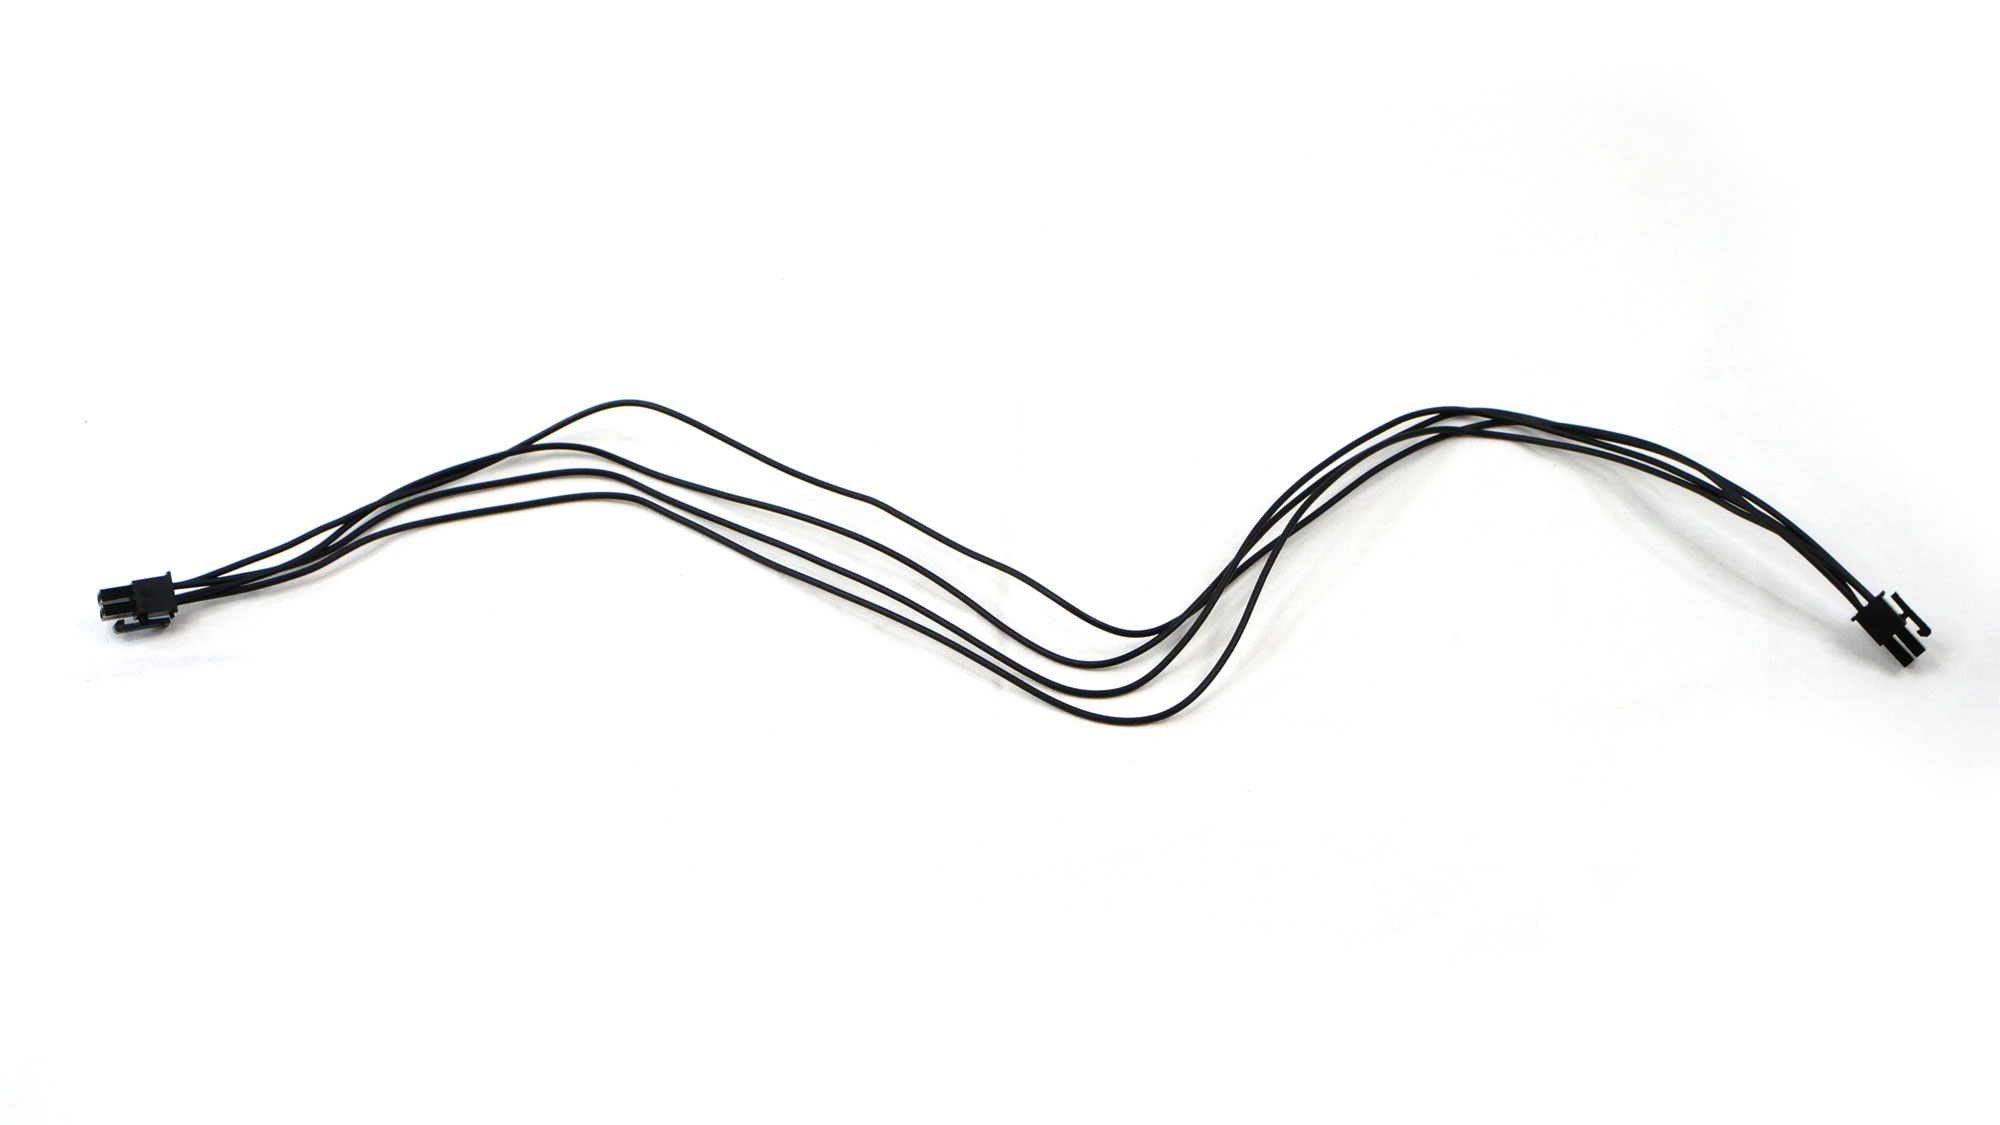
Scope of delivery and cables
You get the two boards and the cables needed for each output to make a connection between motherboard and PMD. Of course, you can quickly recognize the OEM’s signature on the flat cables, because the cables of many power supplies look very similar. Everything is included, only the USB-B cable I had to buy myself in the end (but that somehow got lost and would have been included otherwise). By the way, with lengths of up to 5 meters, I was still able to safely run the PMD at the highest resolution.
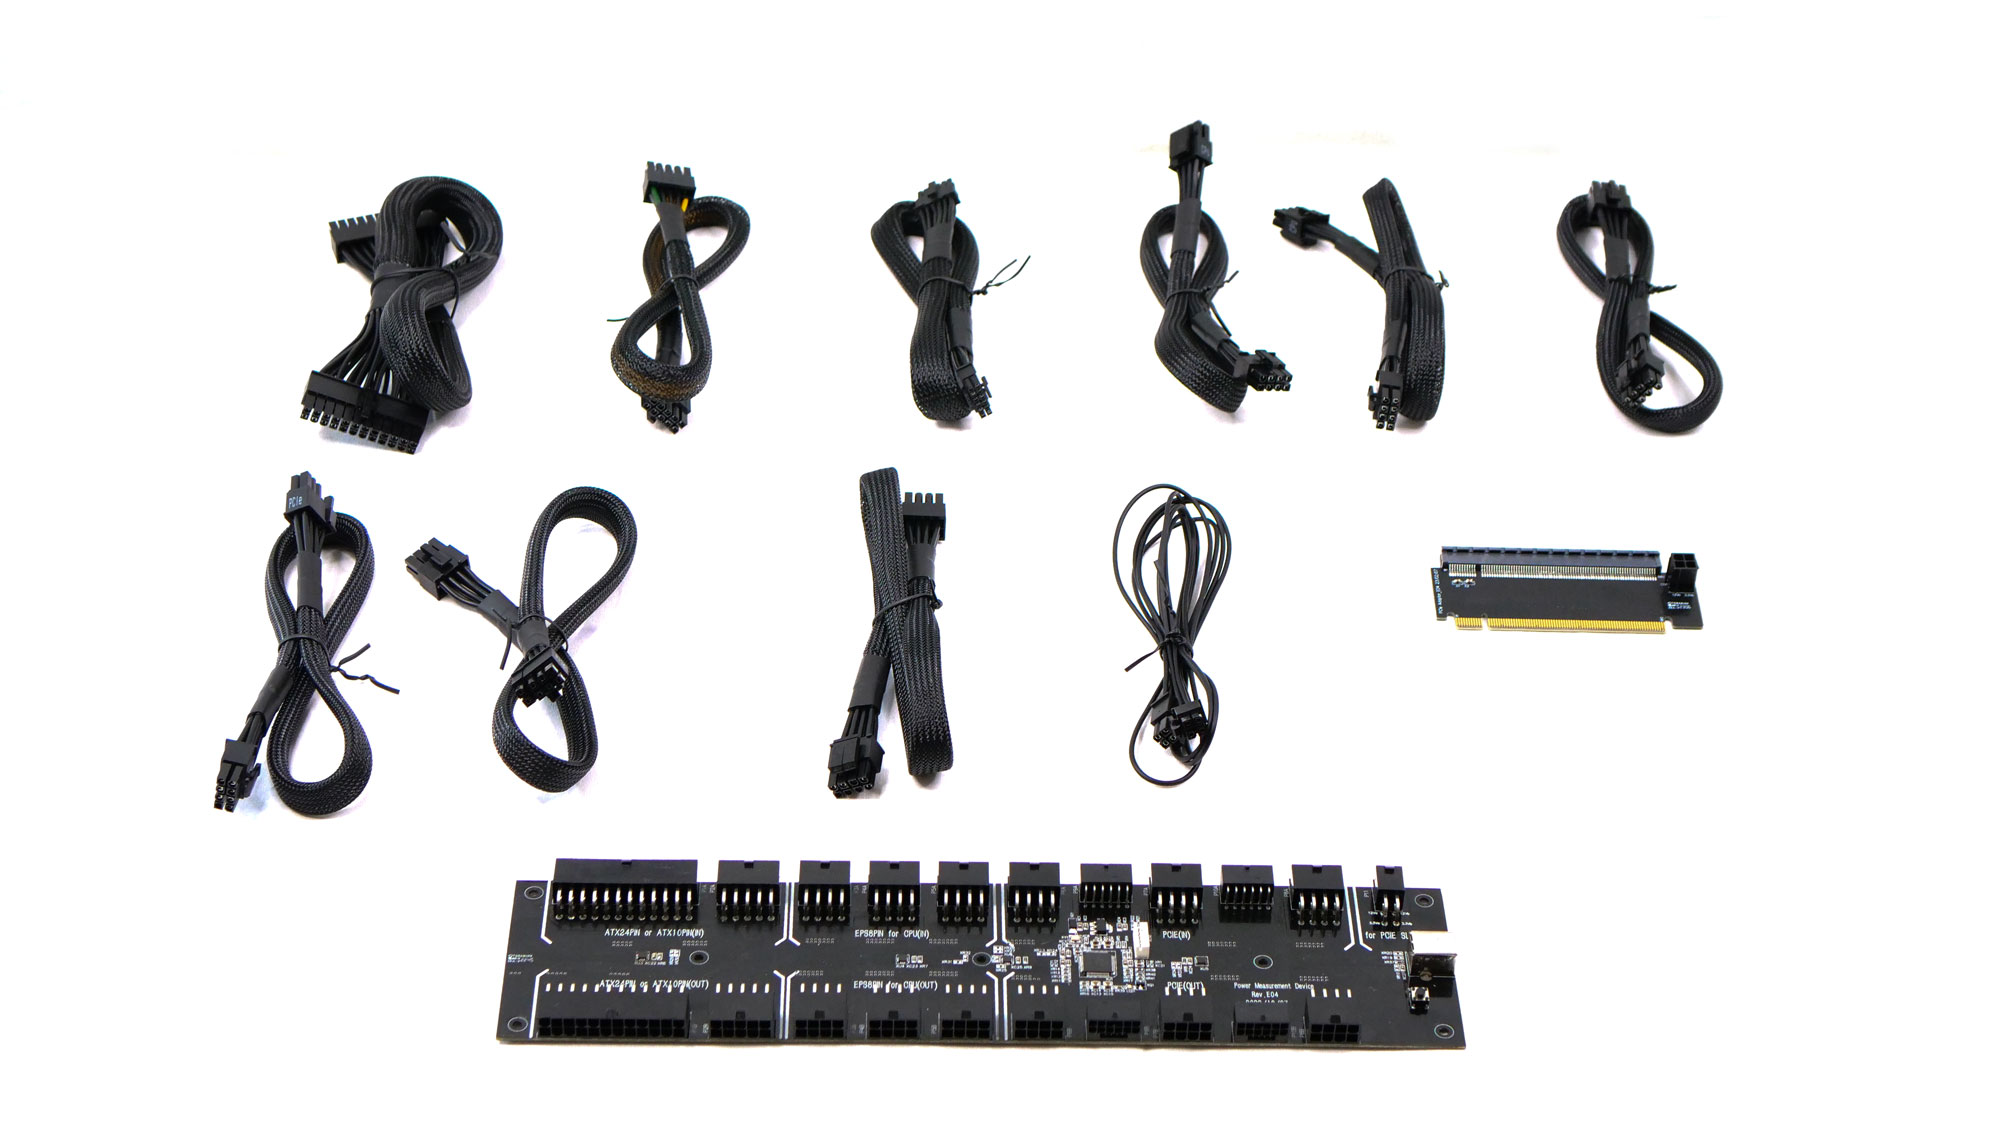
| Modular Cables | ||||
| Description | Cable Count | Connector Count (Total) | Gauge | In Cable Capacitors |
|---|---|---|---|---|
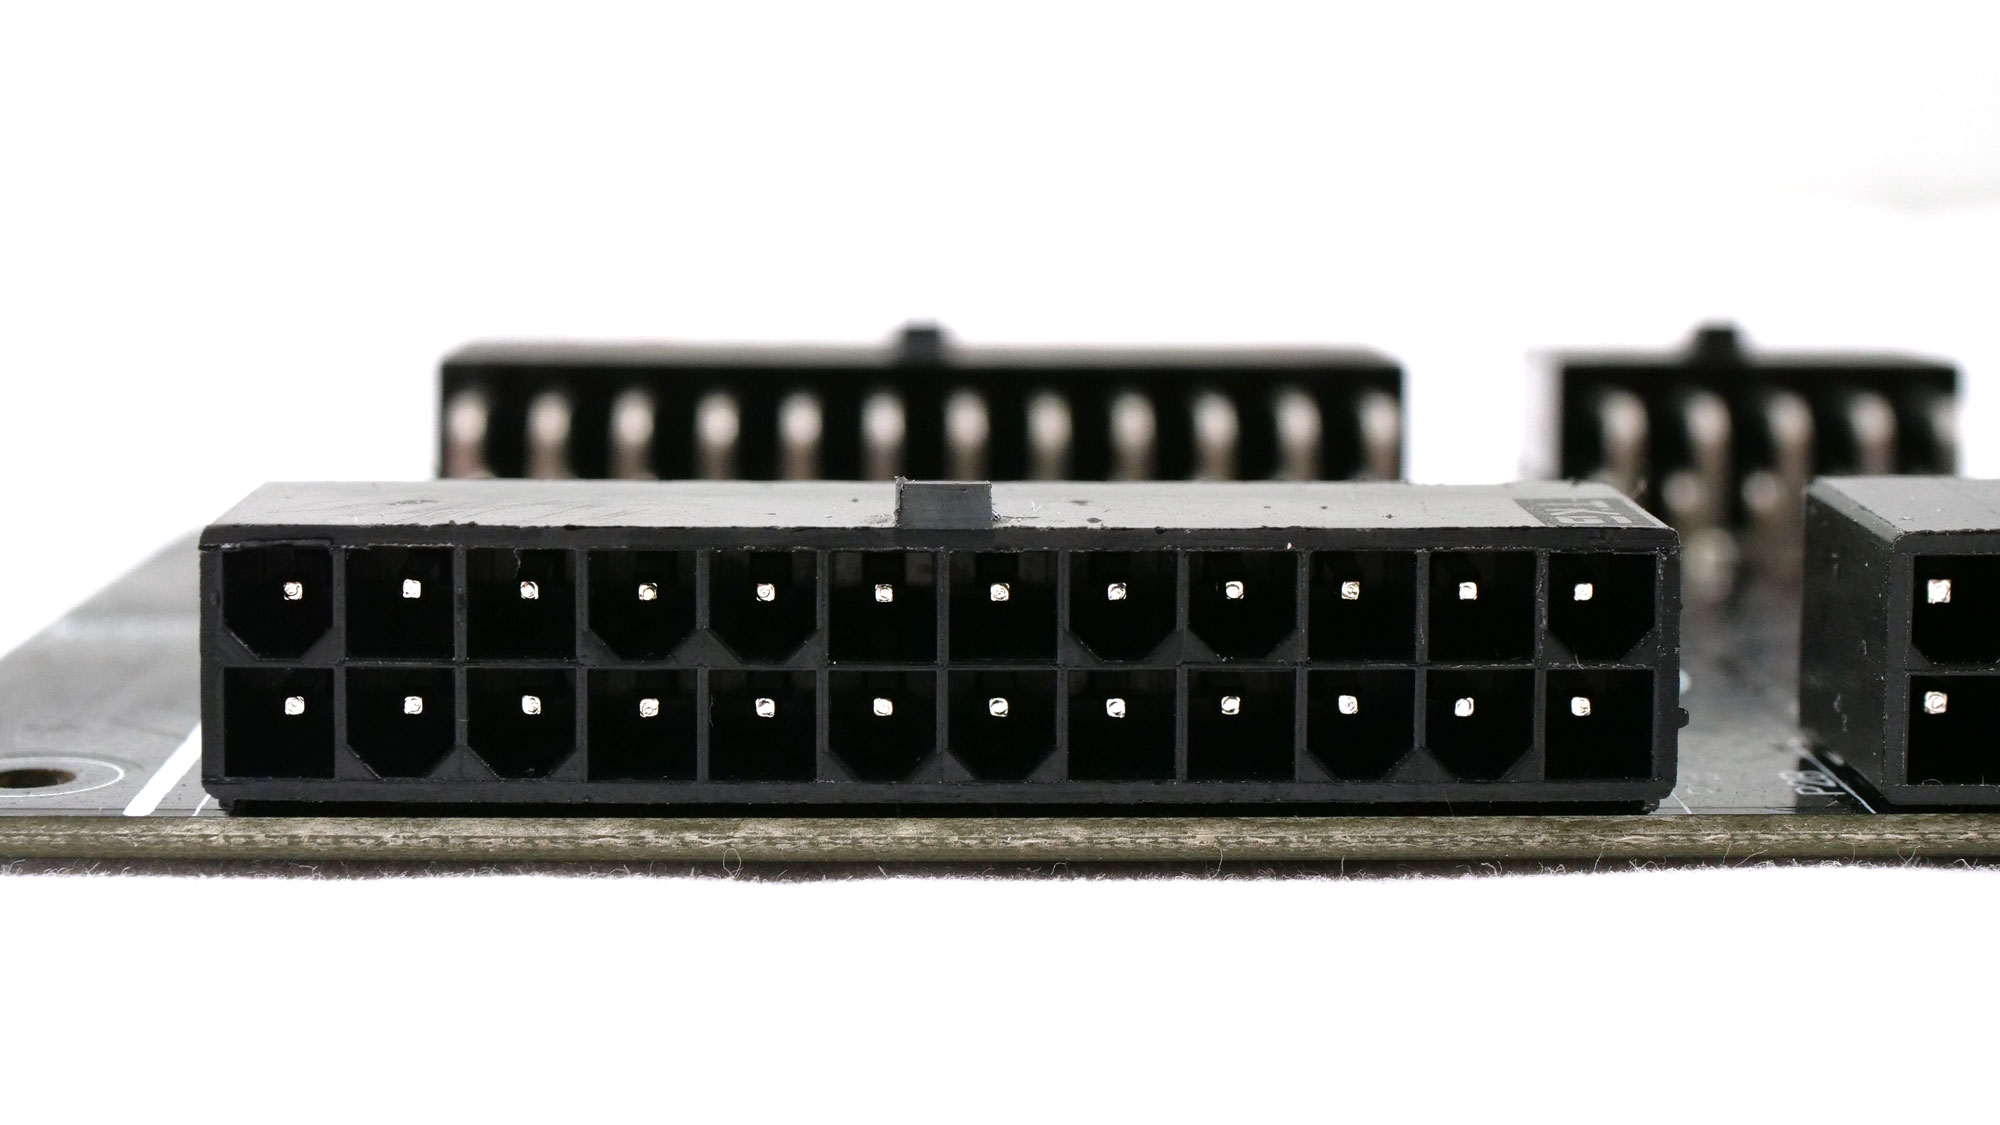
| ATX connector 24-pin (500mm) | 1 | 1 | 16AWG | No |
| ATX12VO 10-pin (500mm) | 1 | 1 | 16AWG | No |
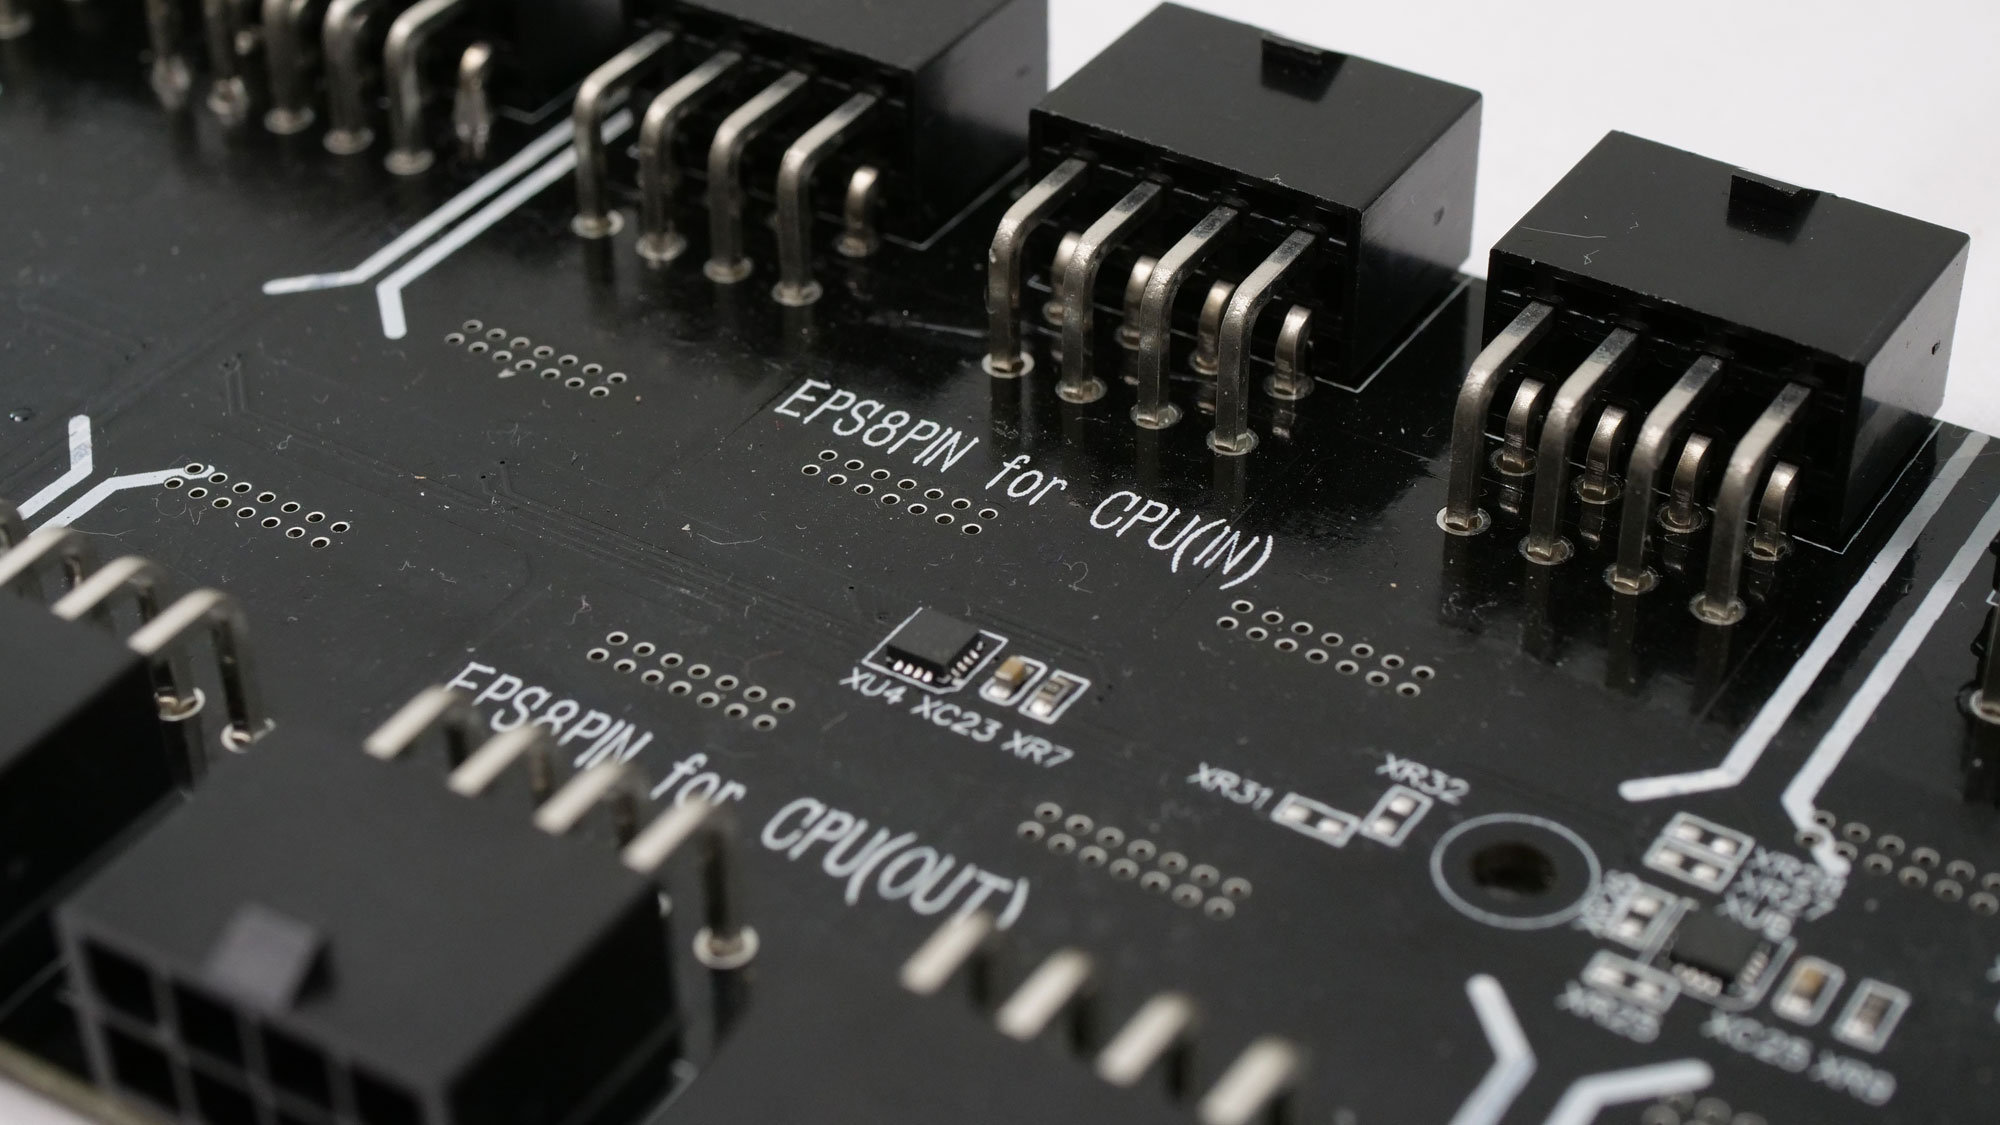
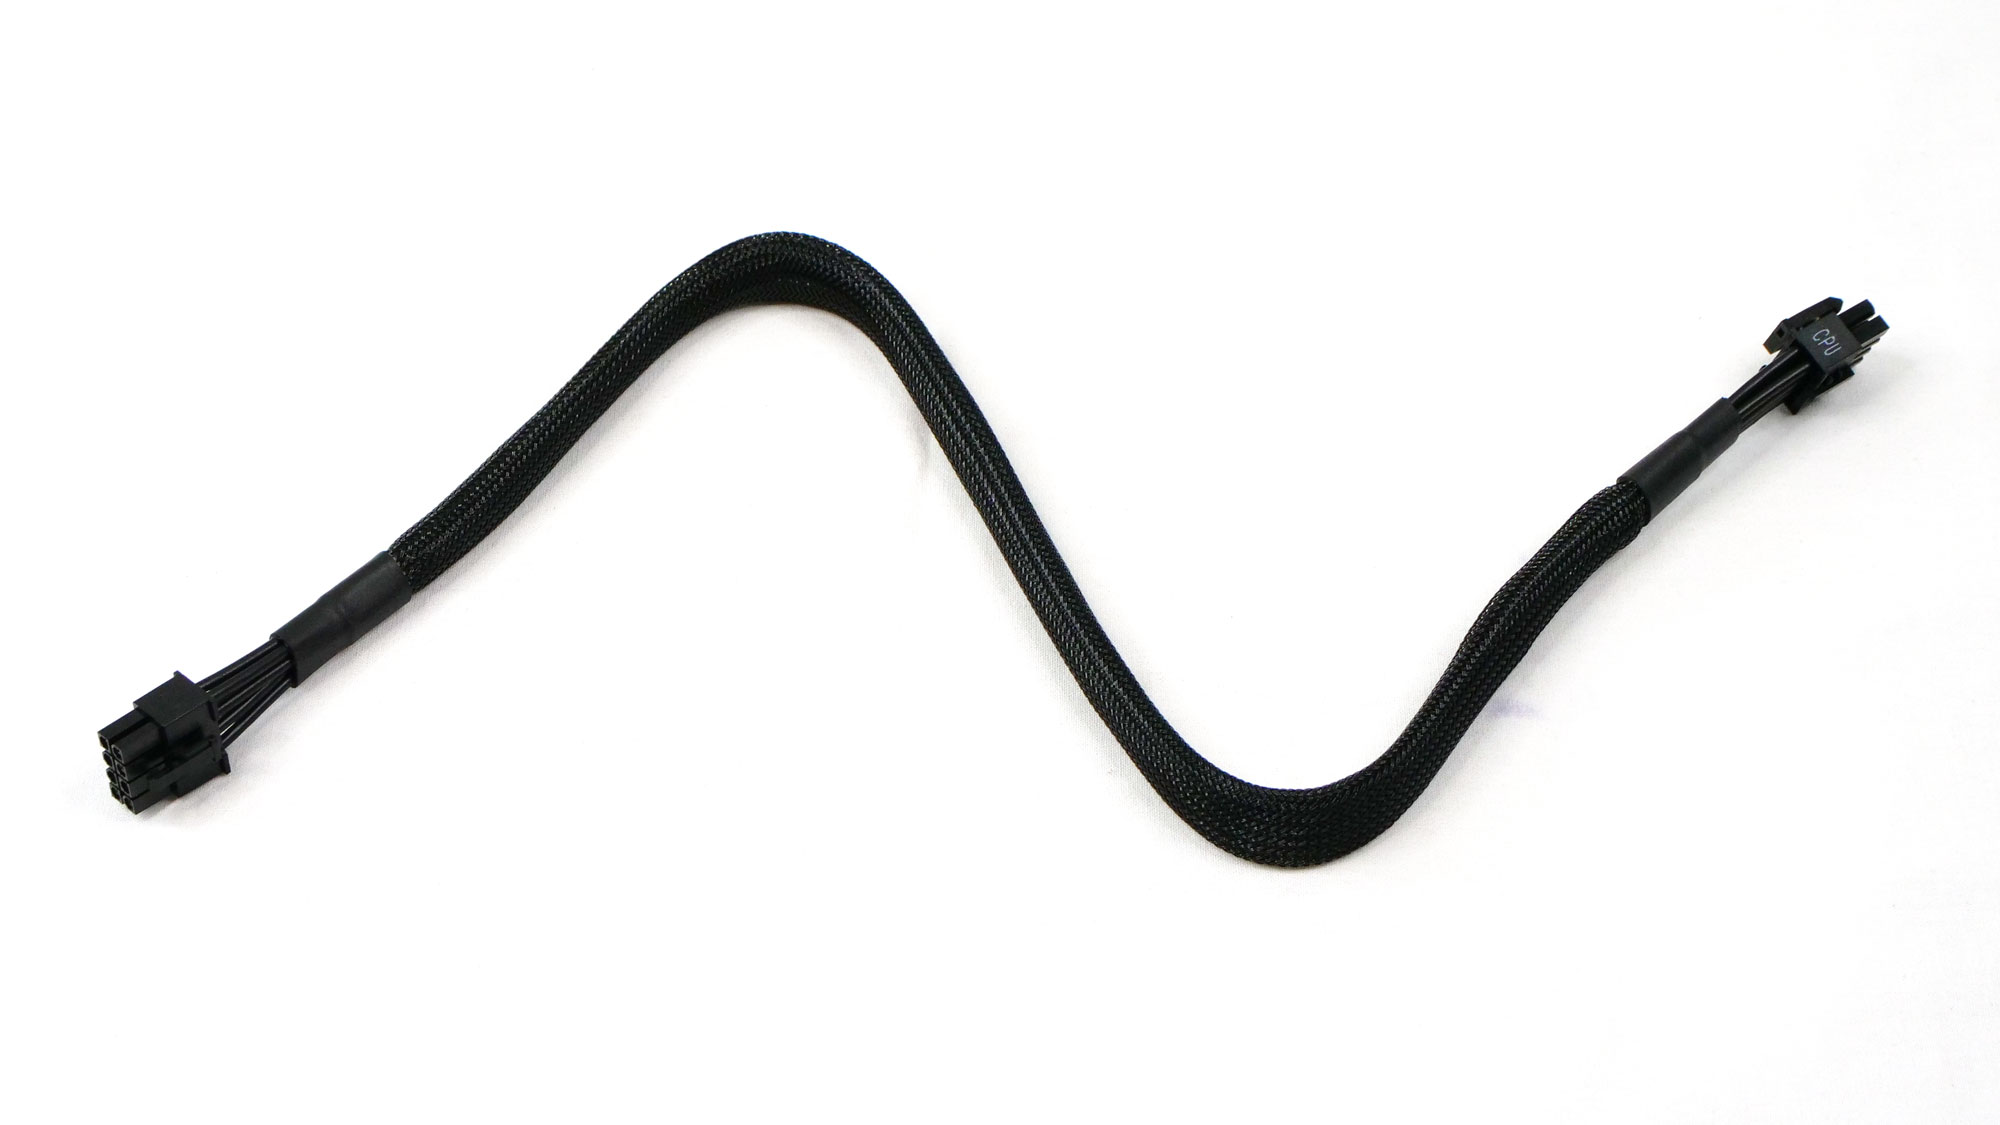
| 4+4 pin EPS12V (500mm) | 3 | 3 | 16AWG | No |
| 6-pin PCIe (500mm) | 3 | 3 | 16AWG | No |
| 12+4 pin PCIe (500mm) (600W) | 2 | 2 | 16-24AWG | No |
| 4-pin Proprietary (600mm) | 1 | 1 | 18AWG | No |
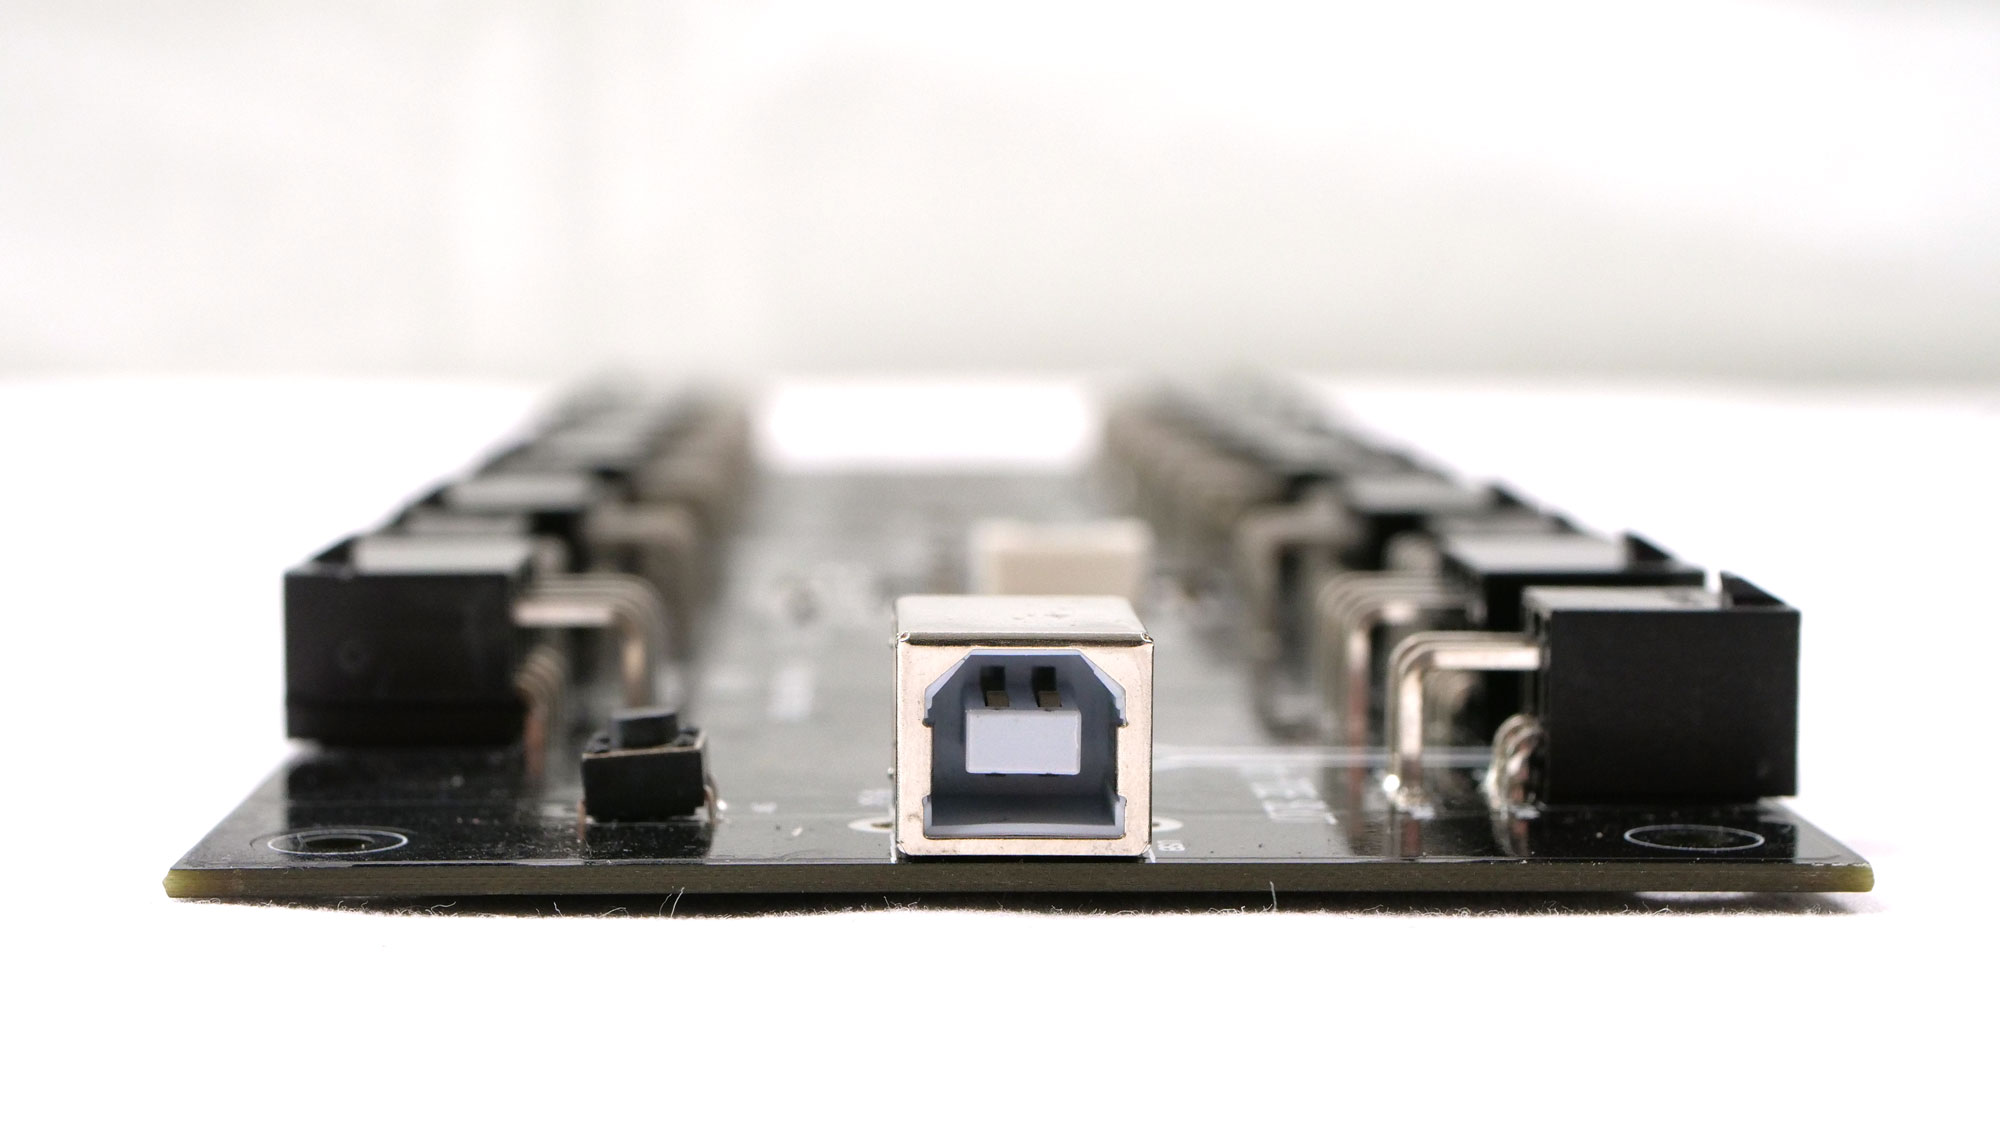
| USB Type-A to Type-B (1000mm) | 1 | – | – | – |


Compatible software
There are two solutions, a simple one and a more extensive professional one. The CapFrameX team was kind enough to support Aris’ efforts by integrating the appropriate code into their software to get the FPS and wattage readings from the GPU and CPU simultaneously.
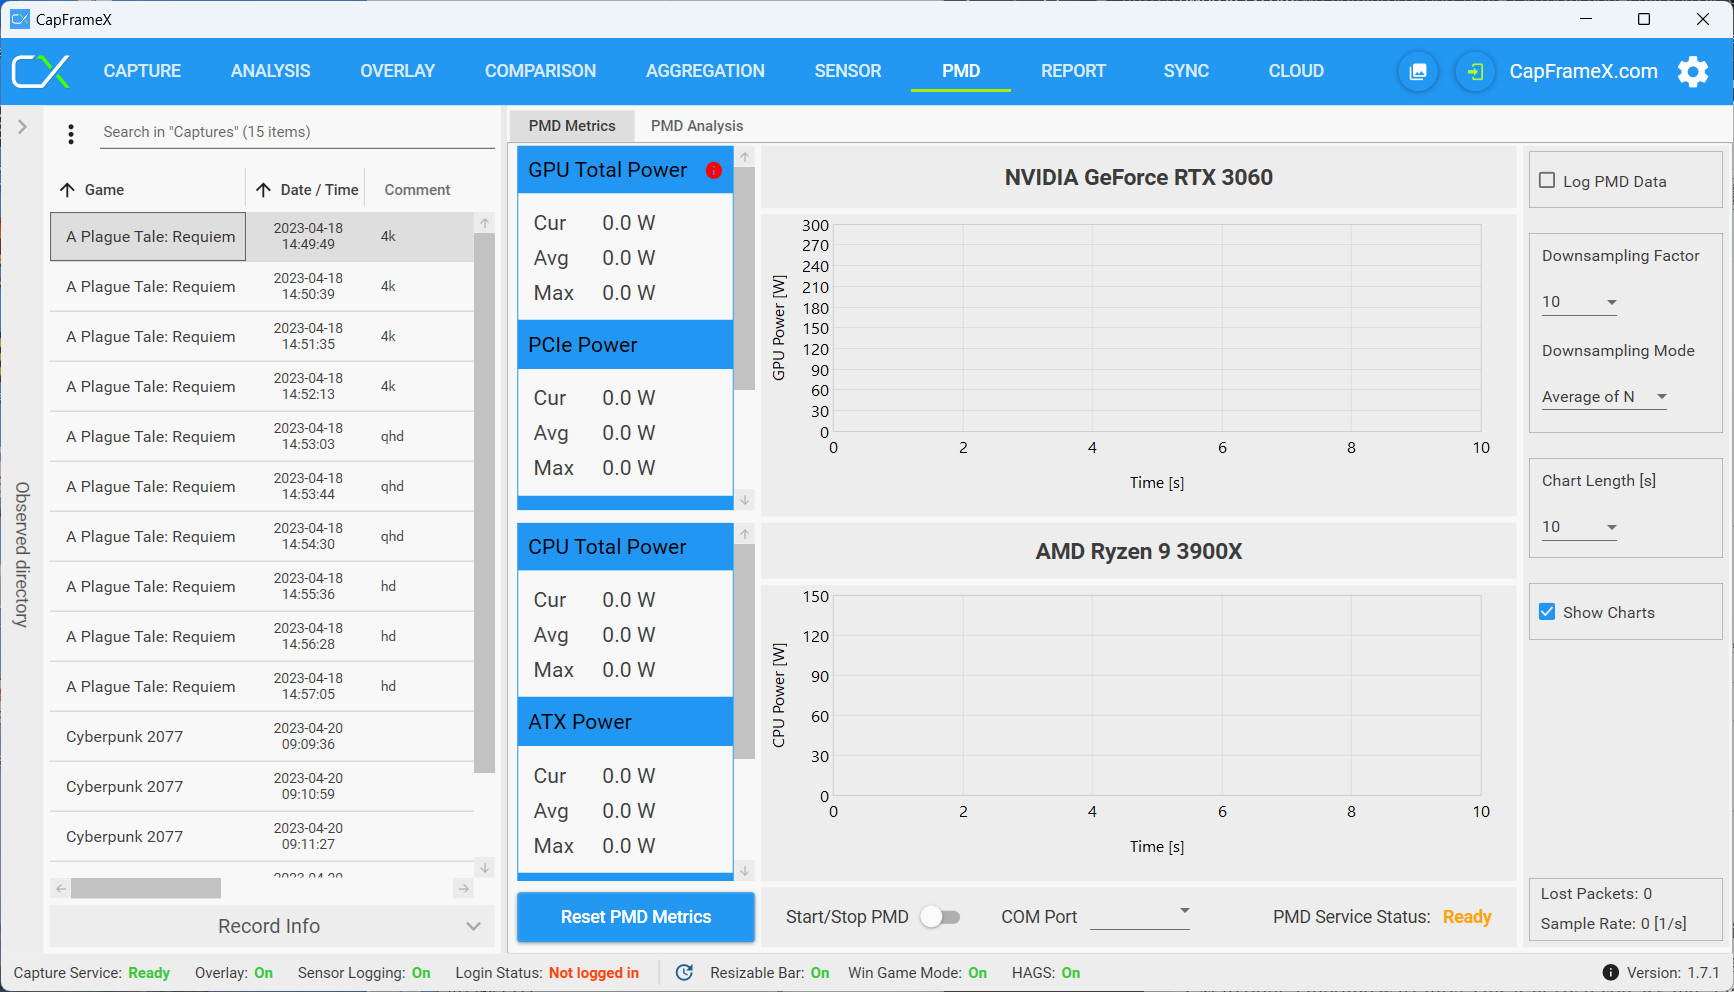
Besides CapFrameX, users can of course also use Aris’ software, which is mainly intended for hardcore lab users. If one doesn’t need all the features provided, one could also stay with CapFrameX, which is easier to use. However, data export is a bit more cumbersome there, because unfortunately you don’t get log files that are easy to read. The restriction to the rather bloated JSON format is unfortunately in some cases really obstructive and not comprehensible and usable for laboratory purposes. Too bad.
The latest Powenetics app can be found at Aris on their website. There is no installer, so you just copy the RAR file somewhere and then unpack the files into the directory of your choice.
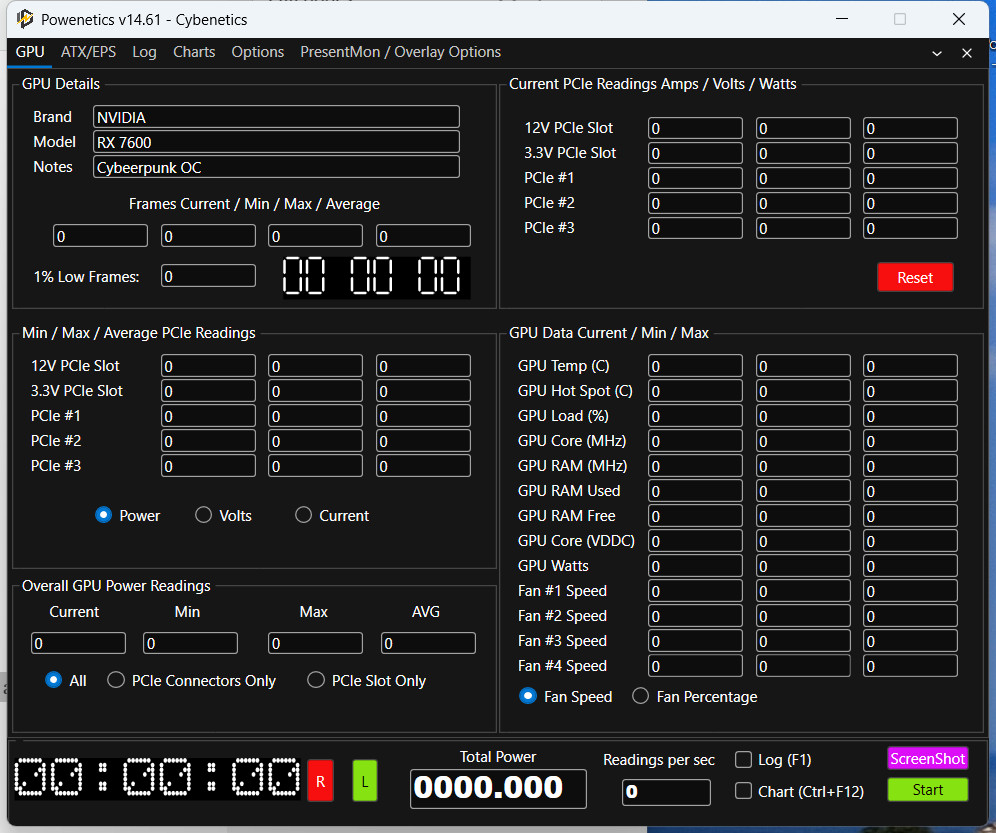
Unfortunately, Aris doesn’t have any Linux-compatible software in its portfolio yet, but if someone should be seriously interested in creating one, Aris is happy to provide the communication protocol upon request. Allrdings of course not just anyone will get it, it will be checked of course and will only be done by arrangement.
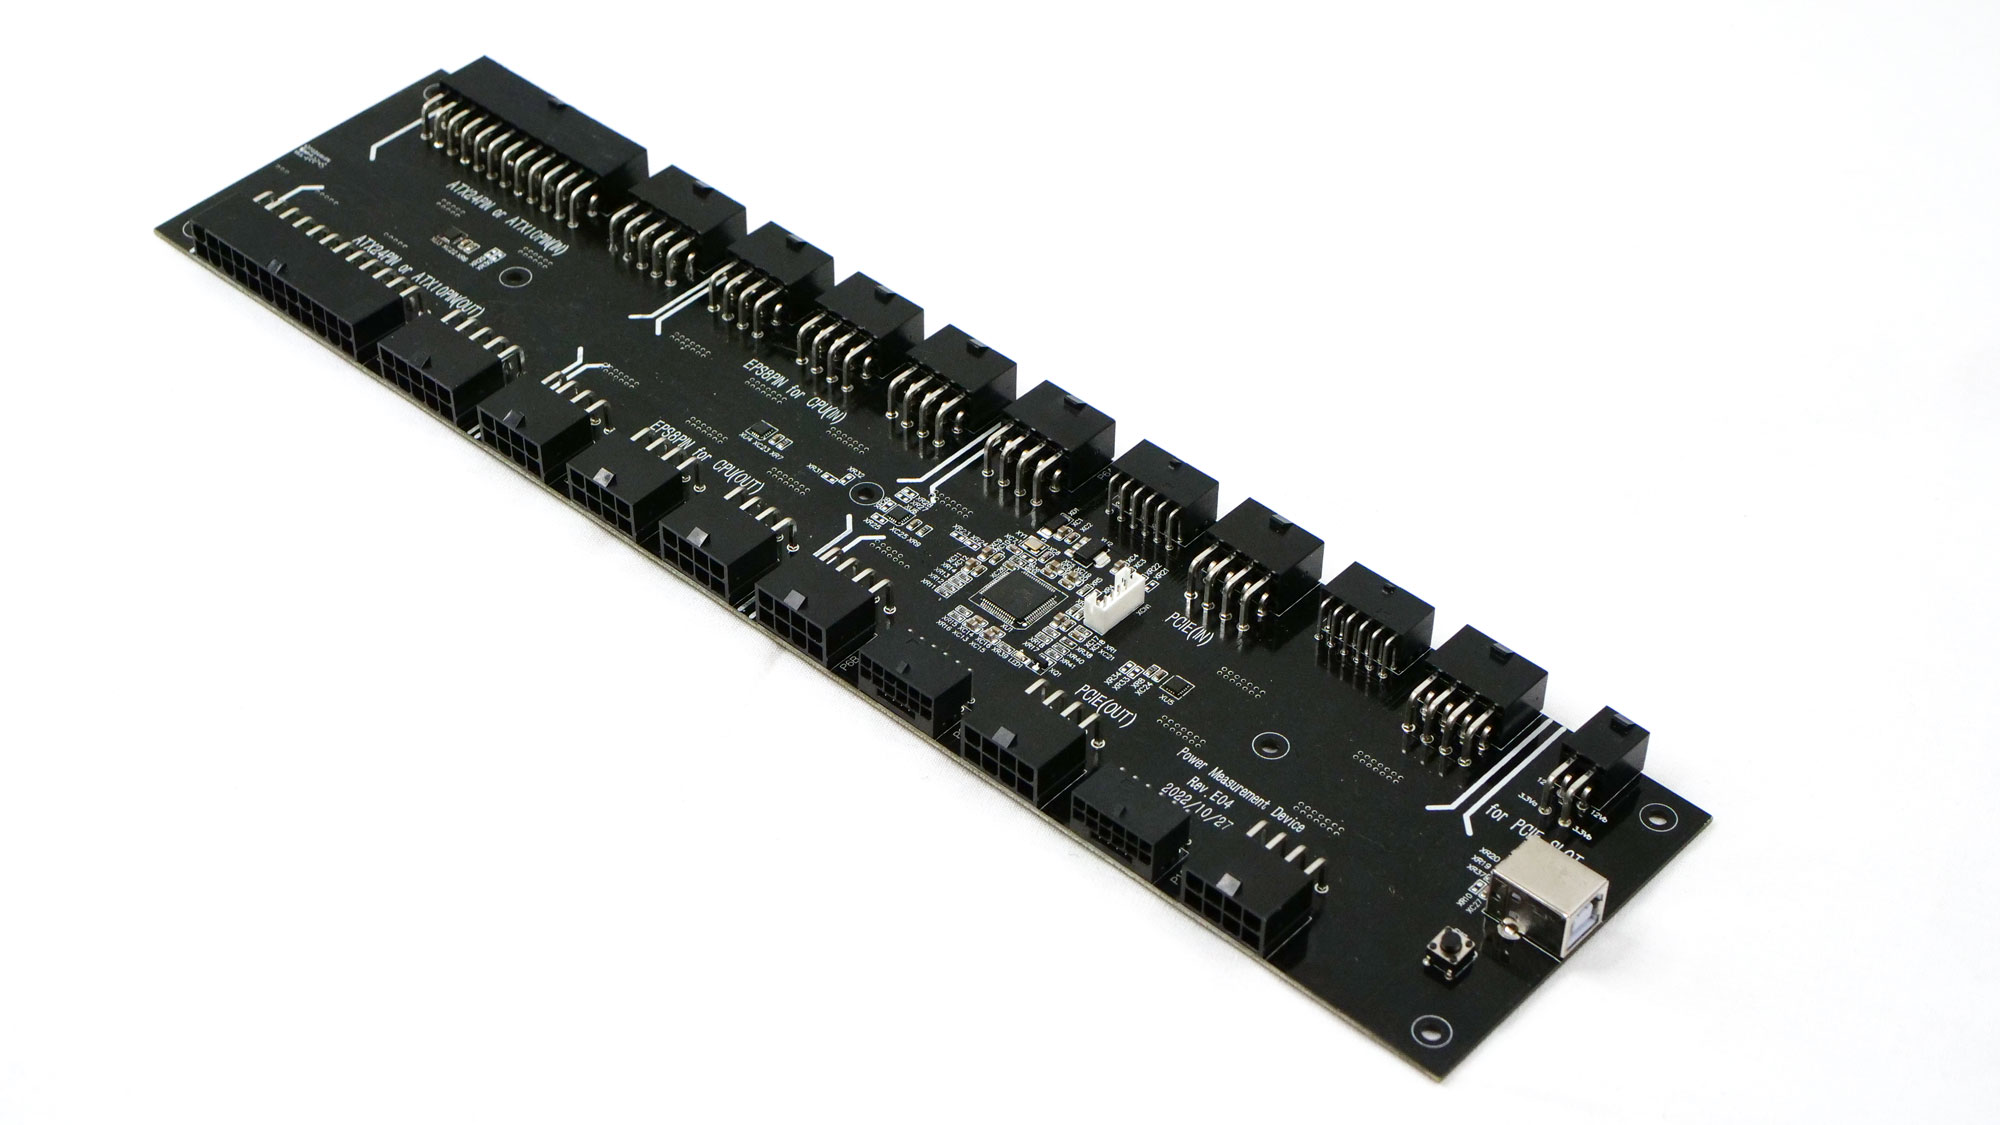
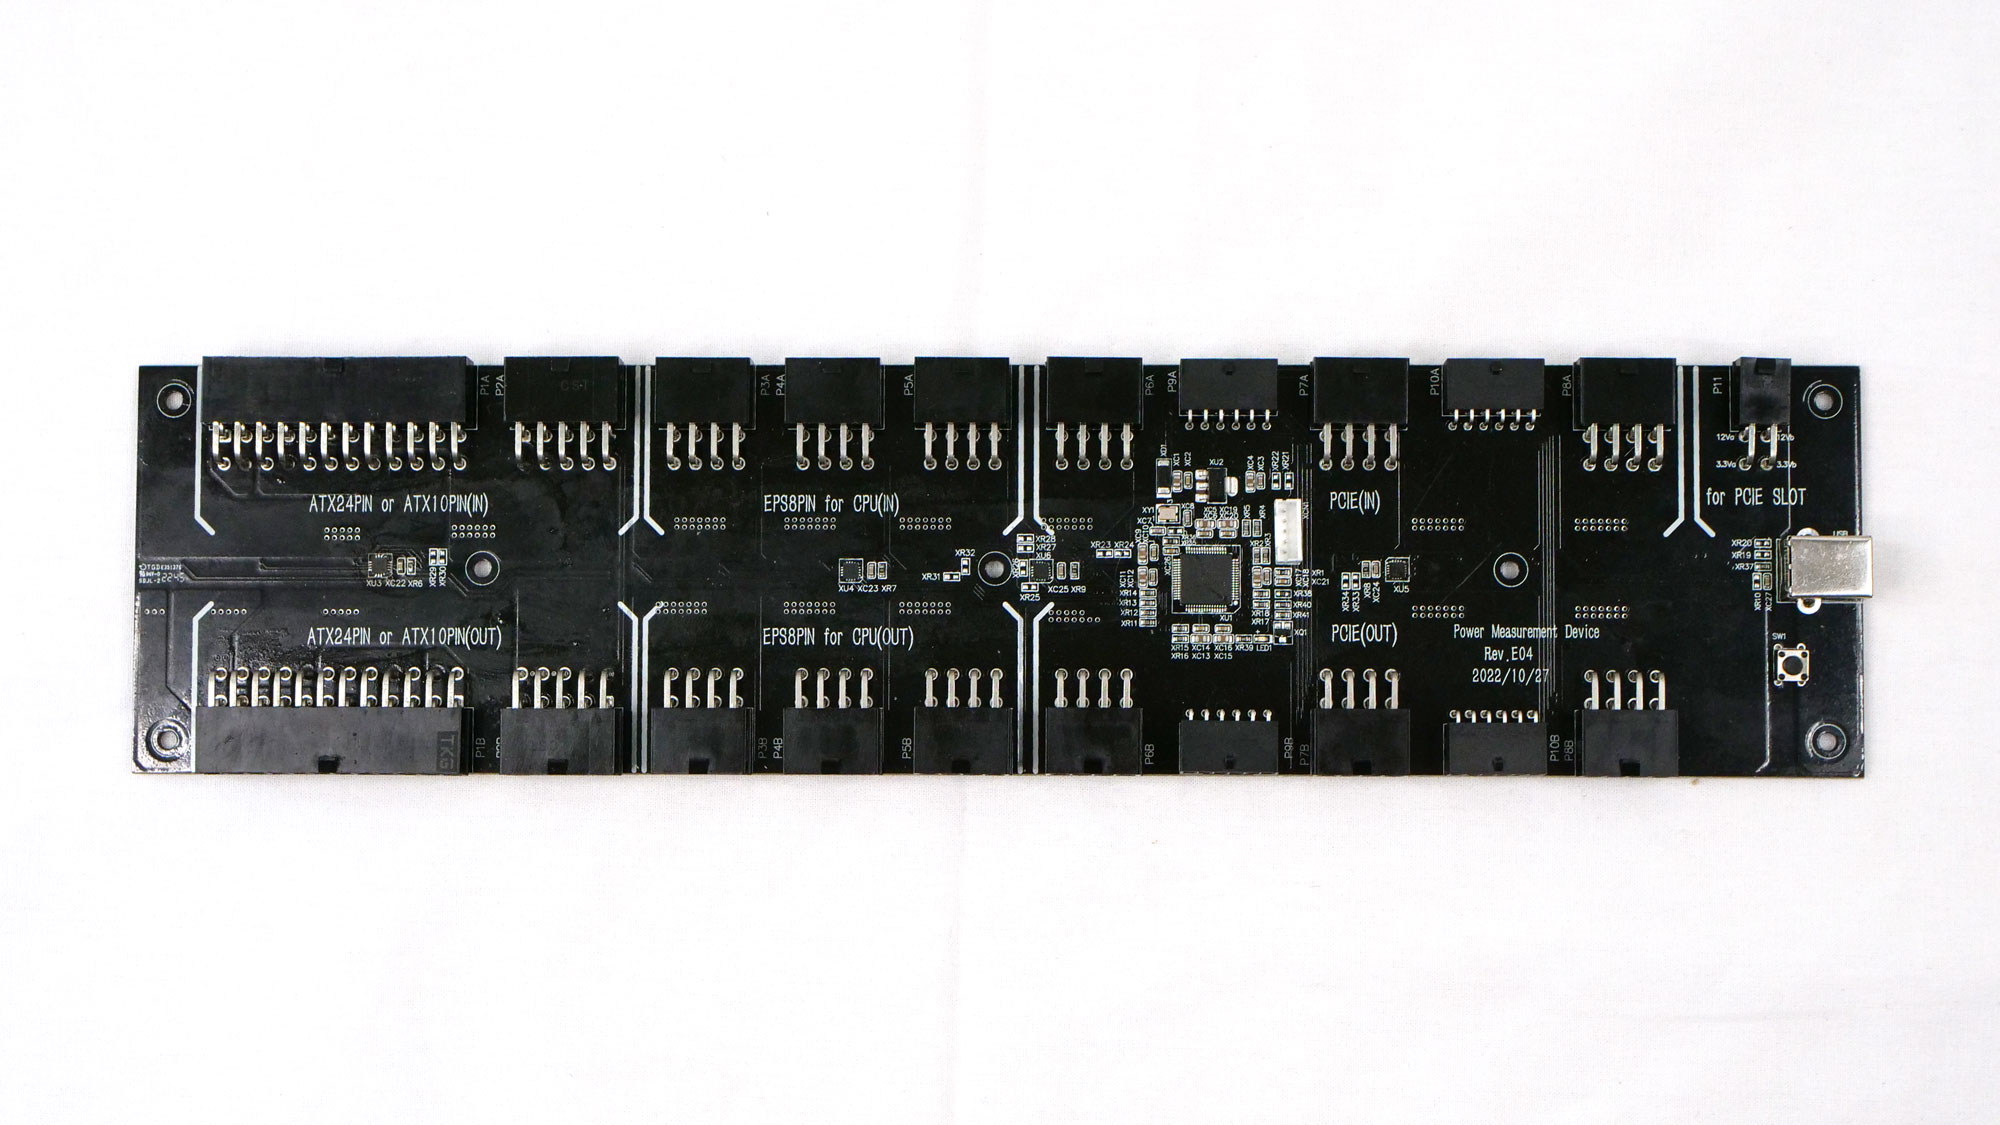
Connecting Powenetics to the system
Powenetics is installed between the power supply and the system. The following video shows how to connect Powenetics to your system;
Follow the diagram above to connect the PSU cables to the Powenetics system and the cables provided by Powenetics to your own system. Since this version of Powenetics does not support peripheral cables, 4-pin Molex, and SATA, these cables are routed from your PSU directly to your system.
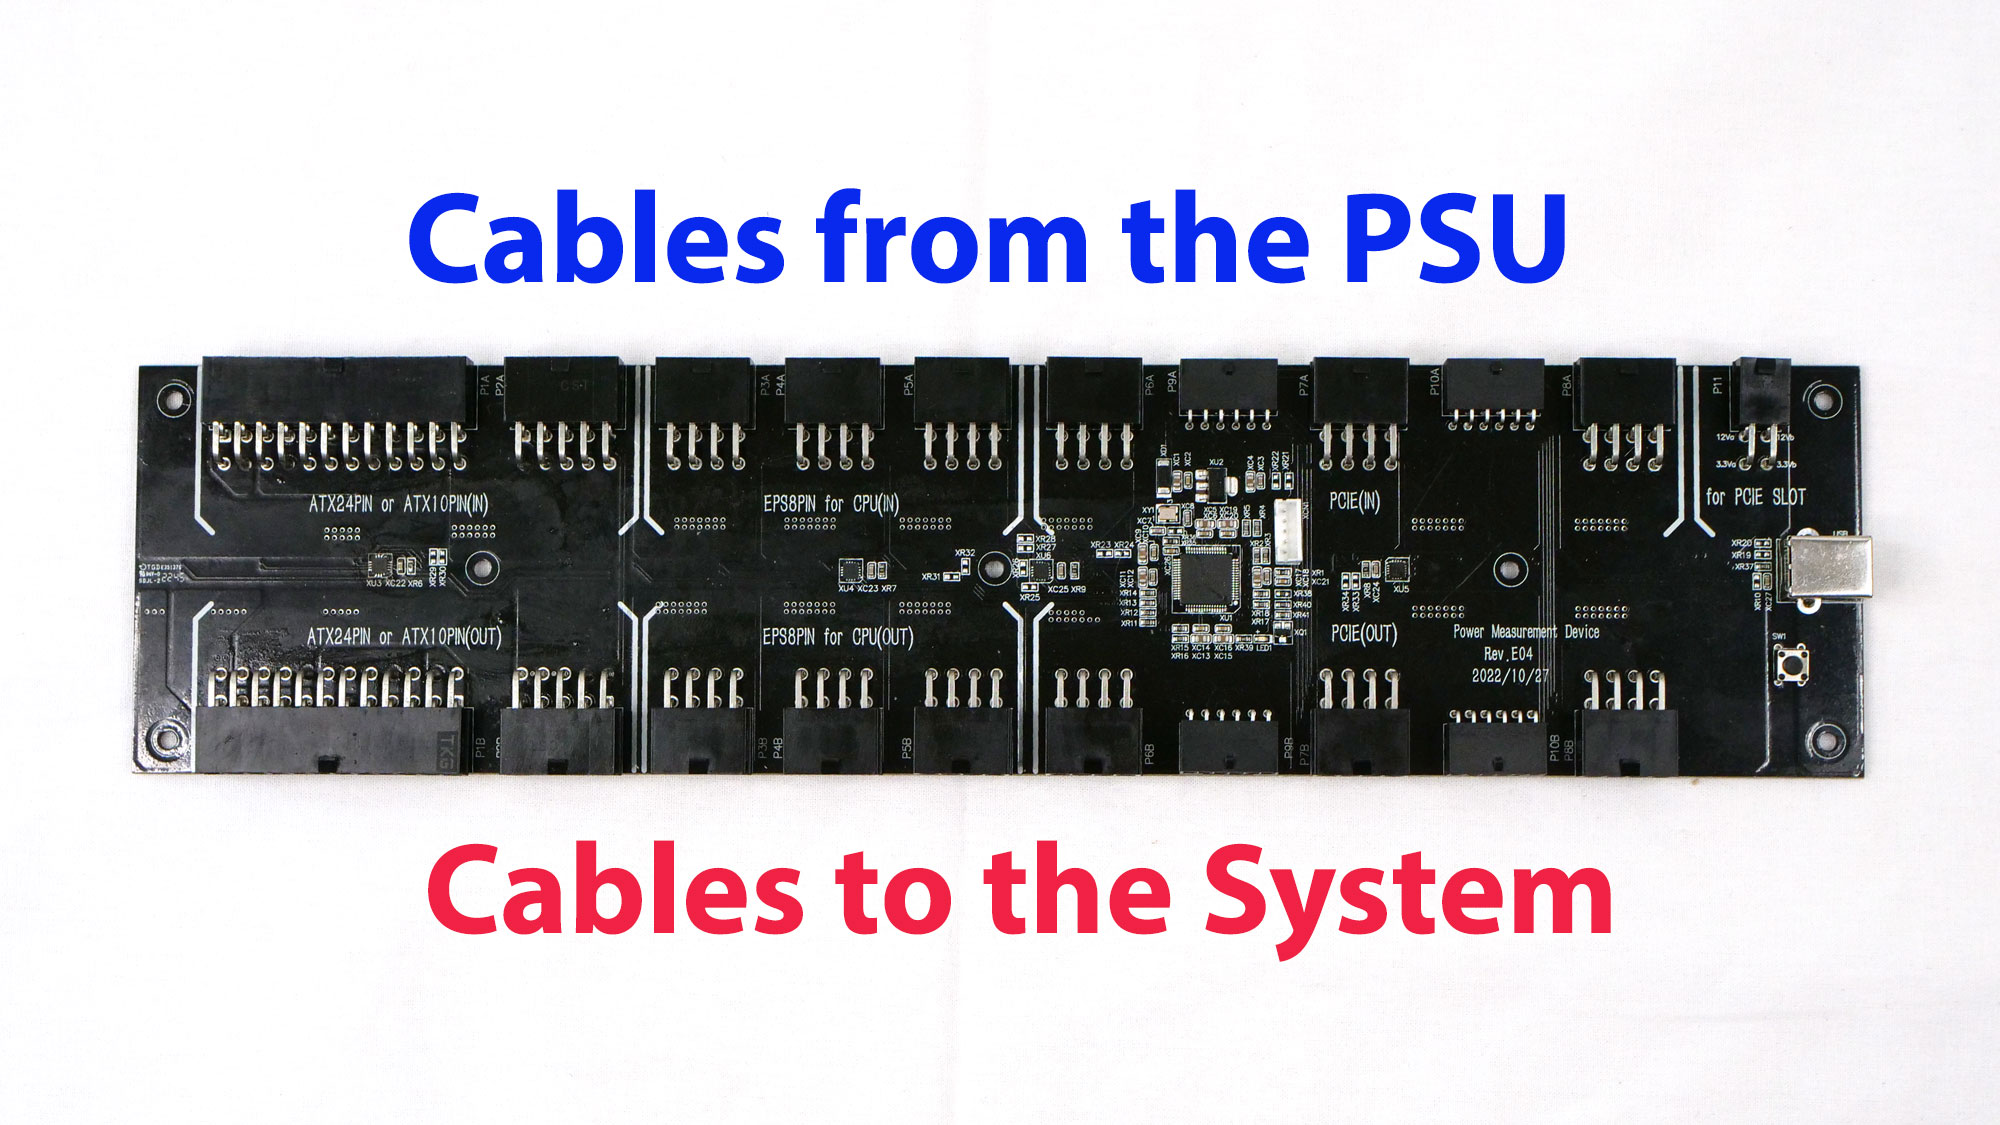
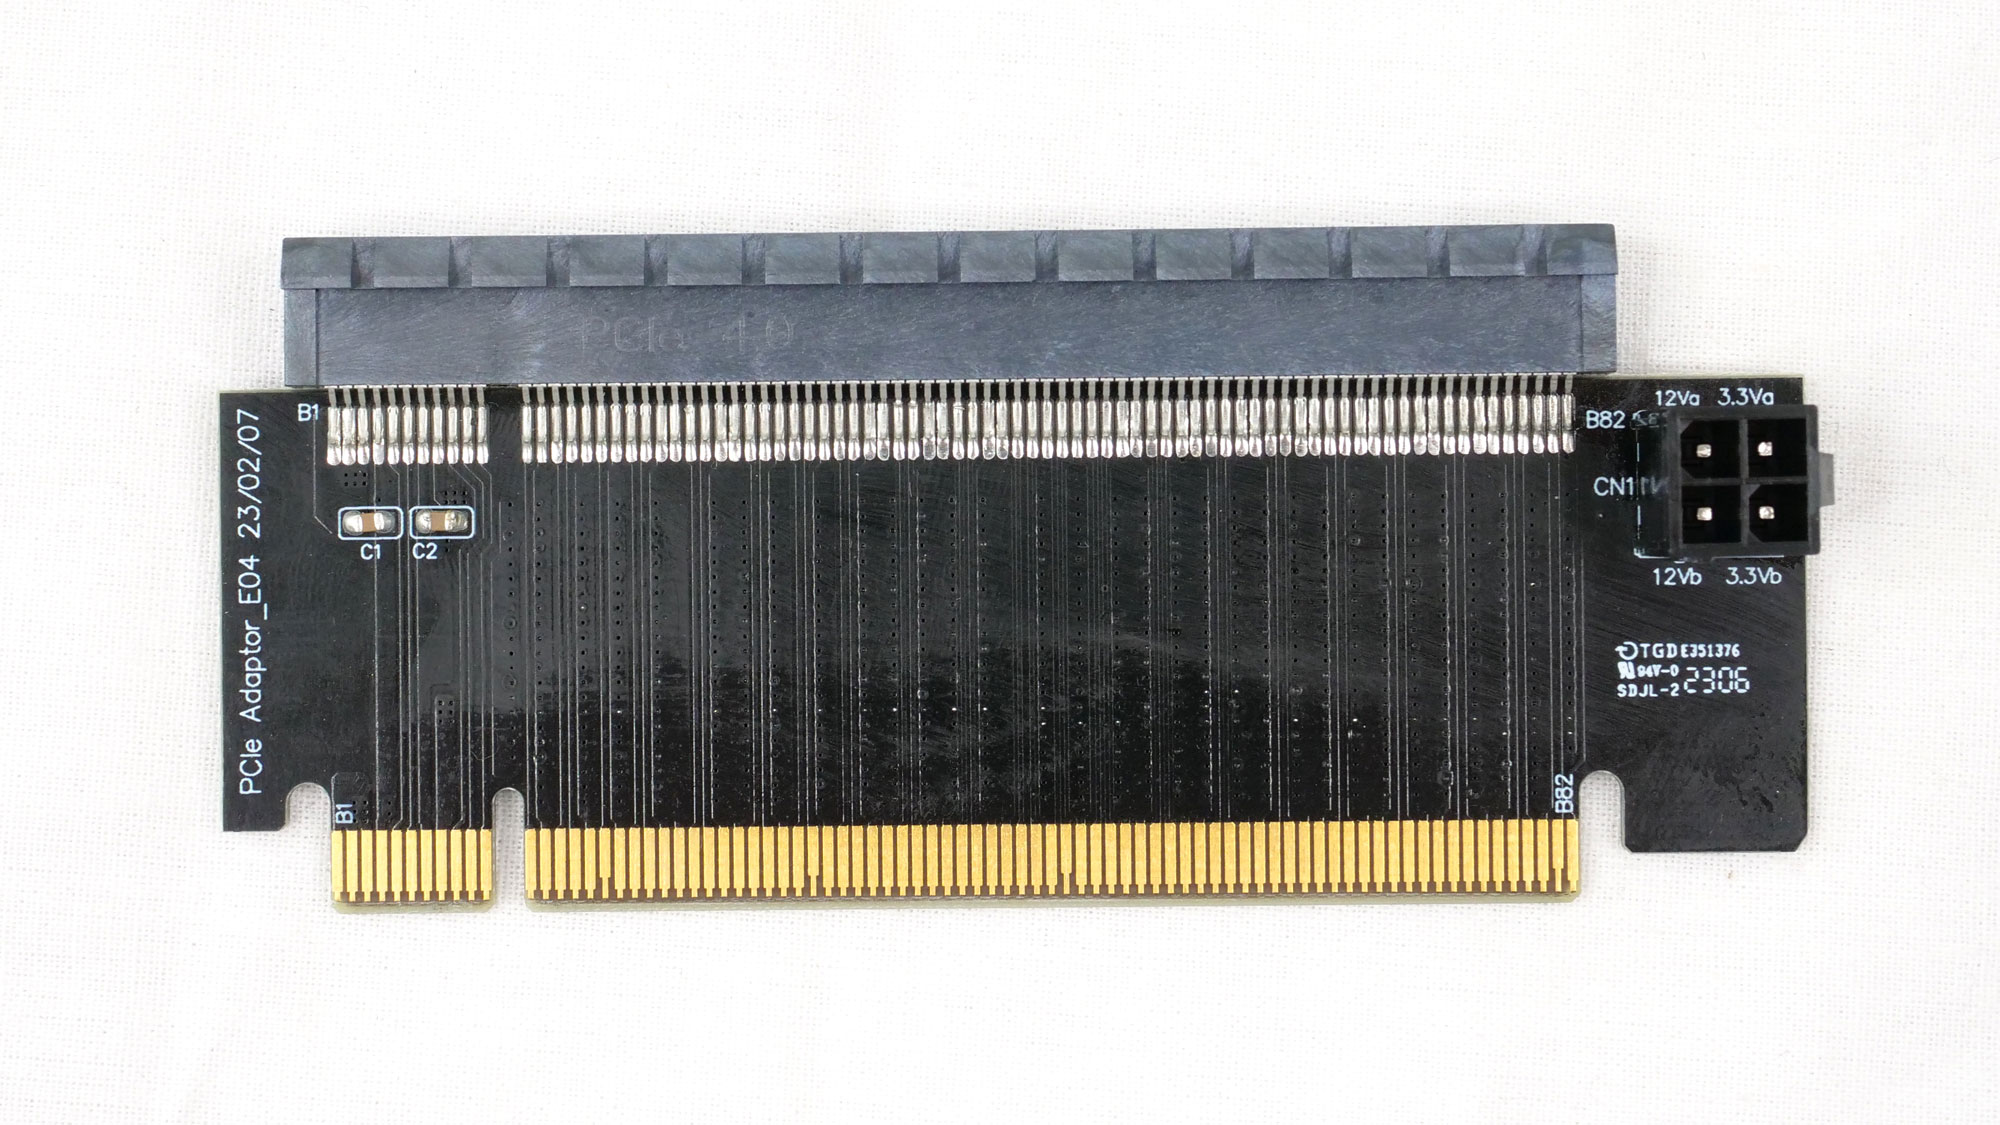
One must of course also use the PCIe expansion card to get readings from the PCIe slot on the motherboard.
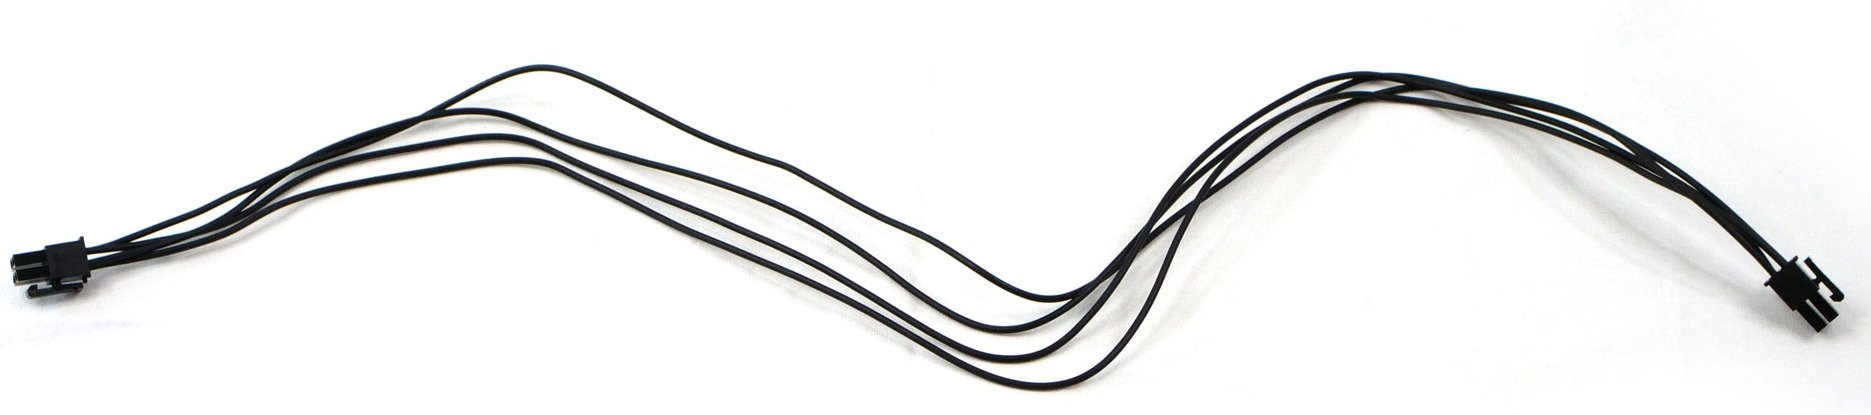
 The 4-pin cable in question is included and is also long enough. If you now connect the USB, you can virtually start.


22 Antworten
Kommentar
Lade neue Kommentare
Urgestein
Mitglied
1
Mitglied
Urgestein
1
Mitglied
Urgestein
1
Urgestein
1
Urgestein
Urgestein
1
Urgestein
1
Veteran
Urgestein
Mitglied
Alle Kommentare lesen unter igor´sLAB Community →