


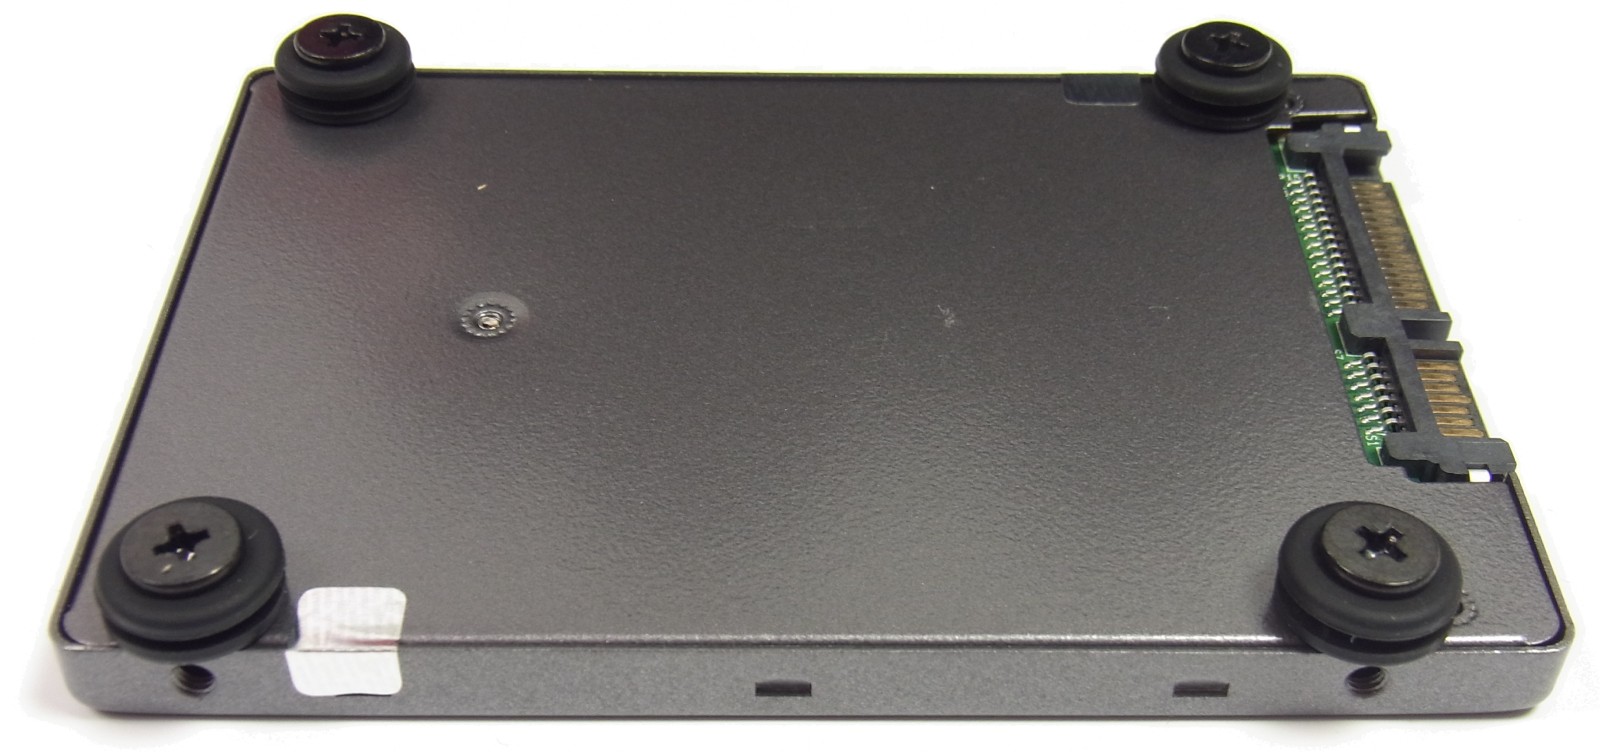
Mounting the SSD
We refrain from installing a larger 3.5″ drive not only for acoustic reasons. What the manual unfortunately completely conceals is the fact that the optionally available drive completely blocks the space in the locomotive for SSD and HDD! Since there is still room for the SSD in the wagon (which only the manual of the add-on package explains) we resorted to a complete SSD solution. We first mount them in the locomotive as suggested in the manual; after all, not everyone will want to purchase the optional drive as well. We rely on a single, but generously sized SSD:

The Neutron GTX is a 480 GB and very fast SSD from Corsair that leaves nothing to be desired in terms of space and speed. If you want to be more frugal, you can use a 500 GB notebook hard drive in 2.5″ format. Everything you need for installation:

The mounting via hard drive decouplers only makes sense for mounting a mechanical 2.5″ hard drive, but at least the SSD can be used quite easily this way. The rubber decouplers are mounted with screws
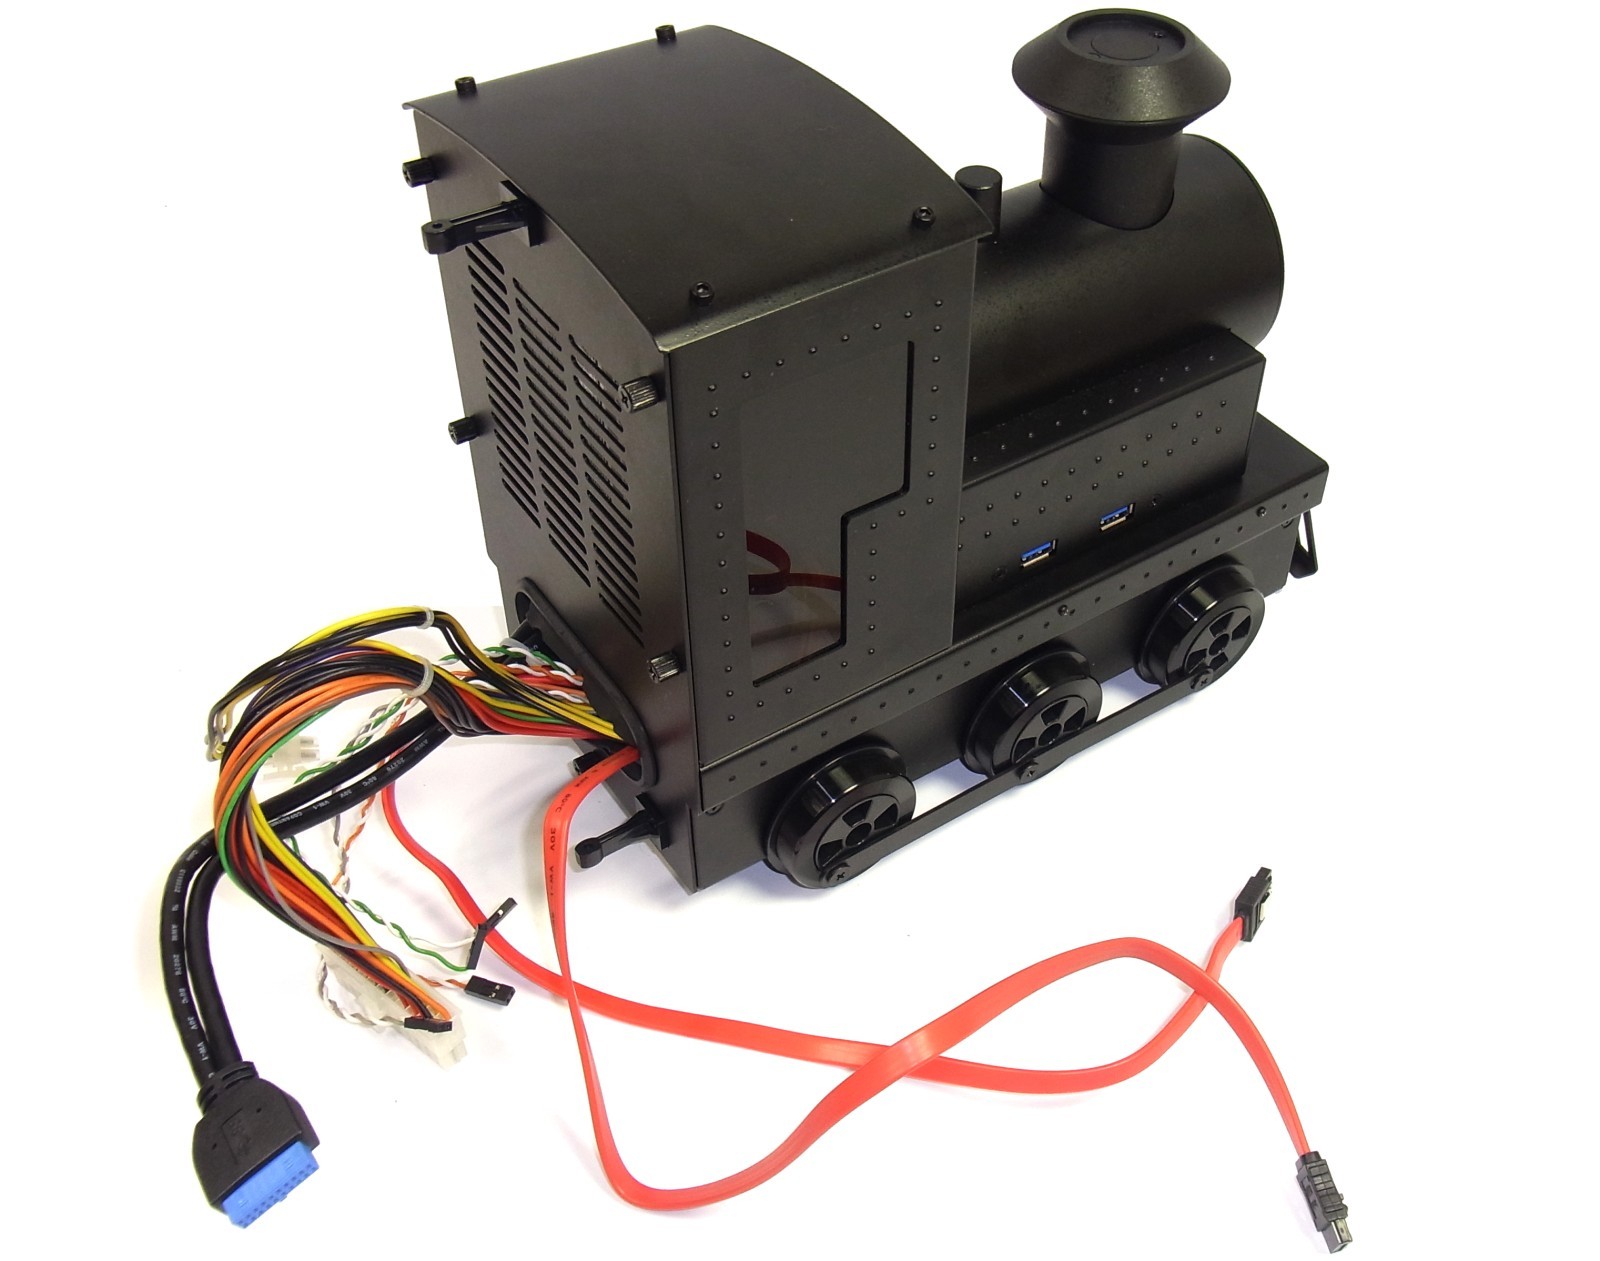
The insertion is done in no time at all, but you should have already completely connected the disk here as well. If you don’t like the fiddling, you can simply open the bottom panel (as mentioned in the previous chapter) and install the ODD and SSD in one go.
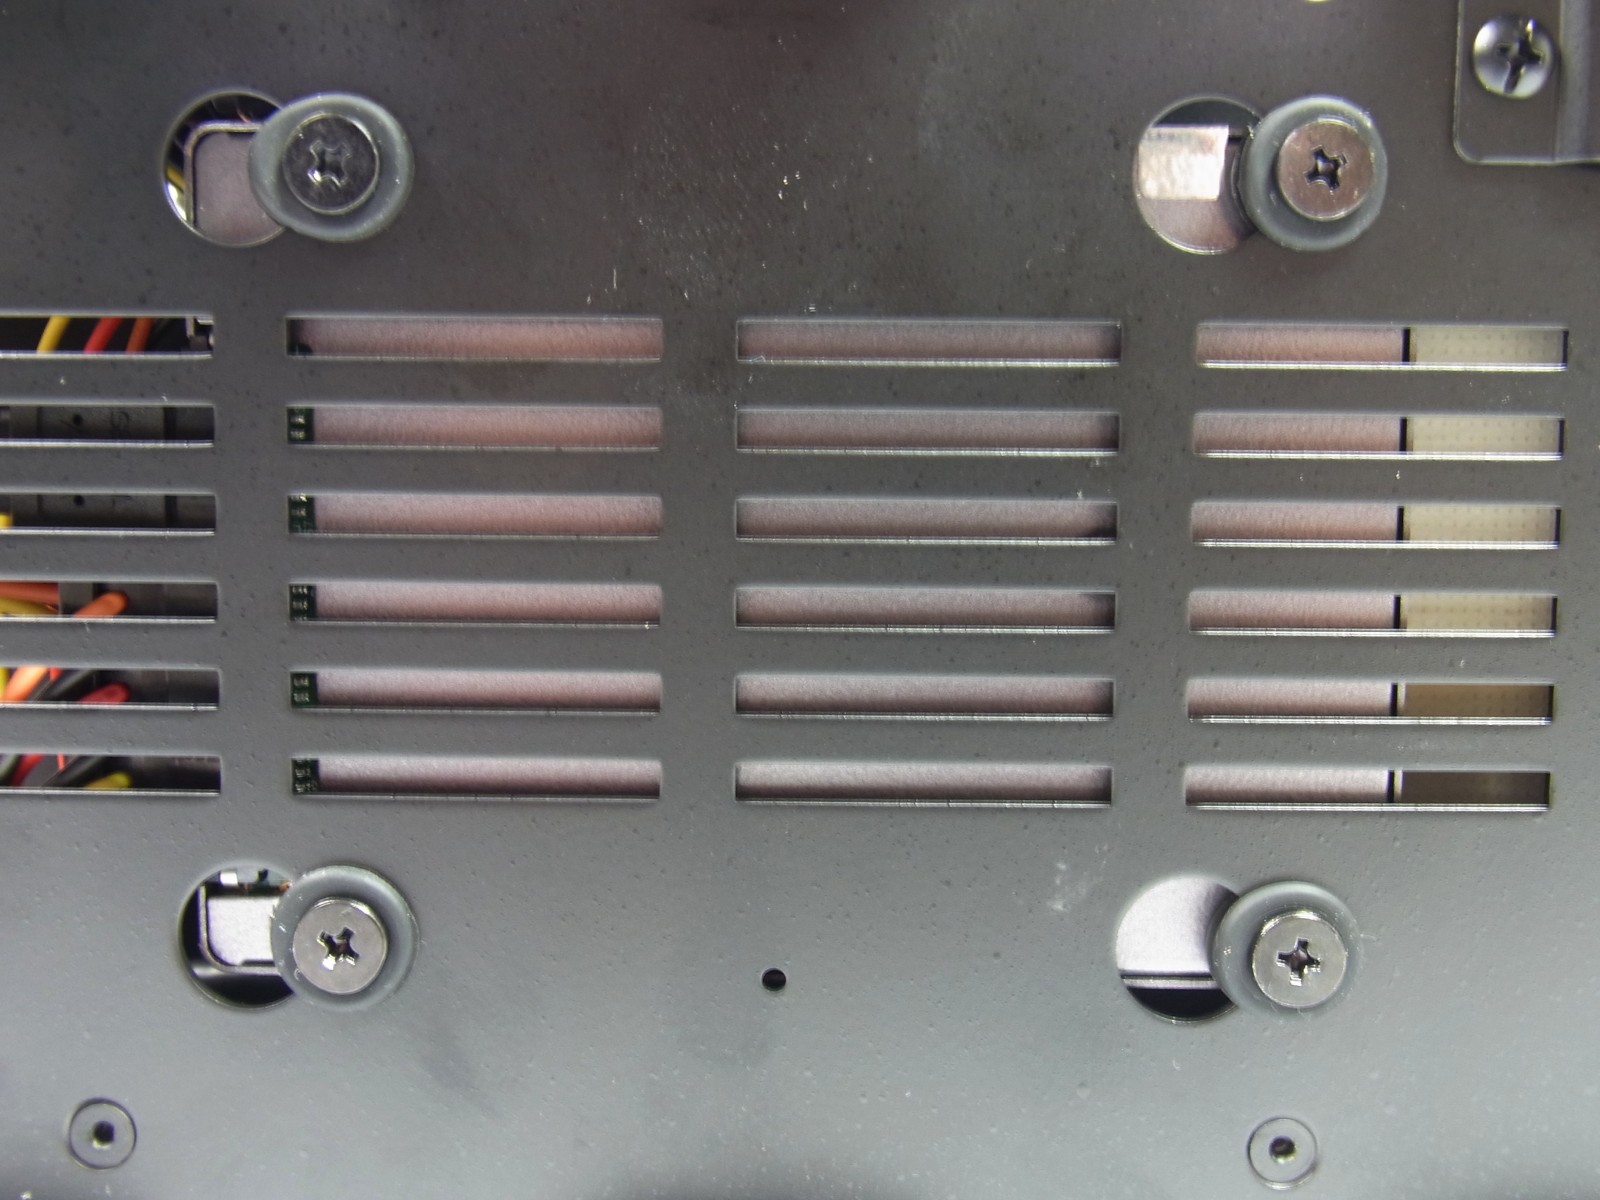
The SSD or HDD in 2.5″ format could of course also be mounted in the wagon, but there is only the option of rigid bolting to the wagon floor there. There is no decoupling for the hard disks, and those who really want to use the drive can safely forget about a mechanical disk, because the rattling is really annoying. The locomotive is ready. finally!


1 Antwort
Kommentar
Lade neue Kommentare
Veteran
Alle Kommentare lesen unter igor´sLAB Community →