


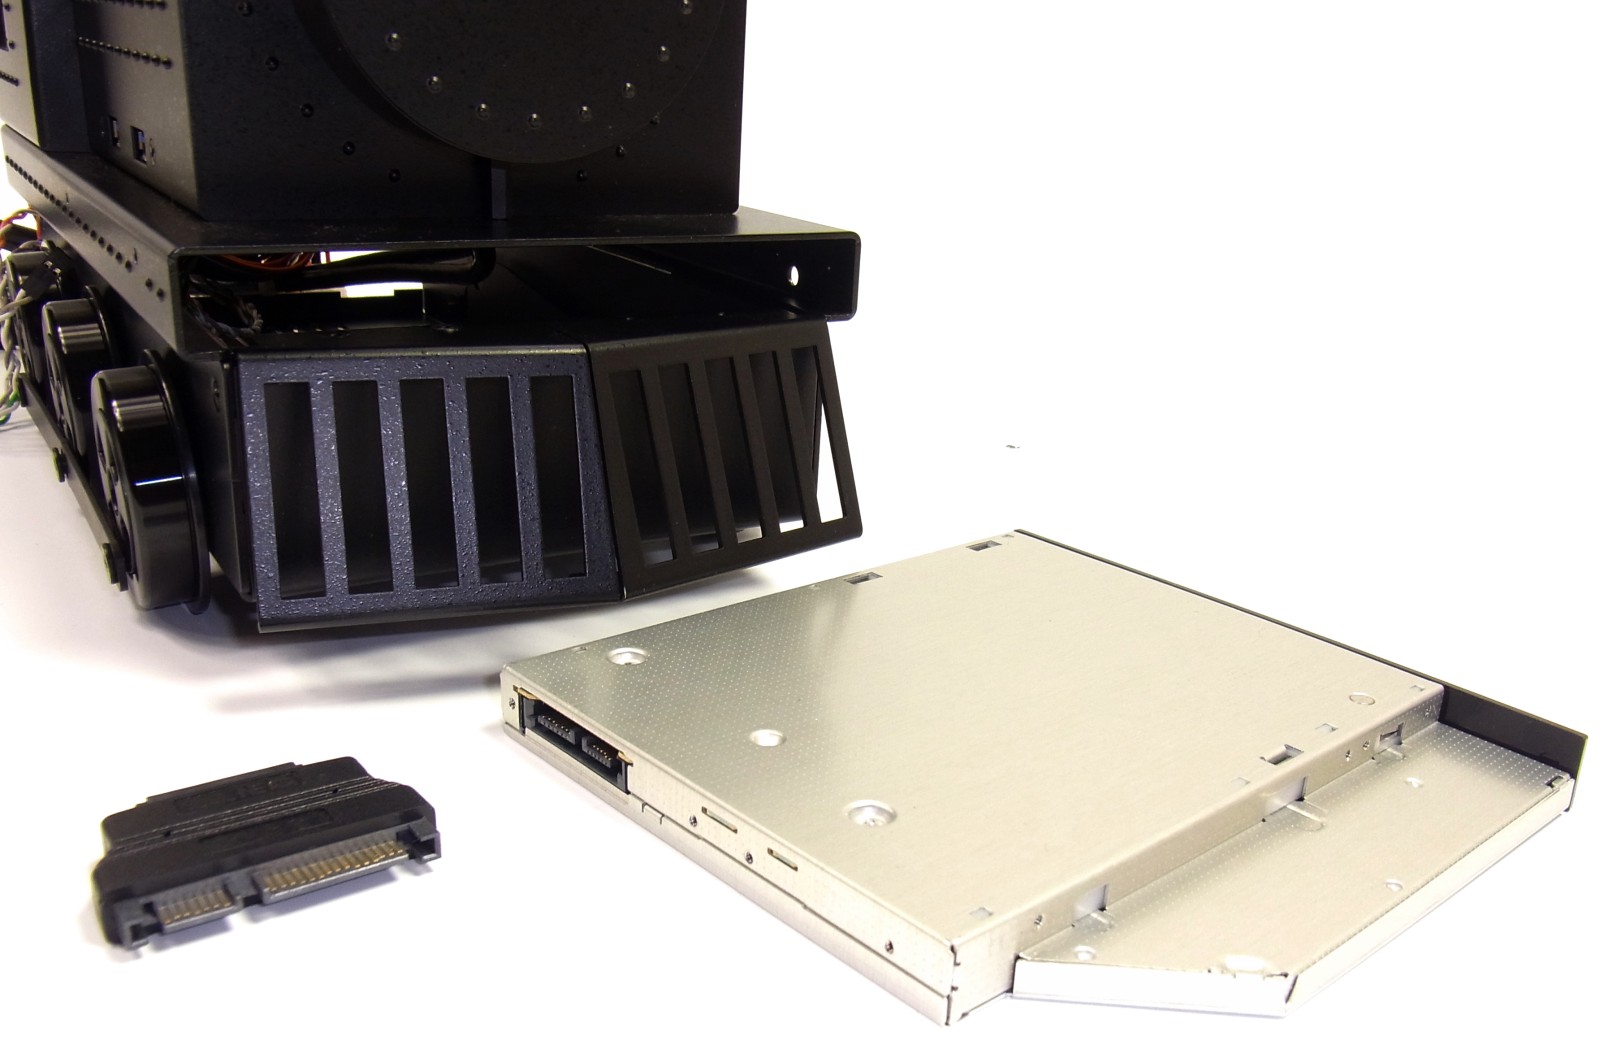
A flask for the optical media
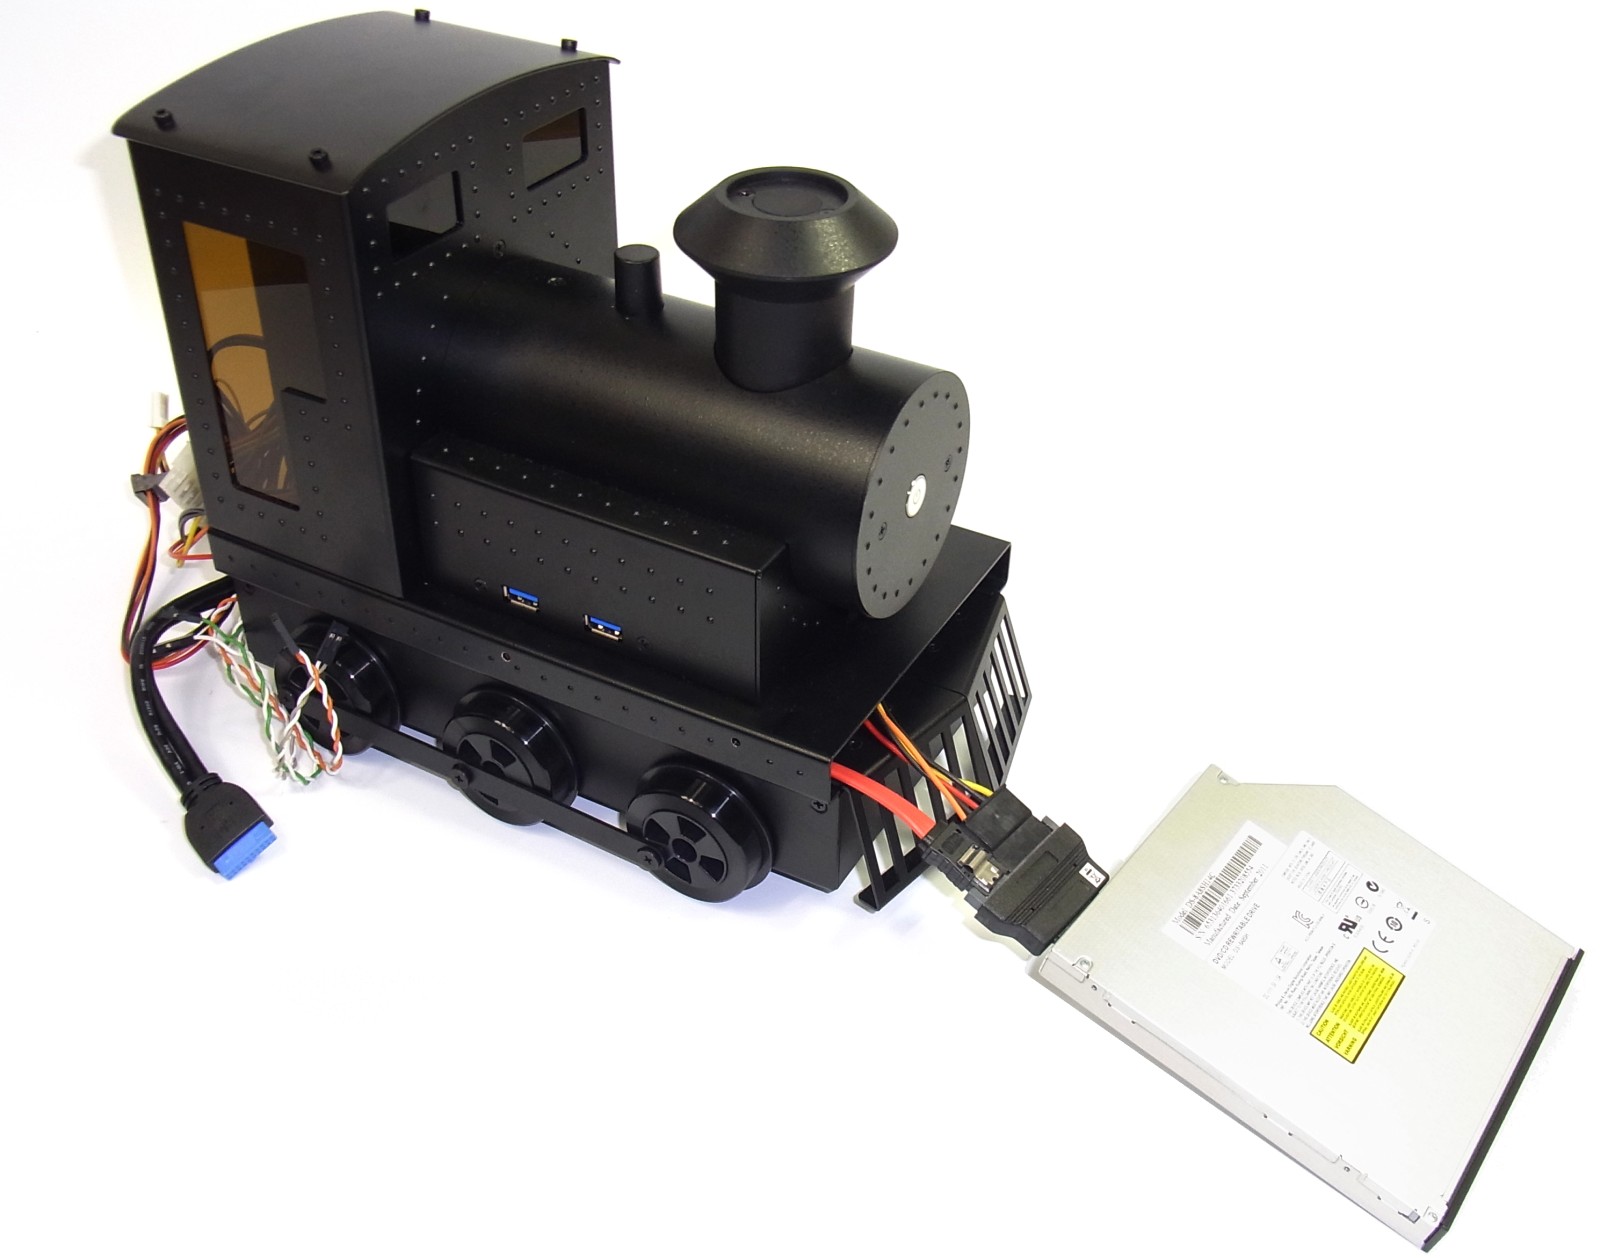
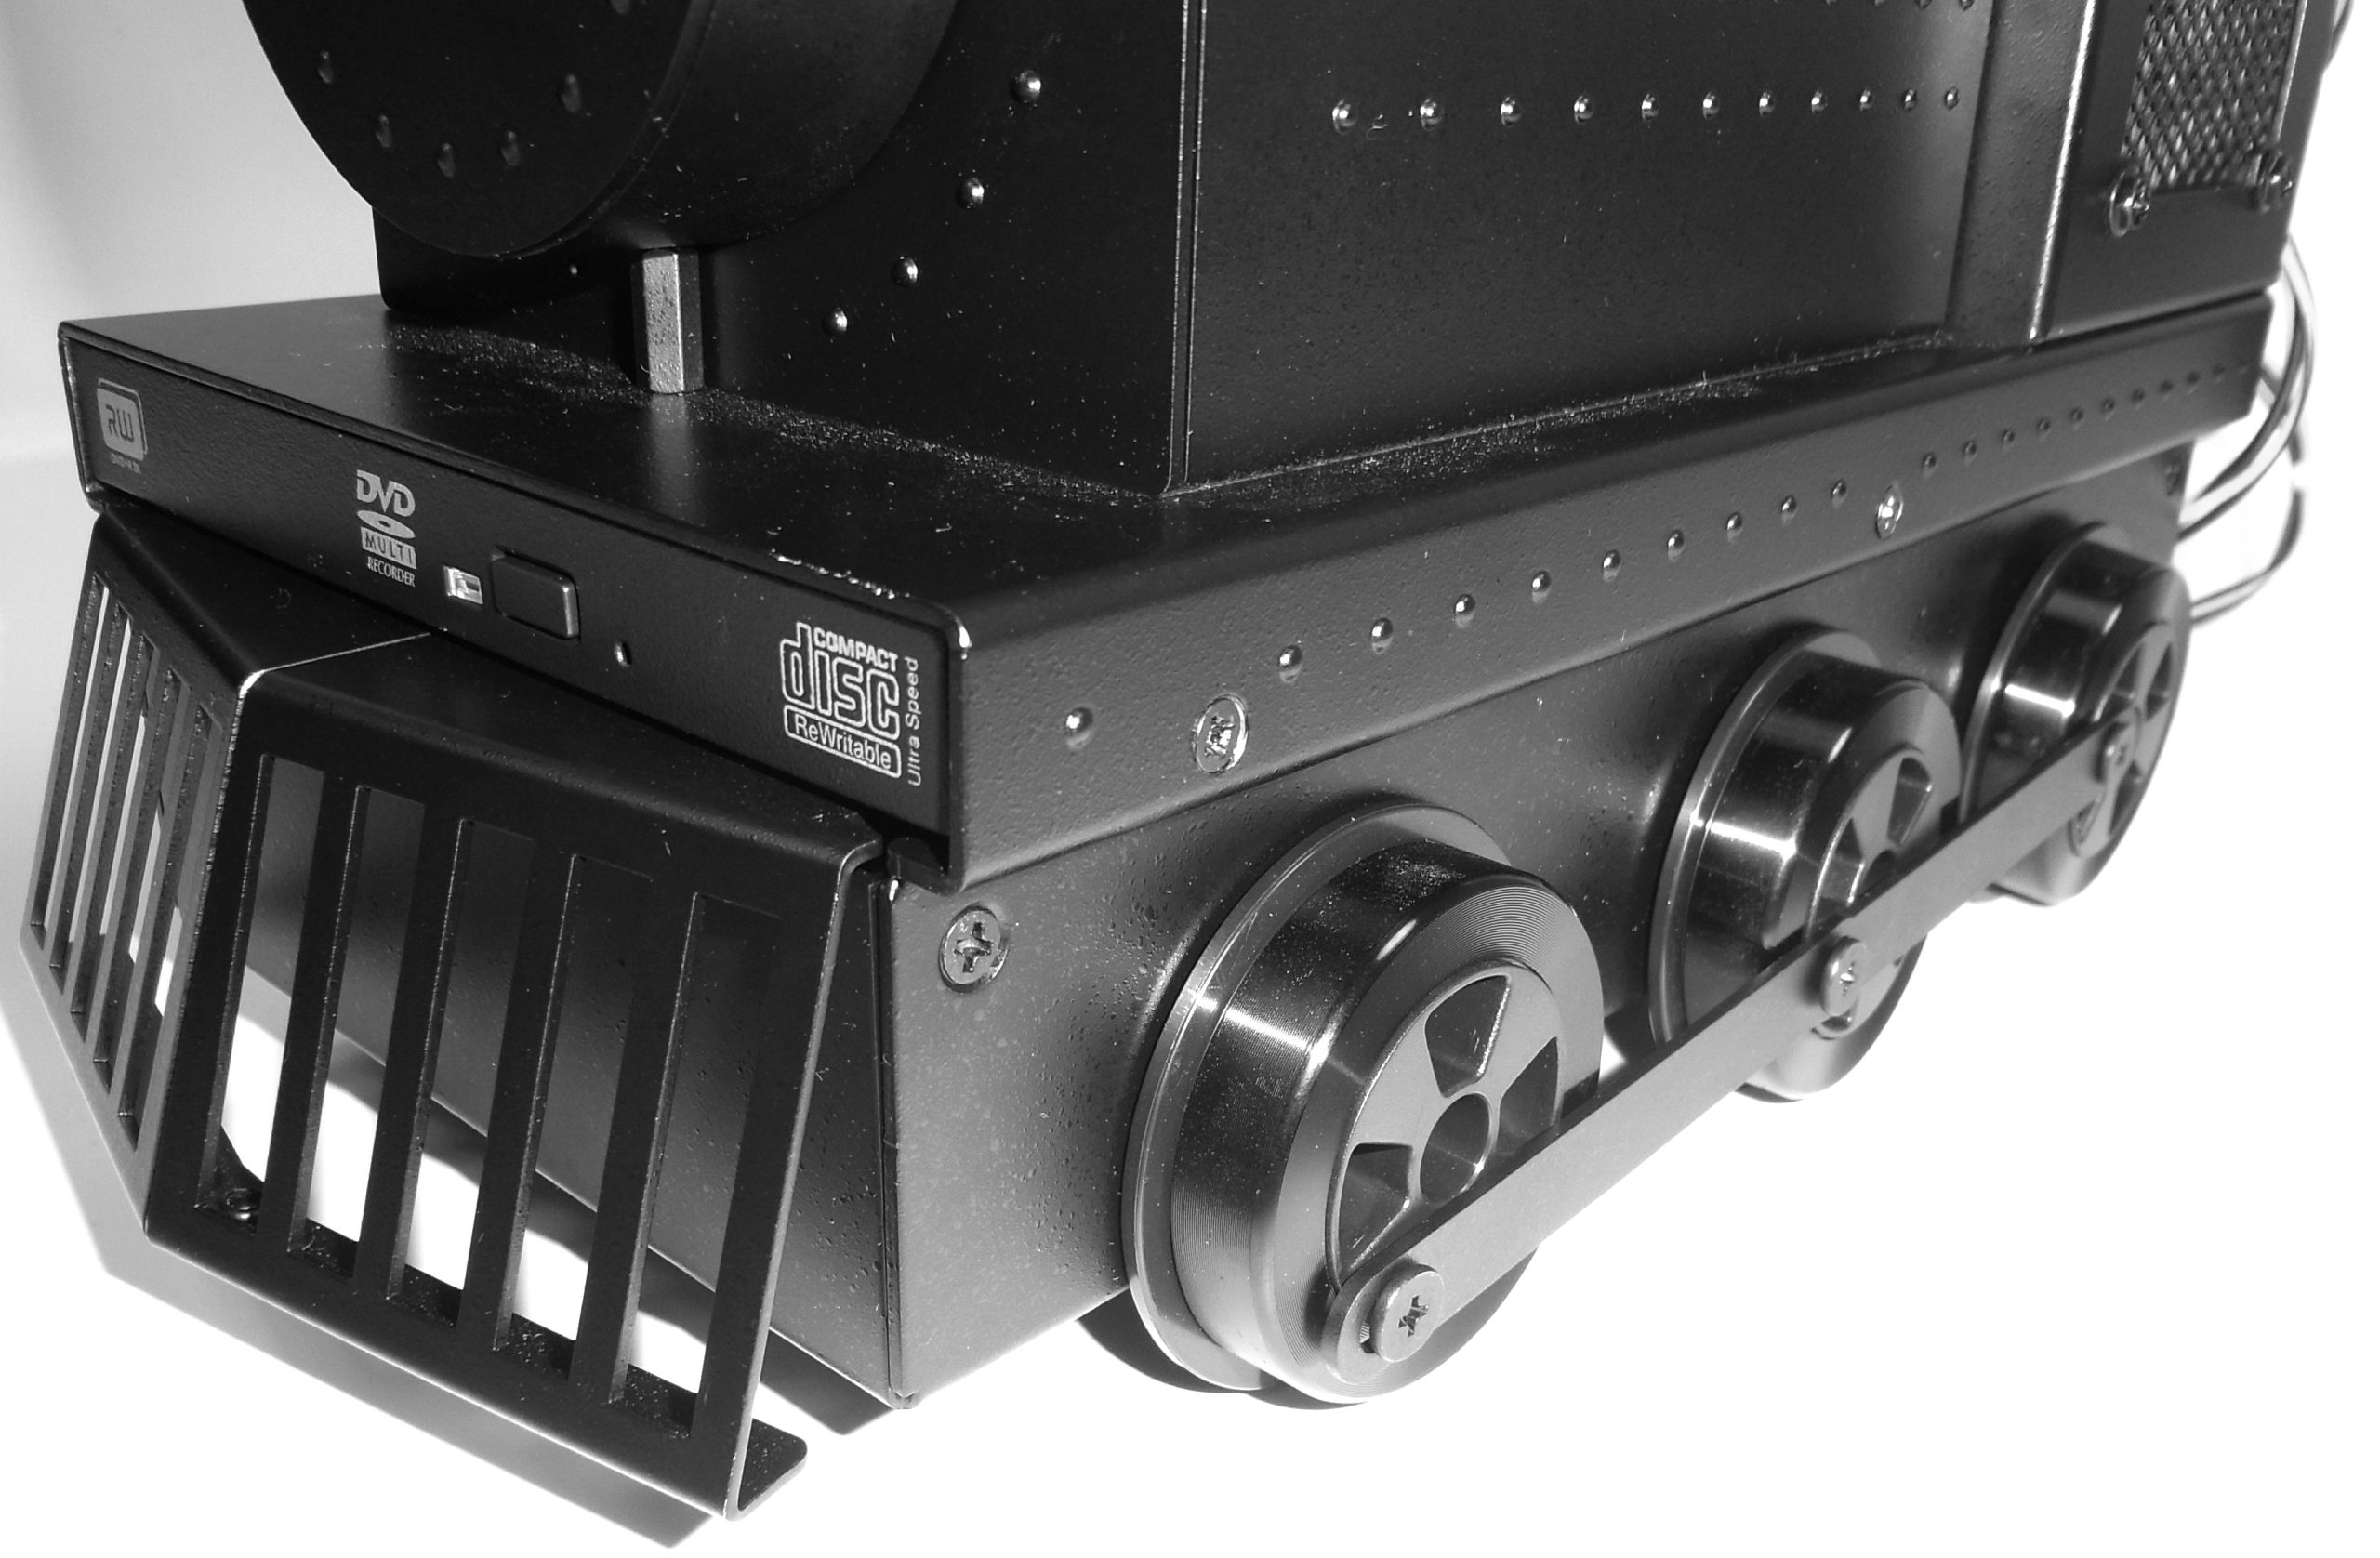
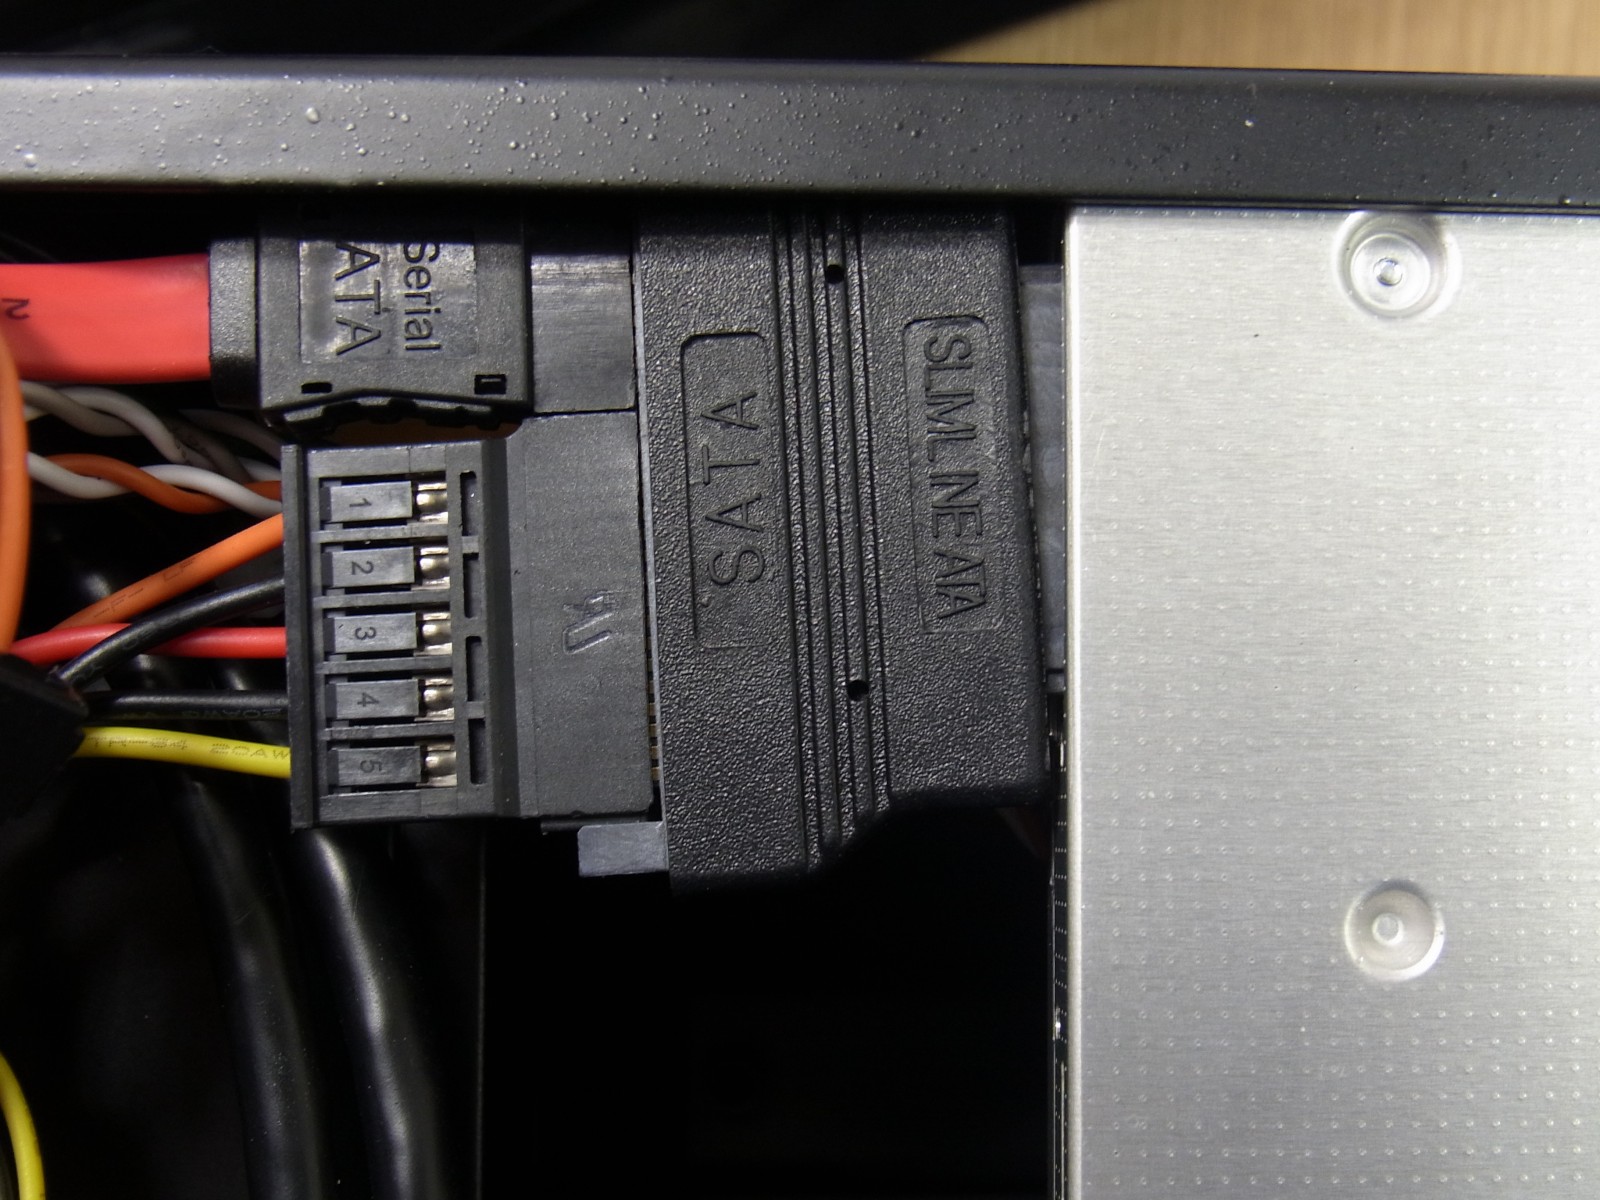
The fact that you have to resort to a slim drive is quite understandable and also acceptable in view of the case constellation. However, almost all current slim drives in the lower and mid-range price range are equipped with the typical mini-SATA ports, so you unfortunately won’t get very far without an adapter. Anyway, the power supply doesn’t offer anything, so you still have to get such an adapter for mini-SATA to SATA for about 4-5 Euros yourself. However, the fact that you could then still run into a possible problem is something I have picked up on at the end of this page. Locomotive, drive and adapter:
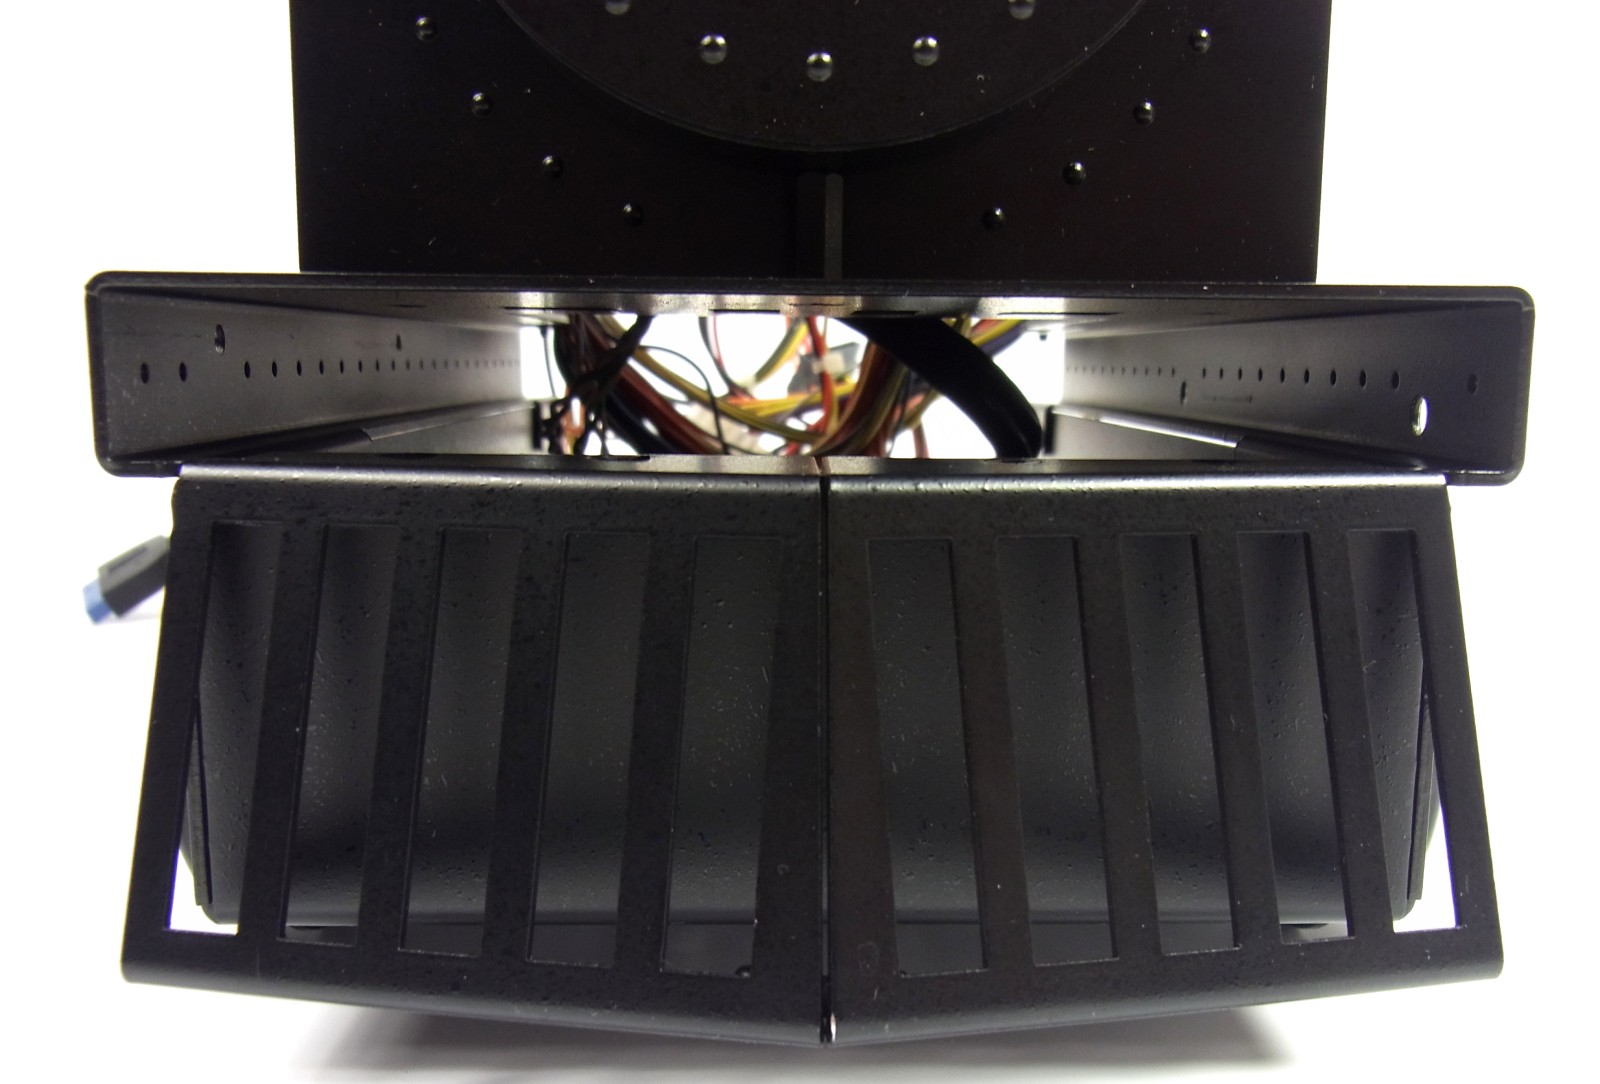
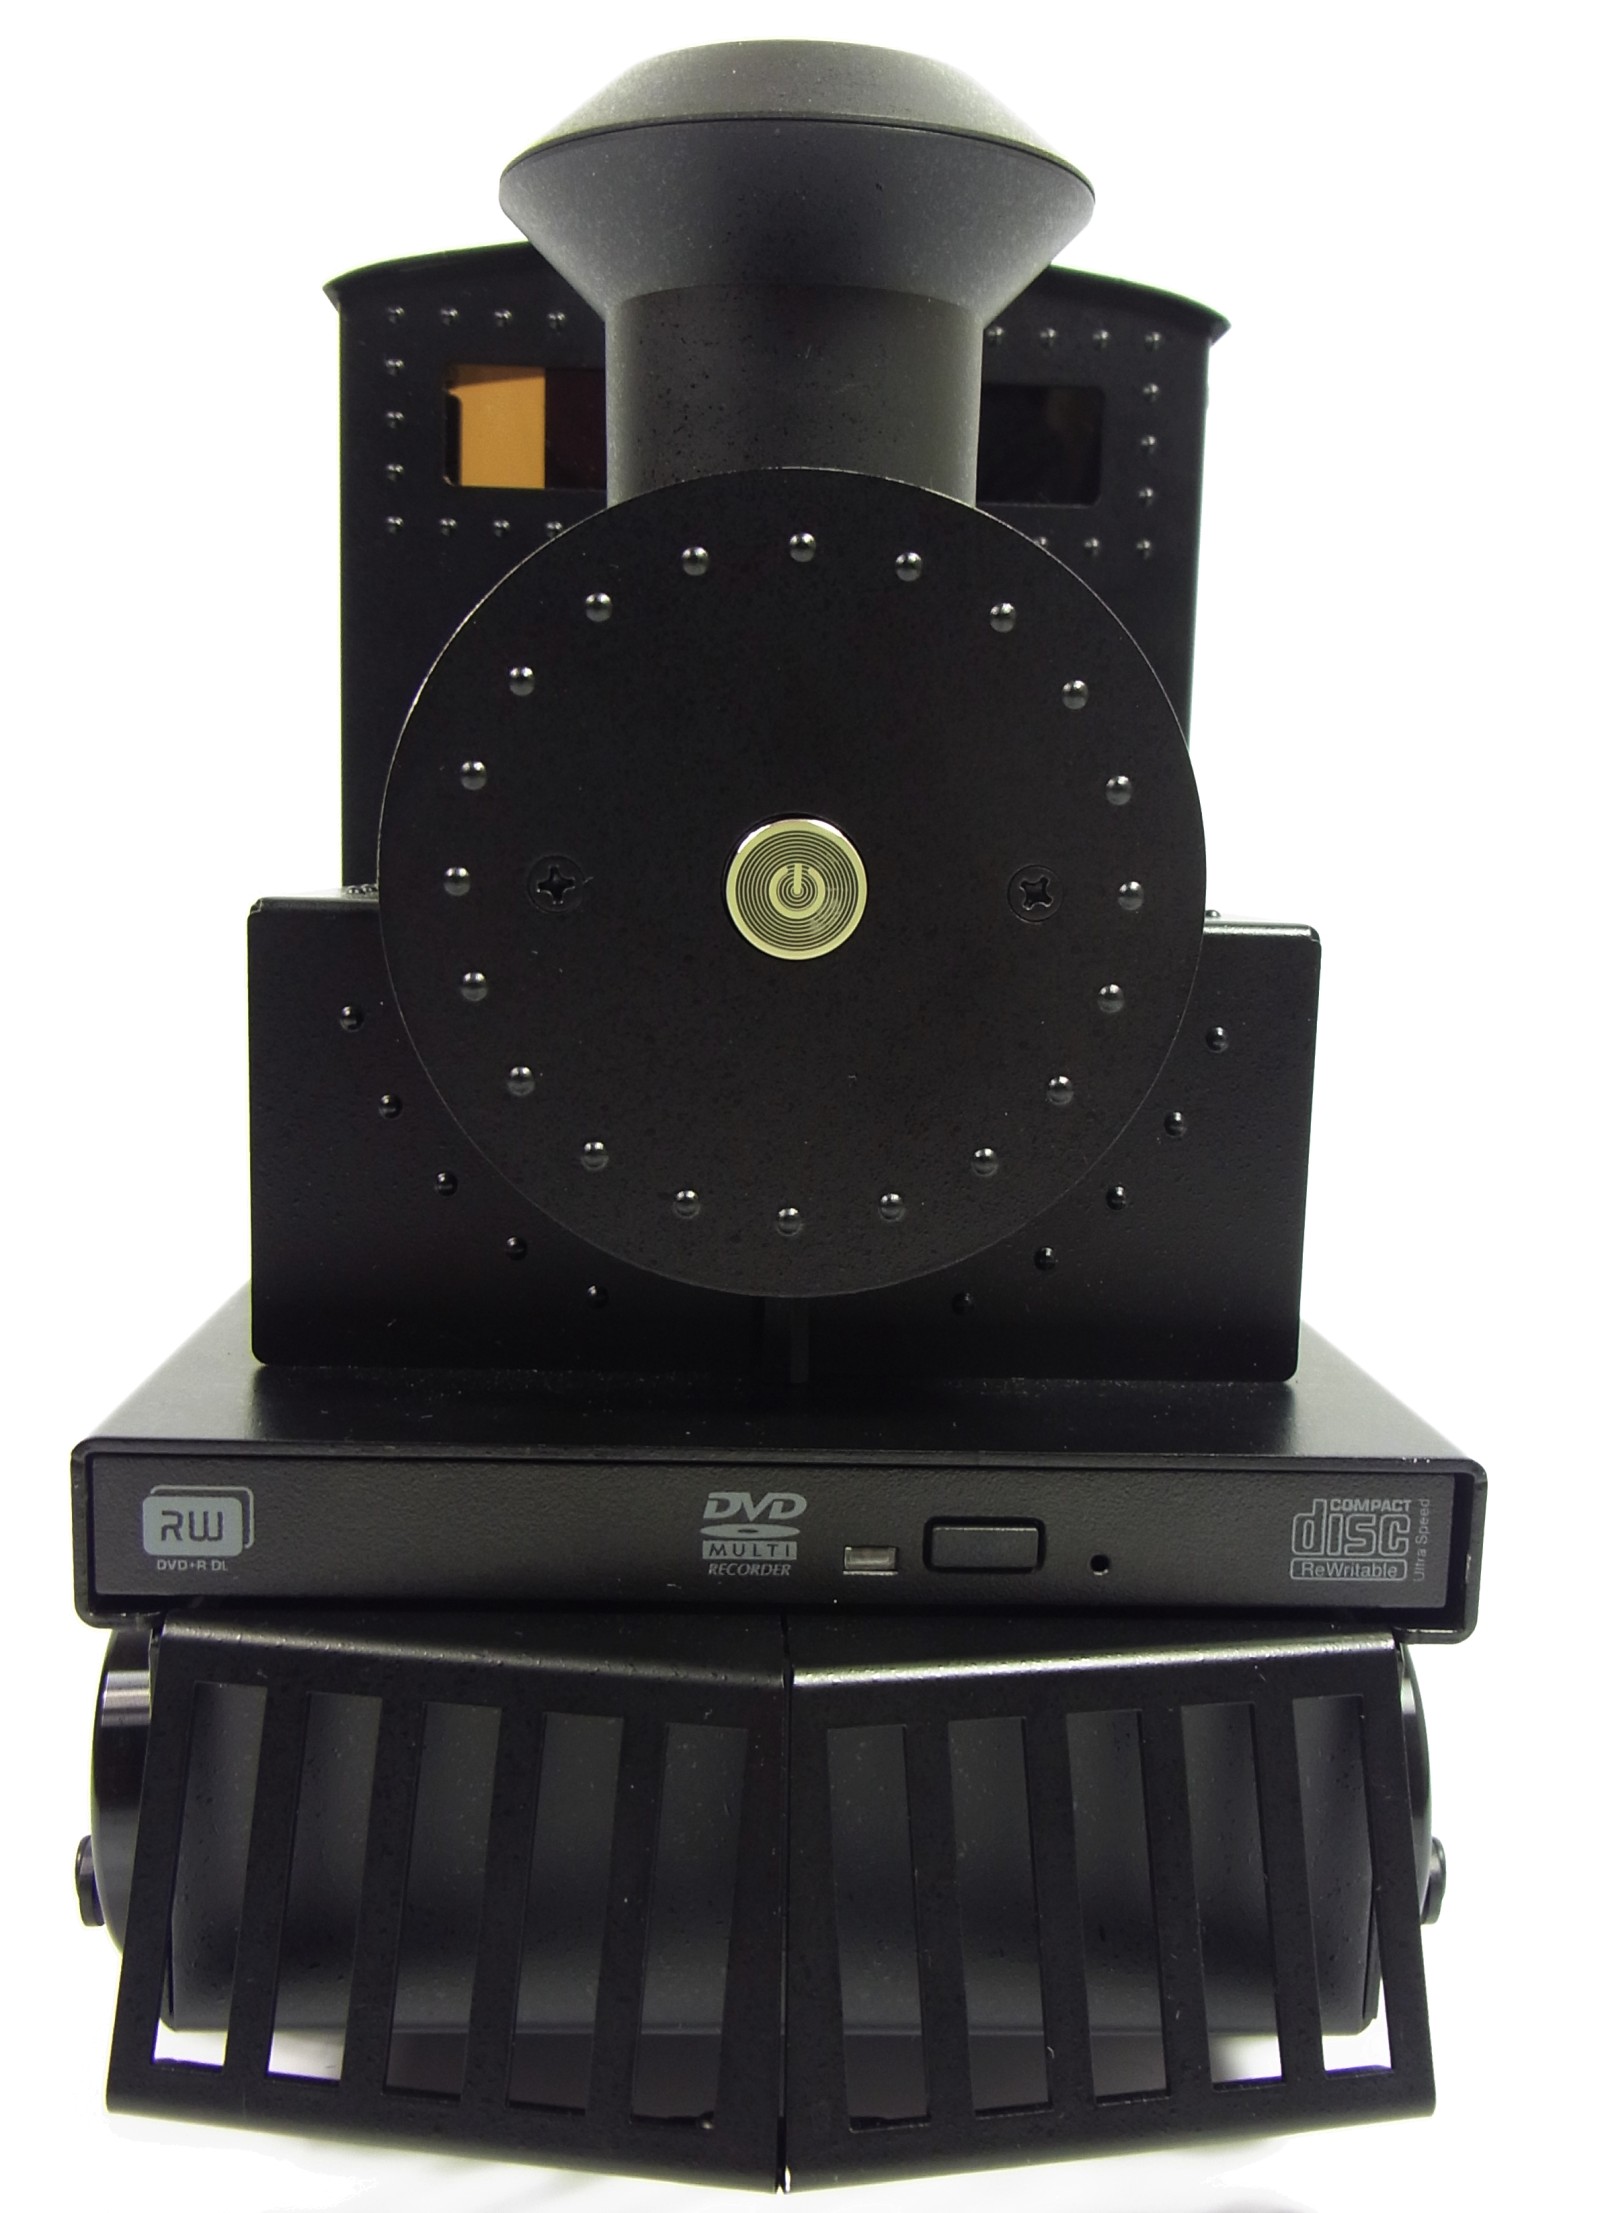
According to the handout, the installation is done from the front after removing the installed placeholder. Thus, a sufficient slot opening is now freely available for installation. The total through-view:
However, you already encounter a small hurdle here, because the cables have to be pushed through to the front first, and you also have to take care that the adapter does not slip or that one of the cables comes off again when inserting it later.
The next very annoying thing is the included and needed attachment to the drive for mounting on the right side of the case (is already on the placeholder and has to be unscrewed there first). The screws (see picture below) are a bit too long and must be screwed in very carefully (!) only as far as the carriage of the drive can still slide back and forth without problems. In any case, I block the slide with the completely tightened screws to such an extent that the drive can no longer be opened! So loosen again and only then insert. This does not affect the overall stability, but it does lead to slight vibrations when the drive is spun up. Here I have helped myself with super glue, the screws are only adjustment aid and last security.
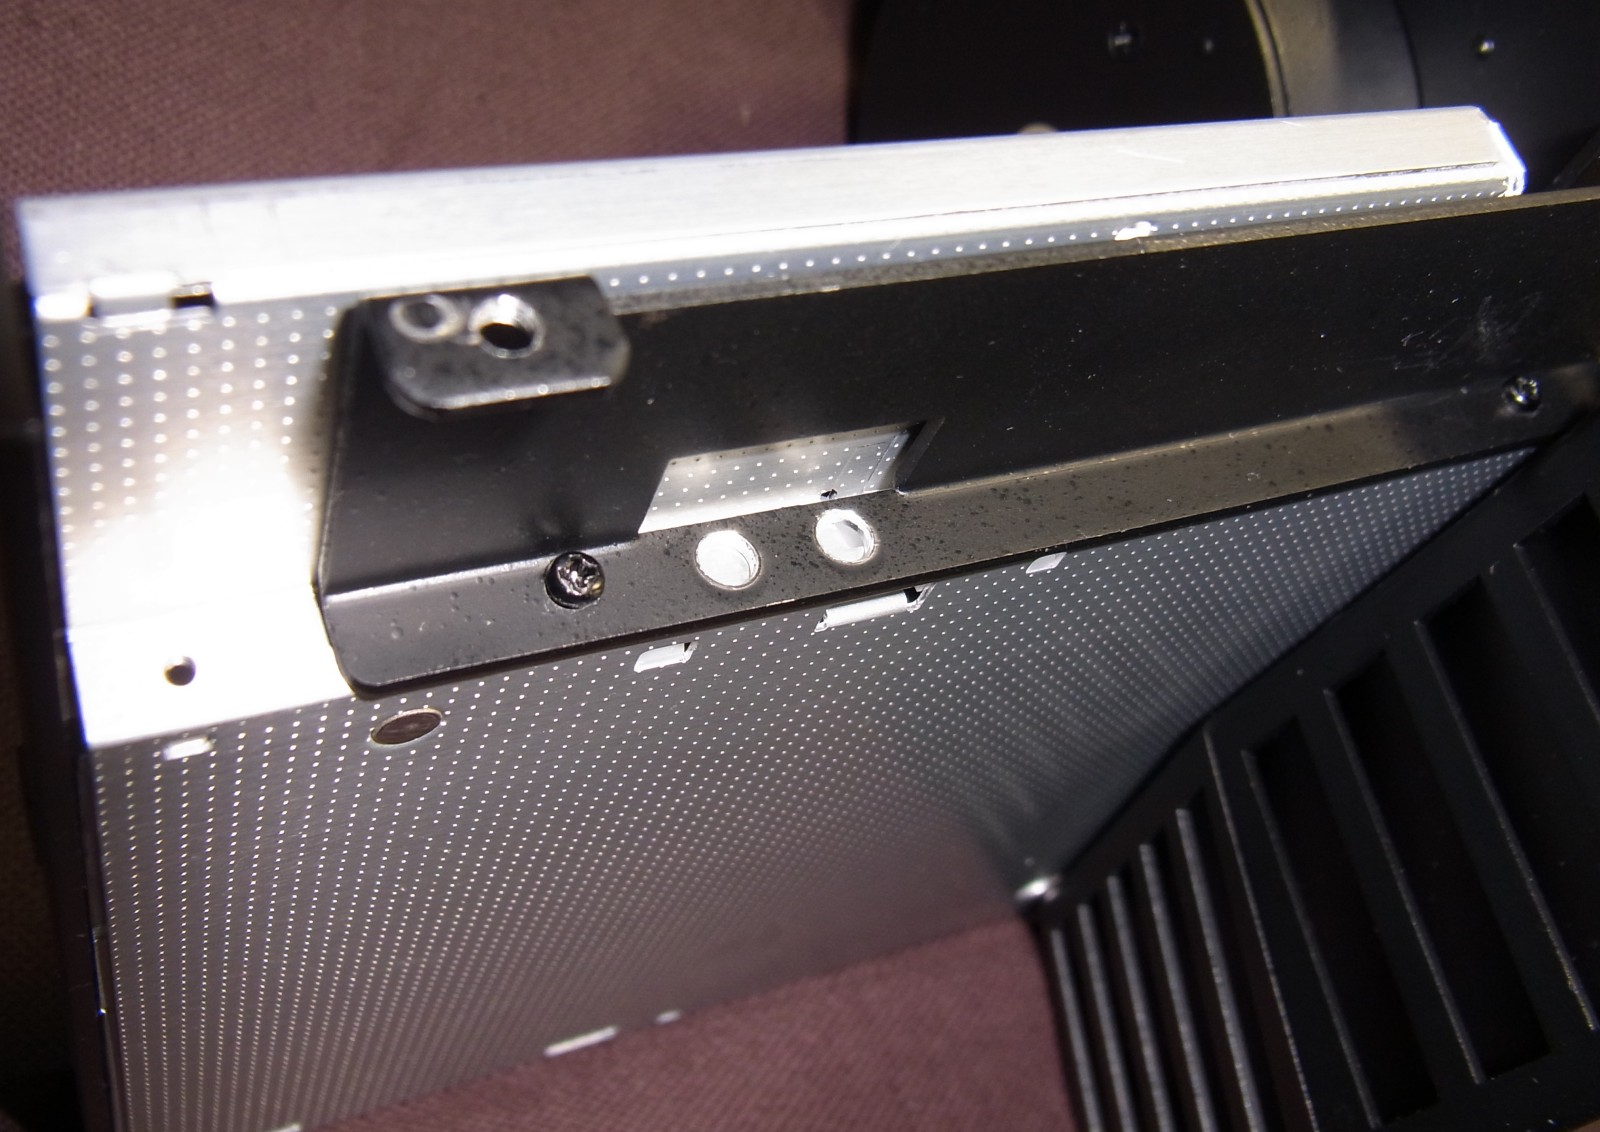
Do not screw too tightly! If you take this into account, then you can screw the drive to the case. Depending on the side, this is done with two tiny standard screws with heads (left) and two countersunk screws (right). Left side with screw tiny:
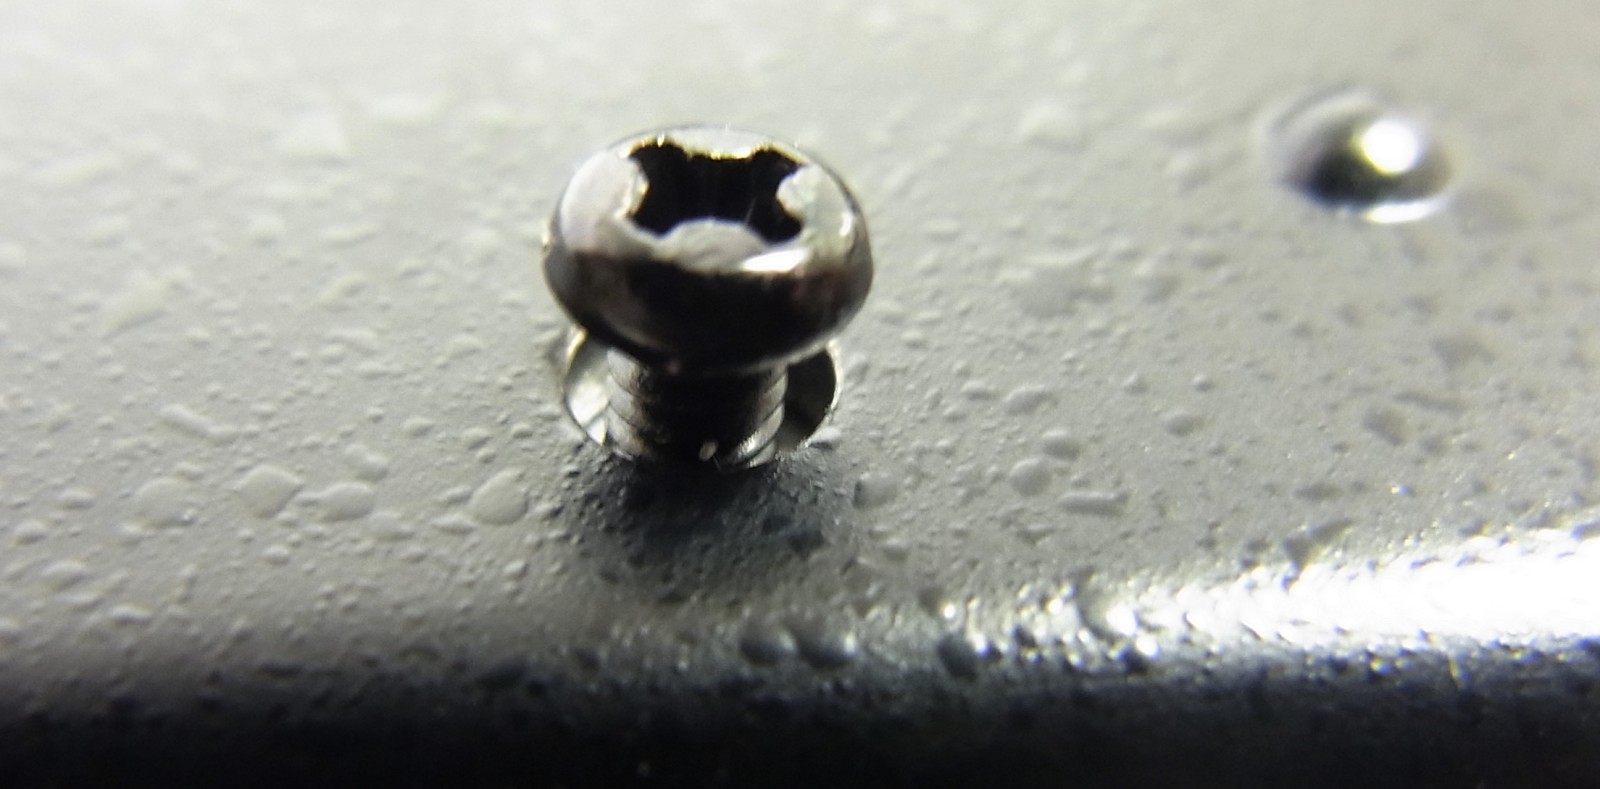
Countersunk screws sit on the right and hold the drive attachment:
By the way, contrary to the manual, you can also completely remove the bottom part of the locomotive after removing only 4 screws, which certainly makes the SSD installation much easier for coarse motorists. I have followed the instructions, but find the suggested way not really optimal. Fits, does not wobble and still has air.
Adapter gimmicks
I will now come back to the adapter in the end, because depending on the model, there are also slight fitting problems, as can be seen well in the picture. Either you buy a matching and narrower adapter right away, which is not so easy, or you grind down the side in question a bit, which is quite easy if you use a good file (not a rasp!). I used a well-known multi-function tool from model making for this, which can also be used as a cut-off grinder.


1 Antwort
Kommentar
Lade neue Kommentare
Veteran
Alle Kommentare lesen unter igor´sLAB Community →