The good piece needs a motor for the movement, logically. With the PC-CK101L, Lian Li also offers a matching kit, so I grabbed the little train and set to work on the conversion once again. The whole thing works, that much I want to reveal at this point, but you still have to look for further solutions yourself, because without a proper PC function the moving train is somehow still a bit bland. To compensate for the work done and for an invested holiday, we went to the railroad museum at the end with train, rails and family, because somehow you have to arrange work and private life elegantly and also make the rest of the family happy again. There, by the way, we then found extremely photogenic cuties, which I introduced to the little train and photographed…
Promised was promised, even if first the snow, then the opening hours and finally almost a nasty continuous rain kept me from visiting the railroad museum. If it’s rail, then it’s right! Which would prove that this little train is a toy, but can also handle drizzle, grease, mud and somewhat uneven terrain. In any case, the visit to the big sisters and brothers was an experience for everyone and the pictures taken are certainly not only interesting for railroad enthusiasts.
But in the beginning, before this reward, of course, is the conversion, including all the unexpected hurdles, of course. How to convert this little train to (almost) wireless operation is what I show today. After that, the rest is pure show business…
If you missed the first part – no problem:
The PC on the train – “Mobile Computing” with the Lian Li PC-CK101 (Retro Part 1 )
Scope of delivery and packaging
With the PC-CK101L, it is possible to send our small floor model on its way after all. In addition to the total of 6 track parts, each 50 cm long, which can be individually screwed together to the desired length, you get the complete individual parts for a battery-powered electric drive. The 3 meters of track in 6 parts:
The battery compartment holds a total of 4 small 1.5 volt batteries (AA); however, I would generally use rechargeable batteries for this application. By the way, I missed a connection to the PC power supply with the battery adapter. Those who, like me, also operate their train on the mains in the switched-on state will quickly get annoyed about the battery-only operation. Changeover switch and charge controller could also be easily retrofitted as an inexpensive kit. By the way, the motor itself runs originally with 5 volts, so you can even connect it directly if necessary. These individual parts want to be installed:
Then the next step would be to rebuild the locomotive and the hanger. As already indicated in the first part of the article, I first have to clear the locomotive and relocate the SSD. This is annoying, but unfortunately cannot be avoided.
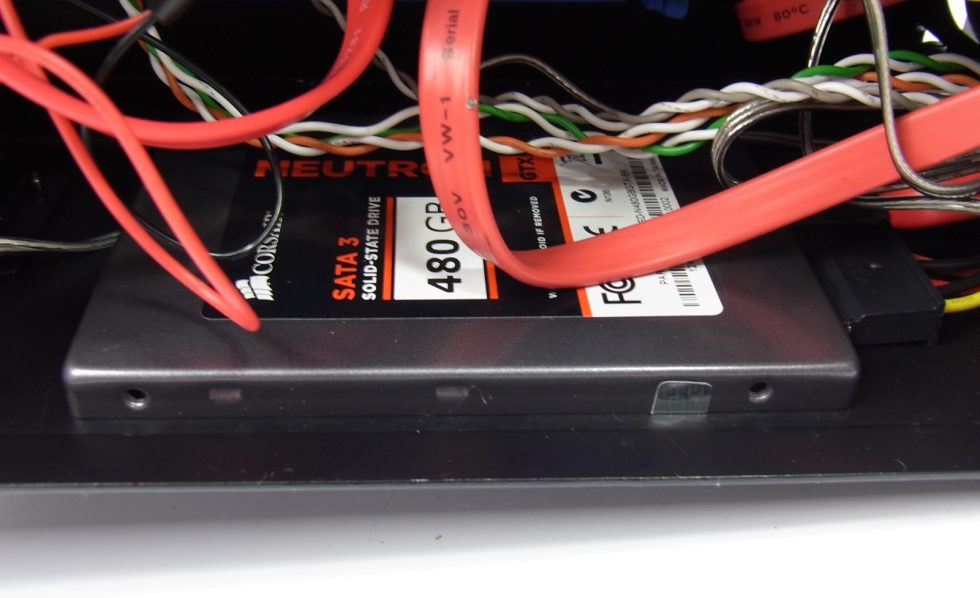
The SSD on the ground
As we all know, there is room in the smallest hut, so it is pleasing that the FSP power supply has two separate SATA strings. One of them may remain in the locomotive, since the optical drive also has to be supplied with power. I simply pulled the other strand into the hanger, which makes the appearance look a bit more salad-like, but is unavoidable. Penurious minds certainly still have enough cable ties, which are unfortunately not included.
The SSD goes into the hangerand isscrewed tightly to the bottom – nothing for mechanical hard drives.
Now you also have enough space in the locomotive to install the actual drive.


7 Antworten
Kommentar
Lade neue Kommentare
Veteran
Urgestein
Urgestein
1
Urgestein
Veteran
Veteran
Alle Kommentare lesen unter igor´sLAB Community →