


Power supply and direction switch
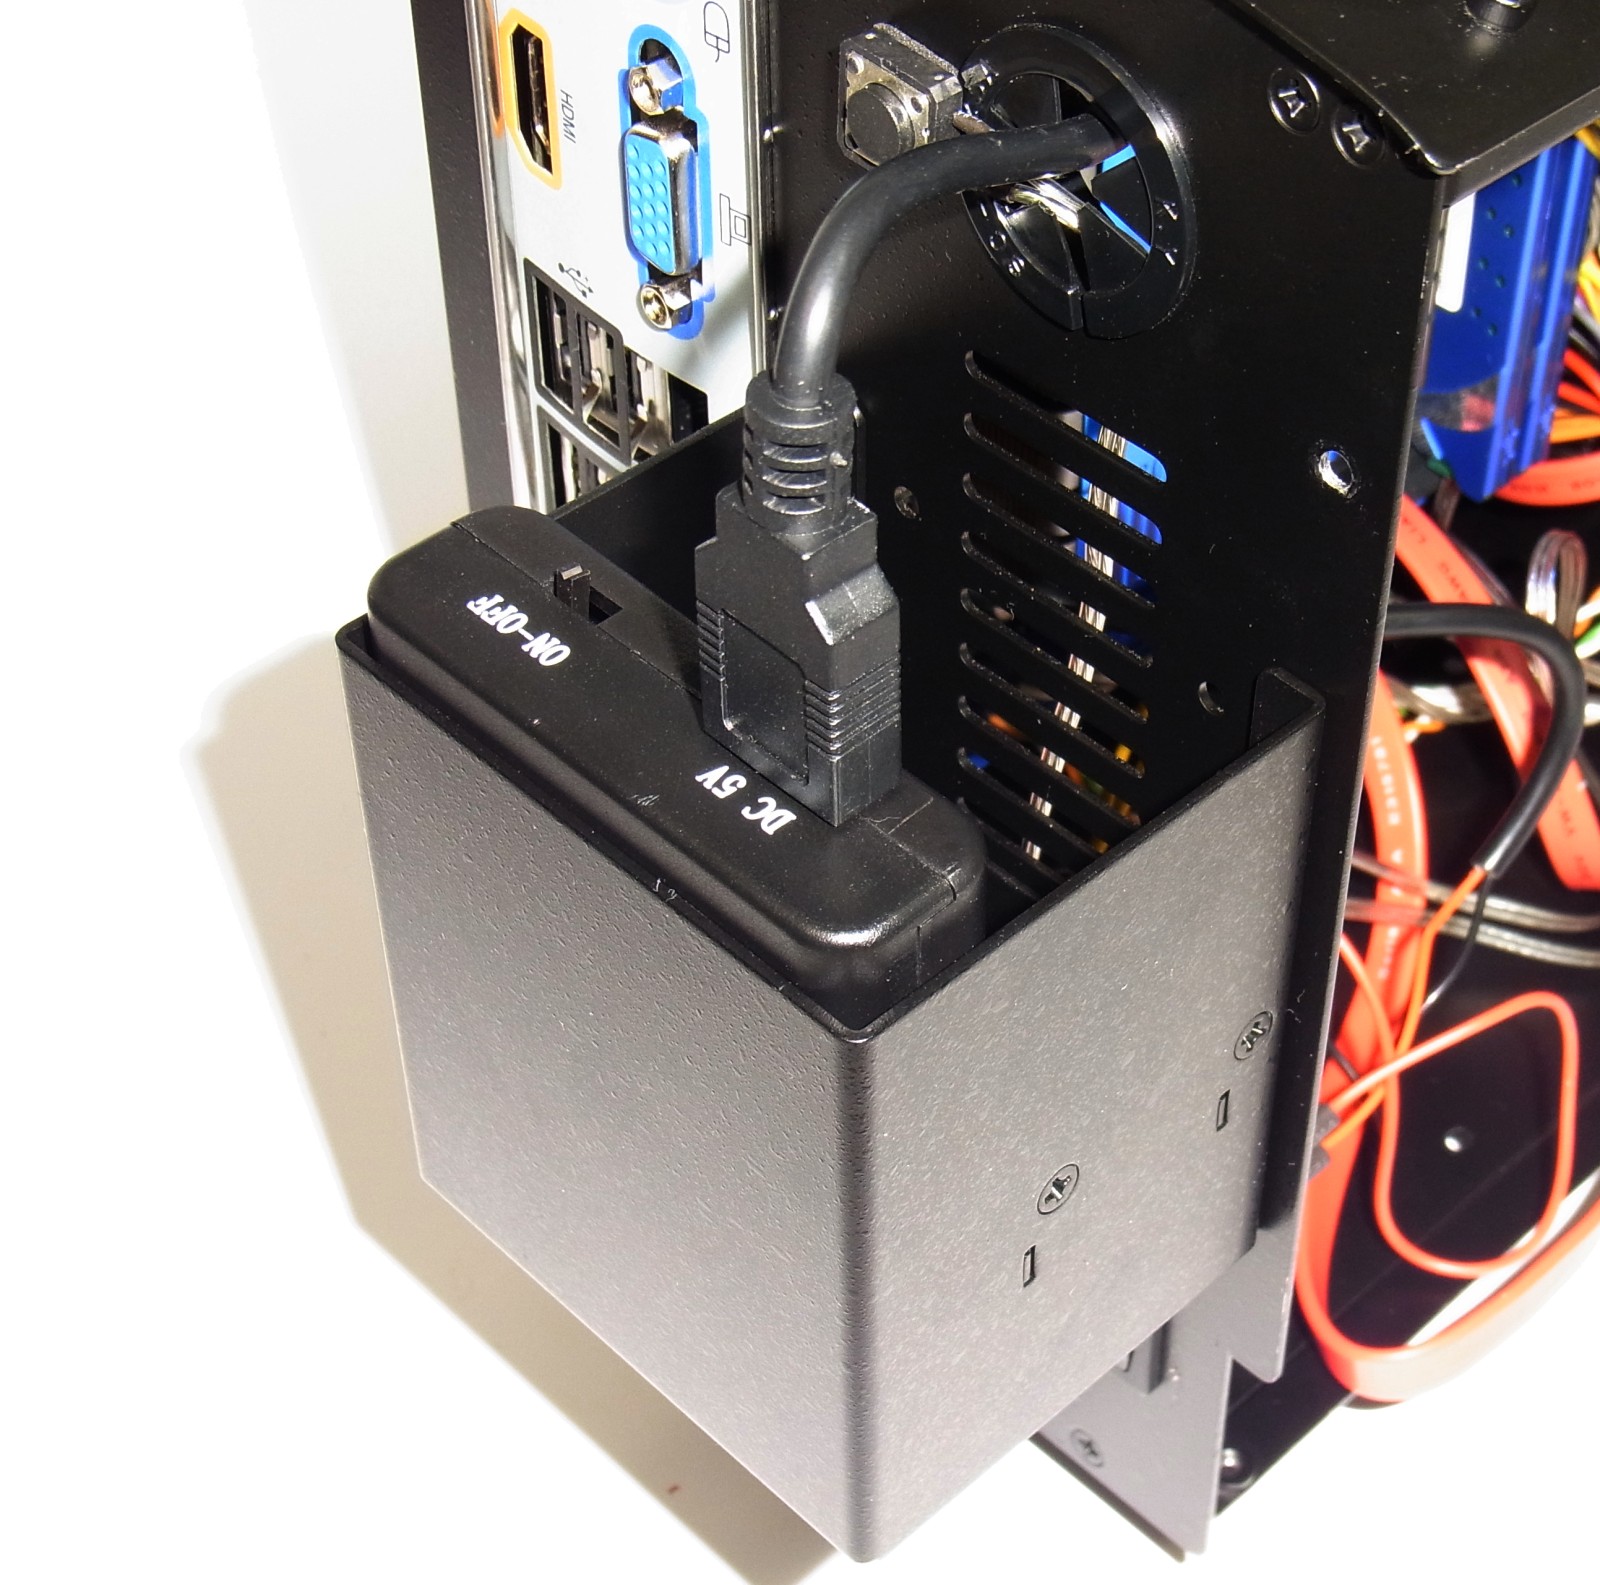
To ensure that the train dutifully changes direction at the respective end of the track of the up to 3-meter-long straight line, you need a direction switch. From the battery pack at the end of the train, the supply cable first leads into the battery box via USB connector. I would advise anyone not to plug this connector into one of the normal USB ports on the motherboard for convenience (the manual doesn’t help here, unfortunately) unless it is a HighPower USB port. The “normal” 500 mA are firstly not sufficient, and secondly the motor is also not sufficiently suppressed. If you connect the device directly, you might have the sweetest background noise on your ears when listening to music later.
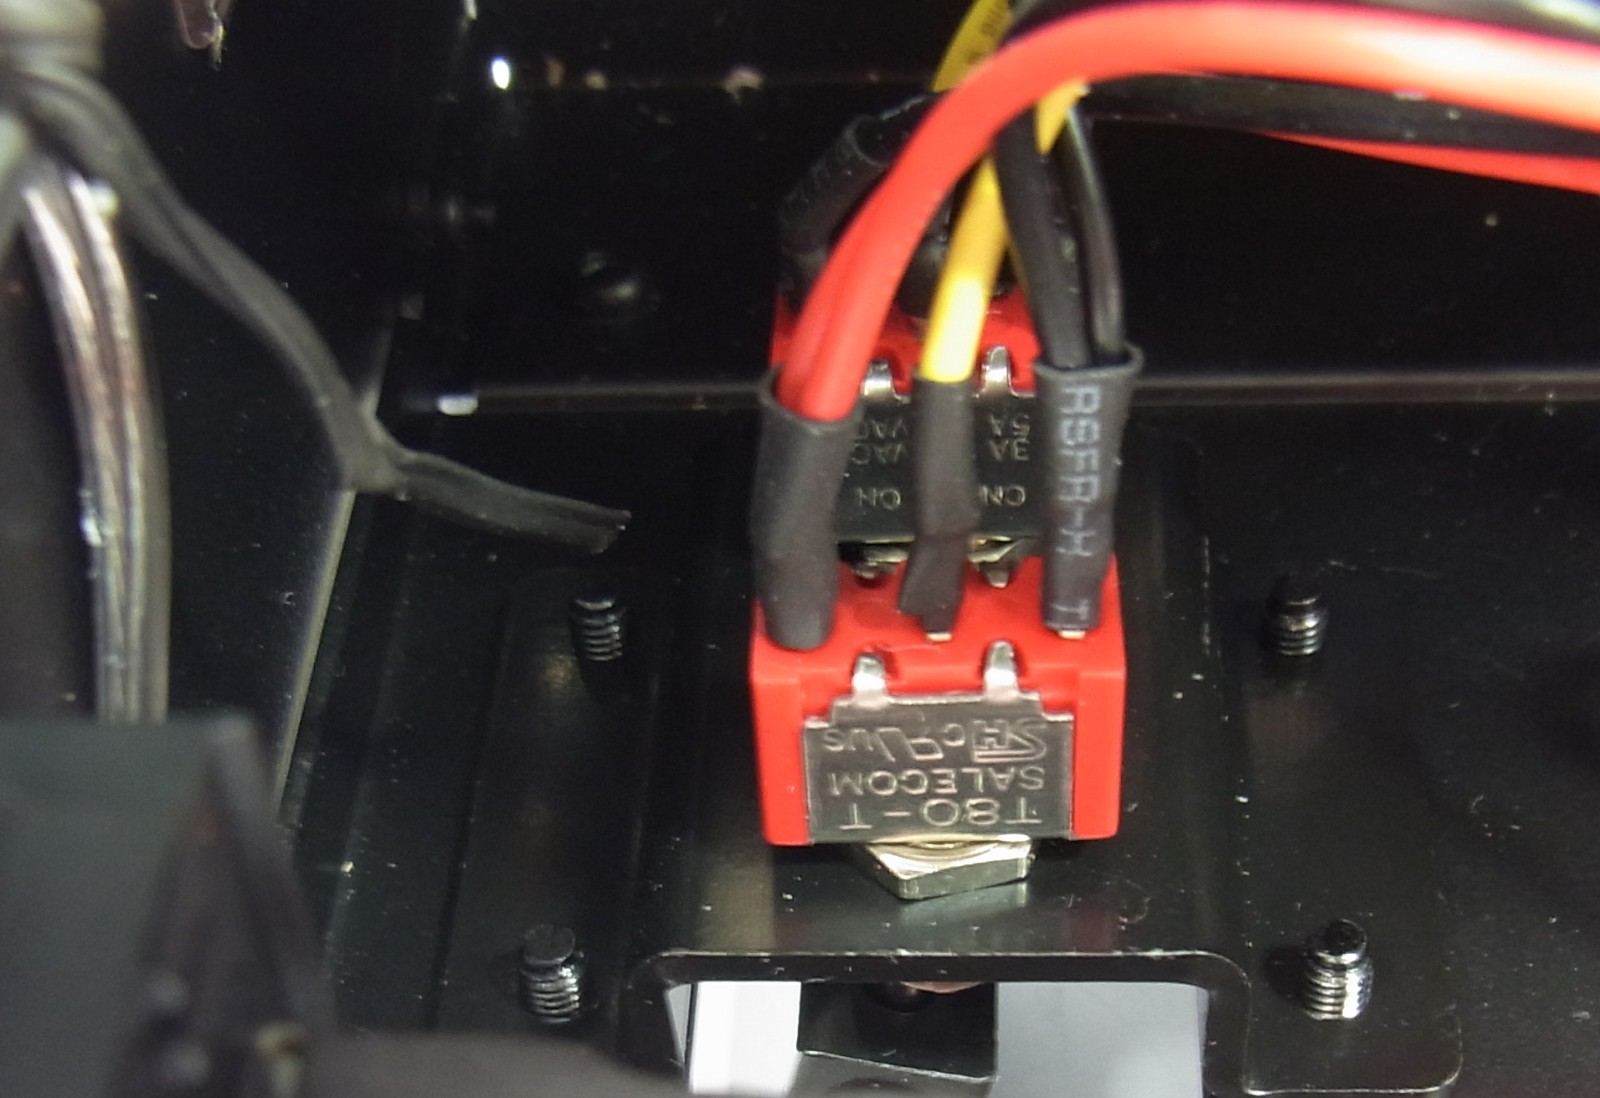
Small brackets can be mounted on the rails at both ends, which trigger the direction switch. This toggle switch is also screwed to the floor in the hanger and it is essential to pay attention to the correct polarity so that the toggle and direction of travel also match.
Thus, the installation is quite unproblematic if you observe this positioning.
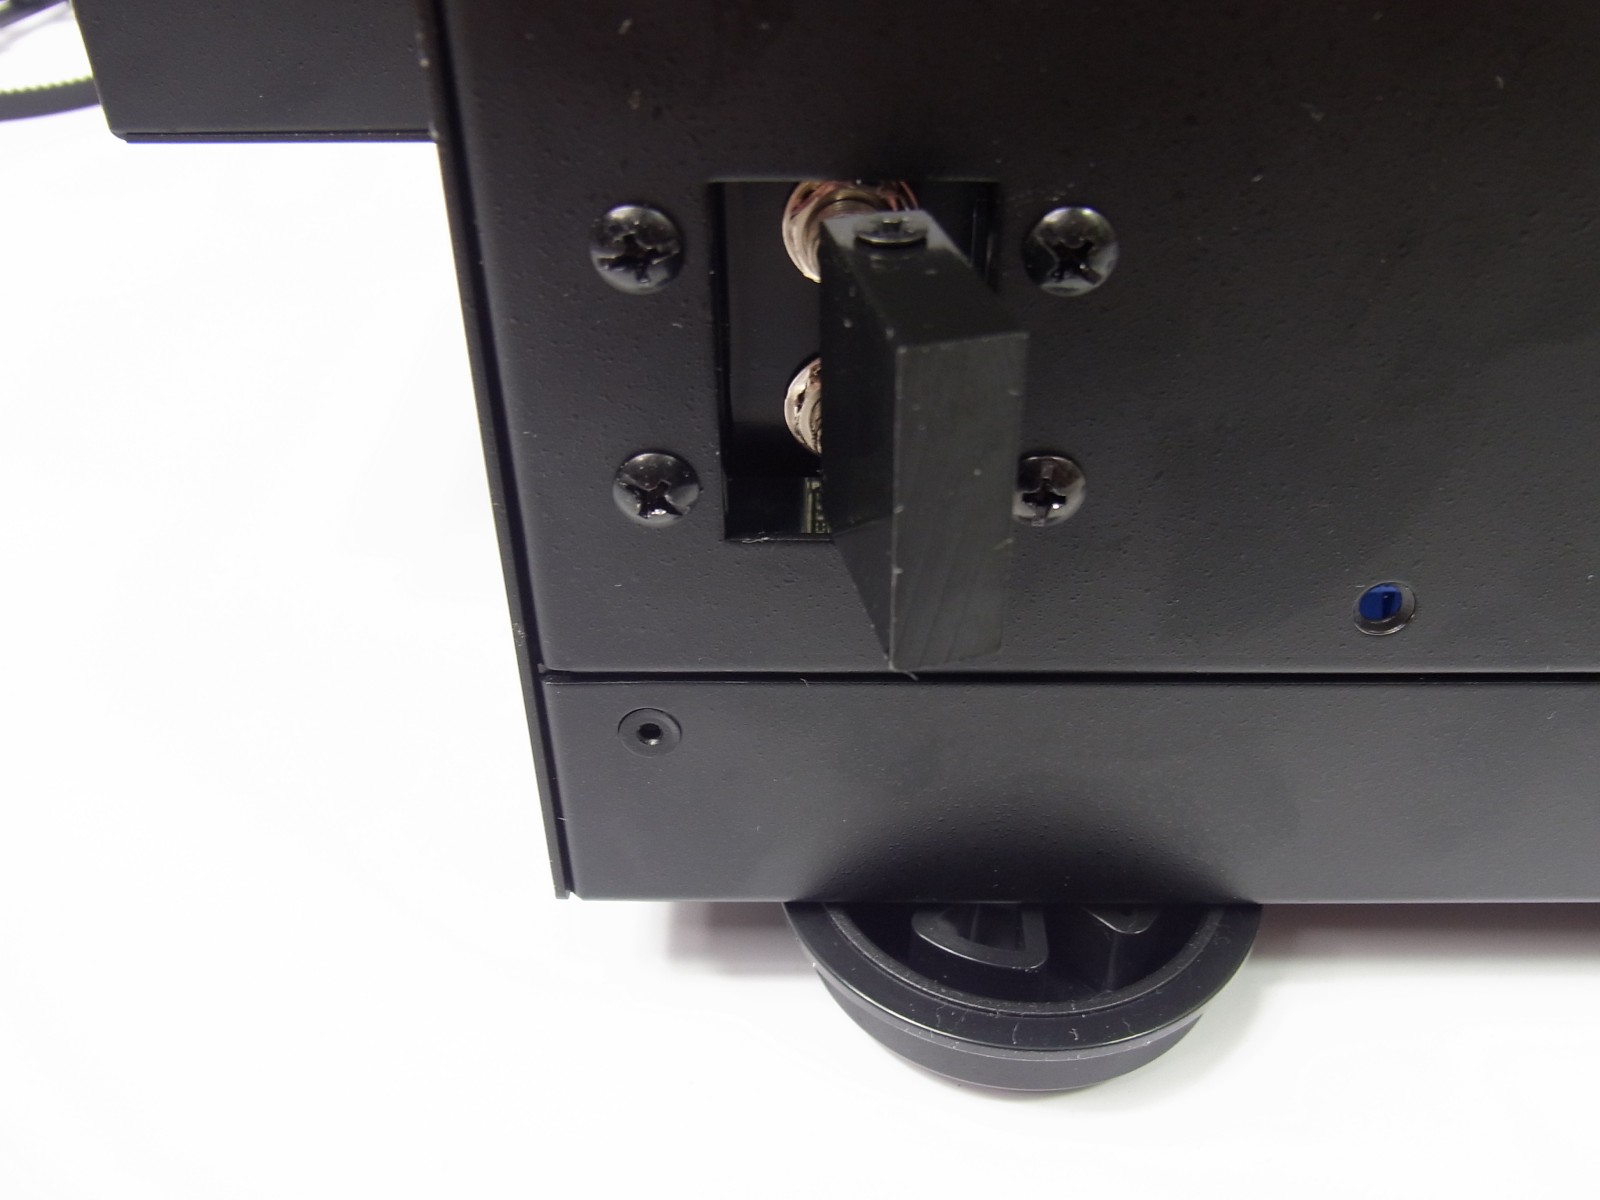
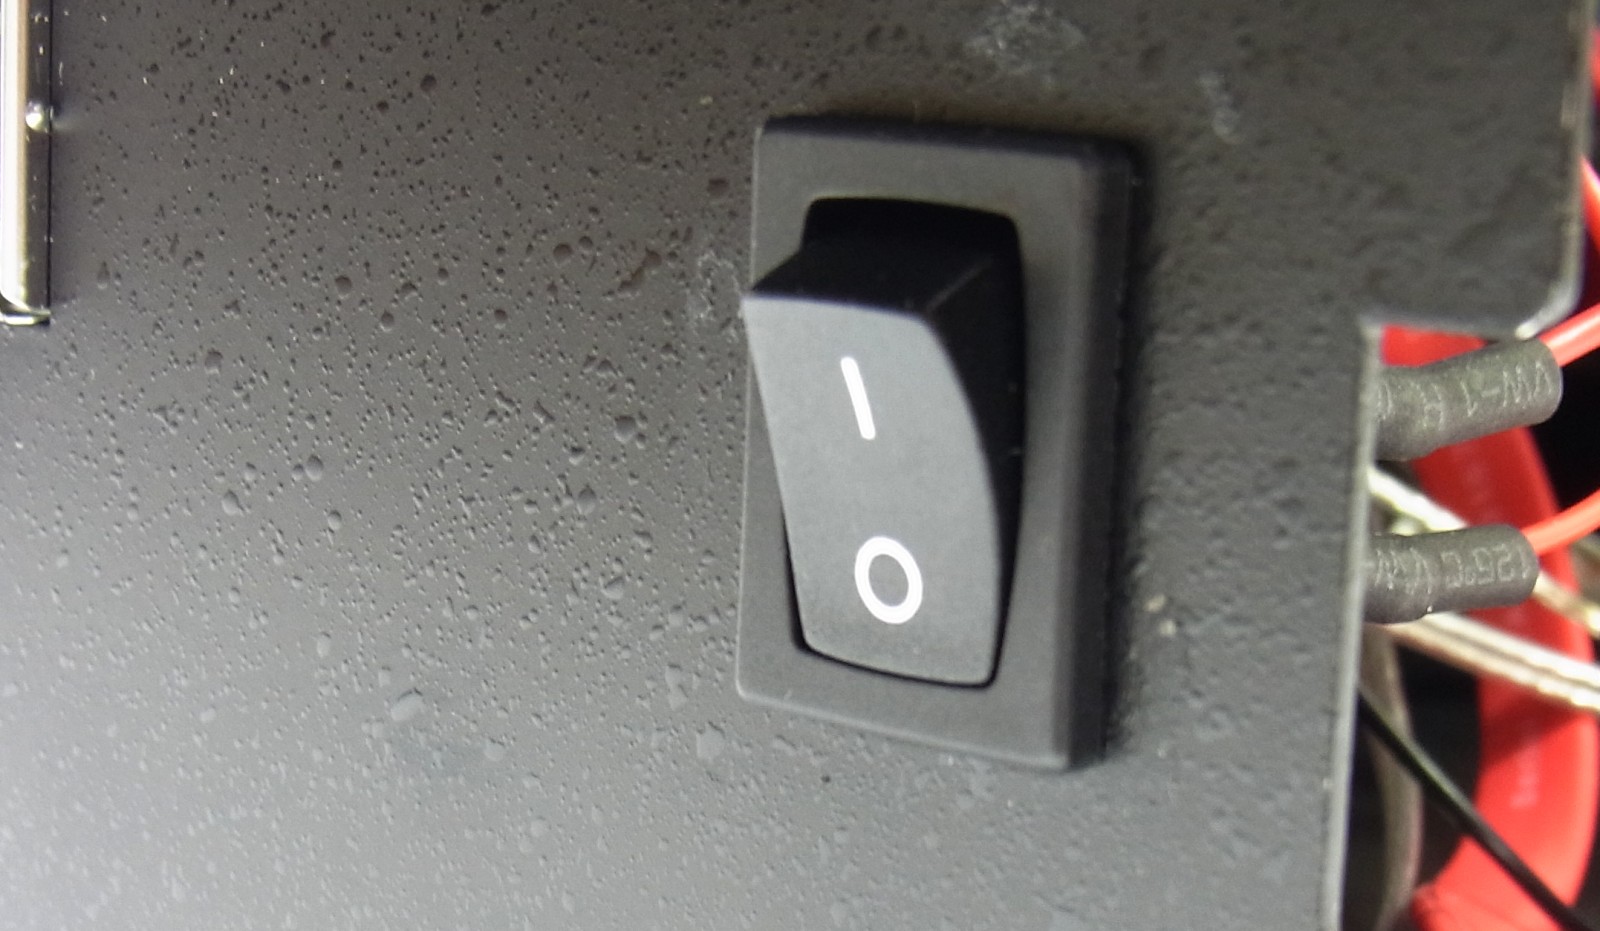
A small toggle switch is still to be mounted on the rear of the wagon, with which the drive can be switched off or on. The positioning is a bit unfortunate, since the switch is always inadvertently activated when the cable is lifted. For safety reasons, the switch on the battery pack should also be used during transport.
After everything is connected, the train now goes on the track. But who wants to drive a powerless and thus dead PC back and forth? This is a bit dull, so I decided to upgrade the good piece radio-wise as well, replacing all the cables except for the power supply.


7 Antworten
Kommentar
Lade neue Kommentare
Veteran
Urgestein
Urgestein
1
Urgestein
Veteran
Veteran
Alle Kommentare lesen unter igor´sLAB Community →