


Summary and conclusion
In conflict resolution, we learn that the other person should first be conceded a positive point before criticizing. So let’s stick to this approach and start with praise.
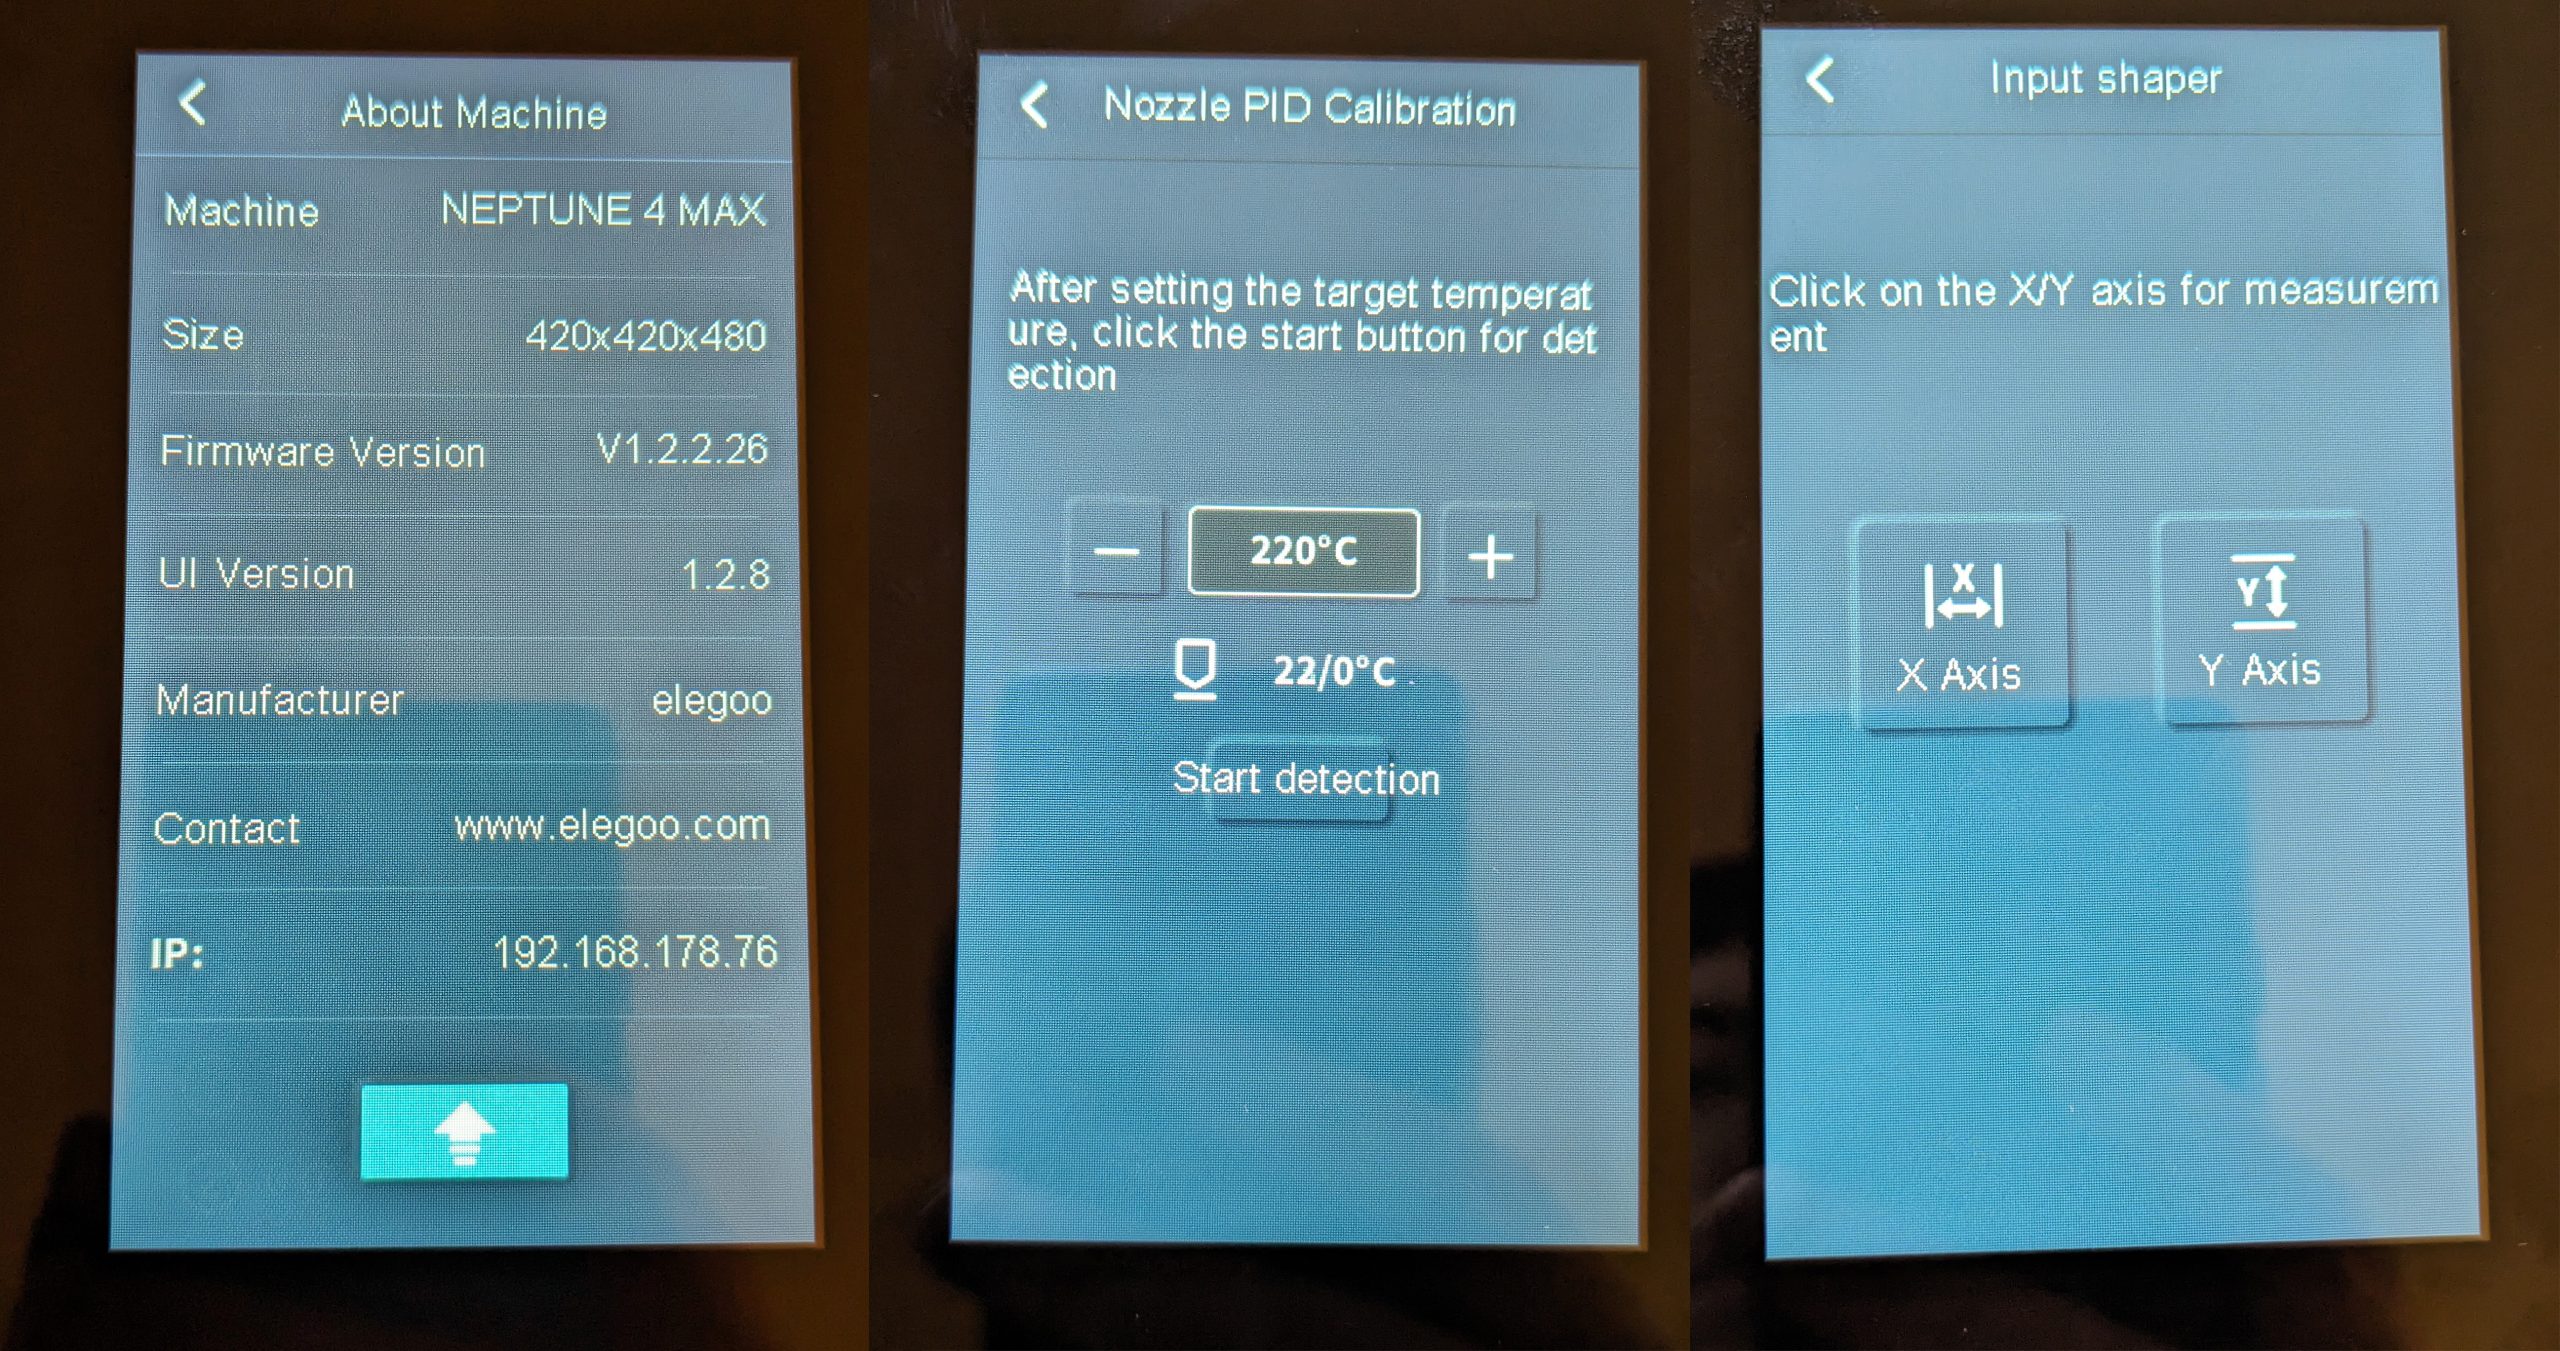
Starting with the firmware I tested here at the latest, both the PID calibration of the nozzle and the input shaper test run per axle can be started directly on the touchscreen via a menu item. This is very convenient as you don’t have to fiddle around with commands in the web interface. However, as the heavy print bed including carriage with a total of 6 rubber rollers only has to be moved by a single motor, the maximum acceleration values are correspondingly conservative.
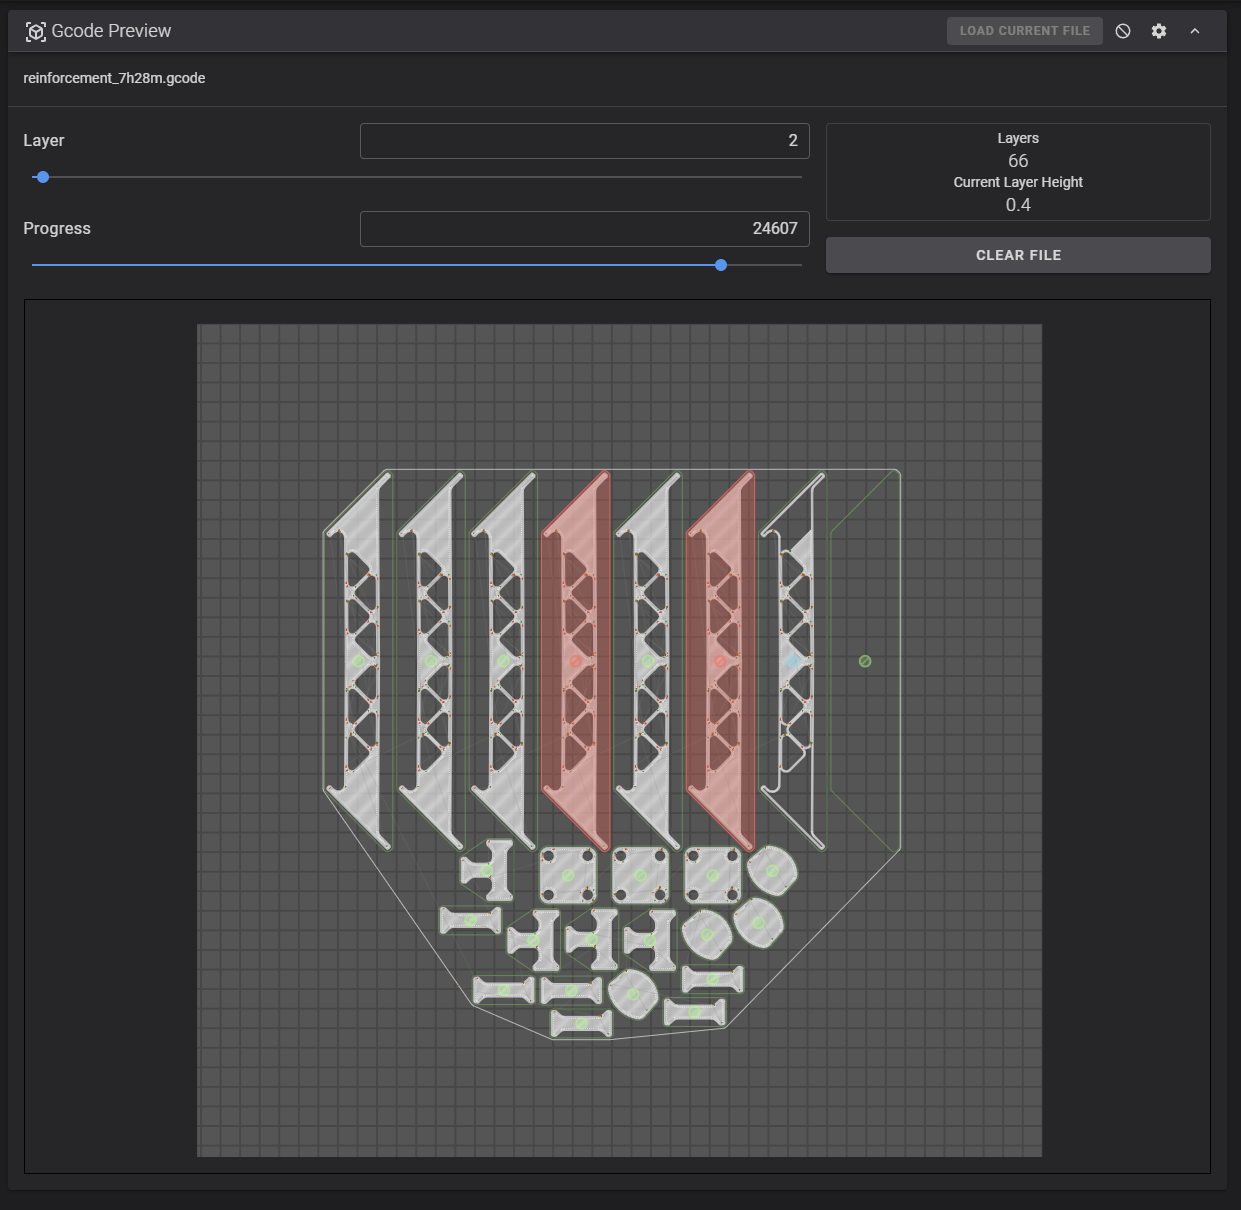
However, the function to skip individual objects is now directly integrated. If you fill the print bed with lots of small parts and some of them cause problems, the rest can continue printing undisturbed and you don’t have to throw everything in the bin. And as practical as this feature is, I unfortunately had to use it almost every time. I haven’t had this much trouble with a 3D printer since my early days with the original Ender 3. Your fine filament abrasion on top of the extruder was the least of my problems.
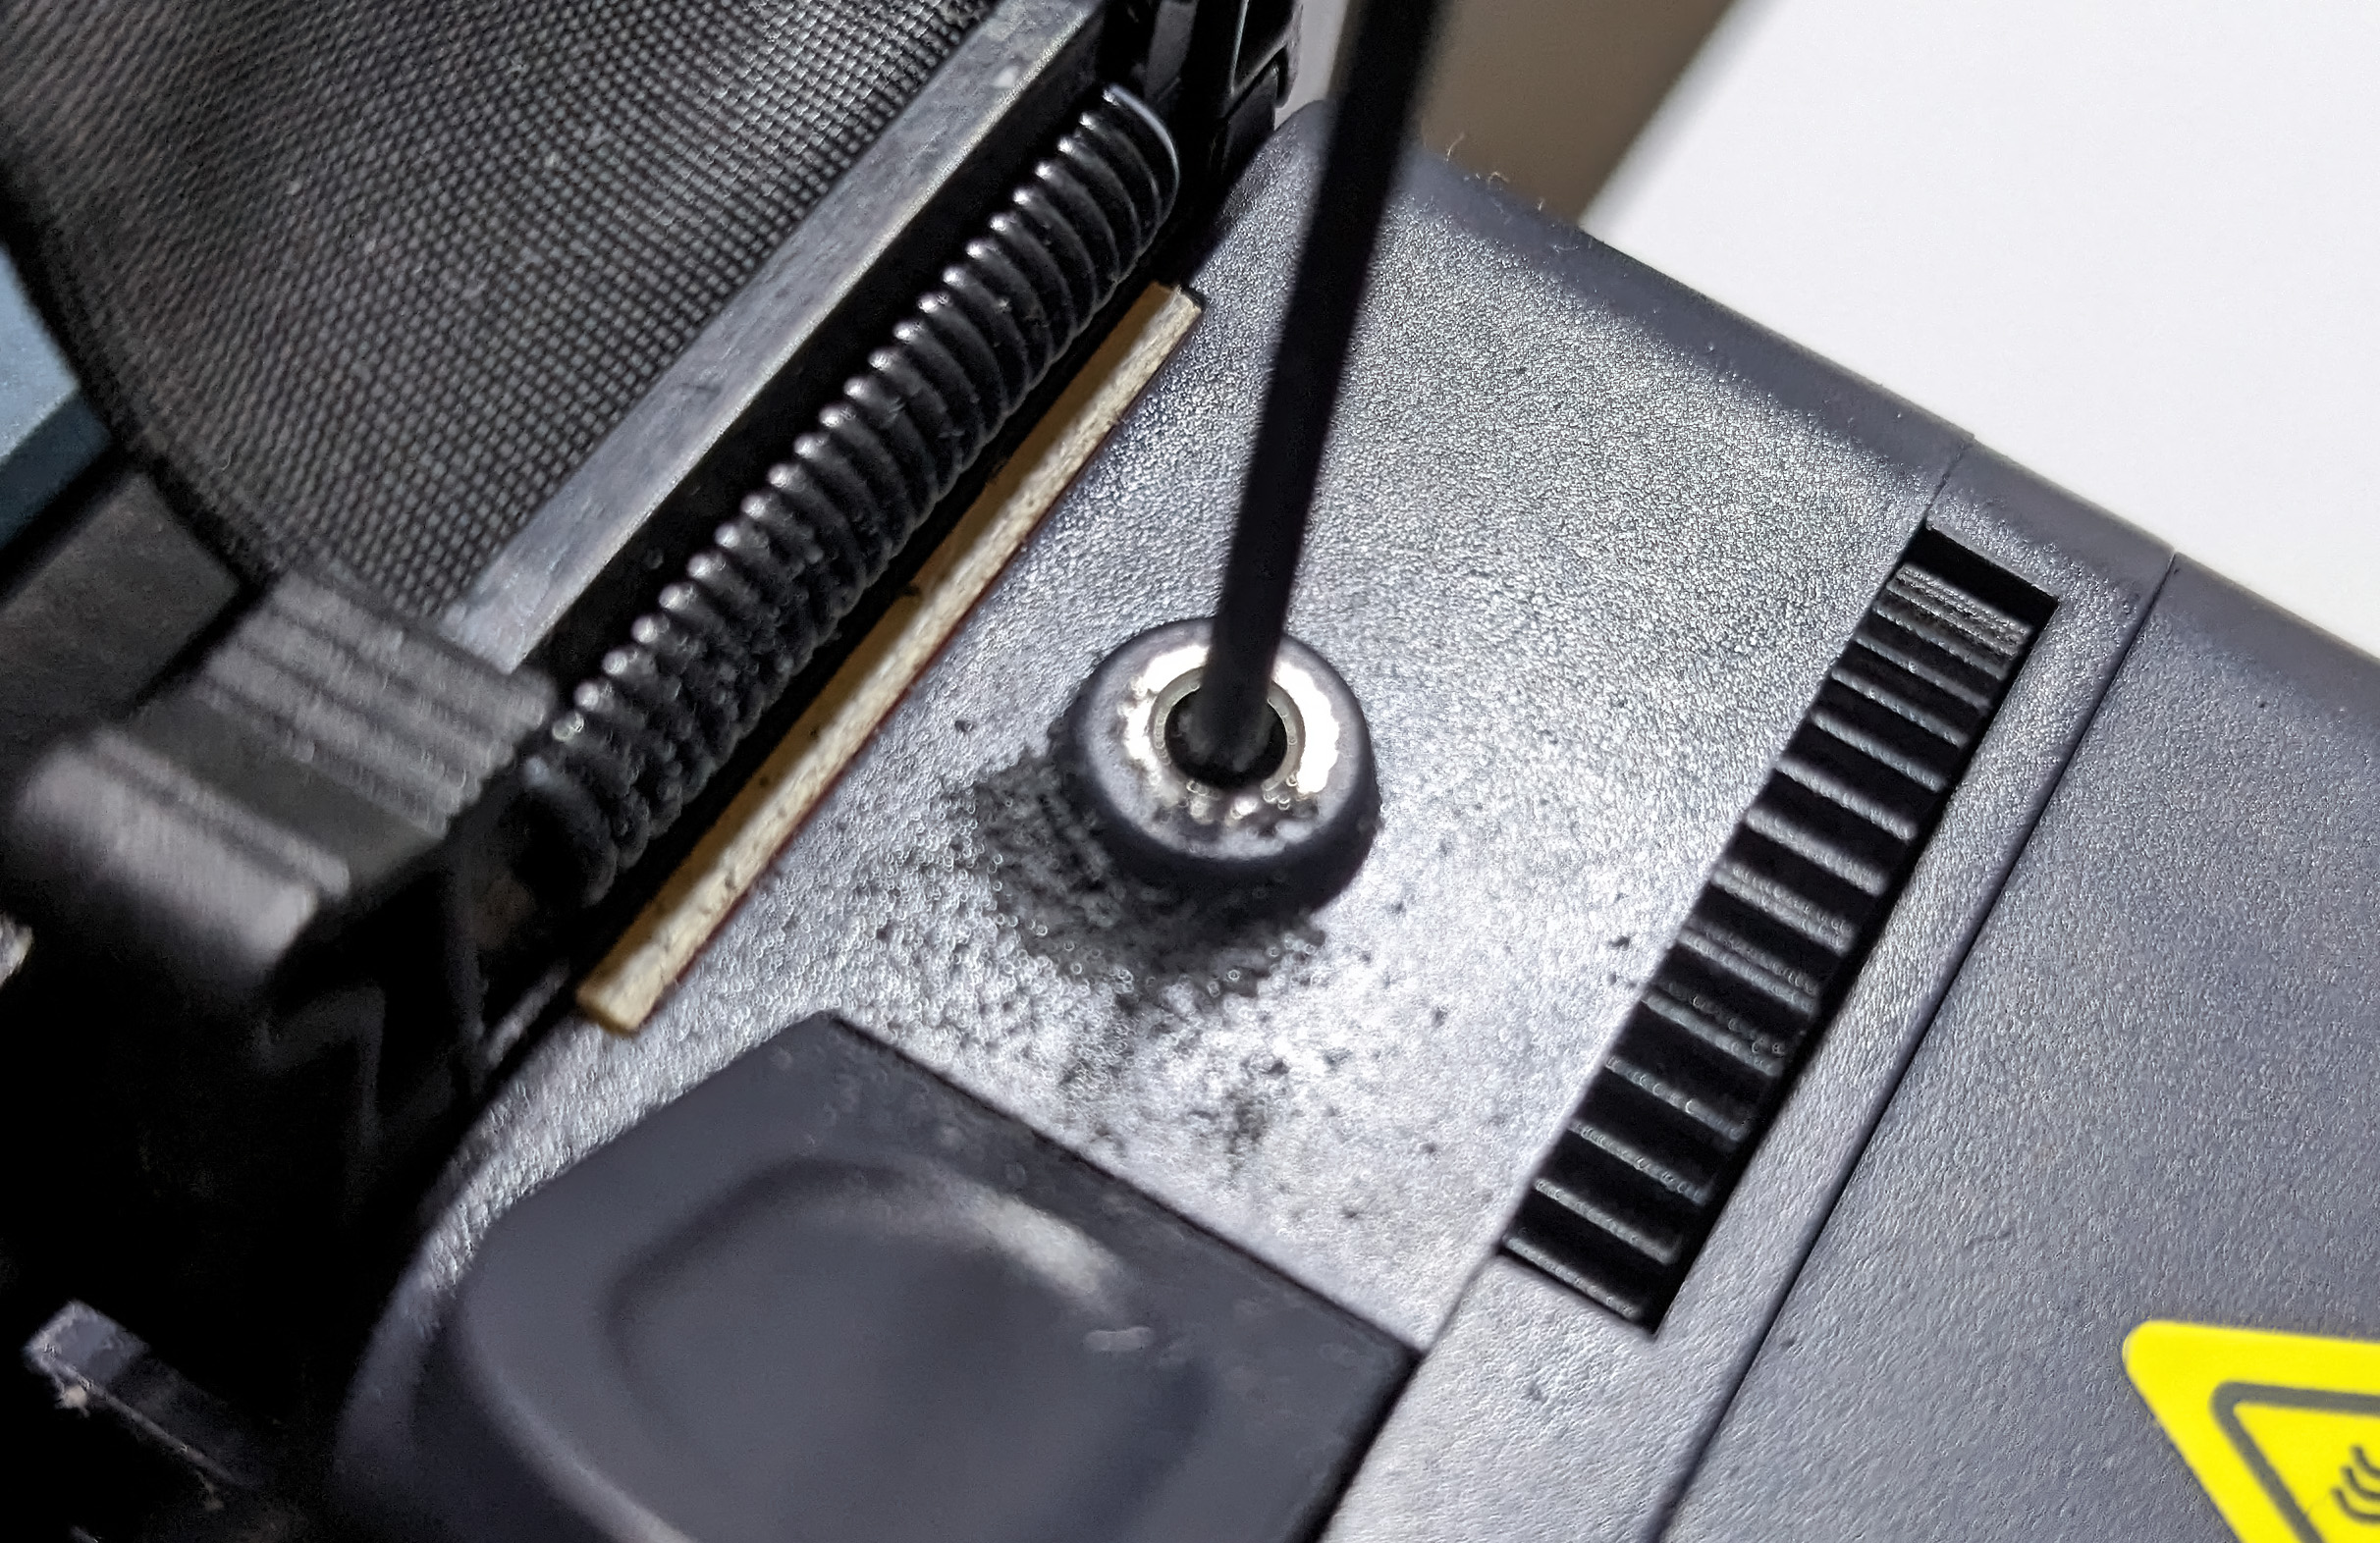
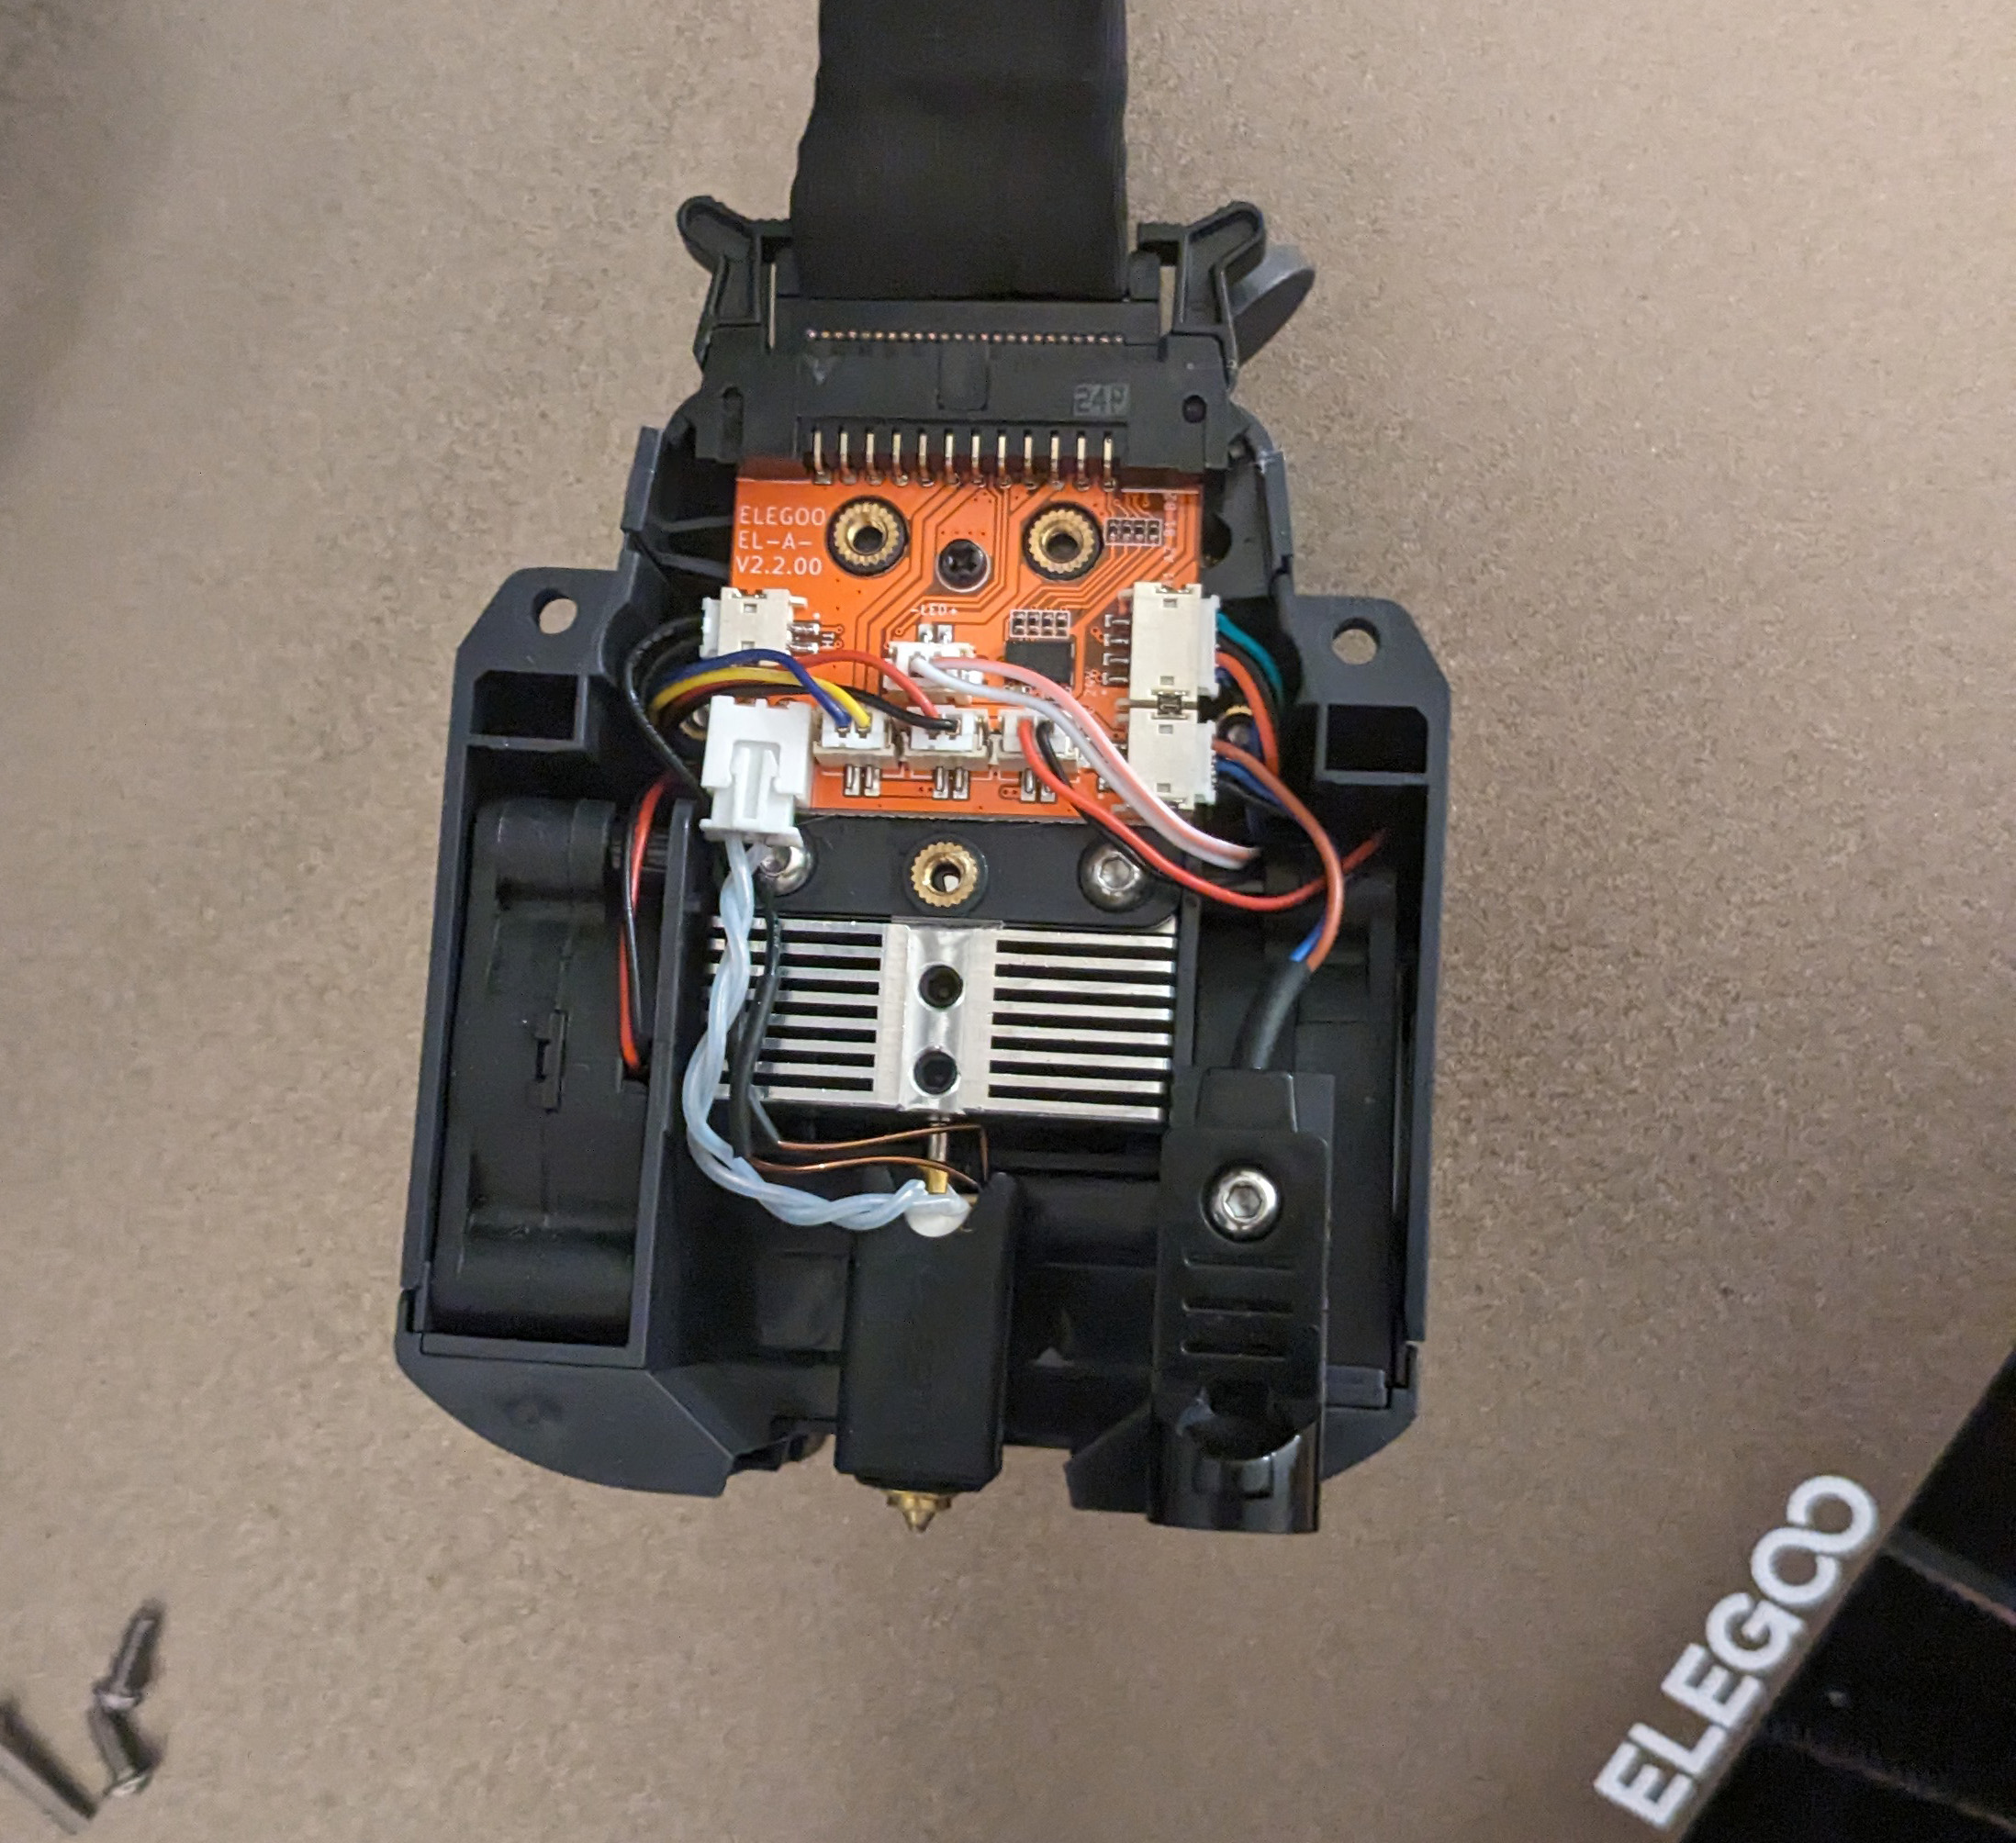
It started badly, because I couldn’t even start up the printer after assembling it. As soon as the extruder was screwed onto the axle, the nozzle stopped heating up. Strange, but reproducible. Even simply pressing against it triggered the phenomenon. I stripped the entire PCB to rule out an accidental short circuit, but to no avail. Take a look at the temperature display in the video. After all, the thermal runaway protection triggers if I had pressed the print head even longer.
But once again, instead of writing to my PR contact, I simply opened a ticket with normal end customer support. I received a reply within 48 hours, asking me to test a few things and send a video. No sooner said than done, I promptly received the response that a new ribbon cable and toolhead PCB were on their way to me. If there are any customs charges, I should simply send the invoice and they will refund it via PayPal. This promise was kept with a few days delay, very good.
Unfortunately, things continued no less smoothly. I had already switched to the “professional” bed level with a total of 121 measuring points, but it was still practically impossible to achieve an even first layer. If you take a look at the evaluation of the Auto-Bed-Mesh, you can also see why this is the case.
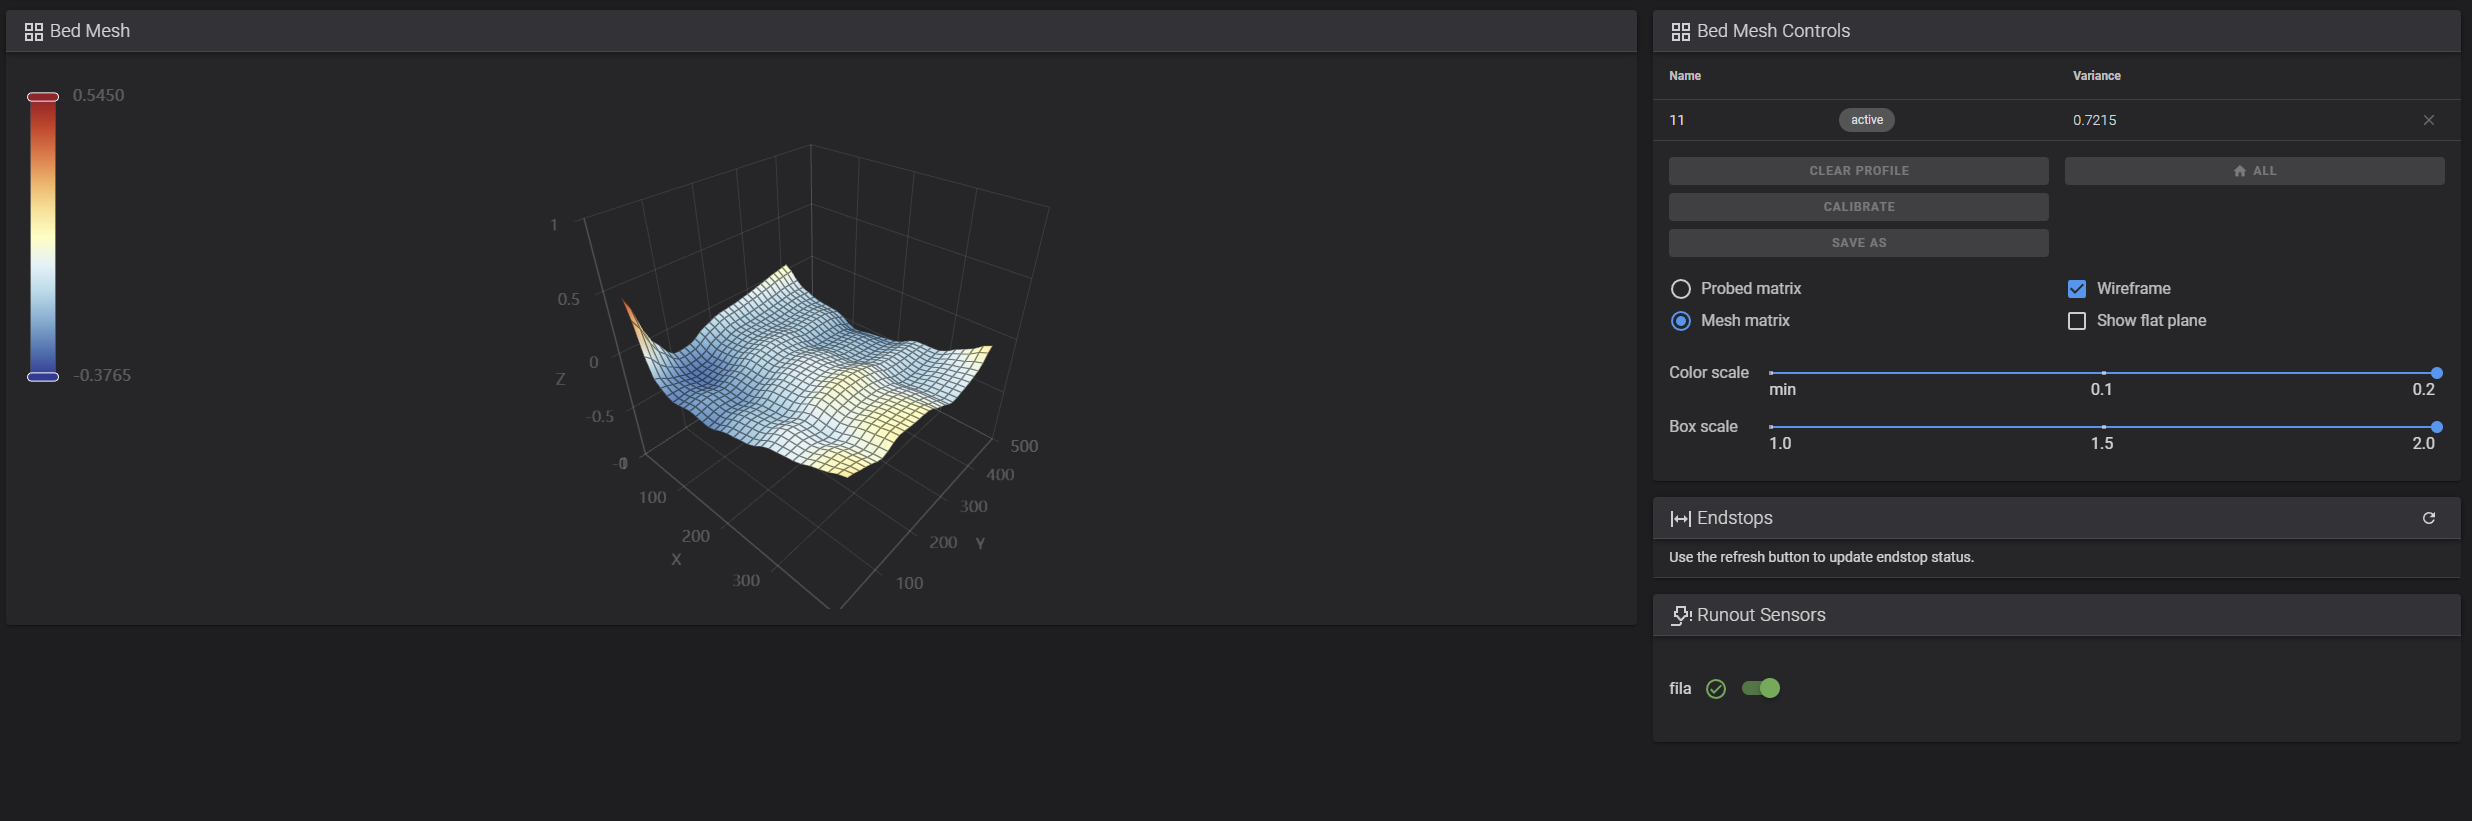
The unevenness and distortions rival many a mountain range. I have readjusted the print bed manually with the 6 adjusting screws countless times and at some point practically before every print attempt, as well as having a new mesh created, yet time and again no reasonable bed adhesion or first layer was possible. I then continued most of the project with the drawer base using a different 3D printer after wasting half a roll of filament with failed attempts.
And as sorry as I am, I can’t recommend the Neptune 4 Max due to the poor quality control. For currently around 460 euros, this 3D printer is really very affordable in view of the gigantic print volume, but – at least in my experience with my sample – you are setting yourself up for a lot of frustration.
The test sample was provided by Elegoo without obligation. There was and is no influence on the tests and results. There was also no compensation for expenses and no obligation to publish.


21 Antworten
Kommentar
Lade neue Kommentare
Mitglied
Moderator
Urgestein
Veteran
Moderator
Veteran
Moderator
Veteran
Neuling
Urgestein
Moderator
Urgestein
Urgestein
Urgestein
Moderator
Urgestein
Moderator
Urgestein
Urgestein
Alle Kommentare lesen unter igor´sLAB Community →